After installing Moodle locally with Docker, the next practical step is making the account-registration flow work end to end. Moodle can show a registration form easily, but the flow is only useful when outgoing email is configured and account confirmation messages can be tested safely.
In this guide, I add Mailpit as a local SMTP test server, connect the Moodle container to the same Docker network, send a test email from Moodle, enable email-based self-registration, and finally add Google reCAPTCHA to the login and registration screens.
You can also follow the full walkthrough in the YouTube video.

Table of contents
Open Table of contents
- What We Are Building
- Checking the Running Containers
- Creating the Mailpit Compose File
- Connecting Moodle to the Same Docker Network
- Configuring Moodle Outgoing Mail
- Sending a Test Email
- Enabling Email-Based Self-Registration
- Adding Google reCAPTCHA
- Verifying Login and Registration Protection
- Summary
What We Are Building
This setup is for a local development environment. Mailpit receives the emails Moodle sends, but it does not deliver them to real inboxes. That makes it perfect for checking password resets, account confirmations, and notification templates without accidentally emailing real users.
The flow looks like this:
- Start Mailpit with Docker Compose.
- Attach Mailpit and Moodle to the same Docker network.
- Configure Moodle’s outgoing SMTP settings.
- Test email delivery in Mailpit.
- Enable email-based self-registration.
- Create a test account and confirm it through Mailpit.
- Configure reCAPTCHA for login and registration protection.
Checking the Running Containers
Start by checking the containers you already have. In this example, the Moodle site from the previous tutorial is running on port 8085, and Mailpit will expose its web interface on port 8025.
docker compose ps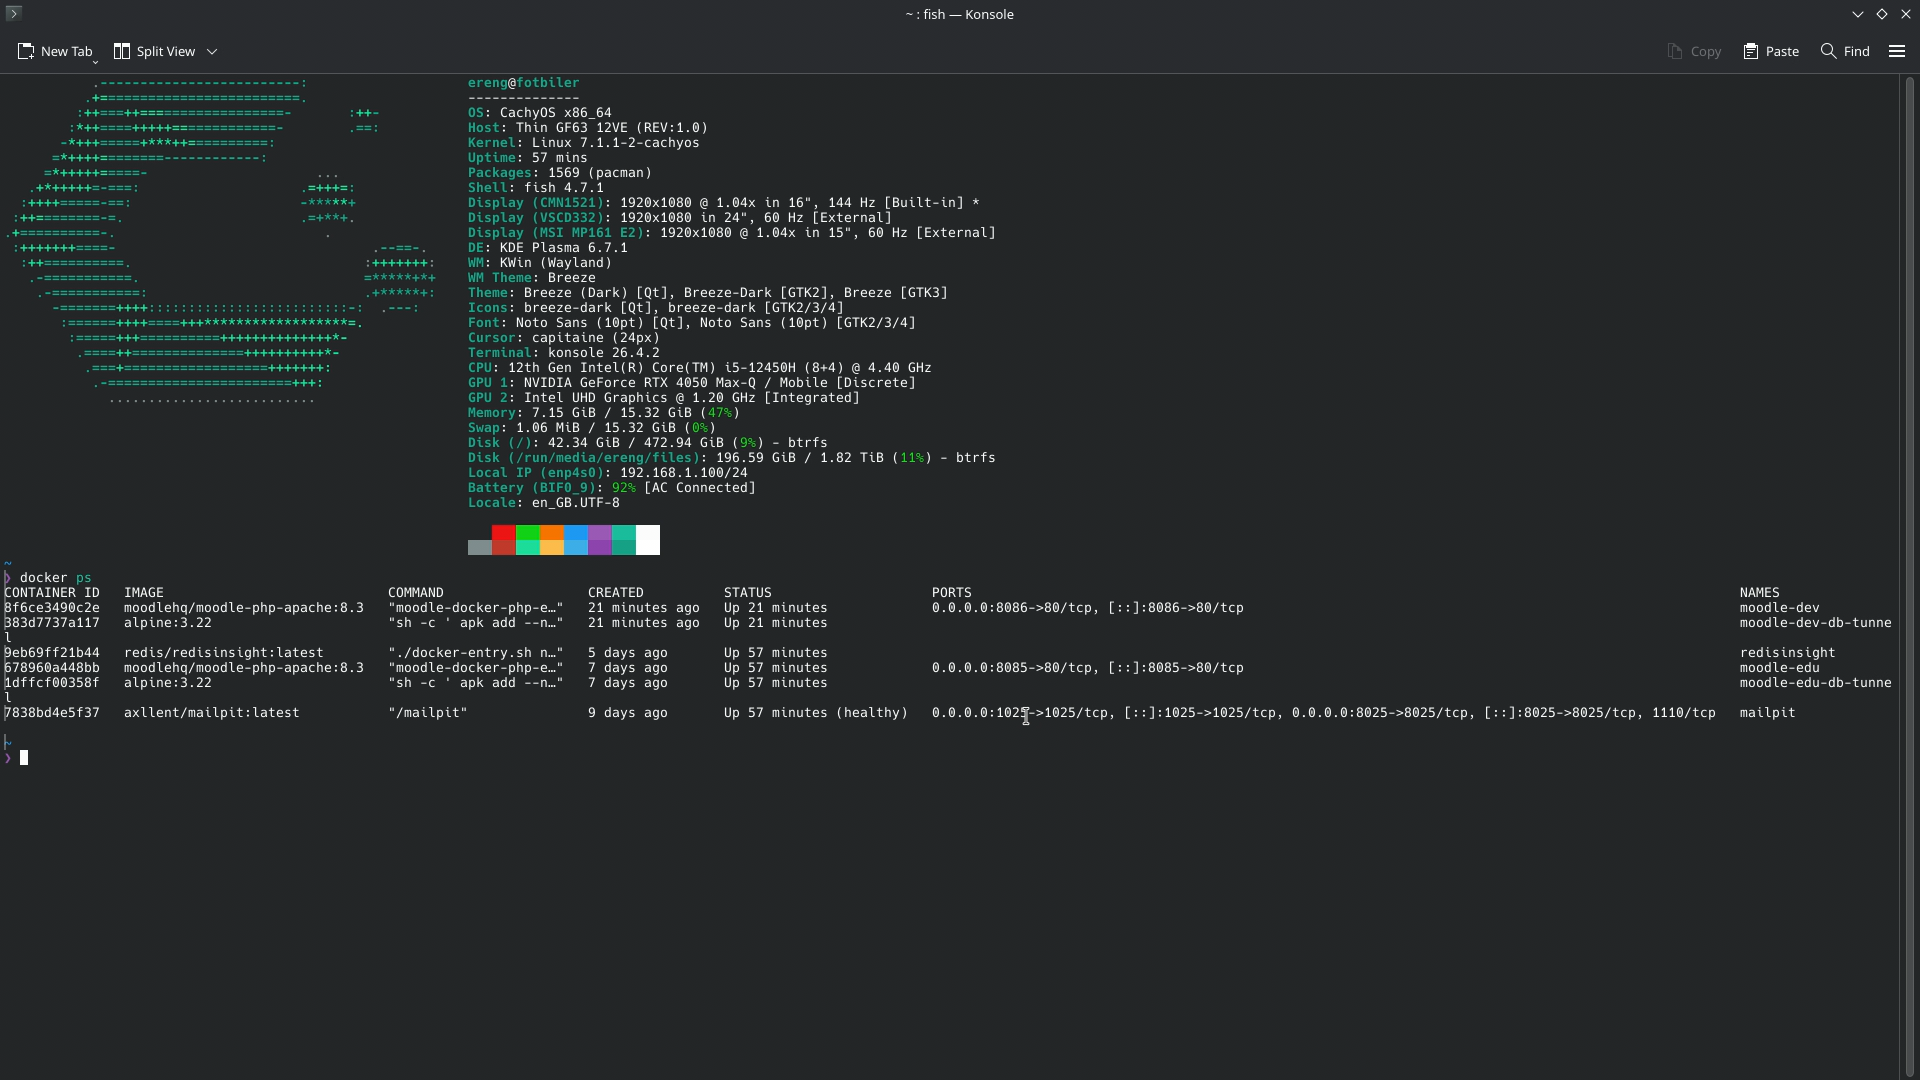
Mailpit has two important ports:
8025is the web inbox you open in the browser.1025is the SMTP port Moodle will use inside the Docker network.
Open the Mailpit web interface from the mapped browser port:
http://localhost:8025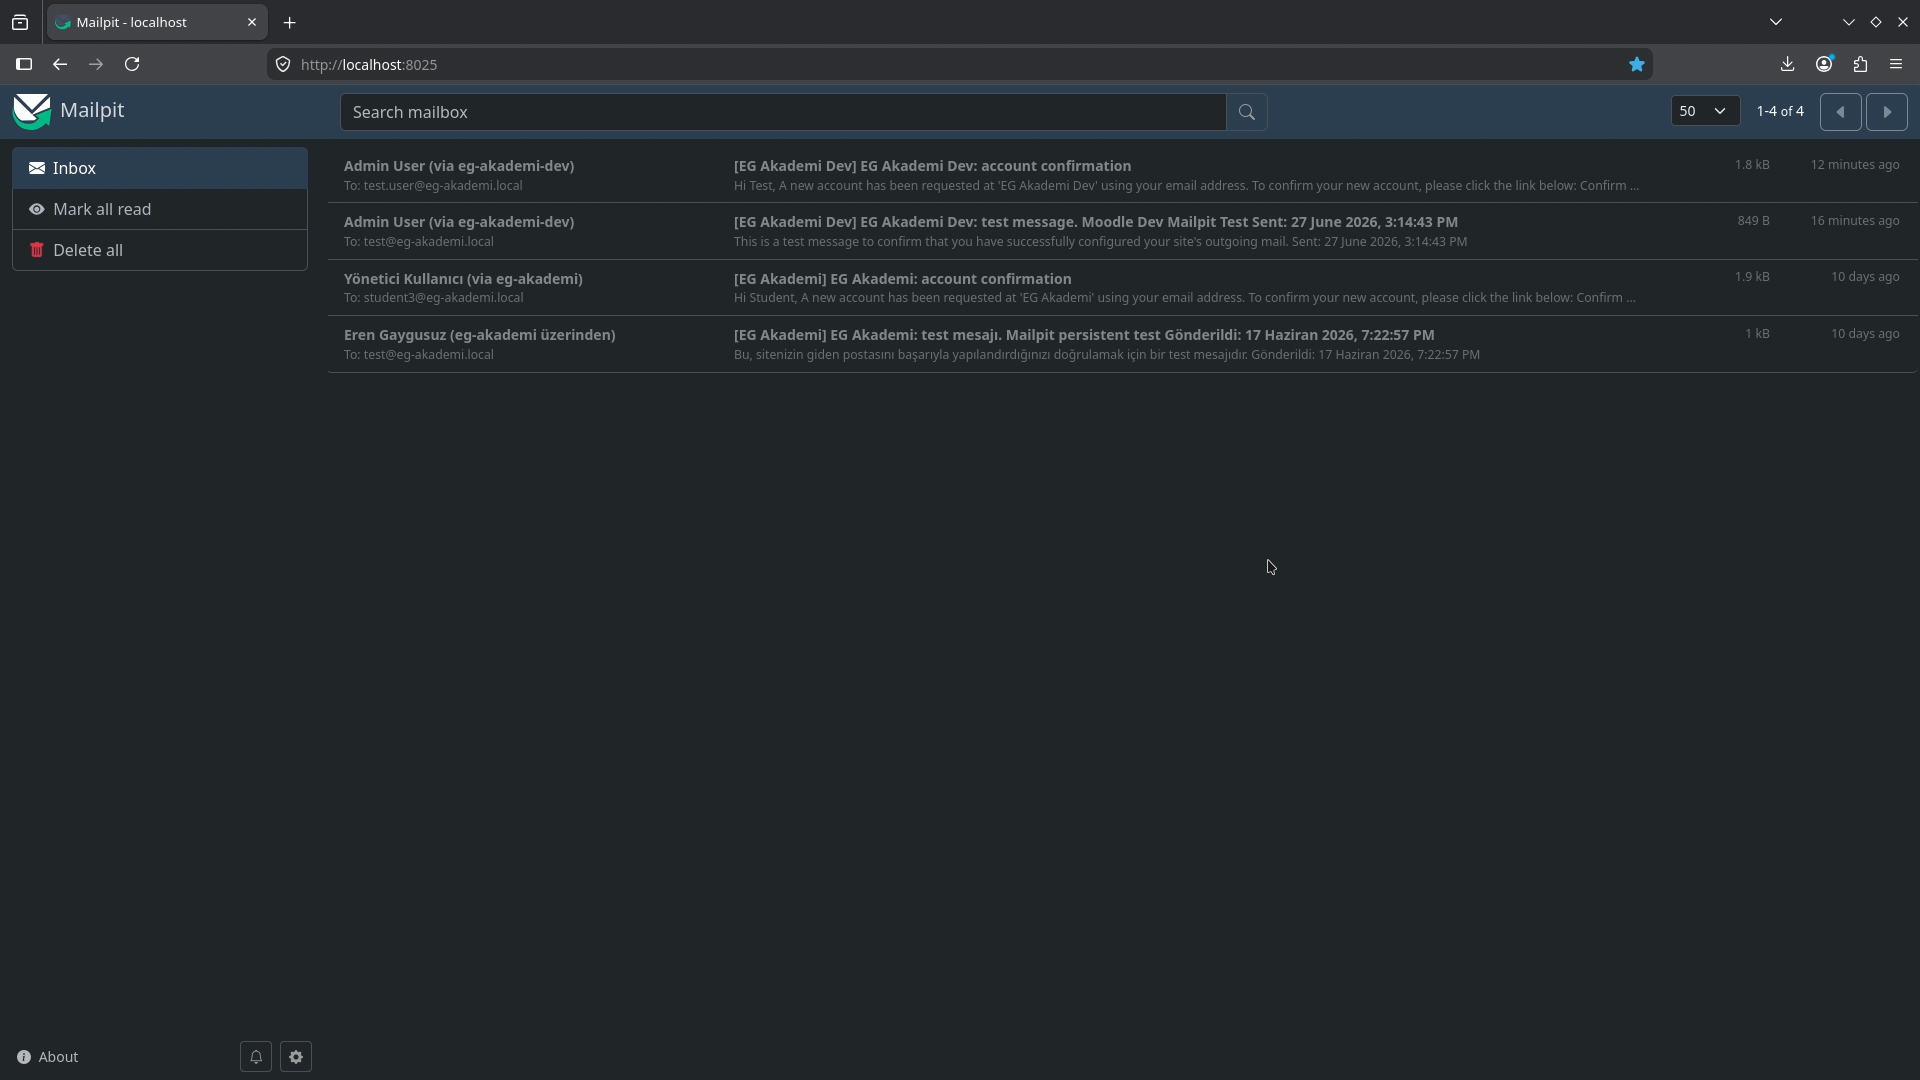
Creating the Mailpit Compose File
Create a separate Compose file for Mailpit. The important part is that Mailpit is attached to the same external network Moodle will use.
services:
  mailpit:
    image: axllent/mailpit:latest
    container_name: mailpit
    restart: unless-stopped
    ports:
      - "8025:8025"
      - "1025:1025"
    volumes:
      - ./data:/data
    environment:
      MP_DATABASE: /data/mailpit.db
      MP_MAX_MESSAGES: 5000
    networks:
      - local-dev-net

networks:
  local-dev-net:
    external: true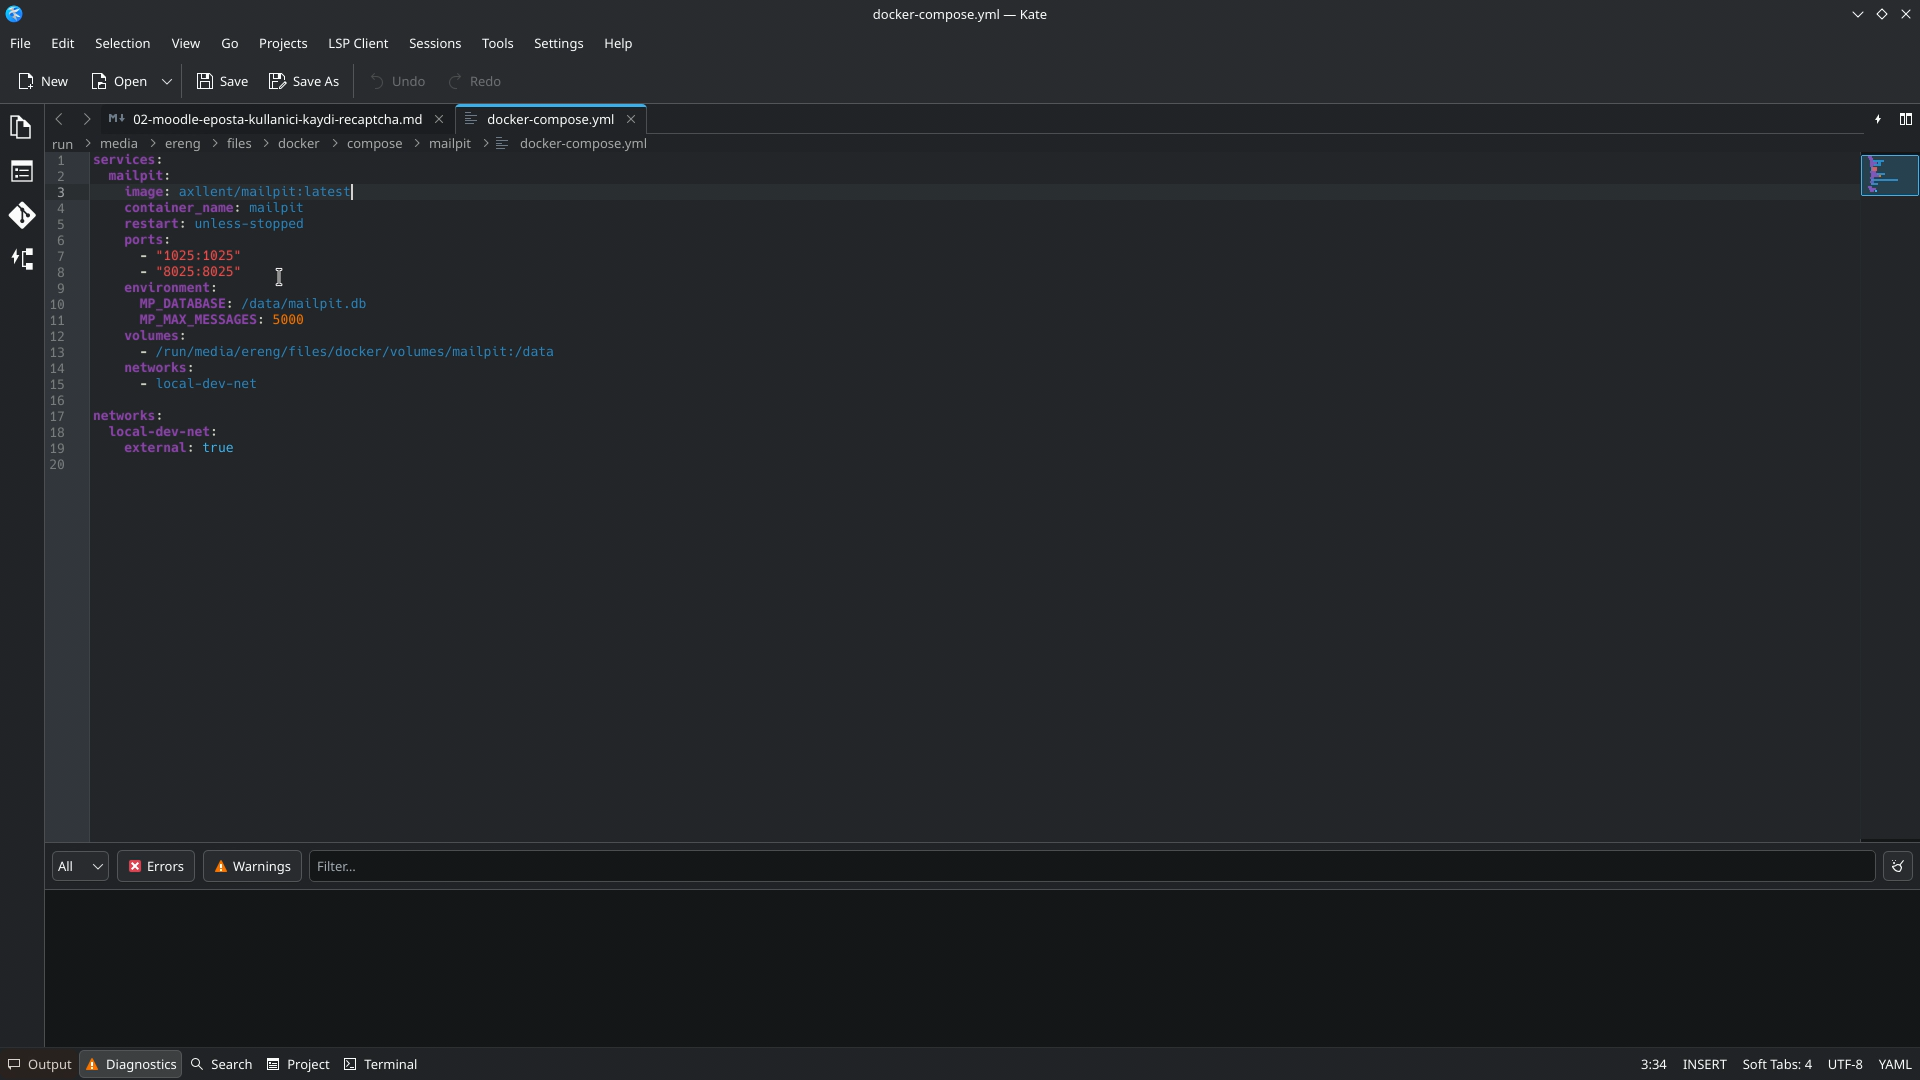
Start Mailpit from the folder containing its docker-compose.yml file.
docker compose up -dAfter it starts, refresh the Mailpit web interface. A new local setup usually begins with an empty inbox; later in the guide, Moodle test and confirmation messages will appear there.
Connecting Moodle to the Same Docker Network
Mailpit and Moodle need to see each other by container name. To make that happen, attach the Moodle service to the same external Docker network.
In the Moodle Compose file, the important addition is the shared network. If you are following the previous Docker setup, the Compose file can look like this:
services:
  moodle:
    image: moodlehq/moodle-php-apache:8.3
    container_name: moodle-edu
    restart: unless-stopped
    ports:
      - "8085:80"
    environment:
      TZ: Europe/Istanbul
    volumes:
      - /absolute/path/to/moodle/edu/src:/var/www/html
      - /absolute/path/to/moodledata:/var/www/moodledata
    networks:
      - local-dev-net

networks:
  local-dev-net:
    external: true
Change the two volume paths to match your own Moodle source and moodledata folders.
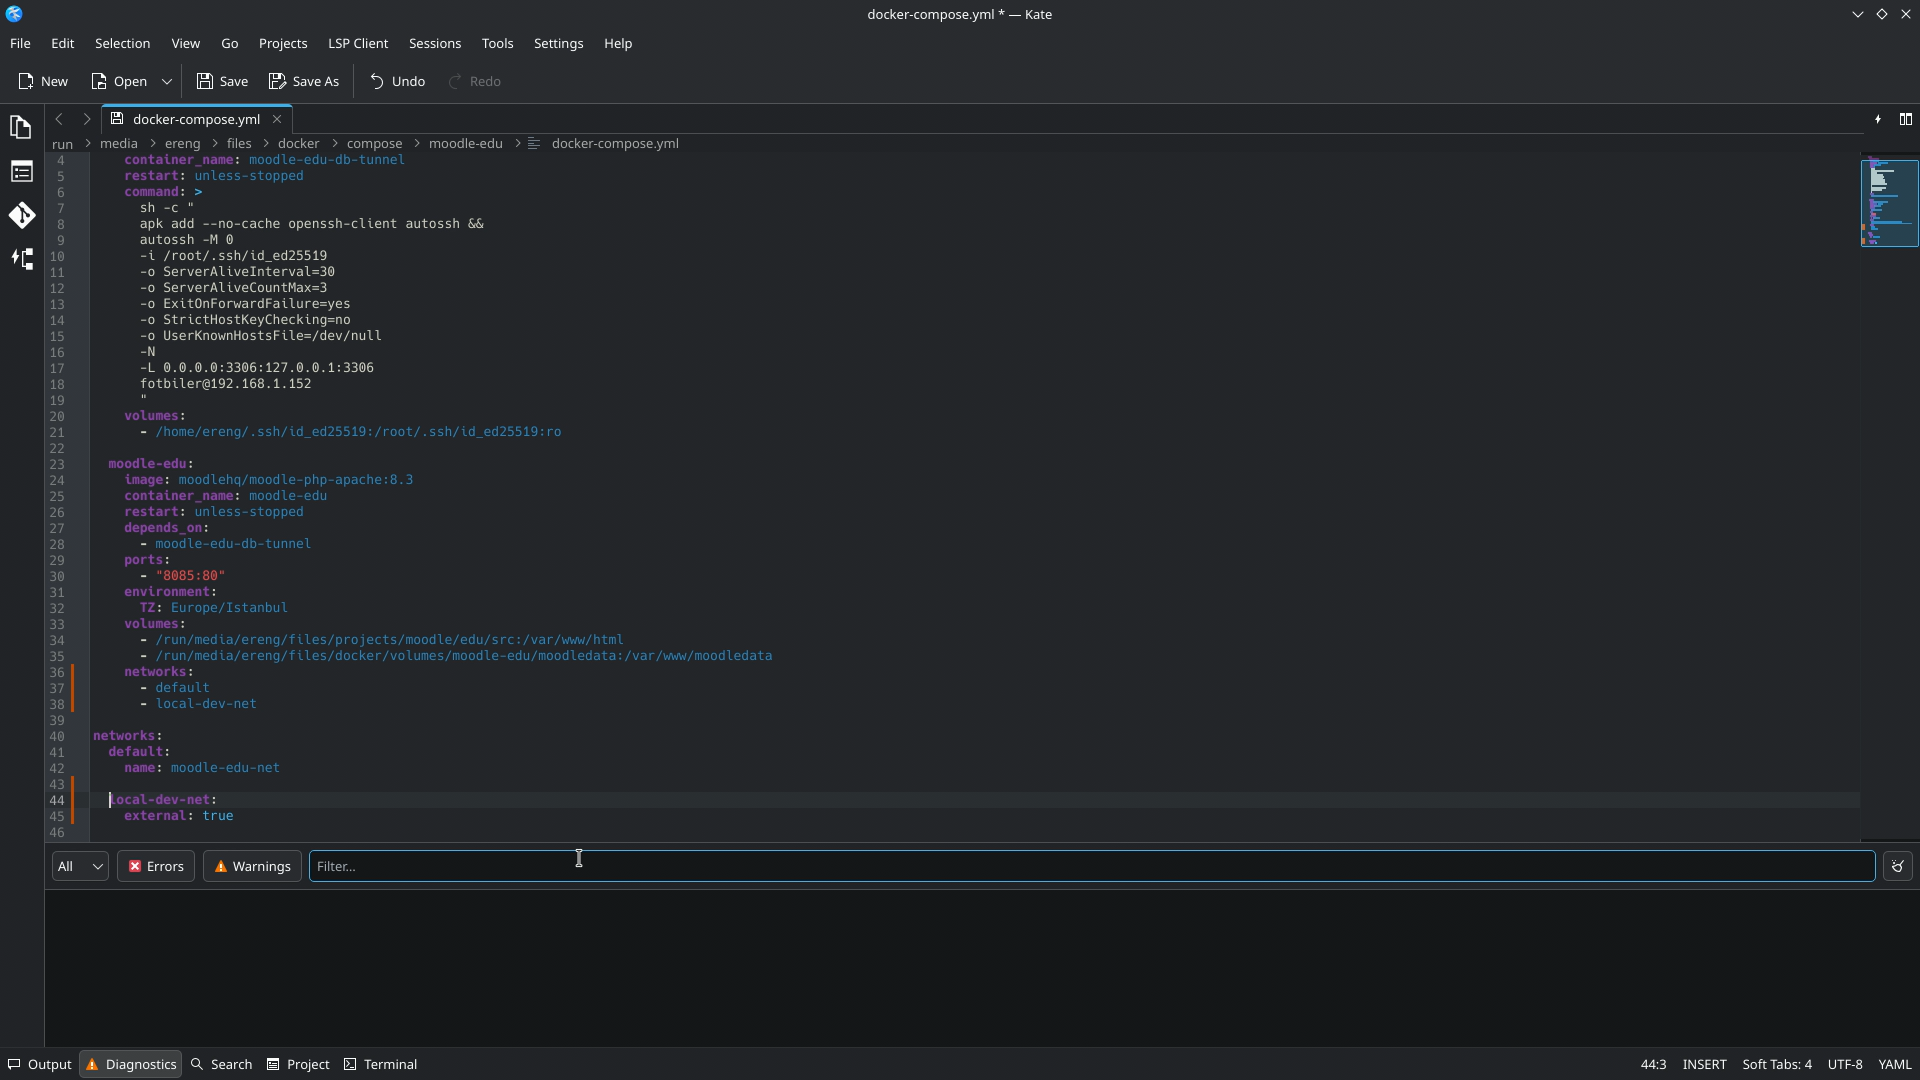
The screenshot also includes an SSH tunnel helper service from my own development environment. If your database is already reachable from the Moodle container, you do not need that helper service; the key point for this guide is the shared local-dev-net network.
After saving the file, recreate the Moodle container so the new network setting is applied.
docker compose down
docker compose up -d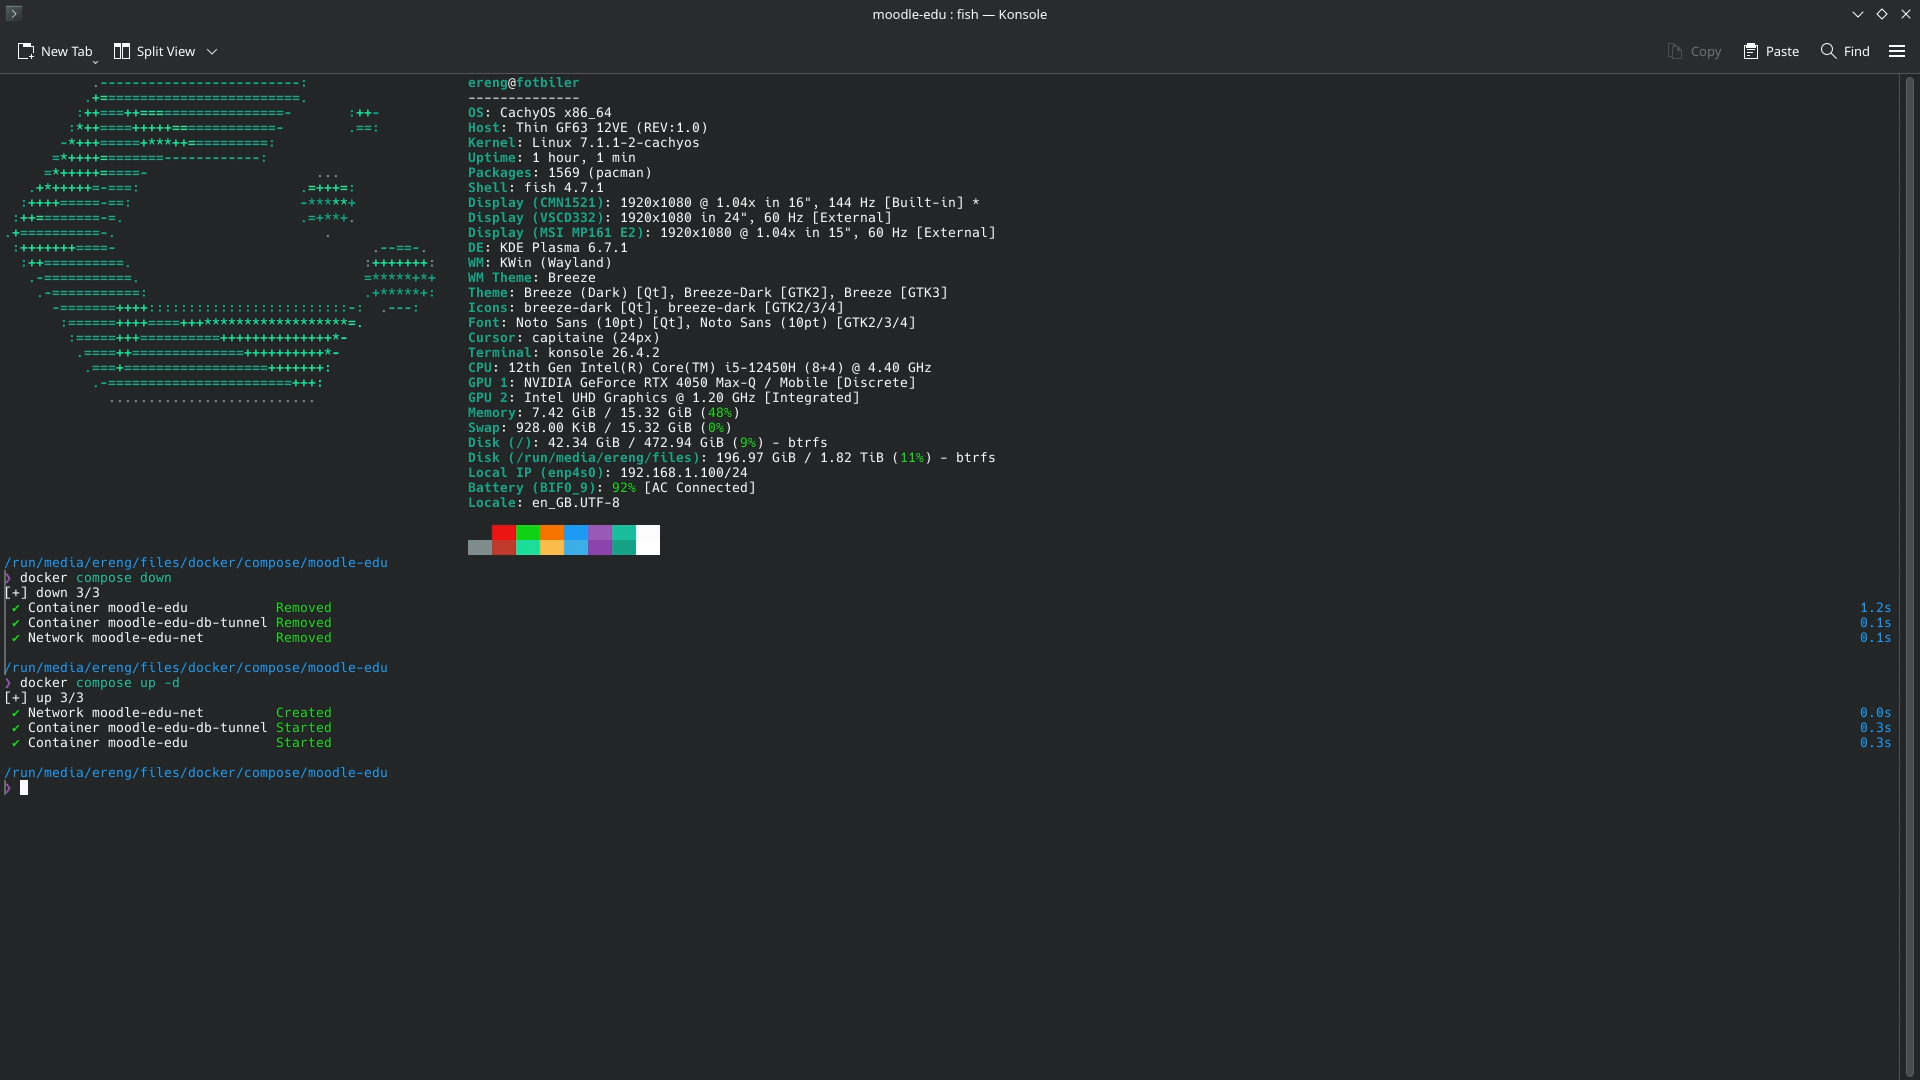
Open the local Moodle site again.
http://localhost:8085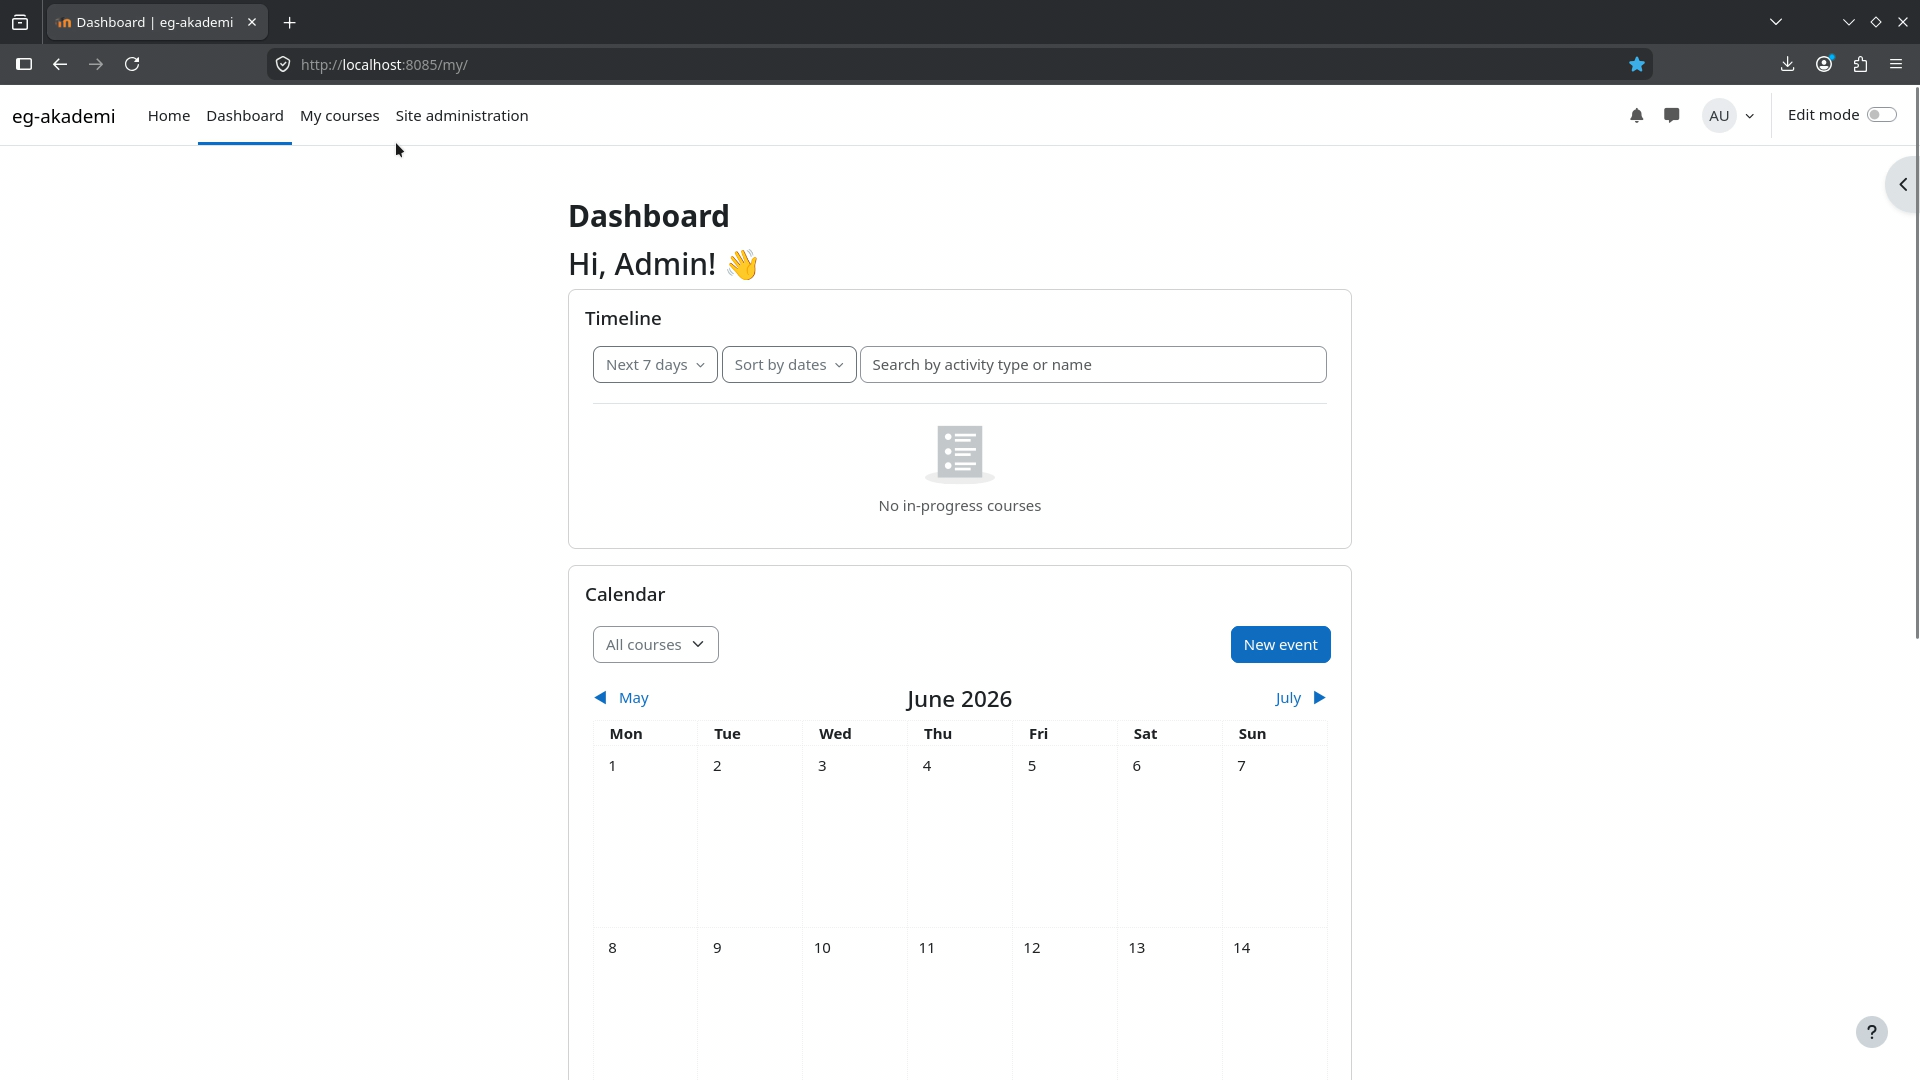
Configuring Moodle Outgoing Mail
In Moodle, go to Site administration > Server > Email > Outgoing mail configuration. Because both containers are on the same Docker network, Moodle can reach Mailpit by the service or container name.
Use the internal SMTP port, not the browser port:
SMTP hosts: mailpit:1025
SMTP security: none
SMTP username: leave empty
SMTP password: leave empty
No-reply address: noreply@example.test
Allowed email domains: example.test
Subject prefix: [Moodle]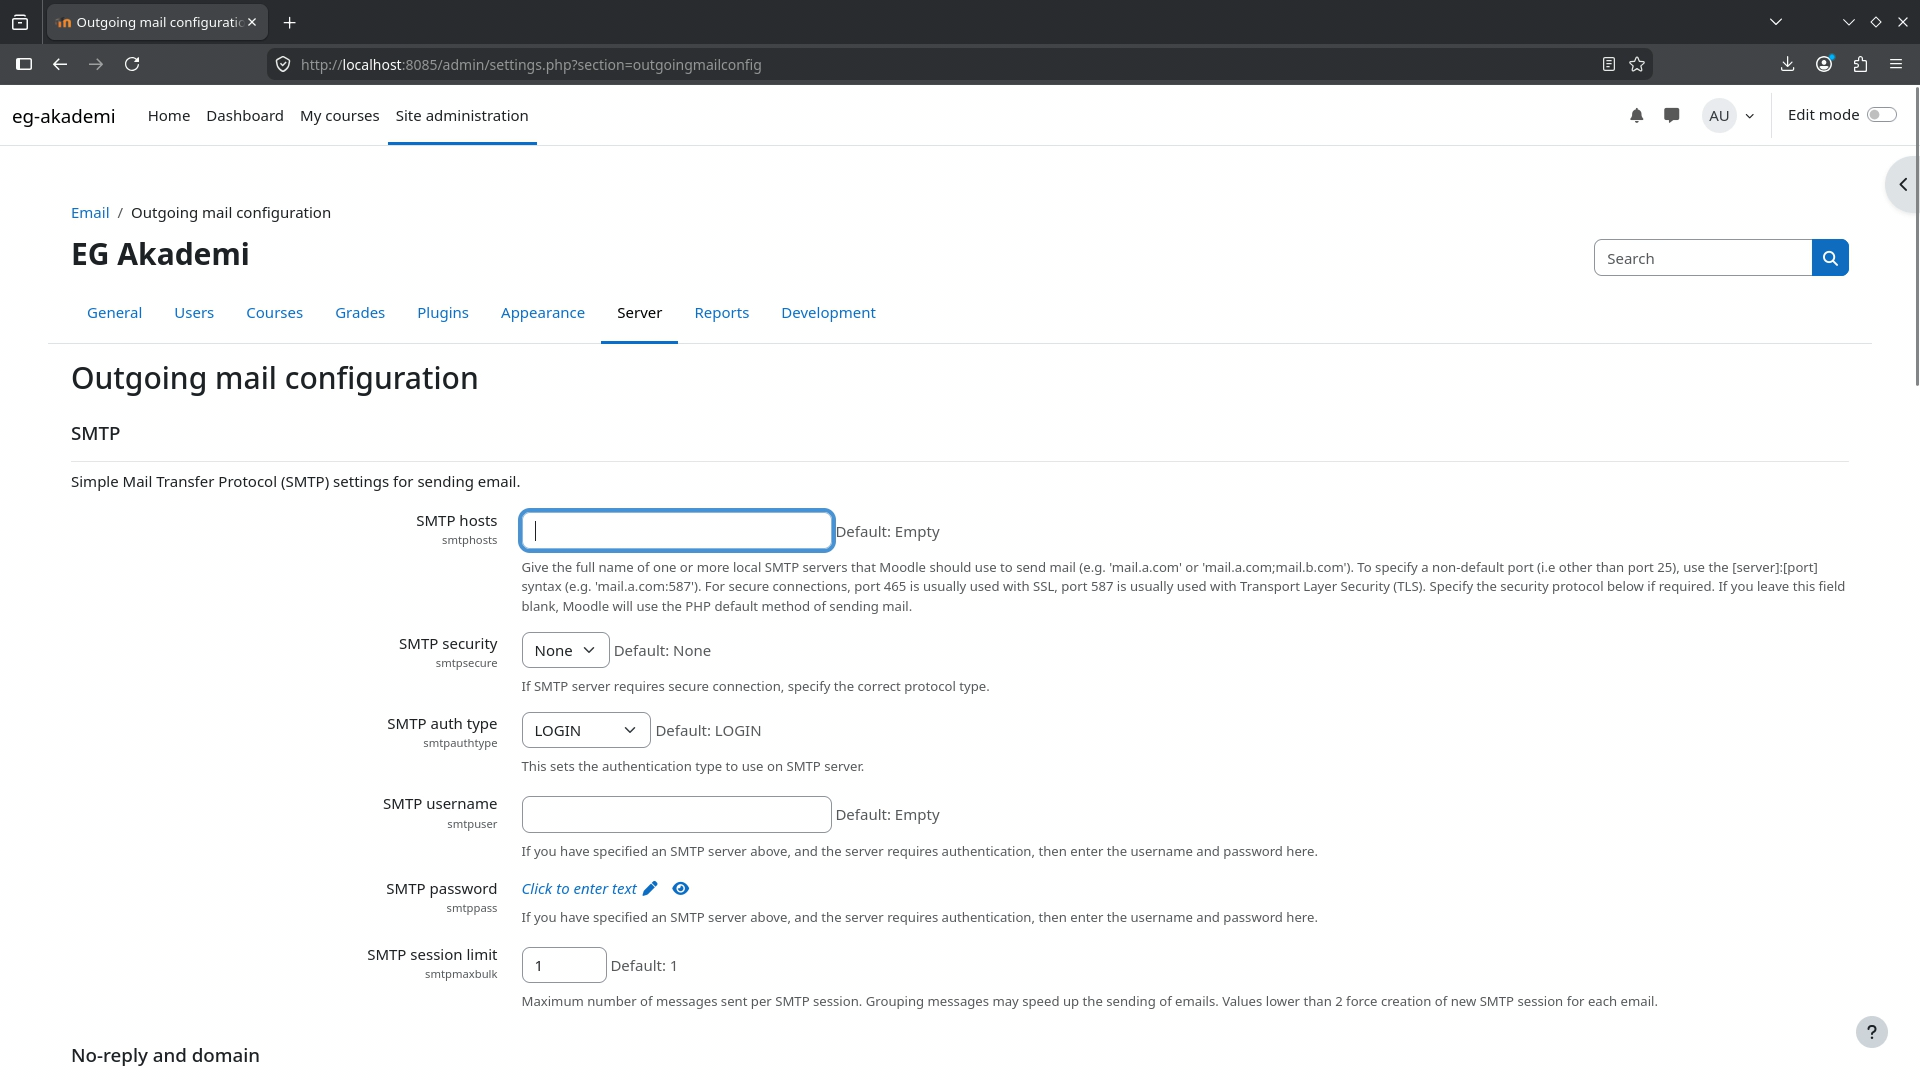
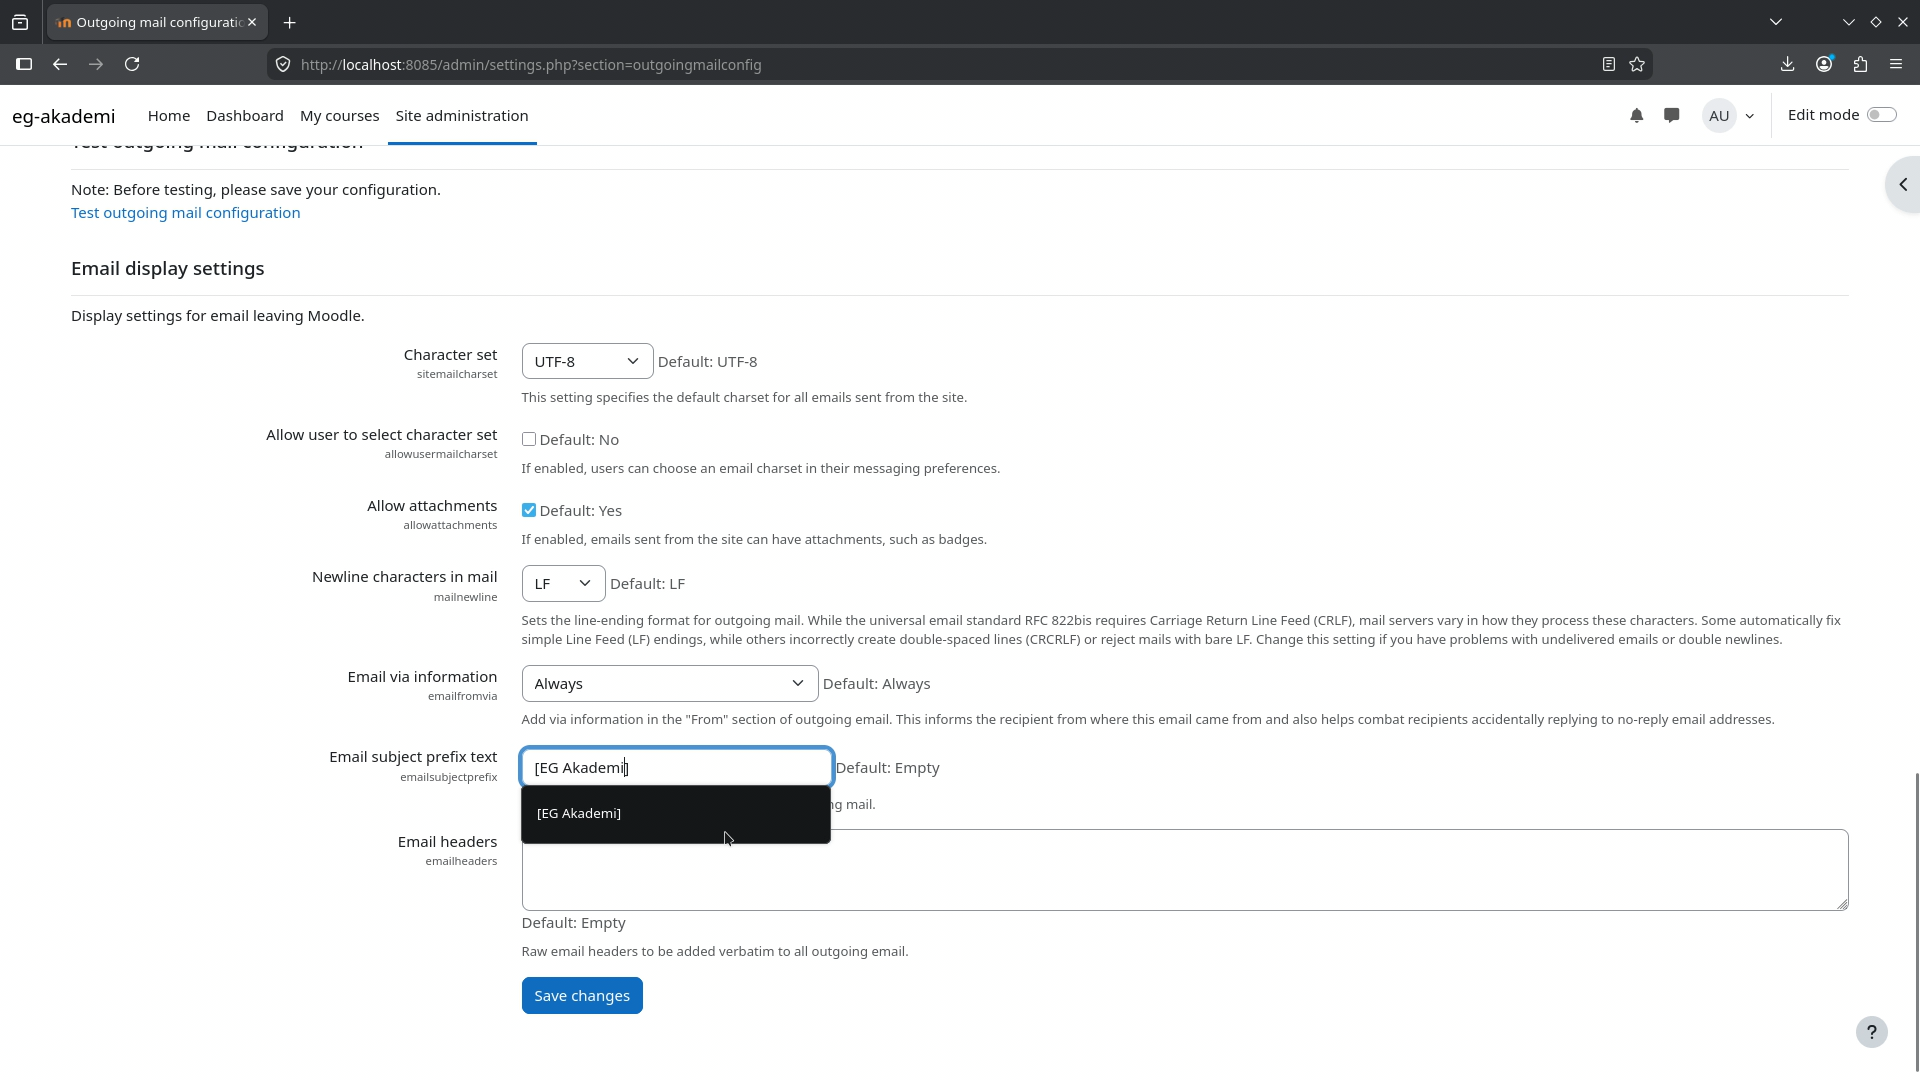
For a production site, this section changes. You would use your real SMTP provider, enable the required security option, and store the SMTP credentials safely.
Sending a Test Email
Save the outgoing mail settings, then use Moodle’s test email tool. Send the message to an address that belongs to the domain you allowed in the previous step.
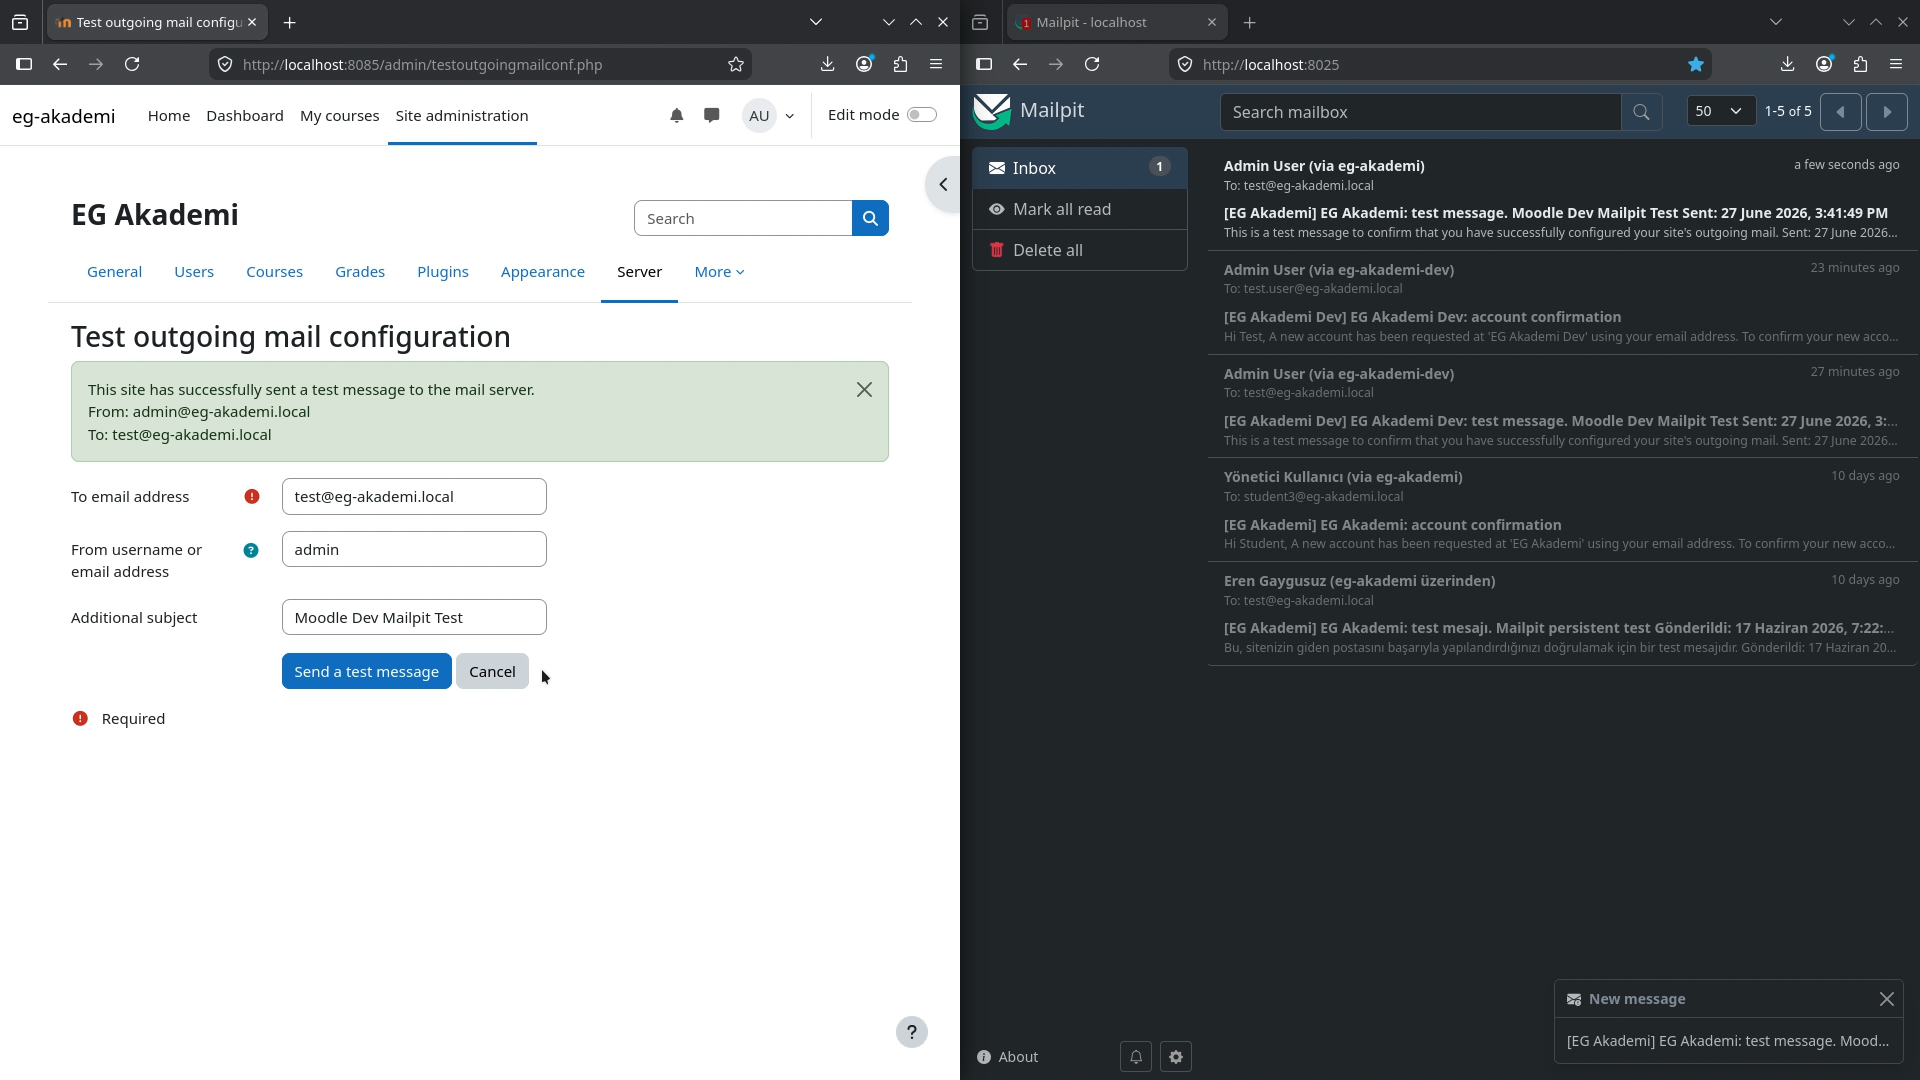
The message should appear in Mailpit immediately. This confirms that Moodle can speak SMTP to Mailpit through the Docker network.
Enabling Email-Based Self-Registration
Next, open Site administration > Plugins > Authentication > Manage authentication. Enable Email-based self-registration, then set the general self-registration option to use that method.
While you are here, keep the registration rules narrow:
- allow login by email only if that matches your site policy;
- restrict allowed email domains when you are testing;
- keep guest access disabled if you do not need public entry;
- add abuse protection before opening the site to the public.
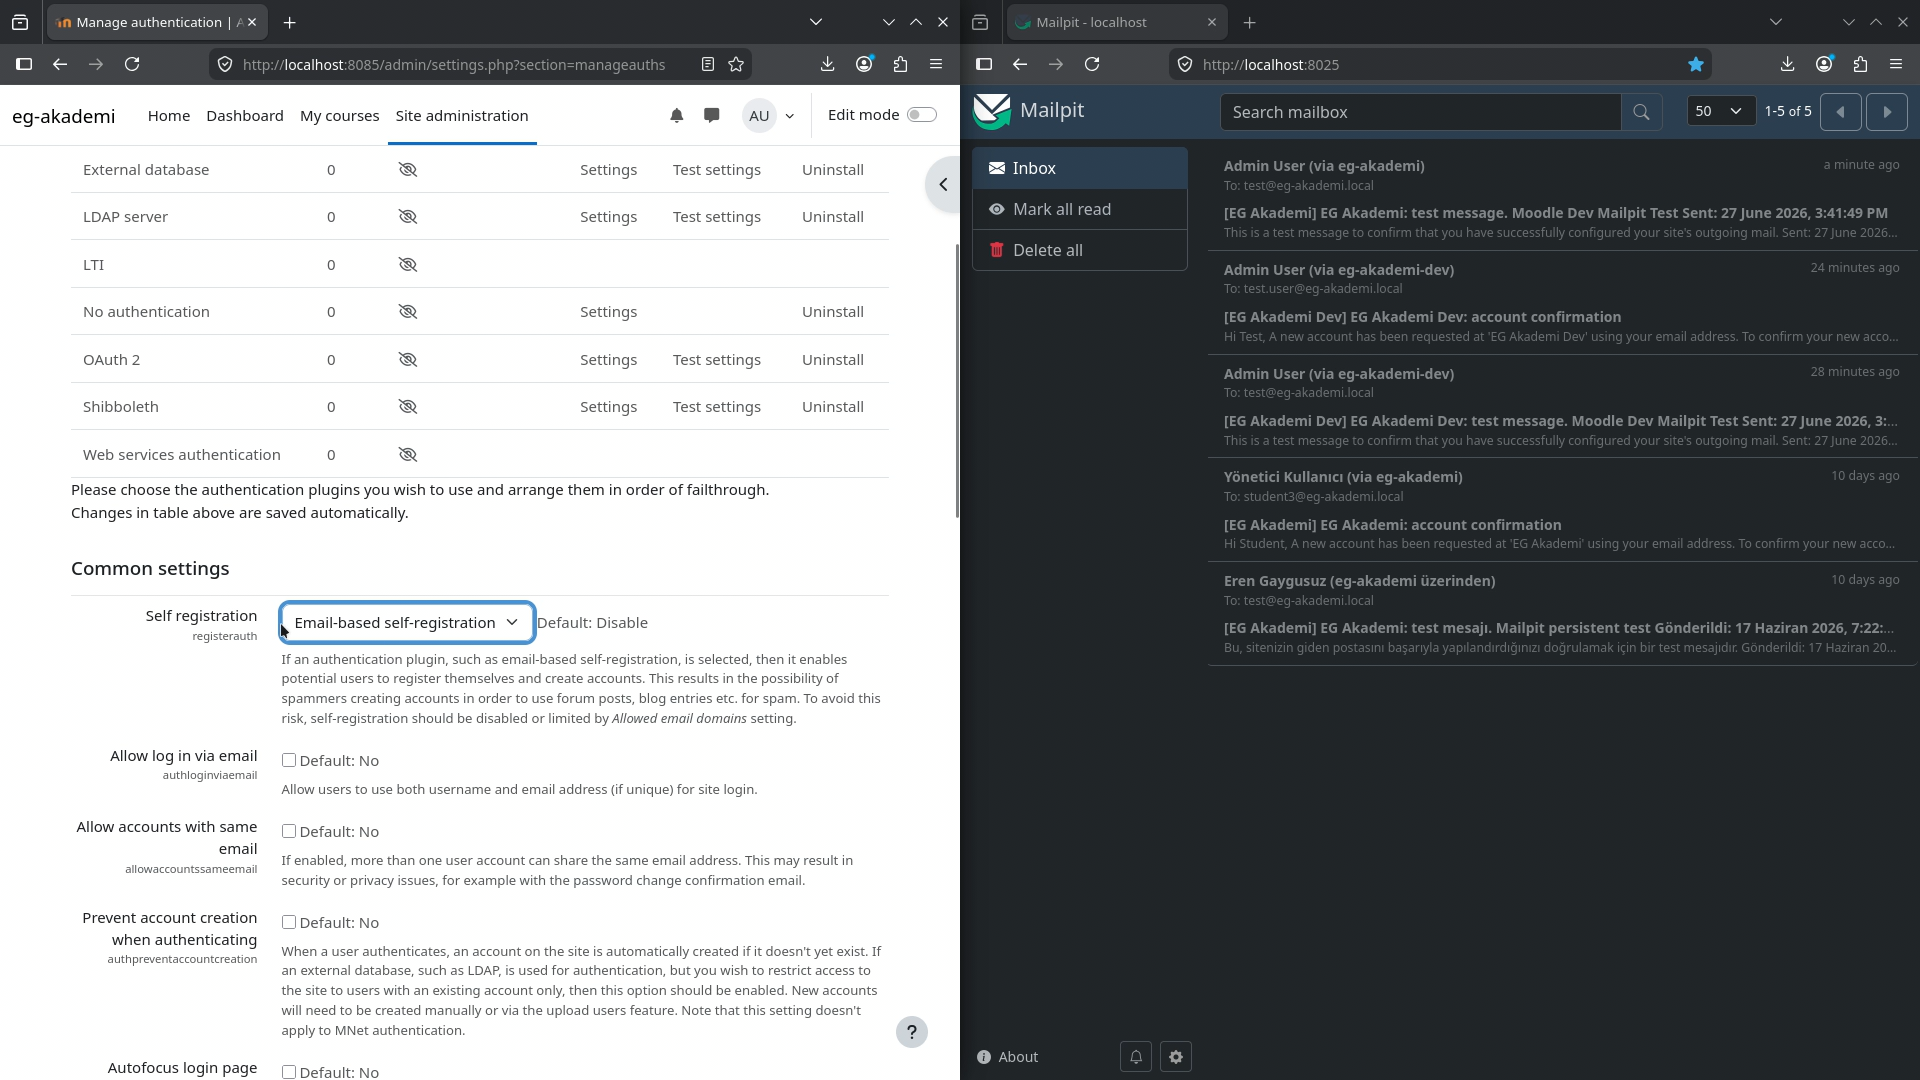
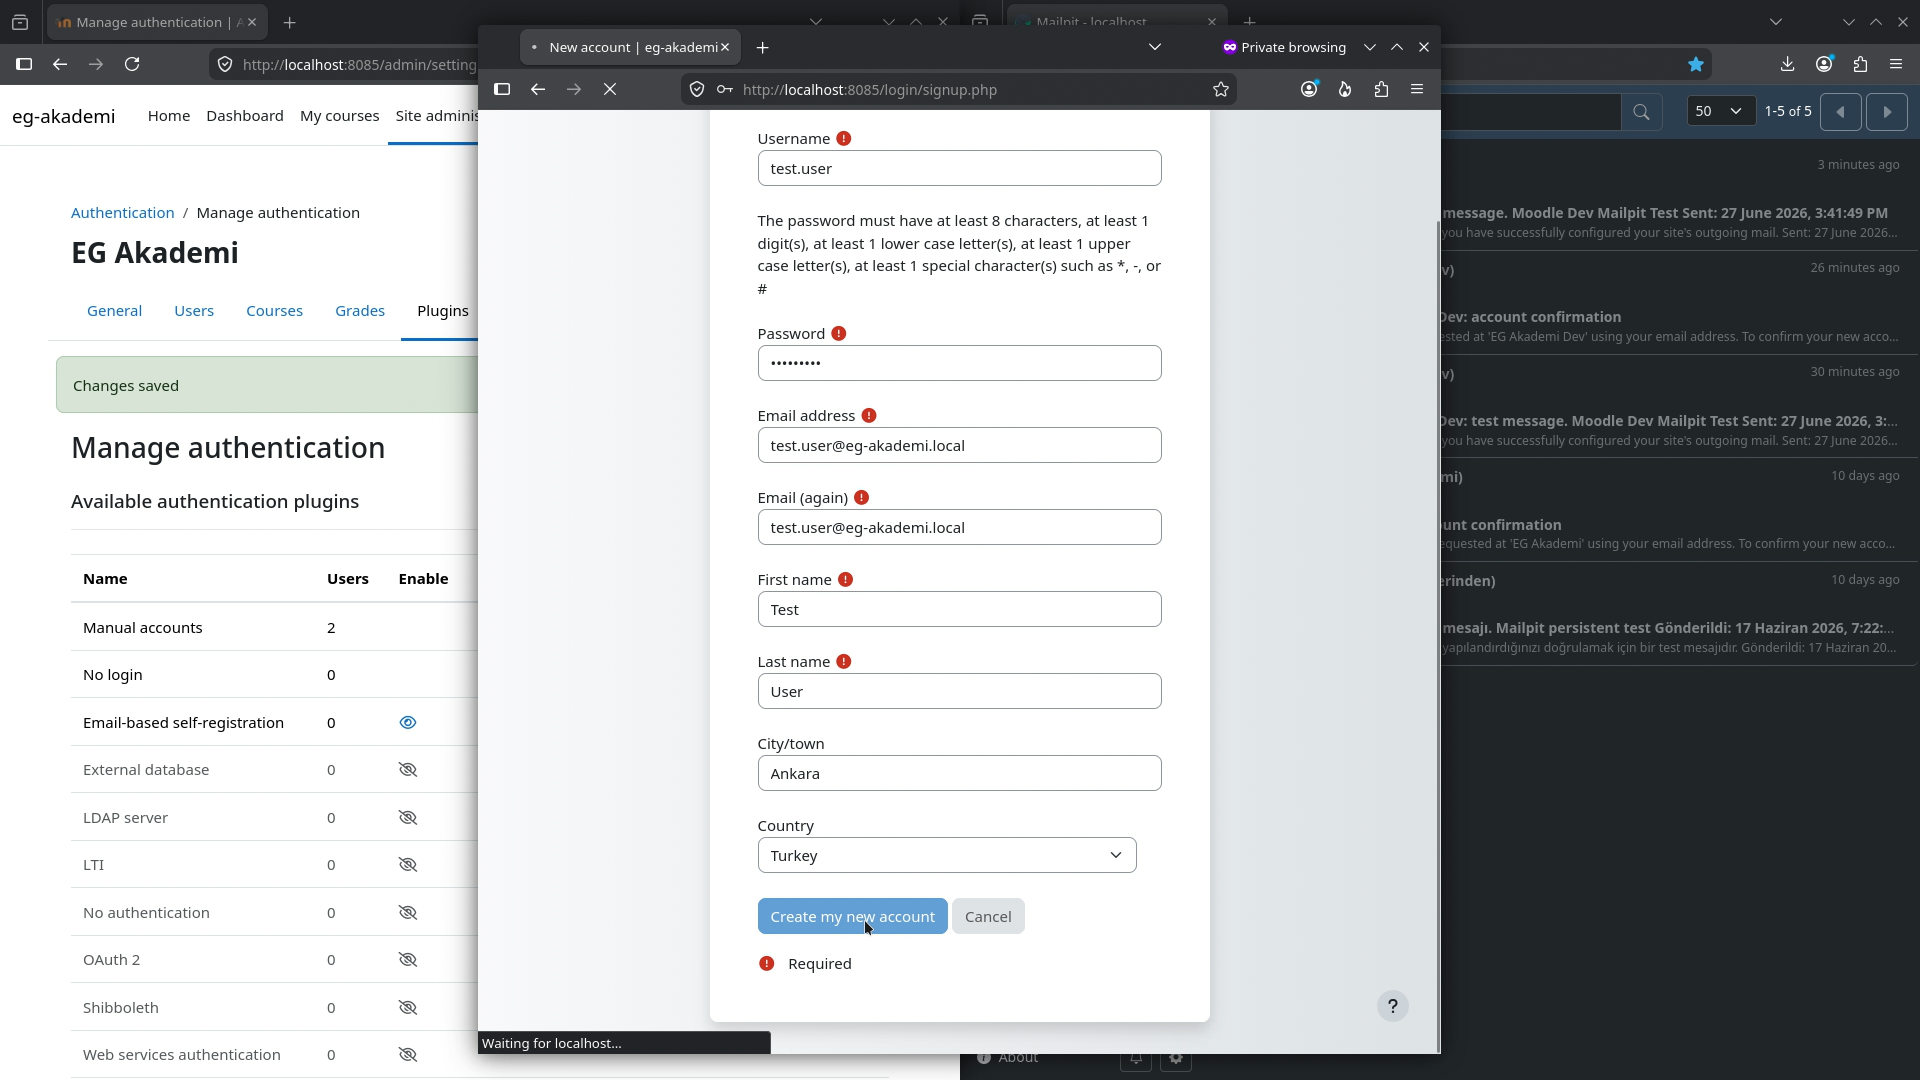
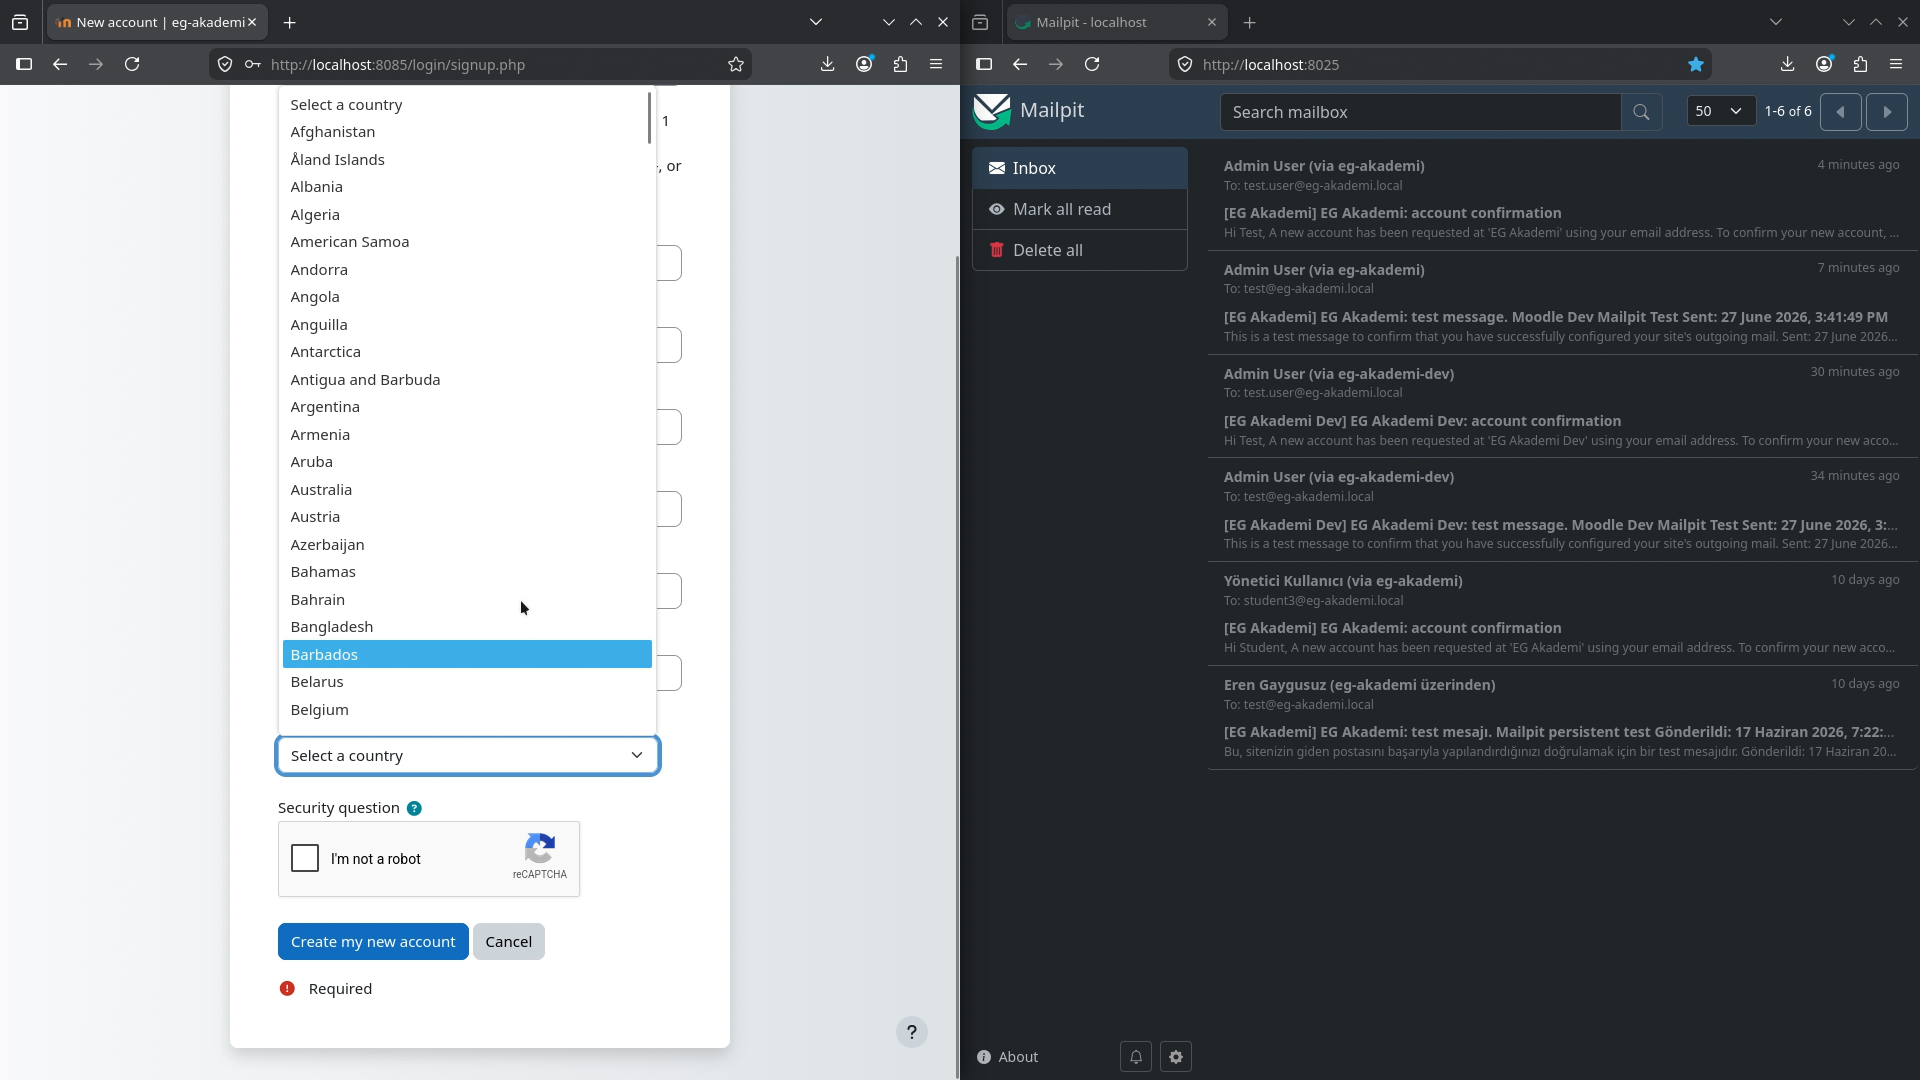
After saving, open the login page in a private window and choose Create new account. Fill the form with a test user.
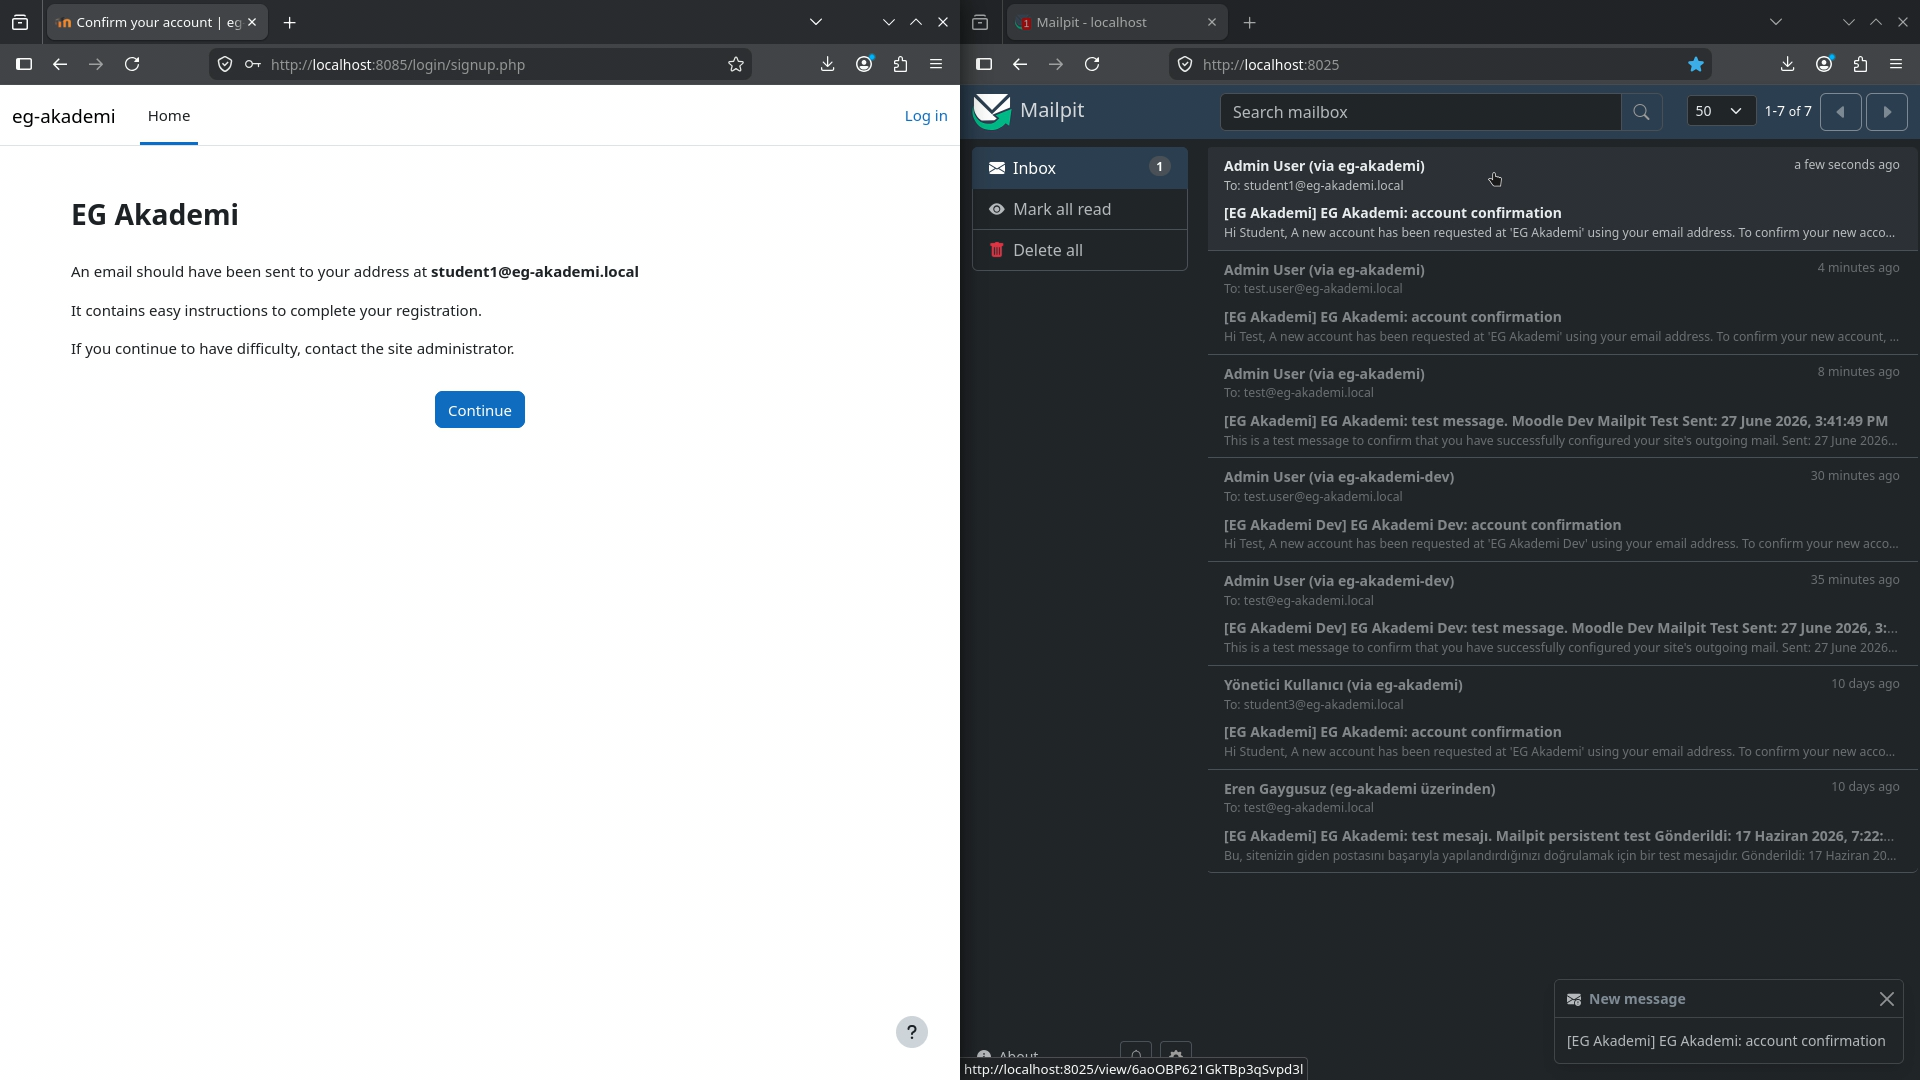
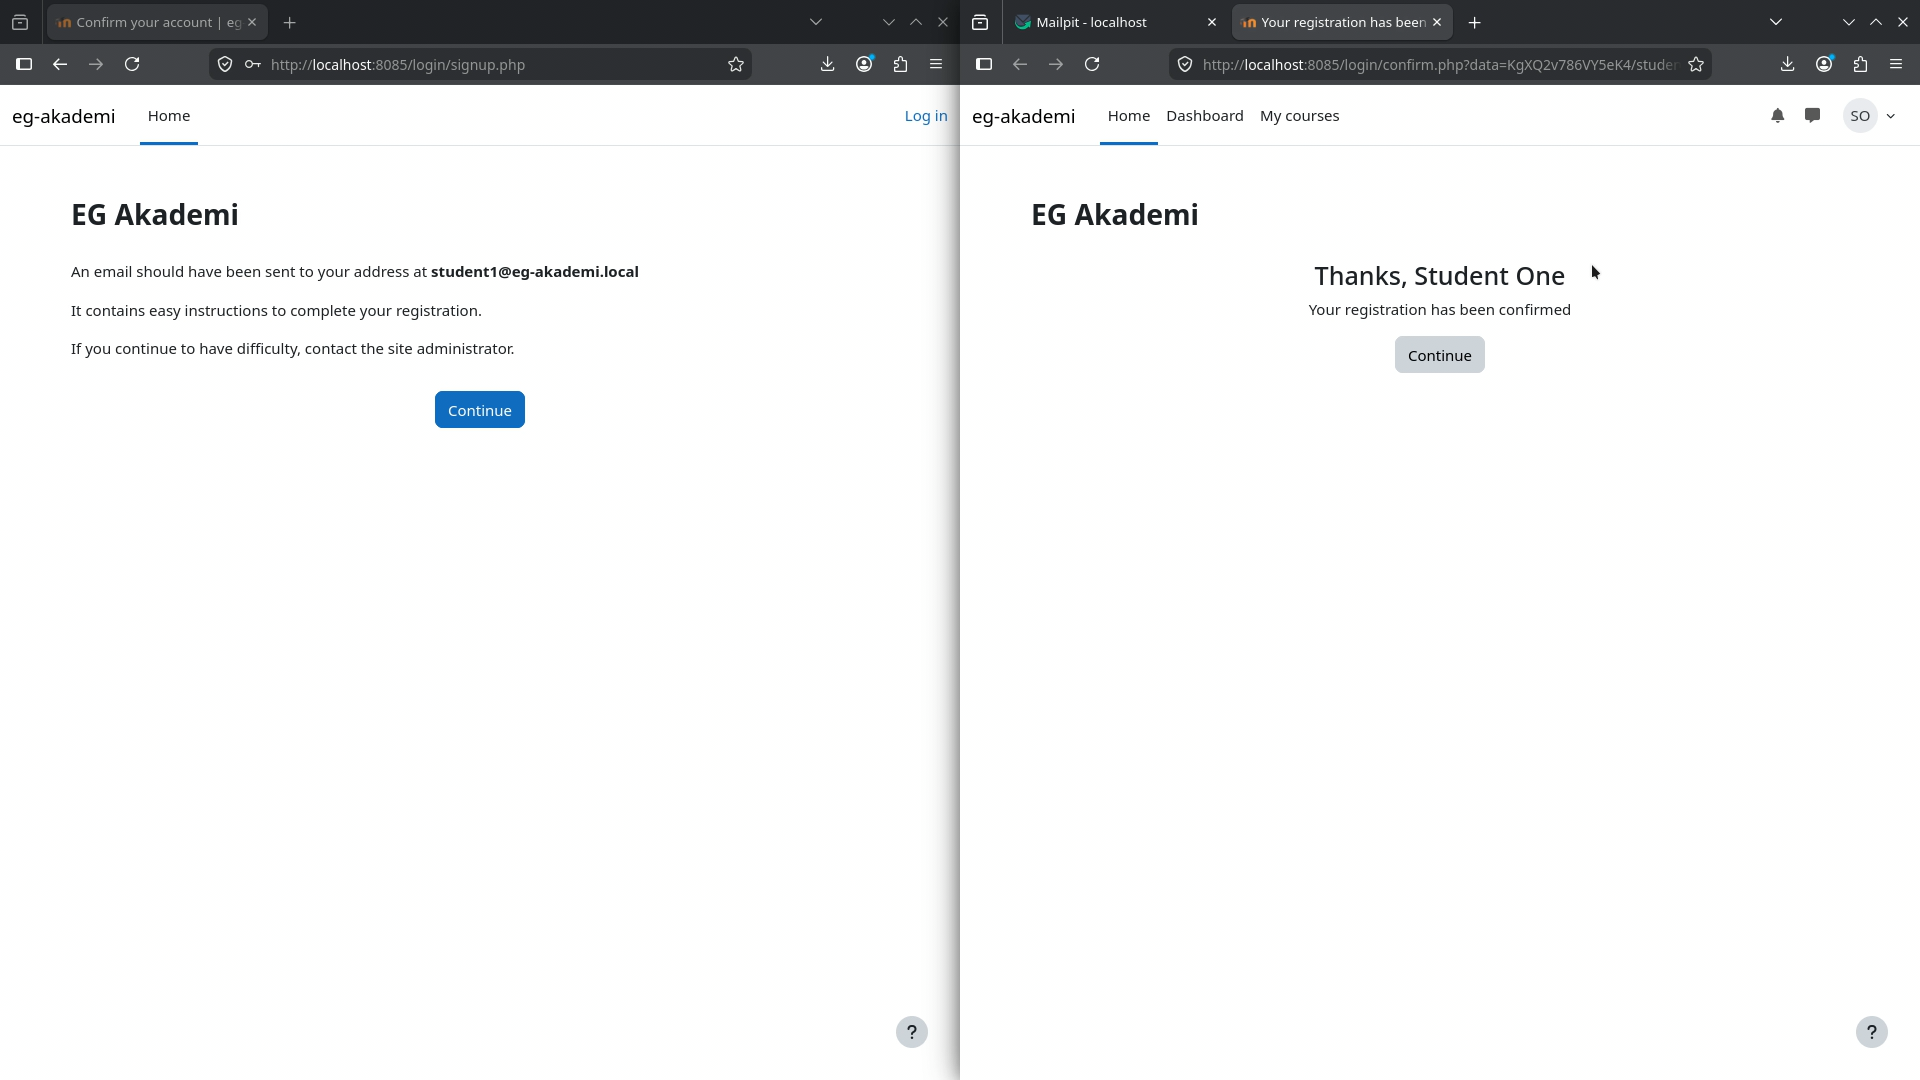
Moodle sends the confirmation email to Mailpit. Open the message and follow the confirmation link.
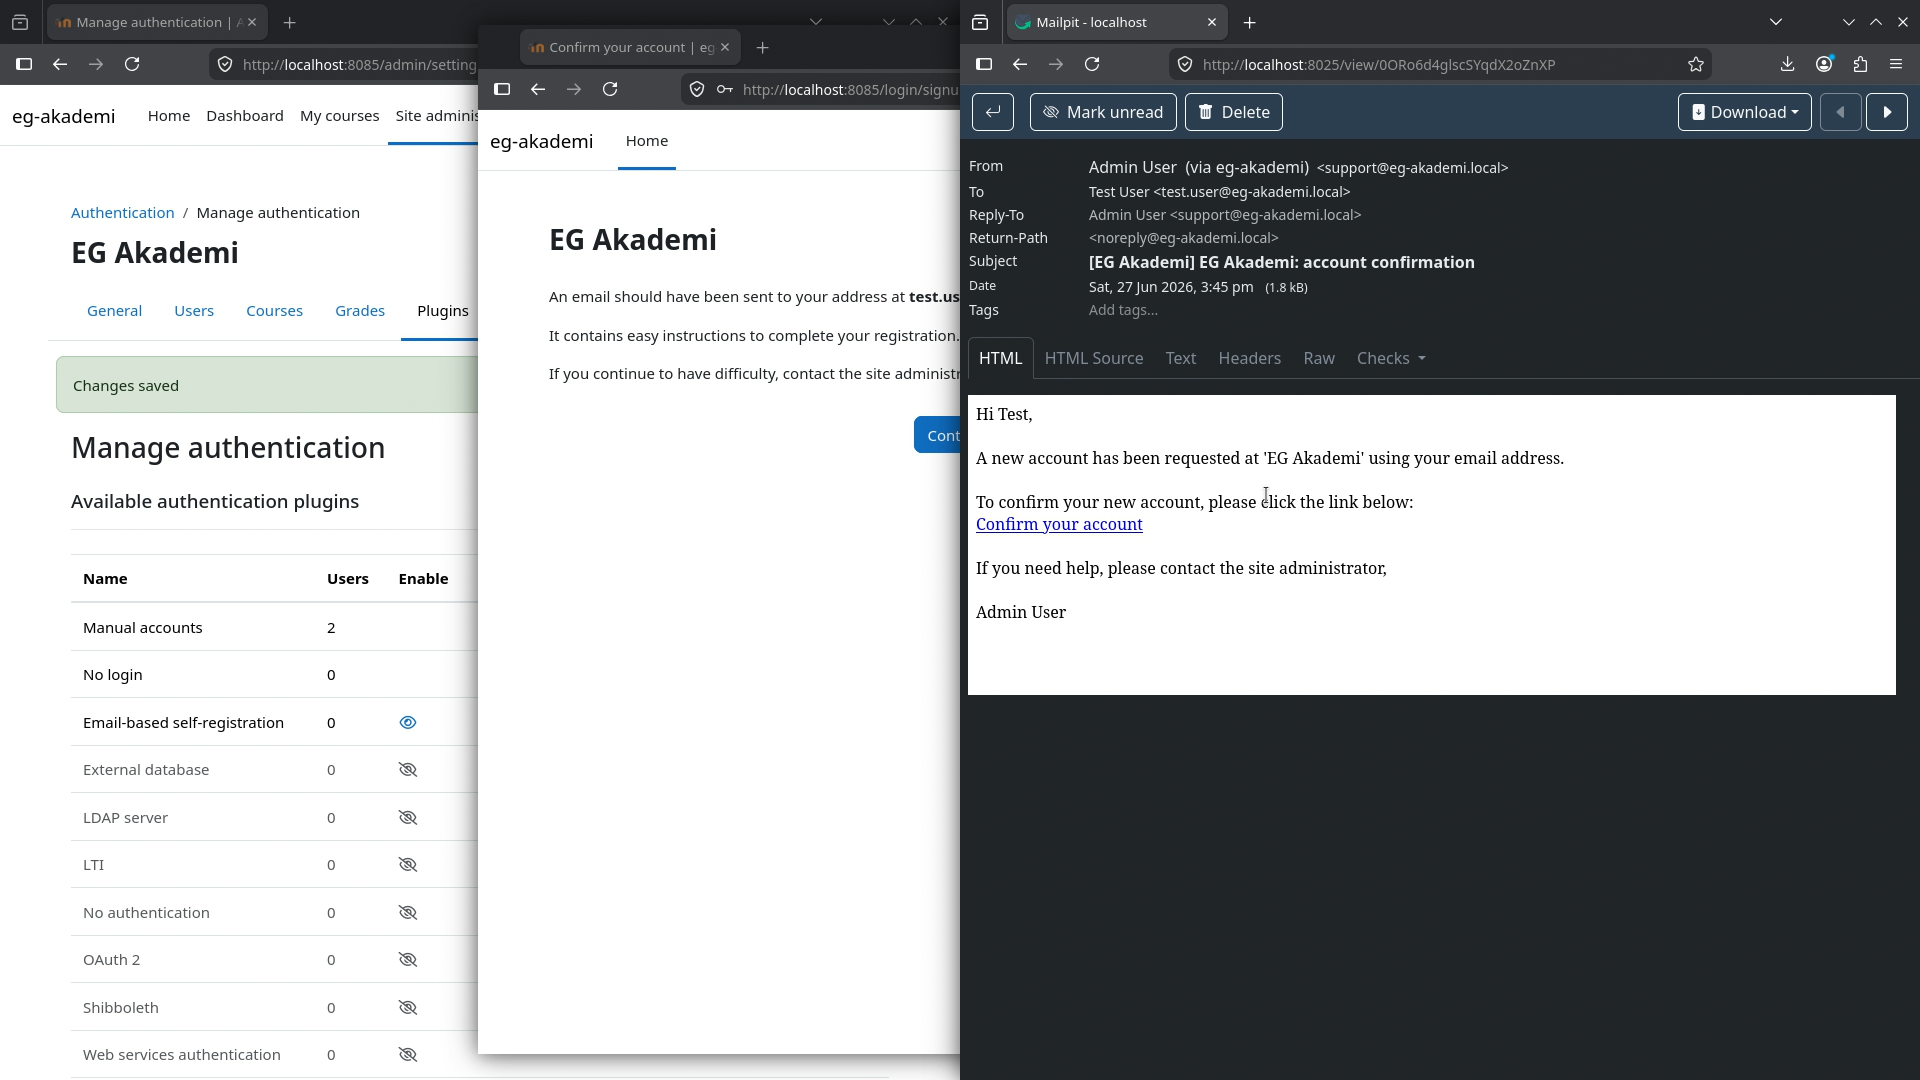
After confirmation, Moodle activates the account and signs in the new user.
Adding Google reCAPTCHA
Self-registration should not be left unprotected on a public site. To add reCAPTCHA, open the Google reCAPTCHA admin page and create keys for your development domain.
For the local setup, the domain can be:
localhostFor a real site, use the actual public domain instead.
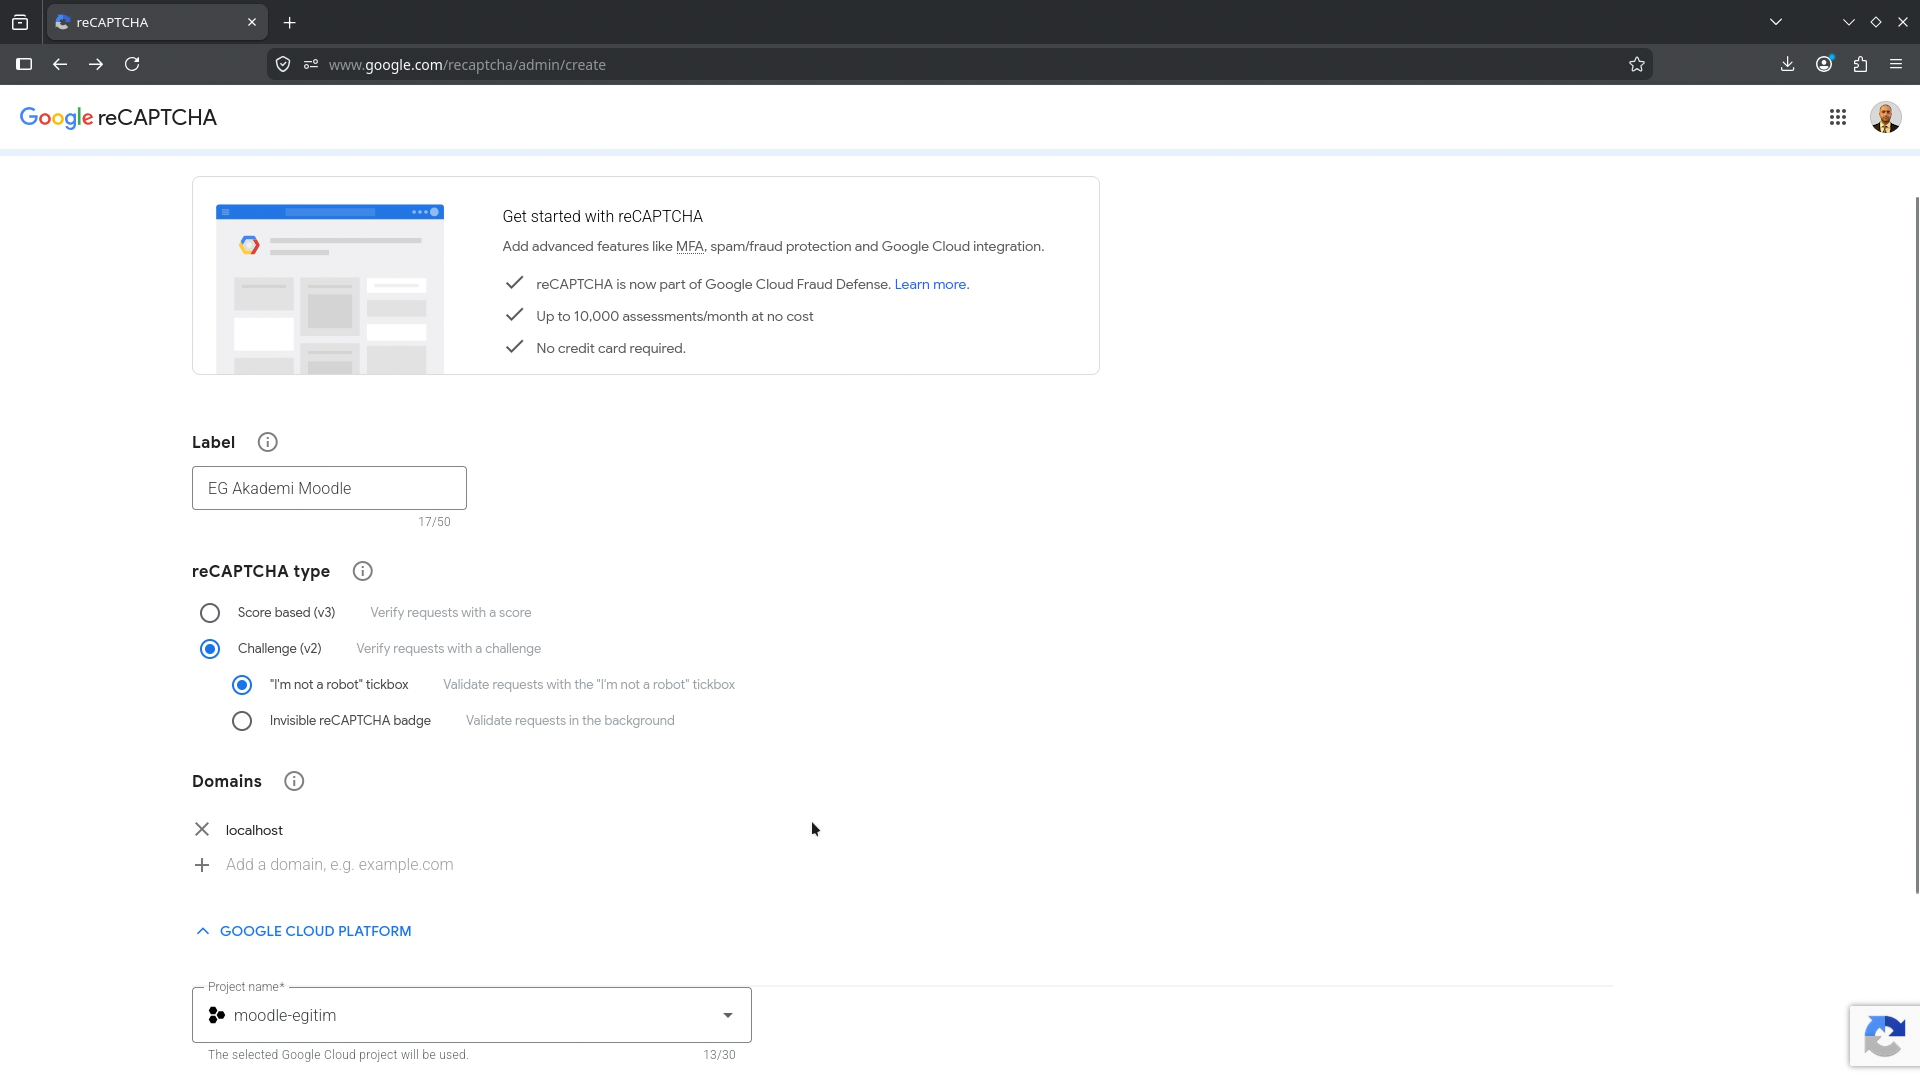
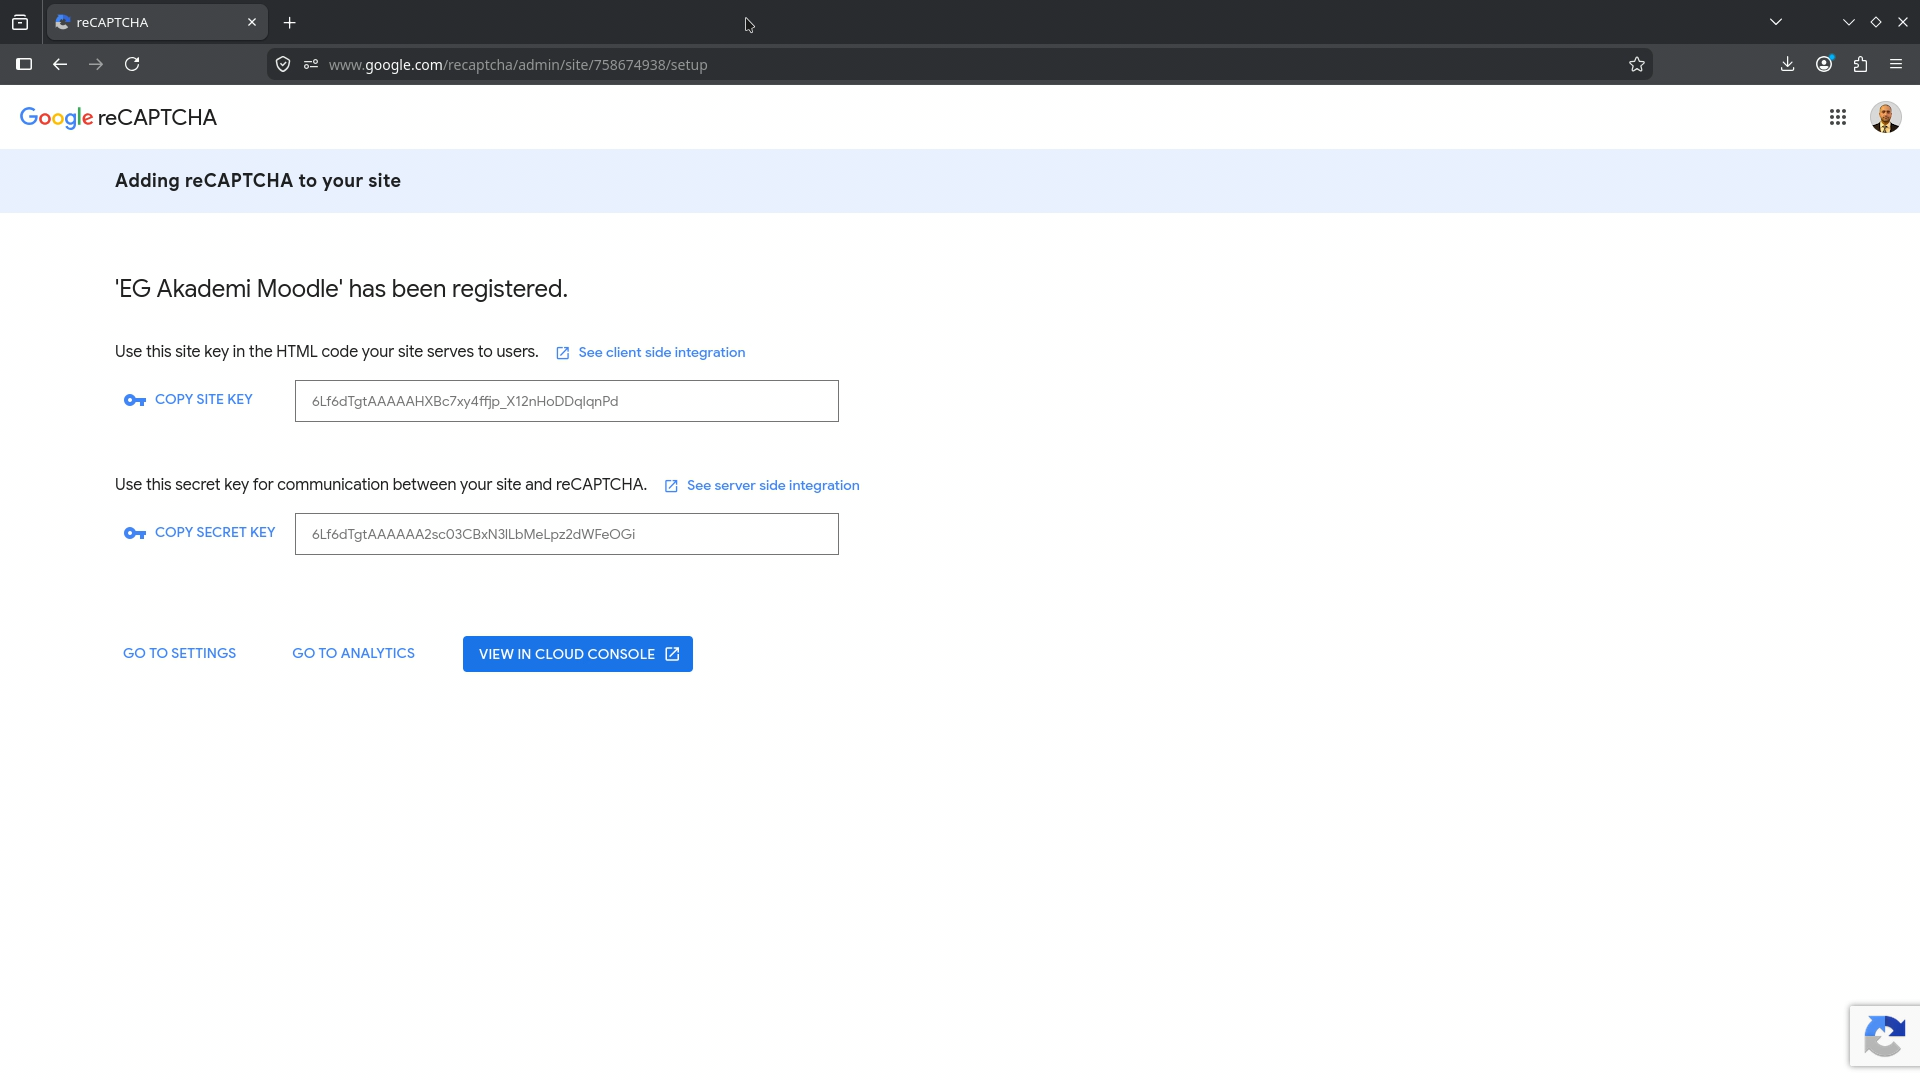
Copy the generated site key and secret key into Moodle’s authentication settings. Do not commit these values into a repository.
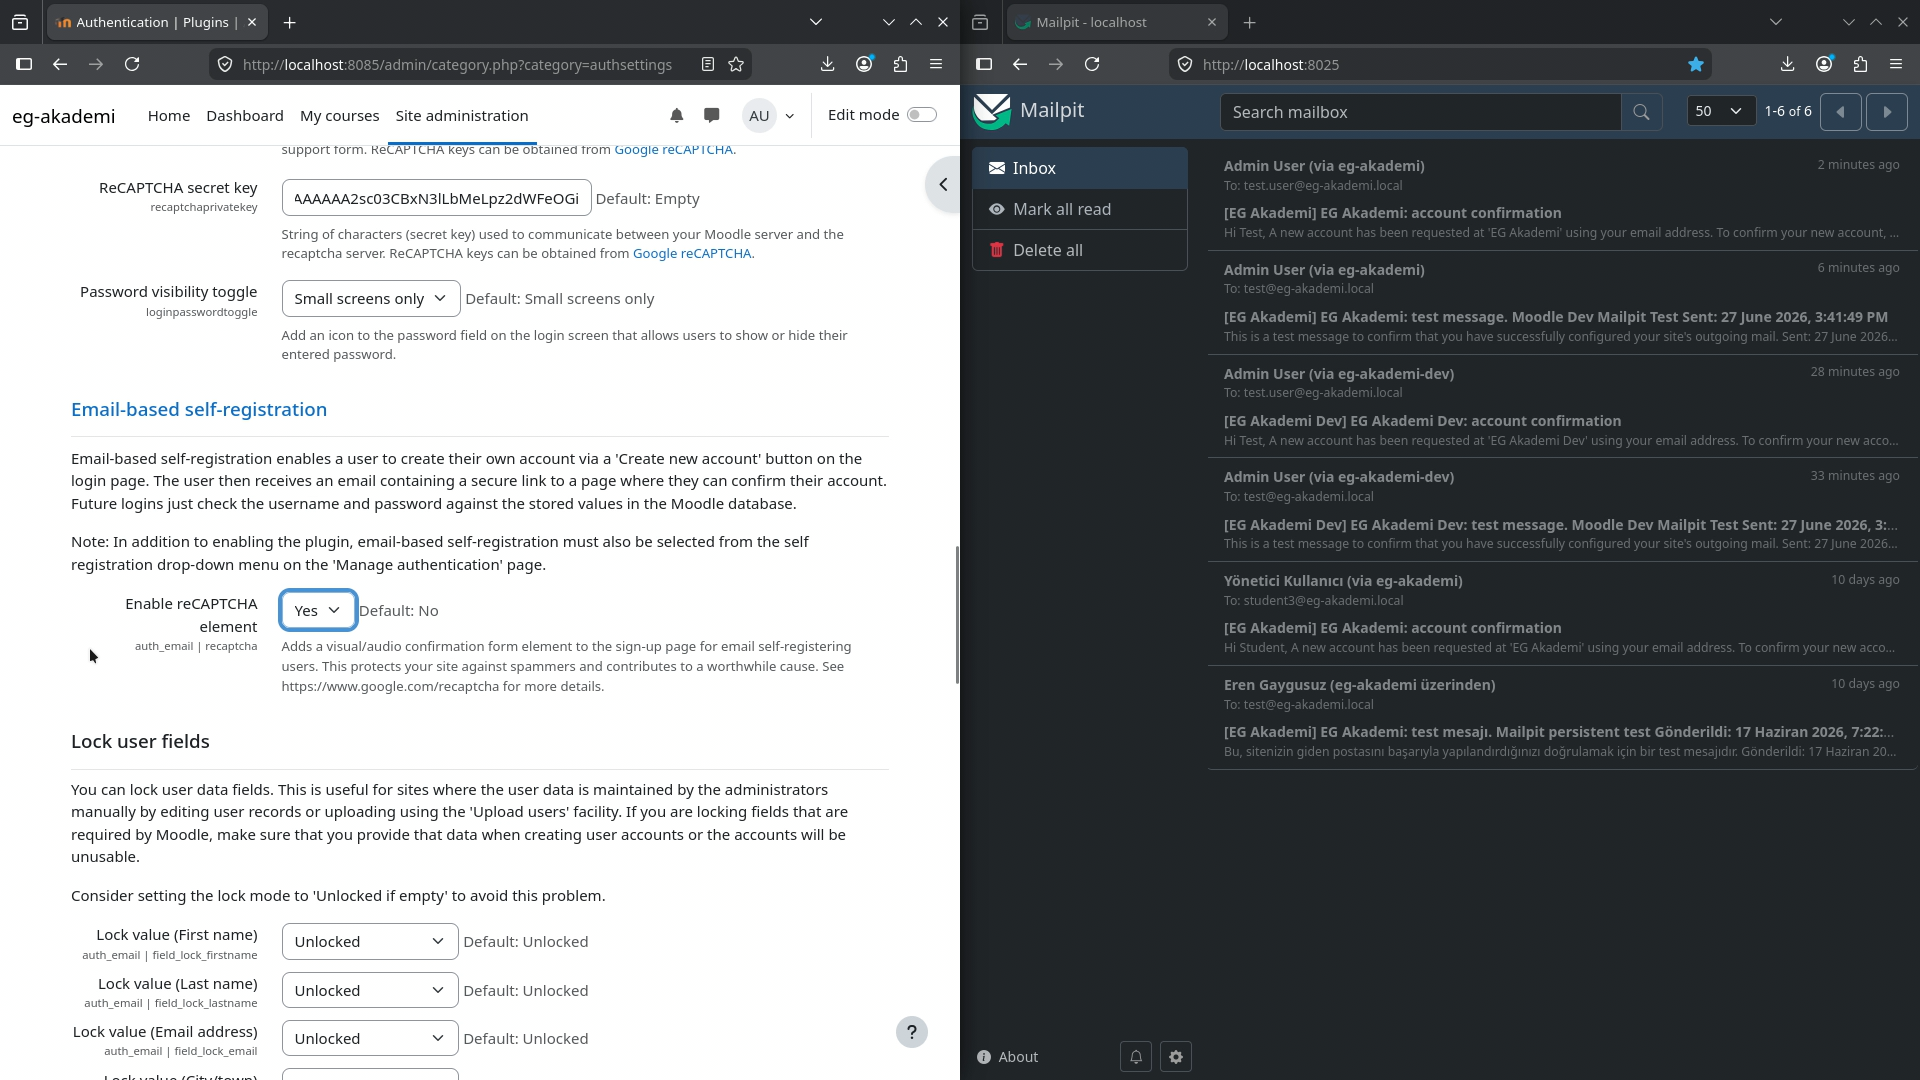
In Moodle, enable reCAPTCHA for both login and signup:
Enable reCAPTCHA on login page: yes
Site key: your-recaptcha-site-key
Secret key: your-recaptcha-secret-key
Enable reCAPTCHA on signup page: yes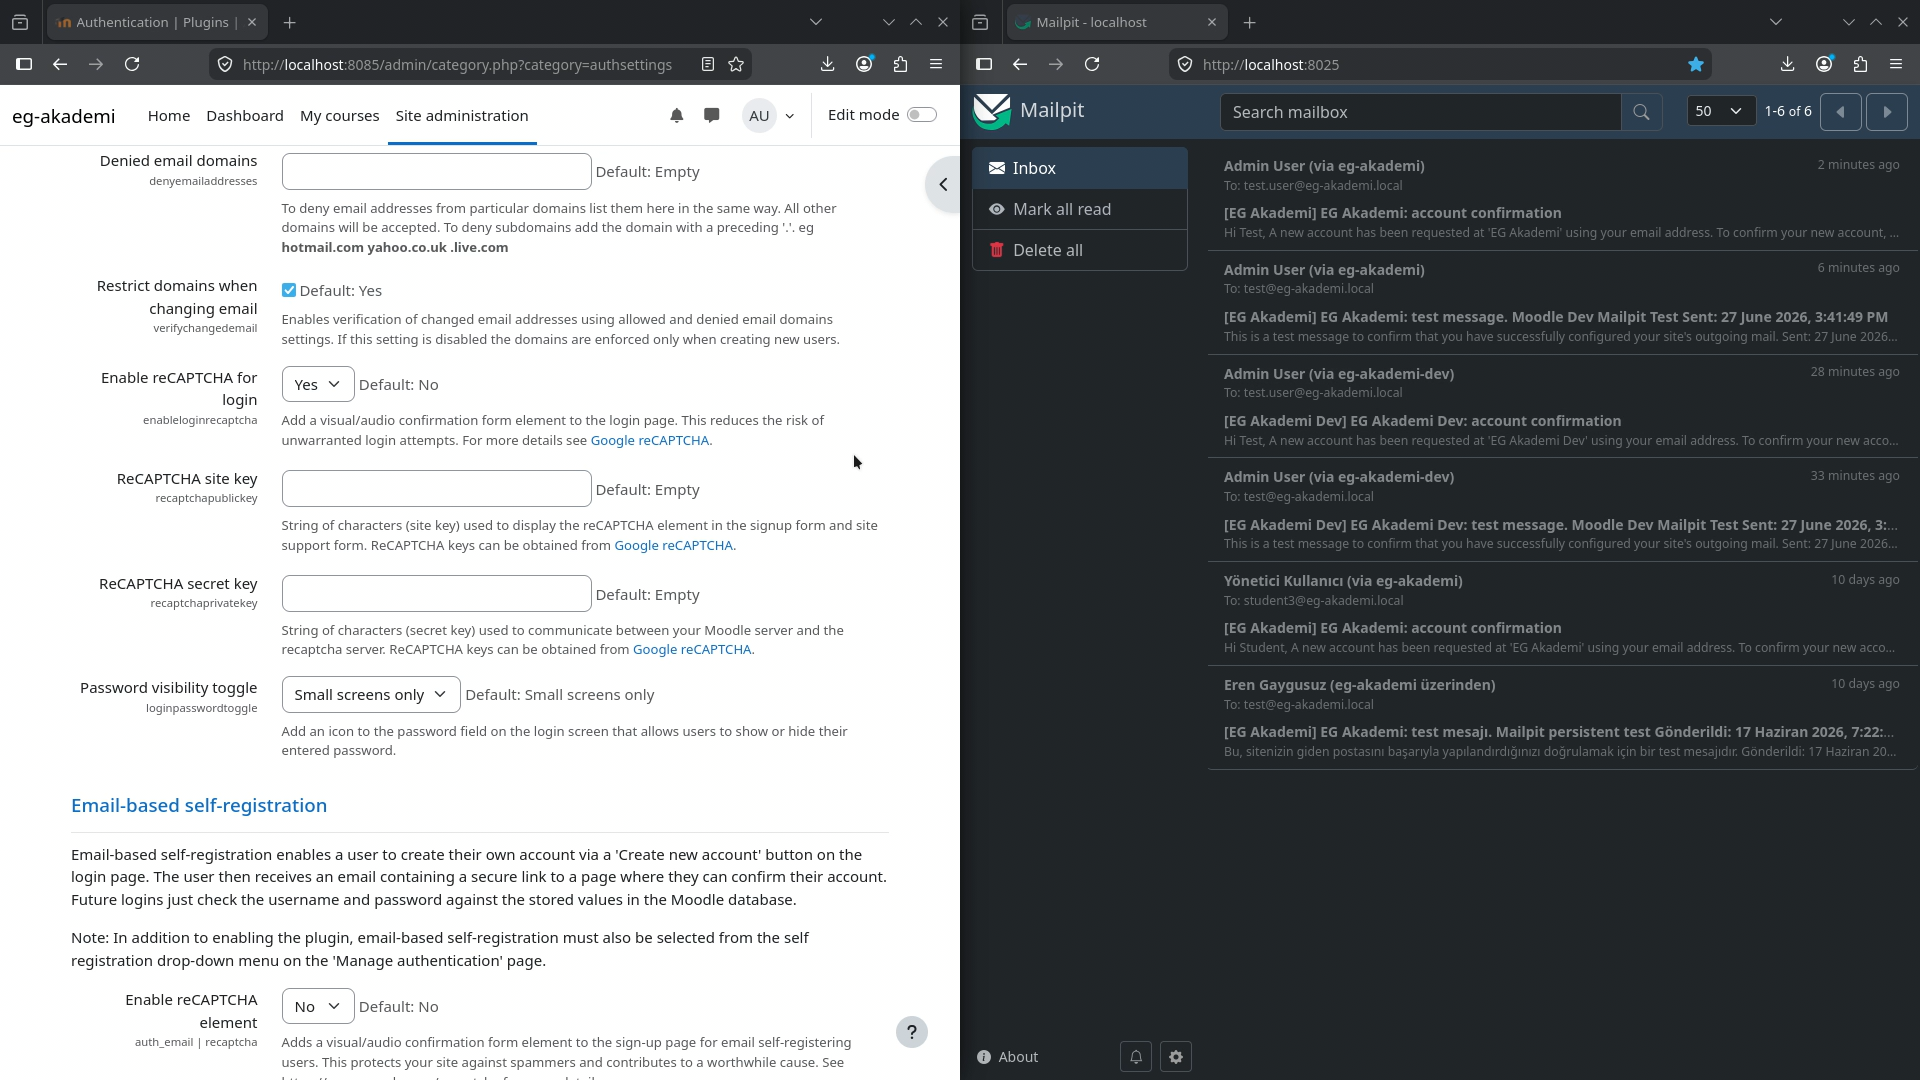
Verifying Login and Registration Protection
Return to the login page and try signing in. The reCAPTCHA challenge now appears before Moodle accepts the form submission.
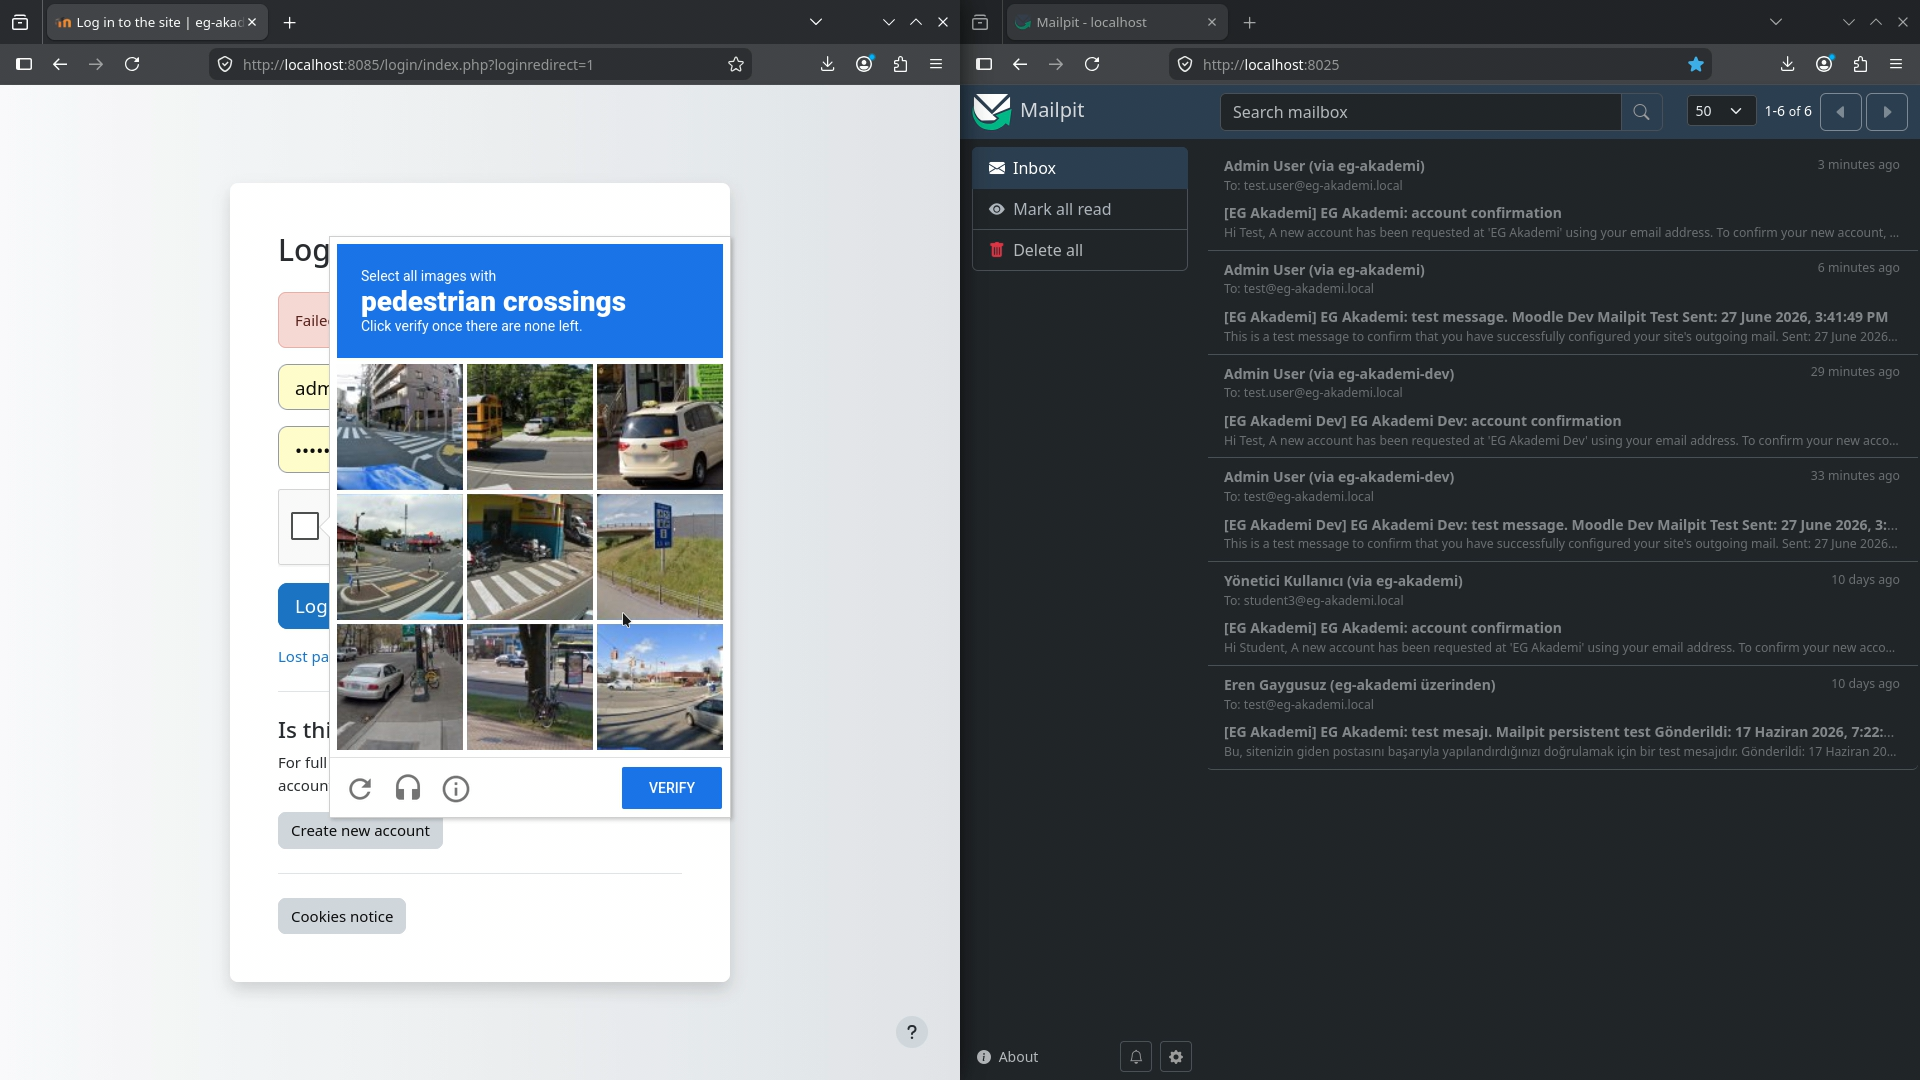
Repeat the new-account flow once more to confirm that the registration form also requires reCAPTCHA and still sends the activation email through Mailpit.
Summary
With Mailpit, Moodle’s email-based account flow becomes easy to test locally. The important detail is the Docker network: Moodle must reach the SMTP service as mailpit:1025, while you use http://localhost:8025 only to read messages in the browser.
After SMTP works, email-based self-registration can be enabled safely for local testing. Before opening the same flow on a public site, replace Mailpit with a real SMTP provider, restrict account creation rules, protect the forms with reCAPTCHA, and keep all keys and passwords out of source control.
Comments