Moodle can be difficult to set up by hand because it needs a compatible PHP runtime, web server, extensions, writable data directory, and database connection. Docker keeps those application requirements in one repeatable environment while your Moodle source code and uploaded files stay on the host machine.
In this guide, I clone Moodle, prepare a Docker Compose service with the required PHP and Apache environment, add a config.php file for MySQL, start the container, and complete Moodle’s browser-based installation. The example uses a separate MySQL server; a database container can be added to the same Compose file if you prefer an all-in-one local stack.
You can also follow the complete walkthrough in the YouTube video.
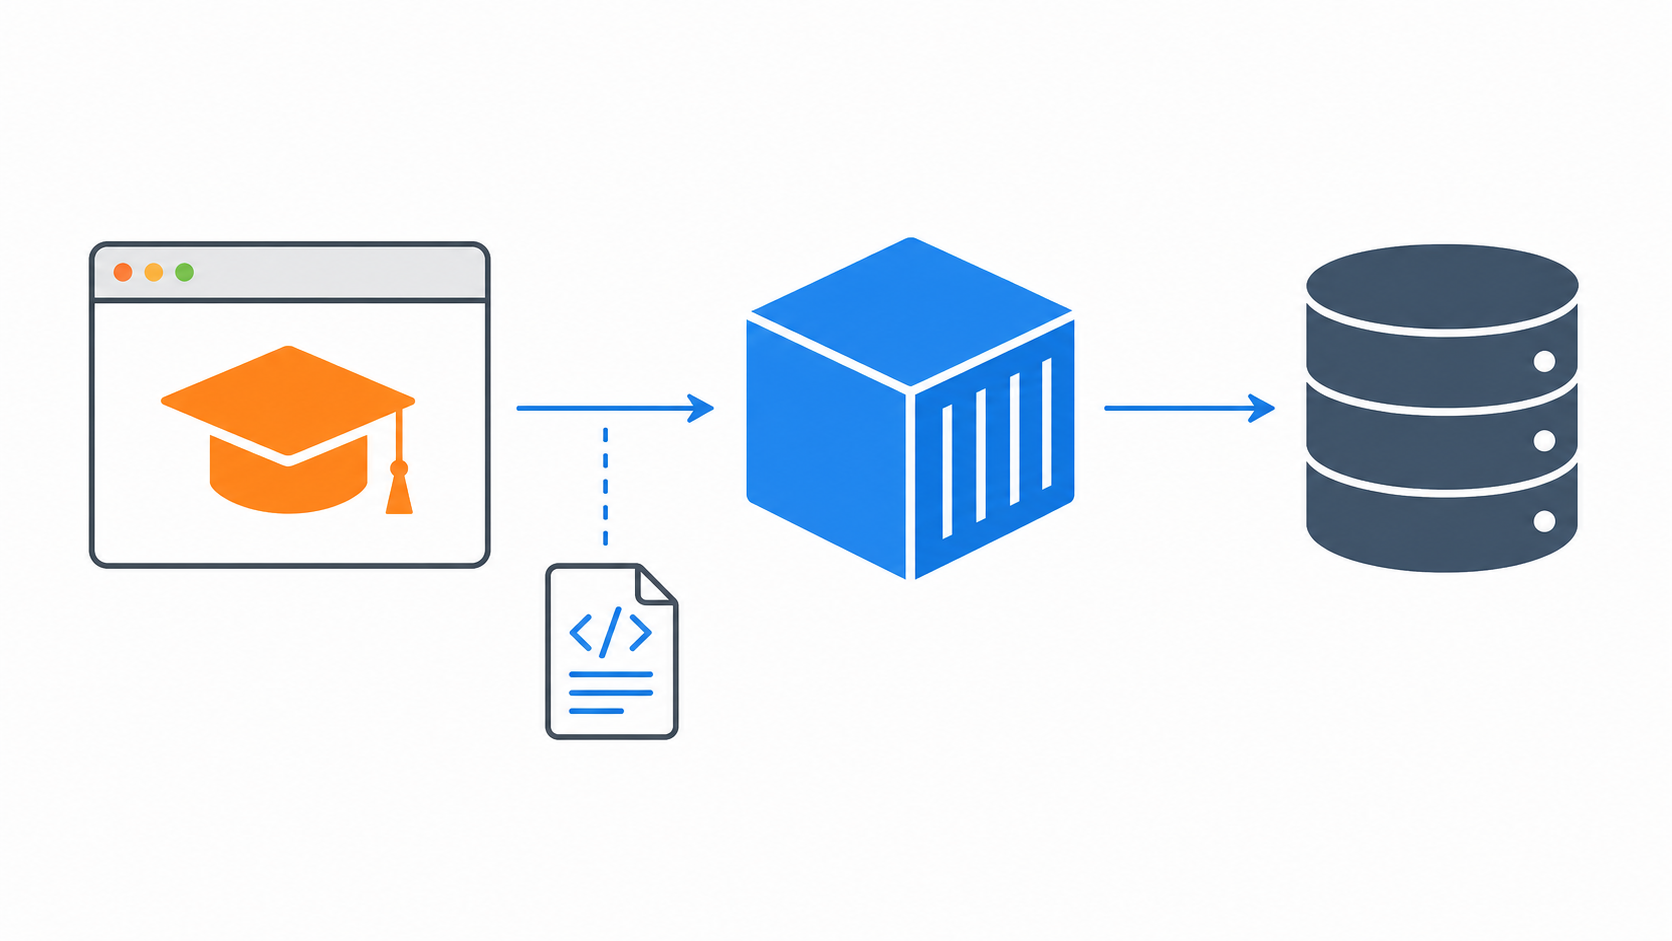
Table of contents
Open Table of contents
Prerequisites
Before starting, install Git, Docker, and the Docker Compose plugin. You also need a reachable MySQL or MariaDB database and credentials for a new Moodle database. The database may run in another container, on your local network, or on a development server.
Keep the database password outside source control. In this walkthrough, the values in config.php are examples; replace them with credentials appropriate for your own environment.
Cloning Moodle
Create a project directory, then clone the Moodle branch you want to run into a src folder. The command below follows the structure used in the video.
mkdir -p ~/projects/moodle/edu
cd ~/projects/moodle/edu
git clone -b MOODLE_500_STABLE https://github.com/moodle/moodle.git src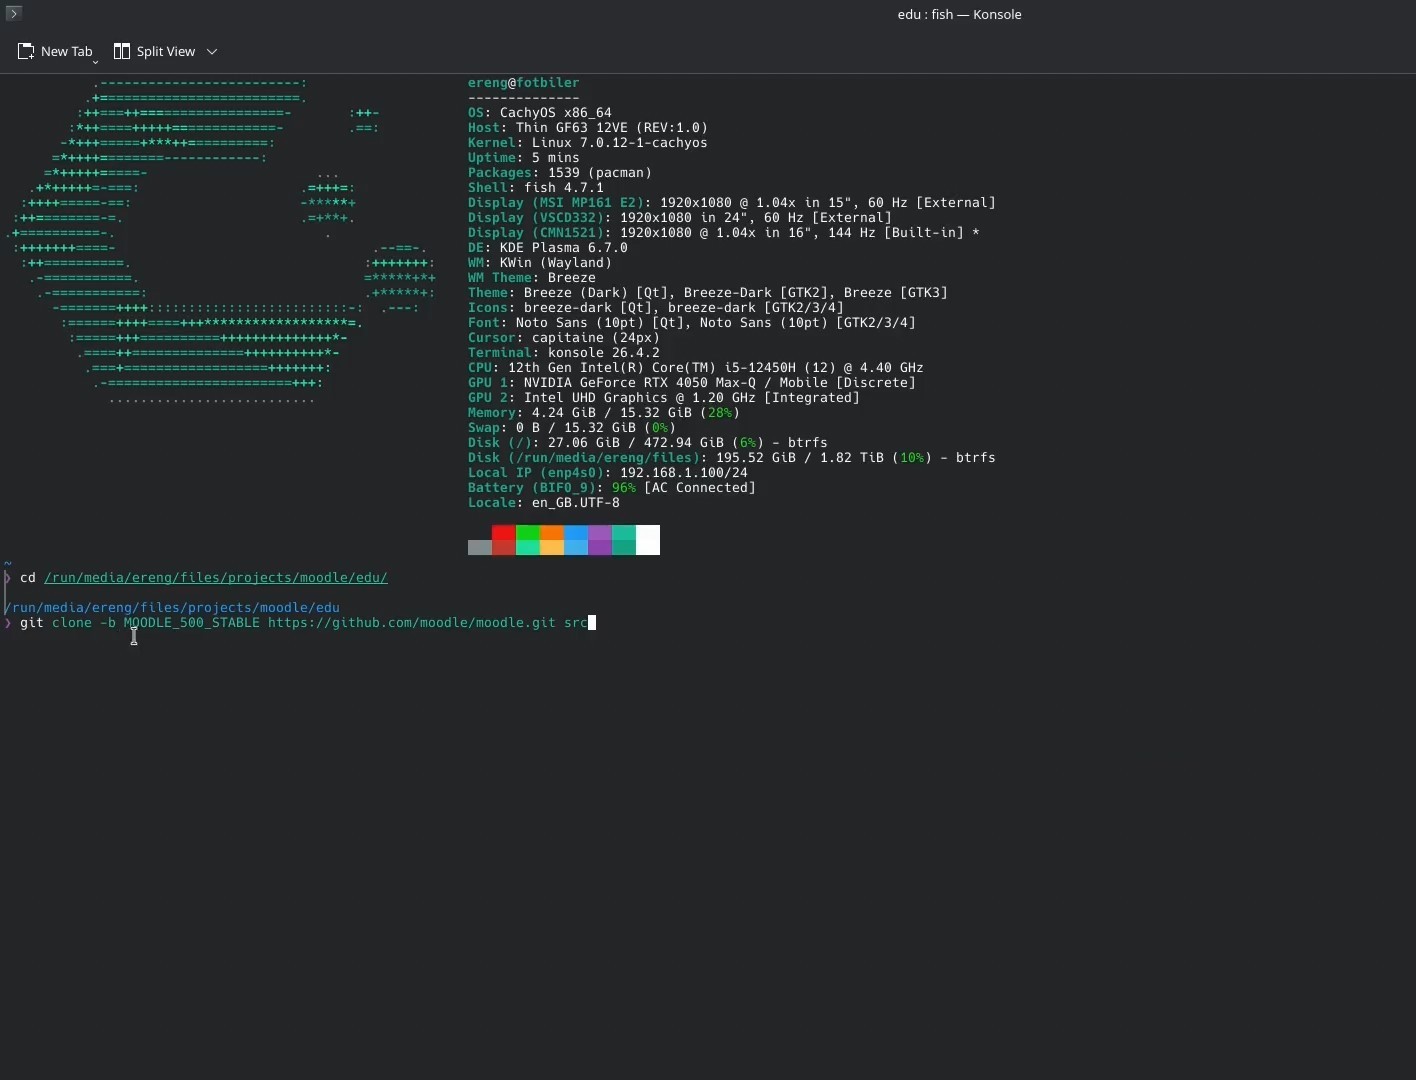
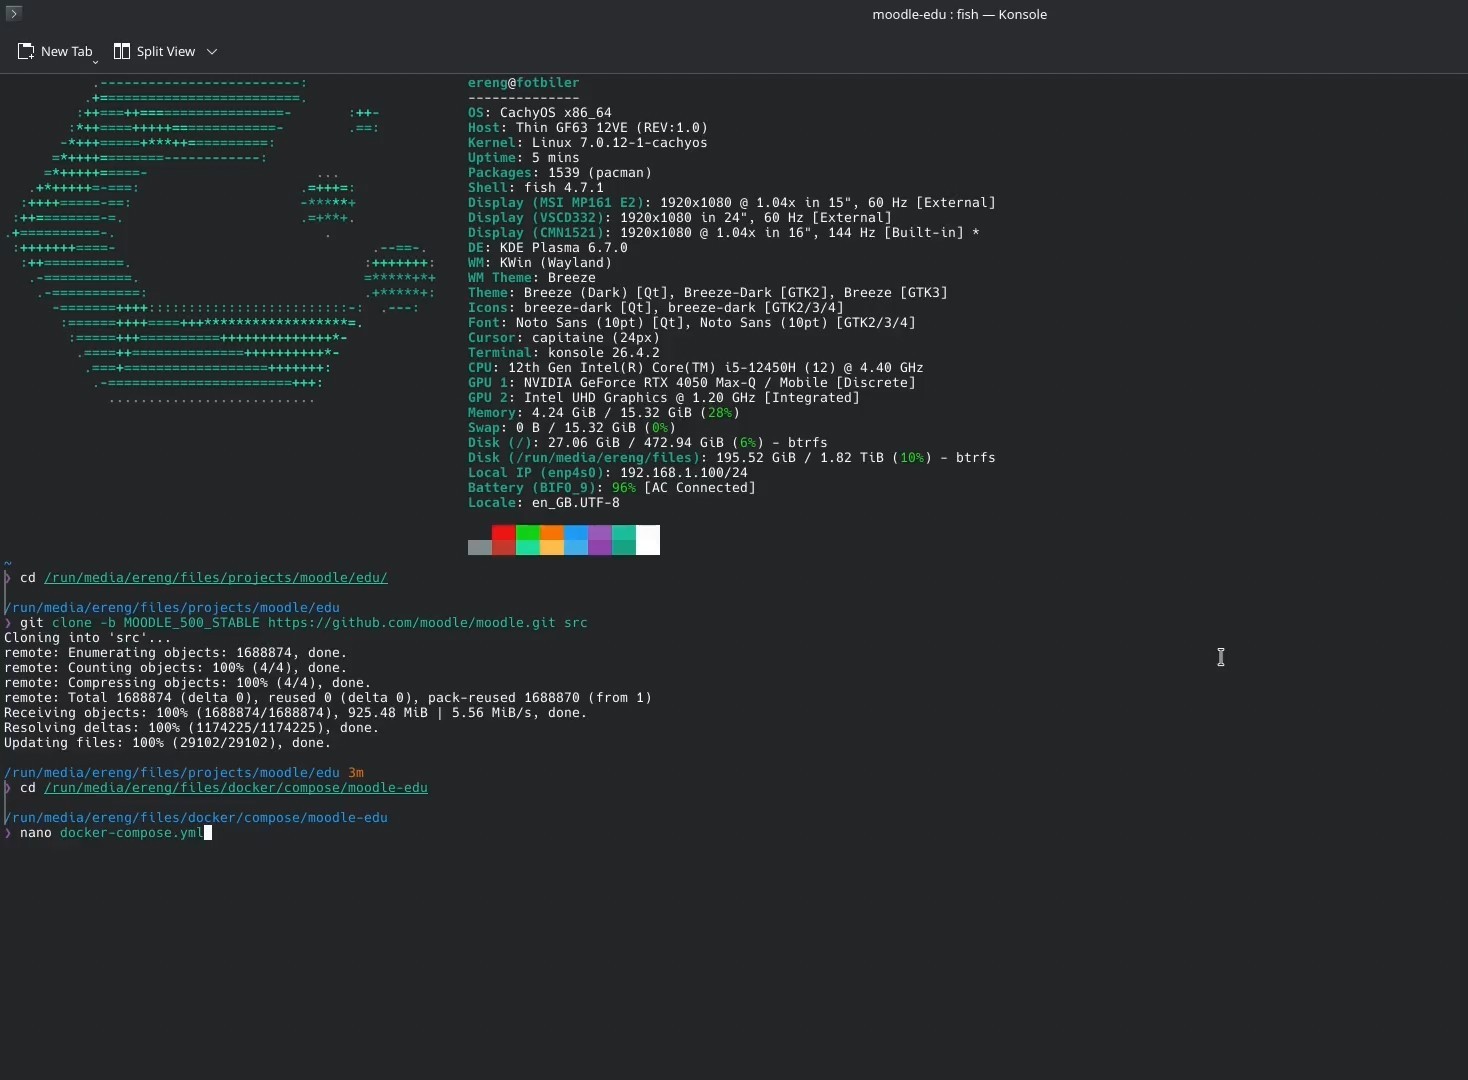
The source checkout can take a few minutes. When it completes, keep the folder path handy: it will be mounted into the web container.
Creating the Docker Compose Configuration
Create a folder for the Compose configuration and add a docker-compose.yml file.
mkdir -p ~/docker/compose/moodle-edu
cd ~/docker/compose/moodle-edu
nano docker-compose.yml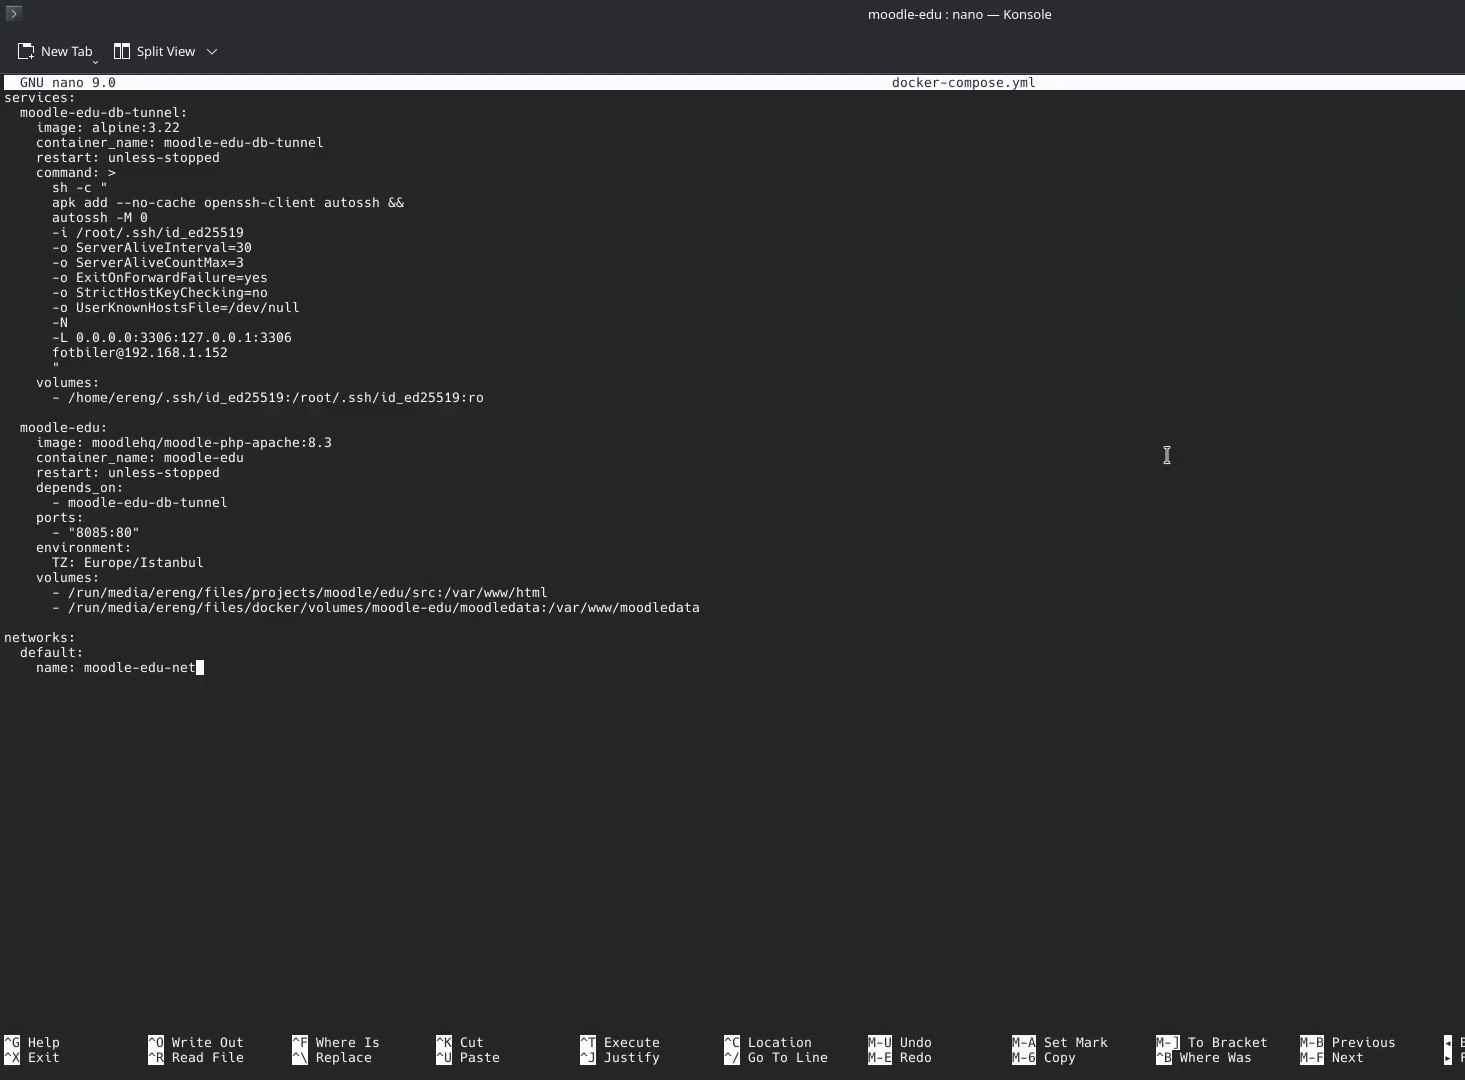
The Moodle service needs an image that includes Apache, PHP, and Moodle’s required PHP extensions. Mount the cloned source directory at /var/www/html, map a local port, and mount a dedicated host directory for Moodle’s persistent moodledata files.
services:
  moodle:
    image: moodlehq/moodle-php-apache:8.3
    container_name: moodle-edu
    restart: unless-stopped
    ports:
      - "8085:80"
    environment:
      TZ: Europe/Istanbul
    volumes:
      - /absolute/path/to/moodle/edu/src:/var/www/html
      - /absolute/path/to/moodledata:/var/www/moodledata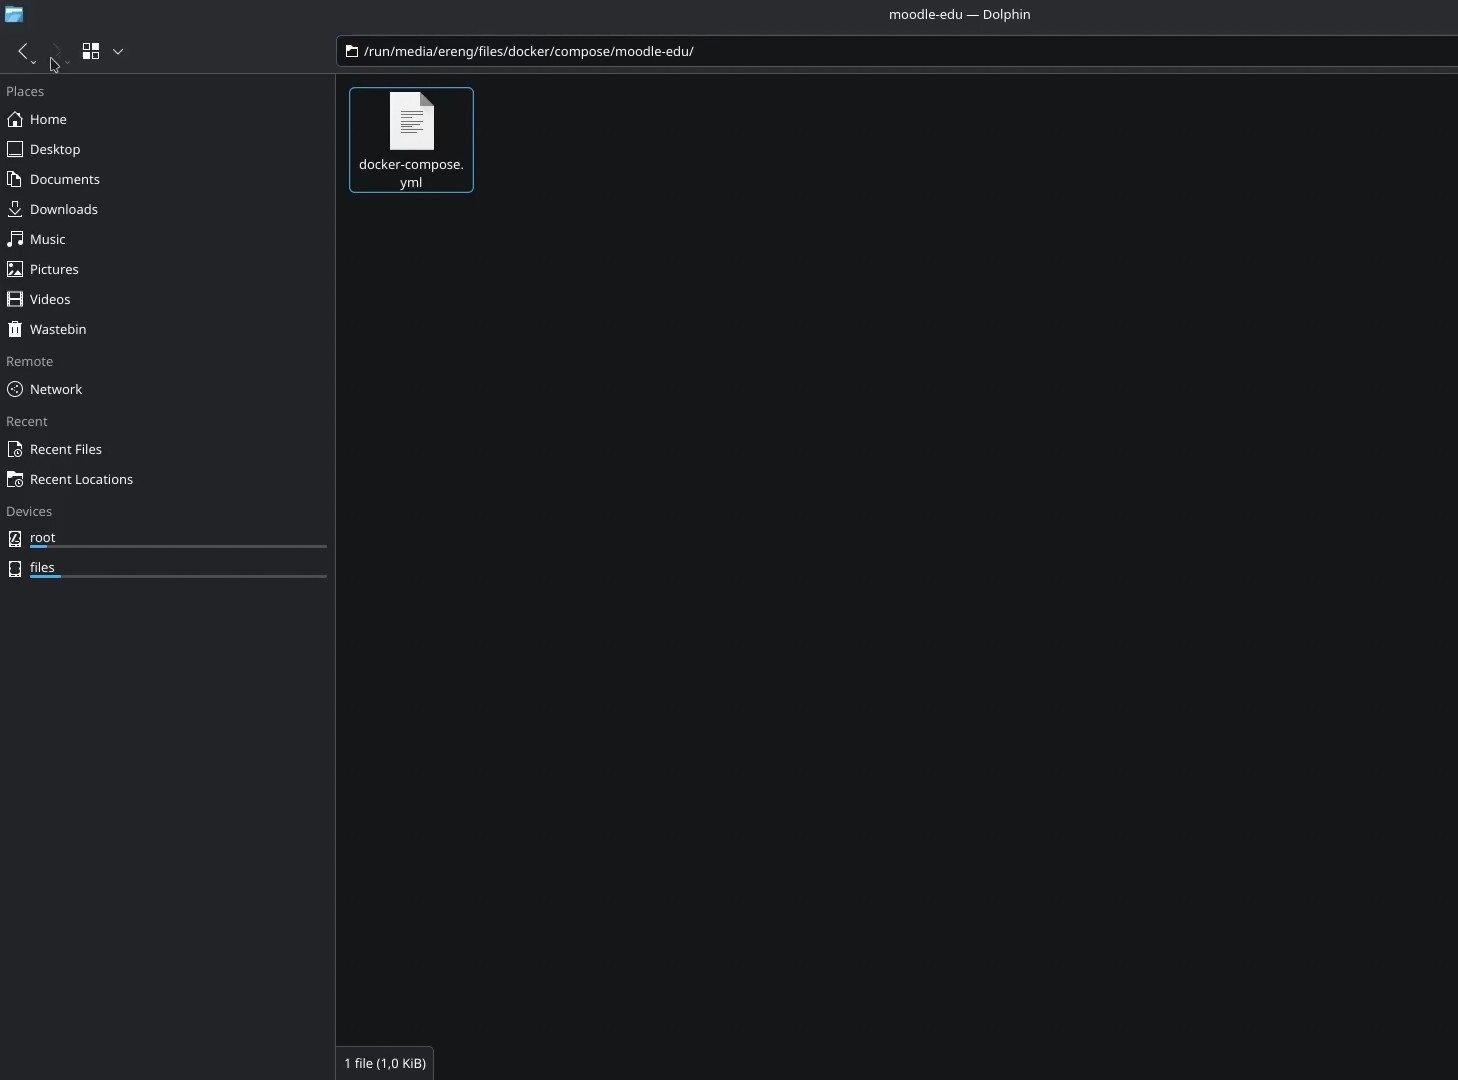
If the database is not directly reachable from the Moodle container, you may add a second service that creates an SSH tunnel. That setup is specific to the network you are connecting to, so it is intentionally left out of the minimal configuration above.
Adding Moodle Configuration
Moodle can collect its database settings through the web installer, but creating src/config.php first makes the installation repeatable and skips those initial fields. Use the database host and credentials for your own MySQL server.
nano ~/projects/moodle/edu/src/config.php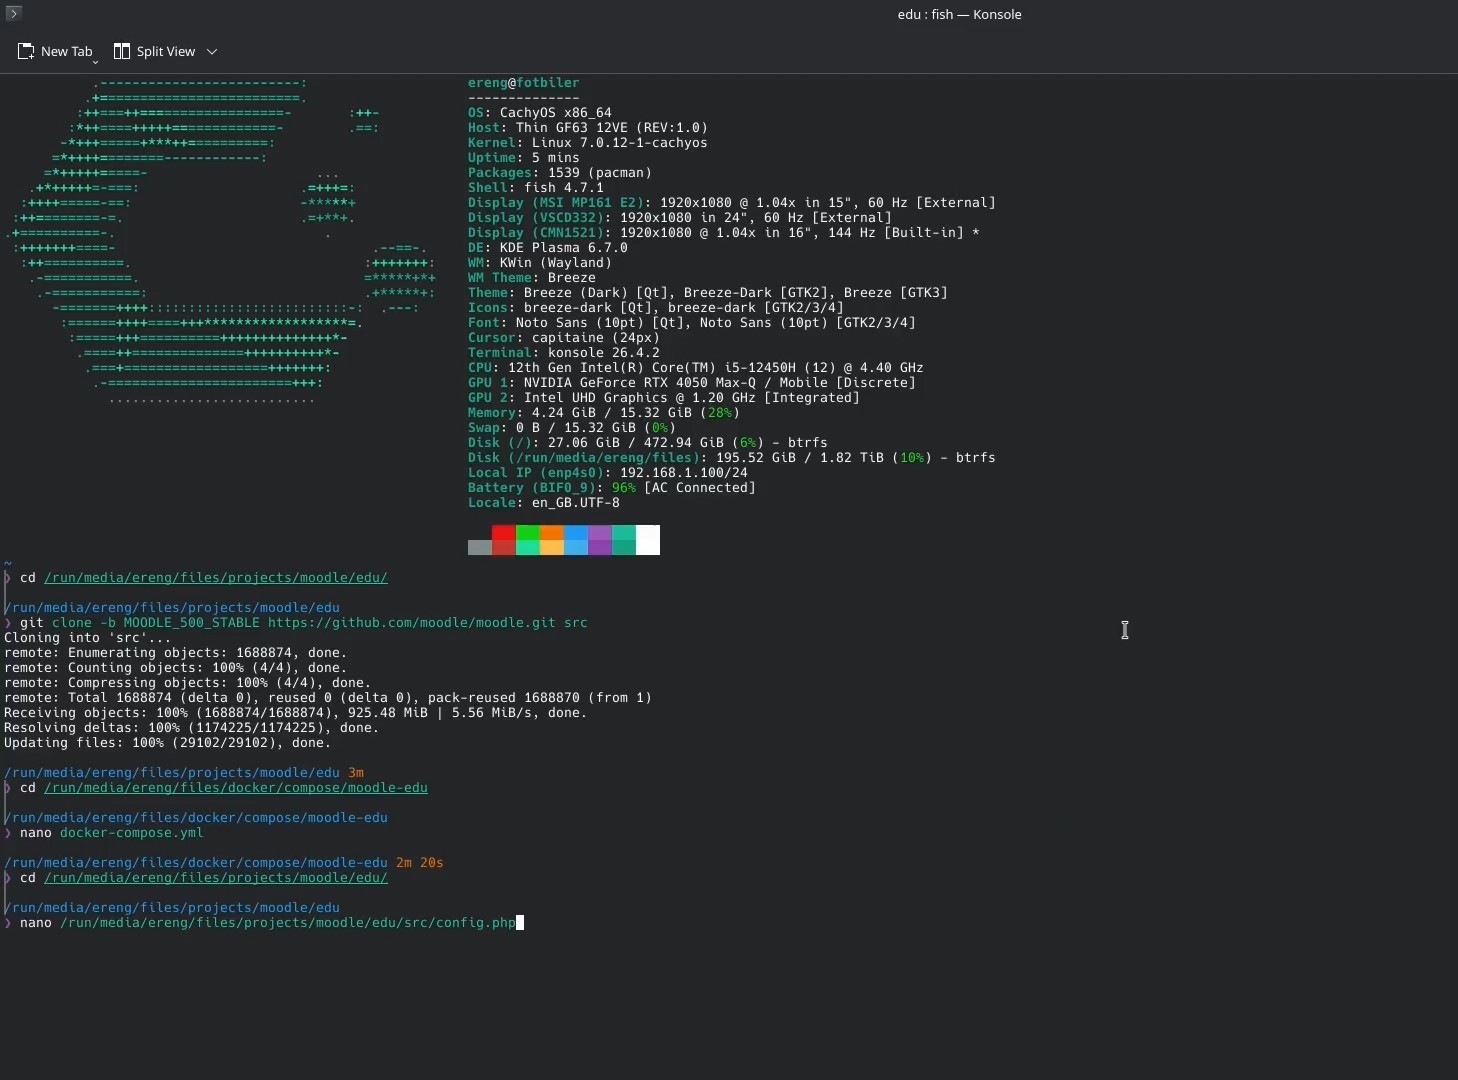
<?php
unset($CFG);
global $CFG;
$CFG = new stdClass();

$CFG->dbtype = 'mysqli';
$CFG->dblibrary = 'native';
$CFG->dbhost = 'mysql-host';
$CFG->dbname = 'moodle';
$CFG->dbuser = 'moodle_user';
$CFG->dbpass = 'replace-with-a-secure-password';
$CFG->prefix = 'mdl_';
$CFG->dboptions = [
    'dbpersist' => 0,
    'dbport' => 3306,
    'dbcollation' => 'utf8mb4_unicode_ci',
];

$CFG->wwwroot = 'http://localhost:8085';
$CFG->dataroot = '/var/www/moodledata';
$CFG->admin = 'admin';
$CFG->directorypermissions = 0777;

require_once(__DIR__ . '/lib/setup.php');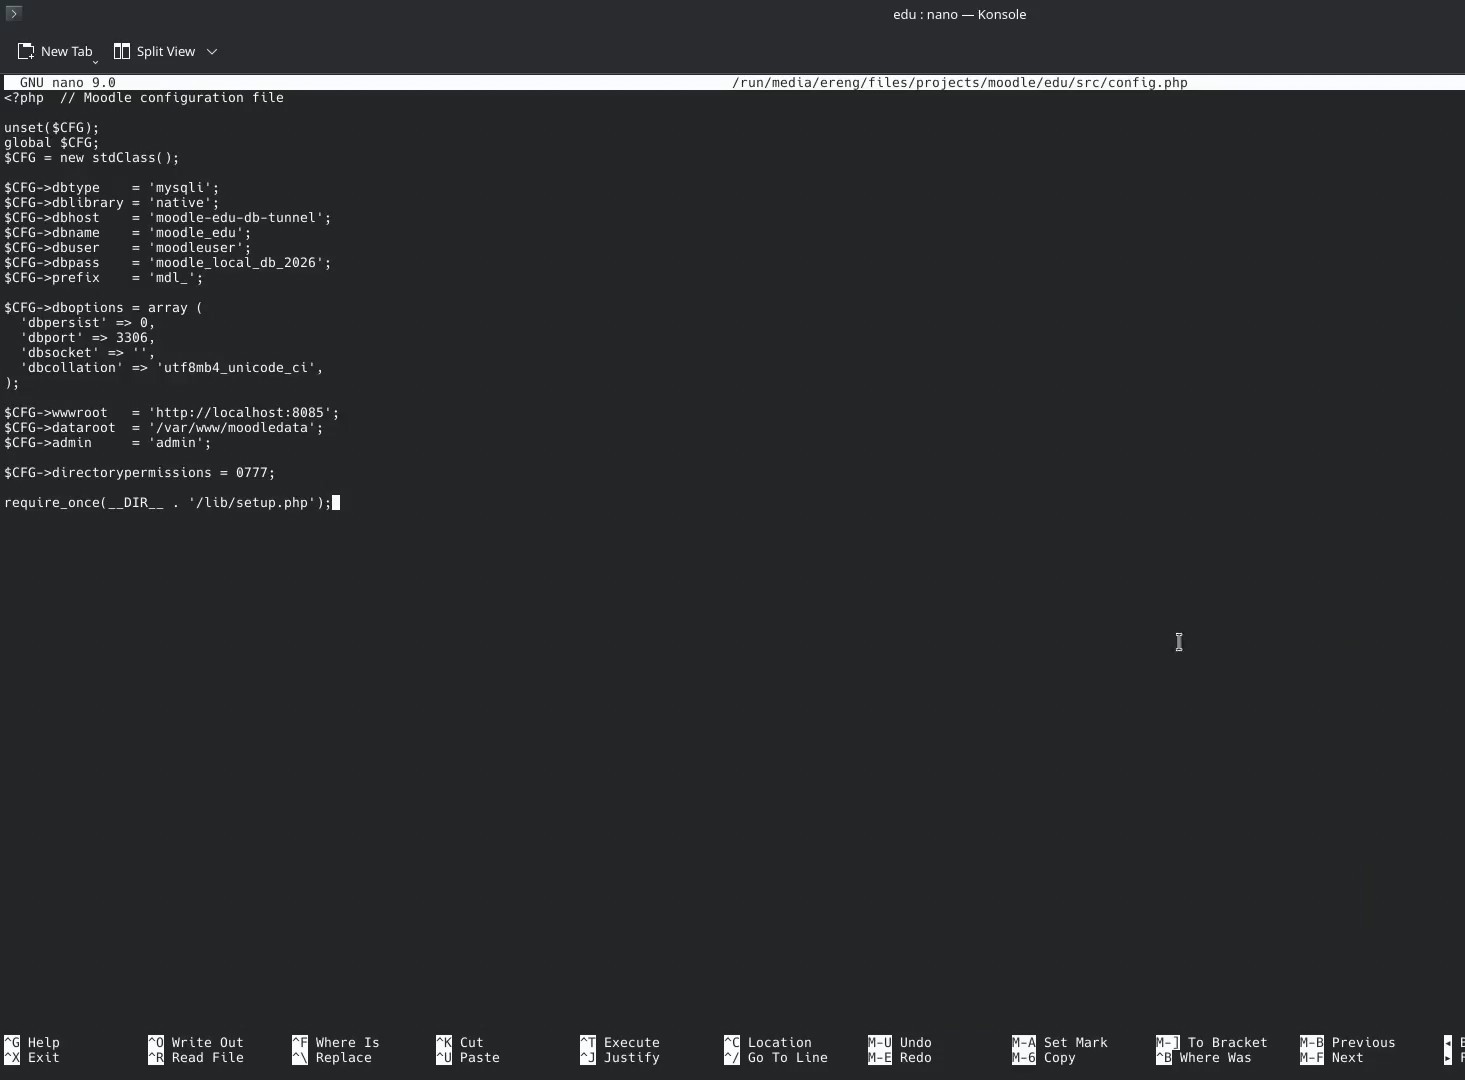
For a real deployment, use HTTPS for $CFG->wwwroot, protect the configuration file, and choose permissions that suit the host operating system and container user. The permissive value shown here is useful for a local development setup, not a production default.
Preparing File Permissions and Starting Moodle
The web server must be able to read config.php and write to the directory mounted as moodledata. Create the host directory first if it does not already exist, then adjust its ownership or permissions for the container user.
mkdir -p /absolute/path/to/moodledata
sudo chmod 644 /absolute/path/to/moodle/edu/src/config.php
sudo chmod -R ugo+rwX /absolute/path/to/moodledata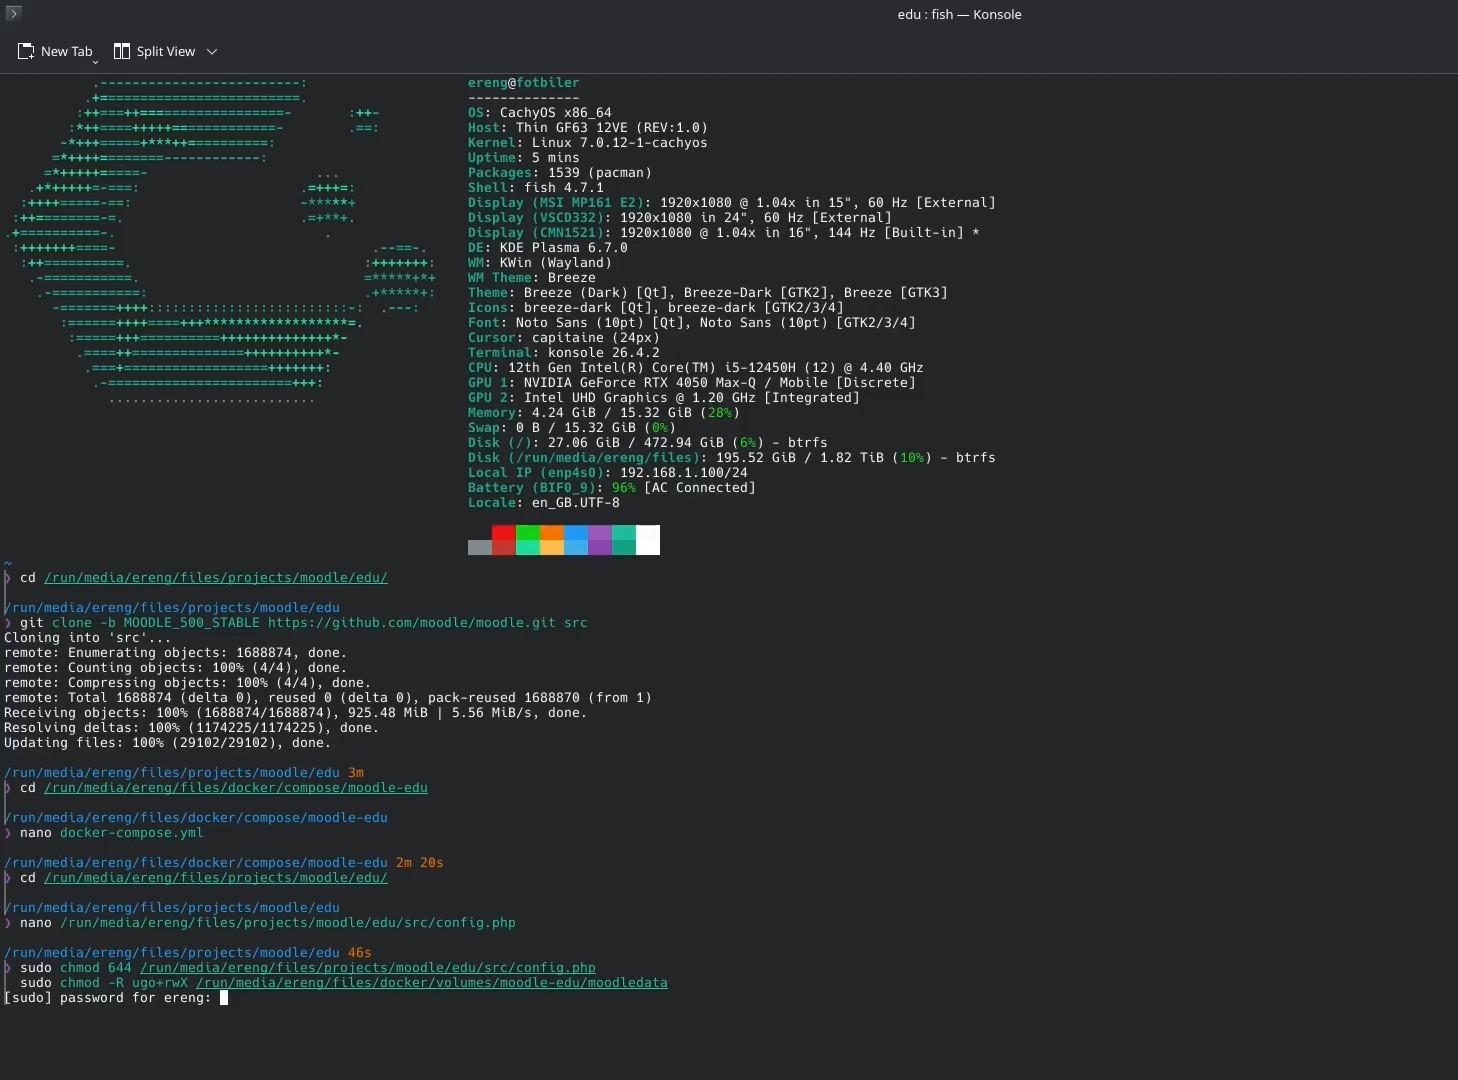
From the folder containing docker-compose.yml, start the services in detached mode.
docker compose up -dDocker creates the network and starts the Moodle container. Use docker compose ps to check its status. If you use an SSH tunnel or another helper service, confirm that the Moodle container can reach MySQL before opening the installer.
docker compose ps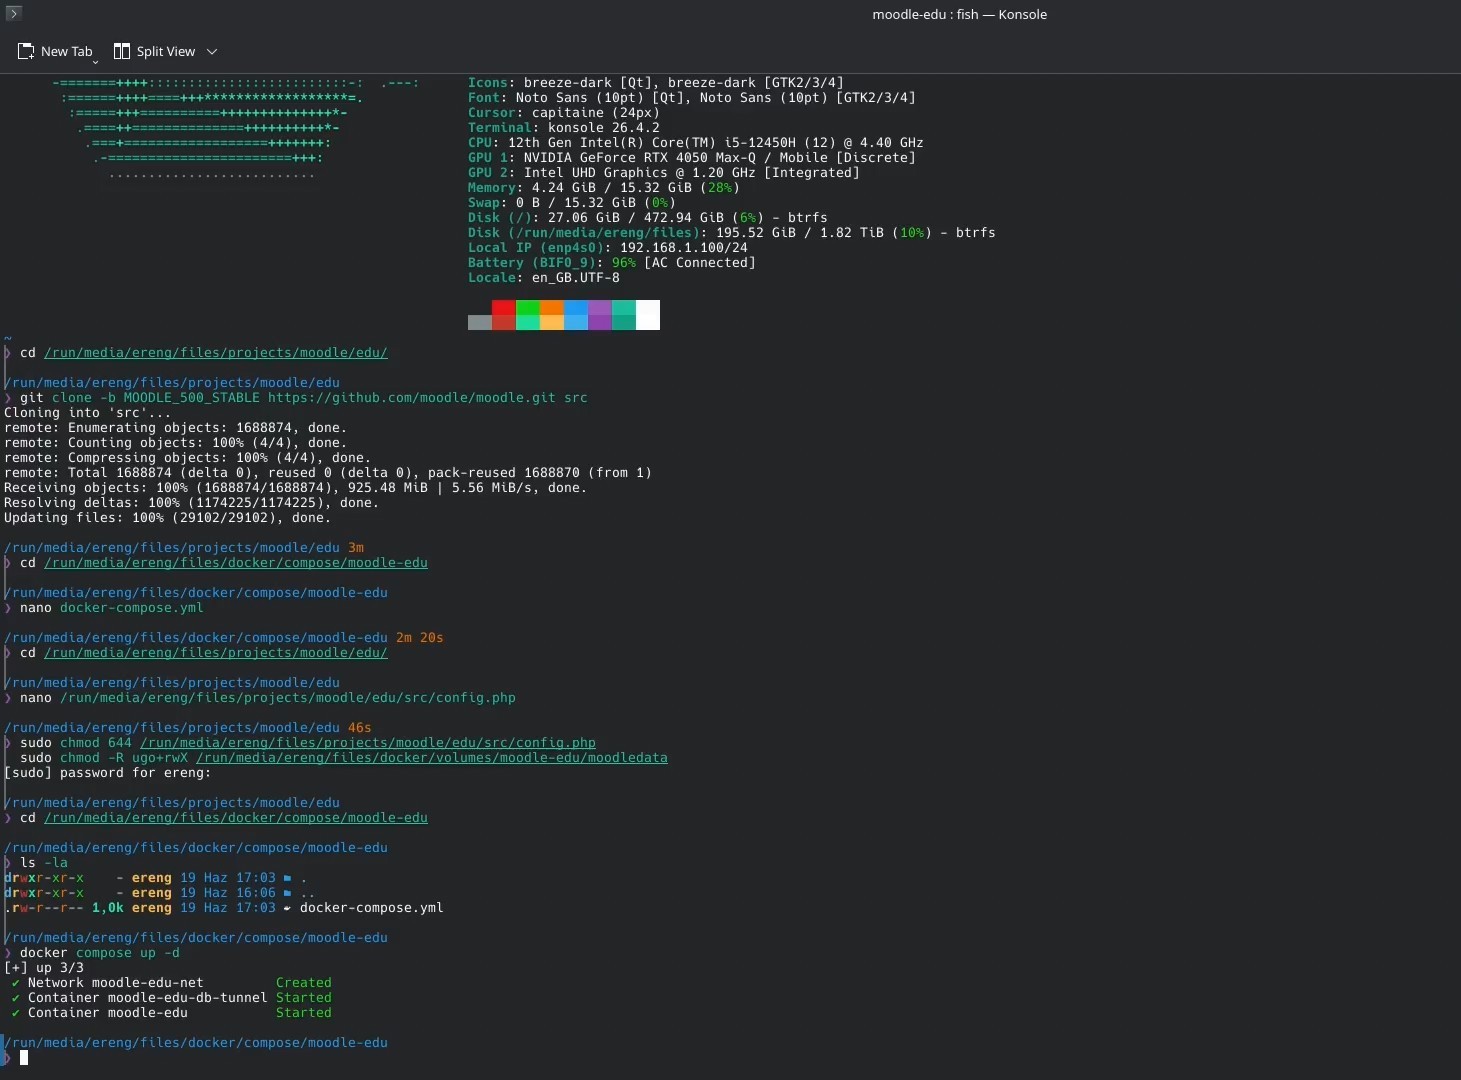
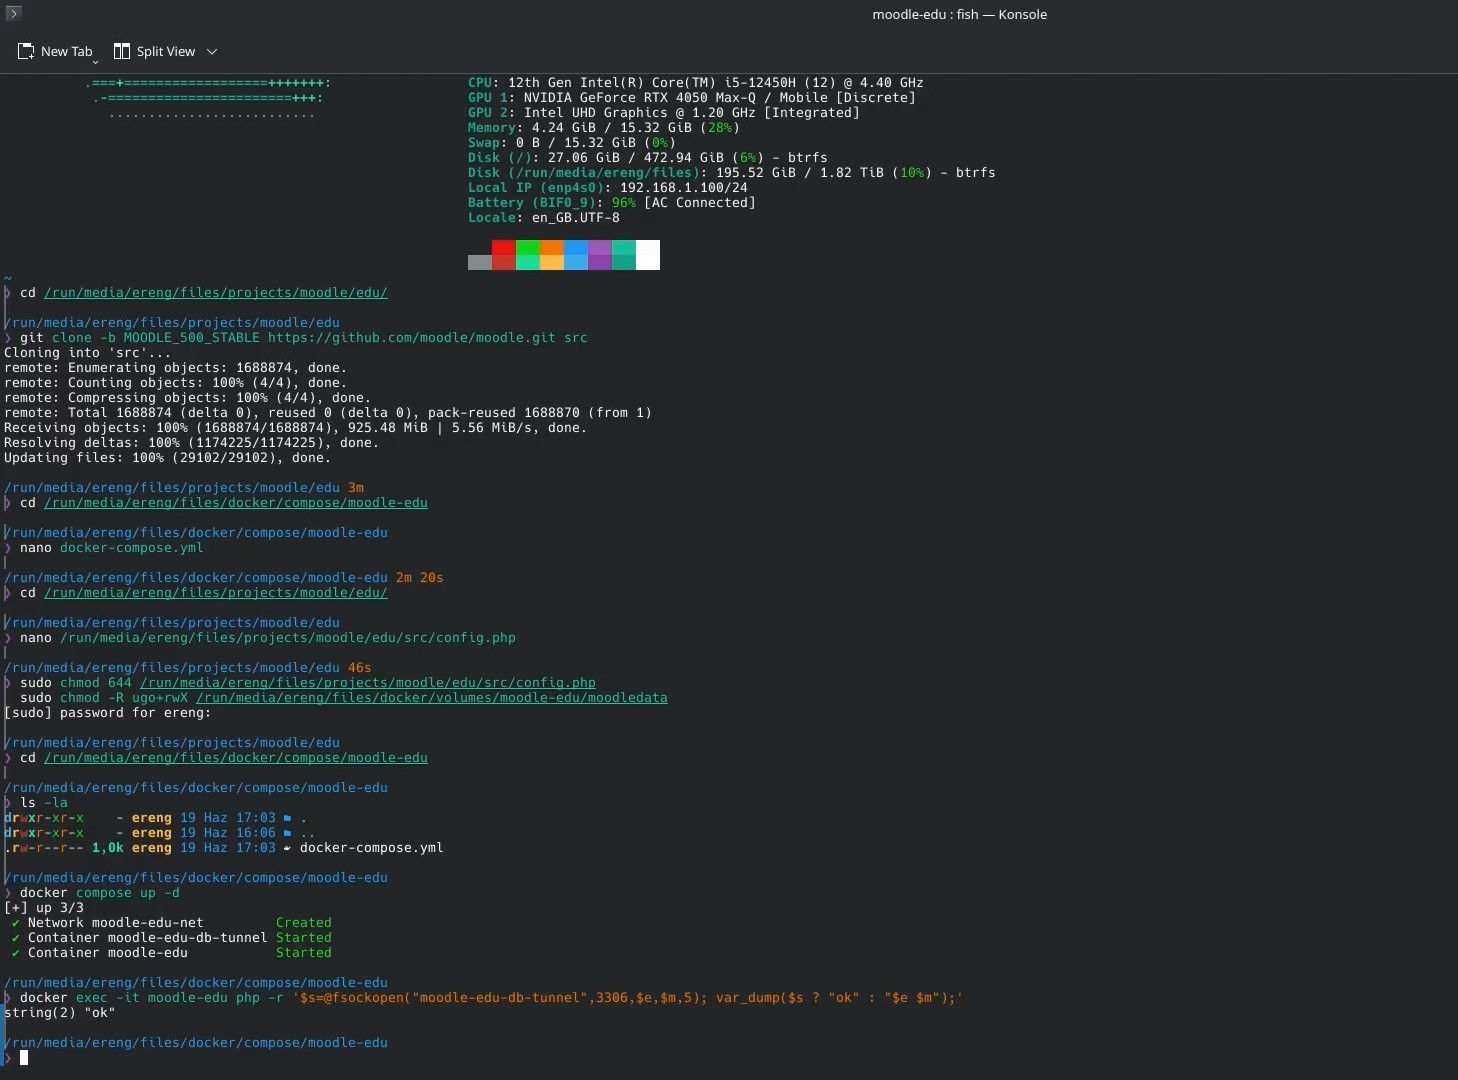
Before opening the installer, you can test that the Moodle container can reach the database. This is especially useful when the database is behind an SSH tunnel or is hosted elsewhere.
Completing the Browser Installation
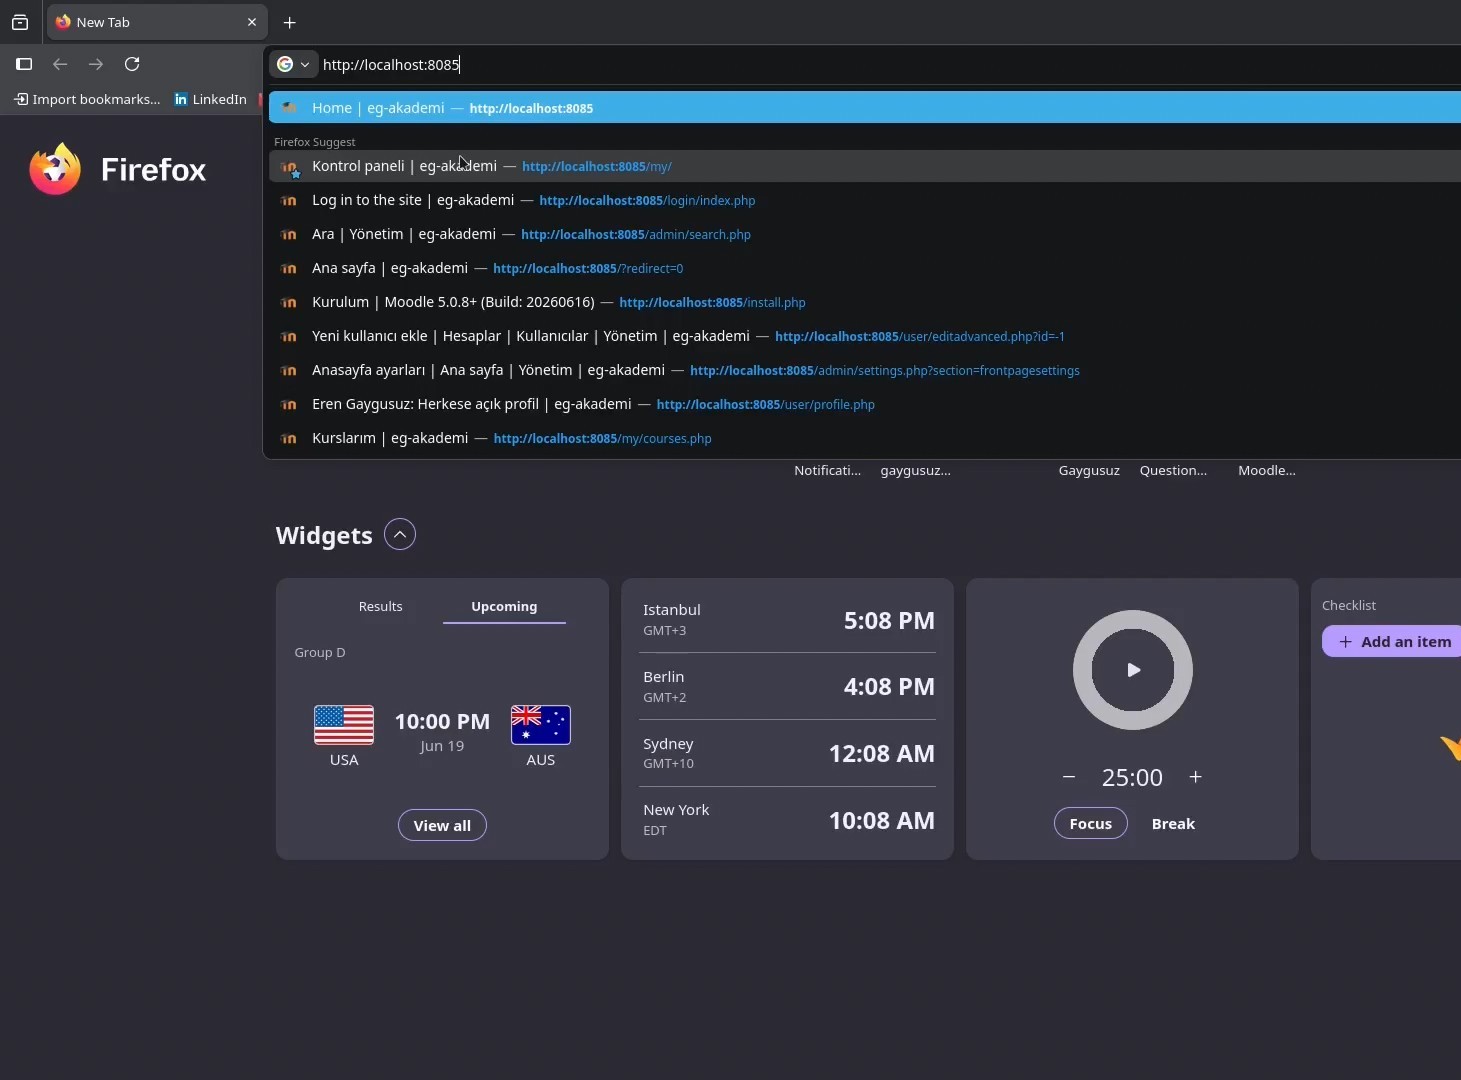
Open http://localhost:8085 in the browser. Because the database details and data path are already in config.php, Moodle can move directly to its license and server checks.
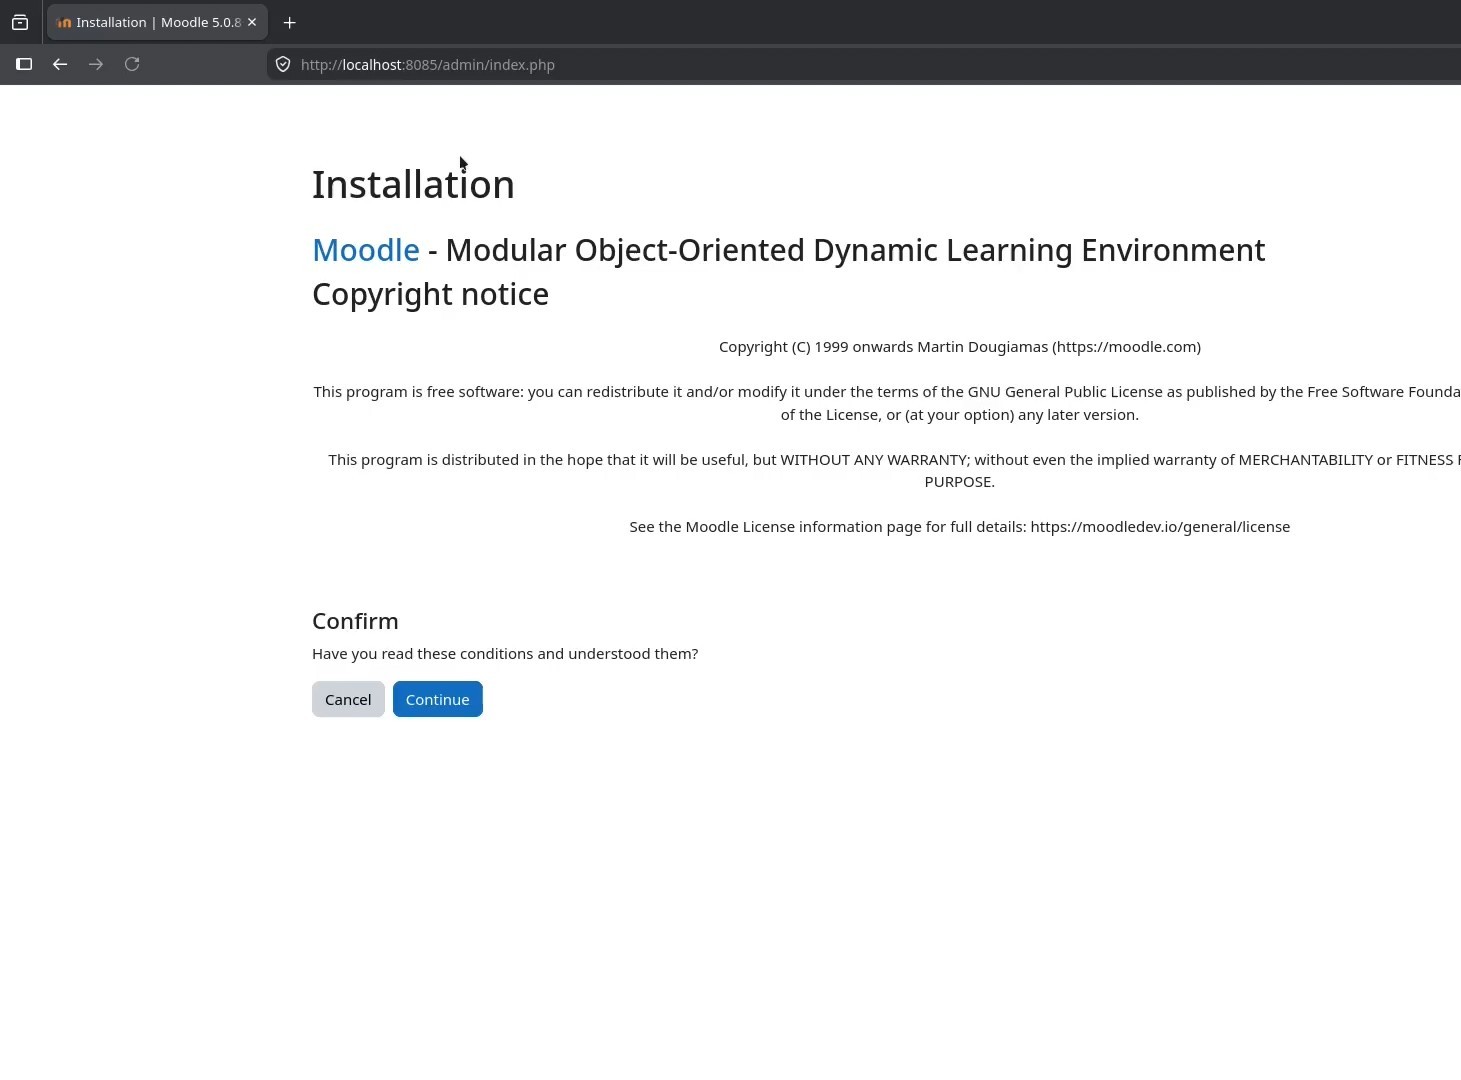
Read and accept the Moodle license to continue.
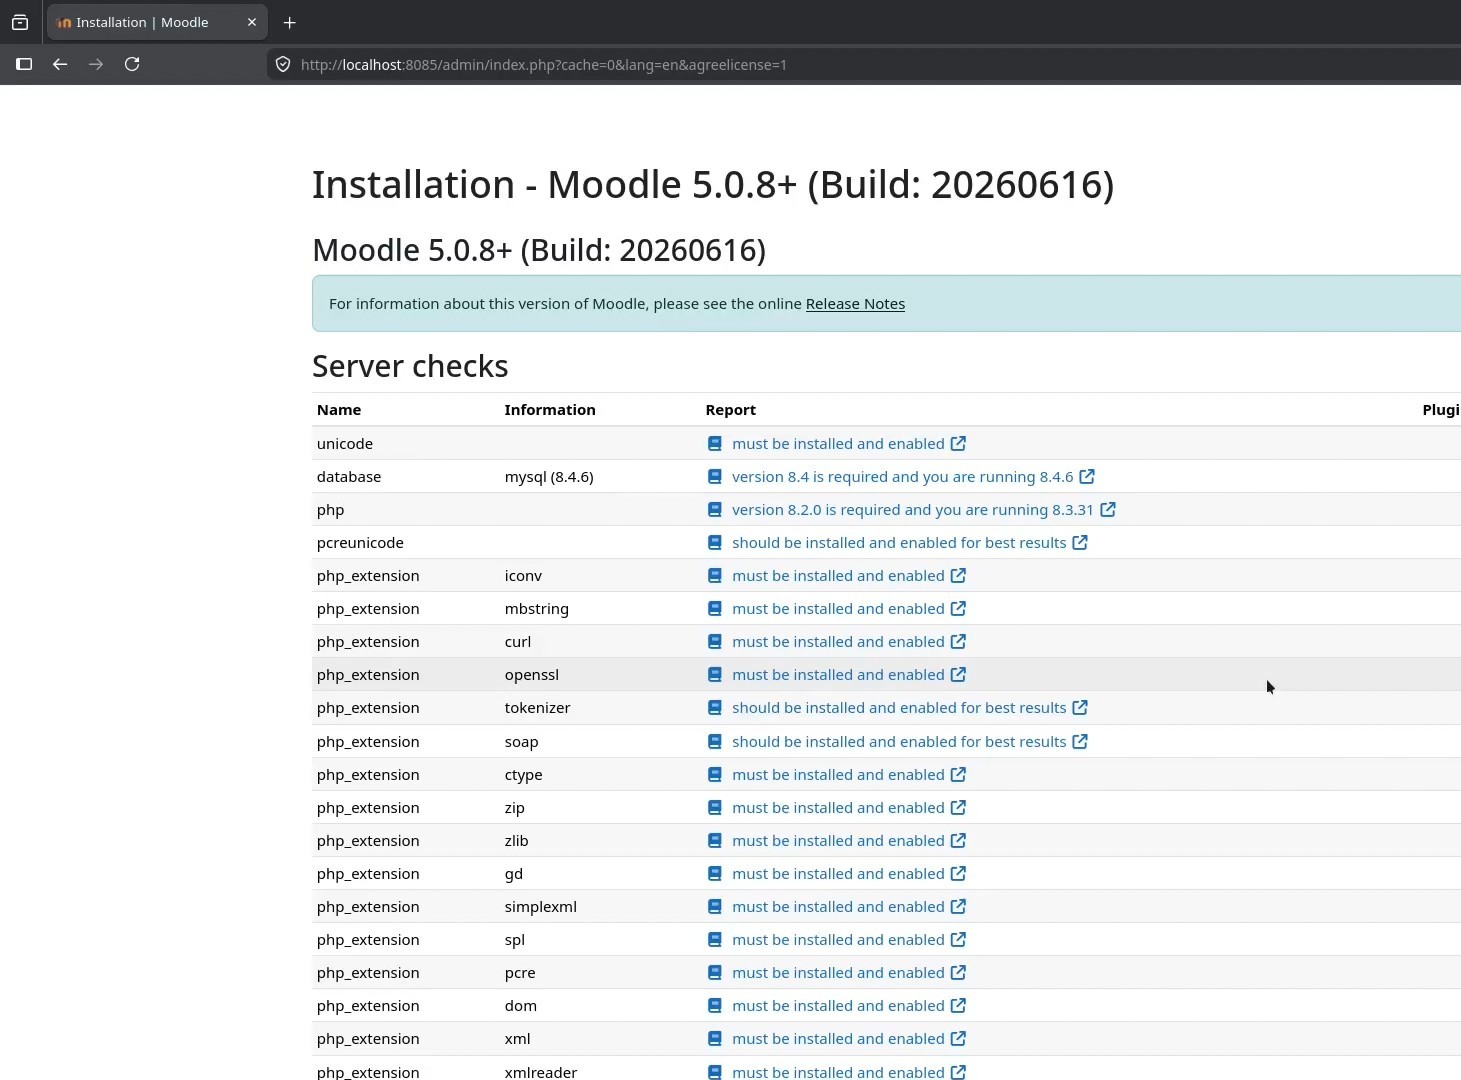
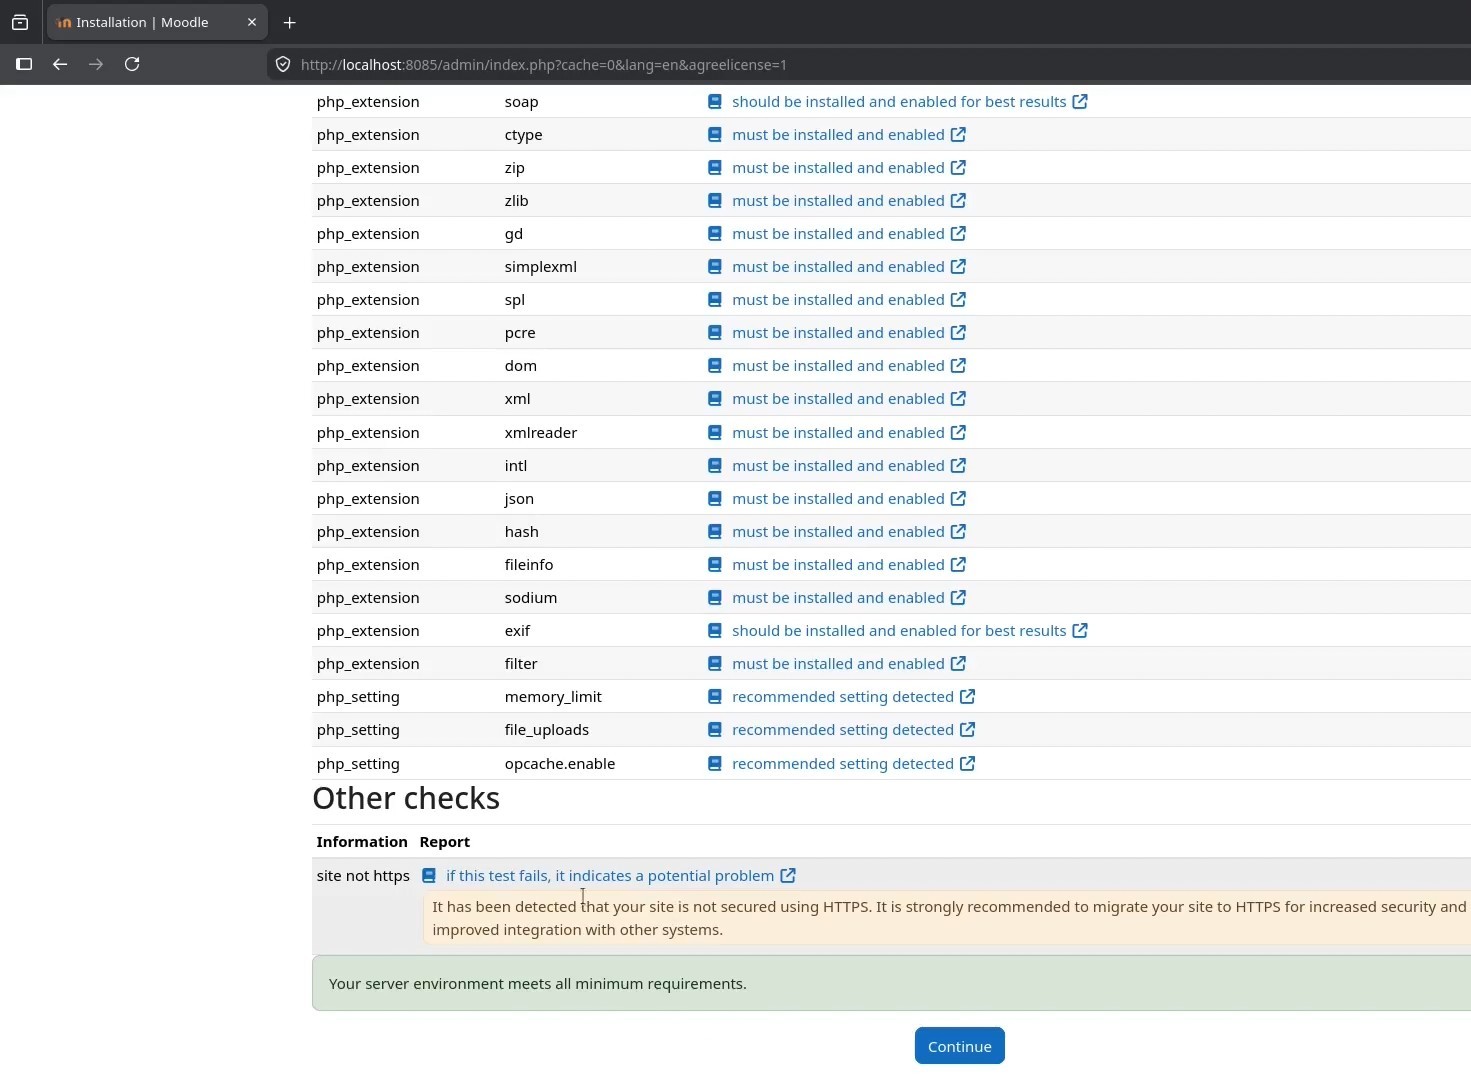
The Docker image supplies the PHP runtime and extensions Moodle needs. Review the server checks and resolve any required failures before continuing. A local HTTP installation can show an HTTPS warning; it is expected during local development, but HTTPS should be enabled before publishing a real site.
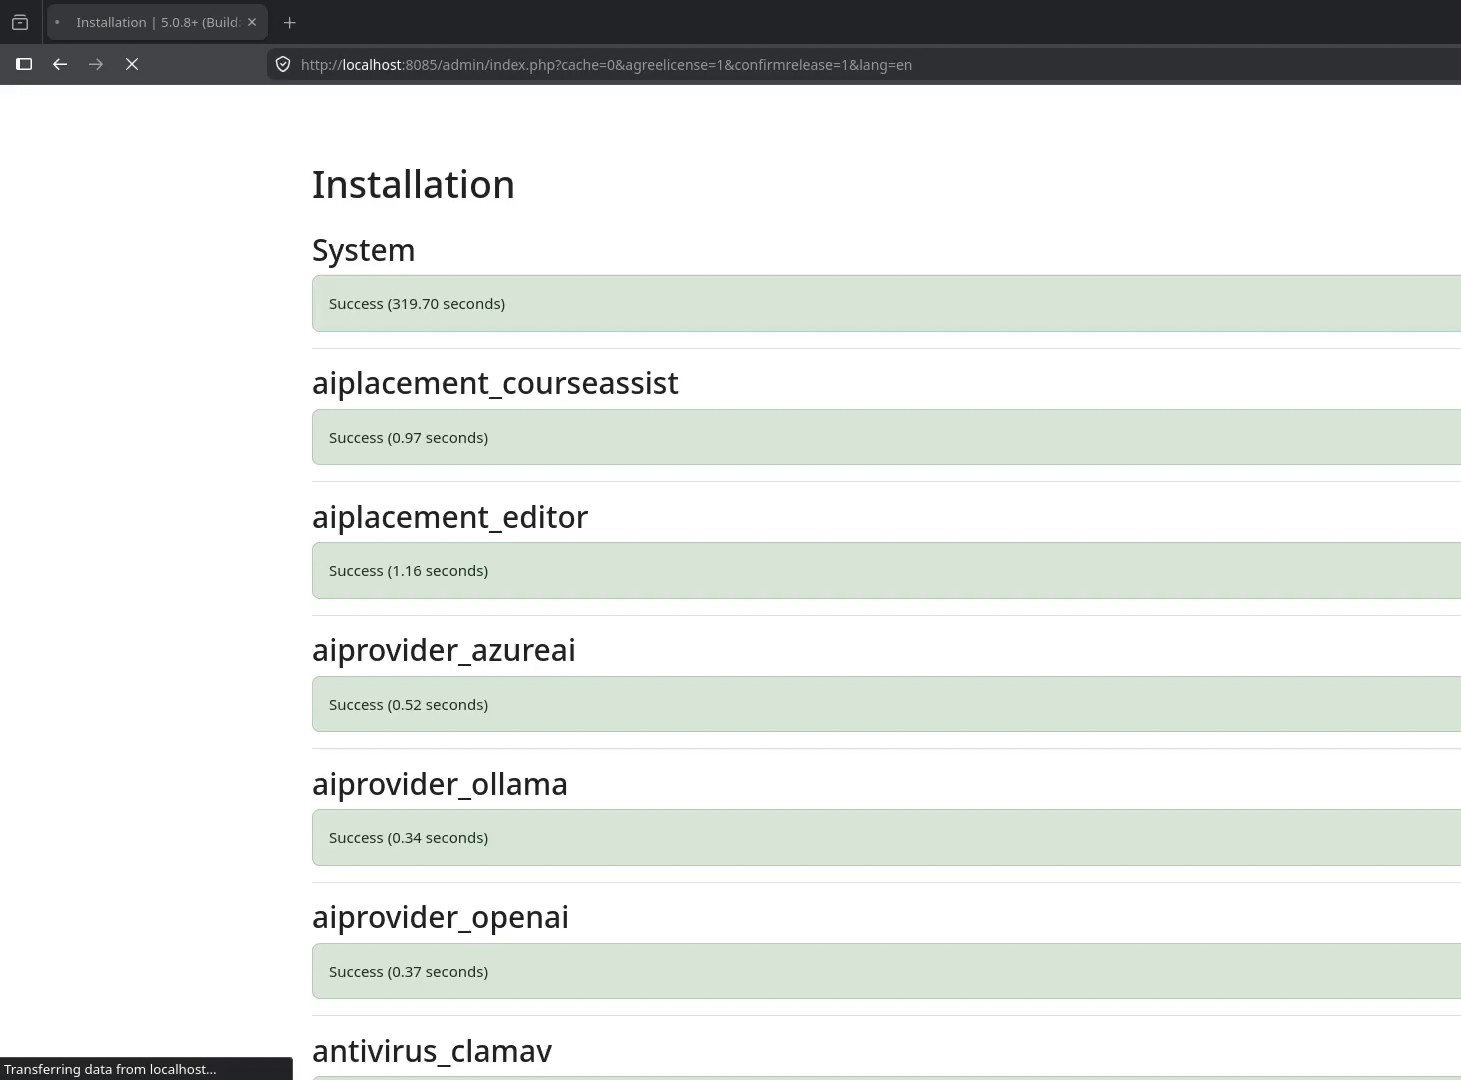
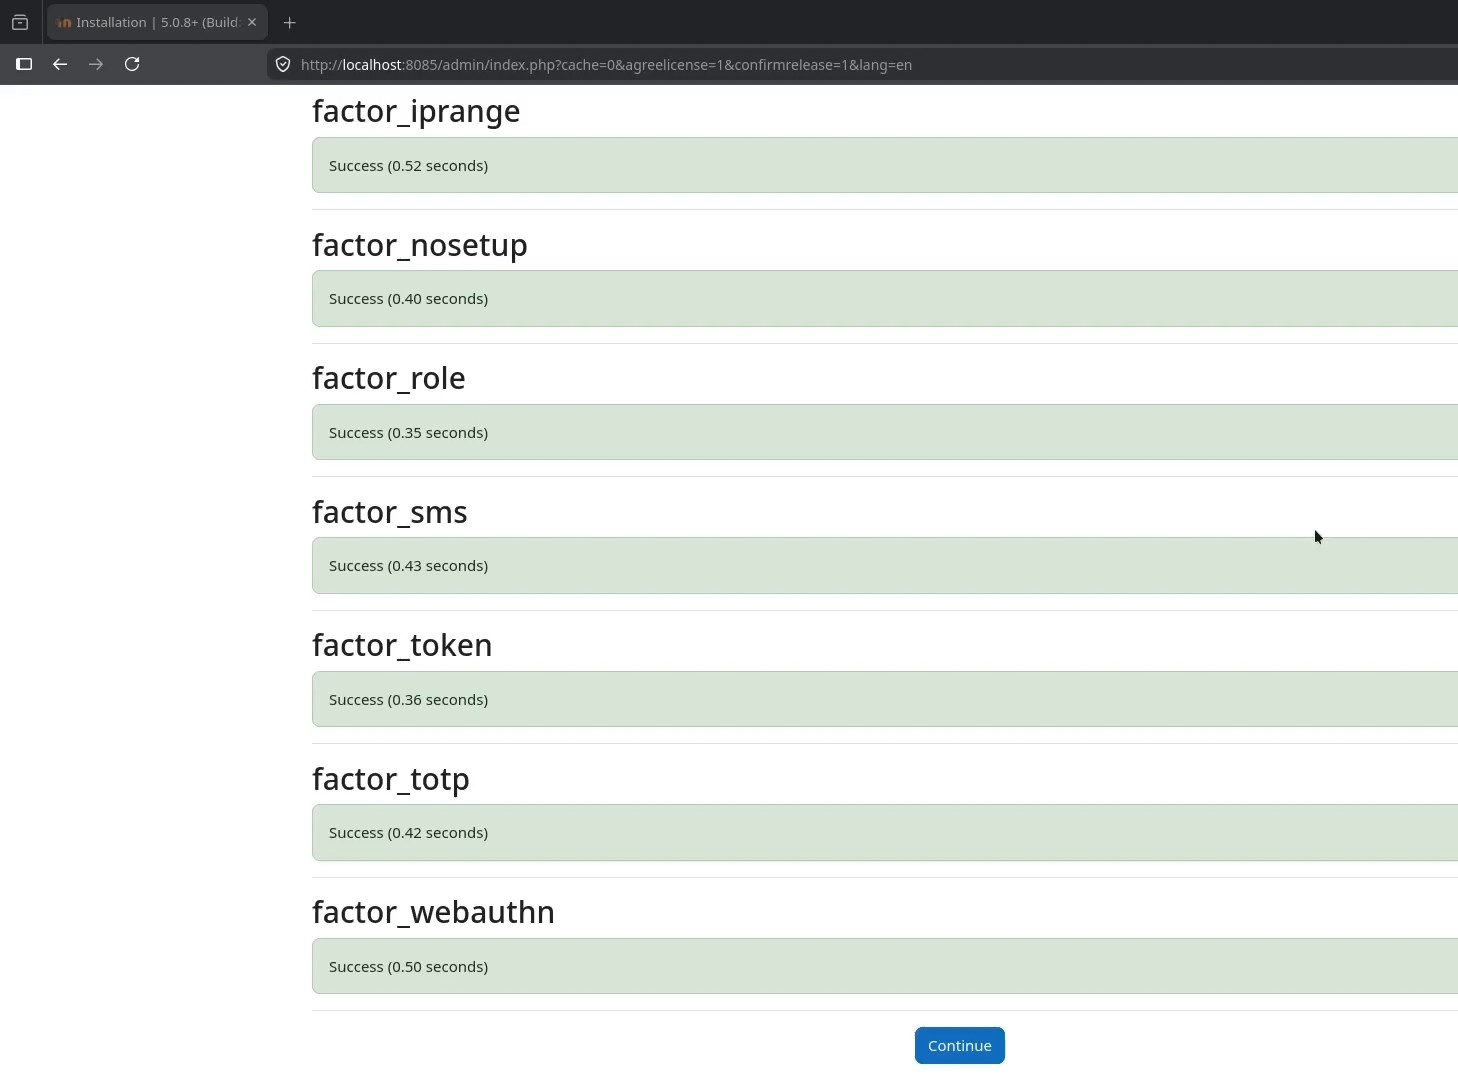
Moodle then installs its core components and plugins. This can take several minutes. Wait for the success messages and select Continue when it becomes available.
Creating the Administrator and Site Settings
The next page creates the first administrator account. Use a unique administrator username, a long password, and an email address you control. Also select the correct country and time zone.
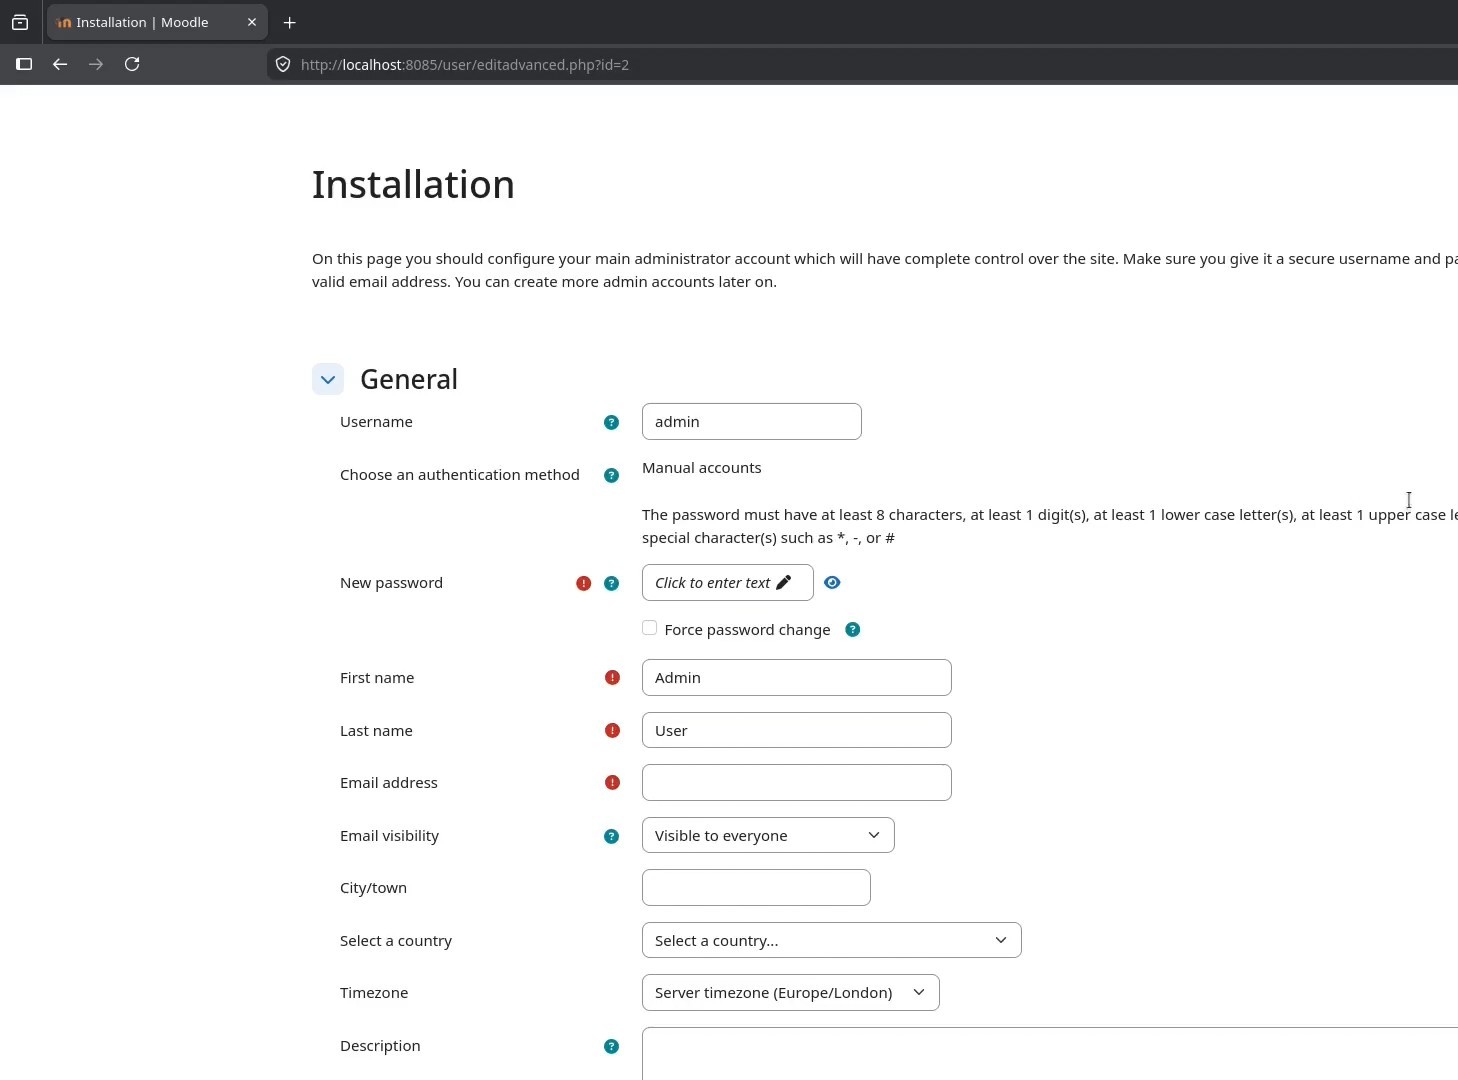
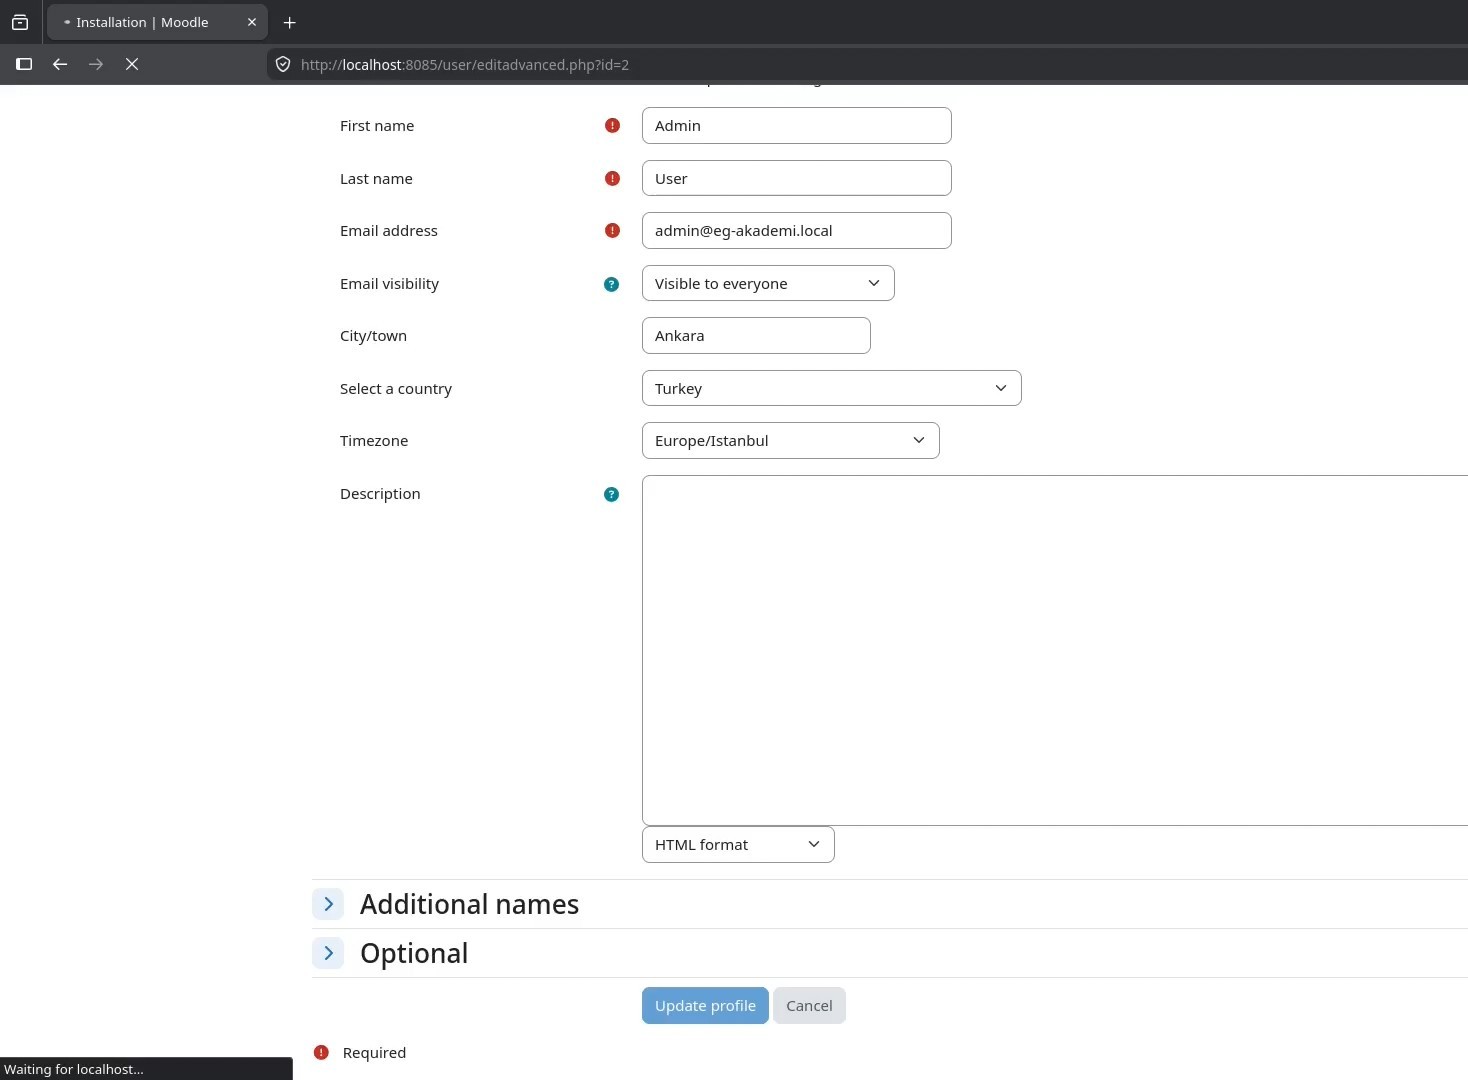
Finally, set the full site name, short name, home-page summary, default time zone, and registration policy. For a new site, keeping self-registration disabled until the authentication method is configured is a sensible starting point.
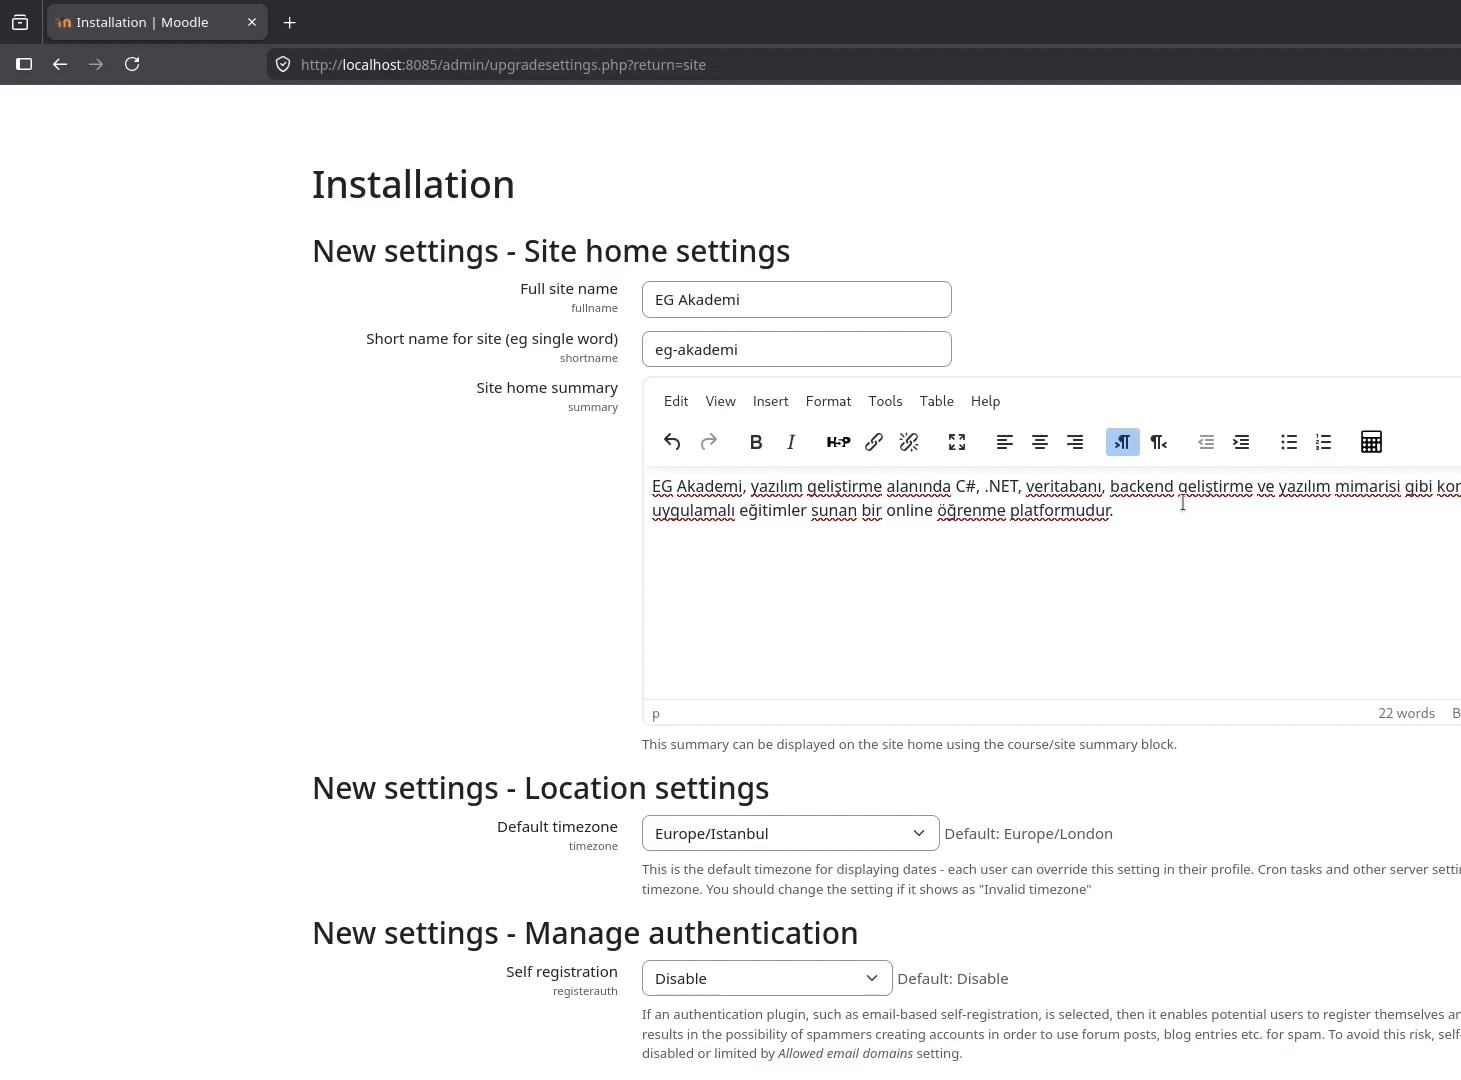
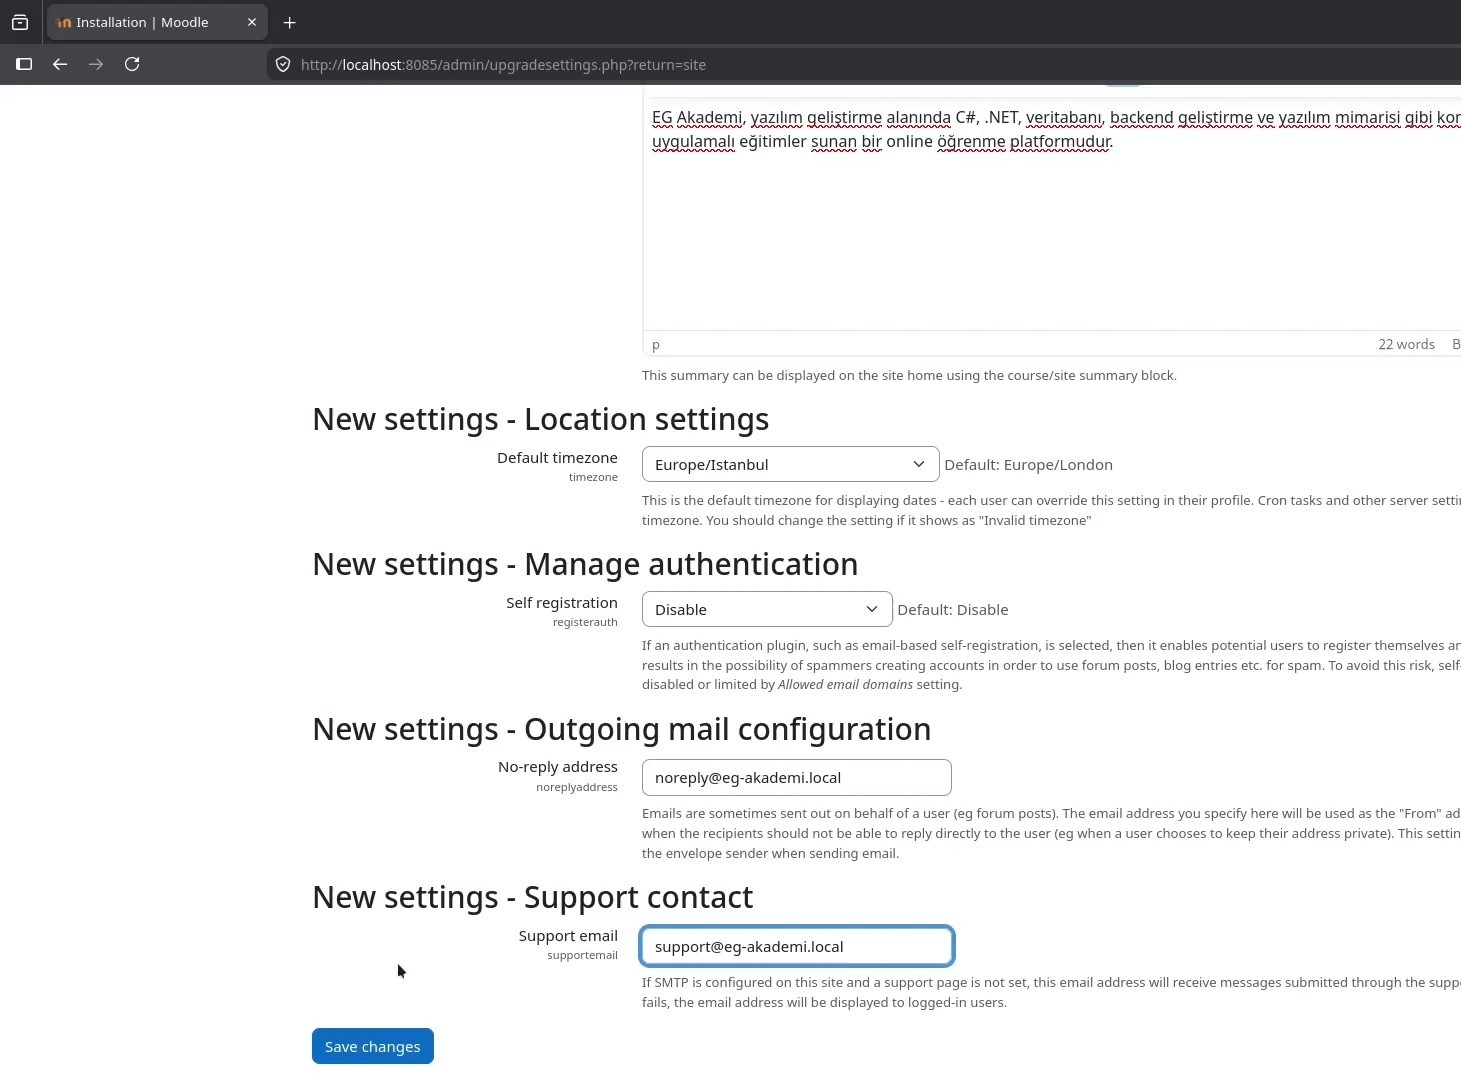
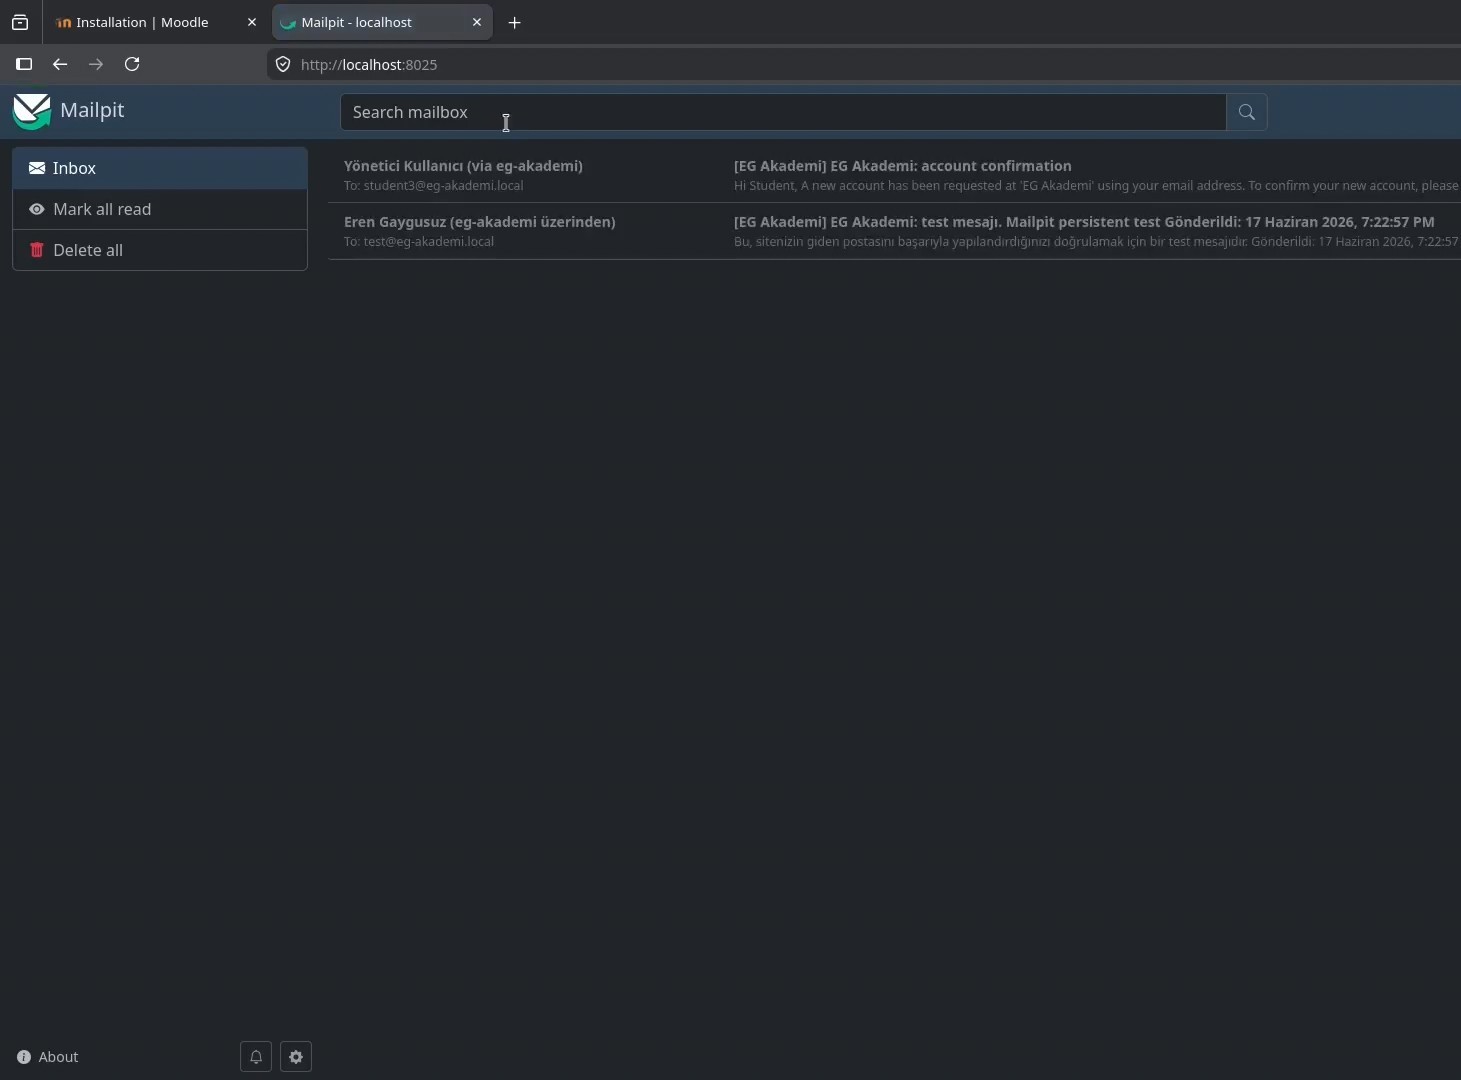
For development, a local SMTP test tool such as Mailpit is useful for checking Moodle’s outgoing email without sending messages to real inboxes.
Verifying the Installation
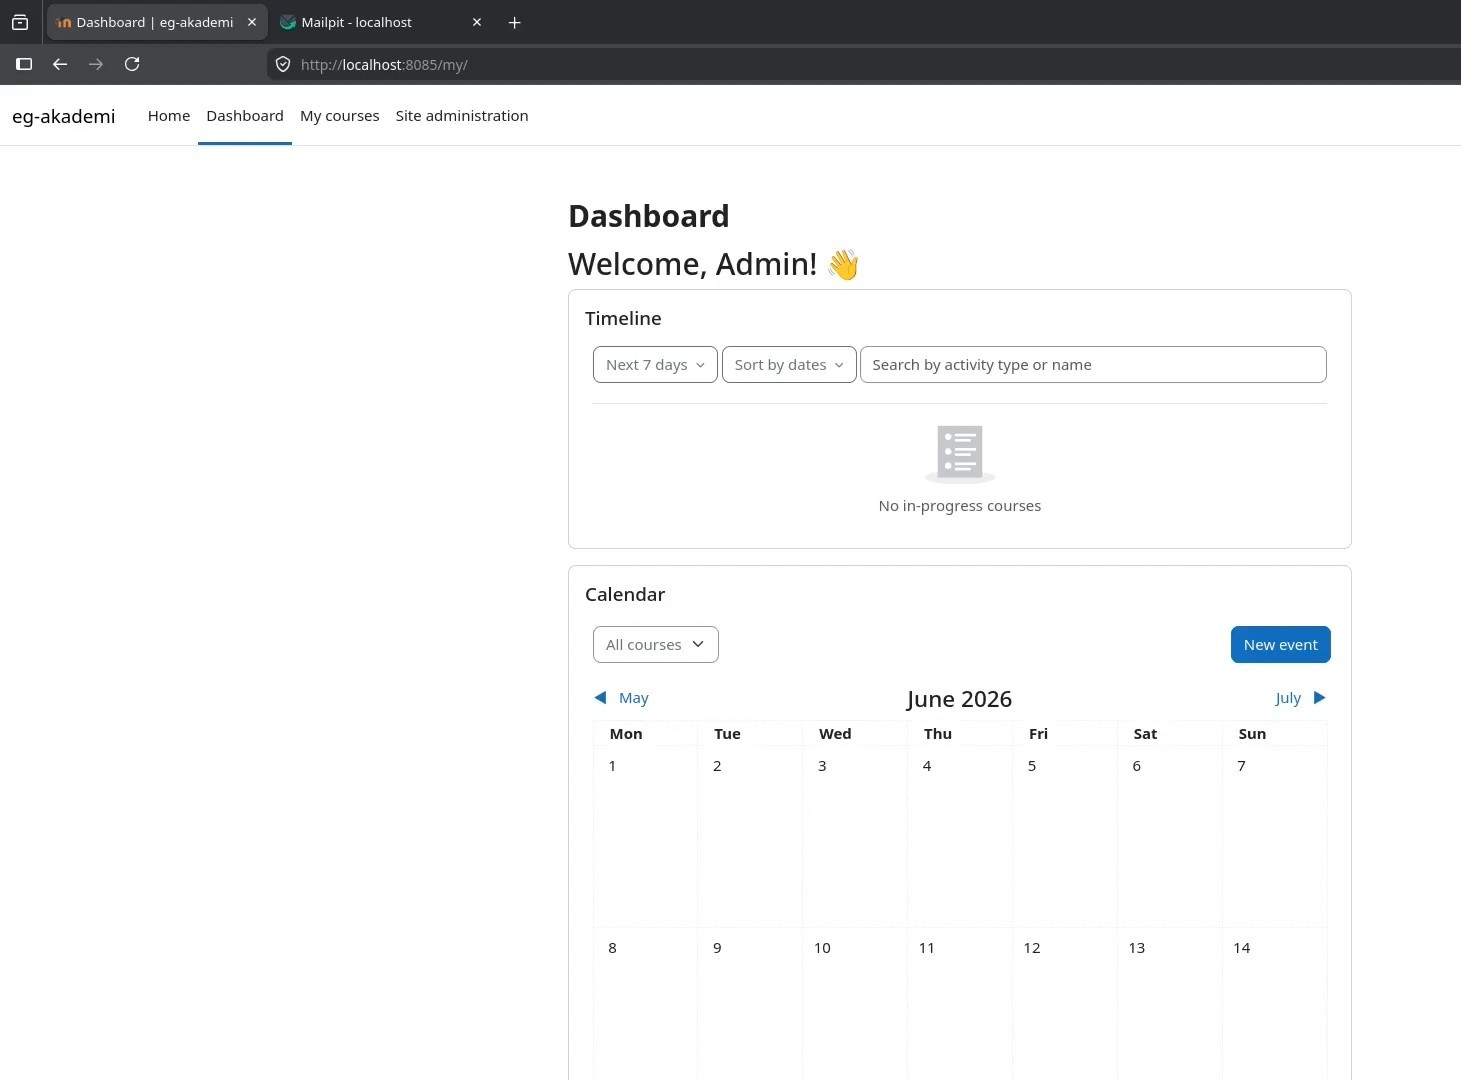
After saving the site settings, Moodle opens the administrator dashboard. At this point, the local installation is ready for the next configuration steps, such as language packs, authentication, user management, courses, and email delivery.
Summary
This installation uses Docker to provide Moodle’s Apache and PHP environment while the Moodle source code and moodledata directory remain available on the host machine. After cloning the source, mounting the volumes, adding the database configuration, and running docker compose up -d, the remaining setup happens in Moodle’s browser installer.
For production, replace the local HTTP address with HTTPS, store secrets outside the repository, restrict file permissions, use a managed backup strategy for both the database and moodledata, and configure a real SMTP provider.
Comments