In this guide, I deploy an ASP.NET Core Web API on an AWS EC2 Linux instance. The application is packaged with Docker, pushed to Docker Hub, pulled on the EC2 server, and finally tested through the instance public address.
The flow is practical: create the EC2 instance, open the required inbound rules, connect to the server, install Docker, prepare the Web API image, and run the container with the correct port mapping.
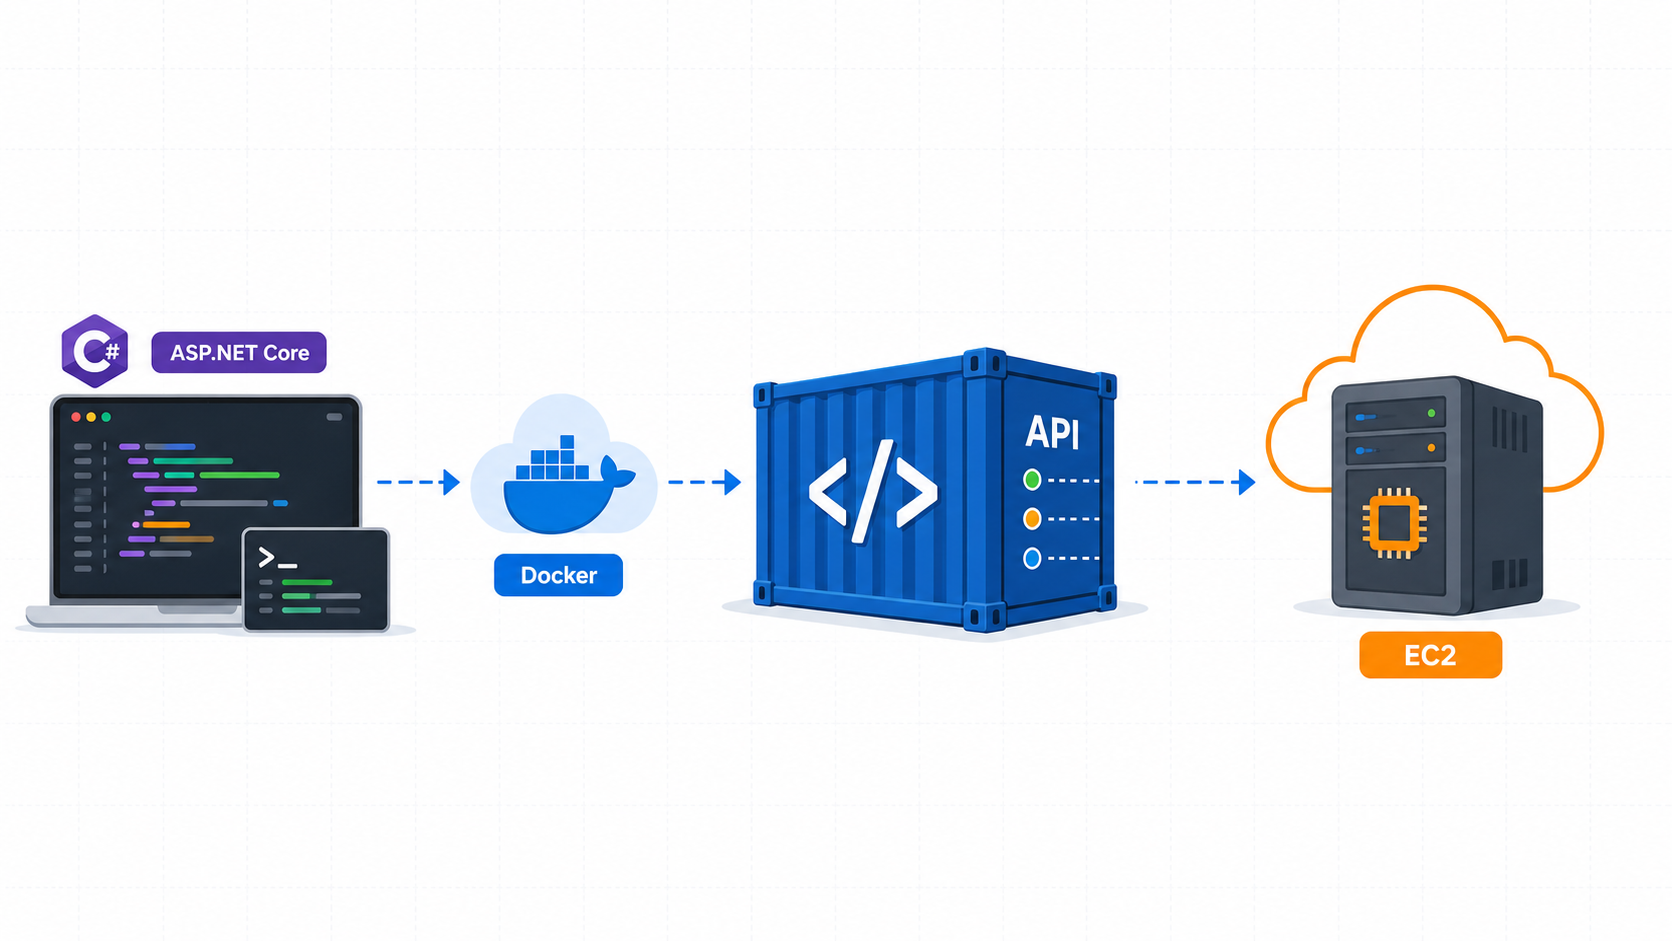
Table of contents
Open Table of contents
Preparing the EC2 Instance
Start from the AWS Console and create a Linux EC2 instance that will host the API. During this stage, choose the machine image, instance type, storage, and key pair carefully because these settings affect both server access and the later deployment steps.
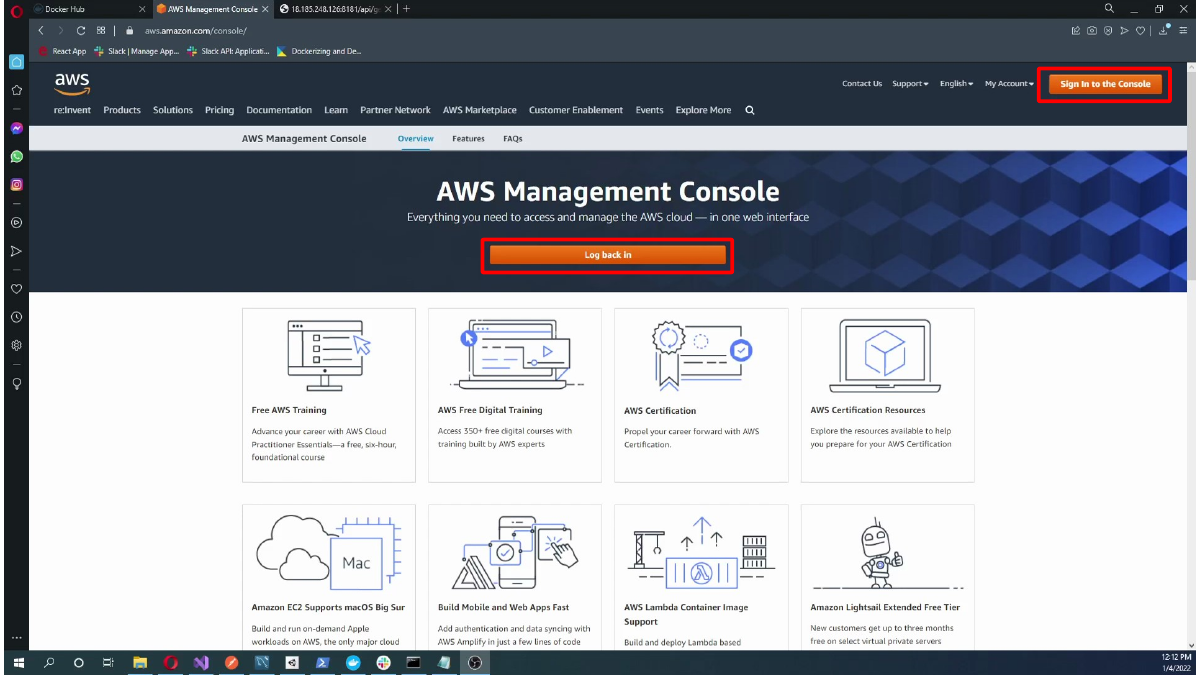
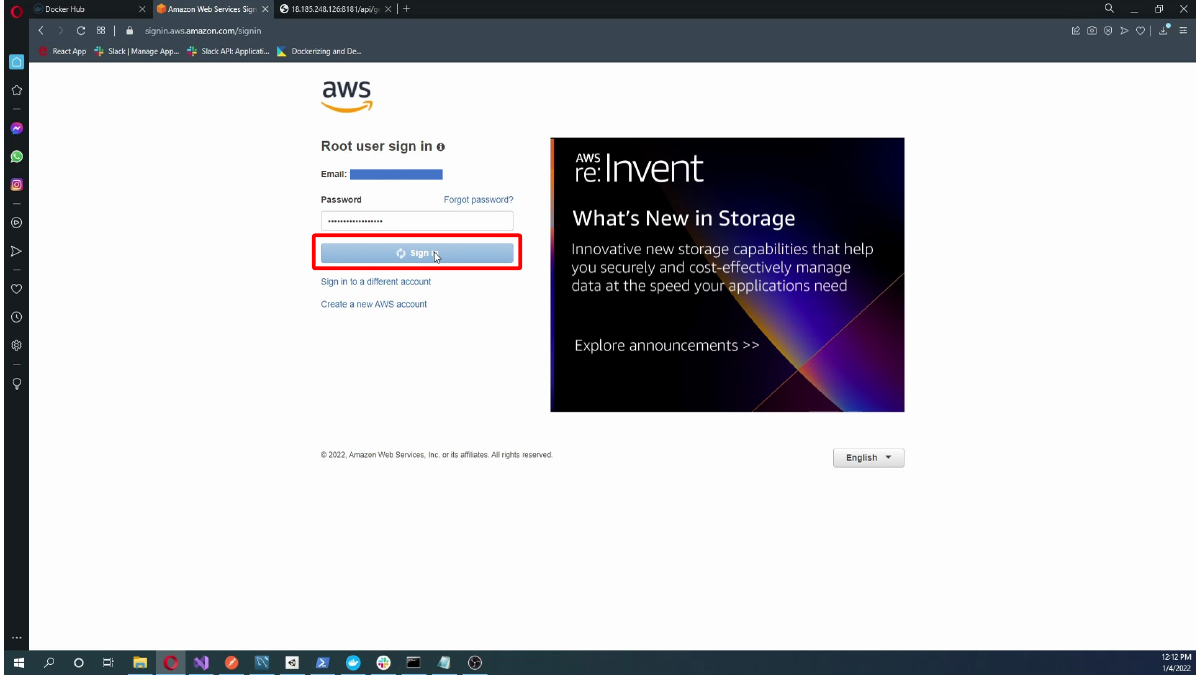
This screen shows Signing in to AWS with the account email or alias.
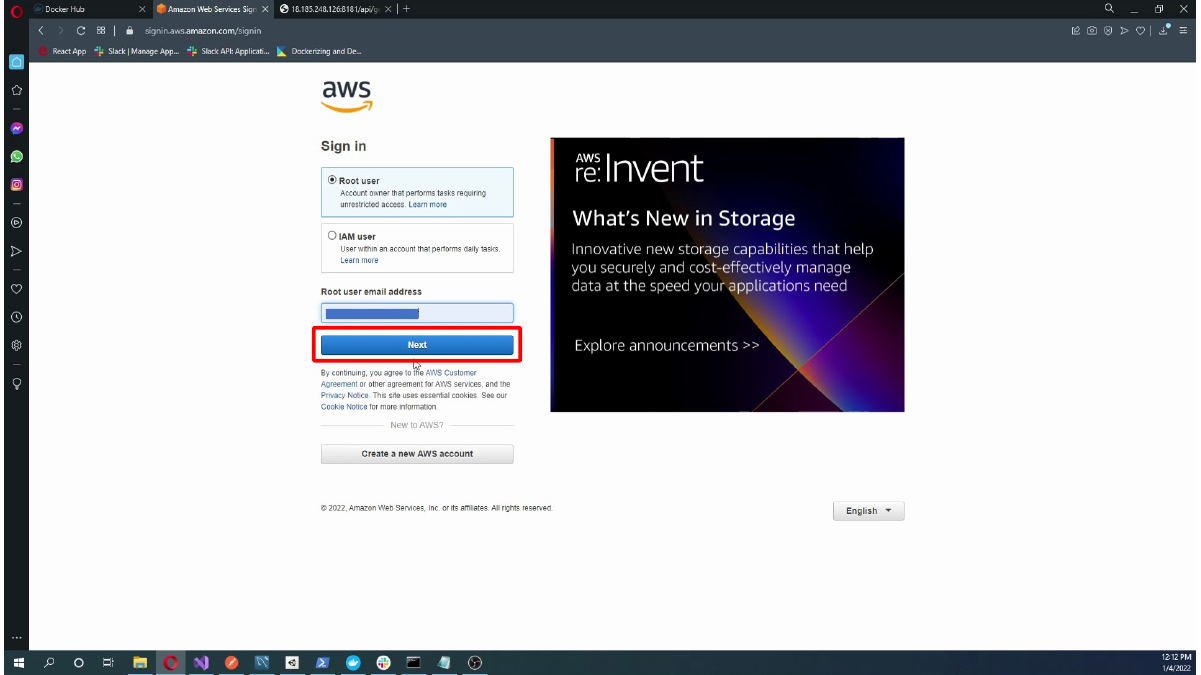
Here, we complete the AWS sign-in security check.
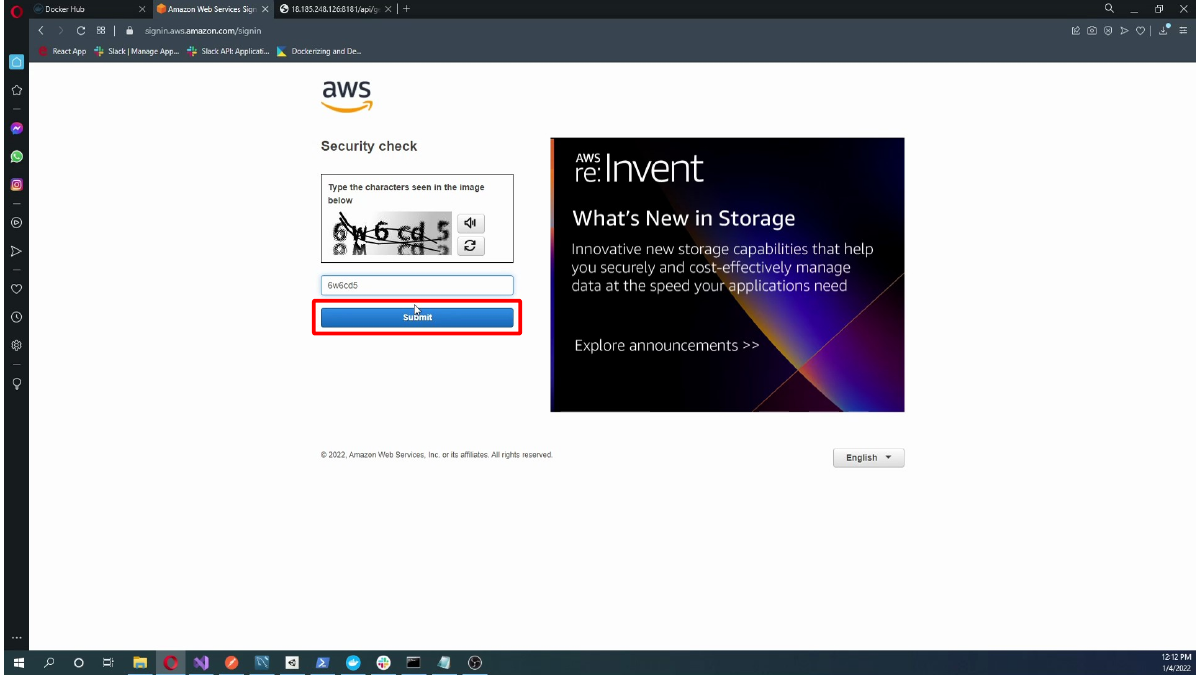
Here, we enter the AWS account password.
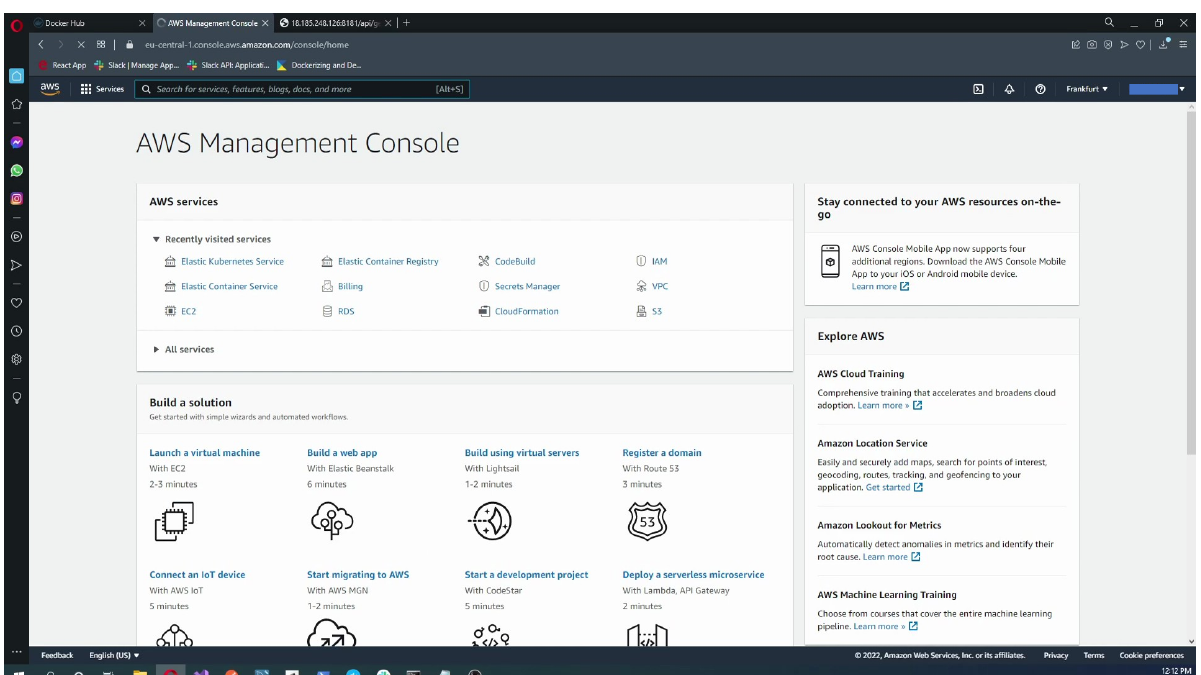
Here, we view the AWS Management Console home page.
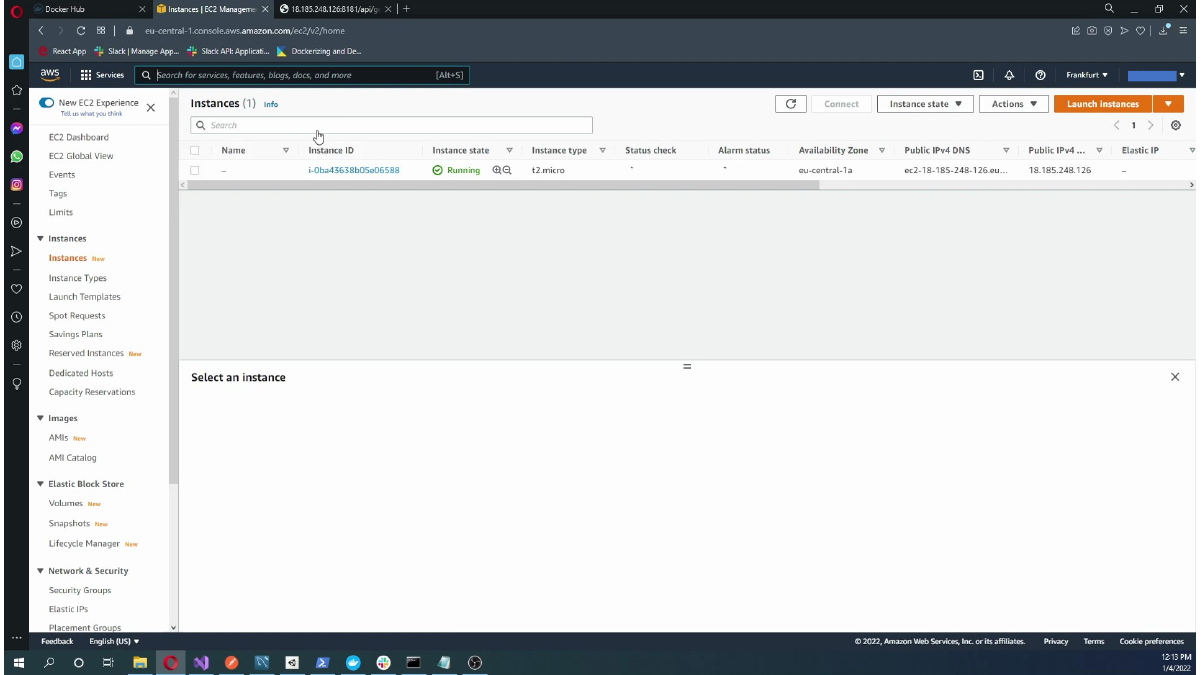
Open the EC2 service and start the instance launch flow. For this example, a Linux-based image is enough because the API will run inside a Docker container.
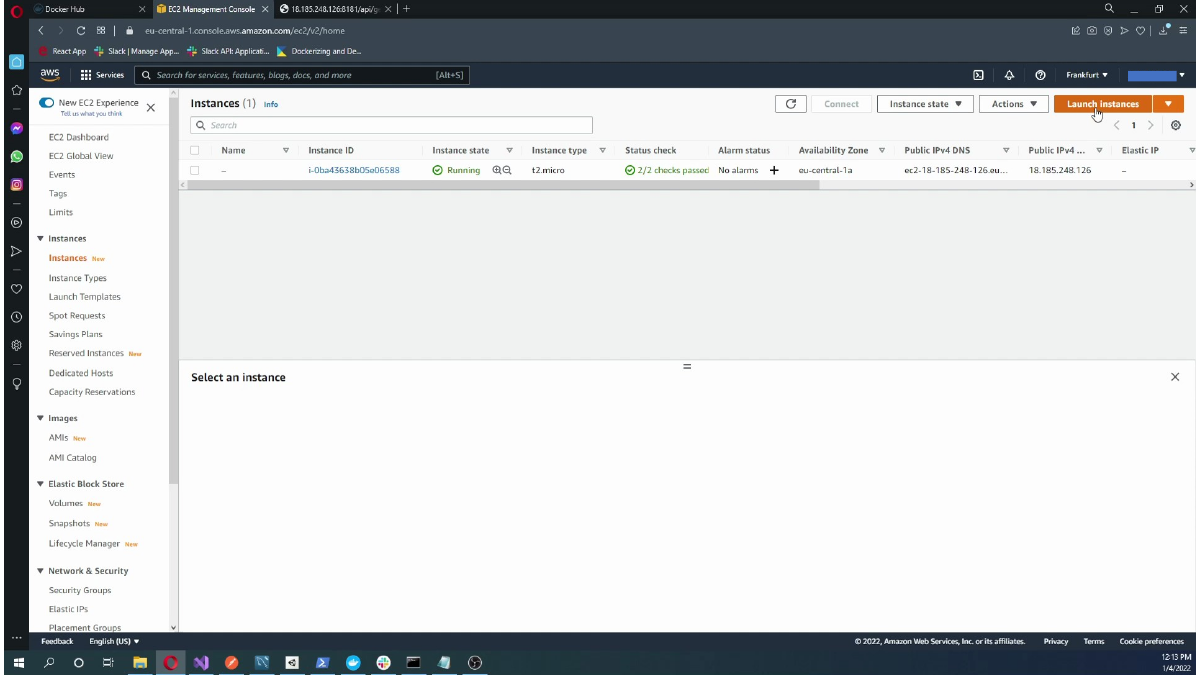
Here, we start the EC2 launch instance flow.
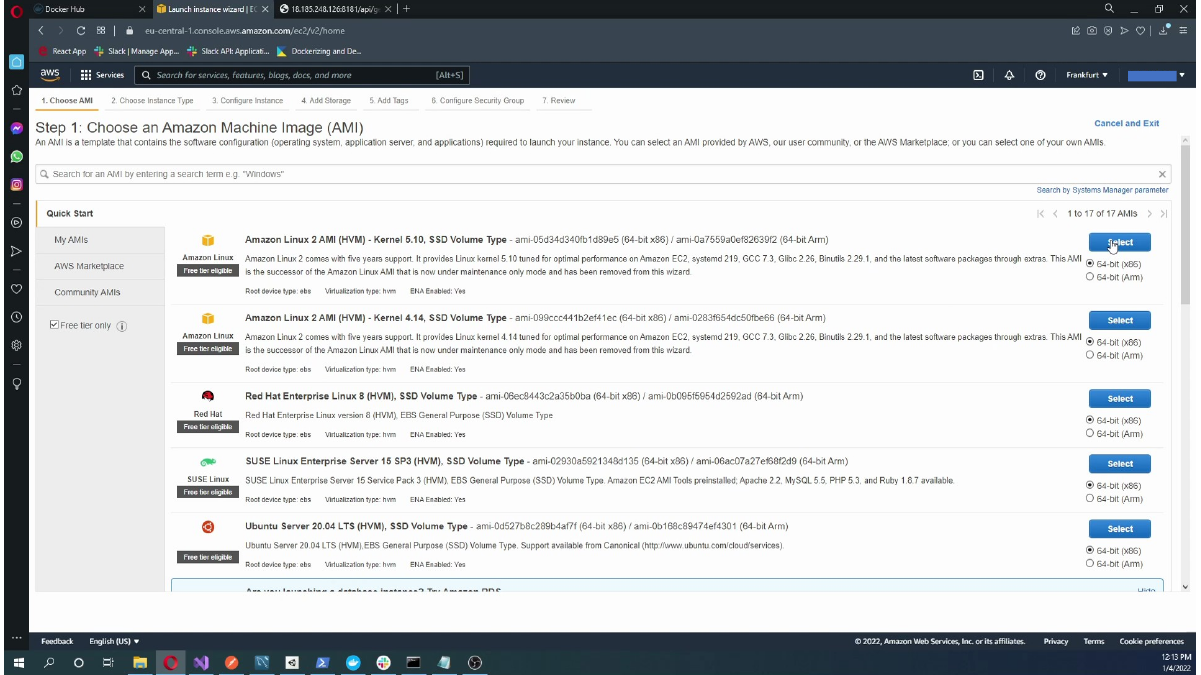
Here, we review available Amazon Machine Images.
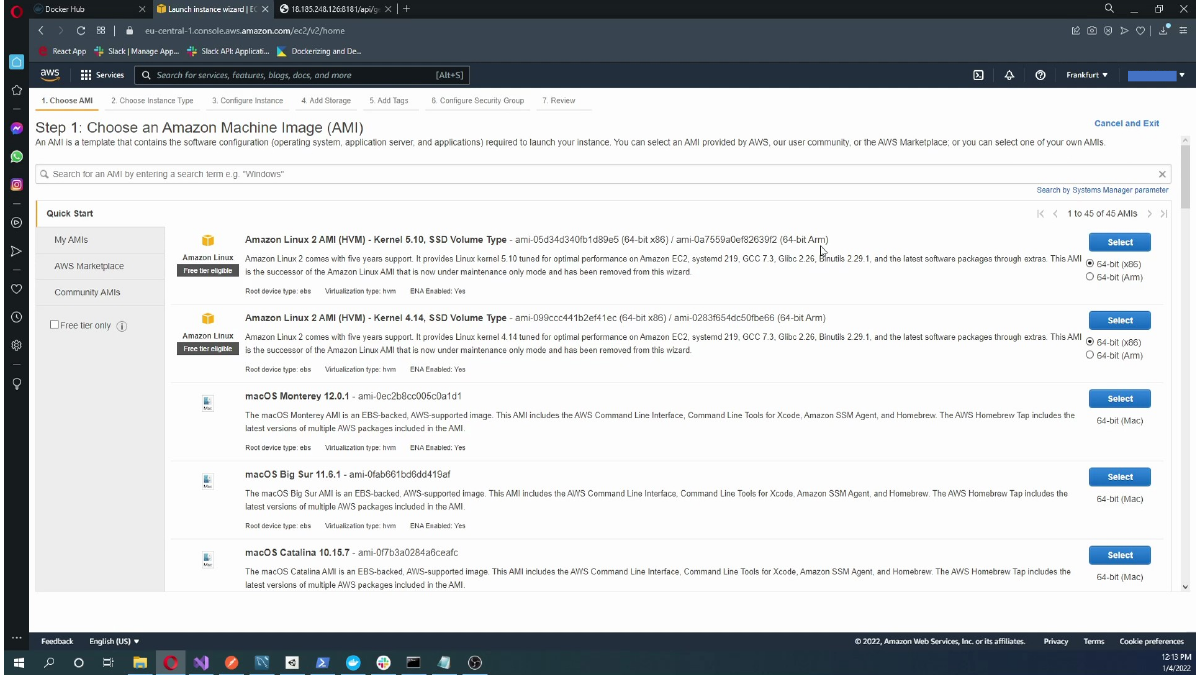
Here, we select a Linux AMI for the EC2 instance.
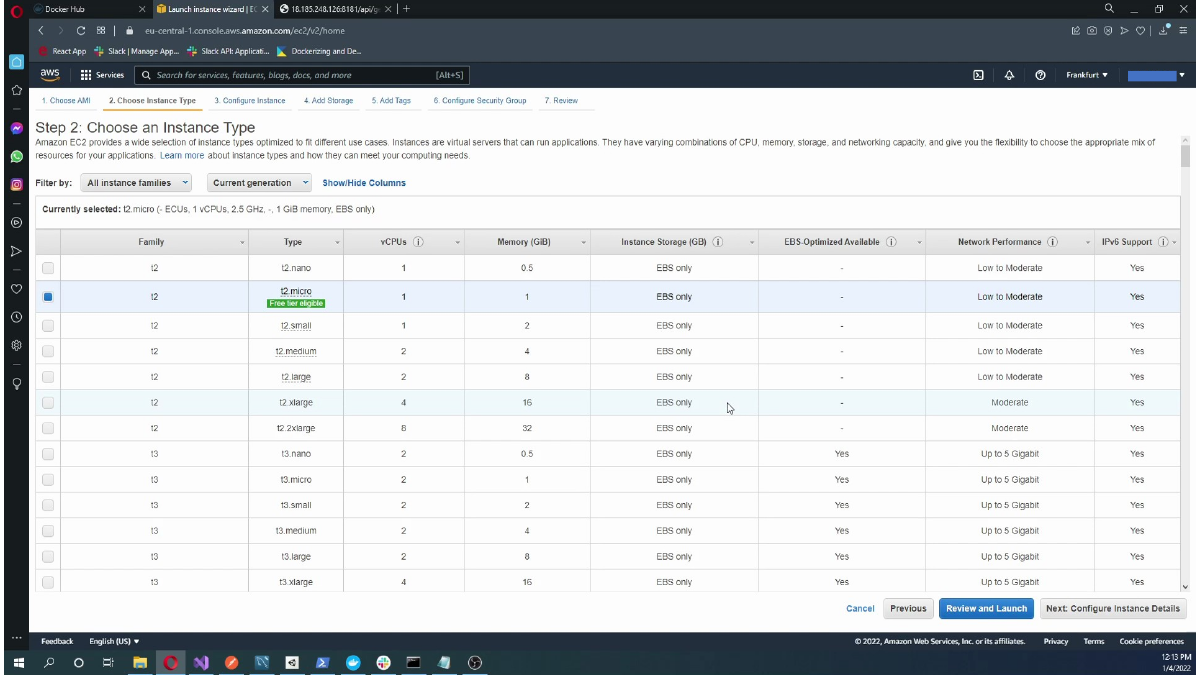
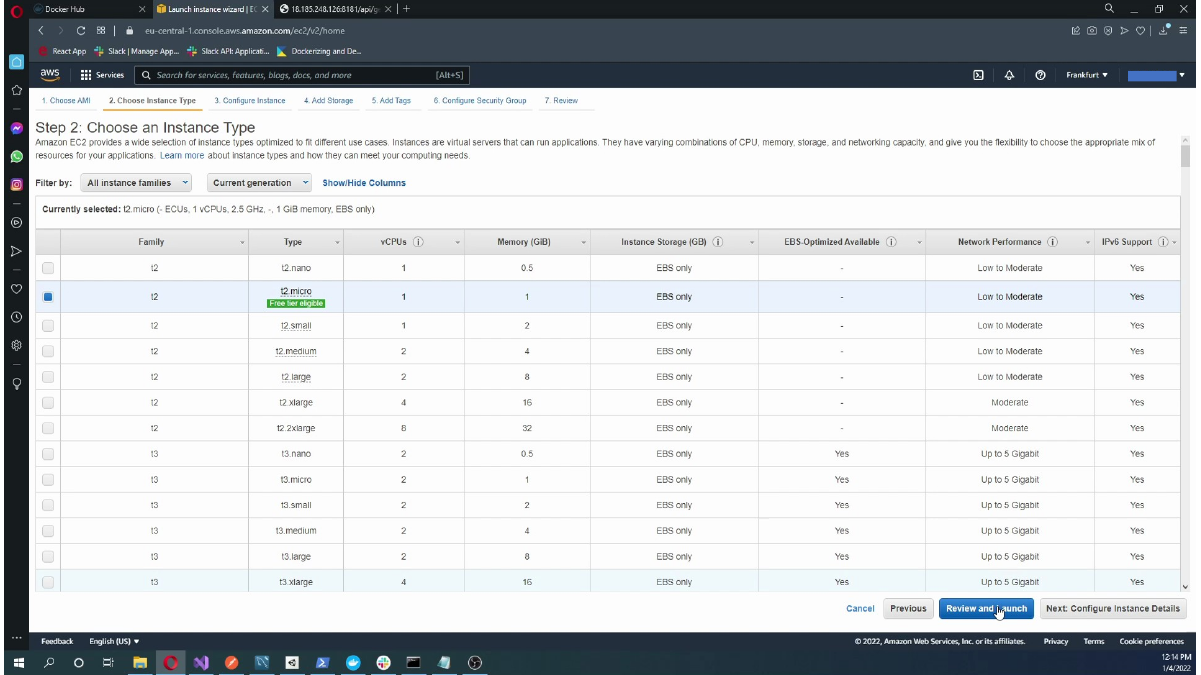
Choose an instance type that fits the expected workload. For a learning or test setup, a low-cost or free-tier eligible type is usually enough. Then review networking, storage, and tags.
This screen shows Configuring EC2 instance details.
This screen shows Configuring storage for the EC2 instance.
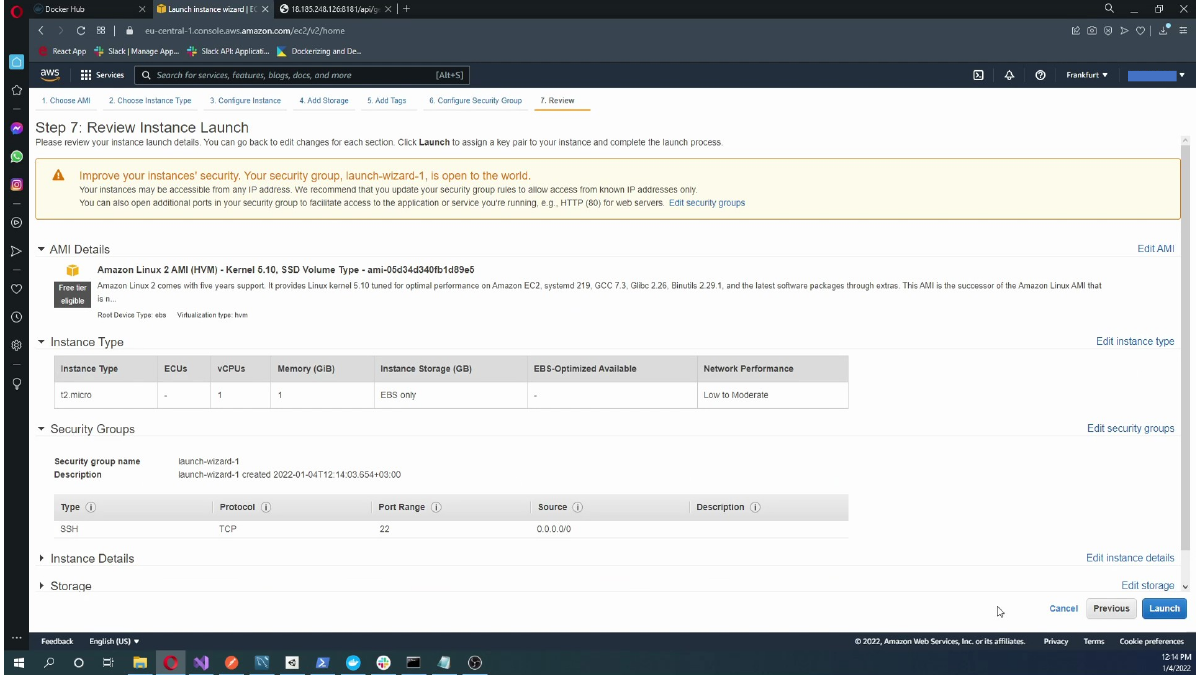
Here, we add optional tags to the EC2 instance.
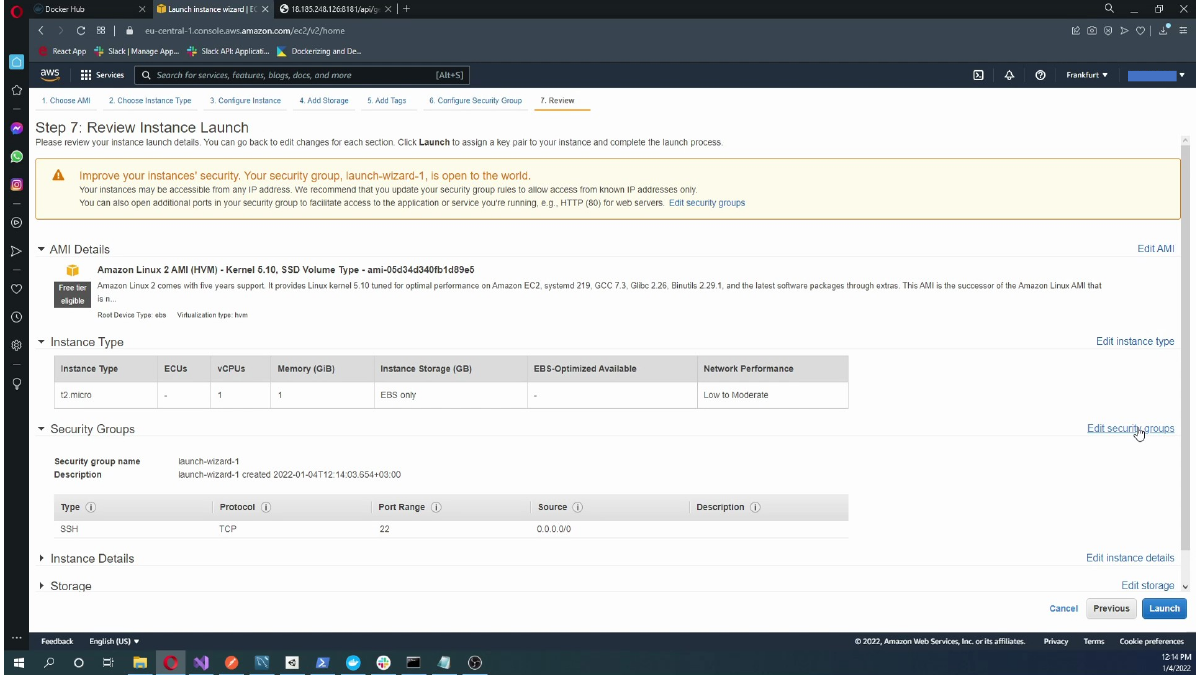
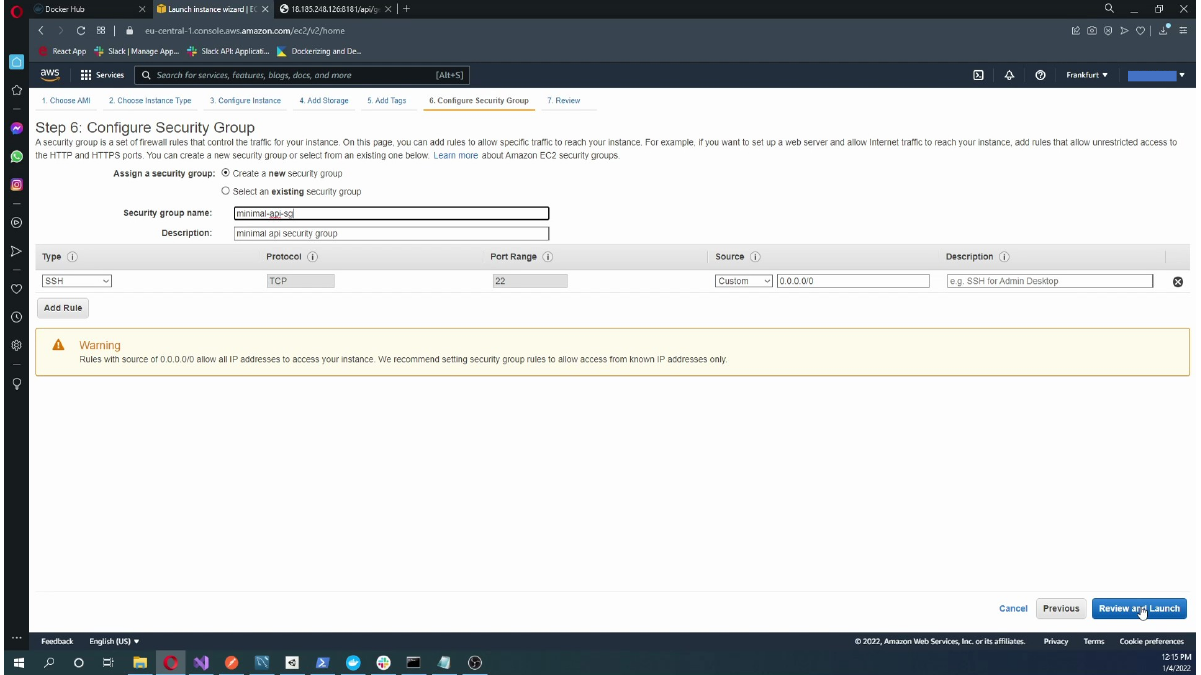
Configure the first security group rules during instance creation. SSH is needed for server access. The web/API port can also be added now, or it can be adjusted later from the security group screen.
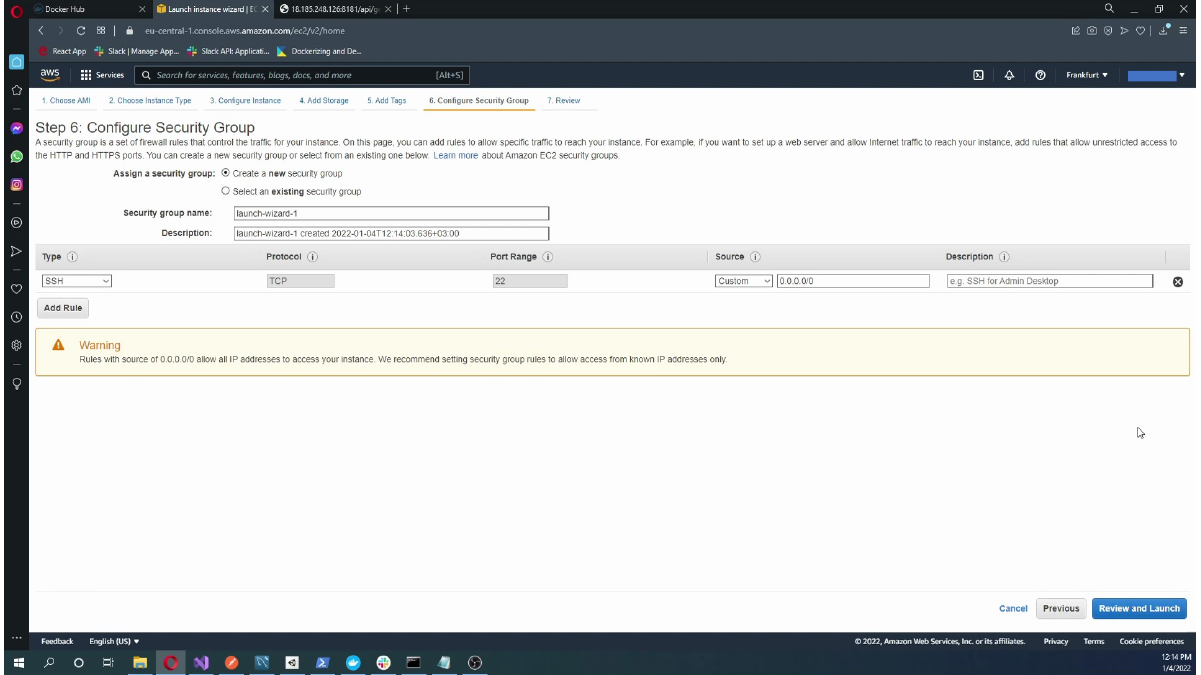
Here, we review the initial EC2 security group rule.
Review the instance settings before launching. When AWS asks for a key pair, create or select one and download the private key file. Keep this file safe because it is required for SSH access.
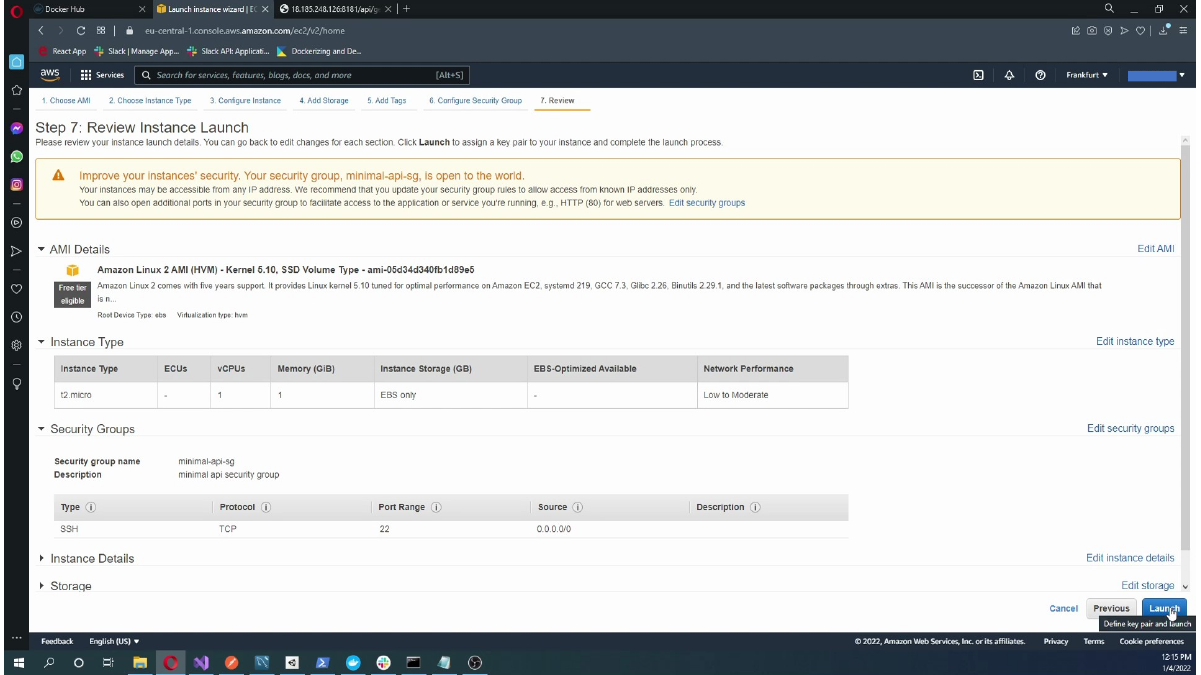
Here, we open the EC2 key pair selection dialog.
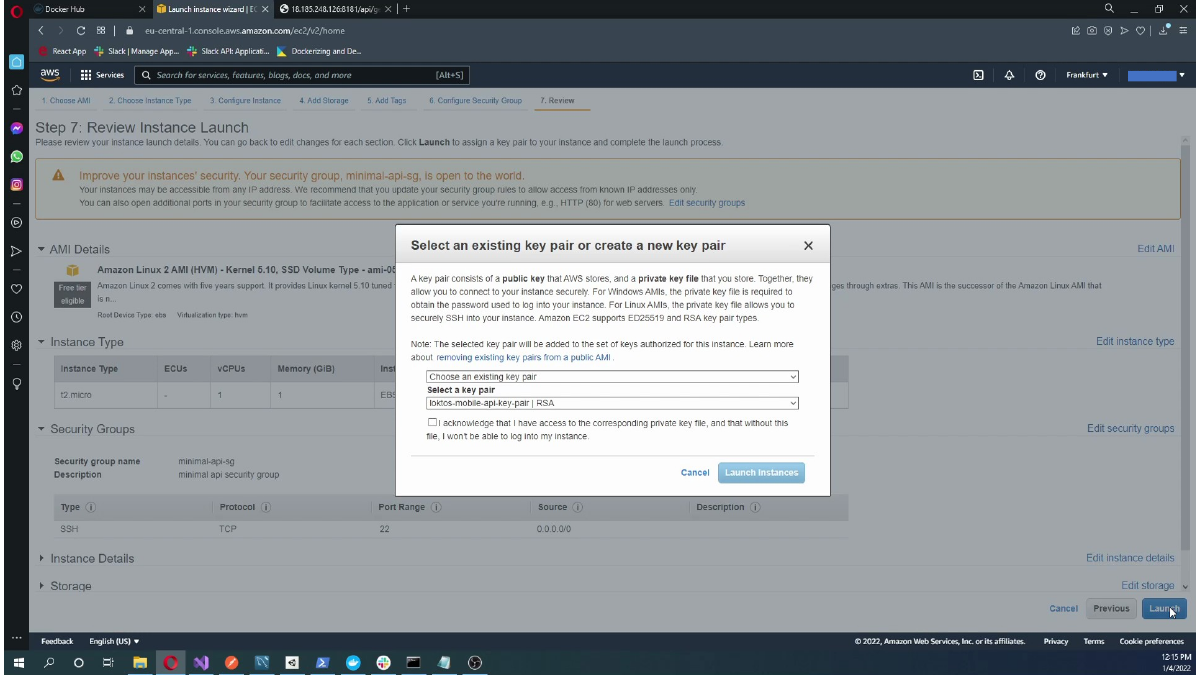
This screen shows Naming or selecting the EC2 key pair.
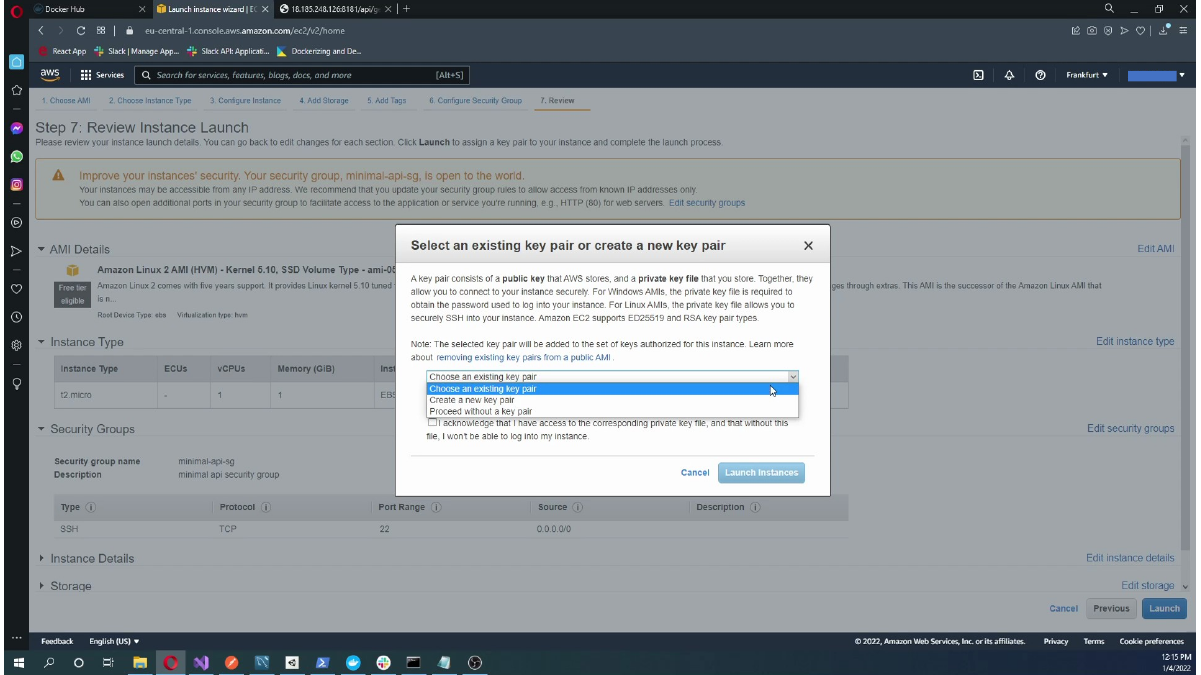
Here, we download the EC2 private key pair file.
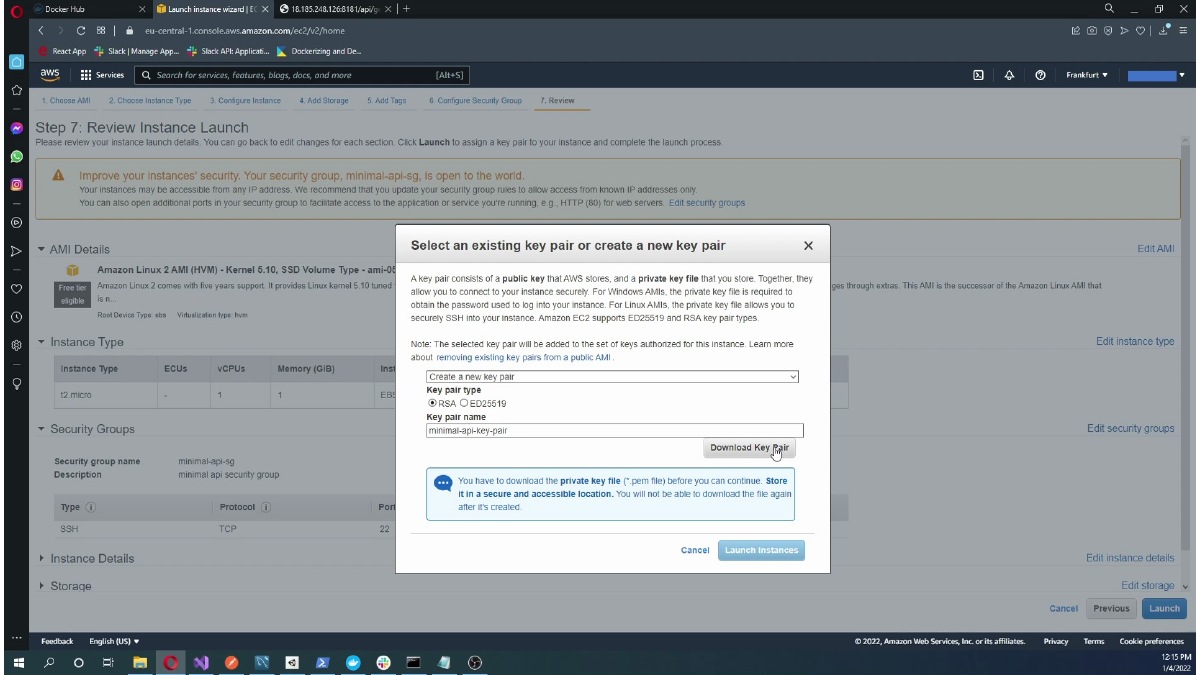
Here, we save the EC2 private key file locally.
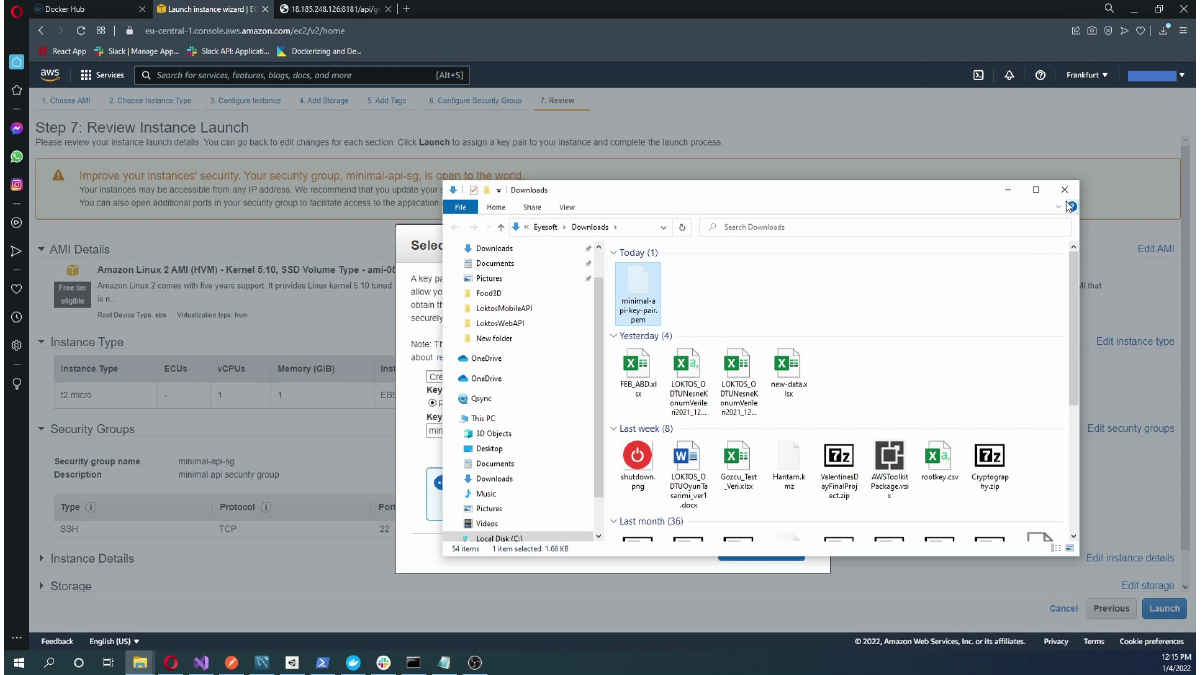
Here, we confirm the downloaded PEM key file on the desktop.
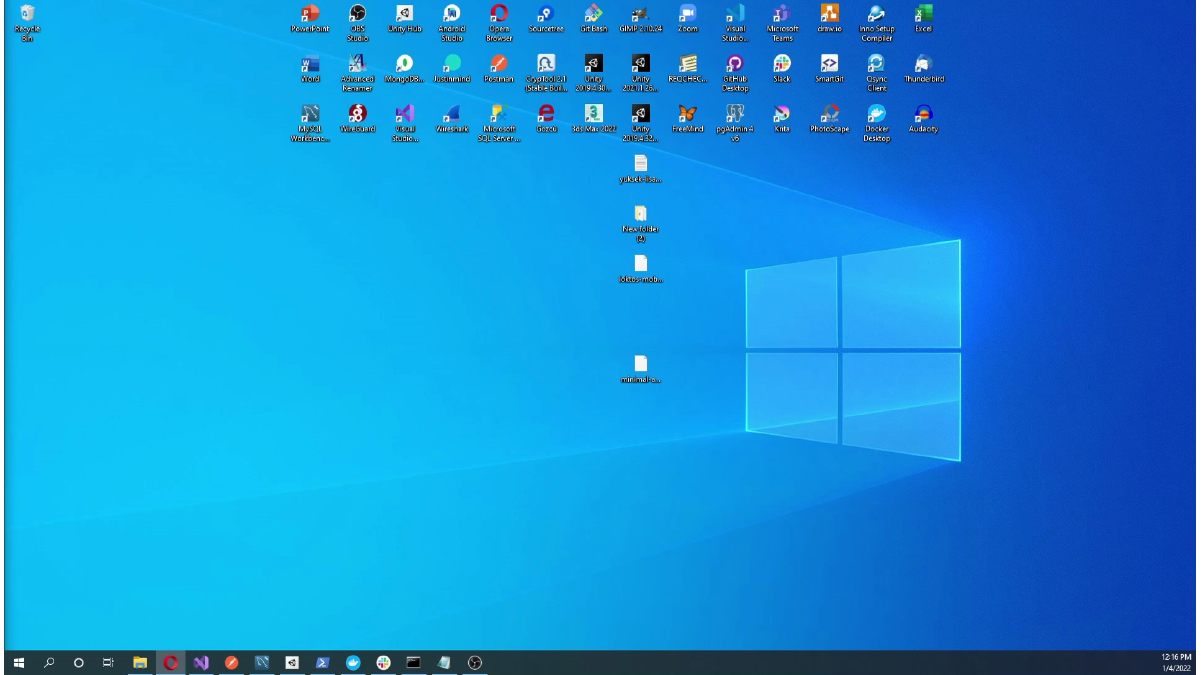
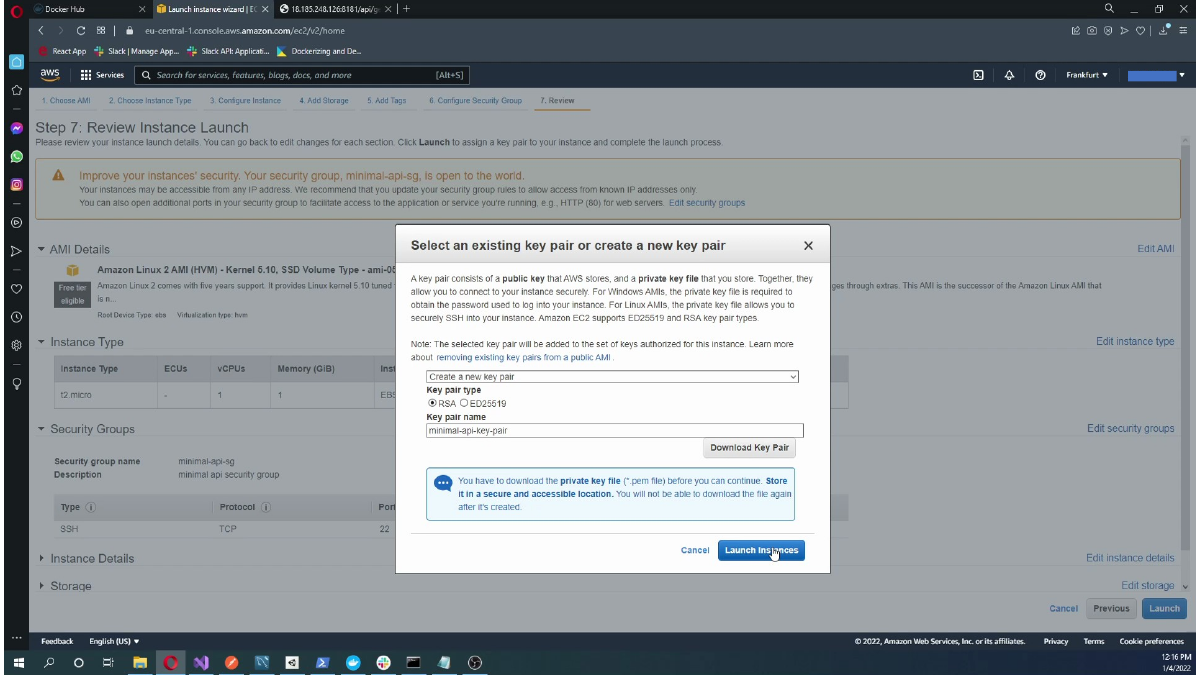
After the key pair is ready, launch the instance and wait until it reaches a running state.
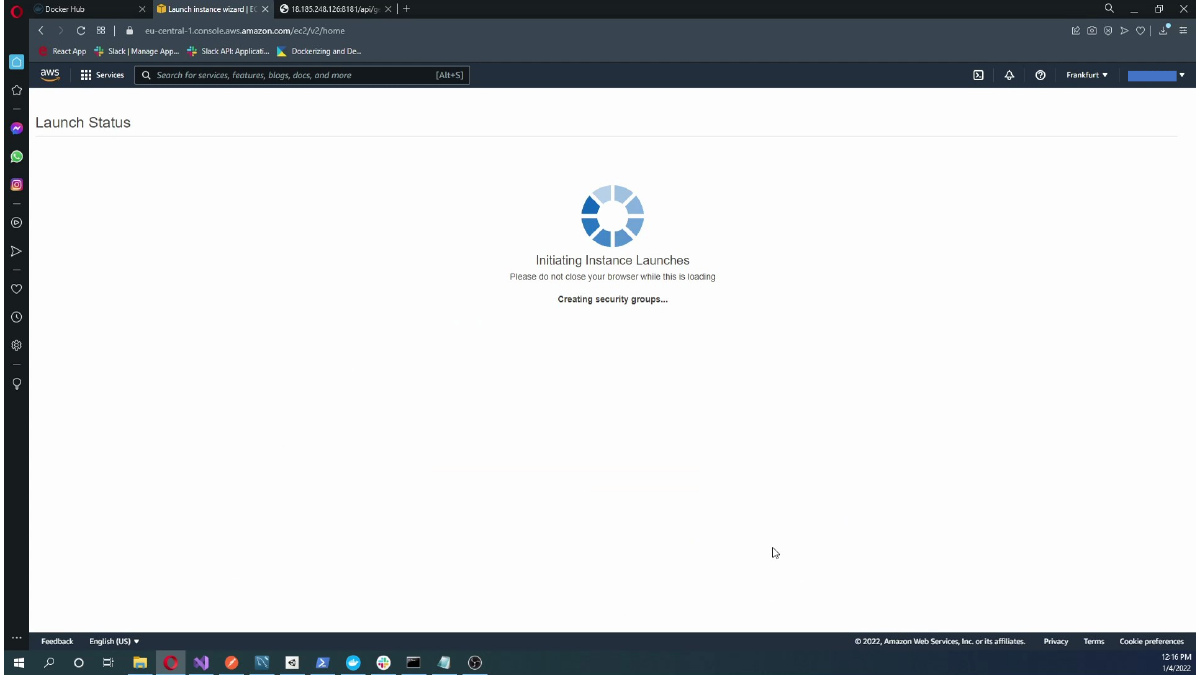
This screen shows EC2 instance launch status screen.
This screen shows EC2 instance launch completed successfully.
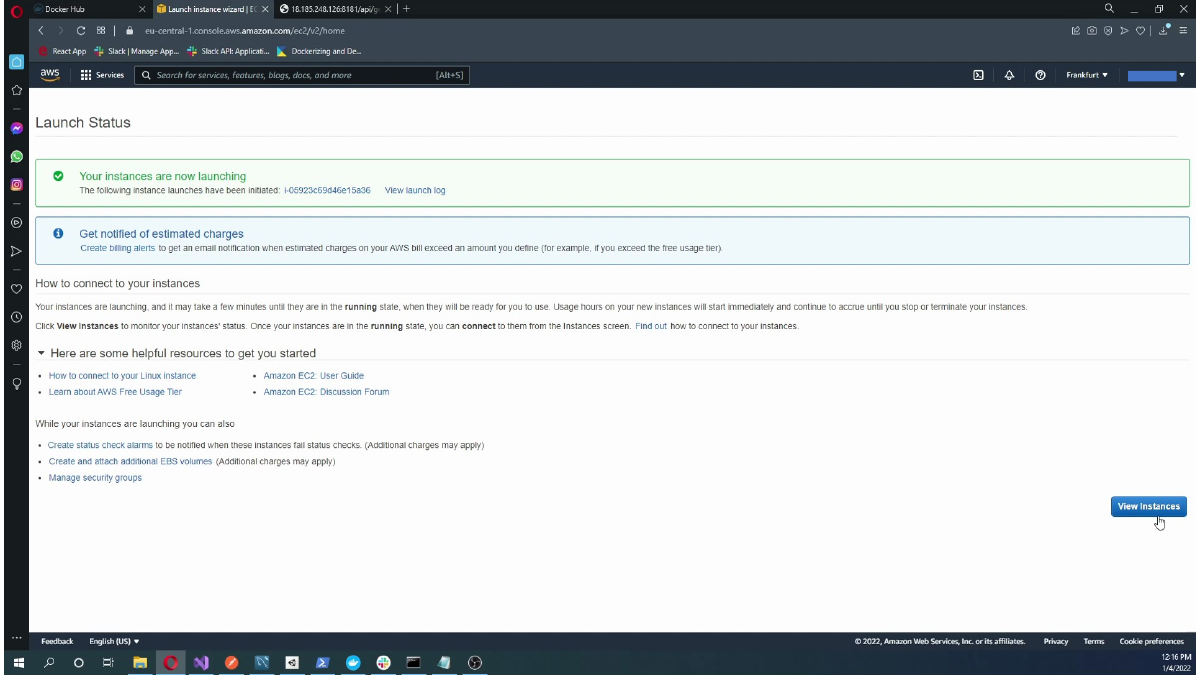
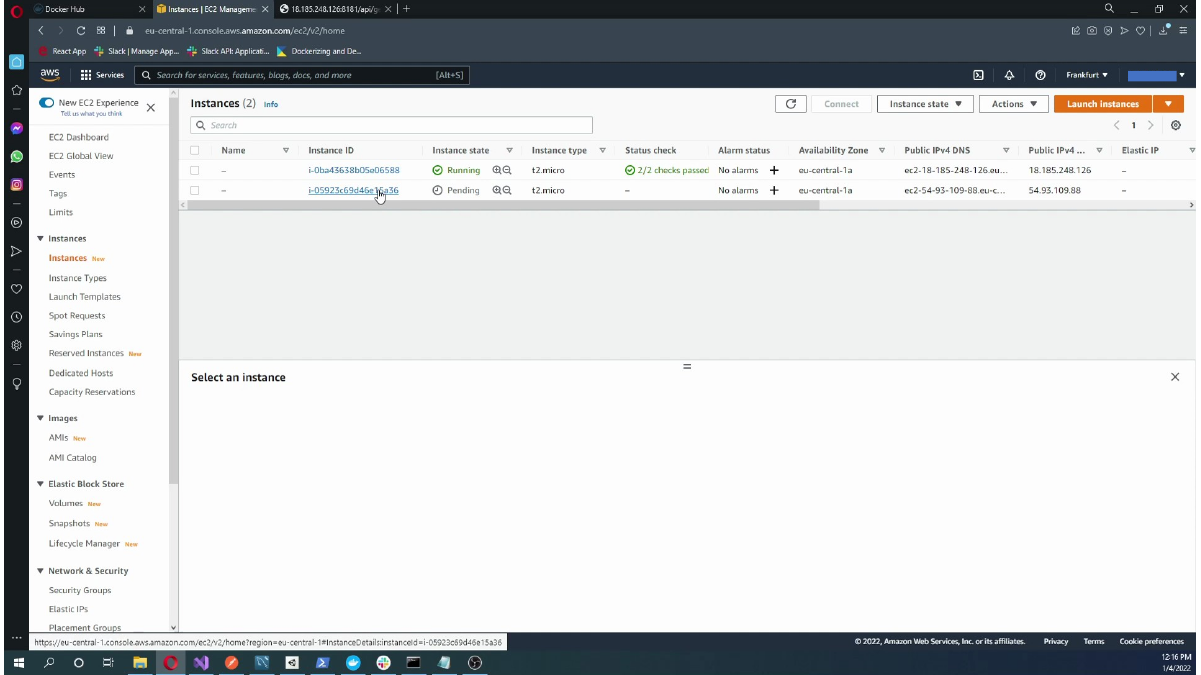
Here, we view the newly created EC2 instance in the instances list.
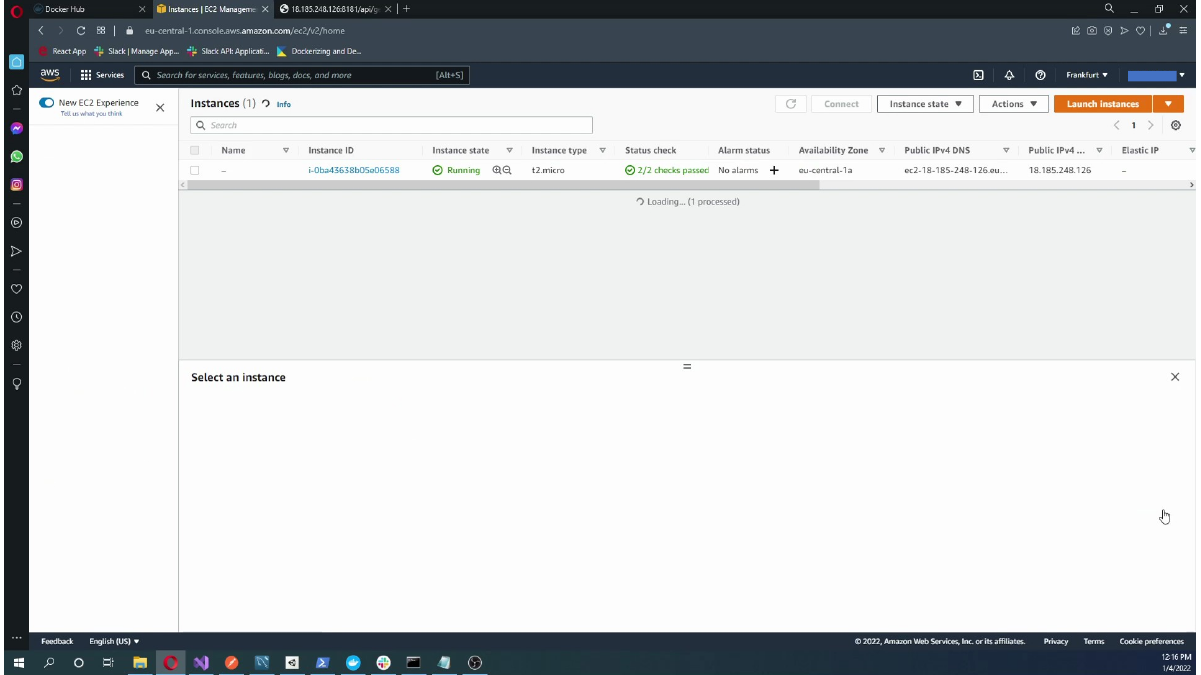
Here, we confirm the EC2 instance is running.
Opening the Required Ports
The instance must allow inbound traffic for SSH and for the API endpoint. In this example, the Web API is exposed over an HTTP port, so the related rule must exist in the security group.
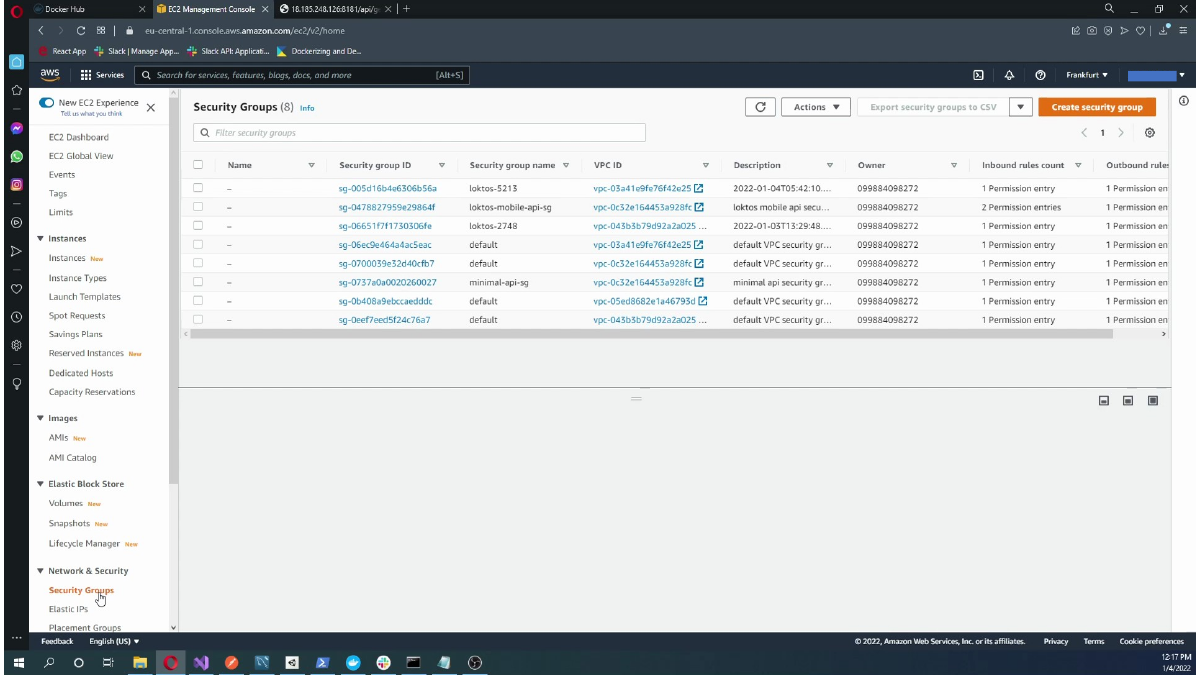
Here, we view inbound rules for the selected EC2 security group.
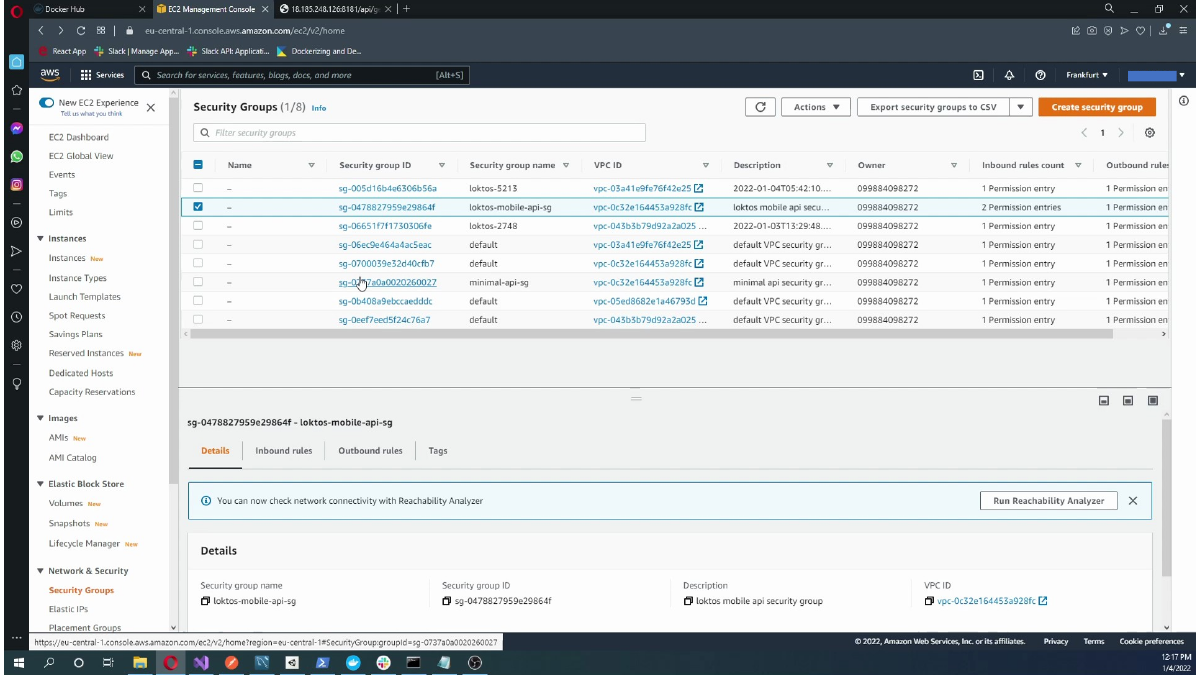
Here, we review the security group details and inbound rules.
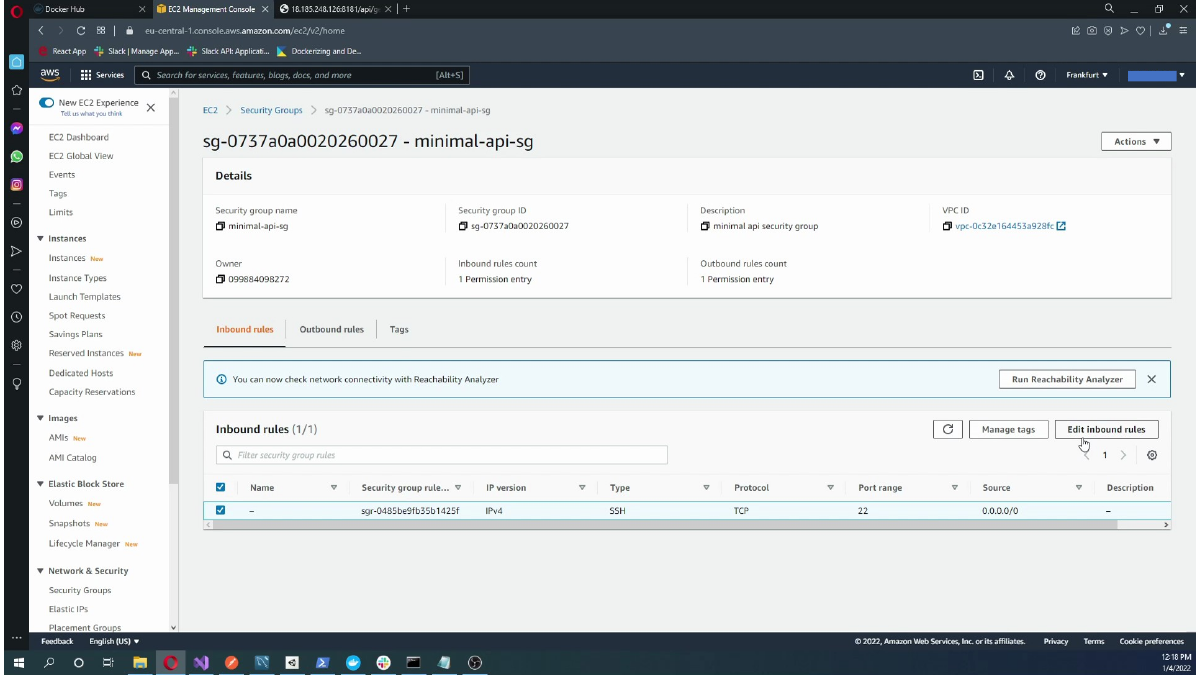
Open the inbound rule editor and add the port that will be used by the API container. For personal tests you may use a broad source range, but for production the source should be restricted as much as possible.
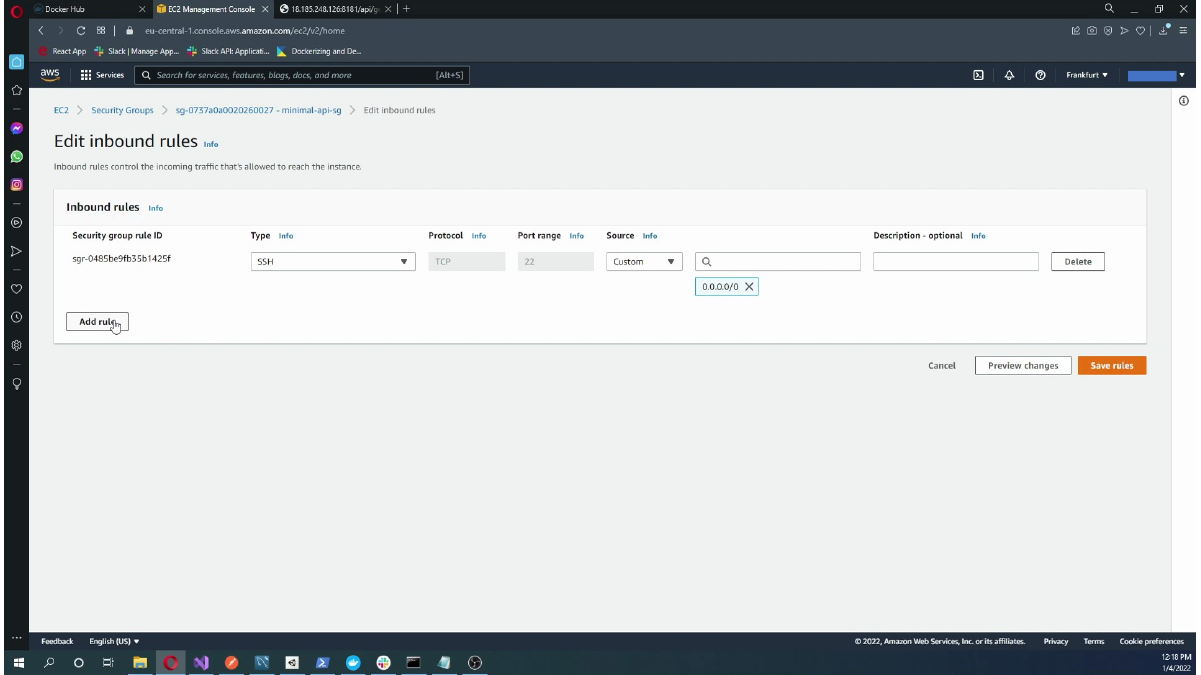
Here, we add an inbound rule for the API port.
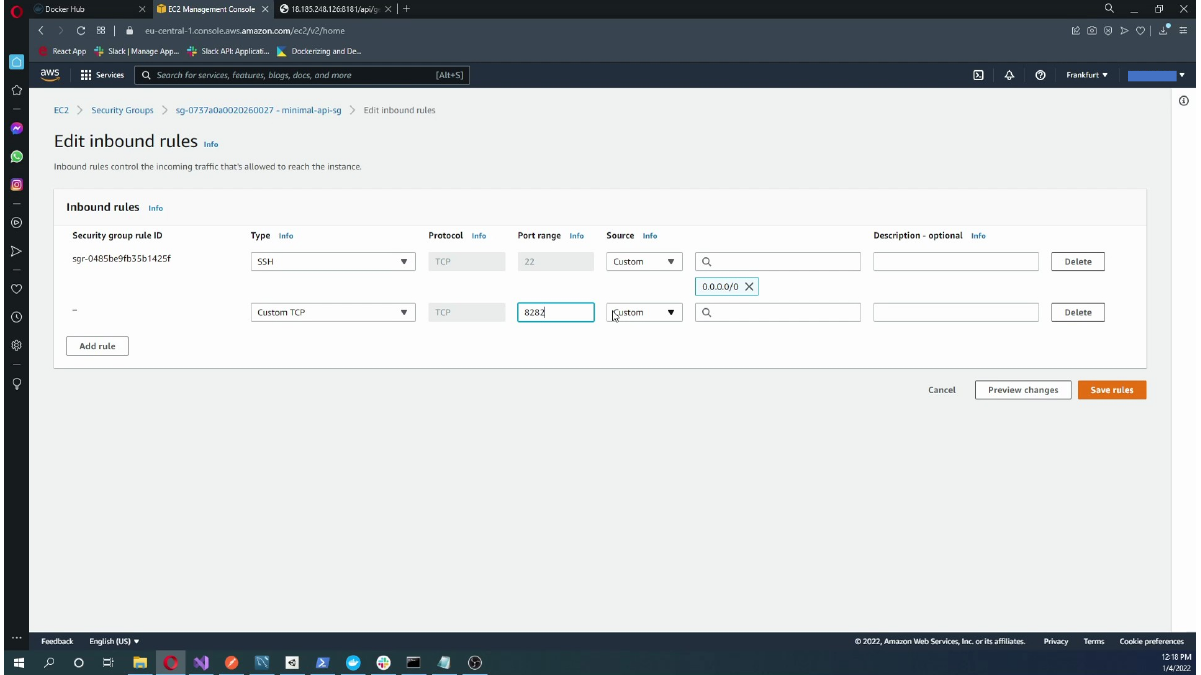
Here, we choose the source range for the inbound rule.
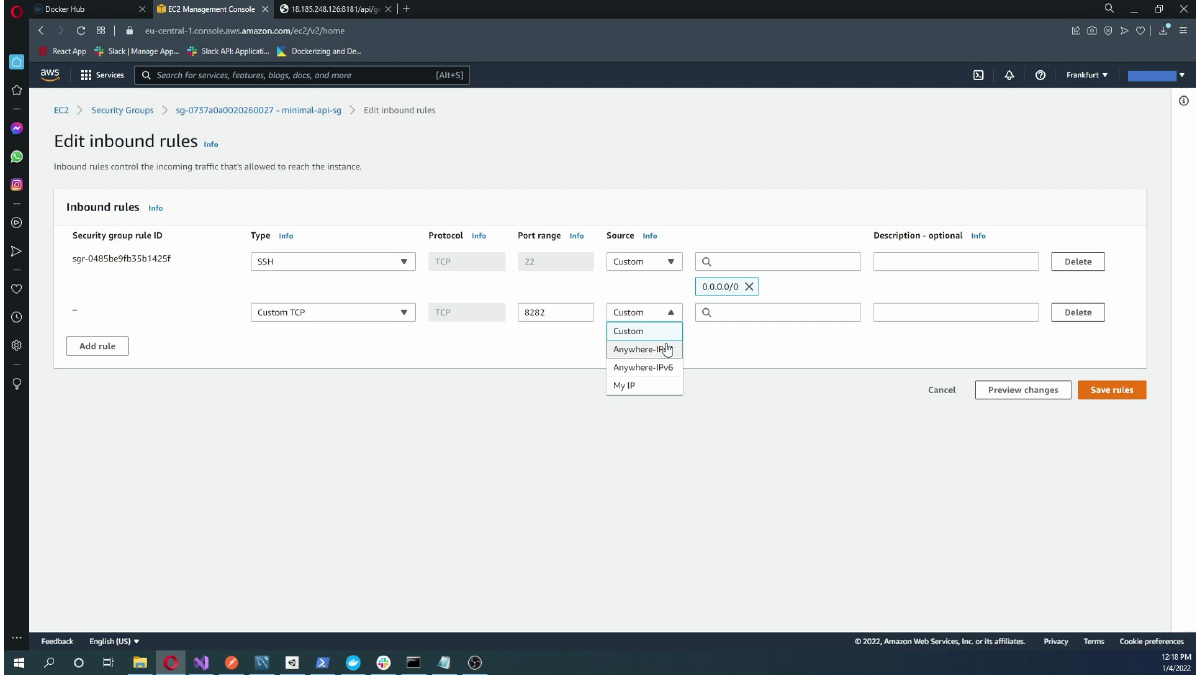
Here, we save the EC2 security group inbound rules.
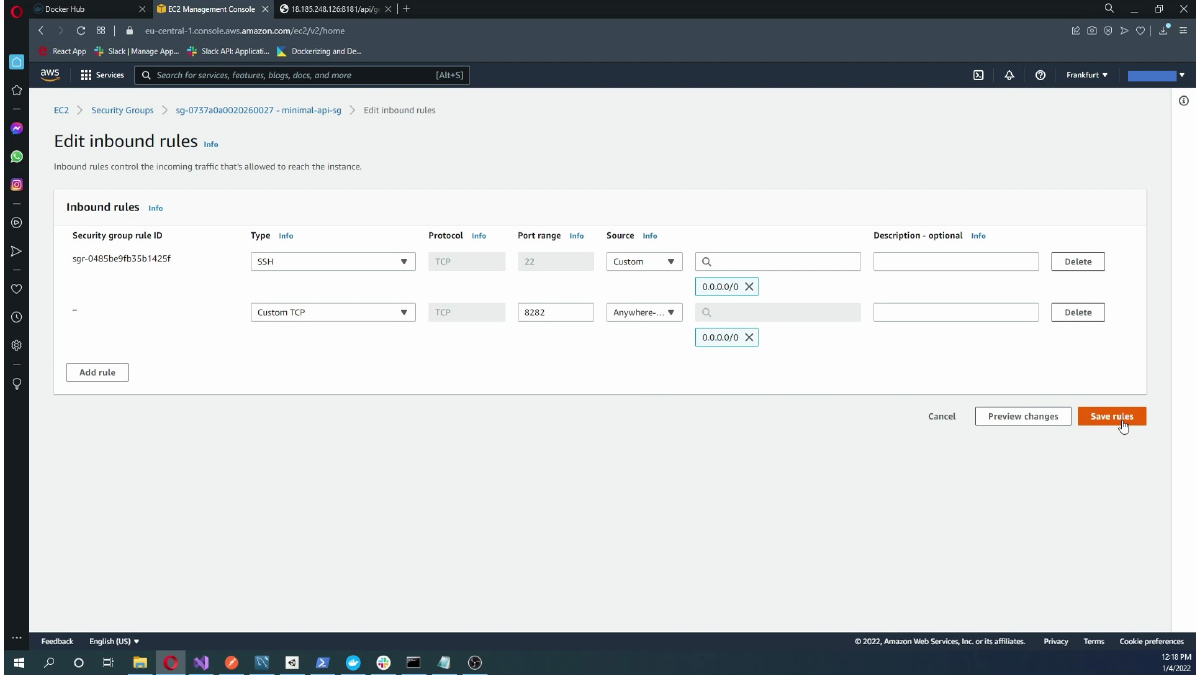
This screen shows EC2 security group inbound rules updated successfully.
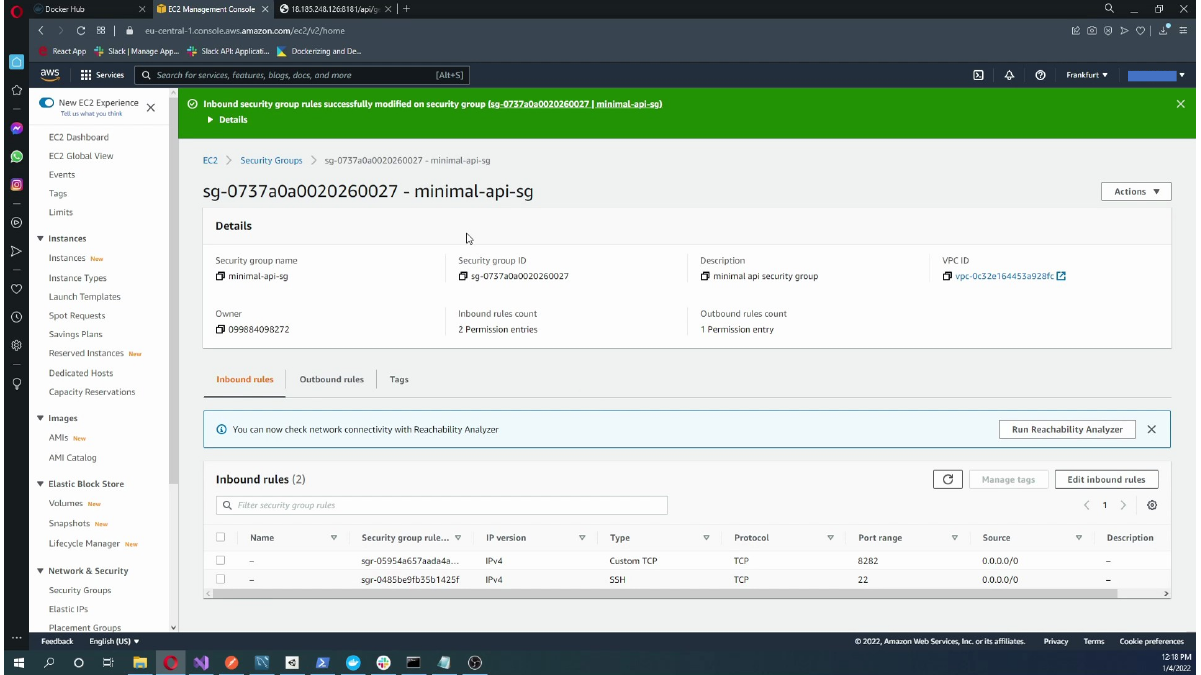
Here, we confirm the new inbound rule is listed.
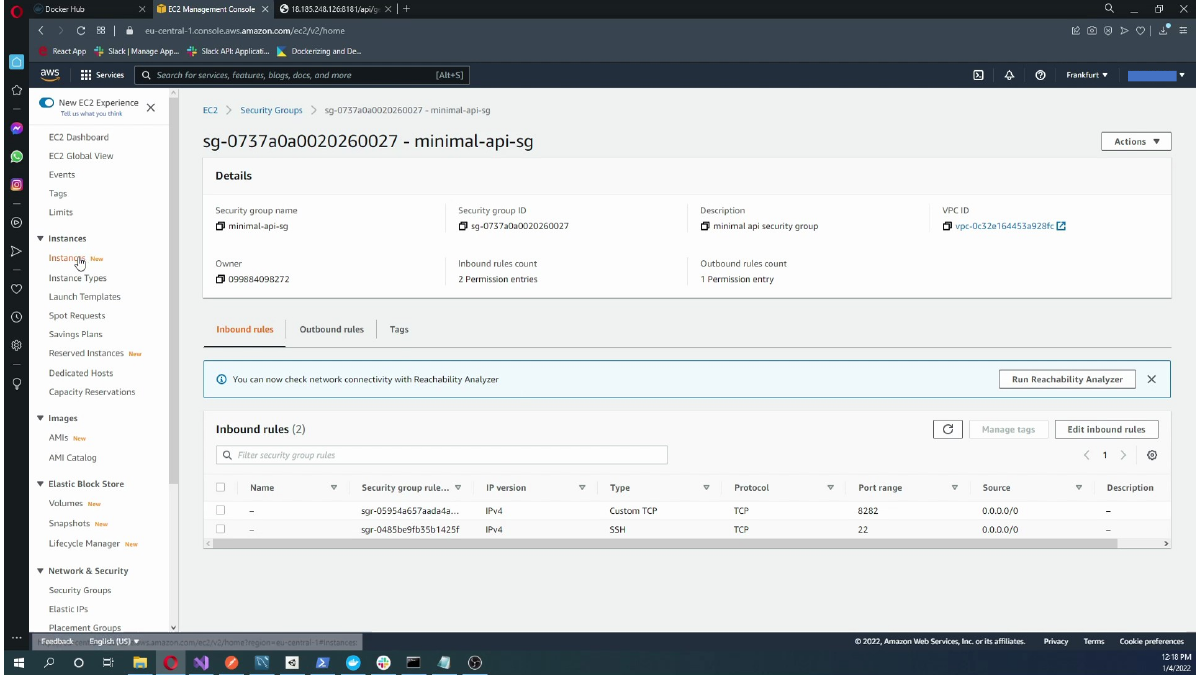
Return to the instance details and copy the public IP or public DNS name. This address will be used for both SSH connection and later API testing.
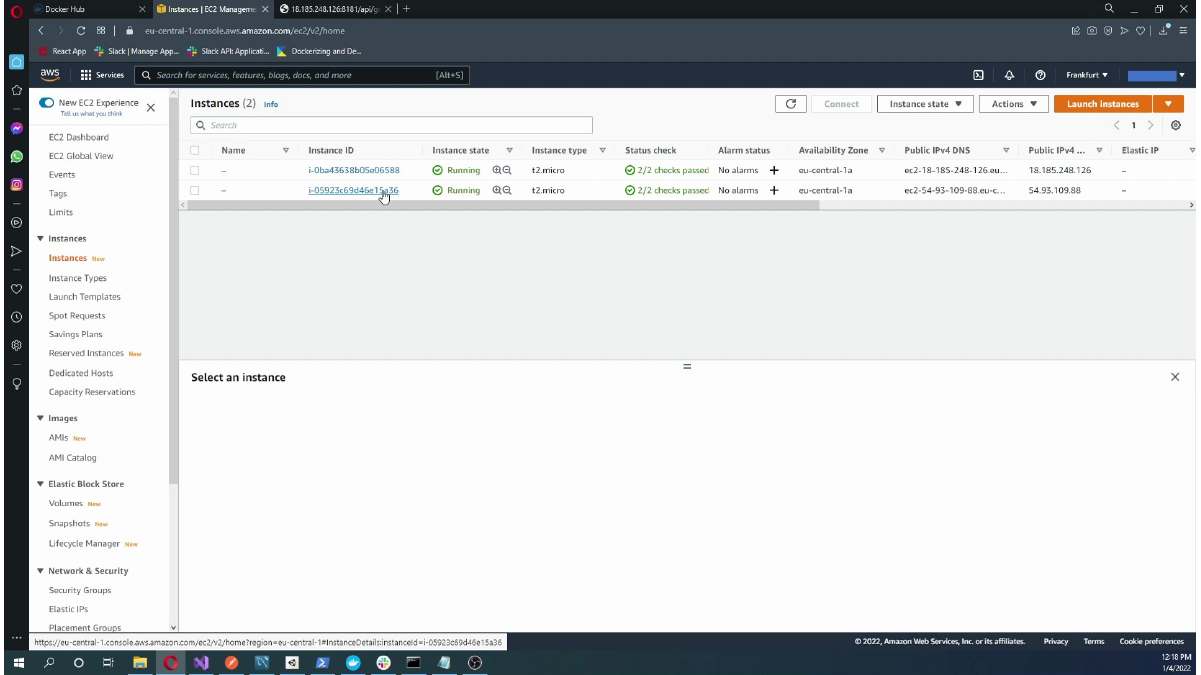
Here, we view the EC2 public IP and public DNS details.
Connecting to EC2 and Installing Docker
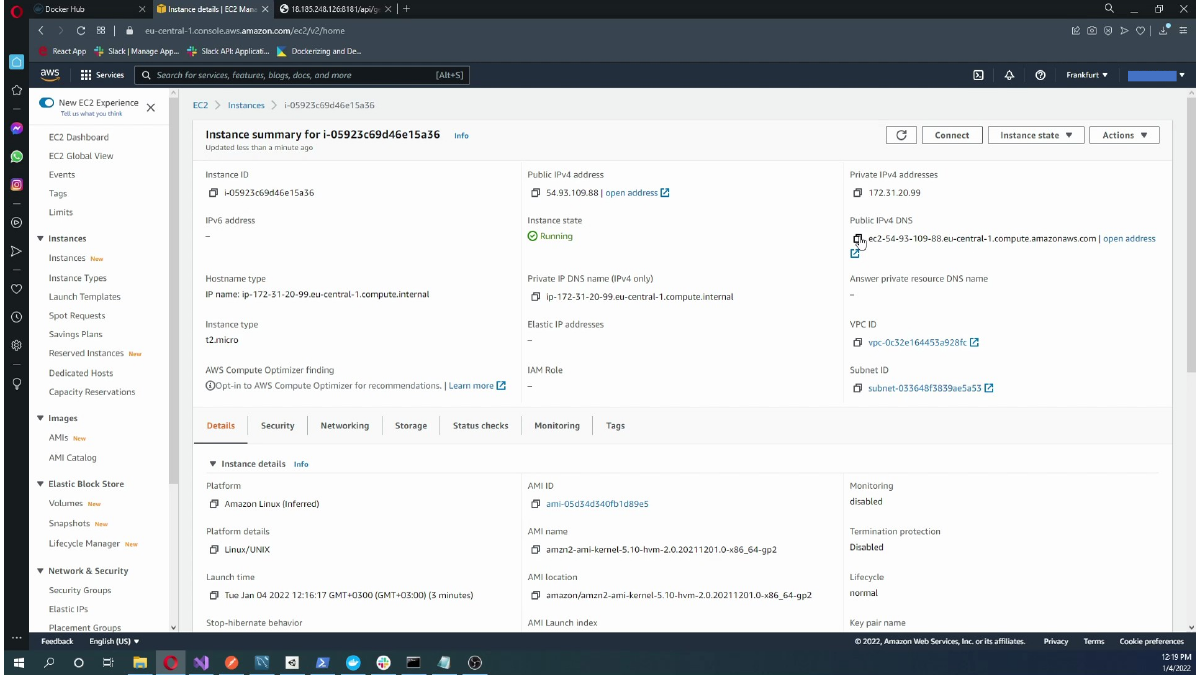
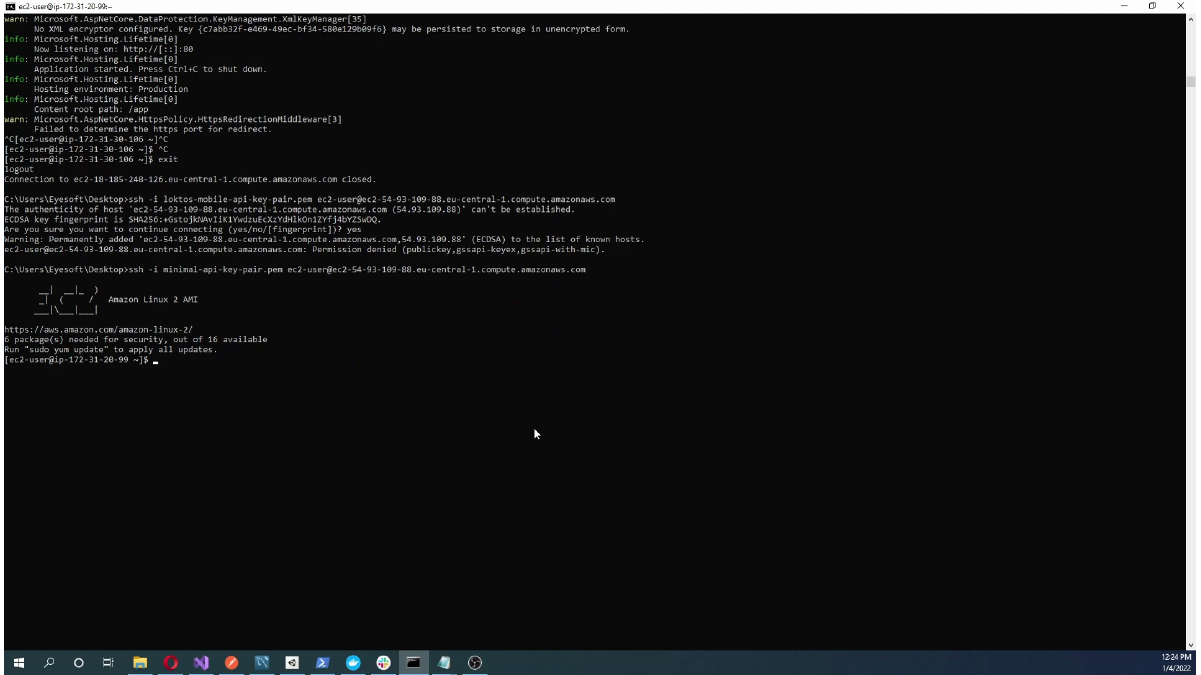
Connect to the EC2 instance with SSH by using the downloaded PEM file. After connecting, update the package repositories and install Docker or the packages required for Docker installation.
The SSH command in the slides uses a PEM key file and the EC2 public DNS address. Replace both values with the key and host name from your own instance:
ssh -i minimal-api-key-pair.pem ec2-user@ec2-54-93-109-88.eu-central-1.compute.amazonaws.comHere, we connect to the EC2 instance from a terminal with SSH.
After the connection succeeds, update the packages on the Amazon Linux server:
sudo yum updateHere, we run initial package commands after SSH connection.
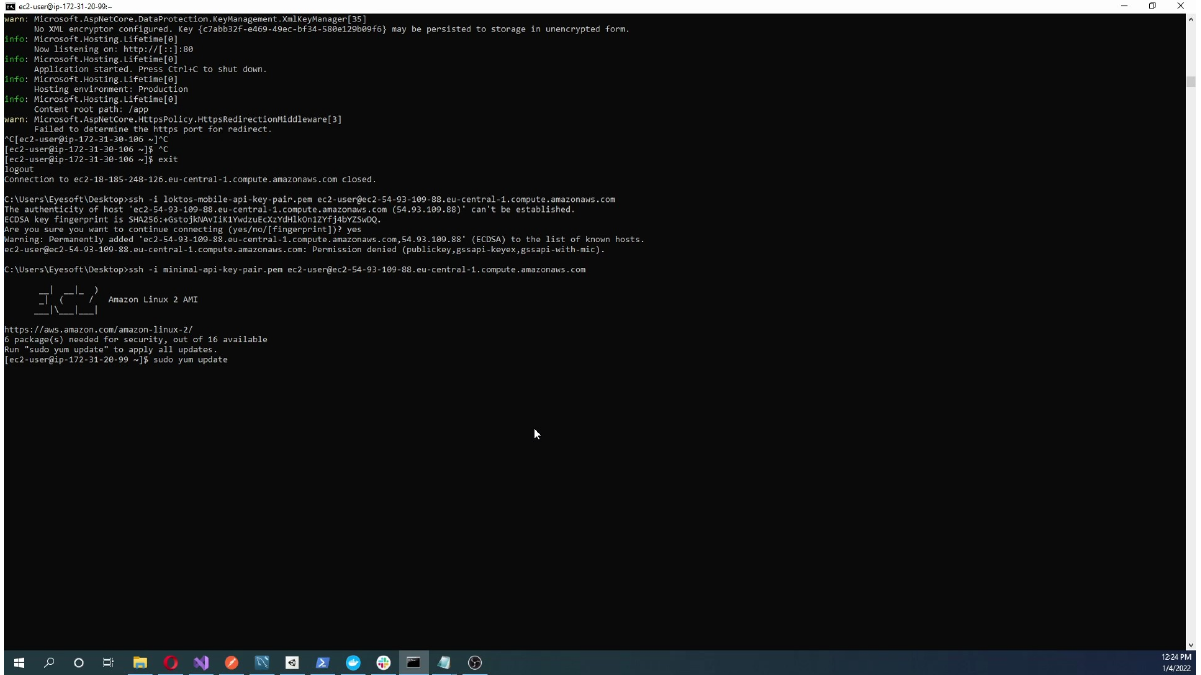
This screen shows Updating package metadata on the EC2 Linux server.
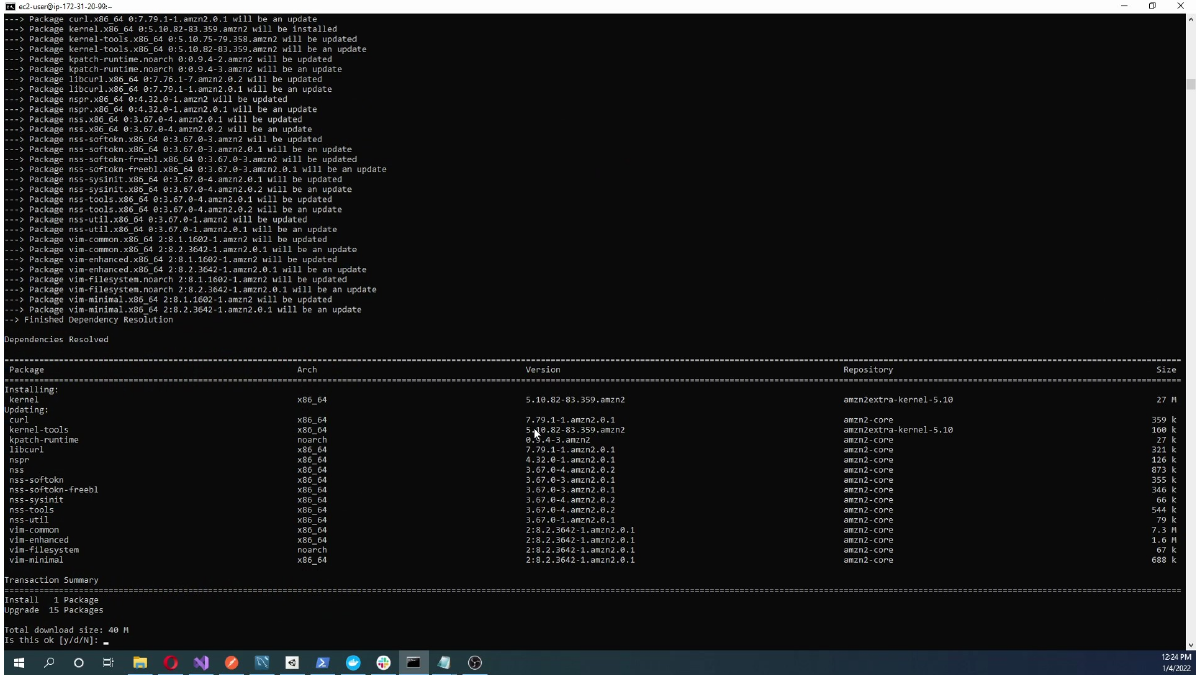
Here, we prepare Docker installation packages on EC2.
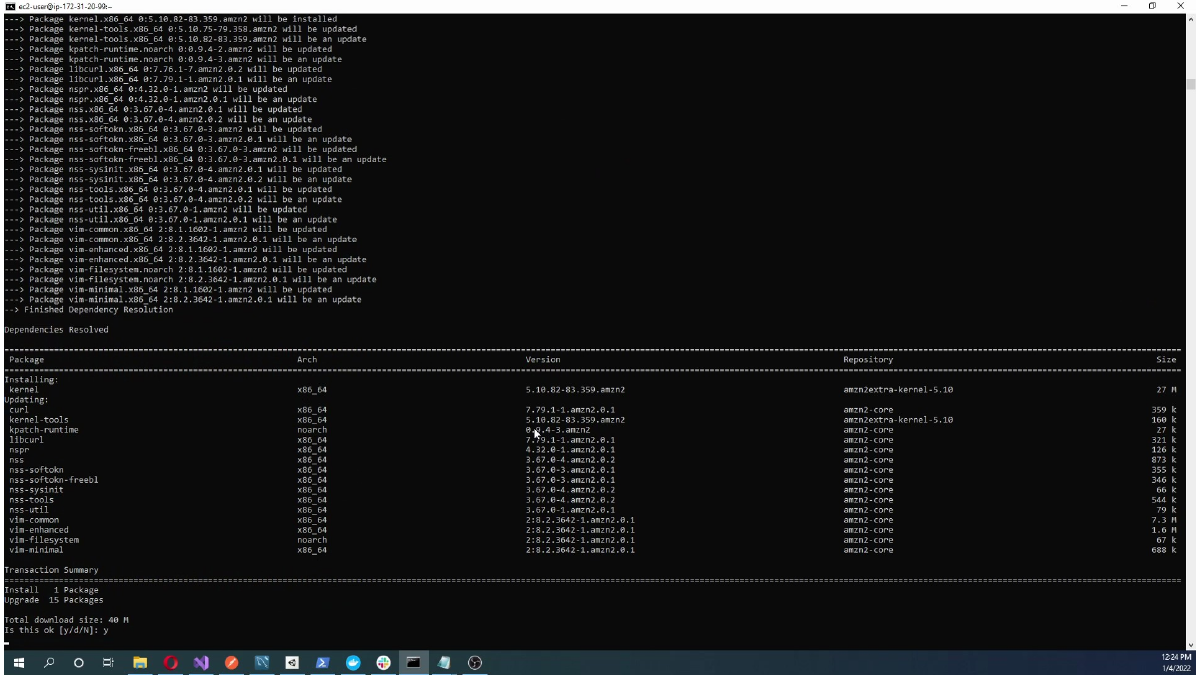
Here, we install Docker dependencies on EC2.
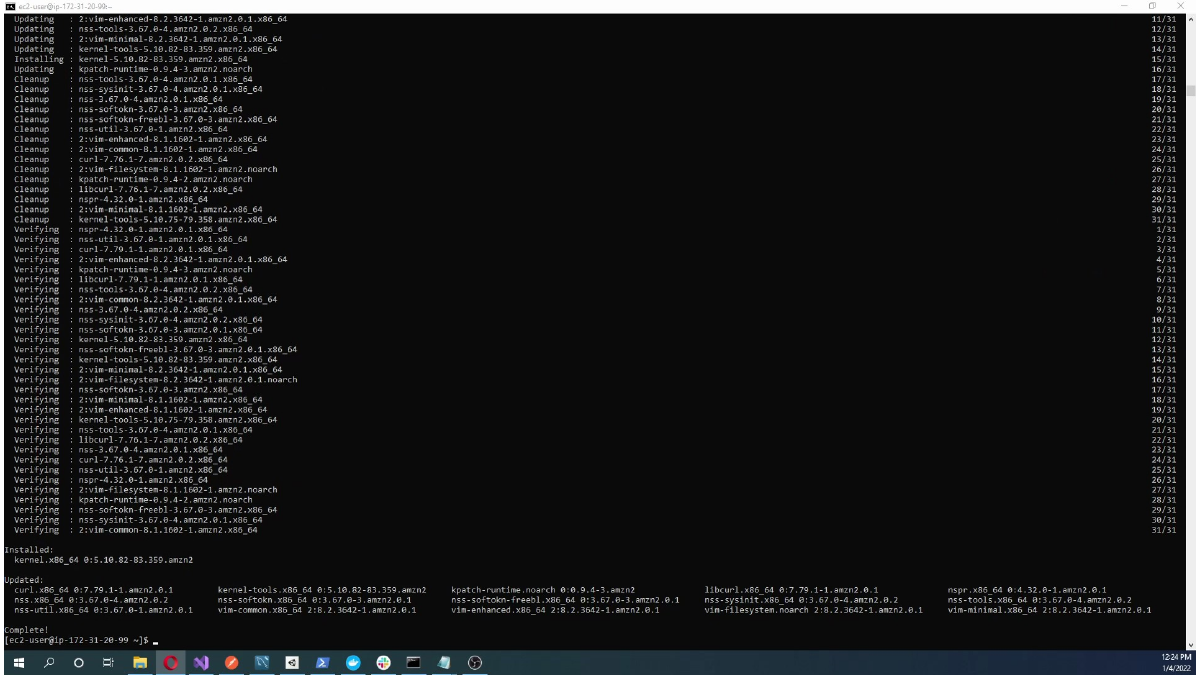
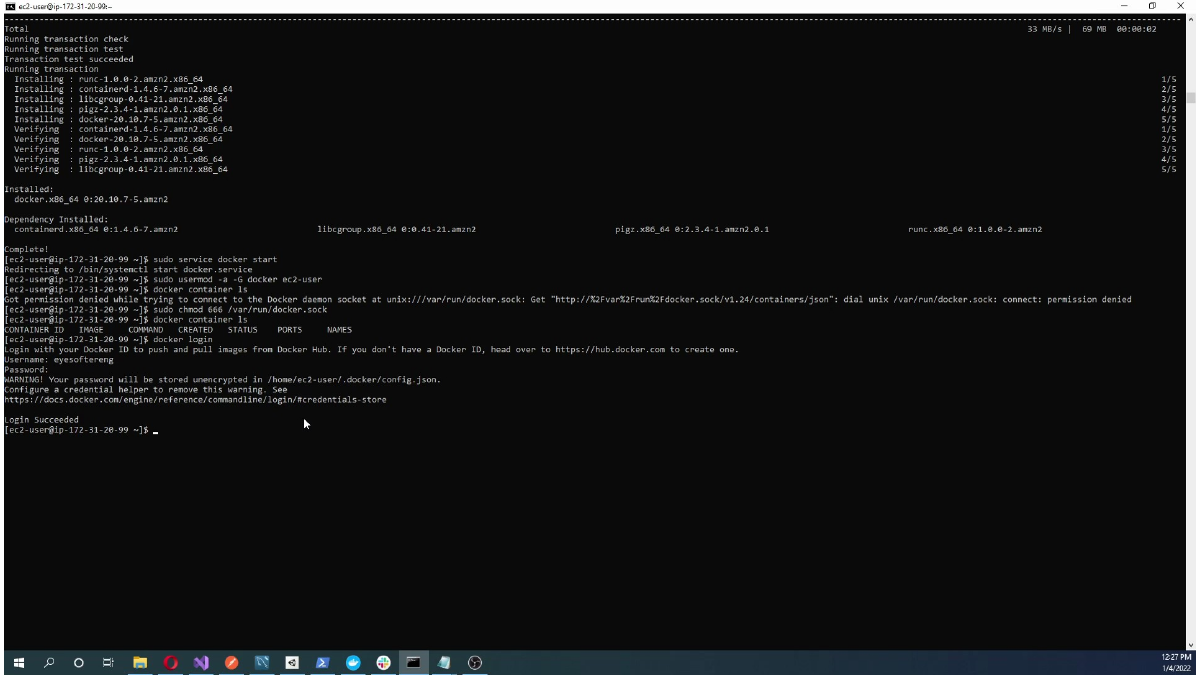
After Docker is installed, enable and start the service if needed. It is also useful to verify Docker with simple status, version, or image/container commands before deploying the API.
For the Amazon Linux 2 setup shown here, Docker is installed with yum, then the service is started:
sudo yum install docker -y
sudo service docker start
If you want to run Docker commands without typing sudo every time, add the EC2 user to the Docker group and reconnect to the SSH session:
sudo usermod -a -G docker ec2-user
docker container ls
In the original terminal flow, a quick socket permission change was also tried after a permission error:
sudo chmod 666 /var/run/docker.sockThat works as a short test workaround, but it is not a good default for production because it opens Docker socket access too broadly. Prefer the Docker group approach, reconnecting, or running Docker commands with sudo.
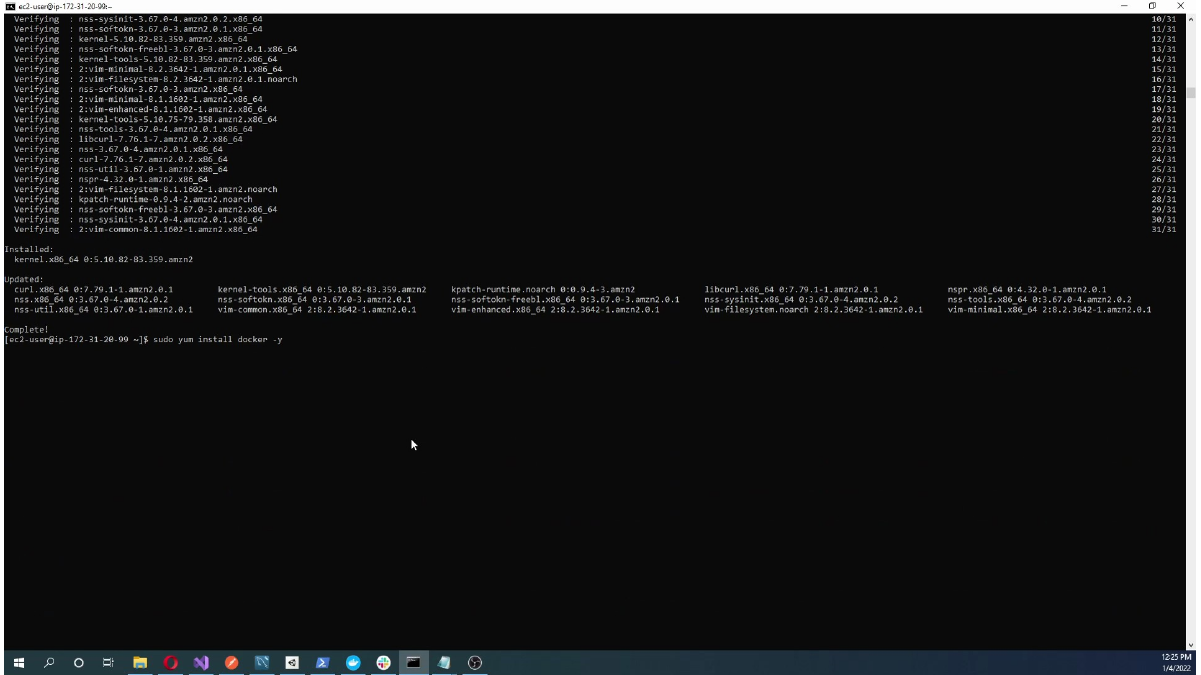
Here, we check Docker installation on the EC2 server.
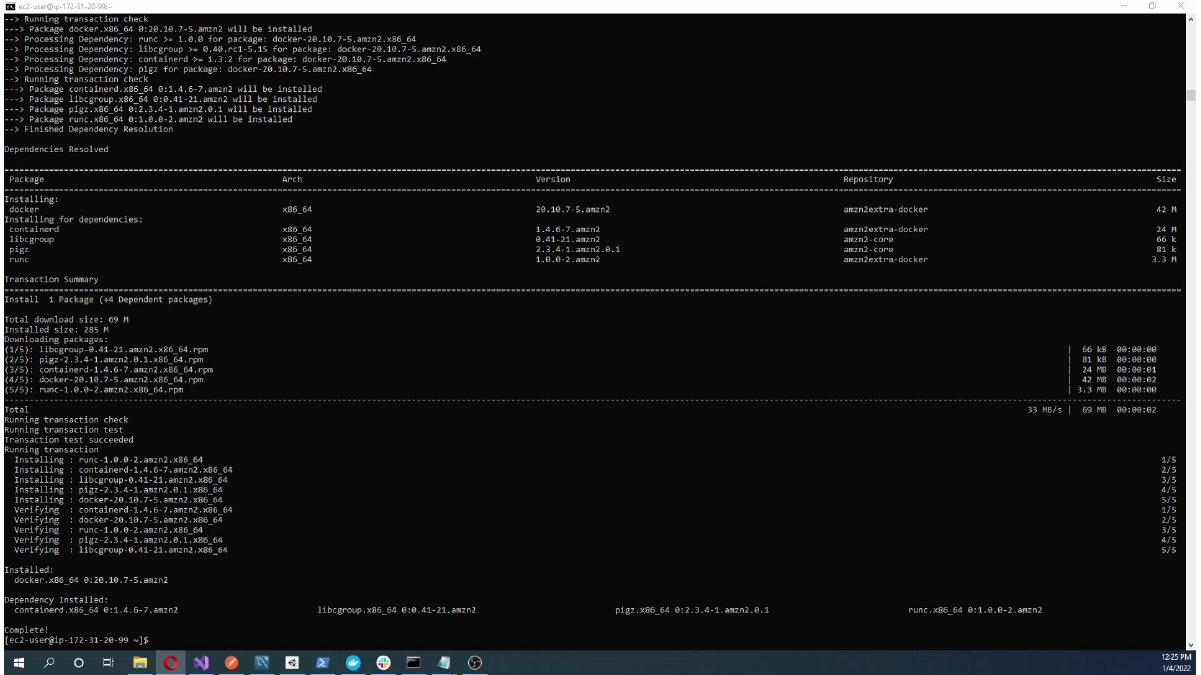
This screen shows Verifying Docker commands and server state.
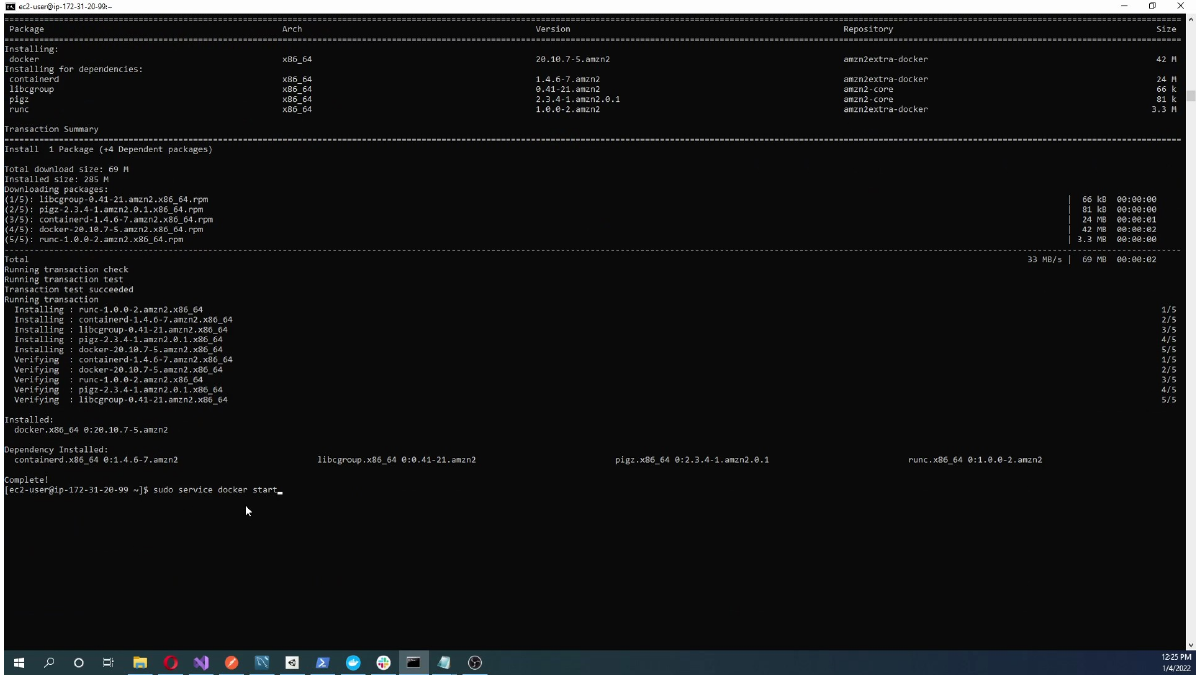
Here, we prepare the EC2 Docker environment for the API image.
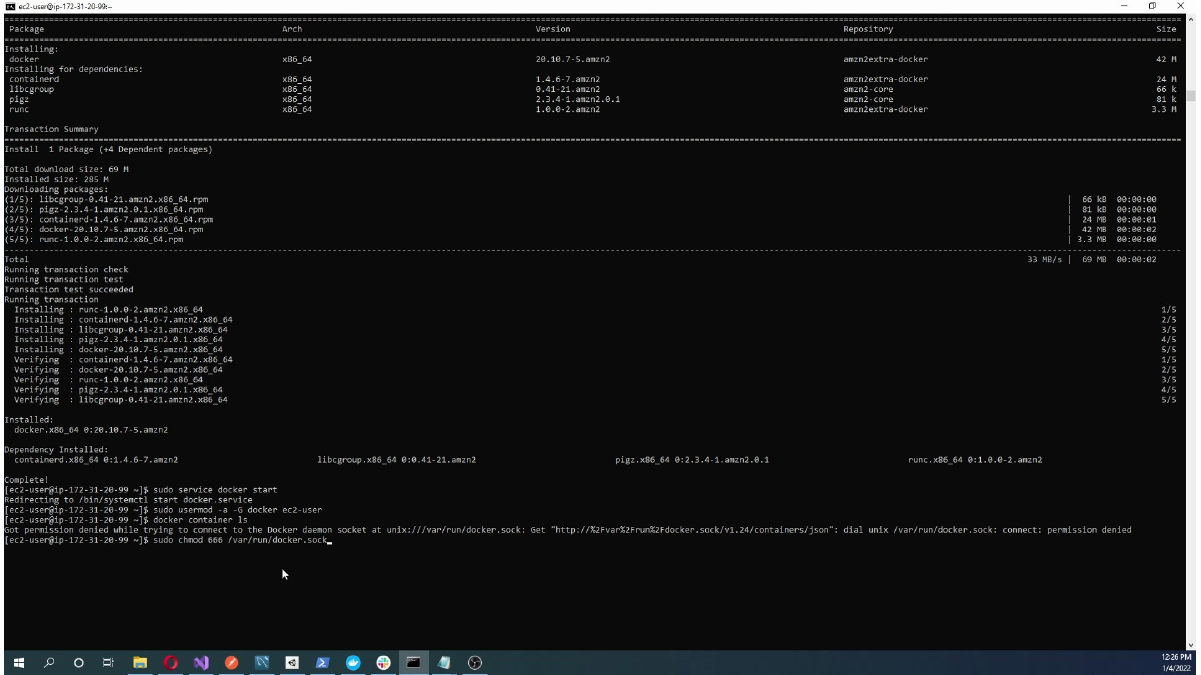
Here, we run additional Docker checks on EC2.
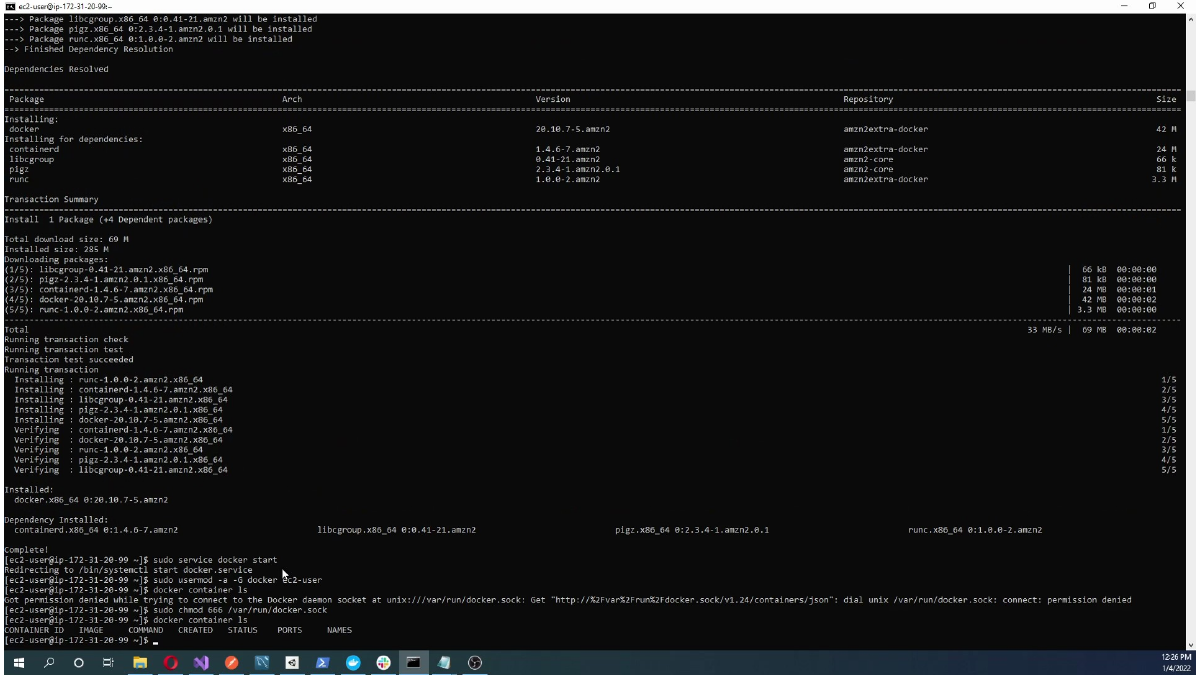
If the image is private, or if you want Docker Hub authentication ready on the server, log in from the EC2 terminal:
docker loginHere, we complete the required package setup on EC2.
Dockerizing the Web API
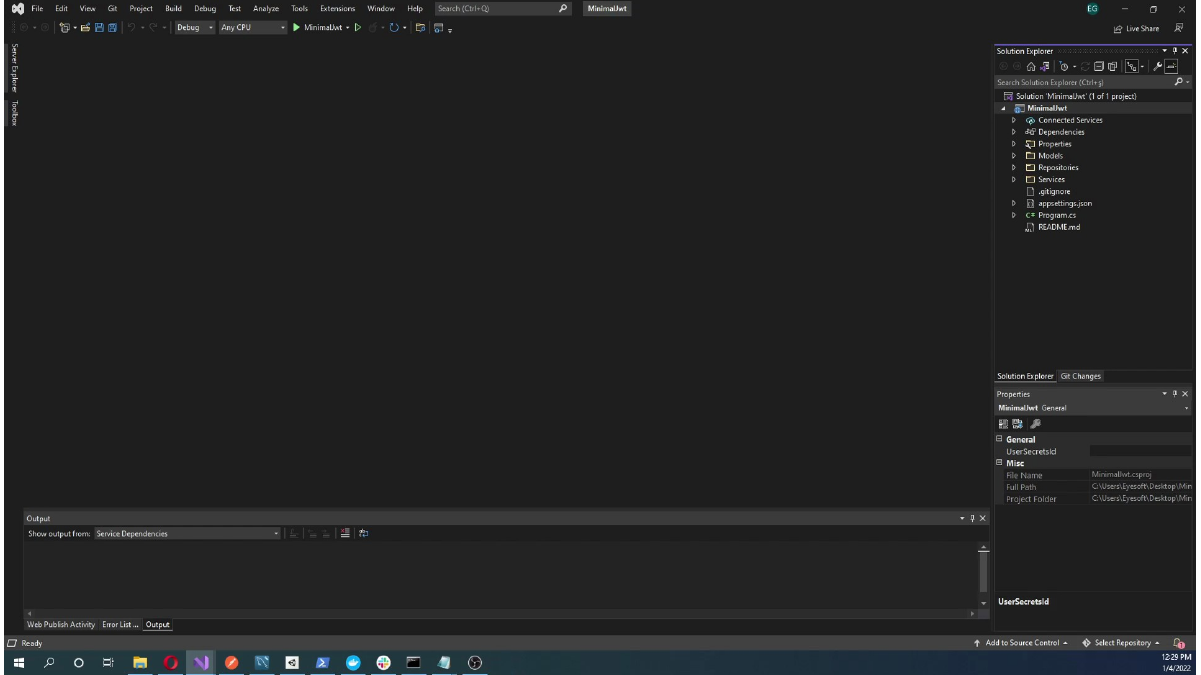
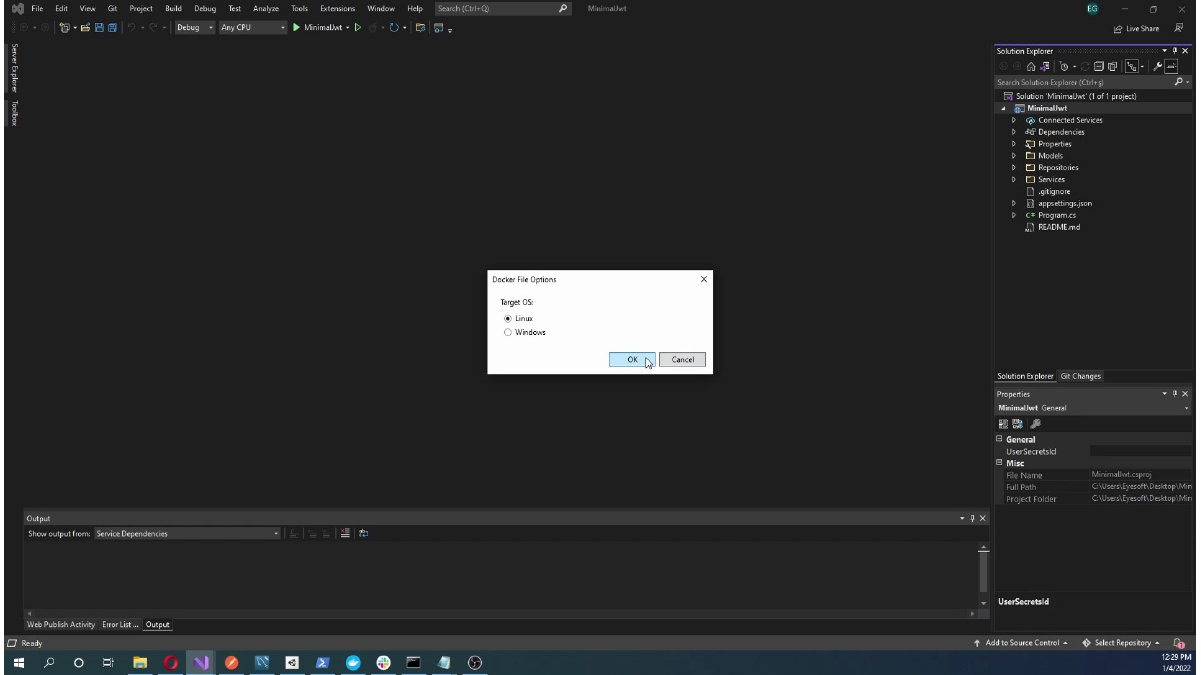
Open the ASP.NET Core Web API project in Visual Studio and add Docker support. Selecting Linux as the target operating system creates a Dockerfile suitable for the Linux EC2 host.
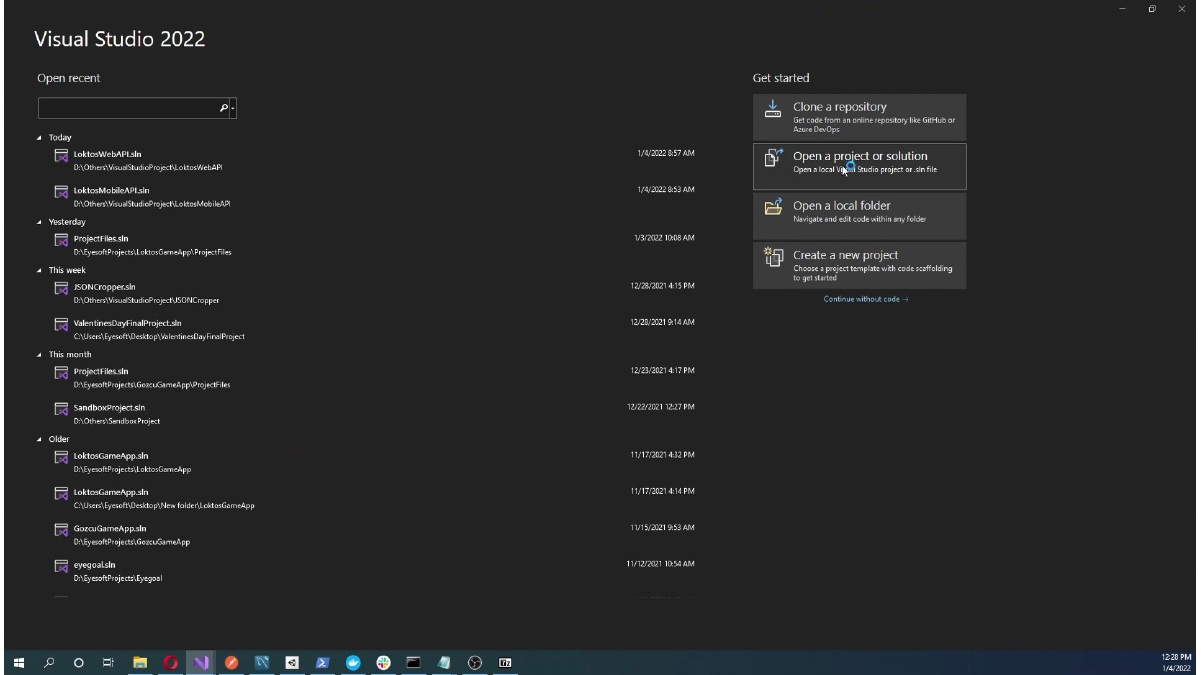
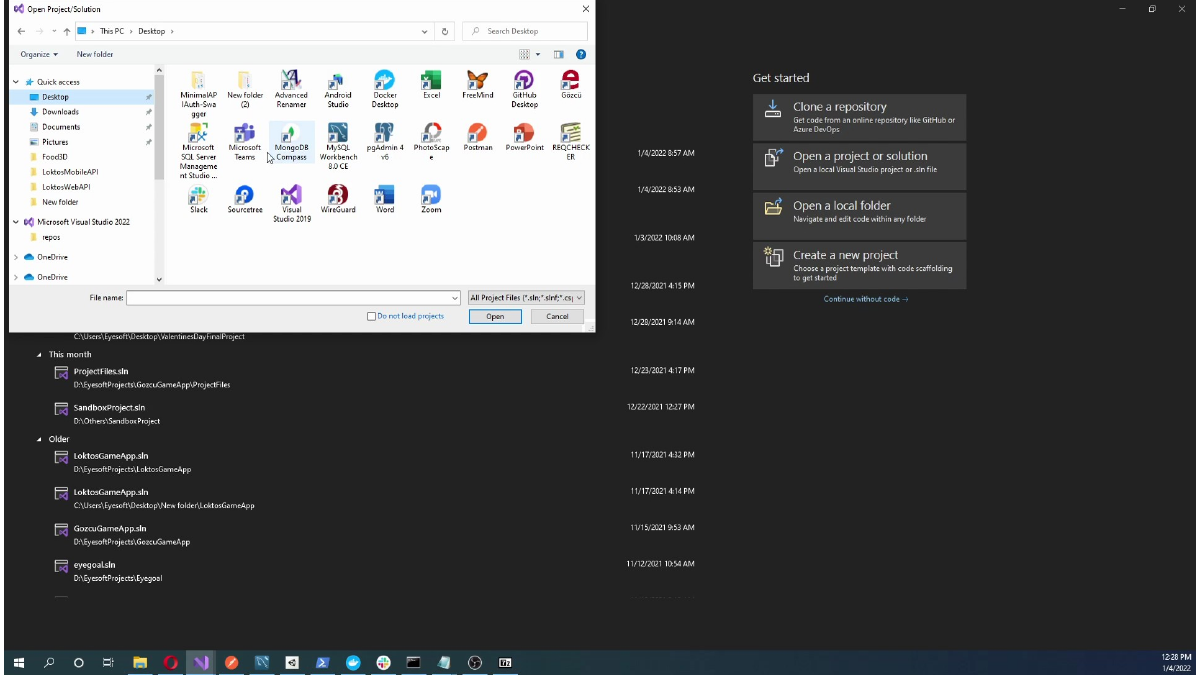
Here, we select the ASP.NET Core solution or project file.
Here, we view the ASP.NET Core Web API project in Visual Studio.
Here, we add Docker support to the ASP.NET Core project.
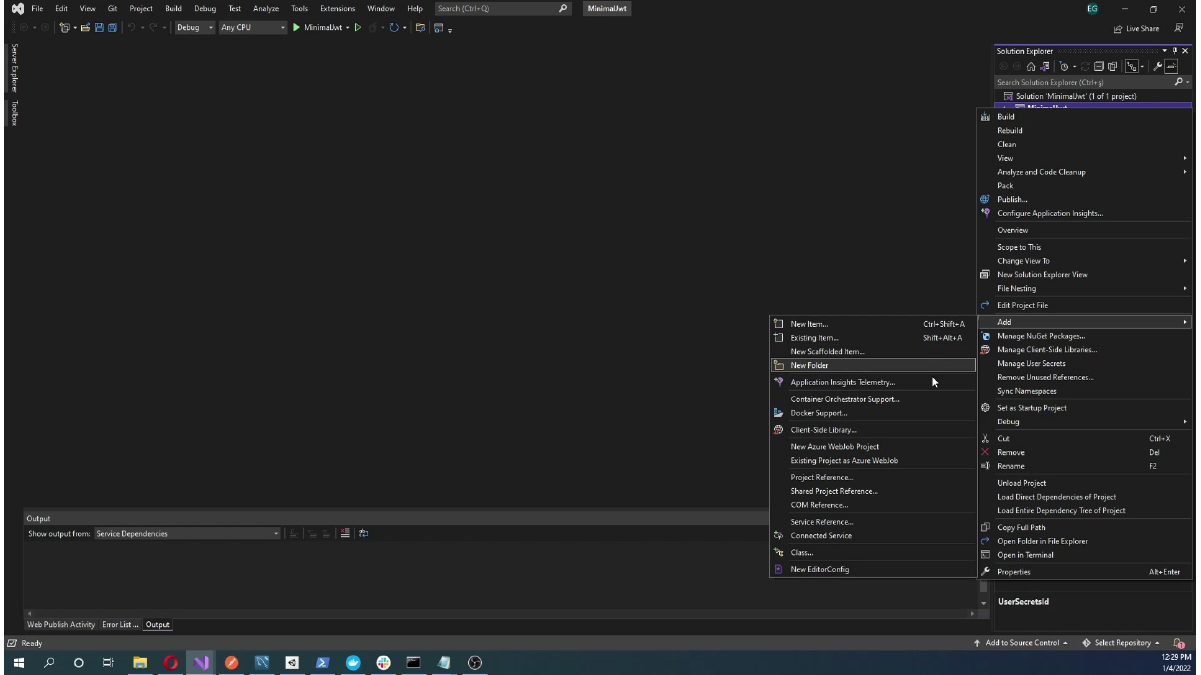
Here, we choose Linux as the Docker target operating system.
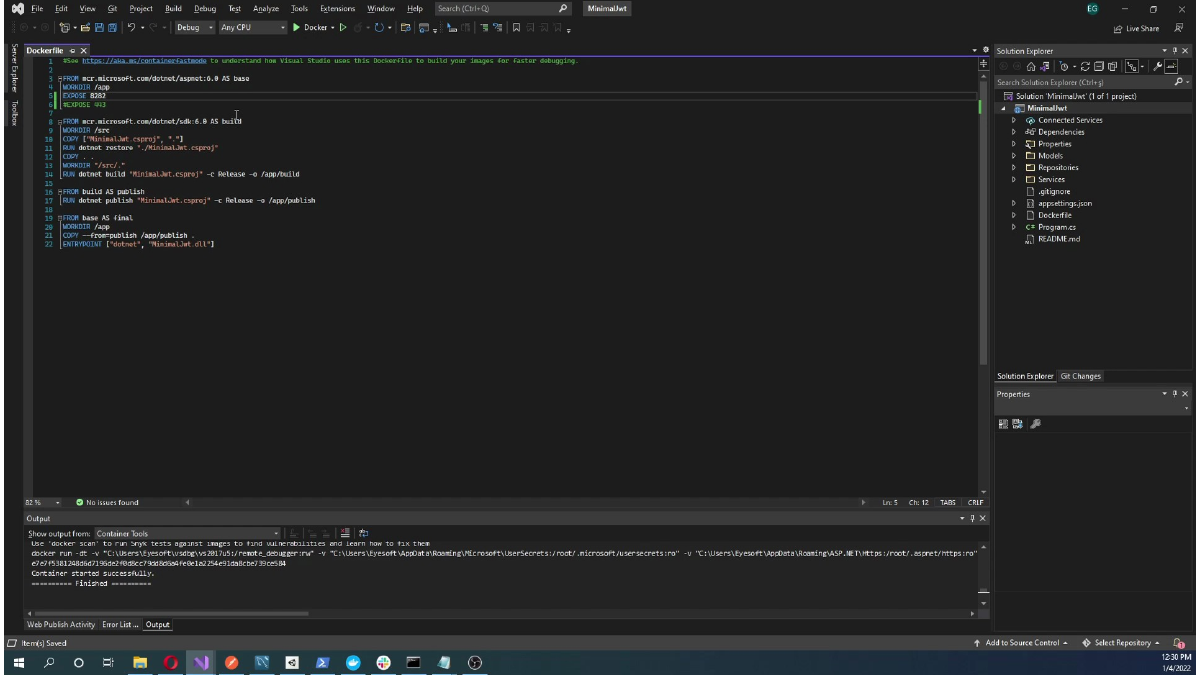
Here, we review the generated Dockerfile in Visual Studio.
Open a terminal in the project directory. The Docker build, tag, login, and push commands will be run from this location.
Here, we open a terminal from the ASP.NET Core project folder.
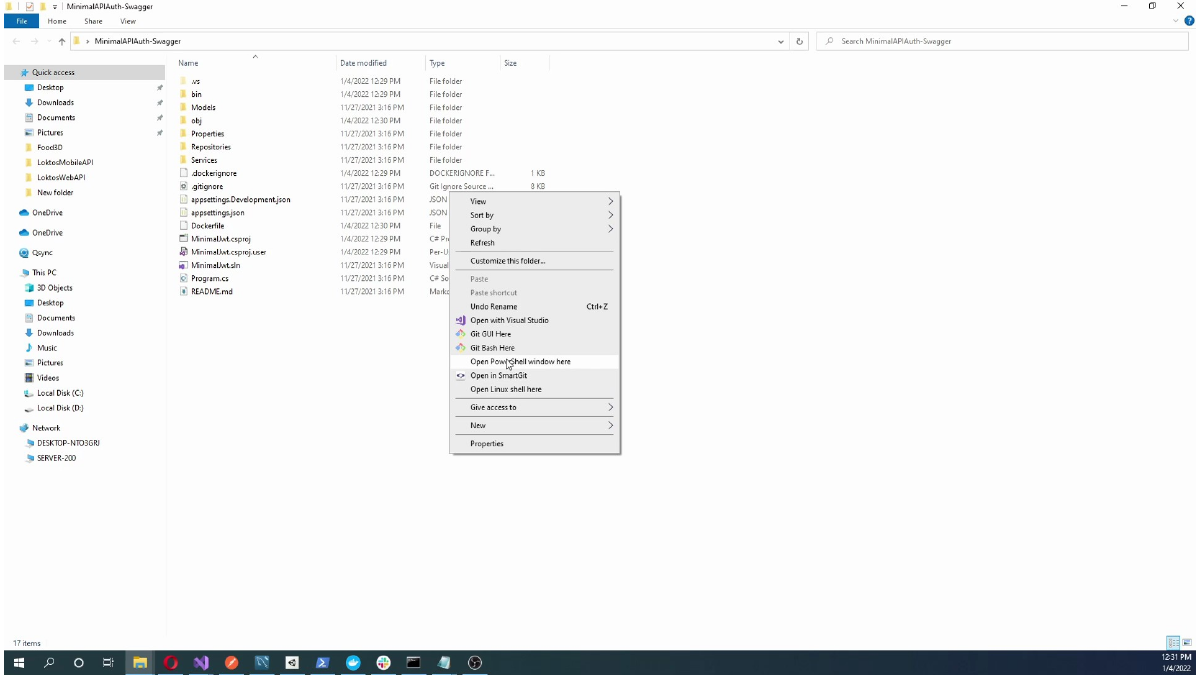
Here, we open PowerShell for Docker commands.
Pushing the Image to Docker Hub
Build the Docker image locally, create or open the Docker Hub repository, then tag and push the image with the repository name. The exact image name should match the repository path you plan to pull from EC2.
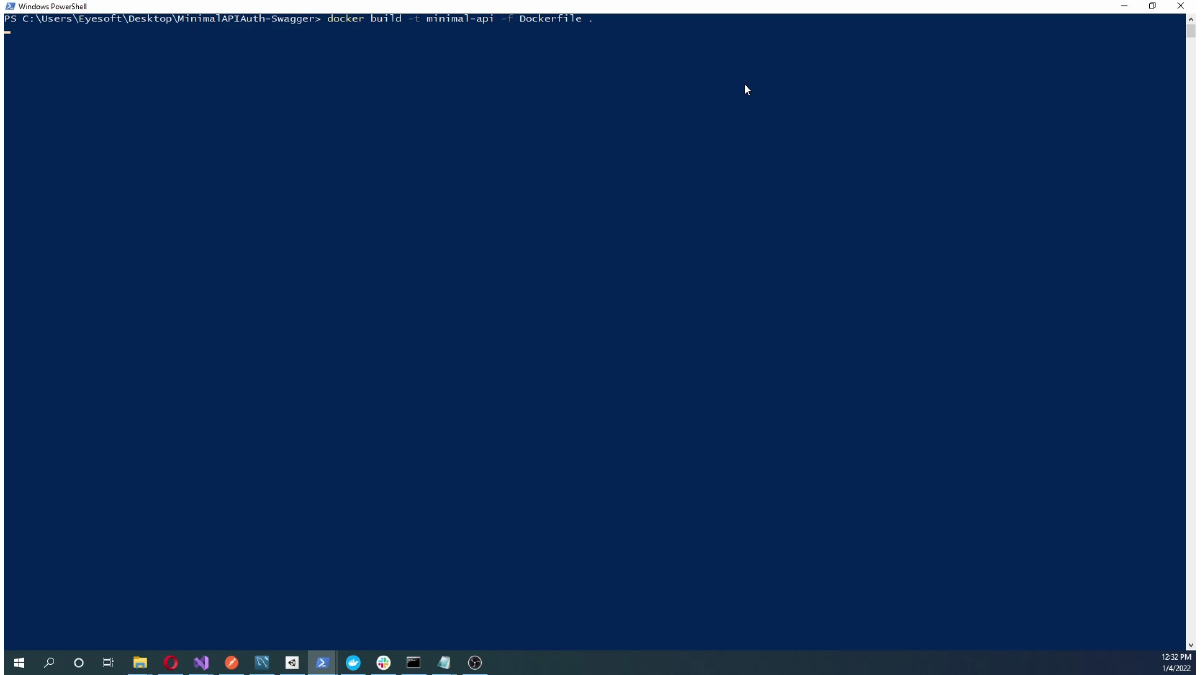
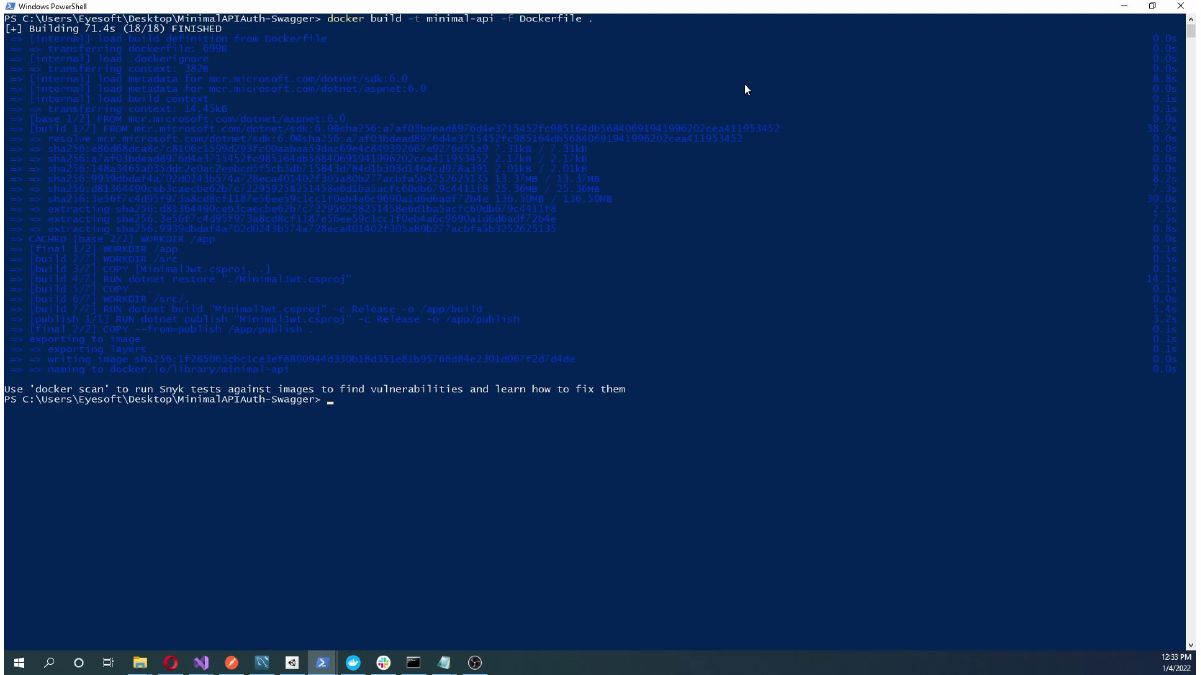
From the project folder, build the image with the generated Dockerfile:
docker build -t minimal-api -f Dockerfile .Here, we run Docker build or login commands in PowerShell.
Here, we open the Docker Hub repositories page.
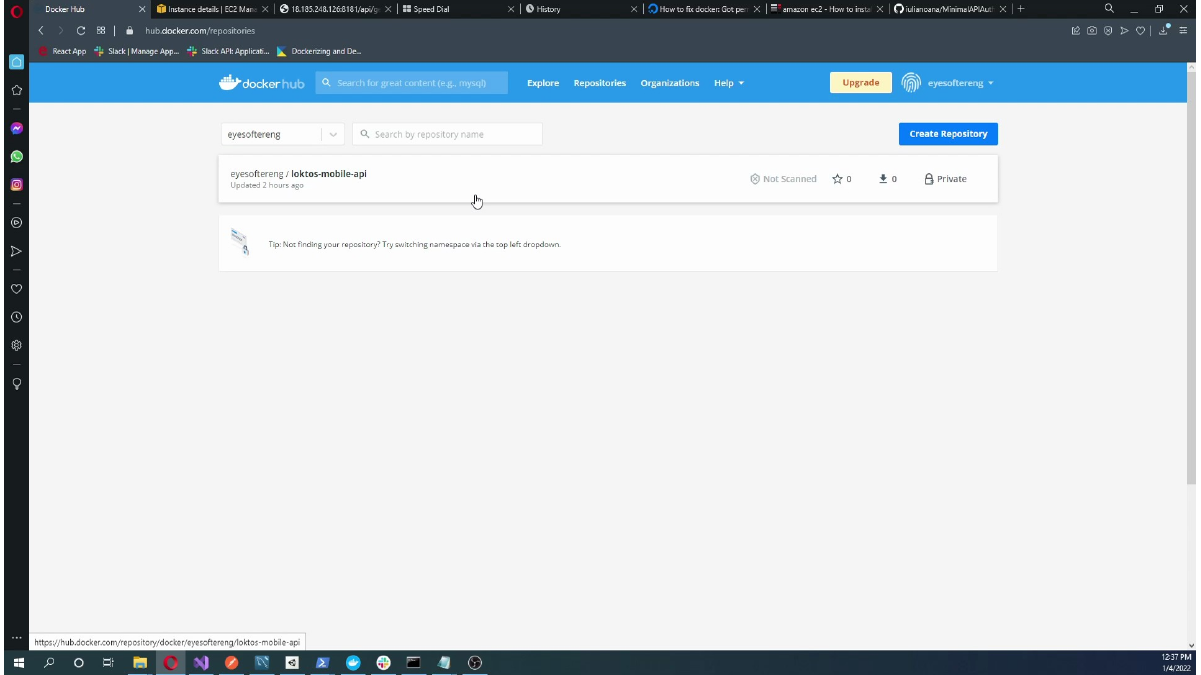
Here, we create a Docker Hub repository for the Web API image.
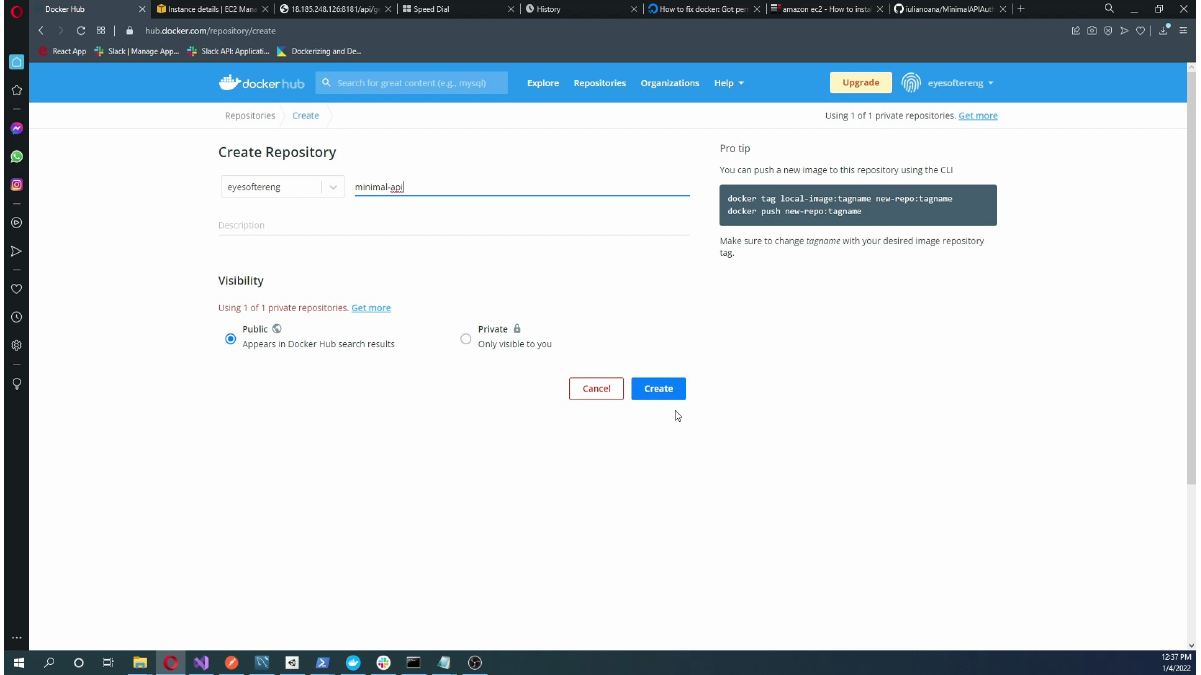
Here, we view the created Docker Hub repository details.
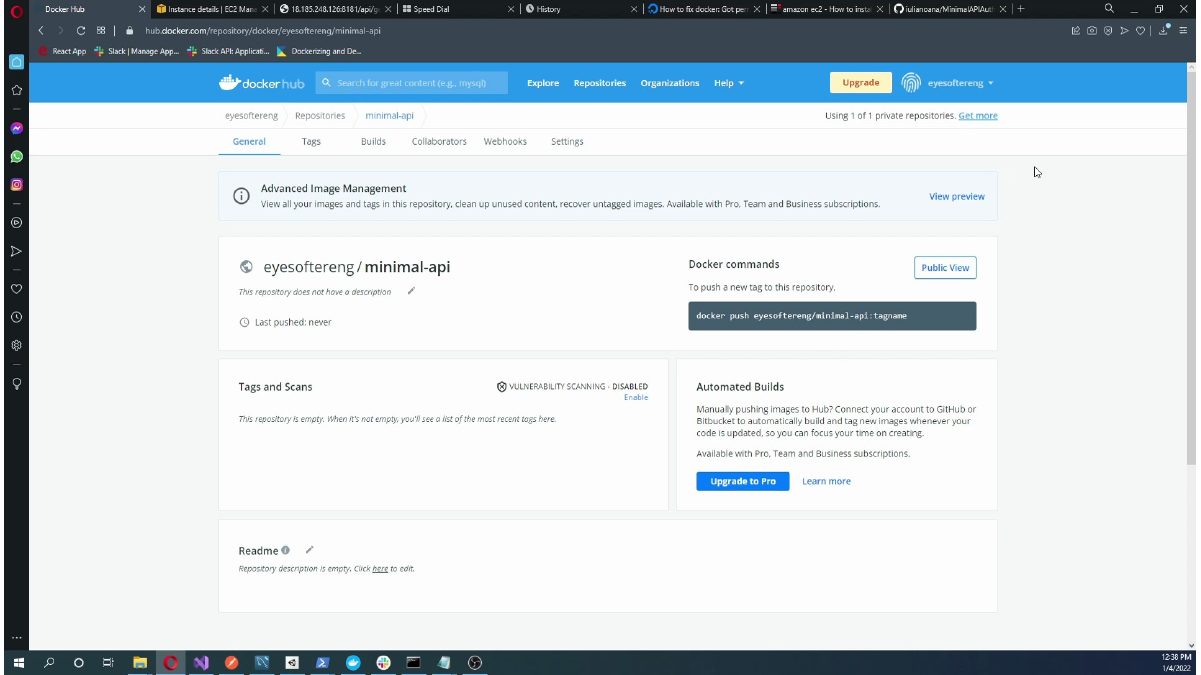
After the Docker Hub repository is ready, tag the local image with the repository path and push it. The screenshot uses eyesoftereng/minimal-api:v0.0.1; in your own setup, replace the Docker Hub username and repository name:
docker tag minimal-api eyesoftereng/minimal-api:v0.0.1
docker push eyesoftereng/minimal-api:v0.0.1
This screen shows Building the ASP.NET Core Web API Docker image locally.
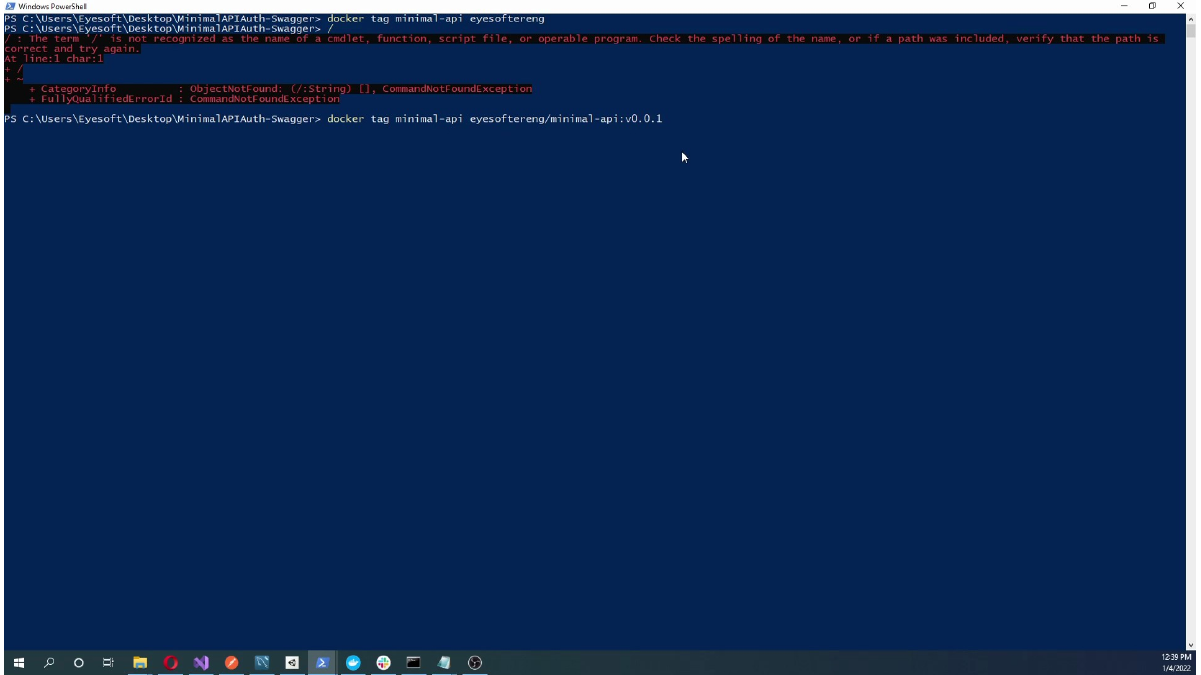
Here, we tag the Docker image for the Docker Hub repository.
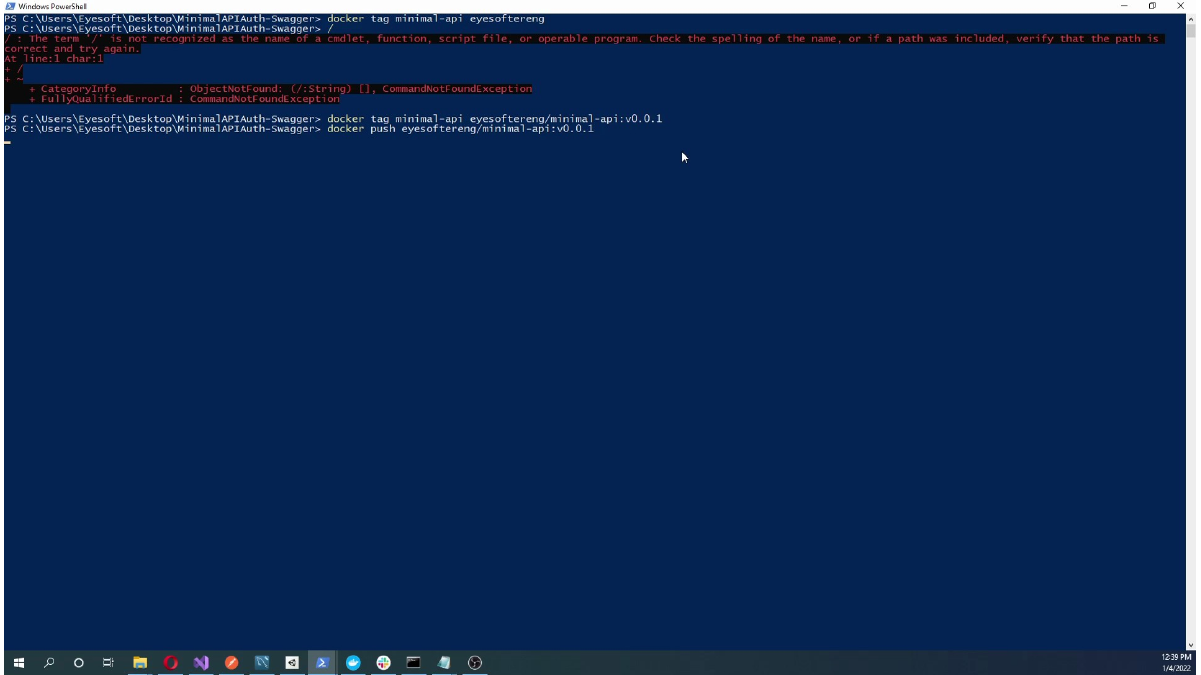
This screen shows Docker image build or push output in PowerShell.
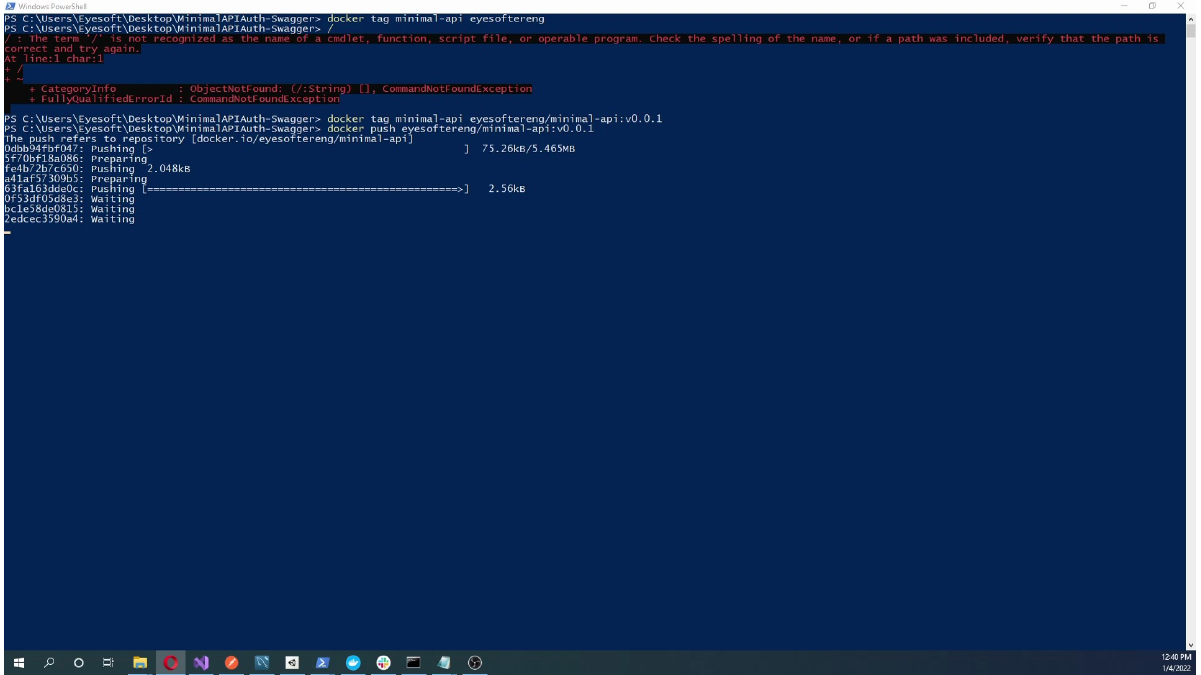
Here, we push the Docker image to Docker Hub.
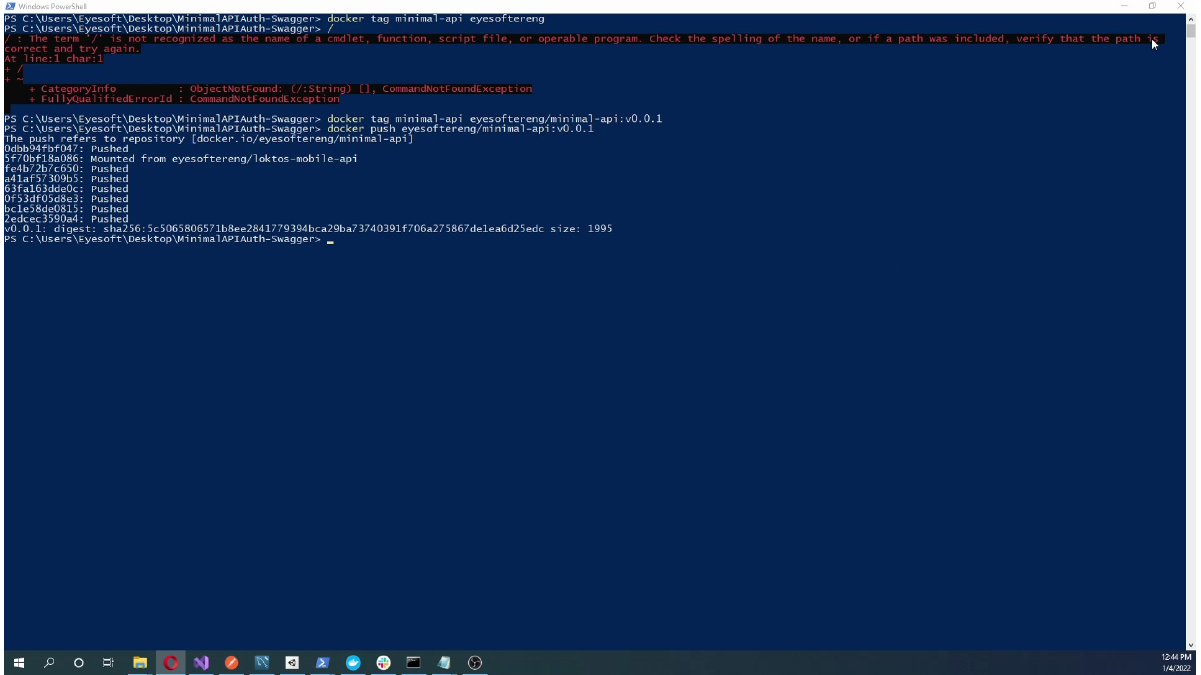
Running the Container on EC2
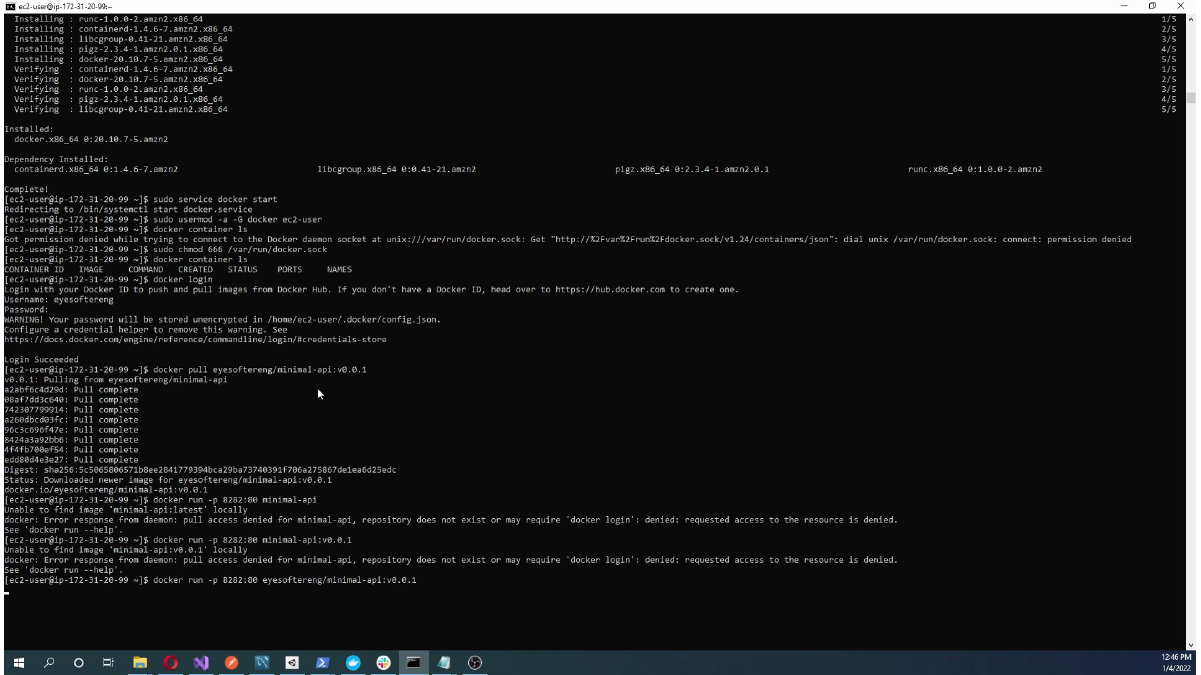
Back on the EC2 terminal, pull the image from Docker Hub and run it as a container. The important detail is port mapping: the host port allowed in the security group must map to the container port used by the ASP.NET Core application.
On the EC2 instance, pull the same image tag that you pushed from the local machine:
docker pull eyesoftereng/minimal-api:v0.0.1Here, we pull the Docker Hub image on the EC2 instance.
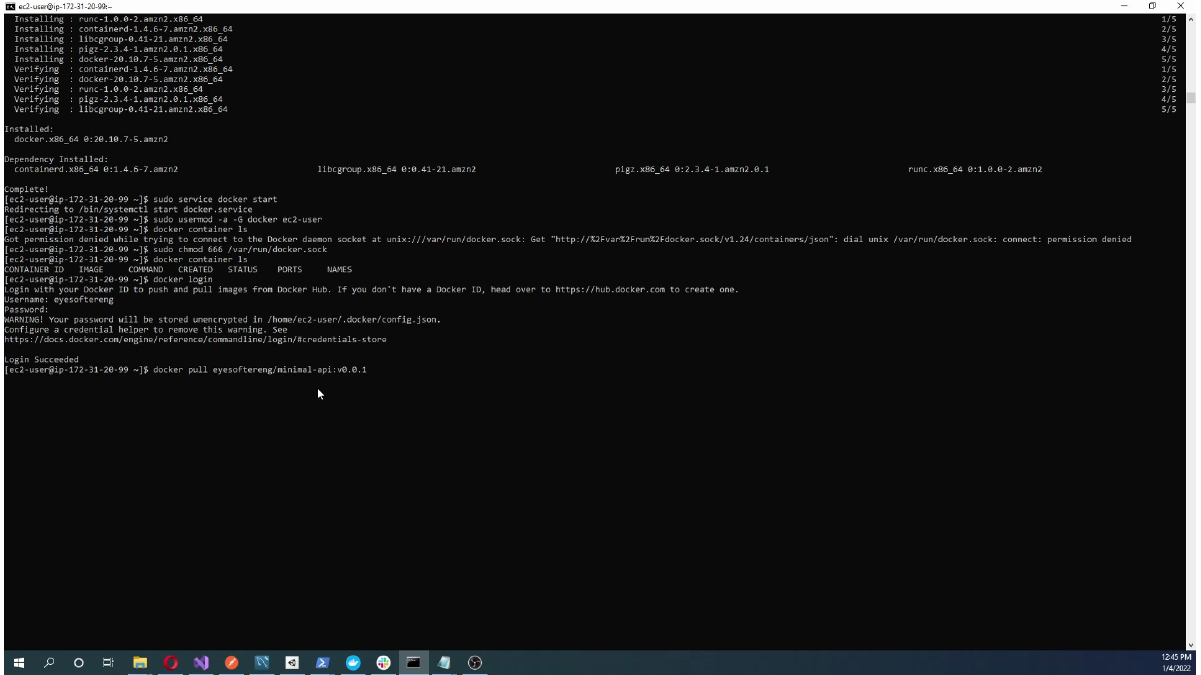
Then run the container. In the original example, host port 8282 is mapped to container port 80:
docker run -p 8282:80 eyesoftereng/minimal-api:v0.0.1If you want the container to keep running in the background, use detached mode:
docker run -d --name minimal-api -p 8282:80 eyesoftereng/minimal-api:v0.0.1Here, we run the ASP.NET Core Web API container on EC2.
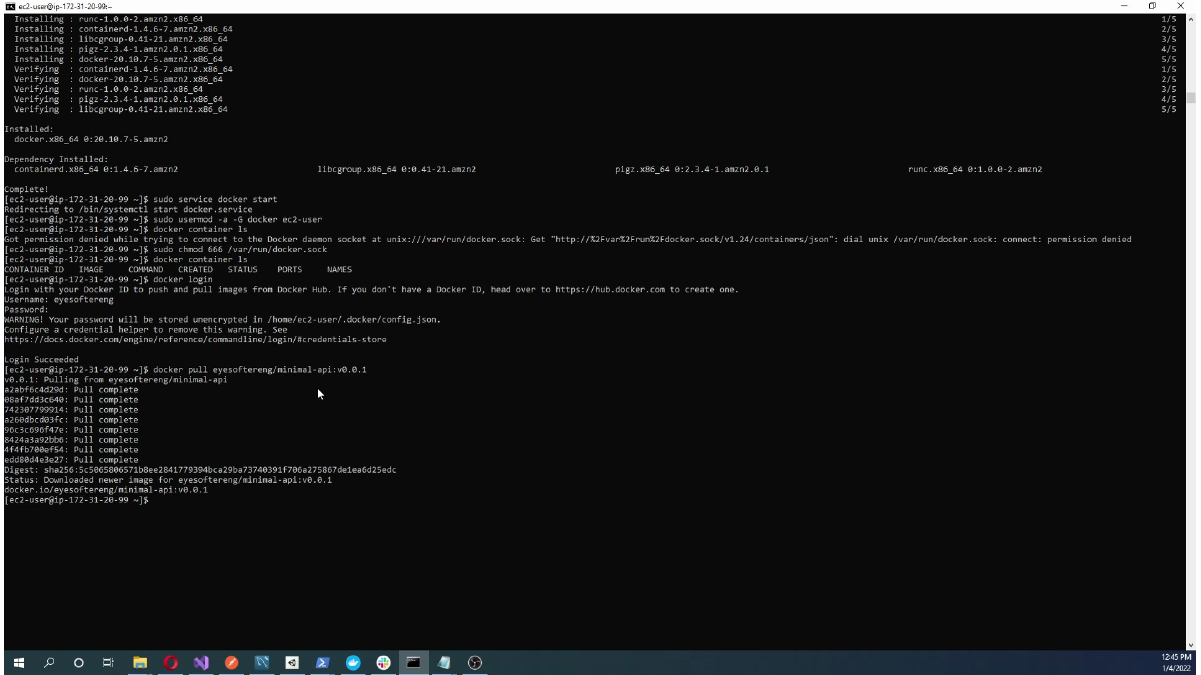
Here, we check the running Docker container and port mapping.
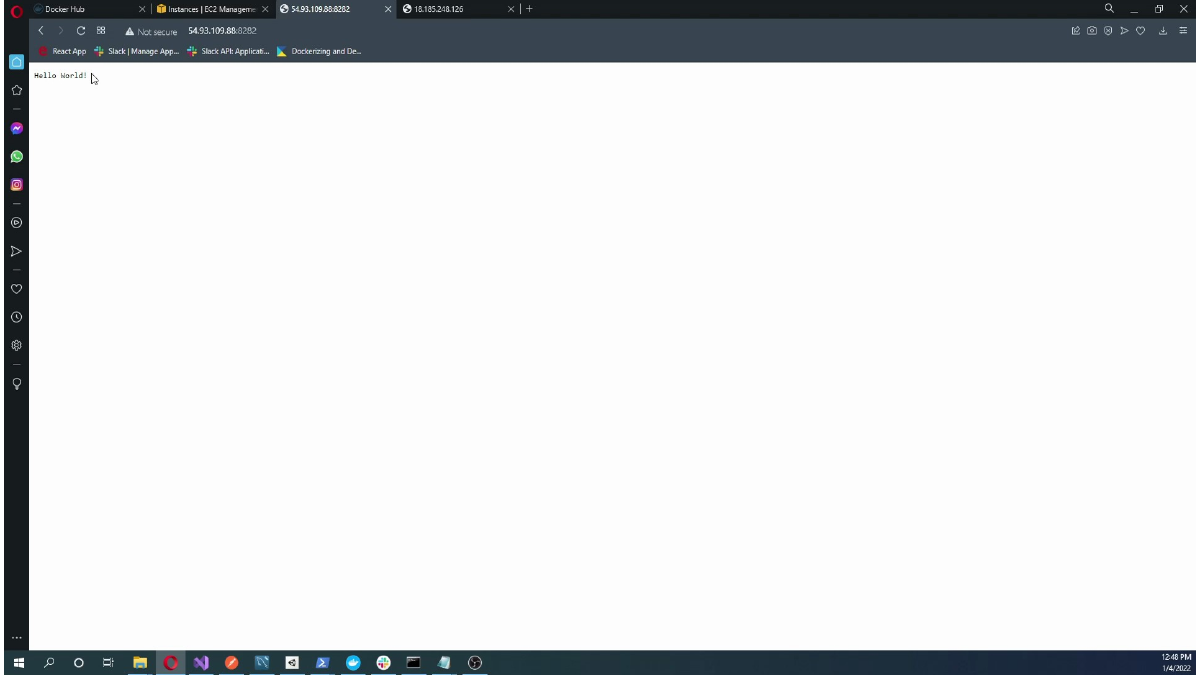
Finally, test the API in a browser or API client by using the EC2 public IP or public DNS with the configured port.
http://<ec2-public-ip>:8282Here, we test the deployed ASP.NET Core Web API from the browser.
Summary
With this setup, the ASP.NET Core Web API runs inside a Docker container on AWS EC2. Docker keeps the application package portable, Docker Hub provides a simple image distribution point, and the EC2 security group controls which ports are reachable from outside.
Comments