Amazon RDS lets you run a managed relational database without maintaining the database server yourself. In this guide, I create a MySQL database instance on AWS RDS, connect to it with MySQL Workbench, create a small Library schema, and adjust a custom parameter group when MySQL function creation requires an extra setting.
The main flow is: create the RDS instance, allow the connection through the security group, connect with MySQL Workbench, test the database with tables and queries, then update the RDS parameter group for server-level MySQL behavior.
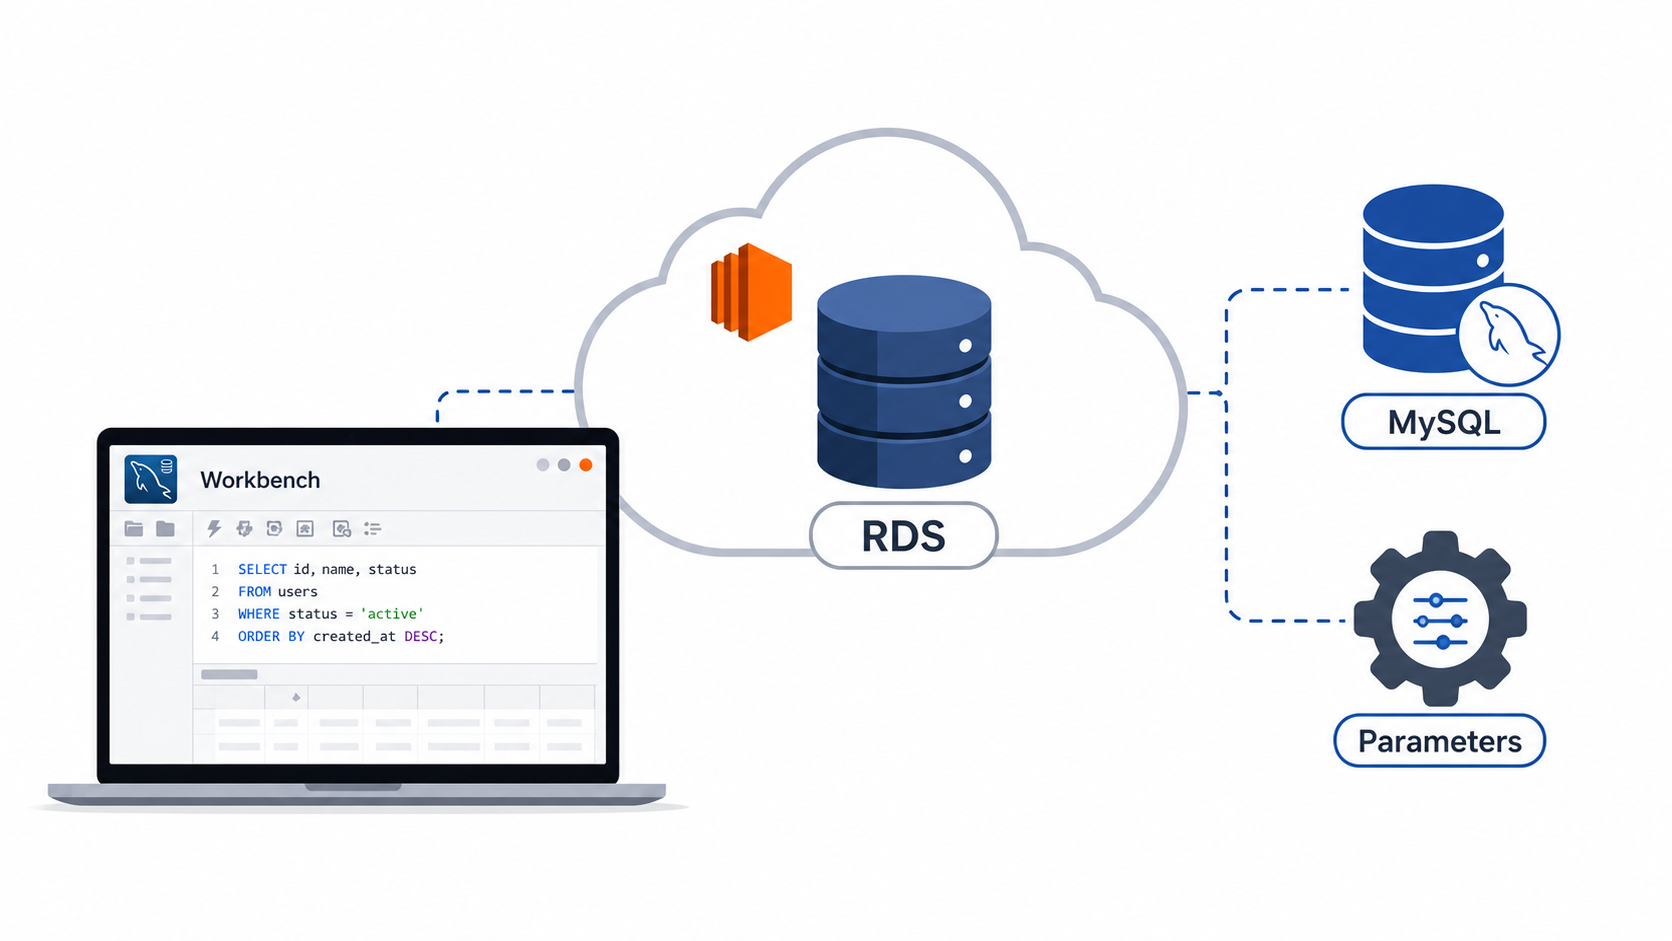
Table of contents
Open Table of contents
Creating a MySQL Database in AWS RDS
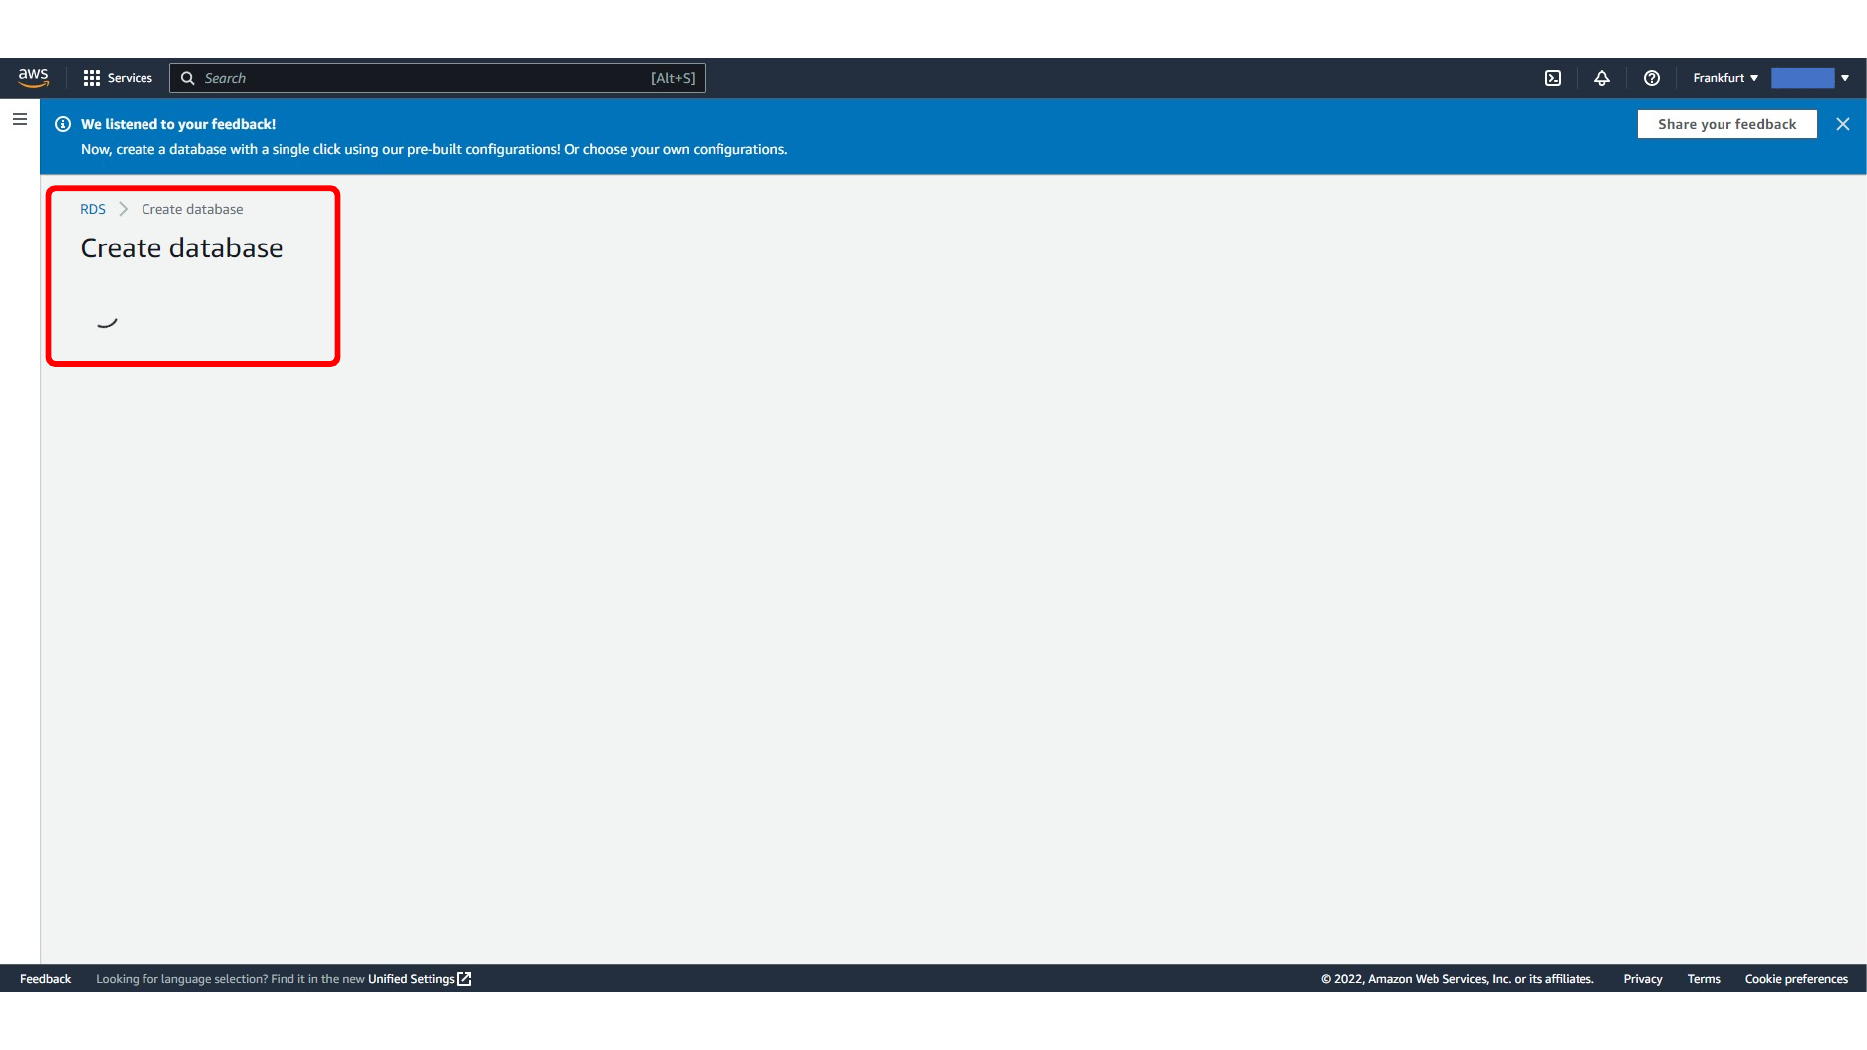
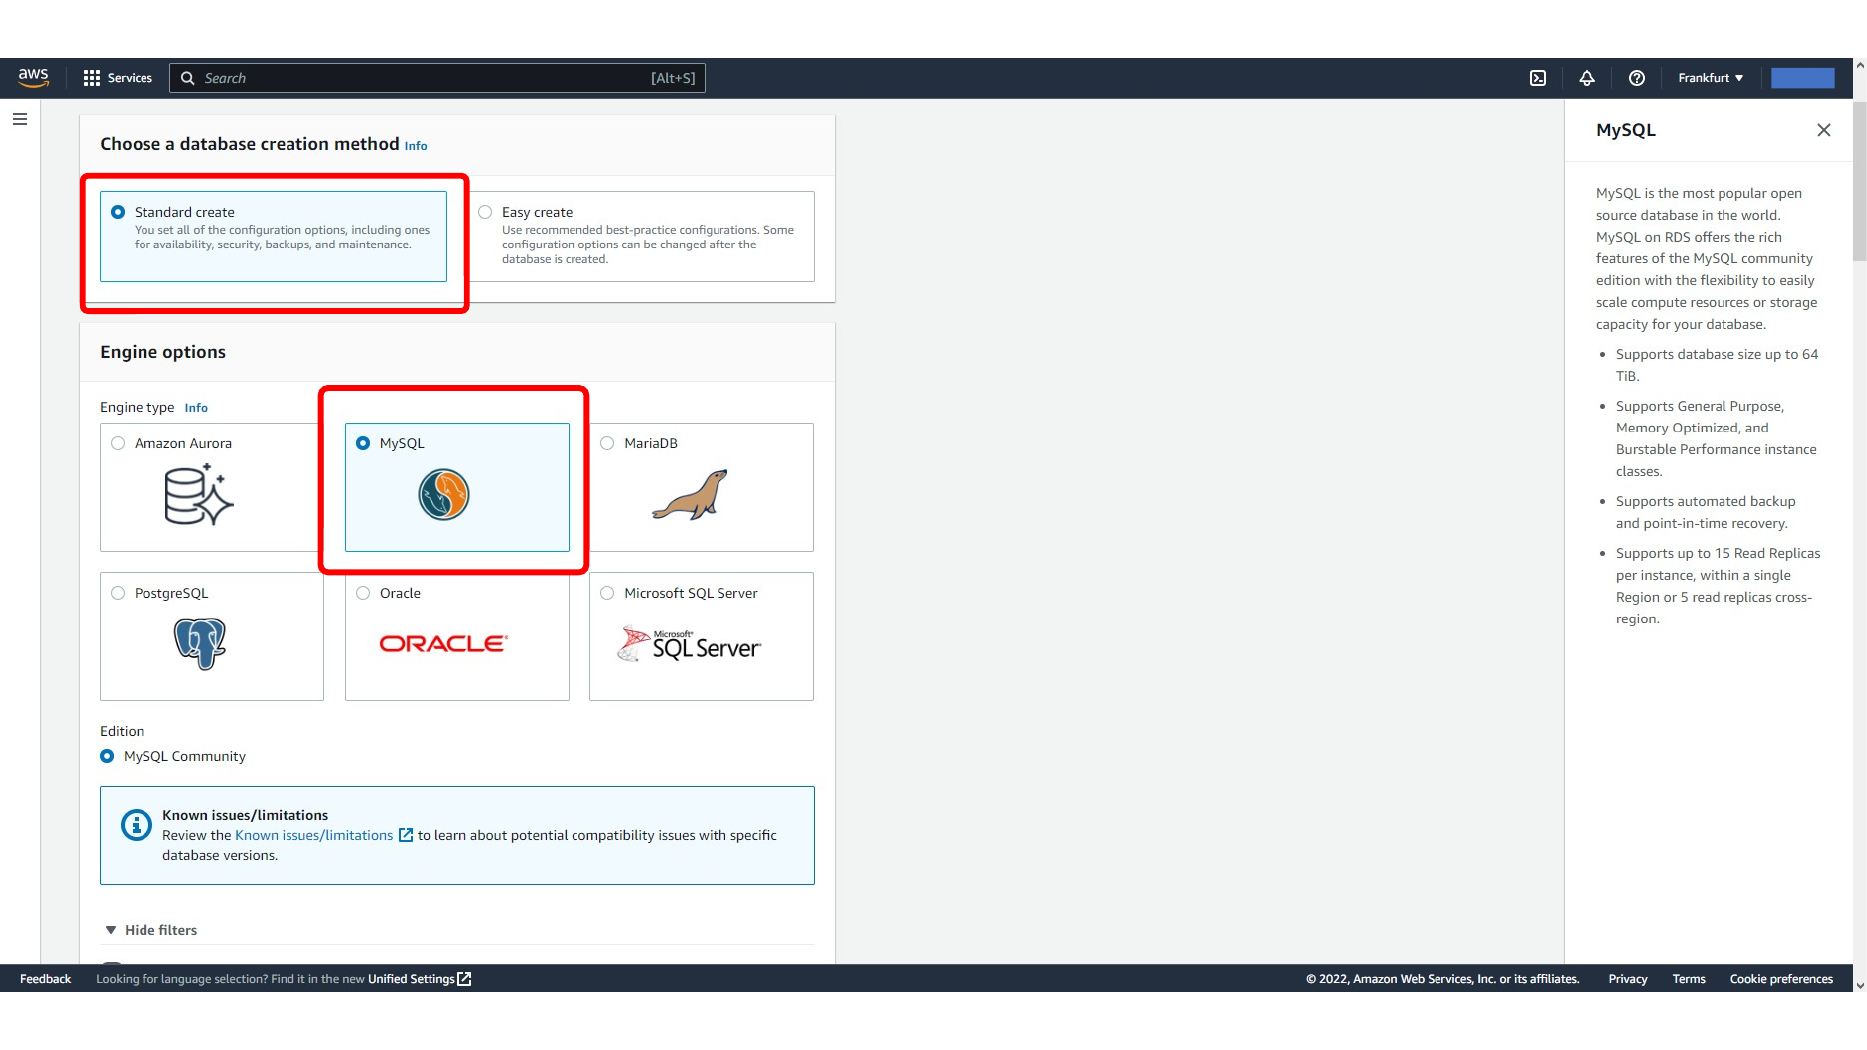
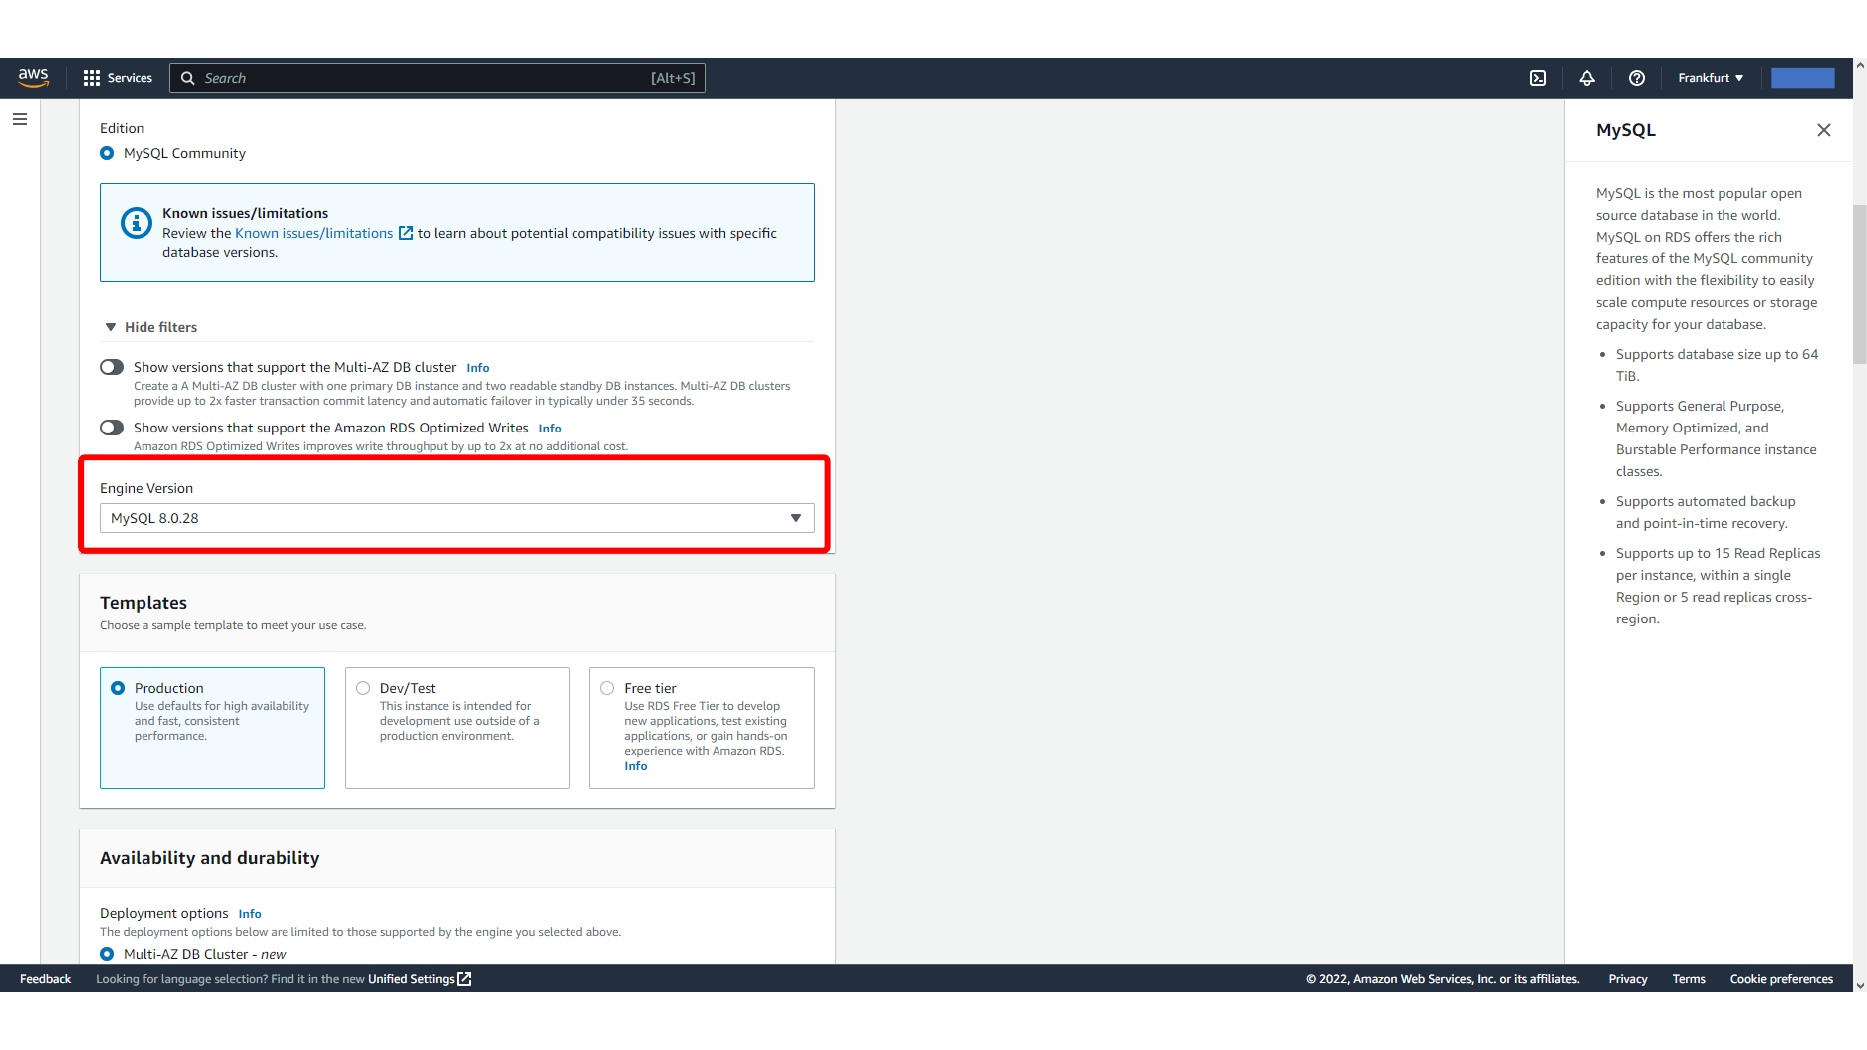
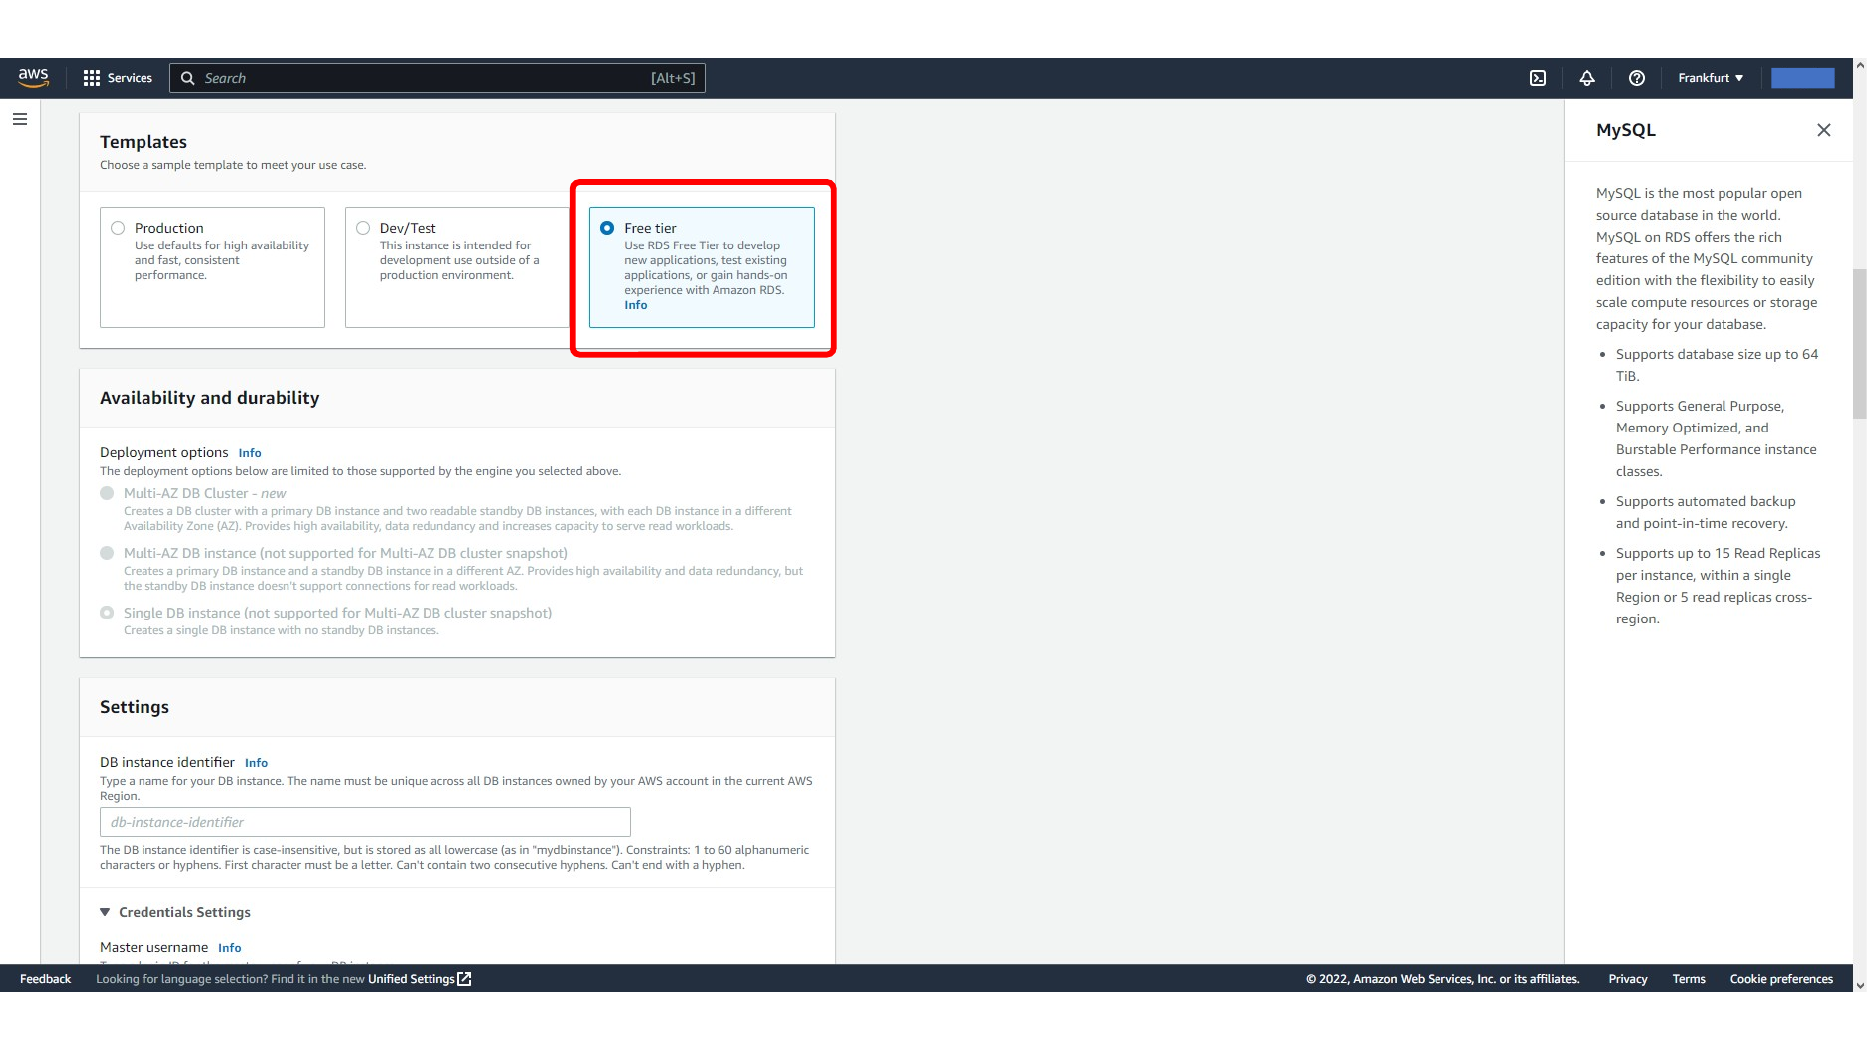
Start from the AWS Console and open the RDS service. Create a new database and choose MySQL as the engine. For a learning setup, the Free Tier option is usually enough, but in a real project you should choose the instance class, storage, backup, and availability options based on the workload.
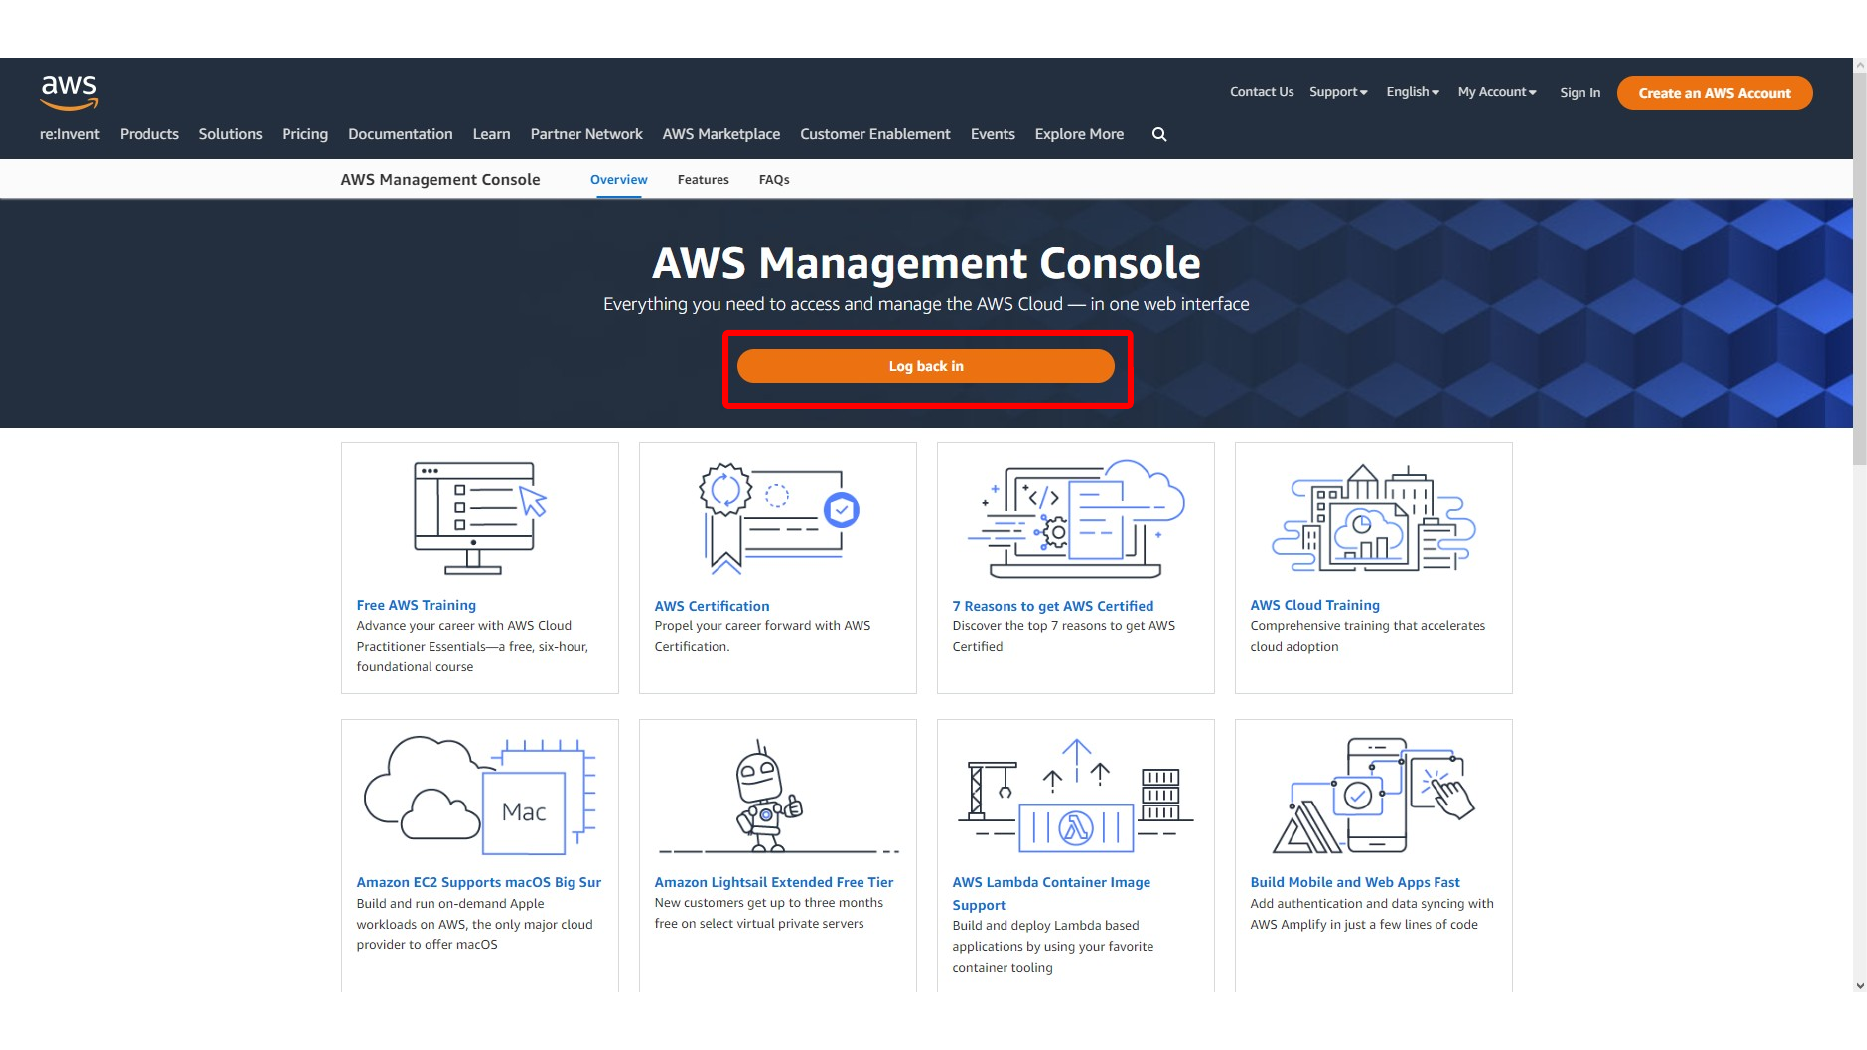
Here, we start database creation in Amazon RDS.
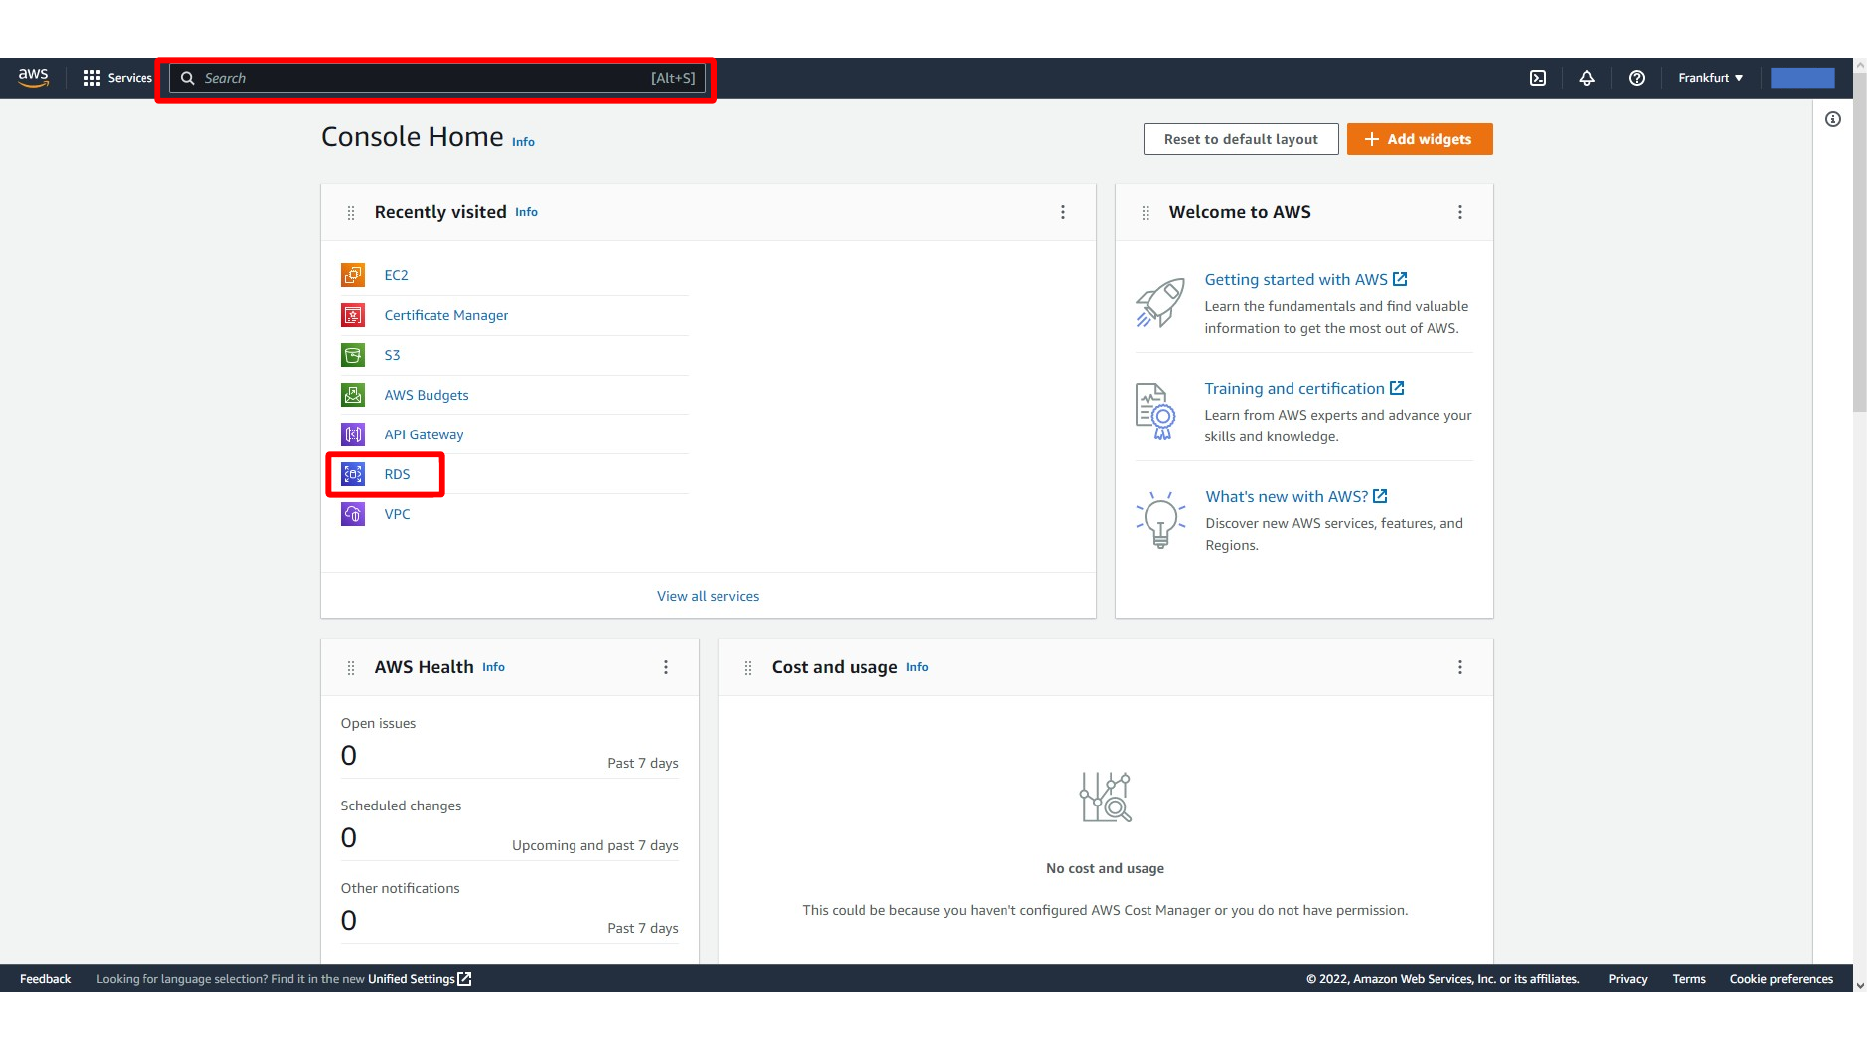
Here, we choose MySQL as the RDS database engine.
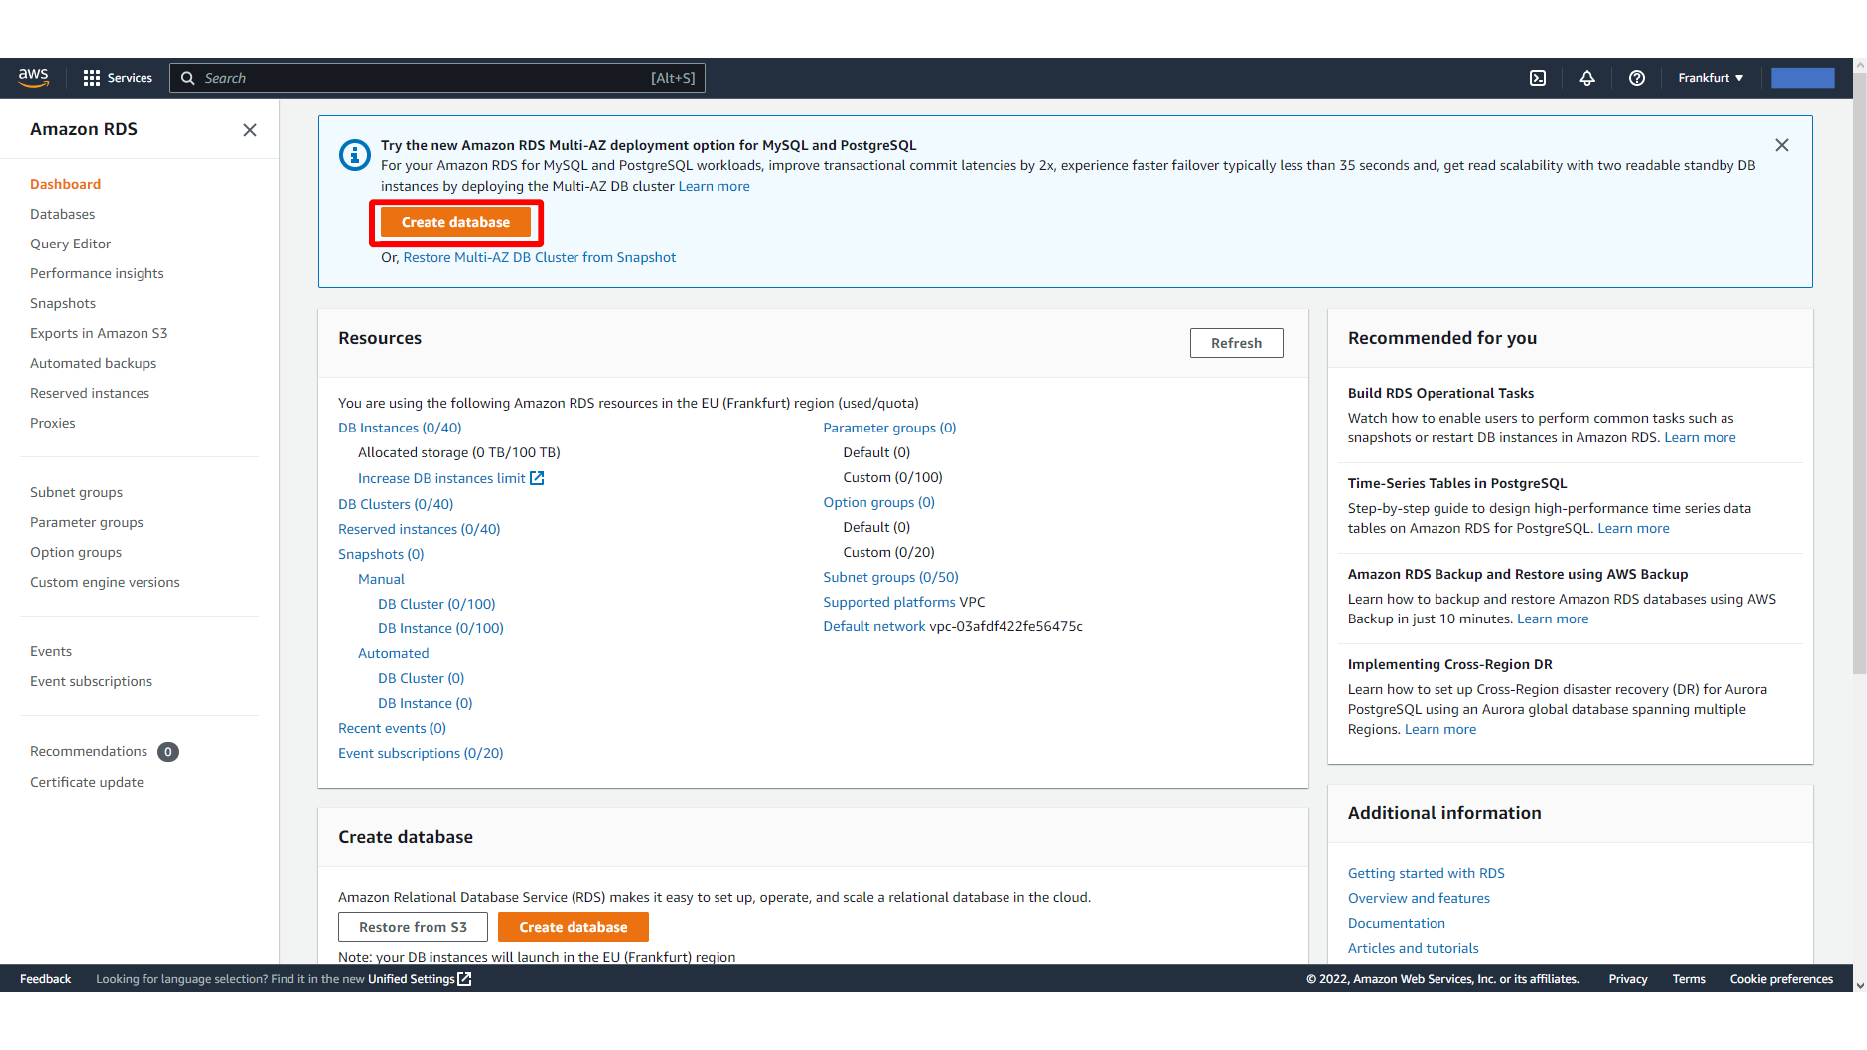
Here, we select the RDS MySQL database template.
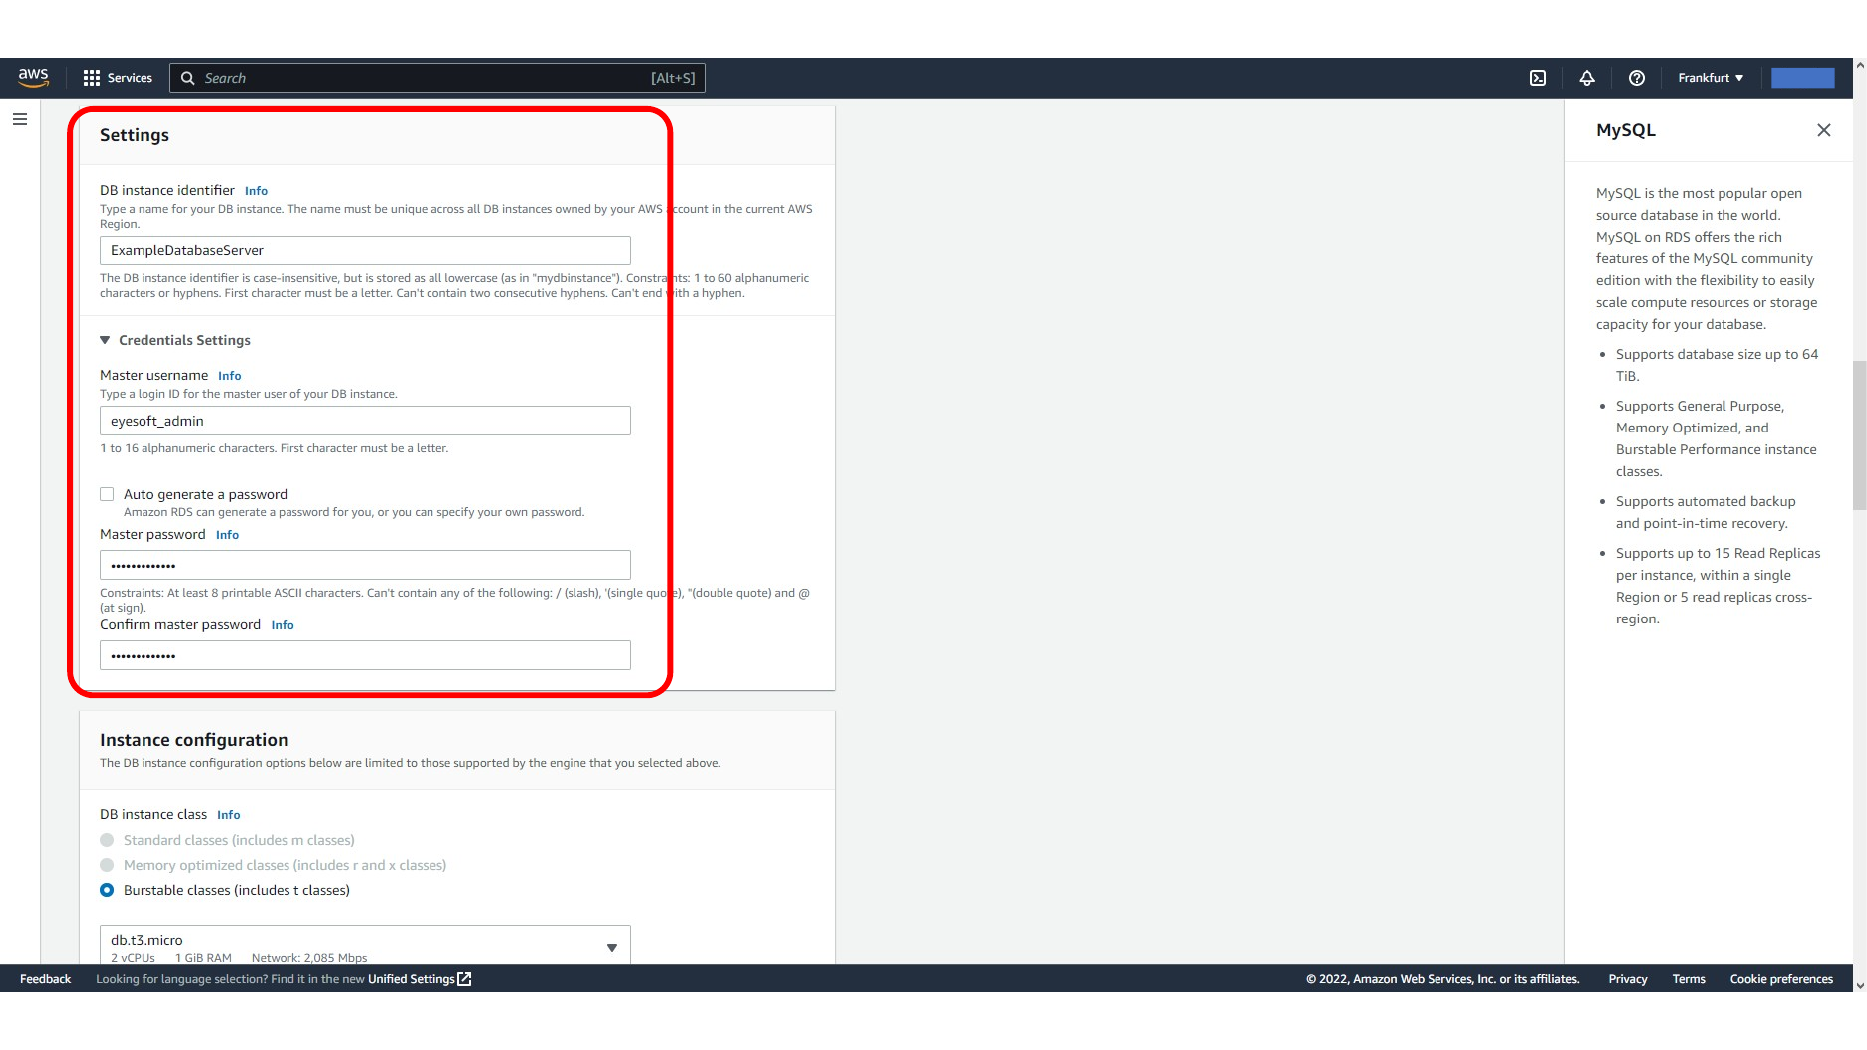
Configure the database identifier and master credentials carefully. The endpoint will be generated by AWS, but the user name and password are needed later in MySQL Workbench.
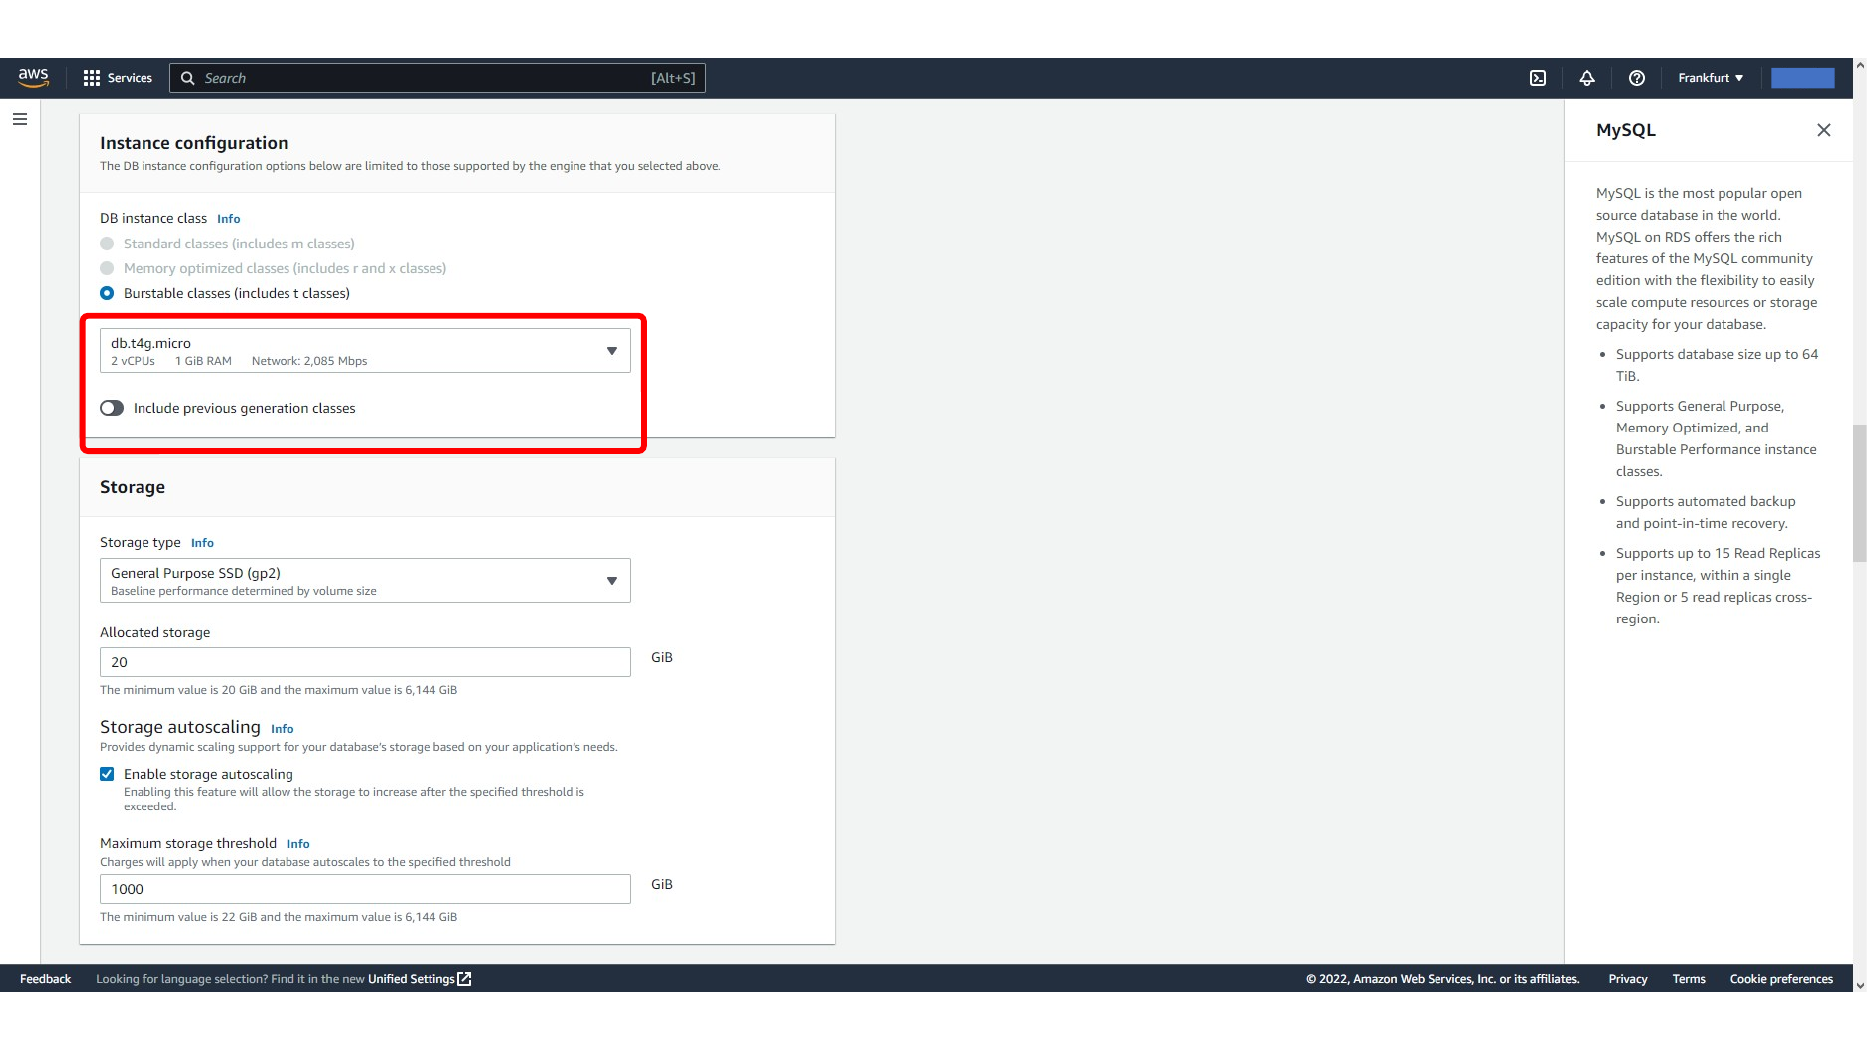
Here, we choose the RDS instance configuration.
This screen shows Configuring RDS storage options.
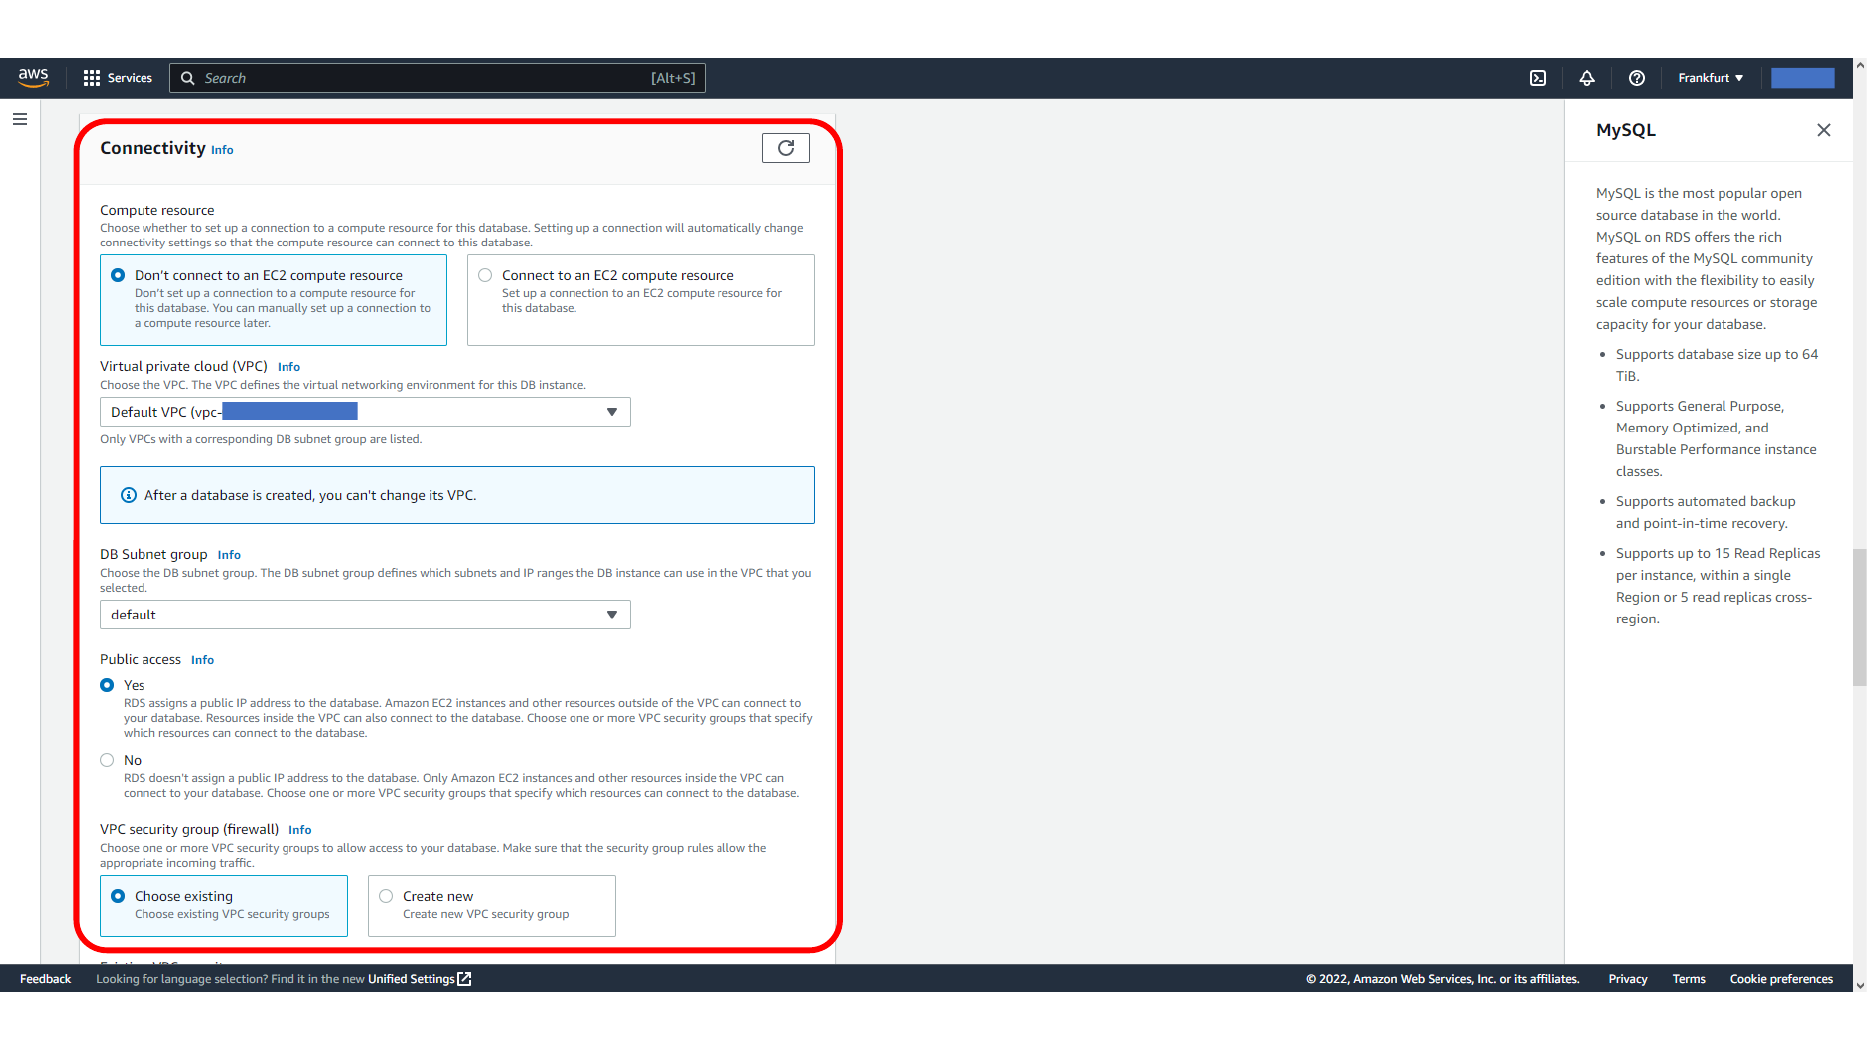
For local connection from your computer, networking settings matter. The database needs to be reachable from your machine, and the related security group must allow inbound MySQL traffic on port 3306.
Here, we choose VPC and security group settings for RDS.
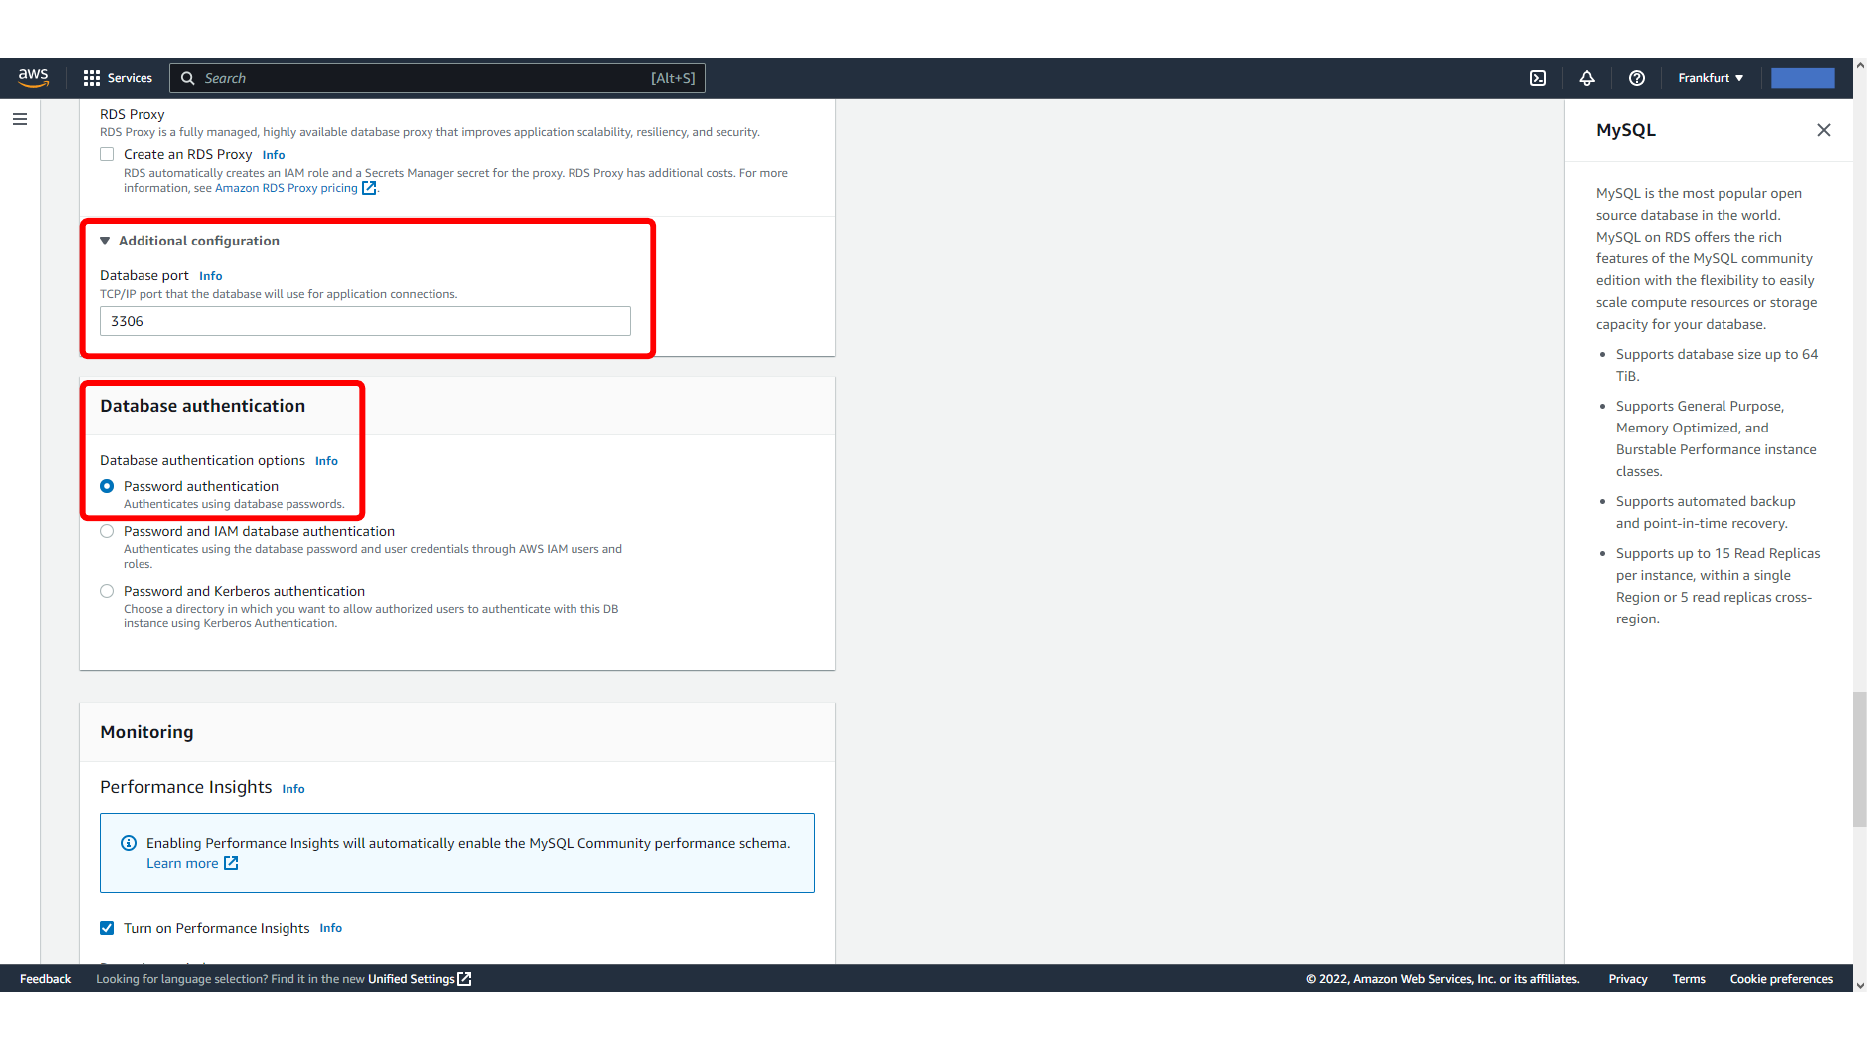
This screen shows Configuring database authentication options.
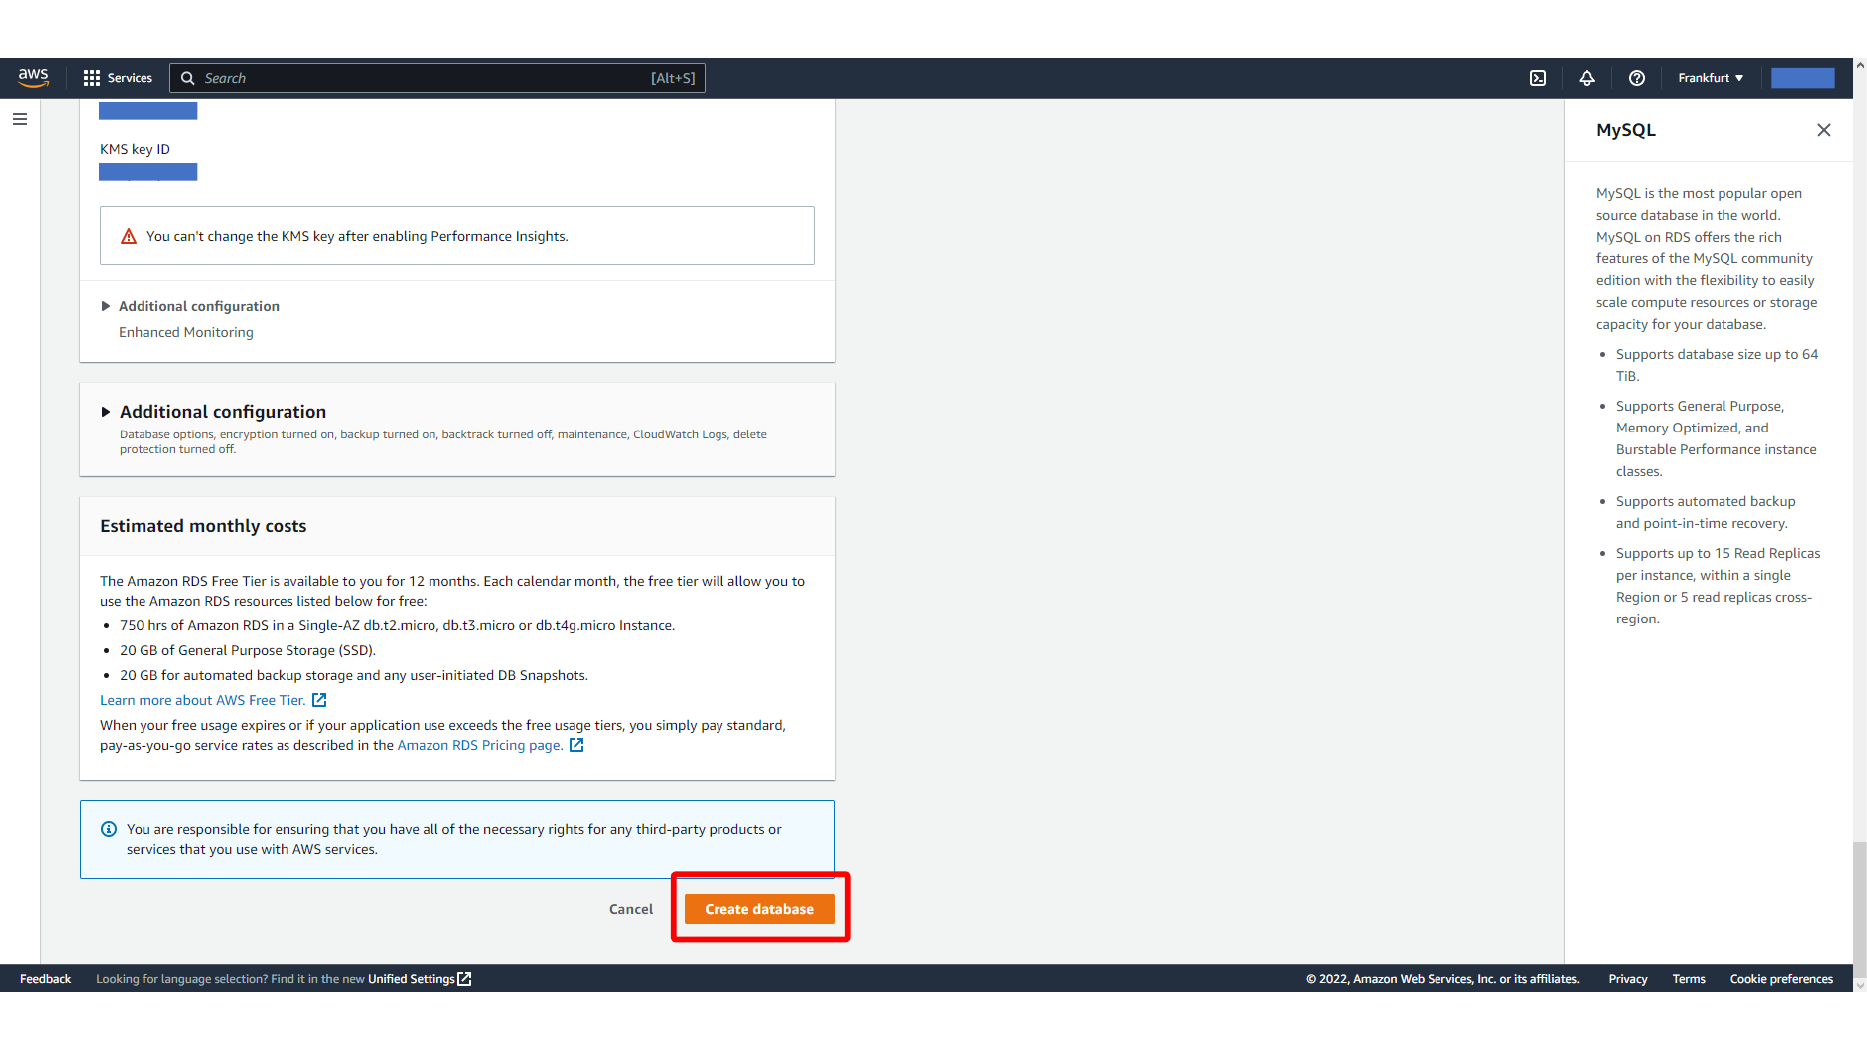
Review the remaining settings and create the database. RDS needs a few minutes to provision the instance before the endpoint becomes available.
Here, we create the RDS MySQL database instance.
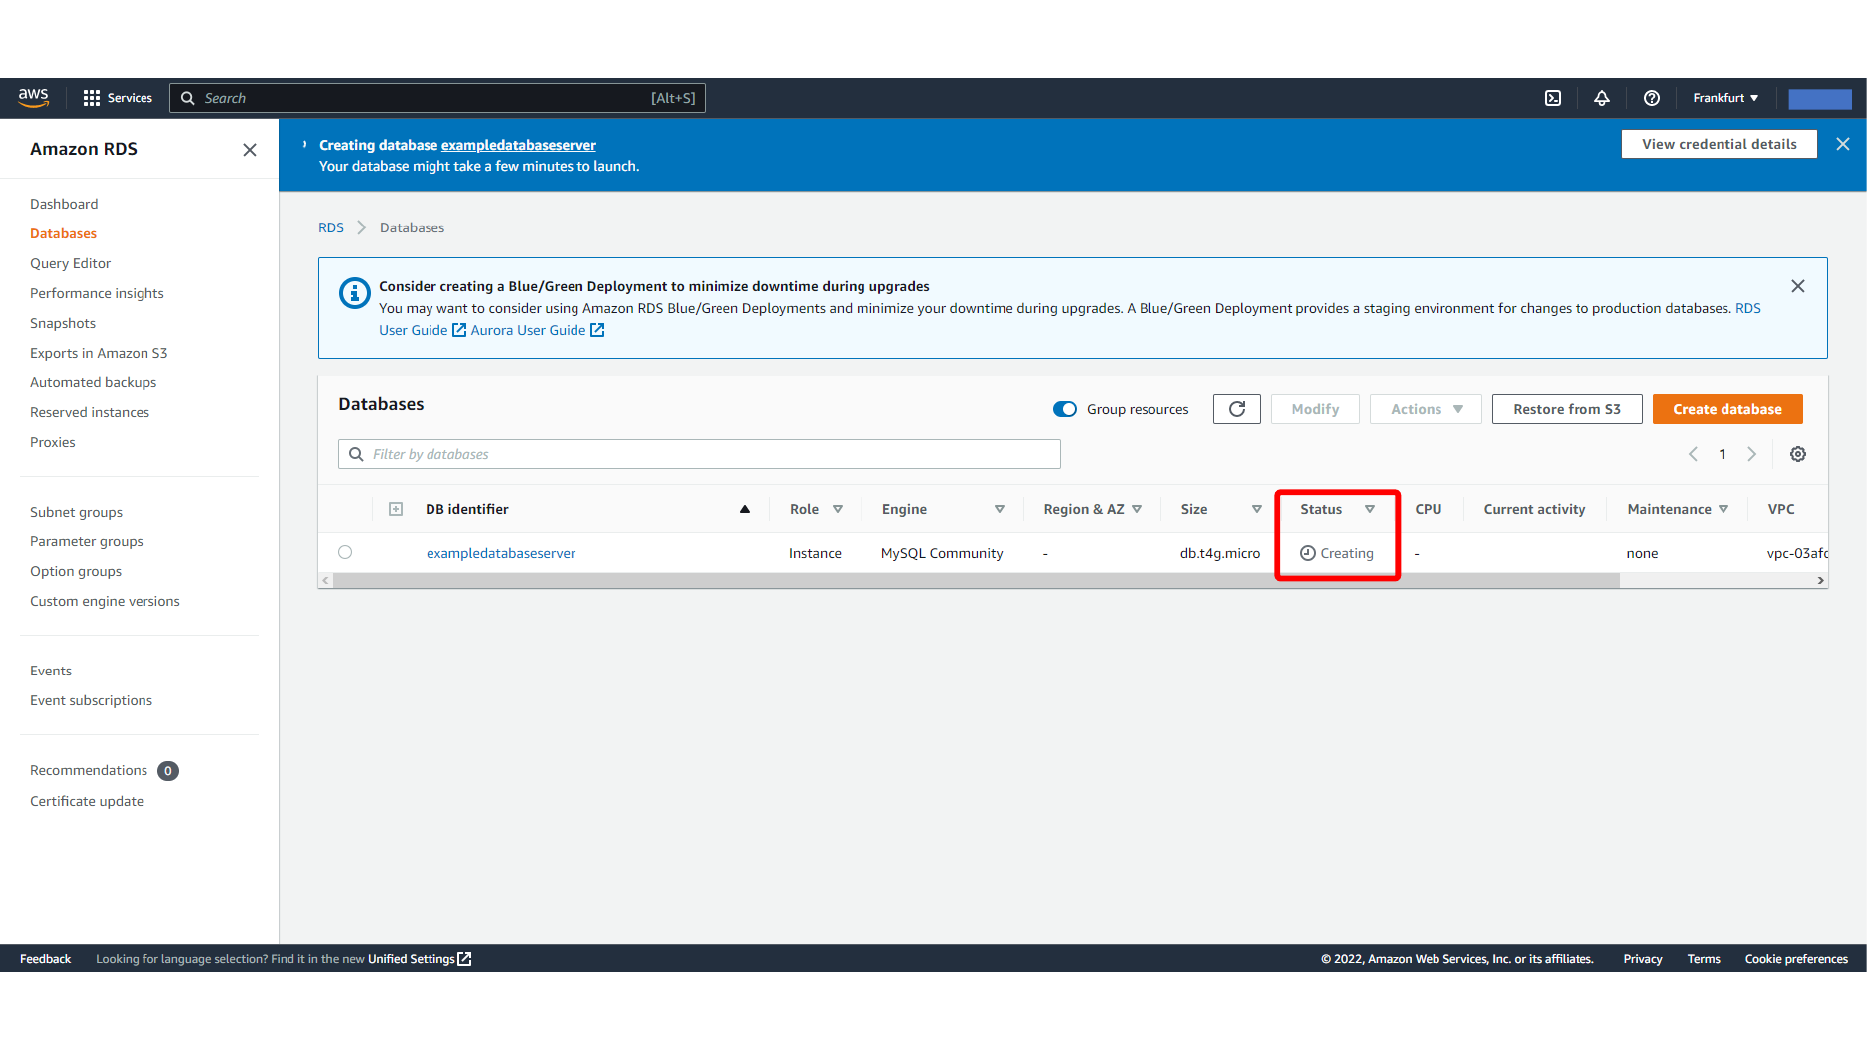
This screen shows RDS MySQL database creation in progress.
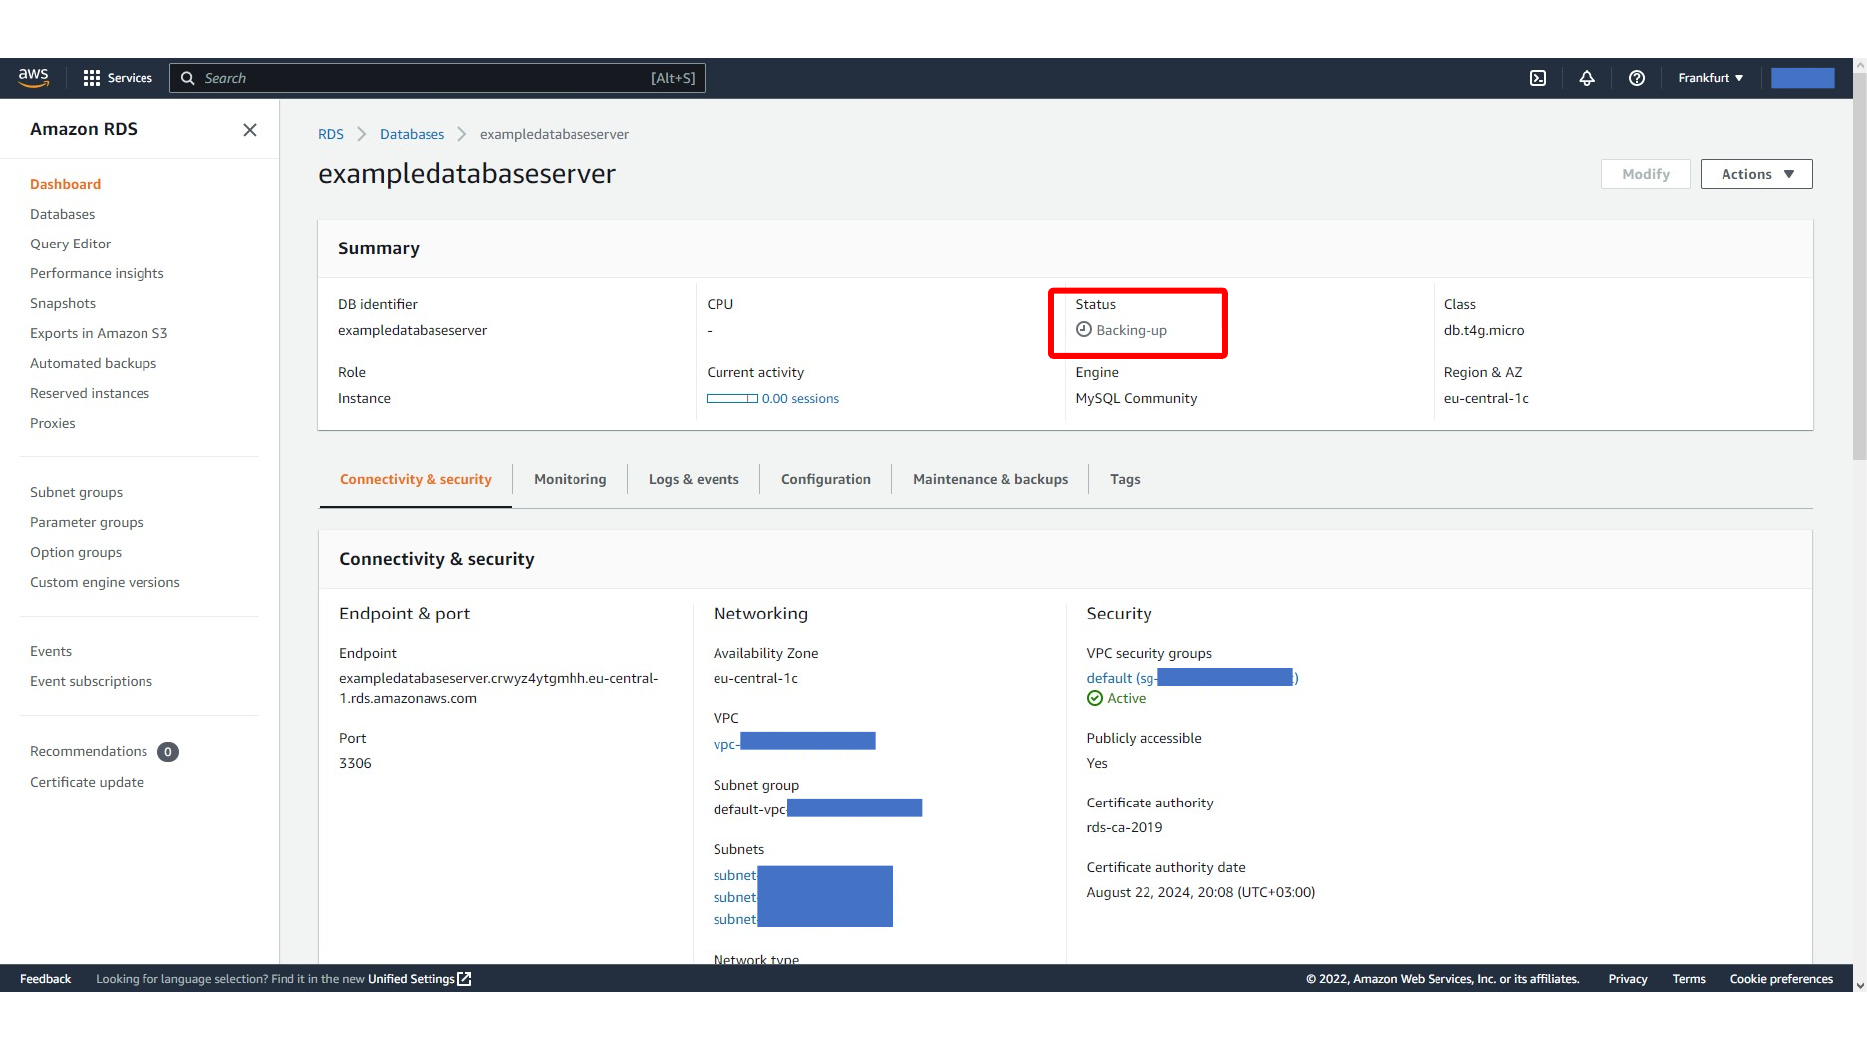
This screen shows RDS MySQL database instance created.
Connecting with MySQL Workbench
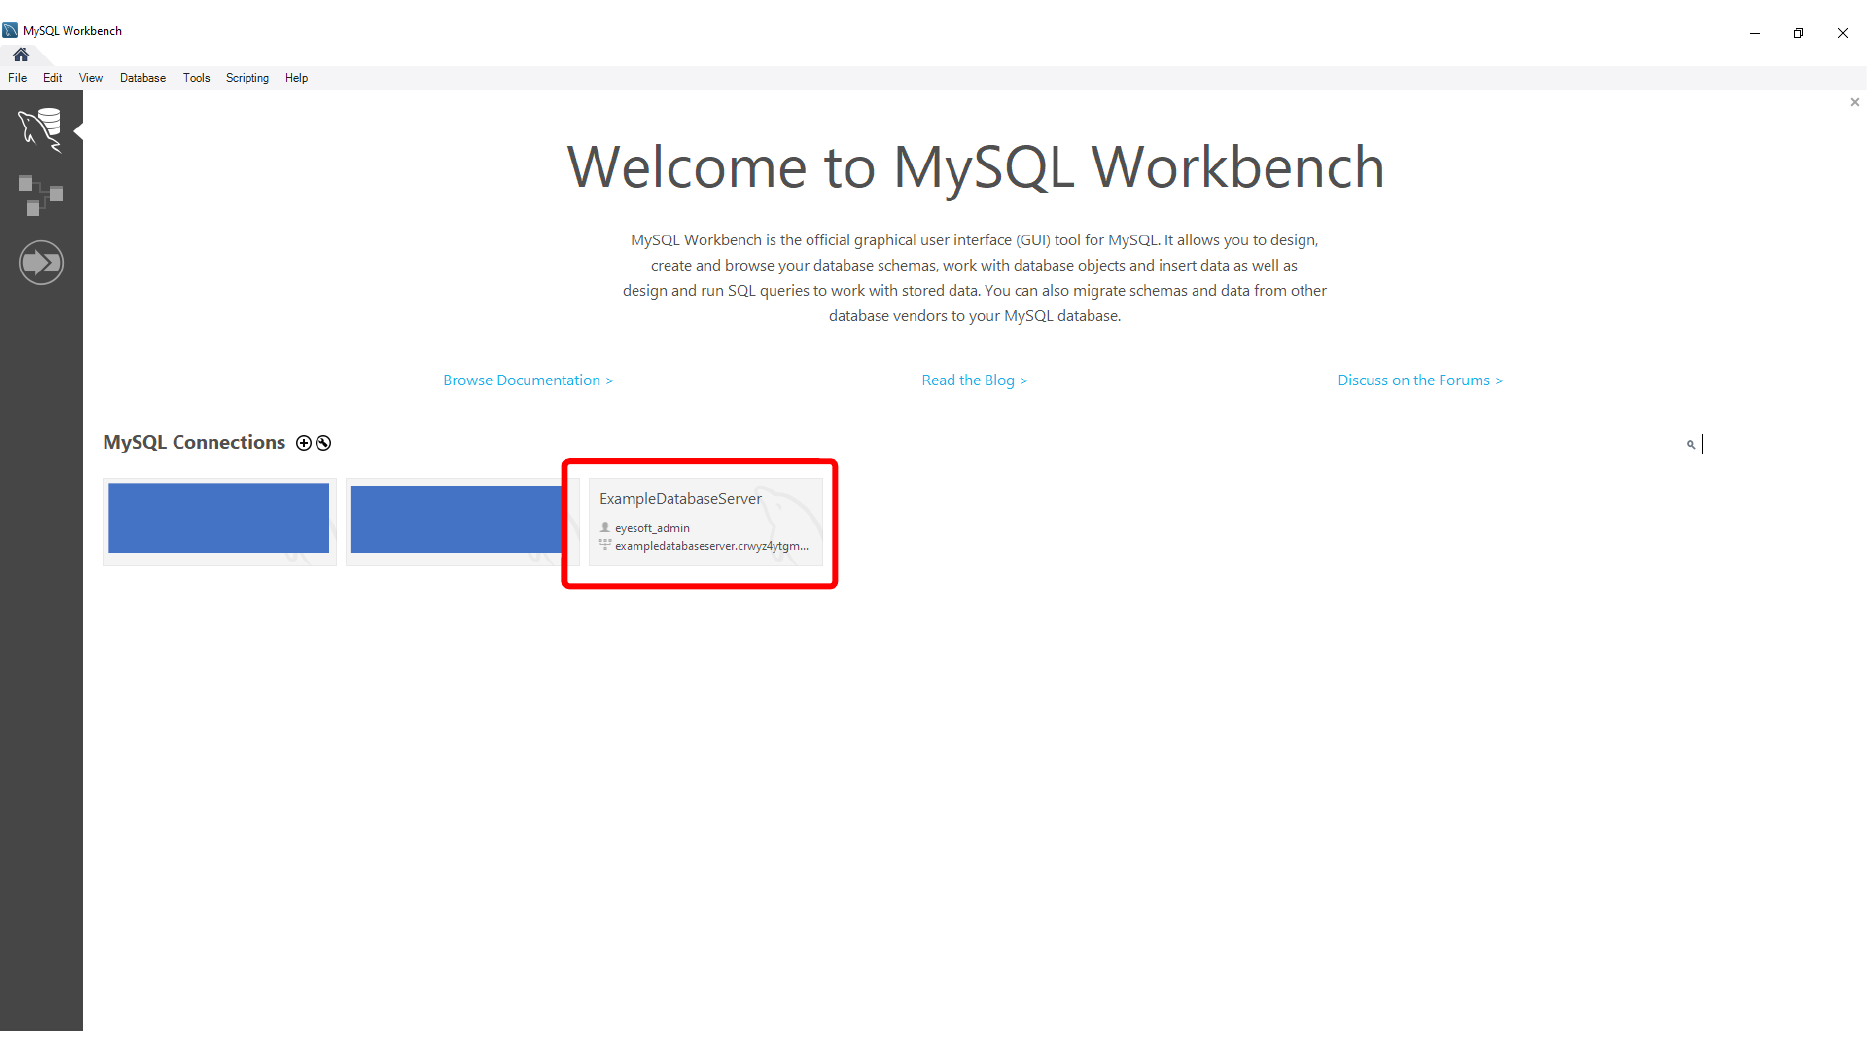
After the database is available, open its details page and copy the endpoint. In MySQL Workbench, create a new connection with that endpoint, port 3306, and the master user credentials you entered during RDS setup.
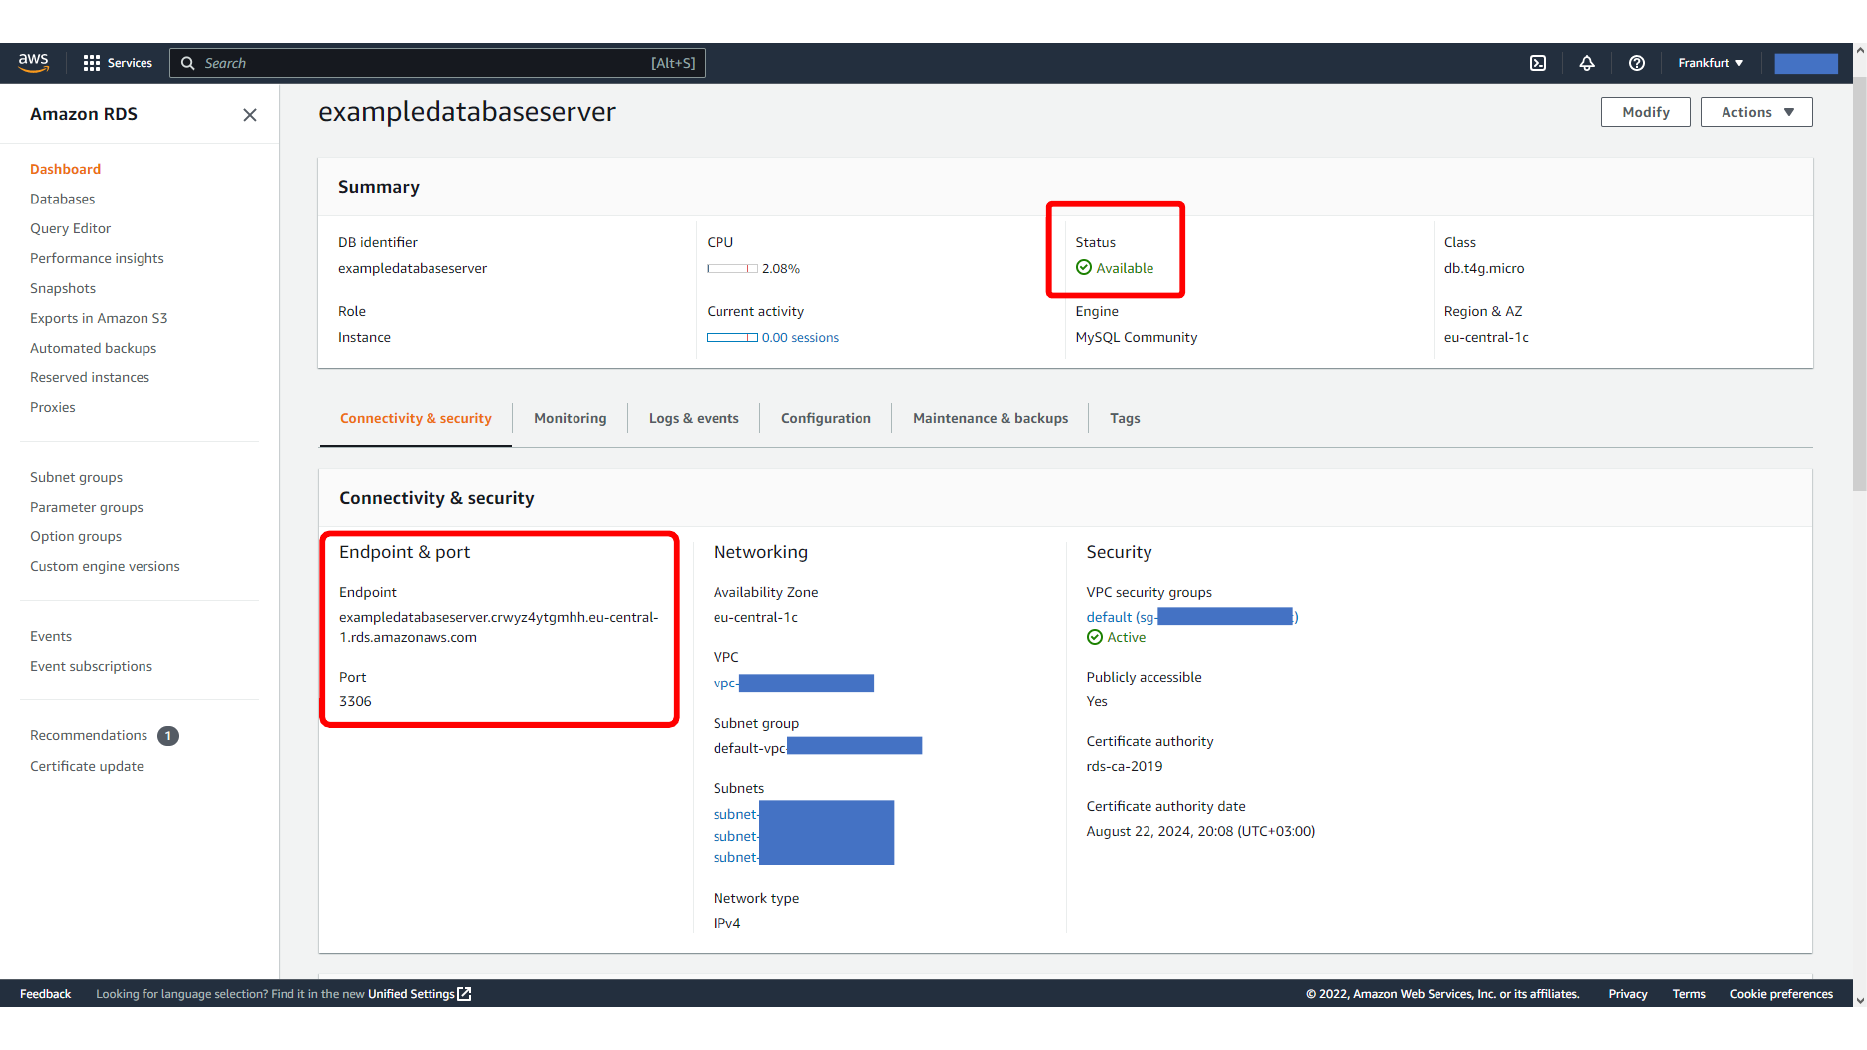
Here, we copy the RDS database endpoint.
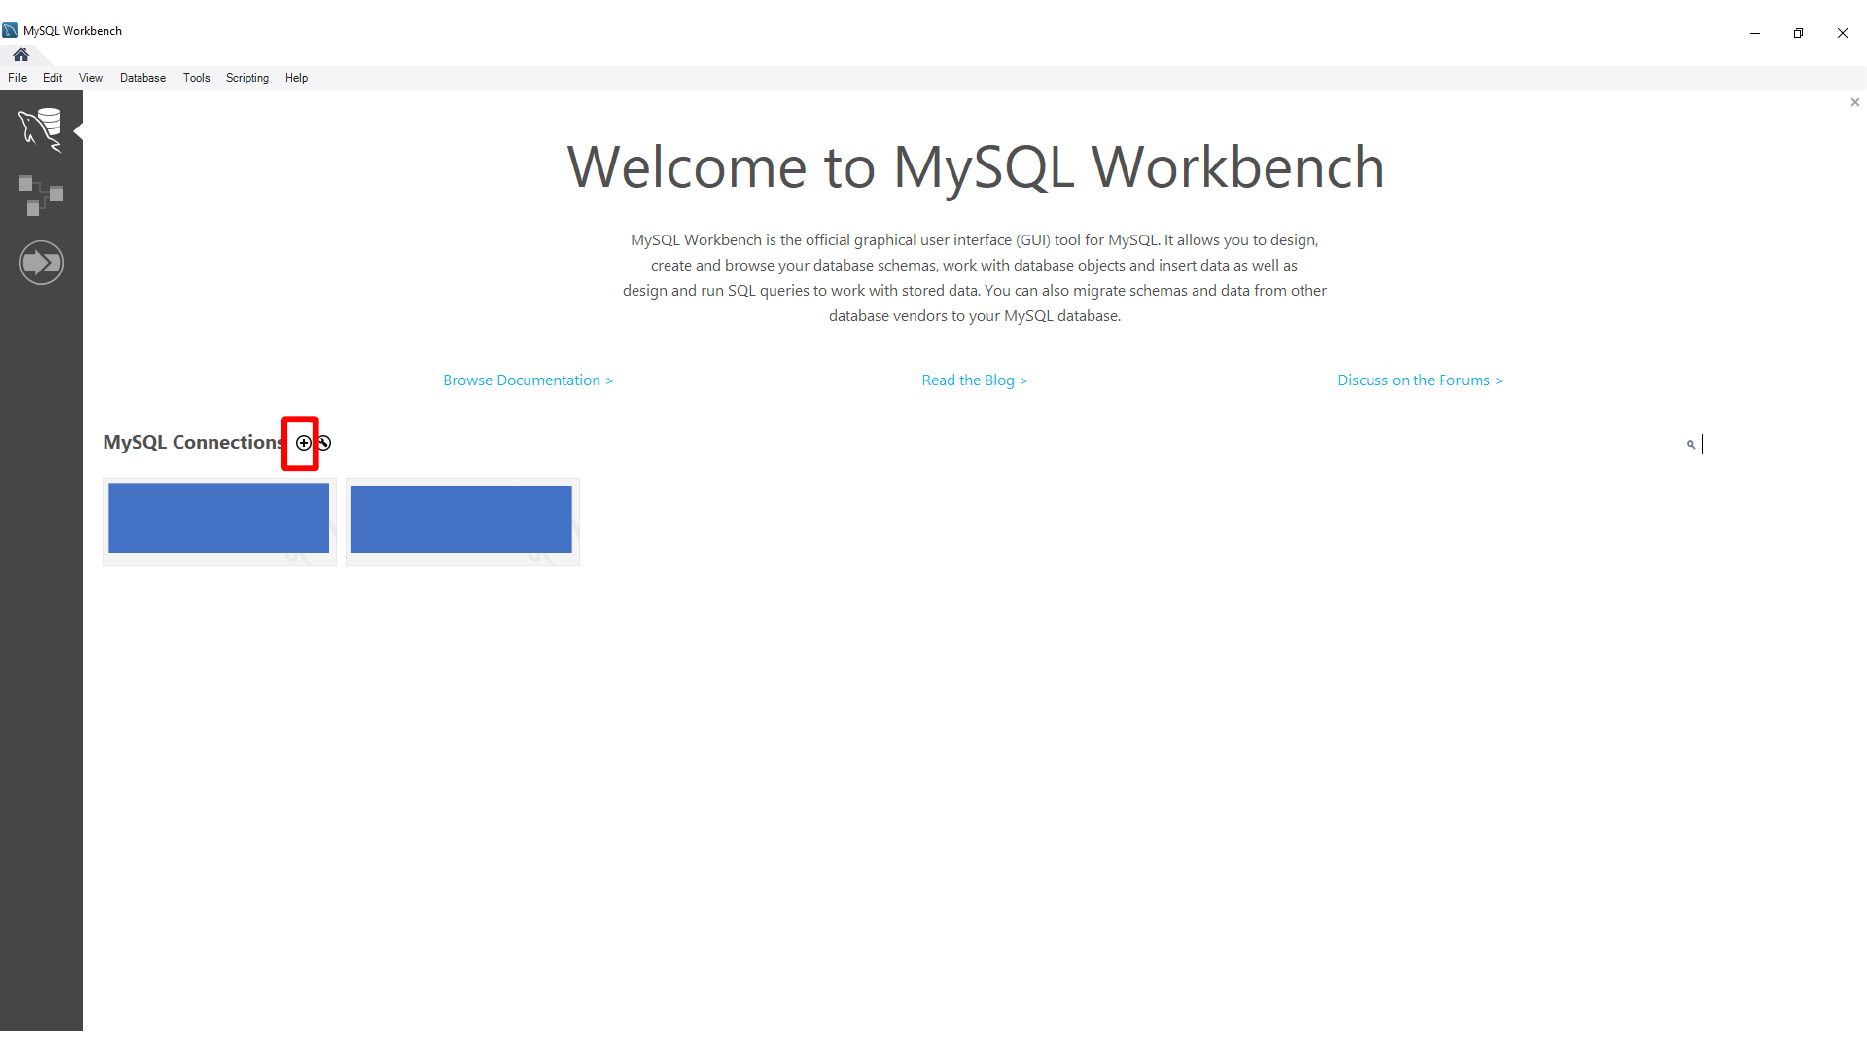
Here, we create a new MySQL Workbench connection.
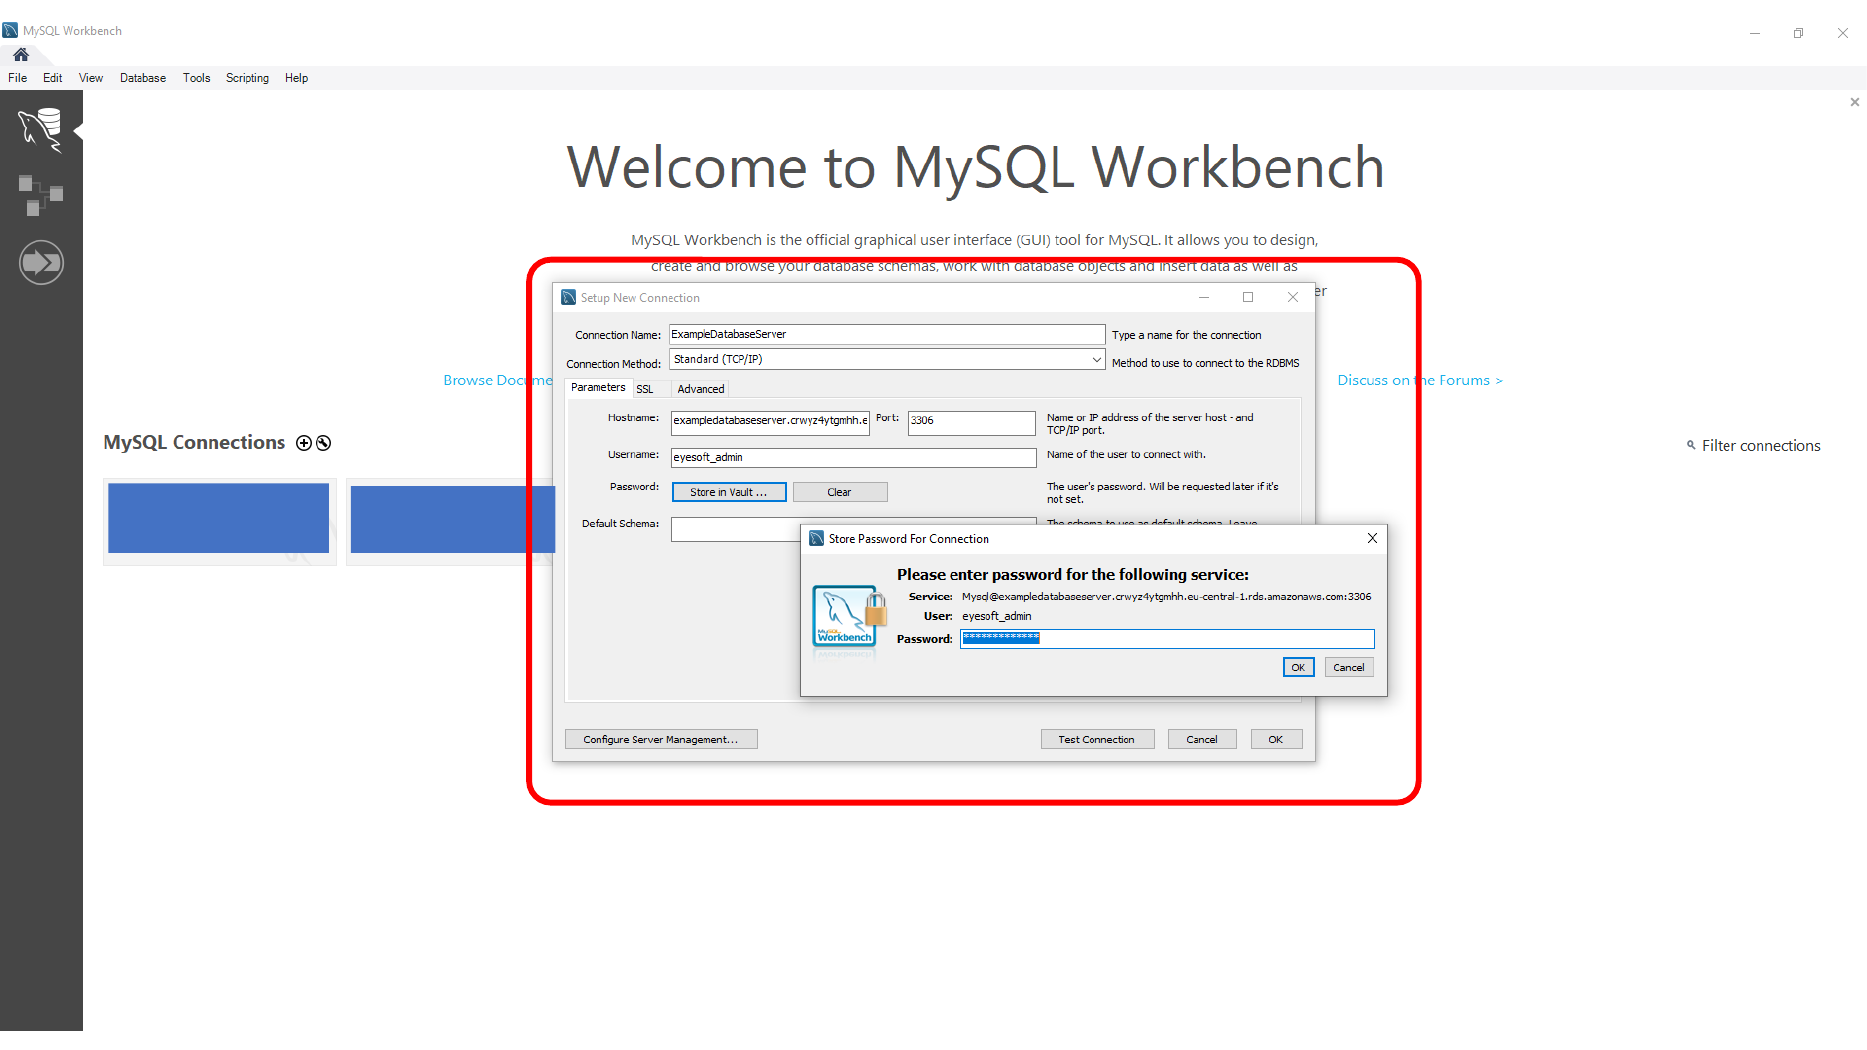
Here, we enter RDS endpoint and credentials in MySQL Workbench.
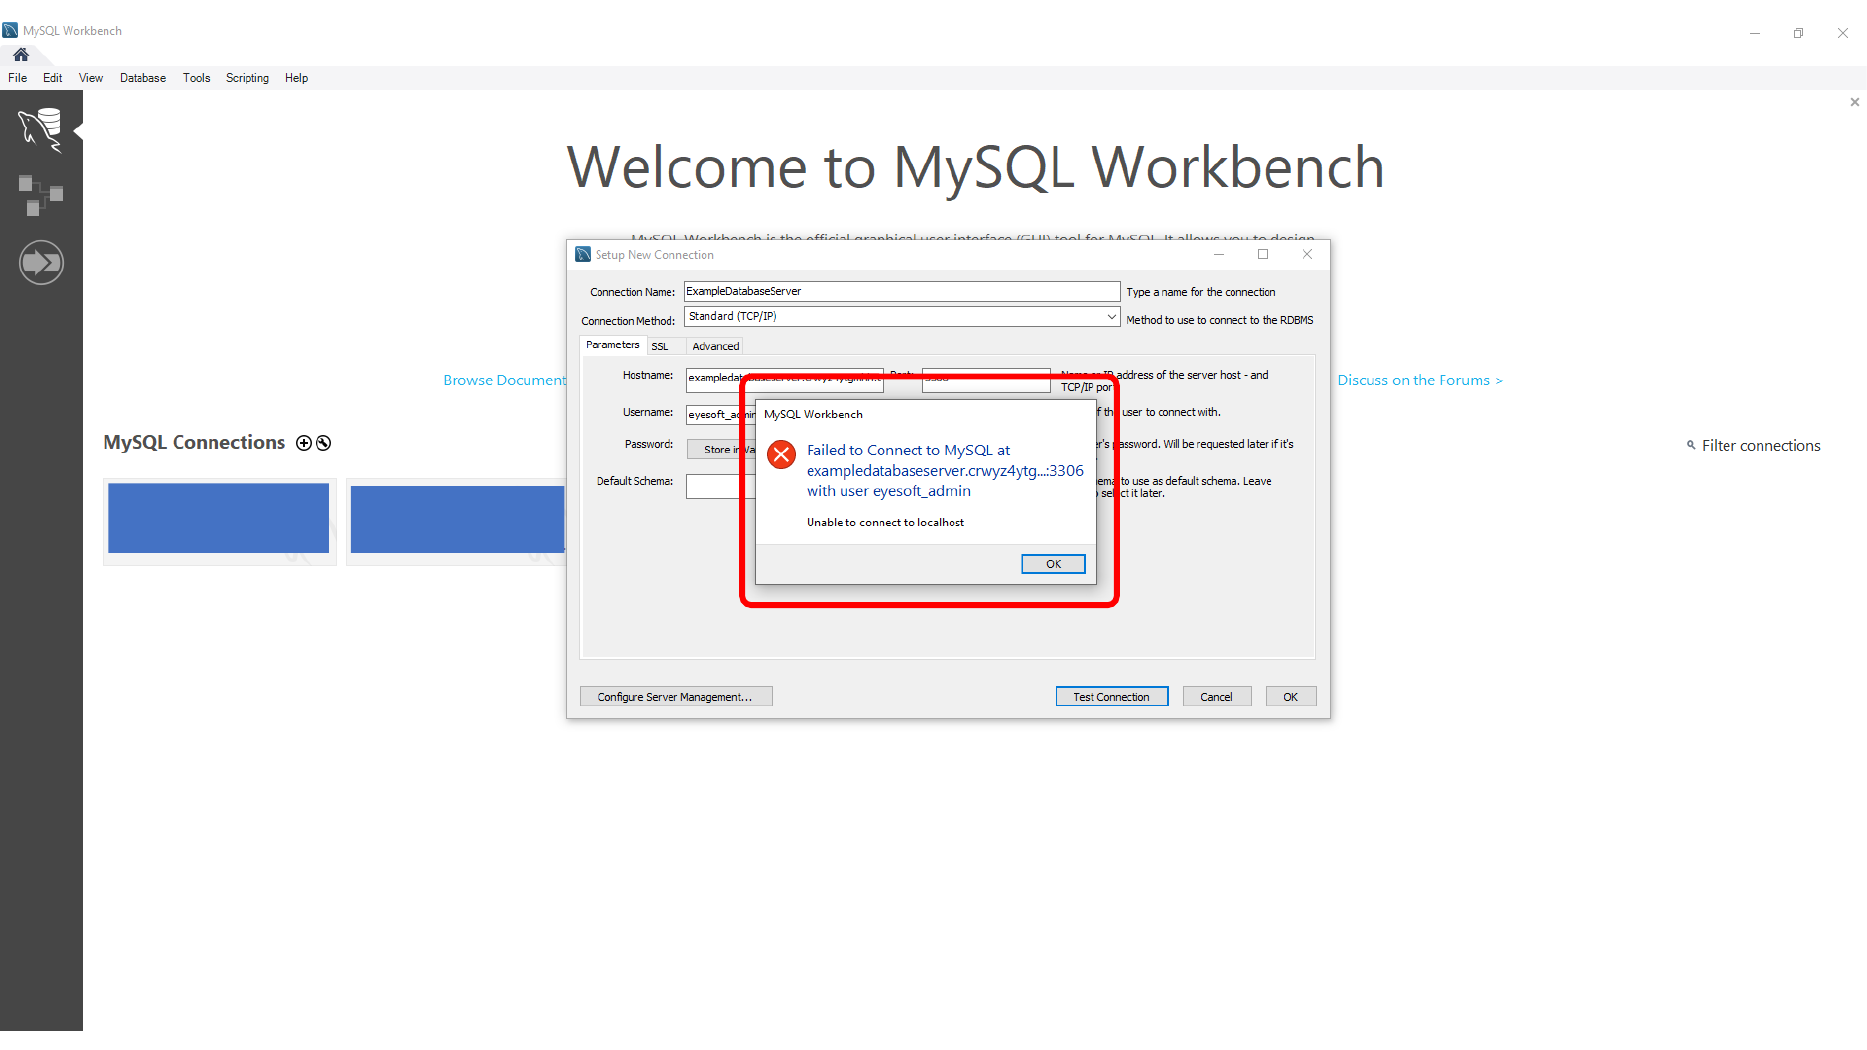
If the first connection attempt fails, the usual reason is the security group. Open the security group attached to the RDS instance and add an inbound rule for MySQL/Aurora on port 3306. For personal testing you may use your own IP address; for production, keep this rule as narrow as possible.
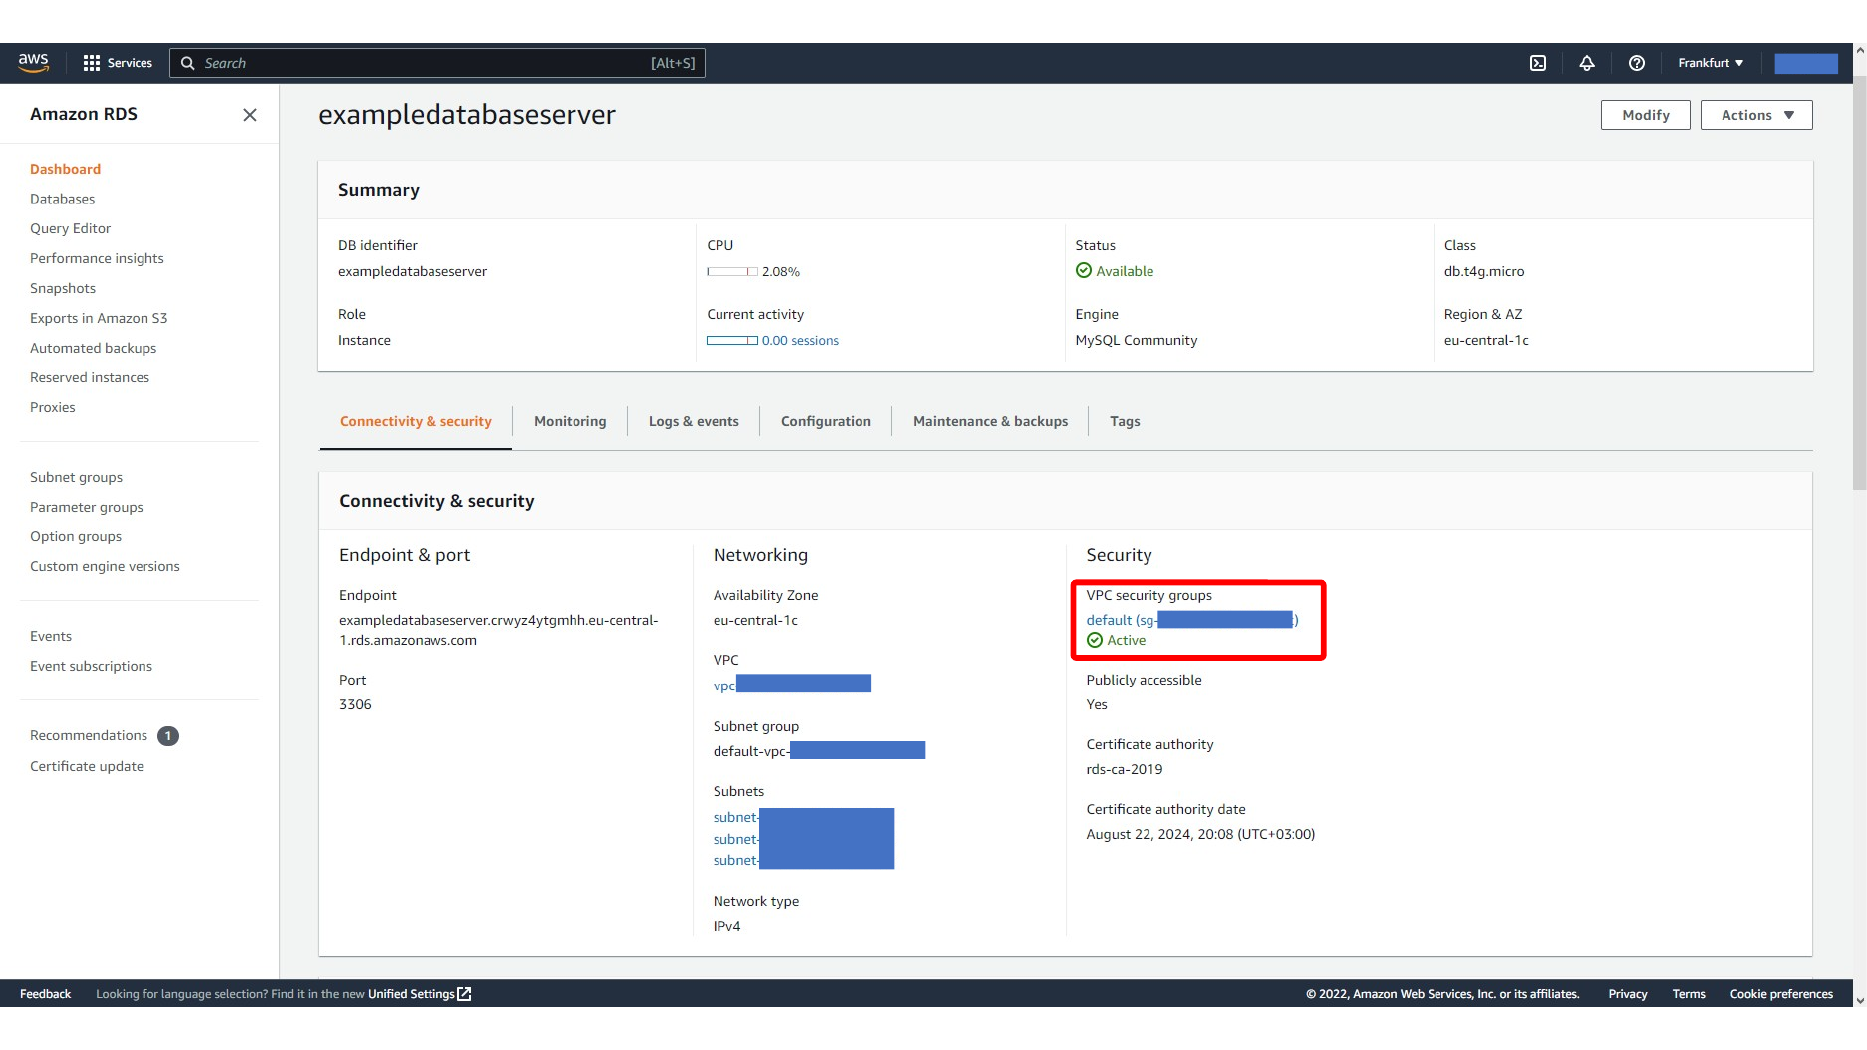
Here, we open the RDS security group.
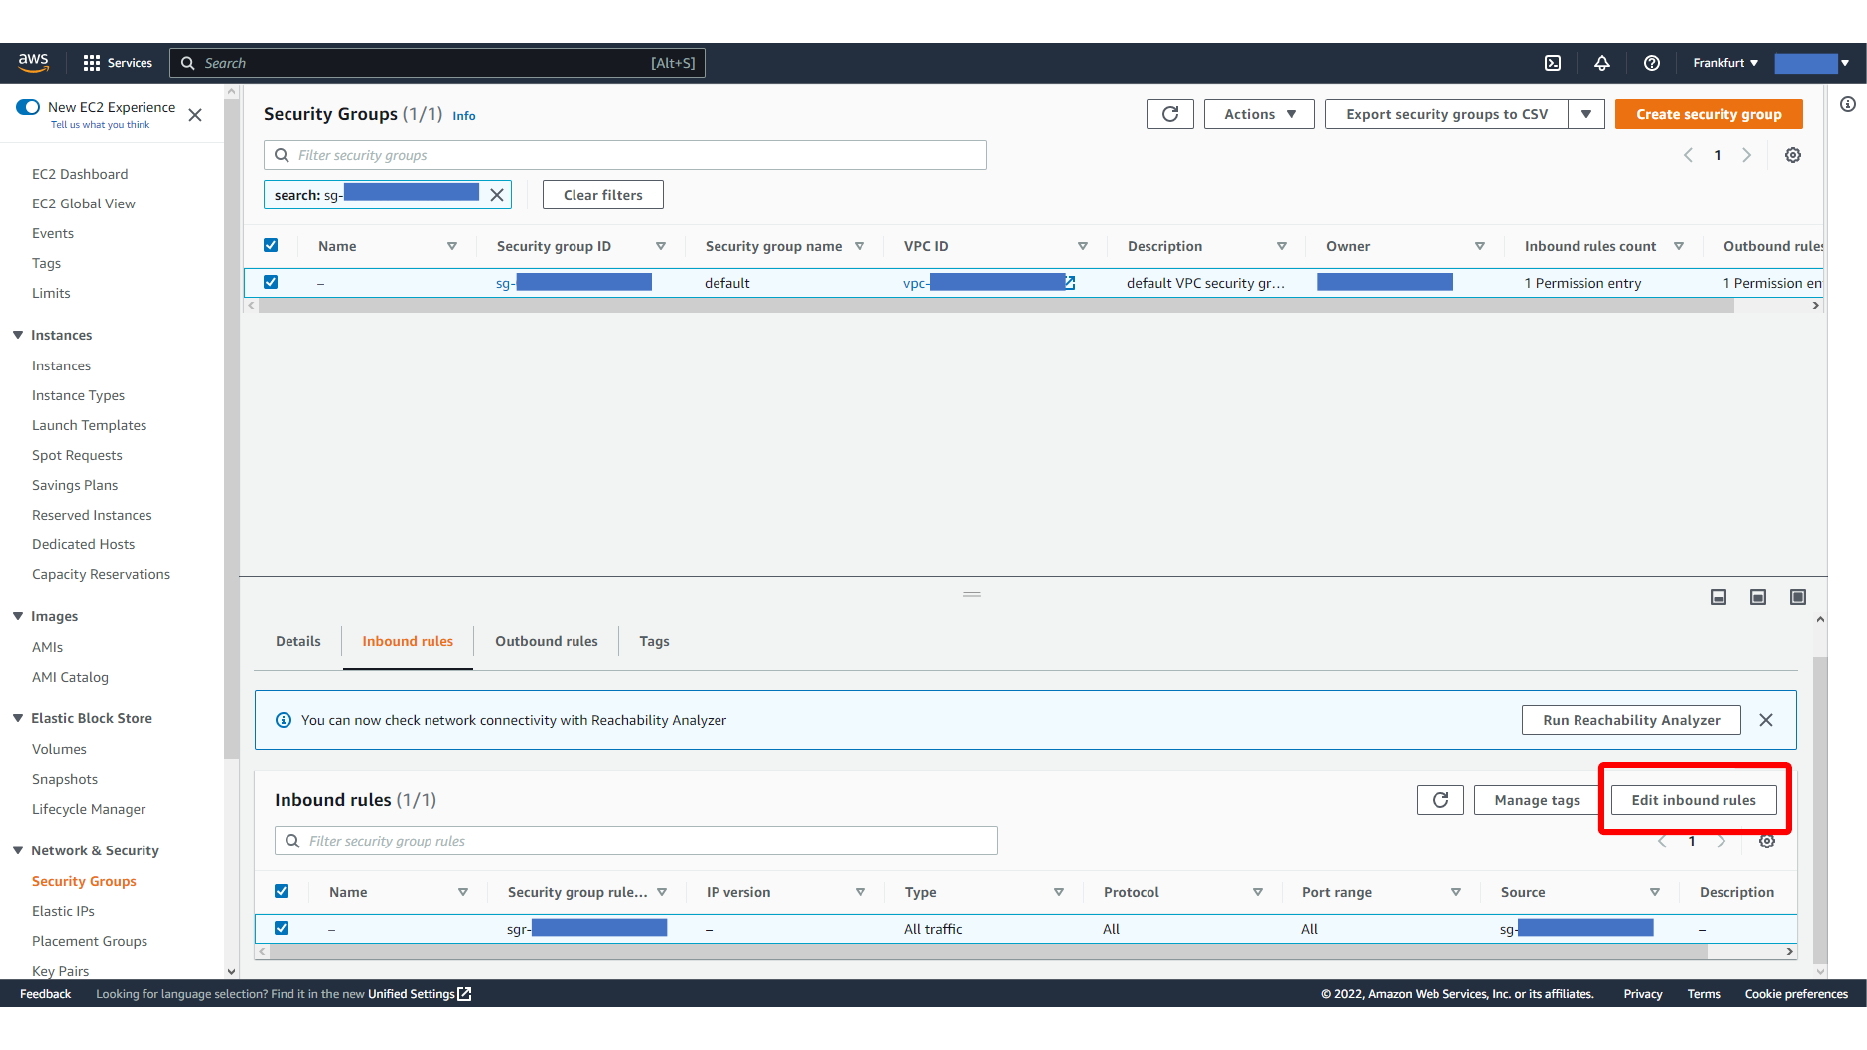
Here, we edit inbound rules for the RDS security group.
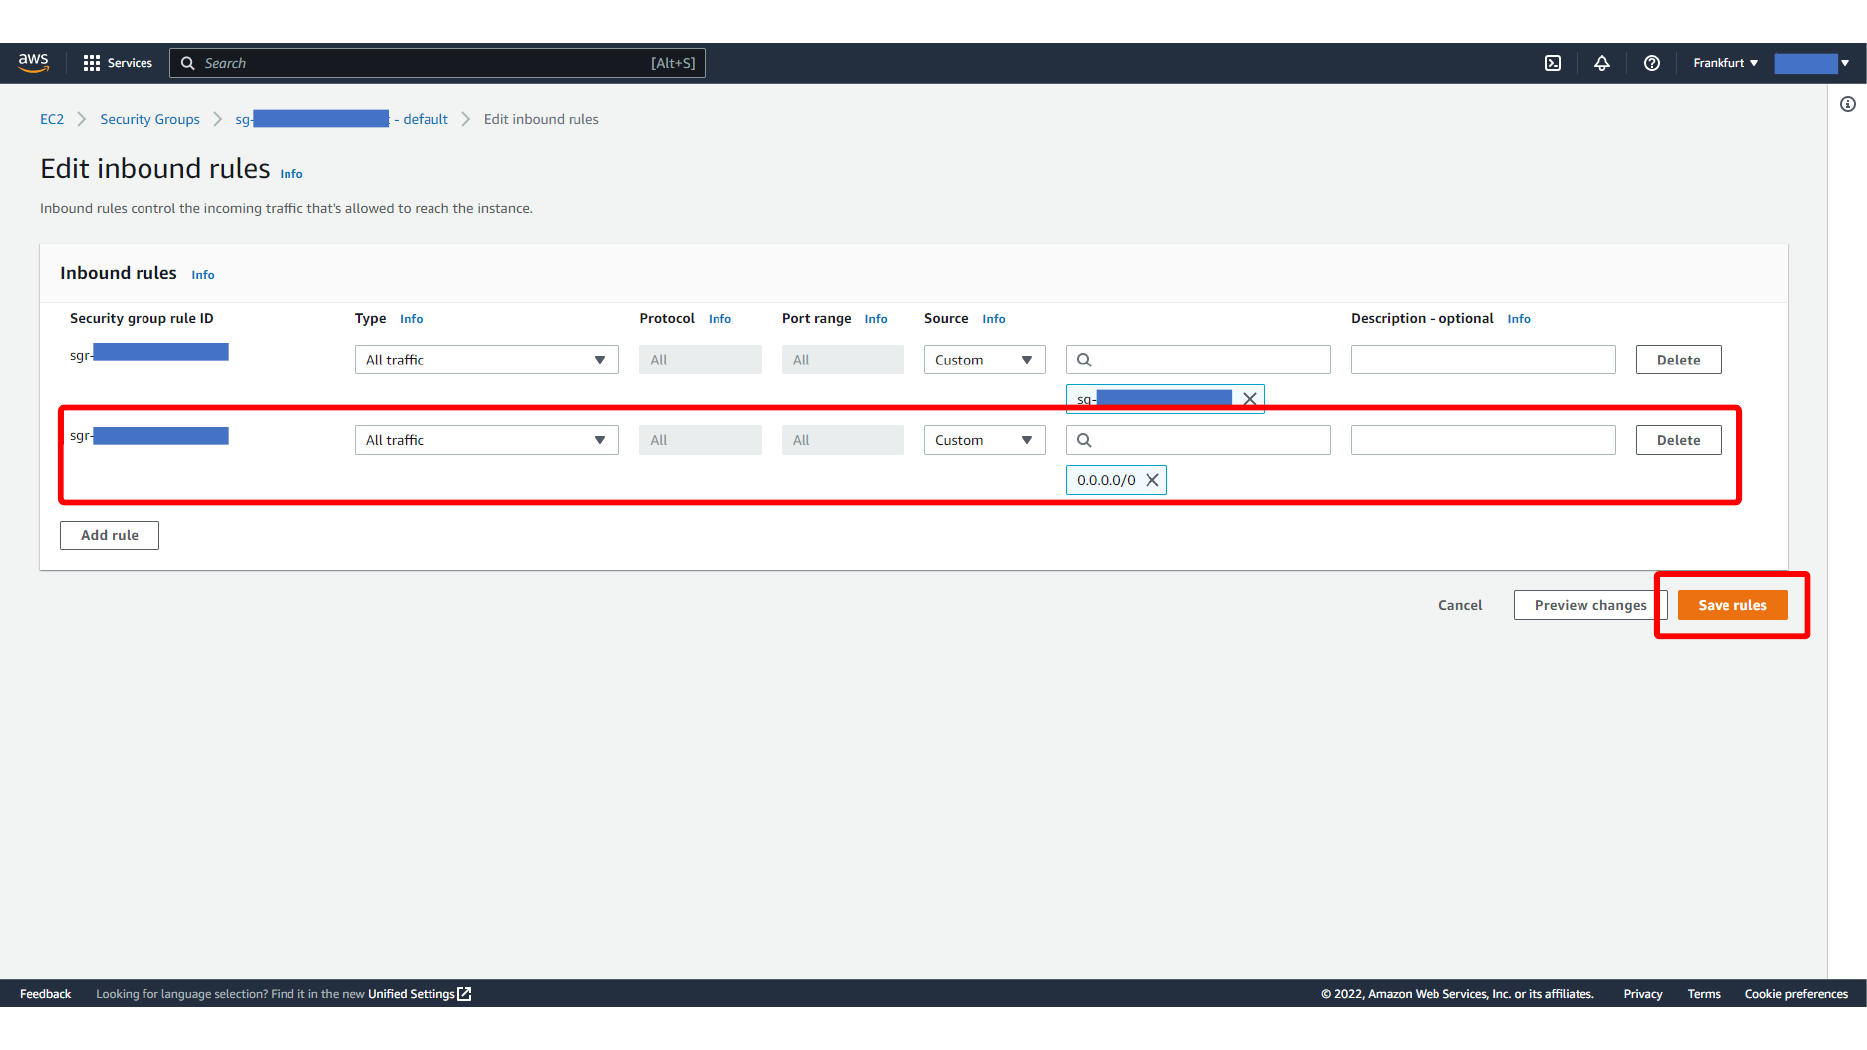
Here, we add a MySQL inbound rule for port 3306.
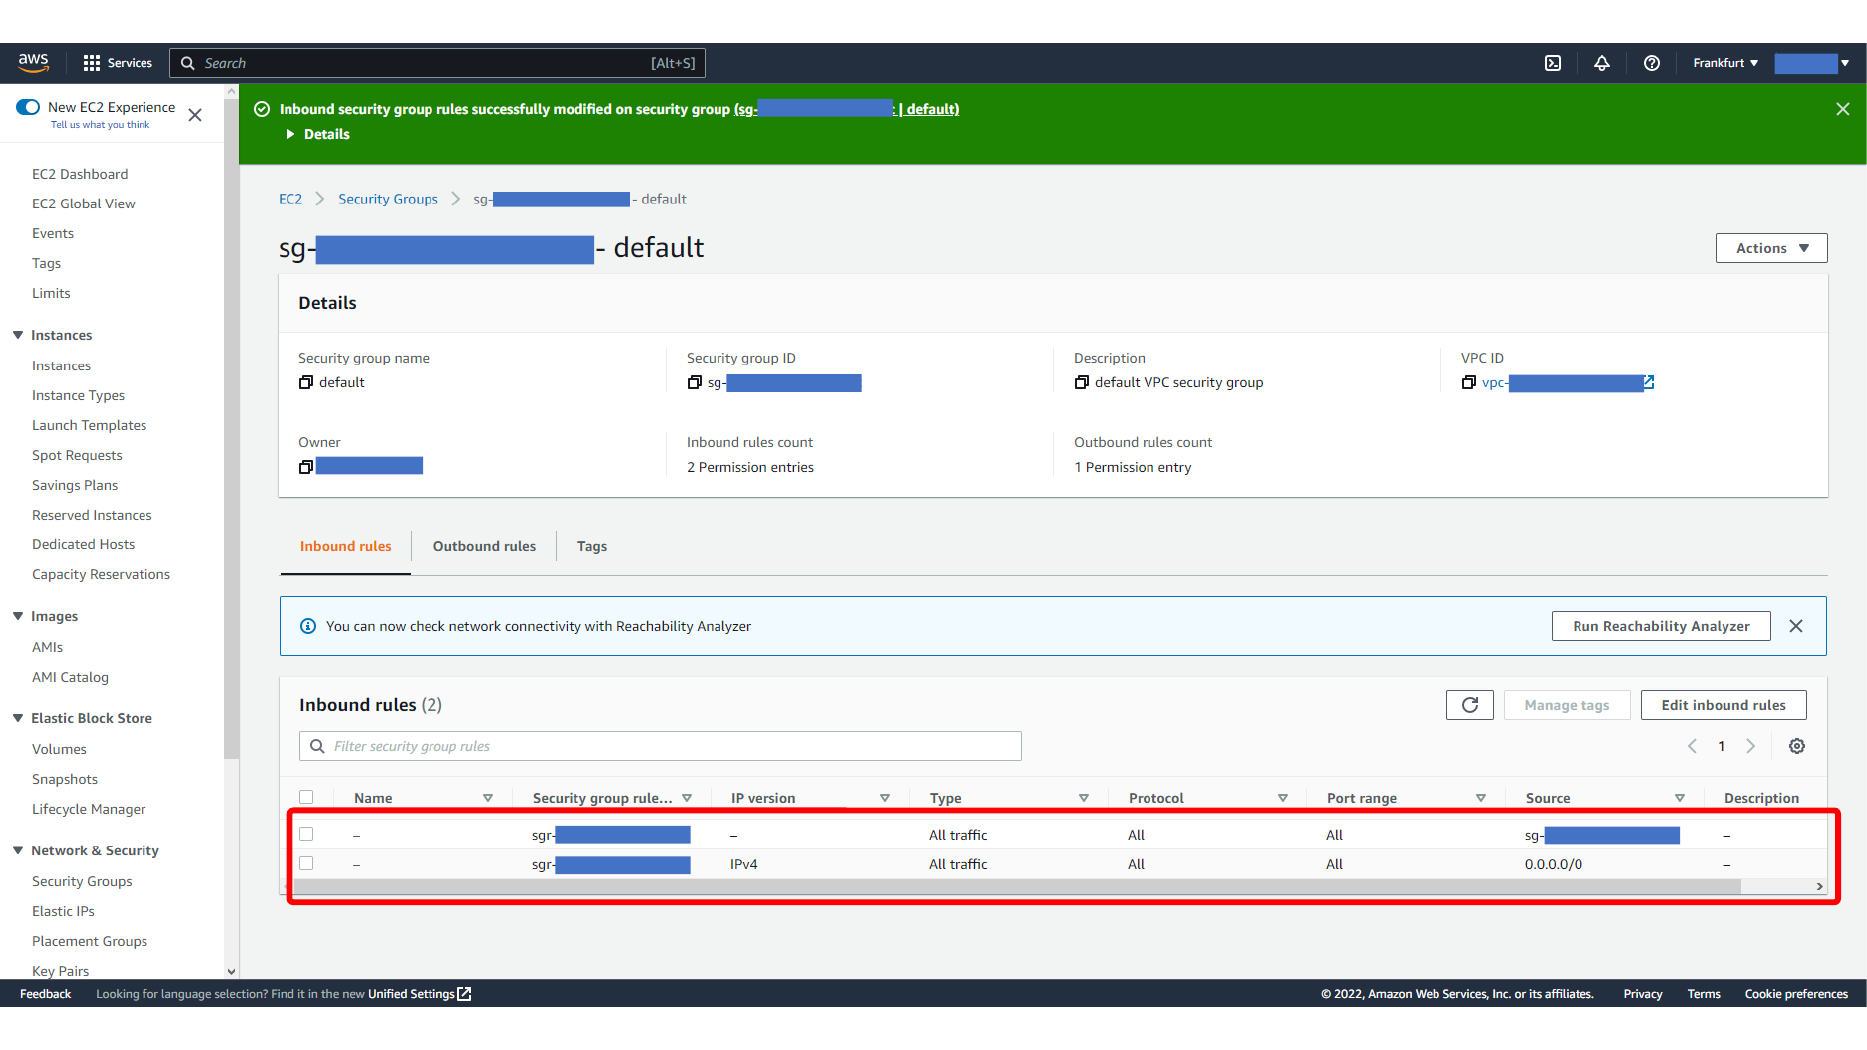
With the rule in place, connect again from MySQL Workbench and verify that the server opens successfully.
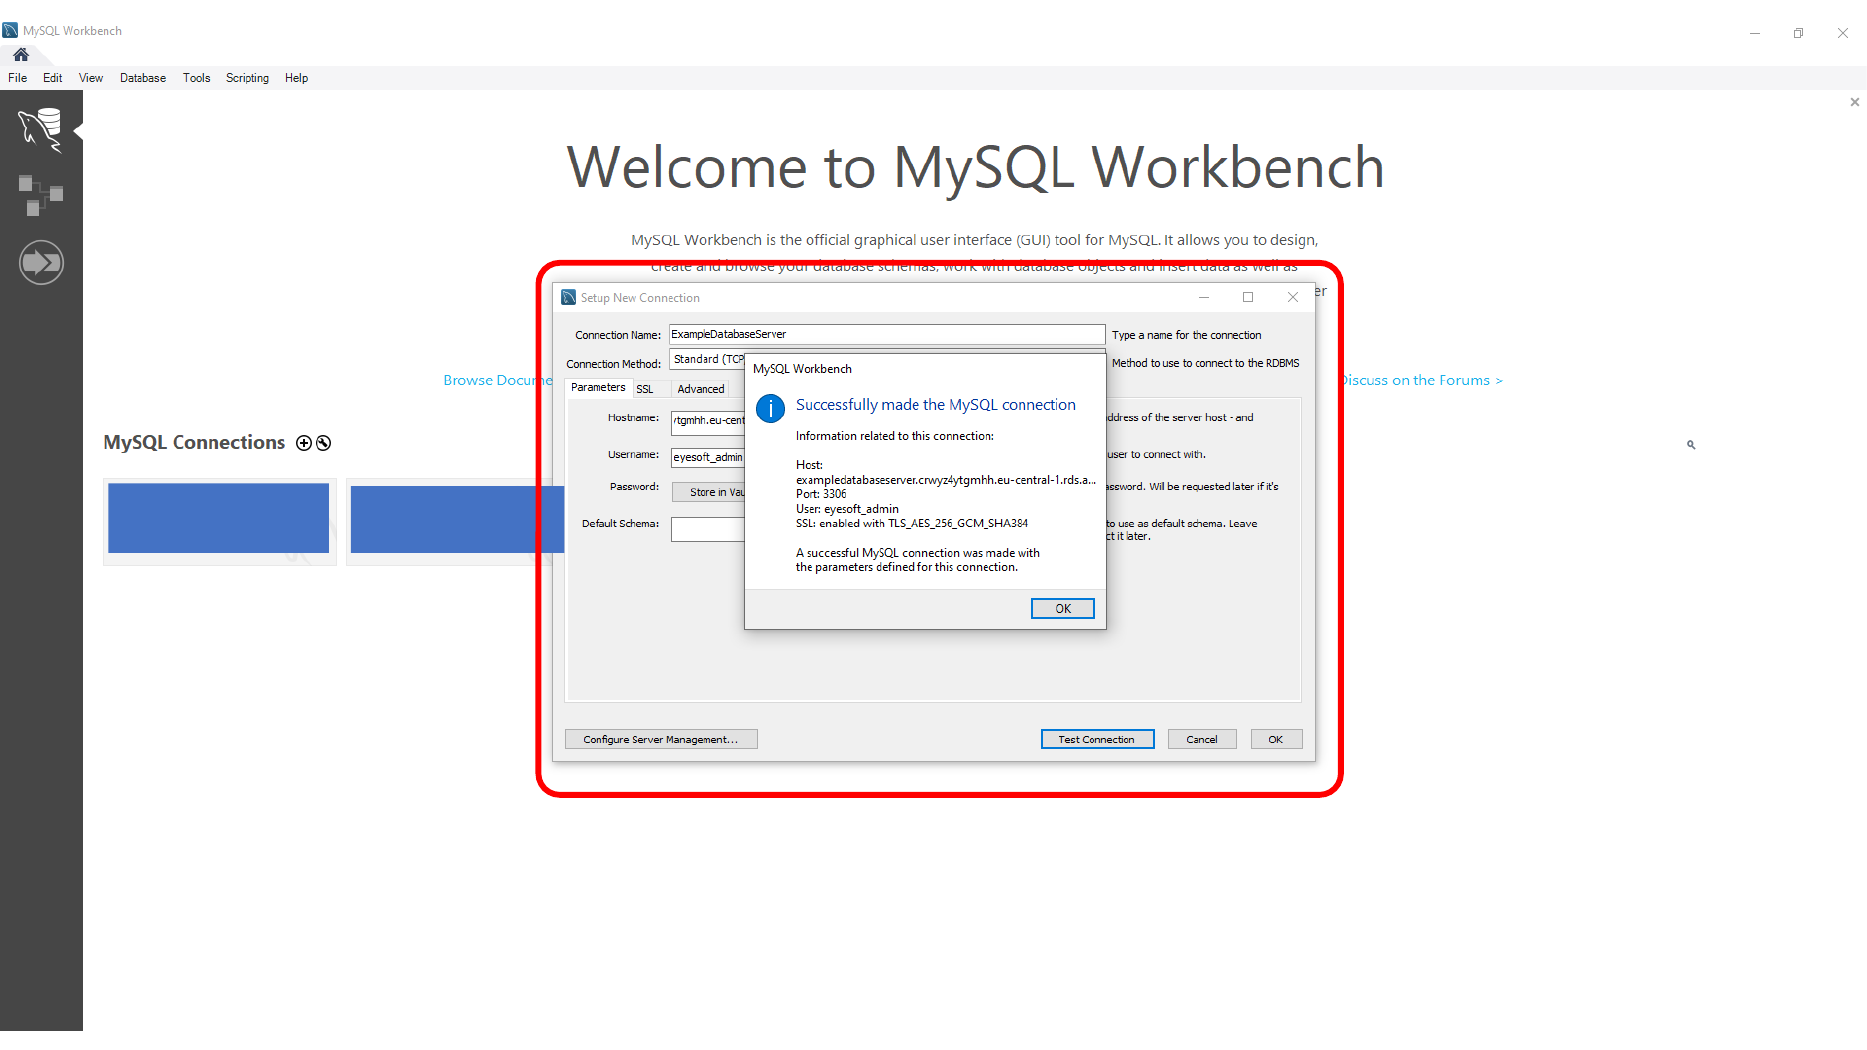
Creating a Sample Library Database
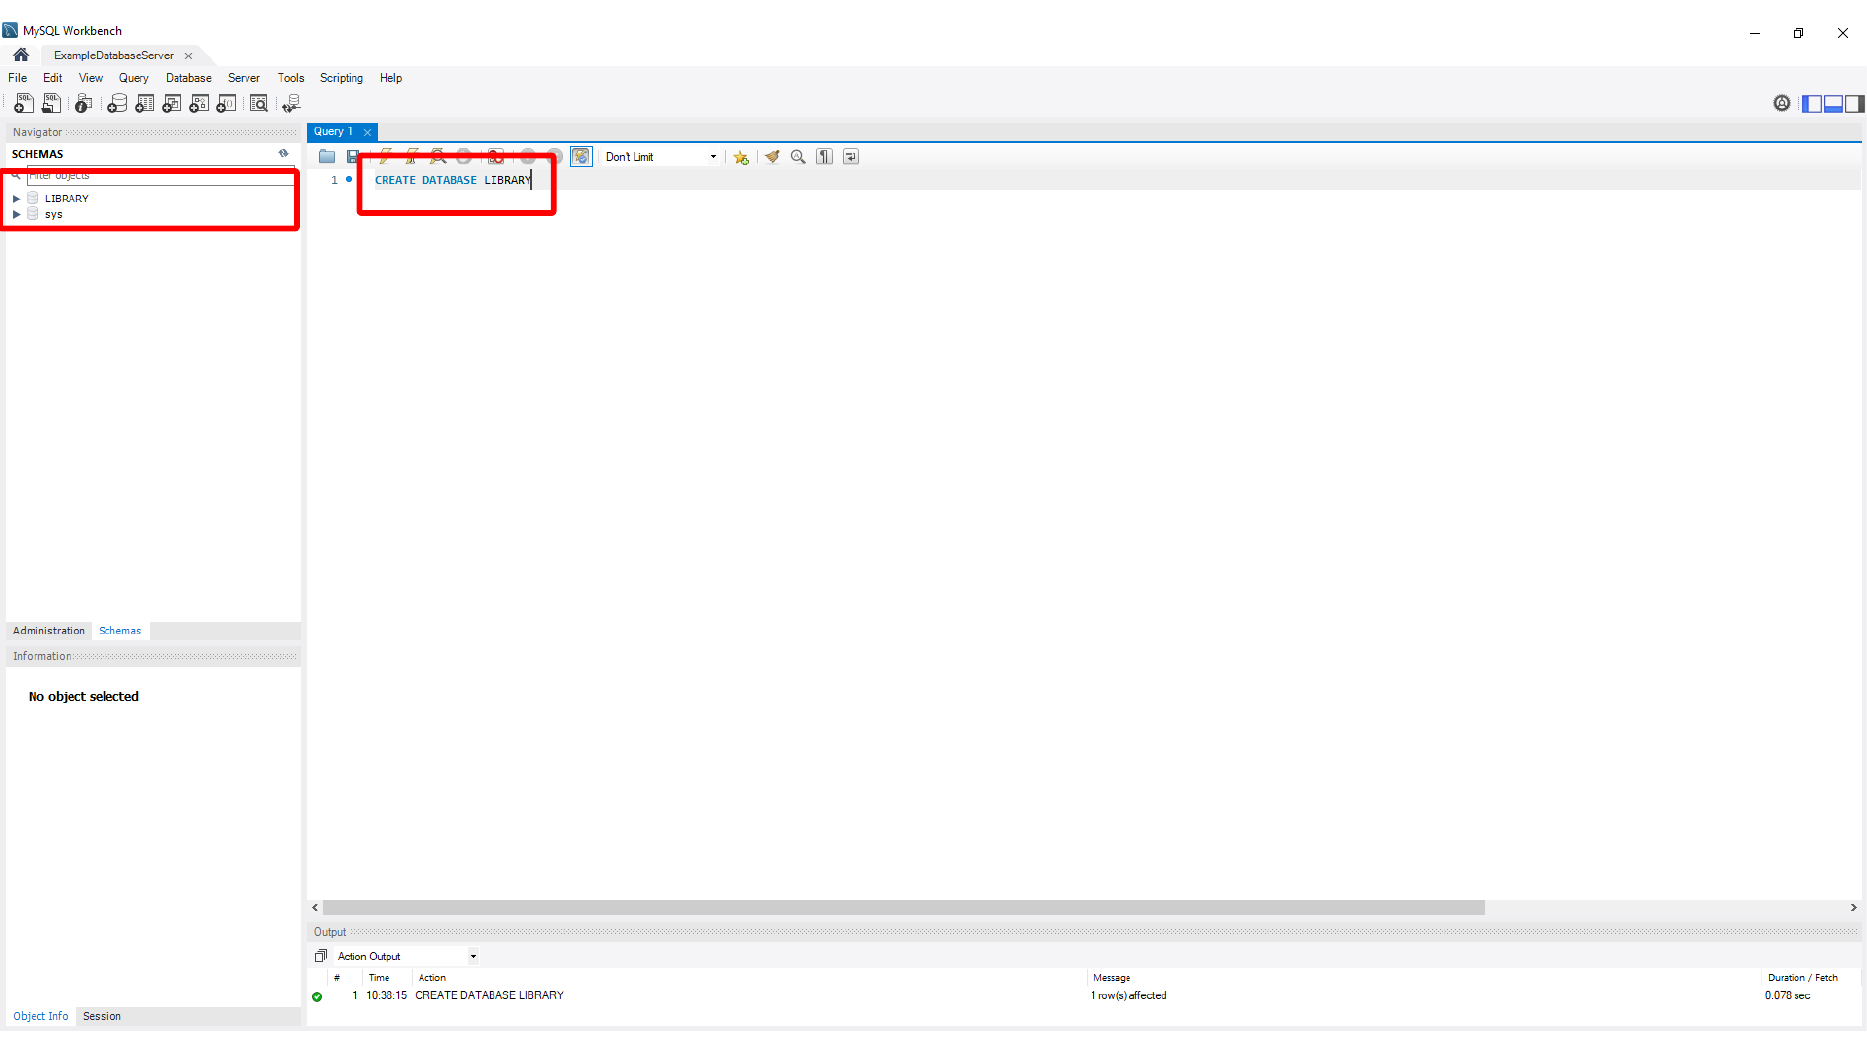
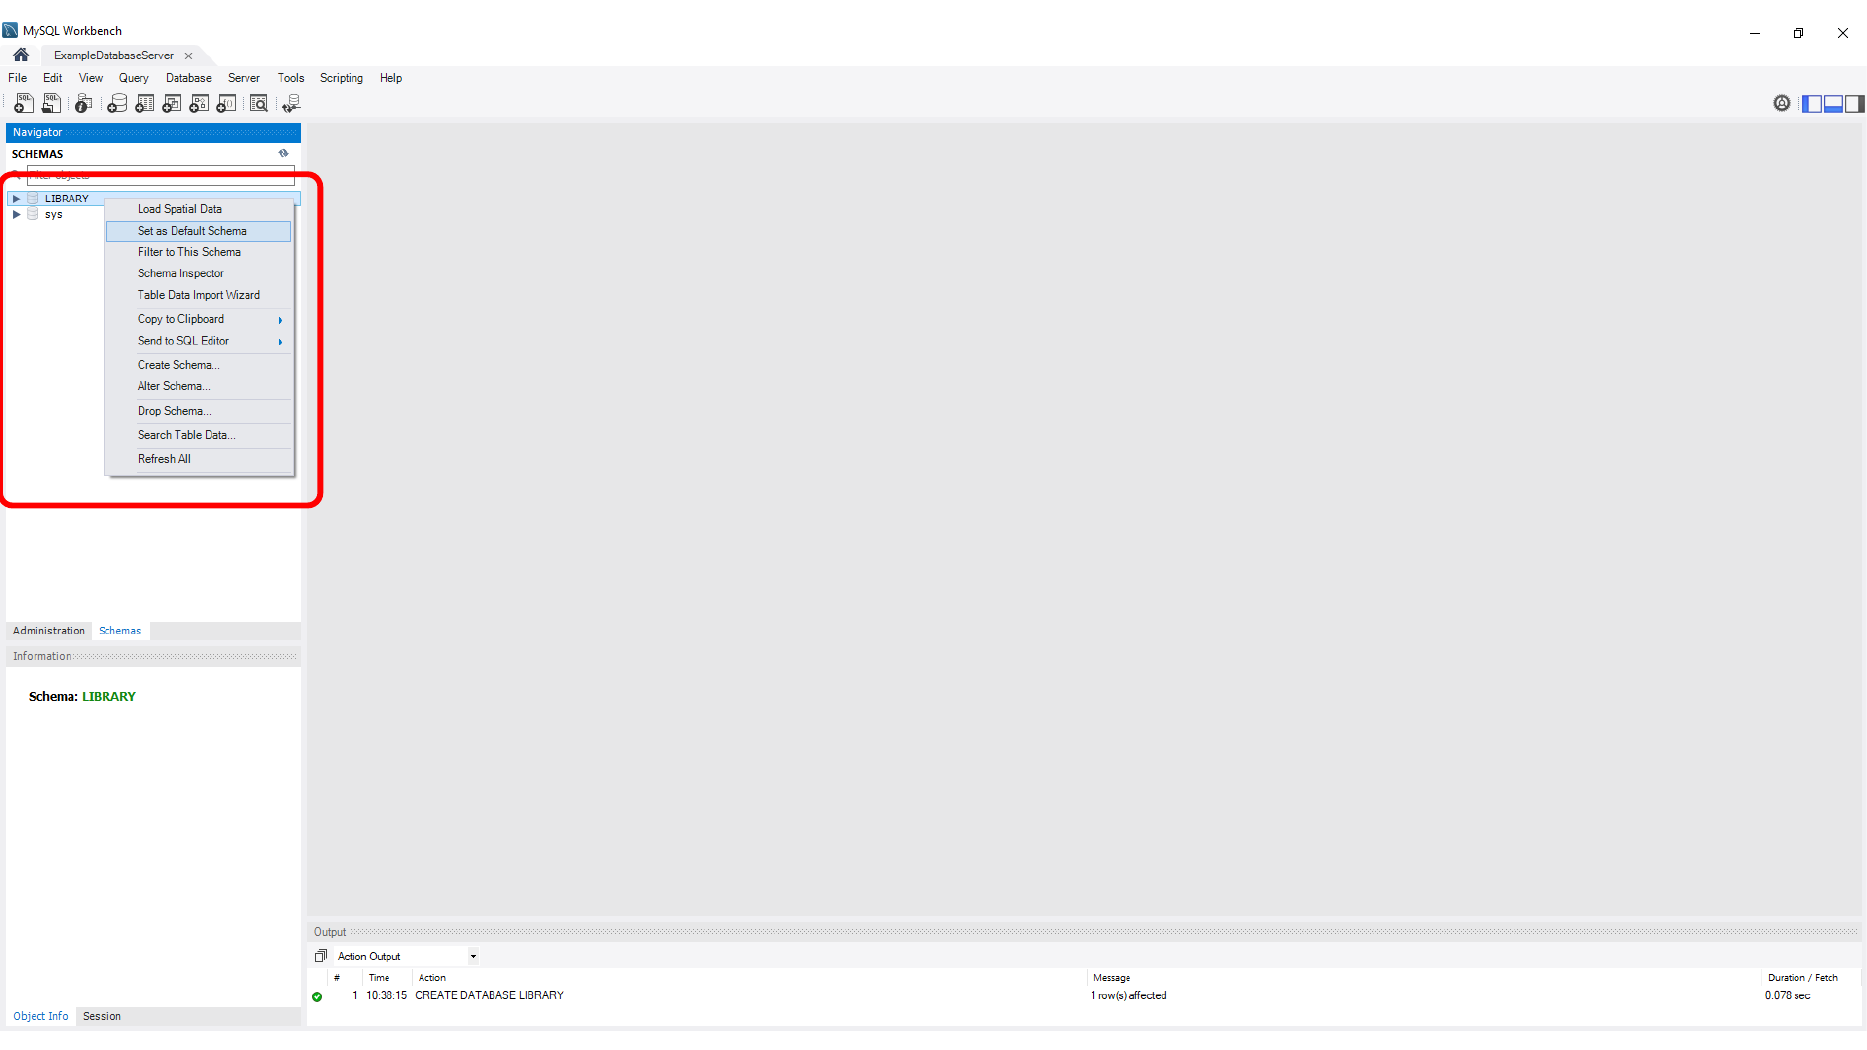
To test the new server, create a simple Library schema in MySQL Workbench. This gives you a practical way to verify schema creation, tables, relationships, inserts, and select queries.
Here, we apply schema creation in MySQL Workbench.
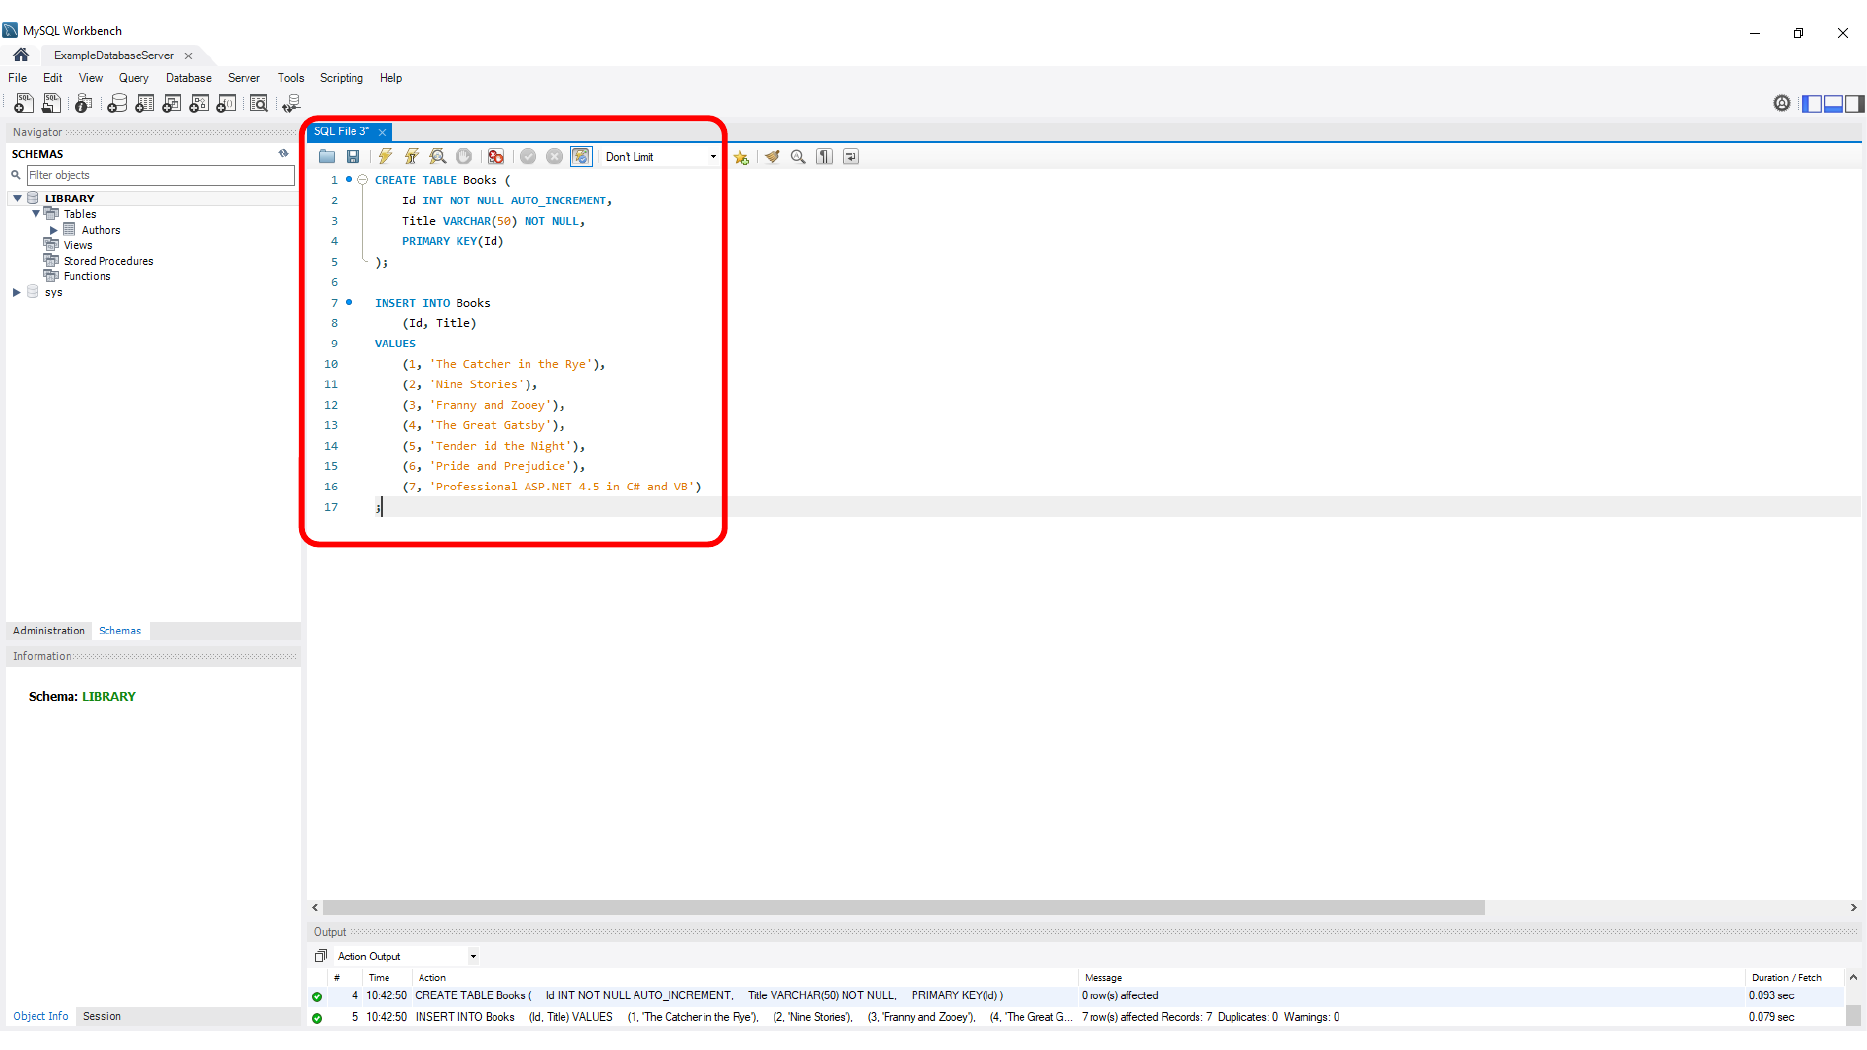
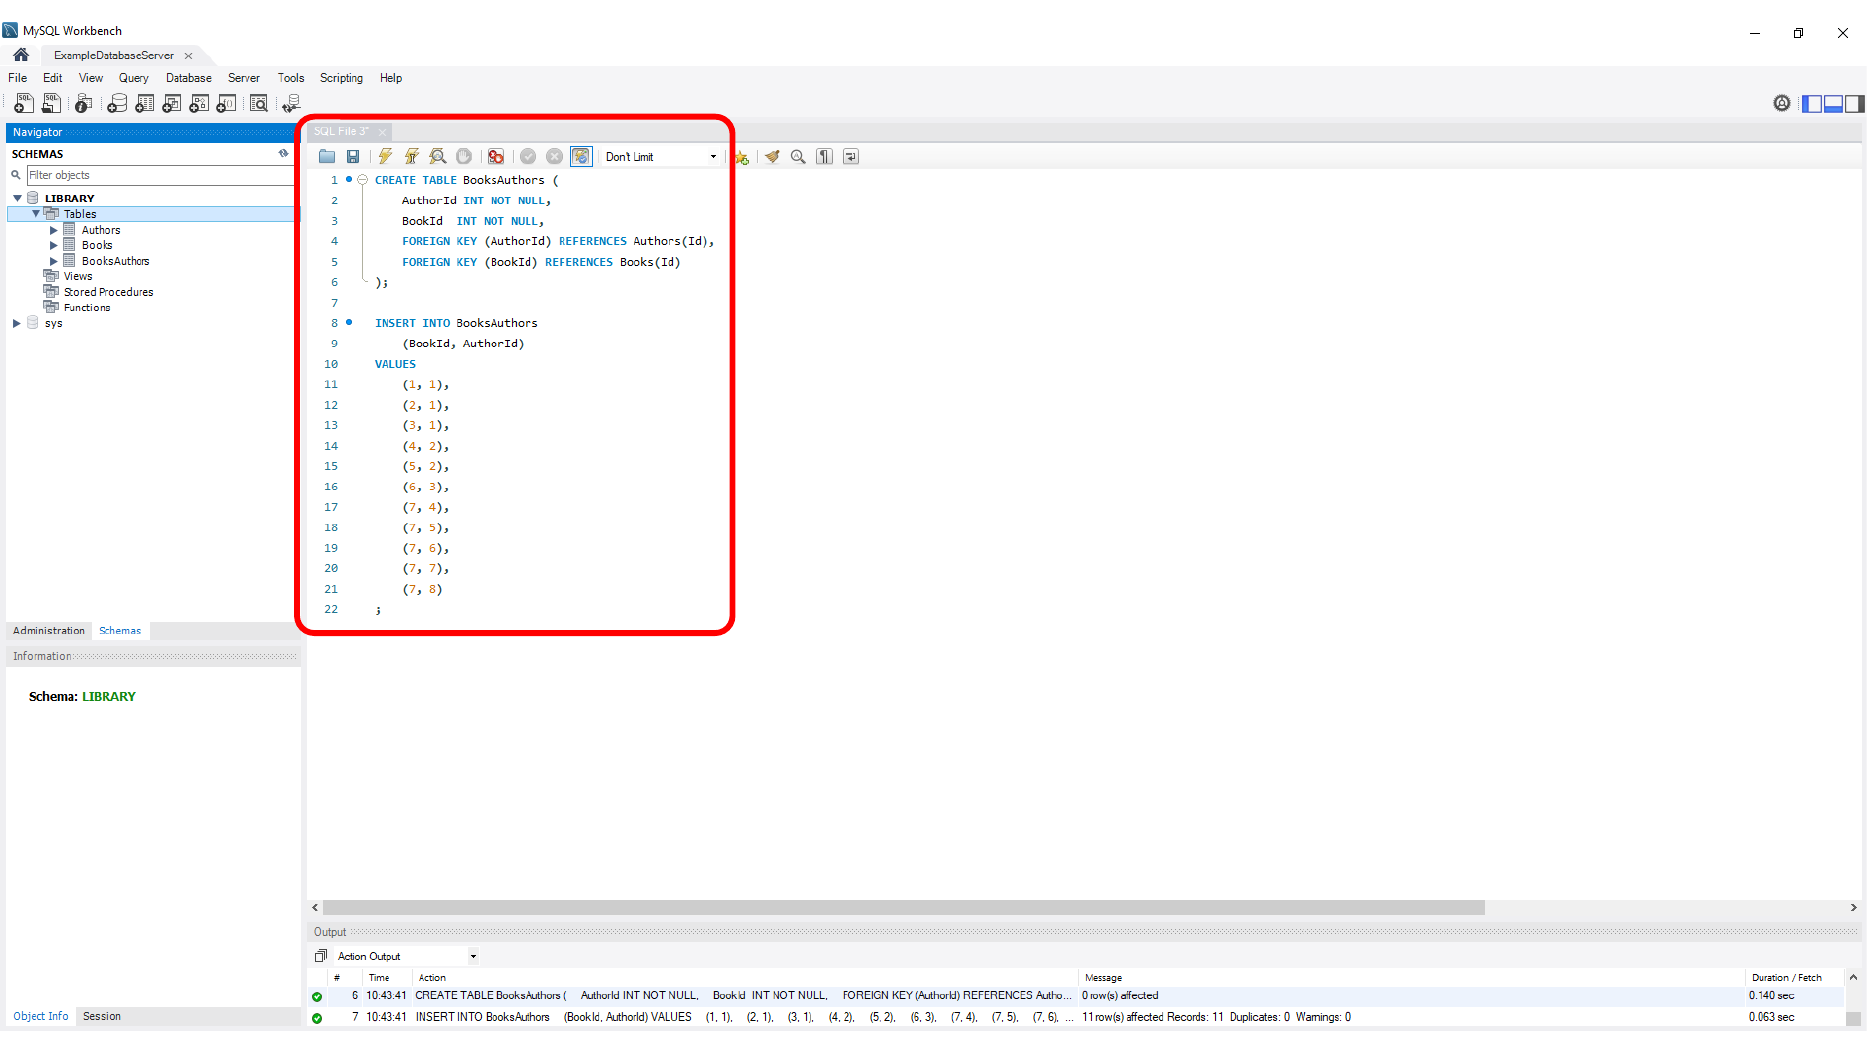
Create the base tables such as authors and books, then add the relationship table that connects them. This is a small many-to-many example: one author can have multiple books, and a book can be related to multiple authors if needed.
This screen shows Defining table columns in MySQL Workbench.
Here, we apply table creation in MySQL Workbench.
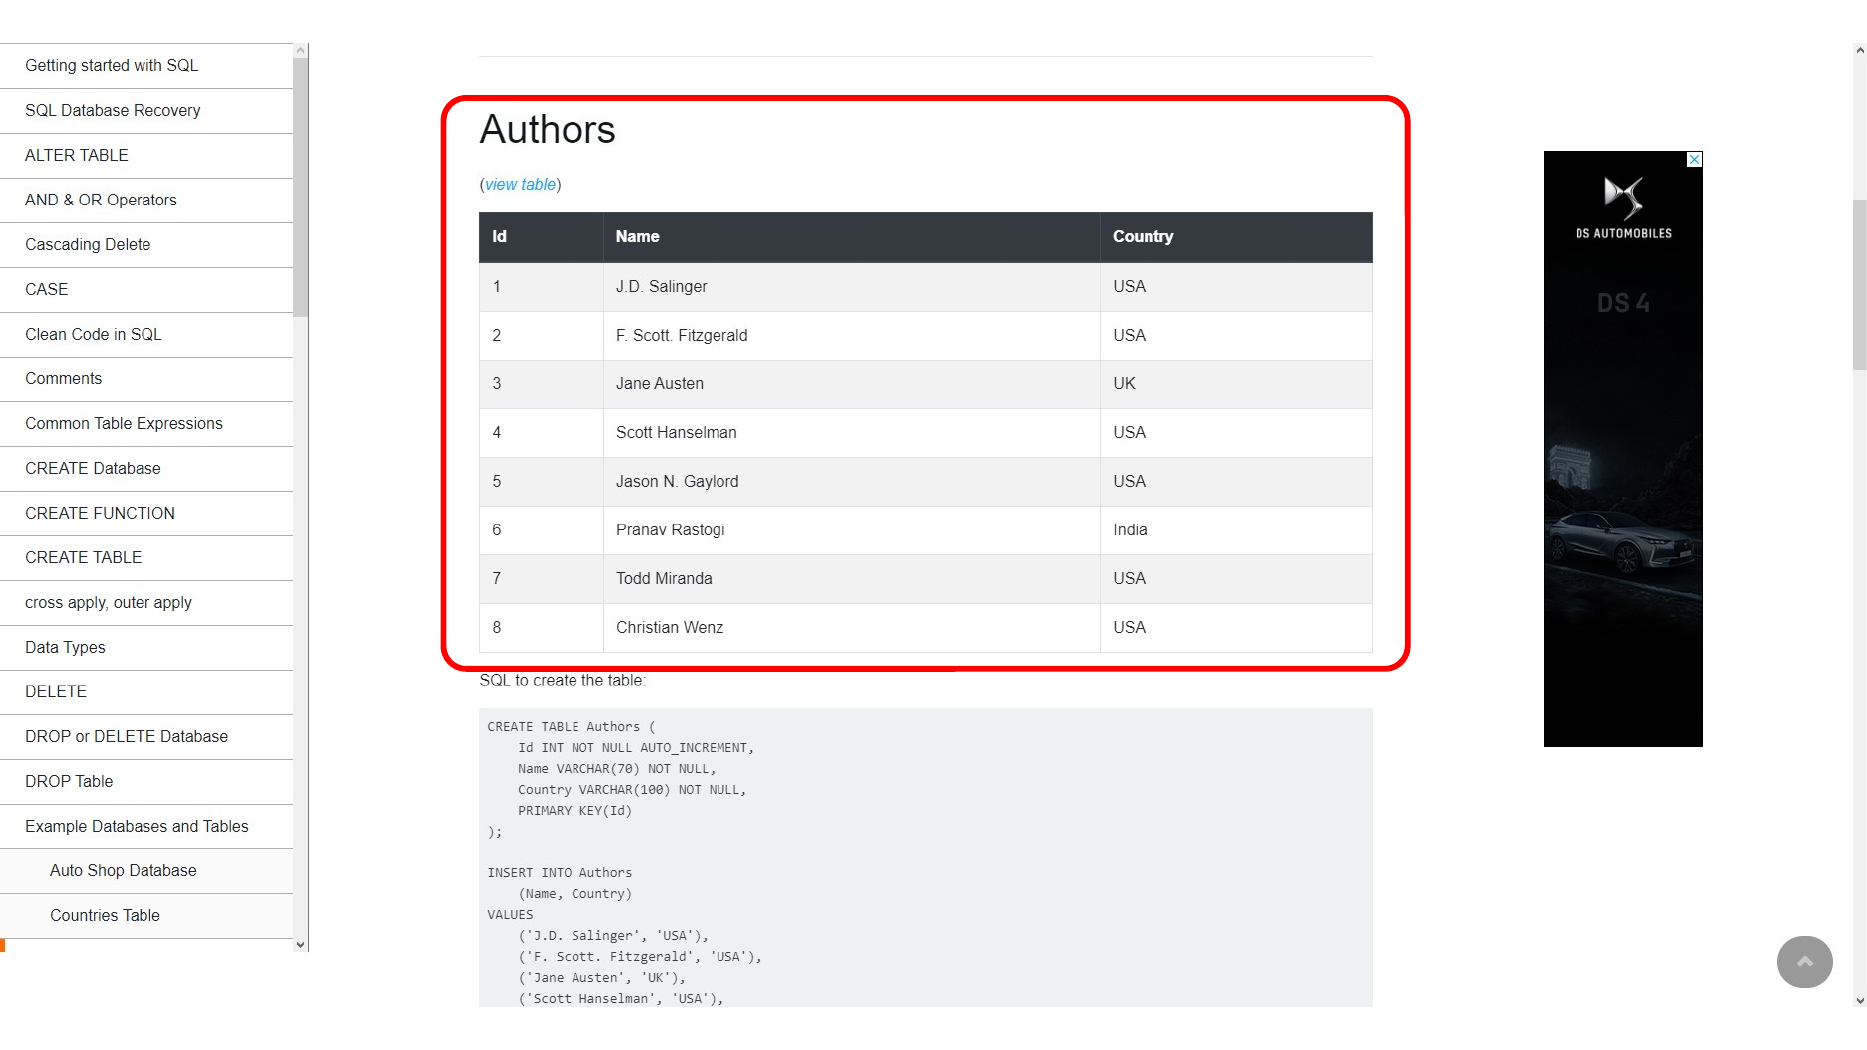
Here, we create another Library table.
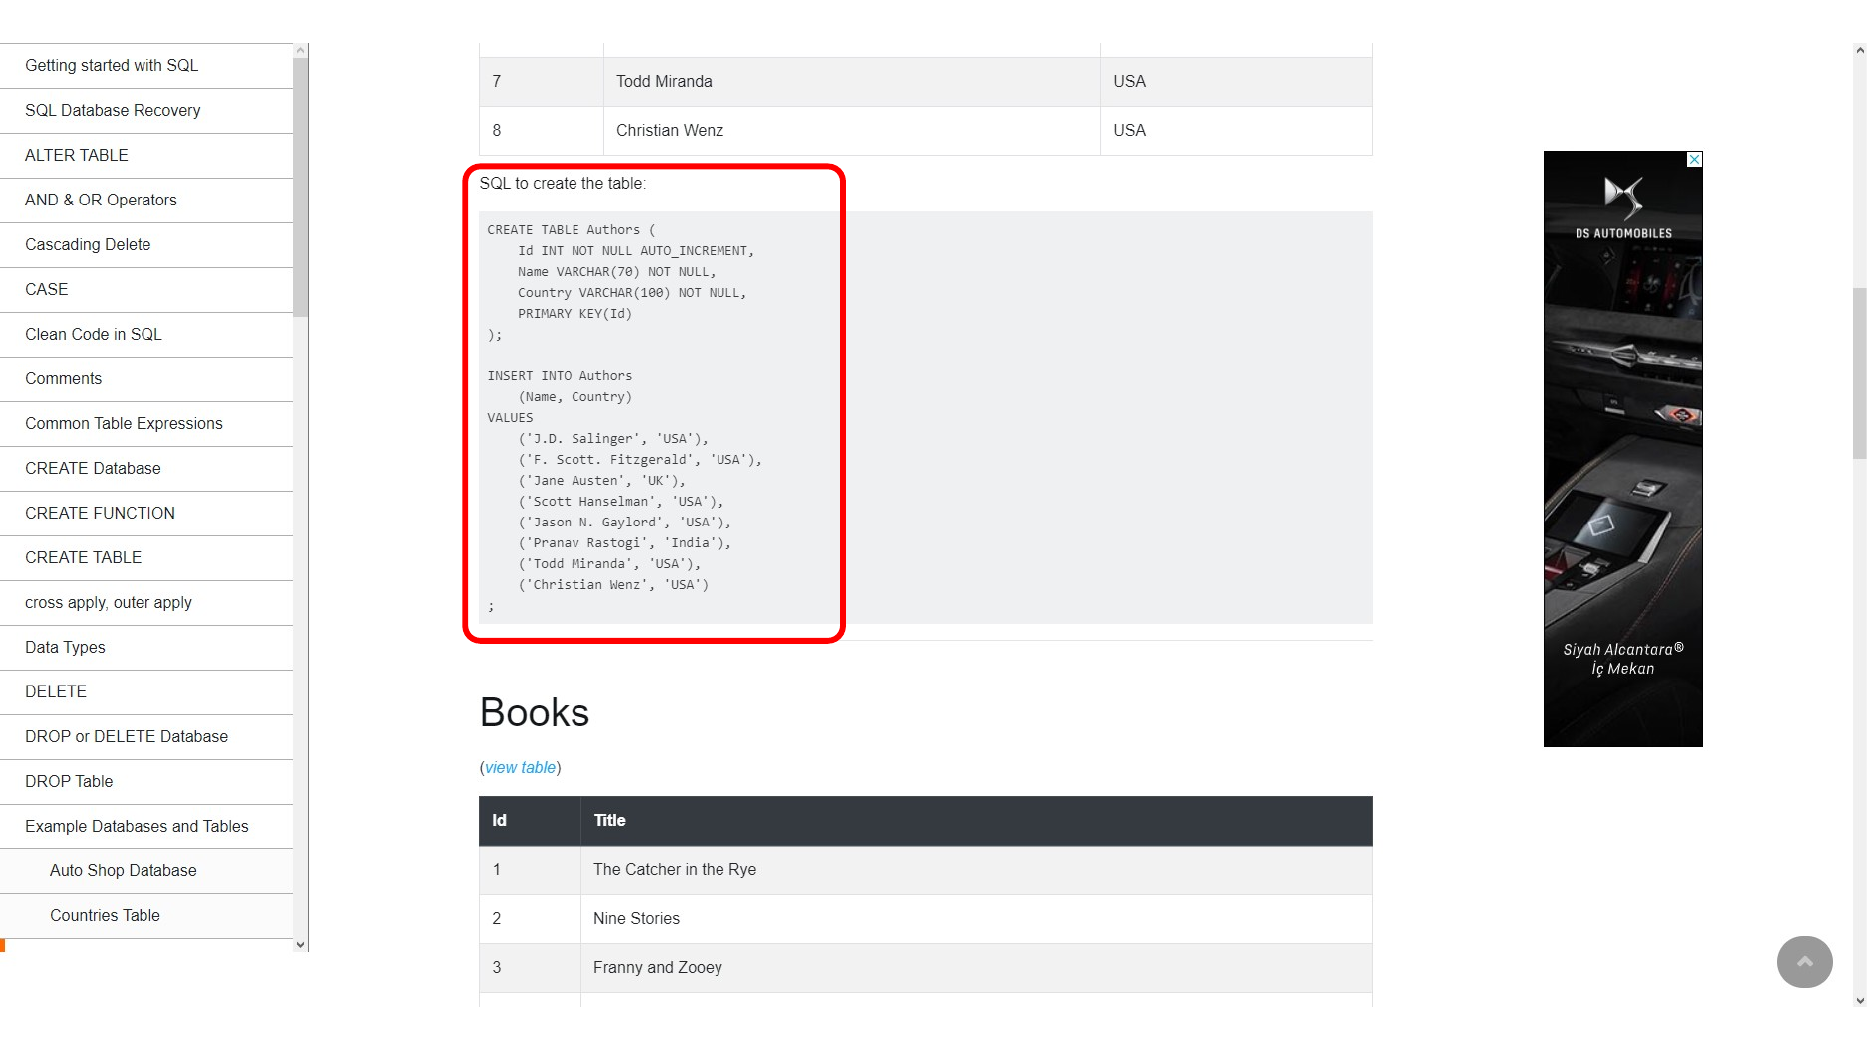
This screen shows Configuring table columns and keys.
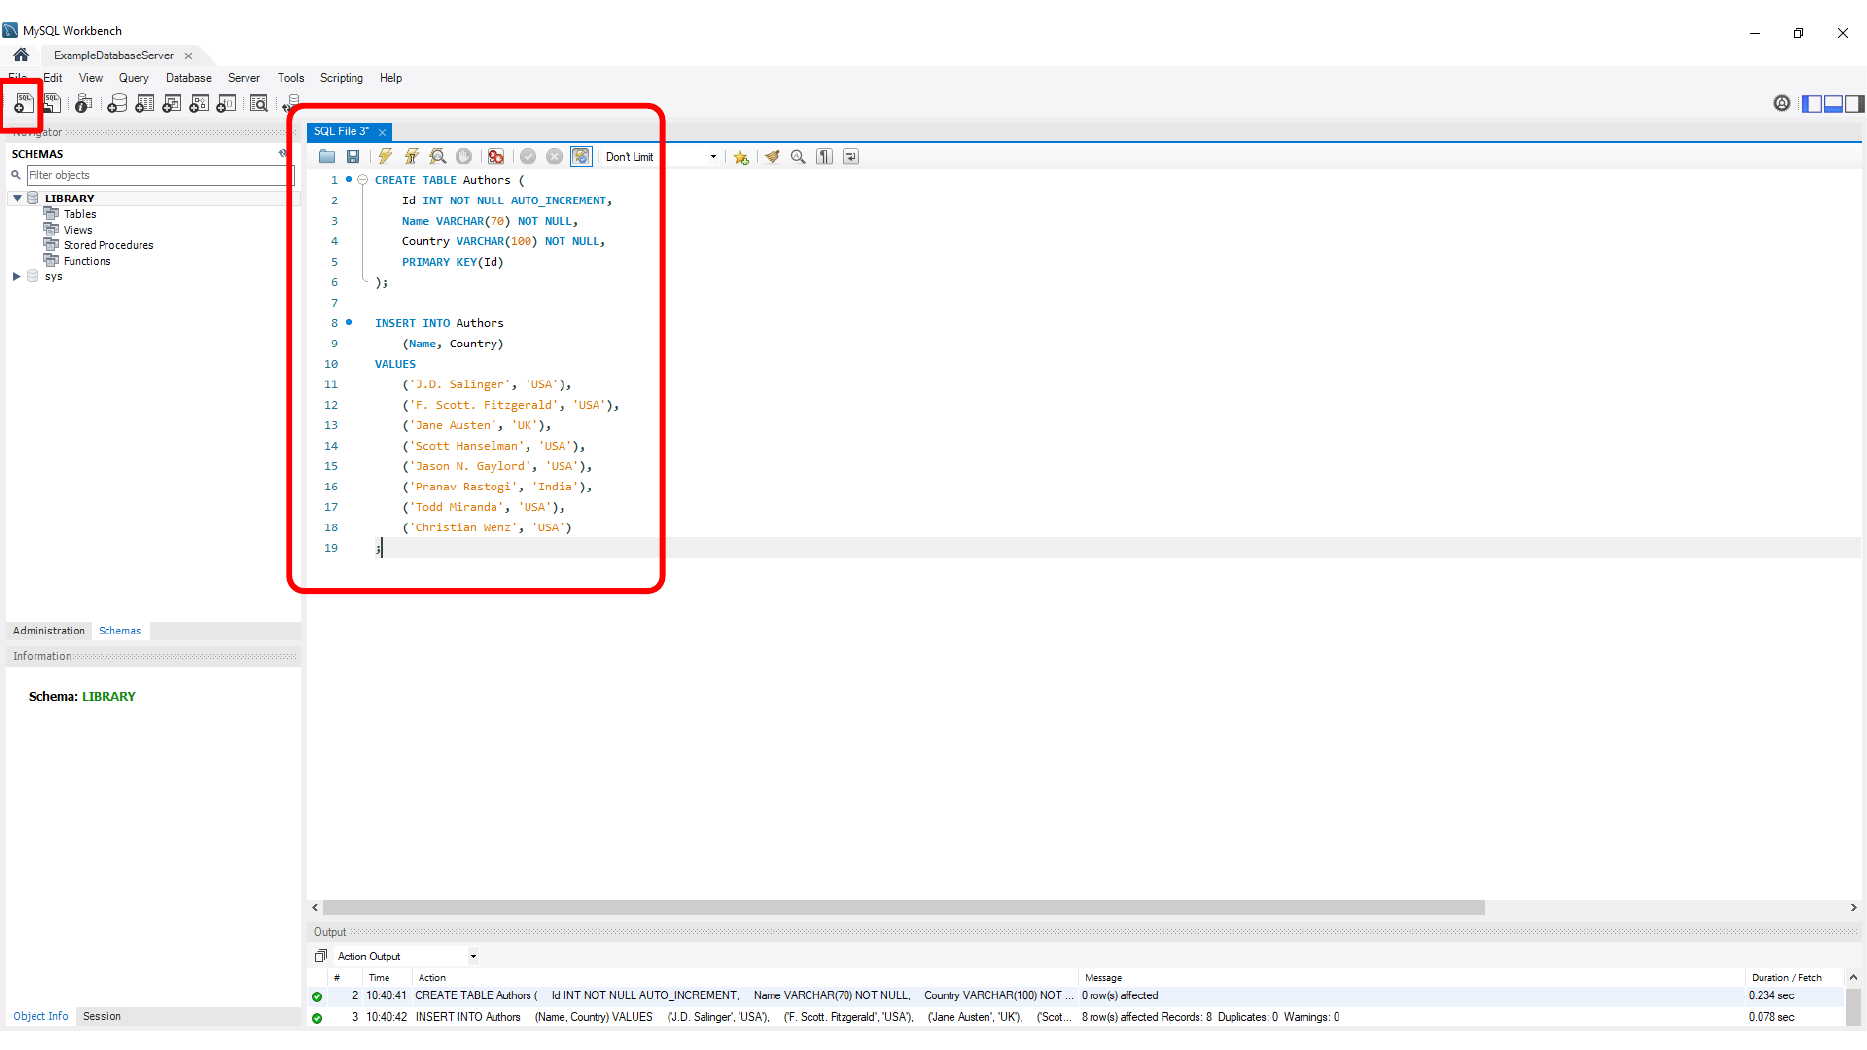
Here, we create a relationship table for books and authors.
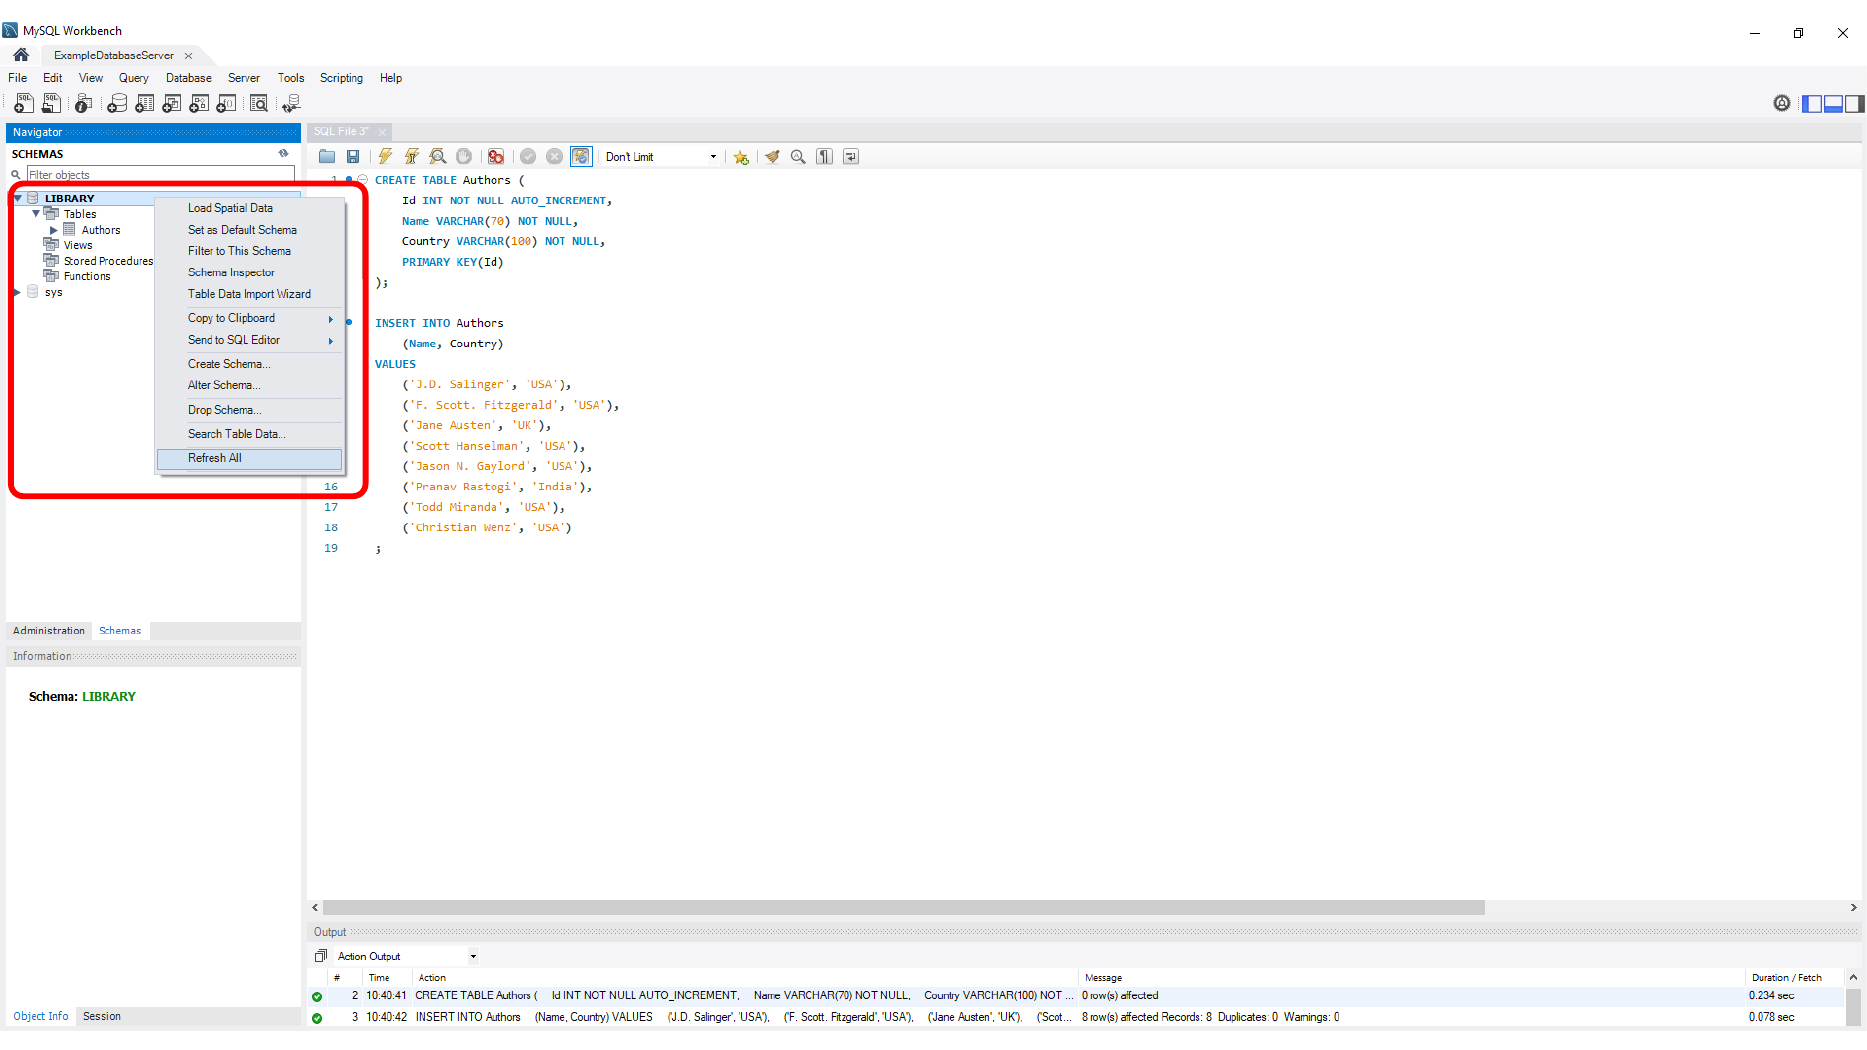
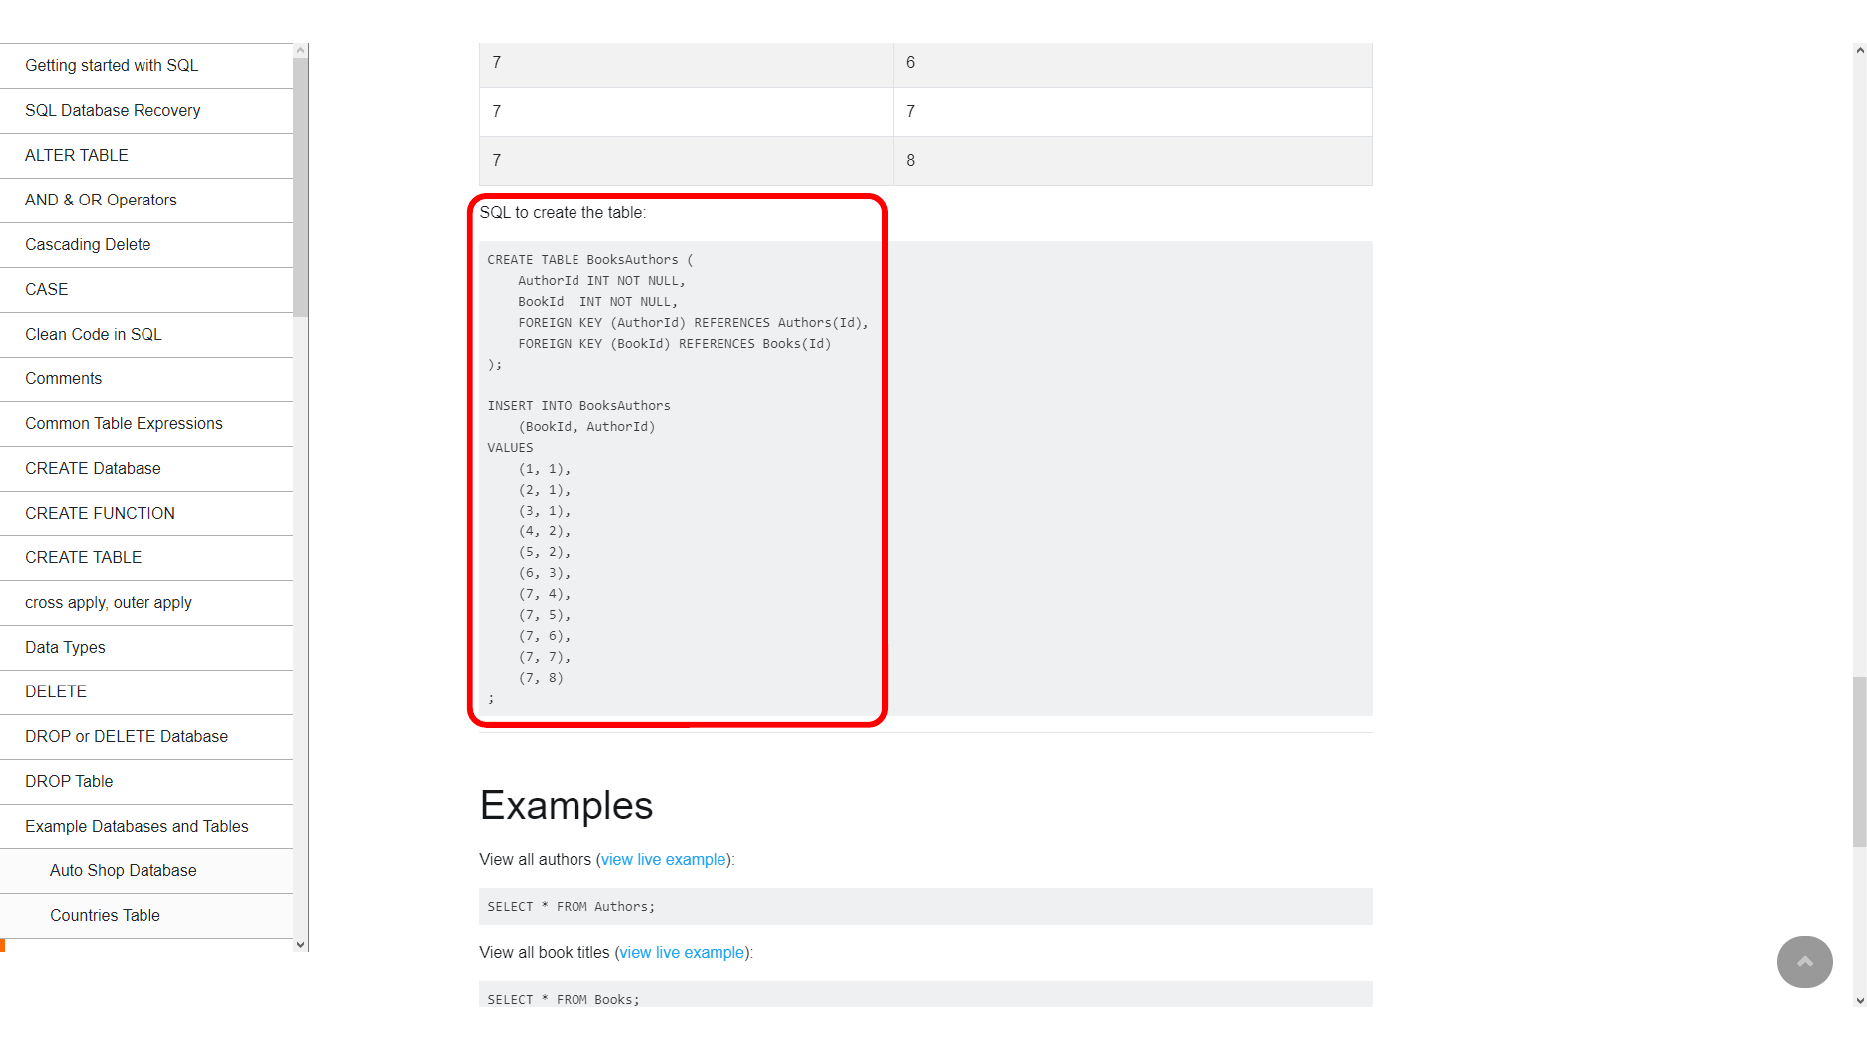
After the tables are ready, insert sample rows and run a join query to make sure the relationships return the expected results.
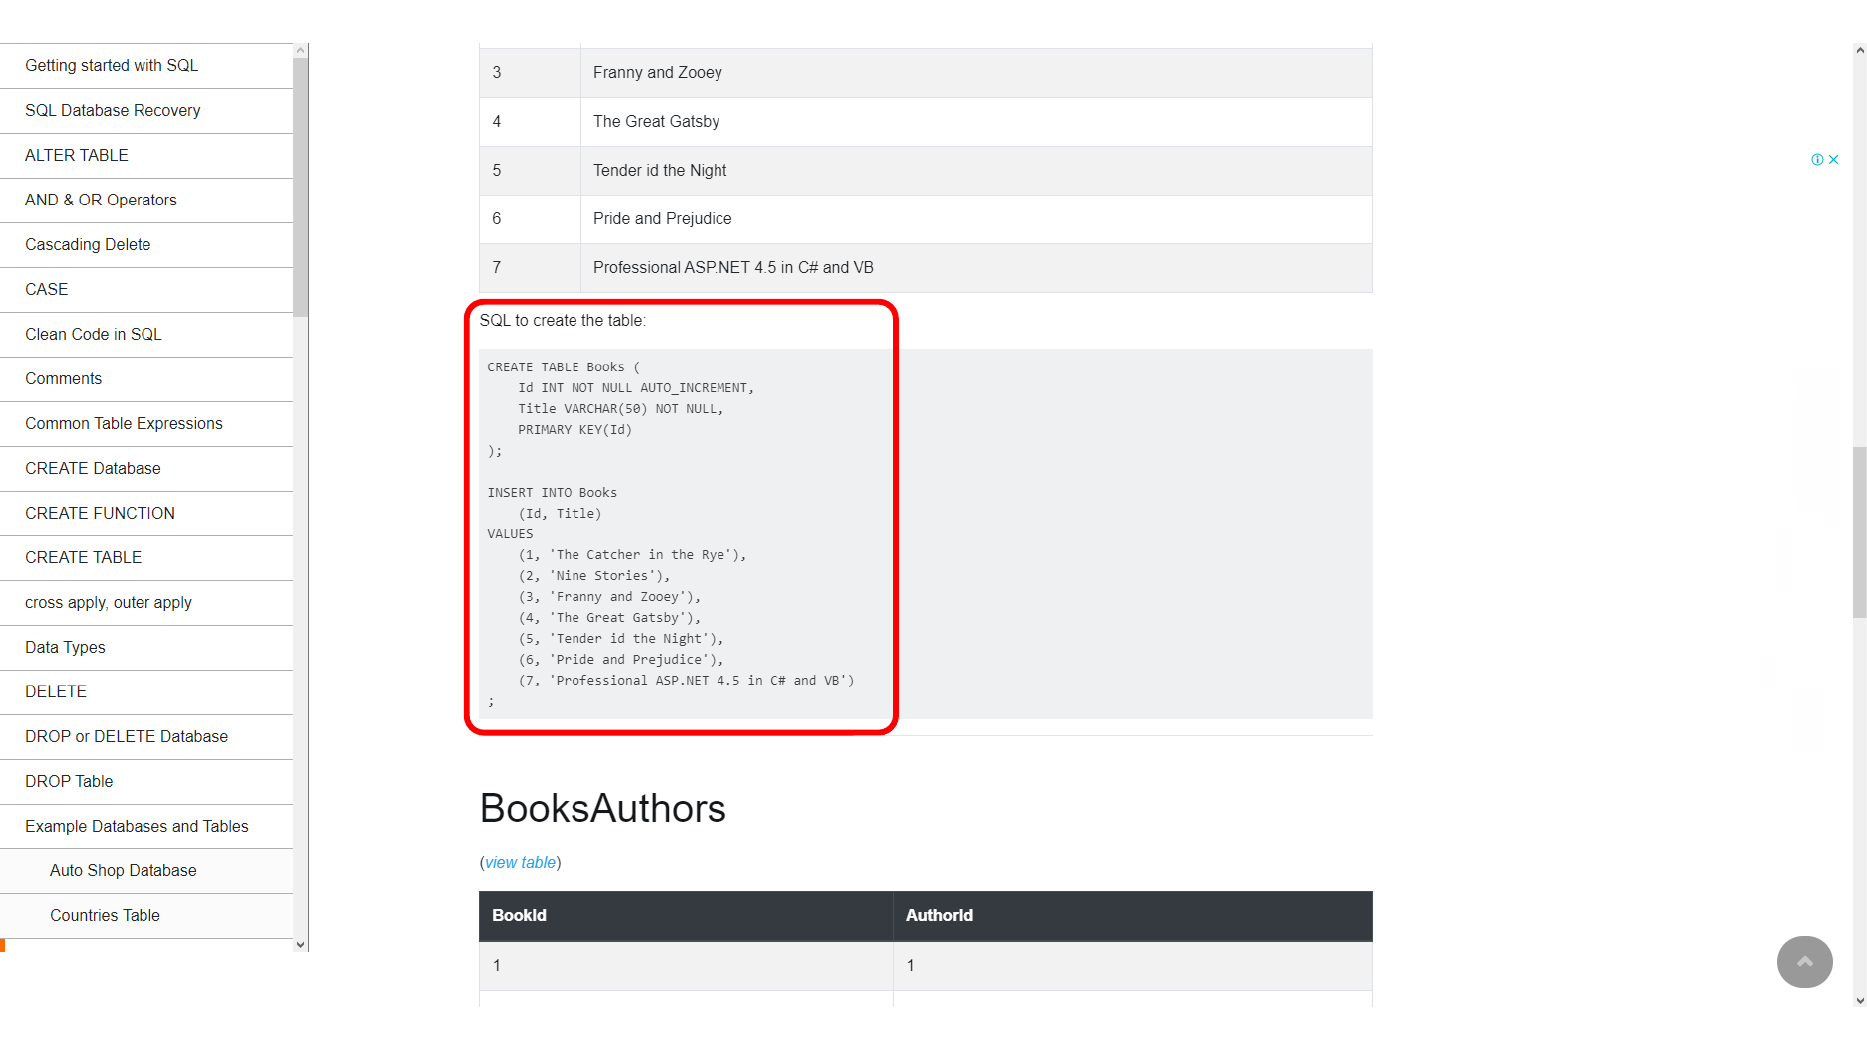
This screen shows Inserting sample book records.
This screen shows Inserting relationship records for books and authors.
Here, we run a select query in MySQL Workbench.
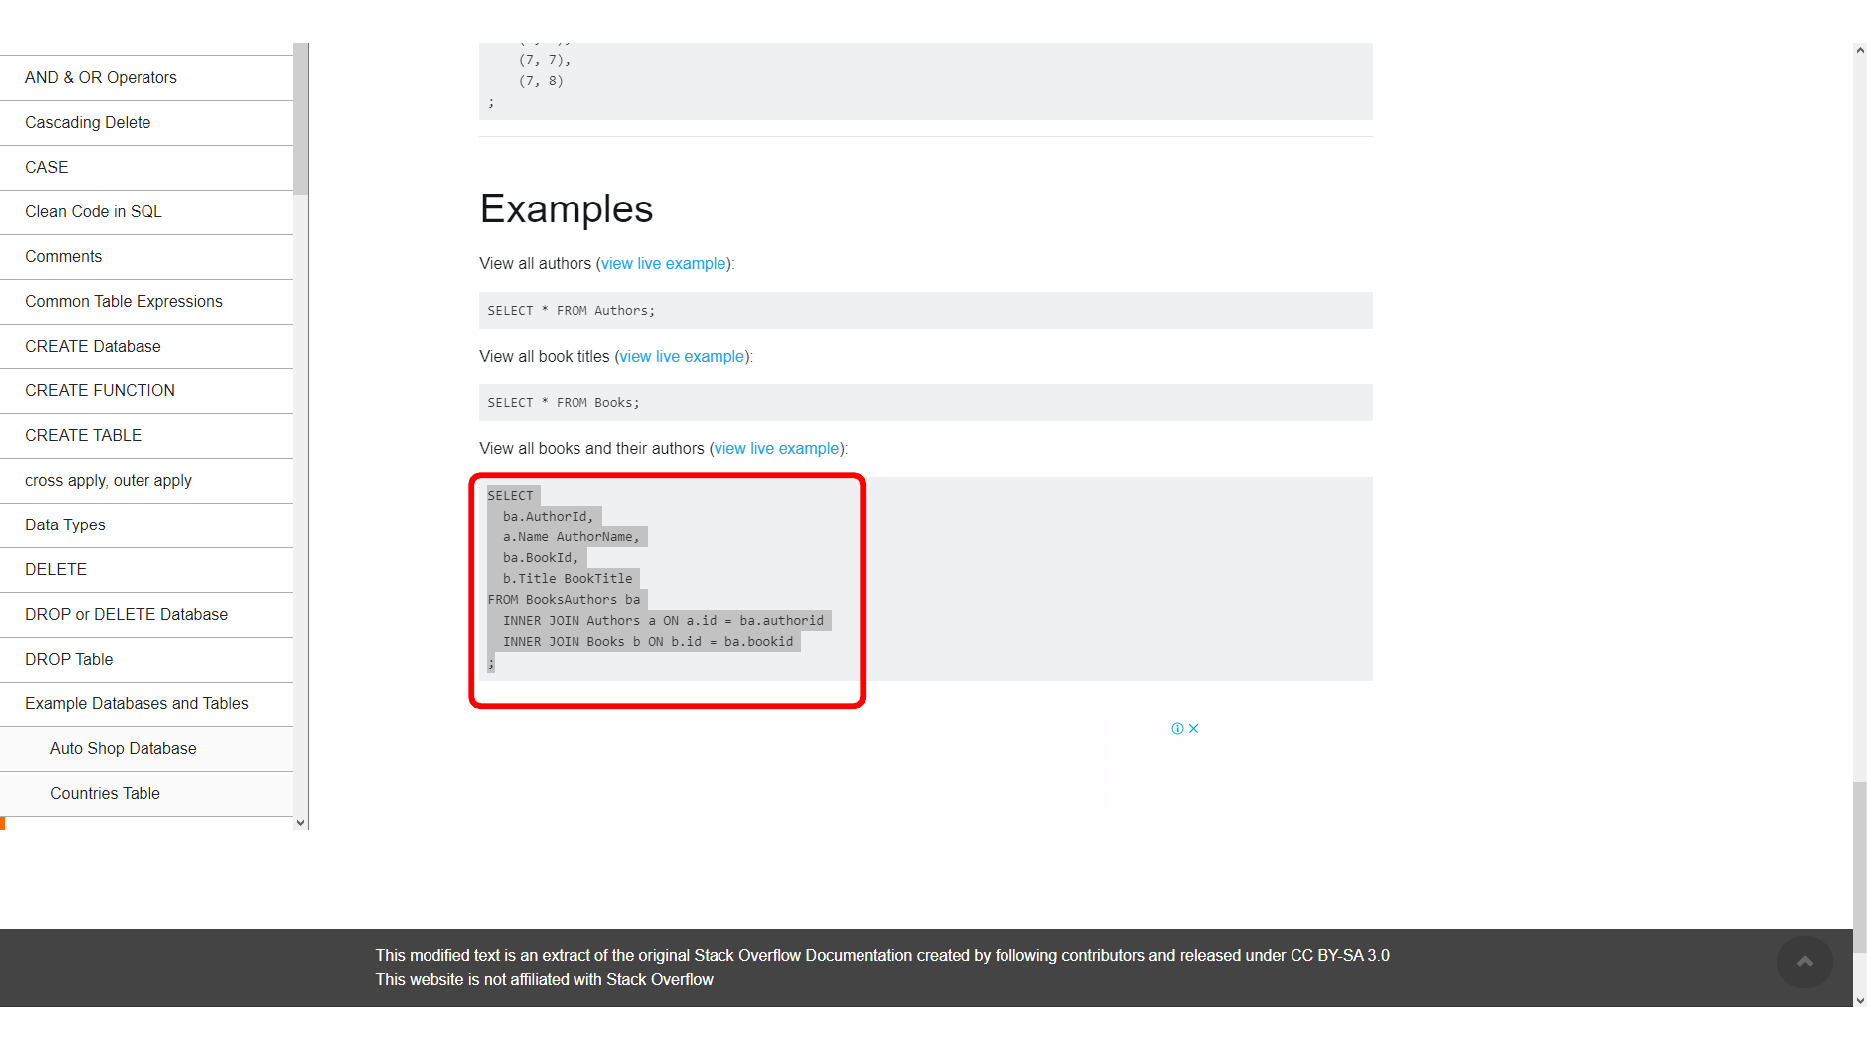
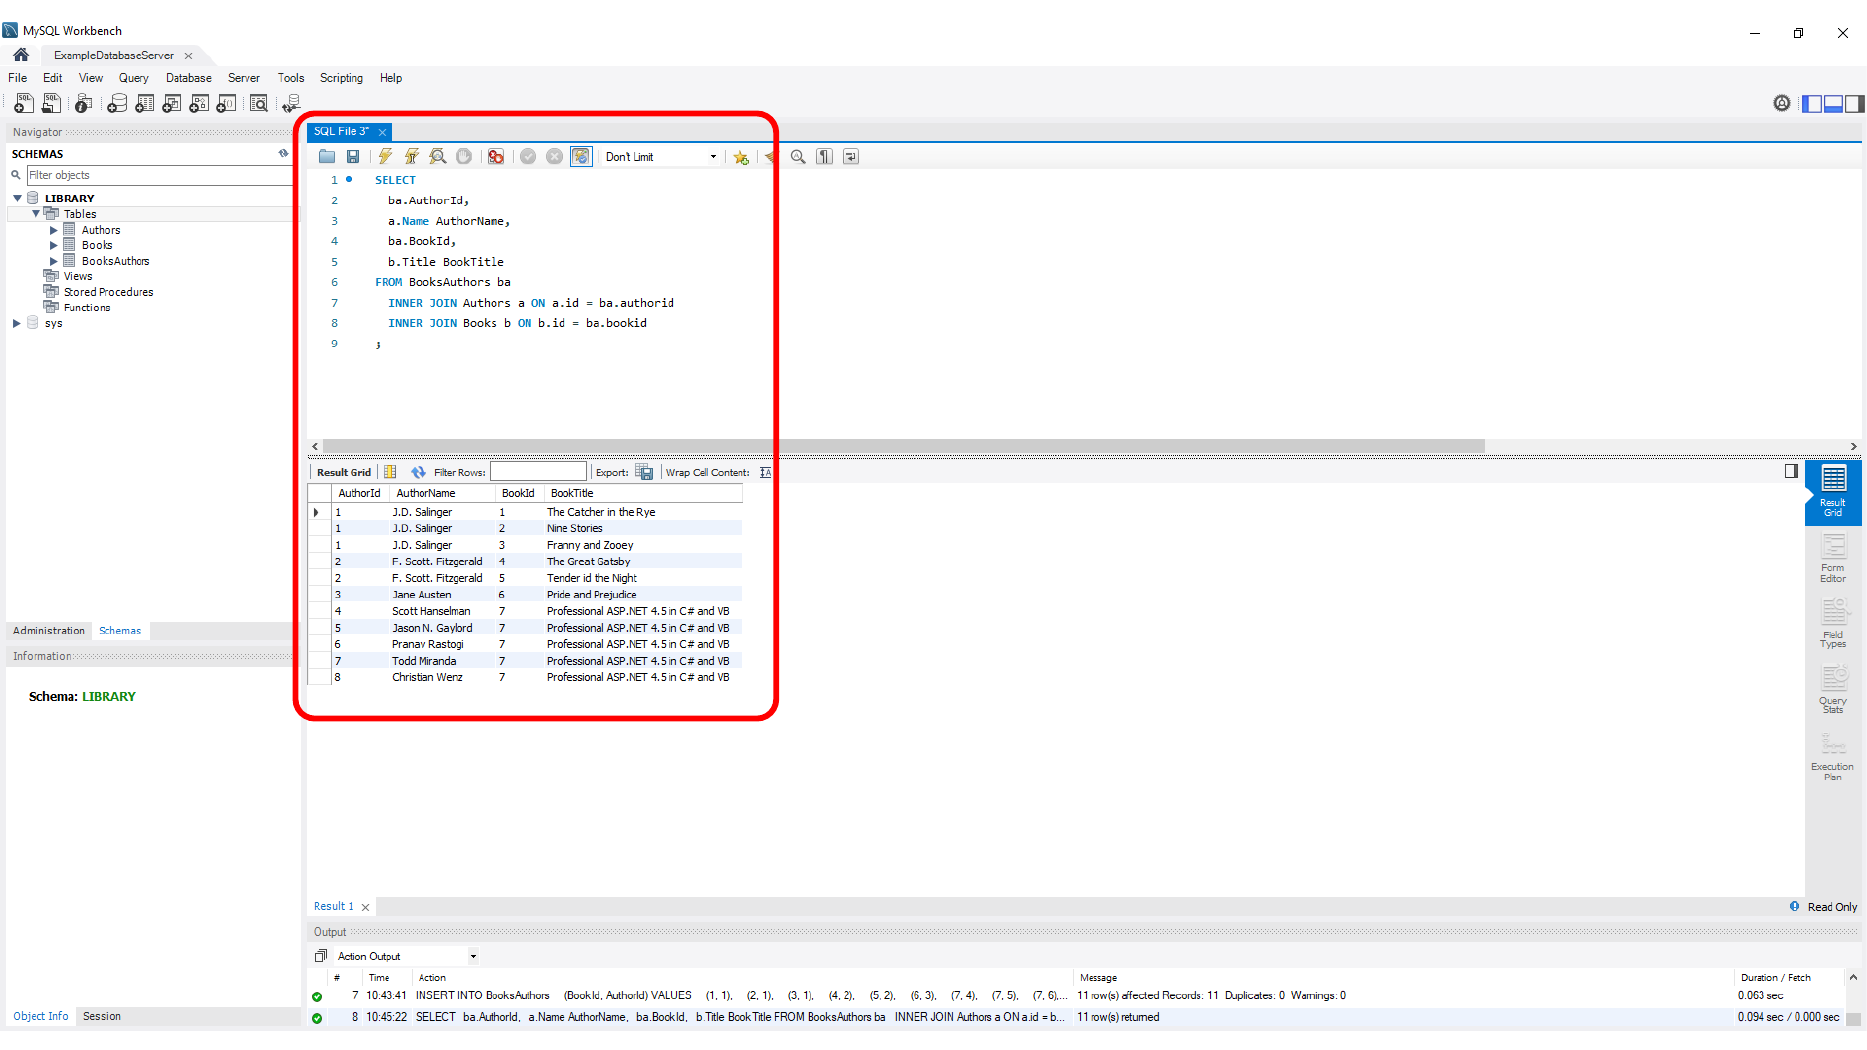
Here, we run a join query for the Library database.
Here, we view Library query results in MySQL Workbench.
Creating Views, Procedures, and Functions
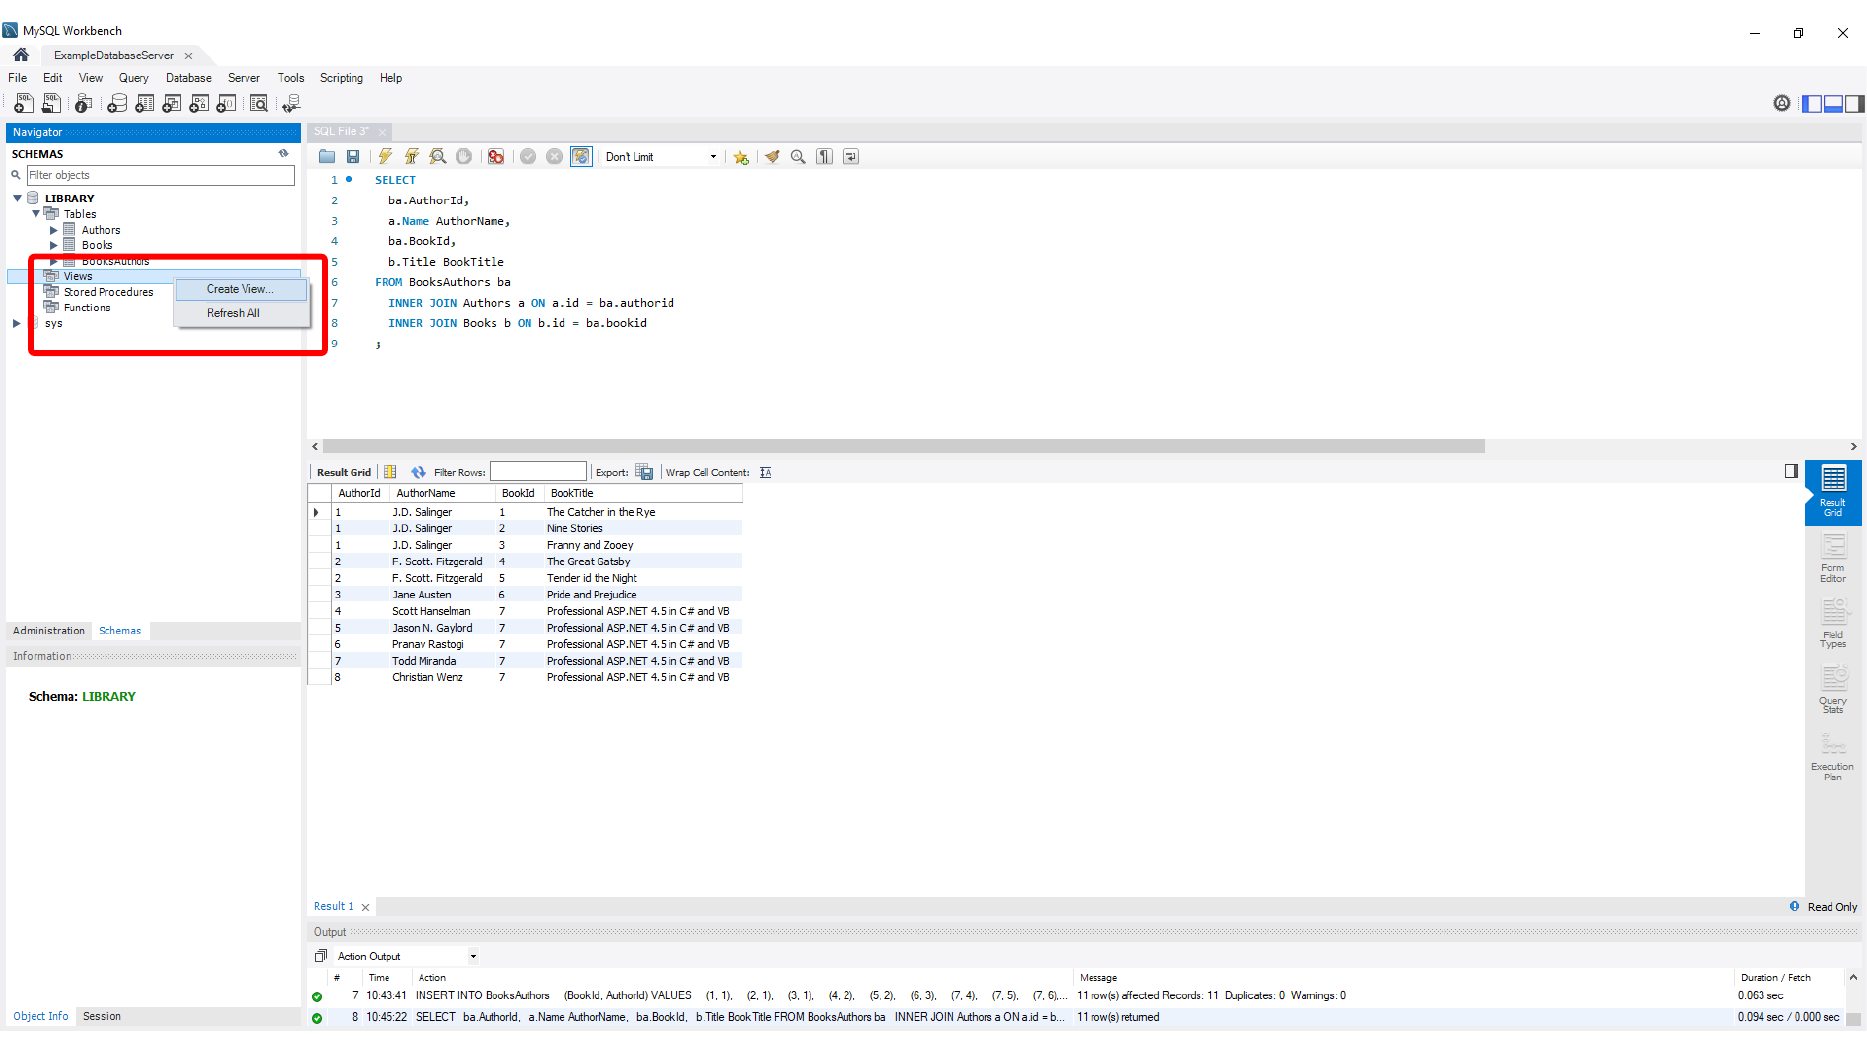
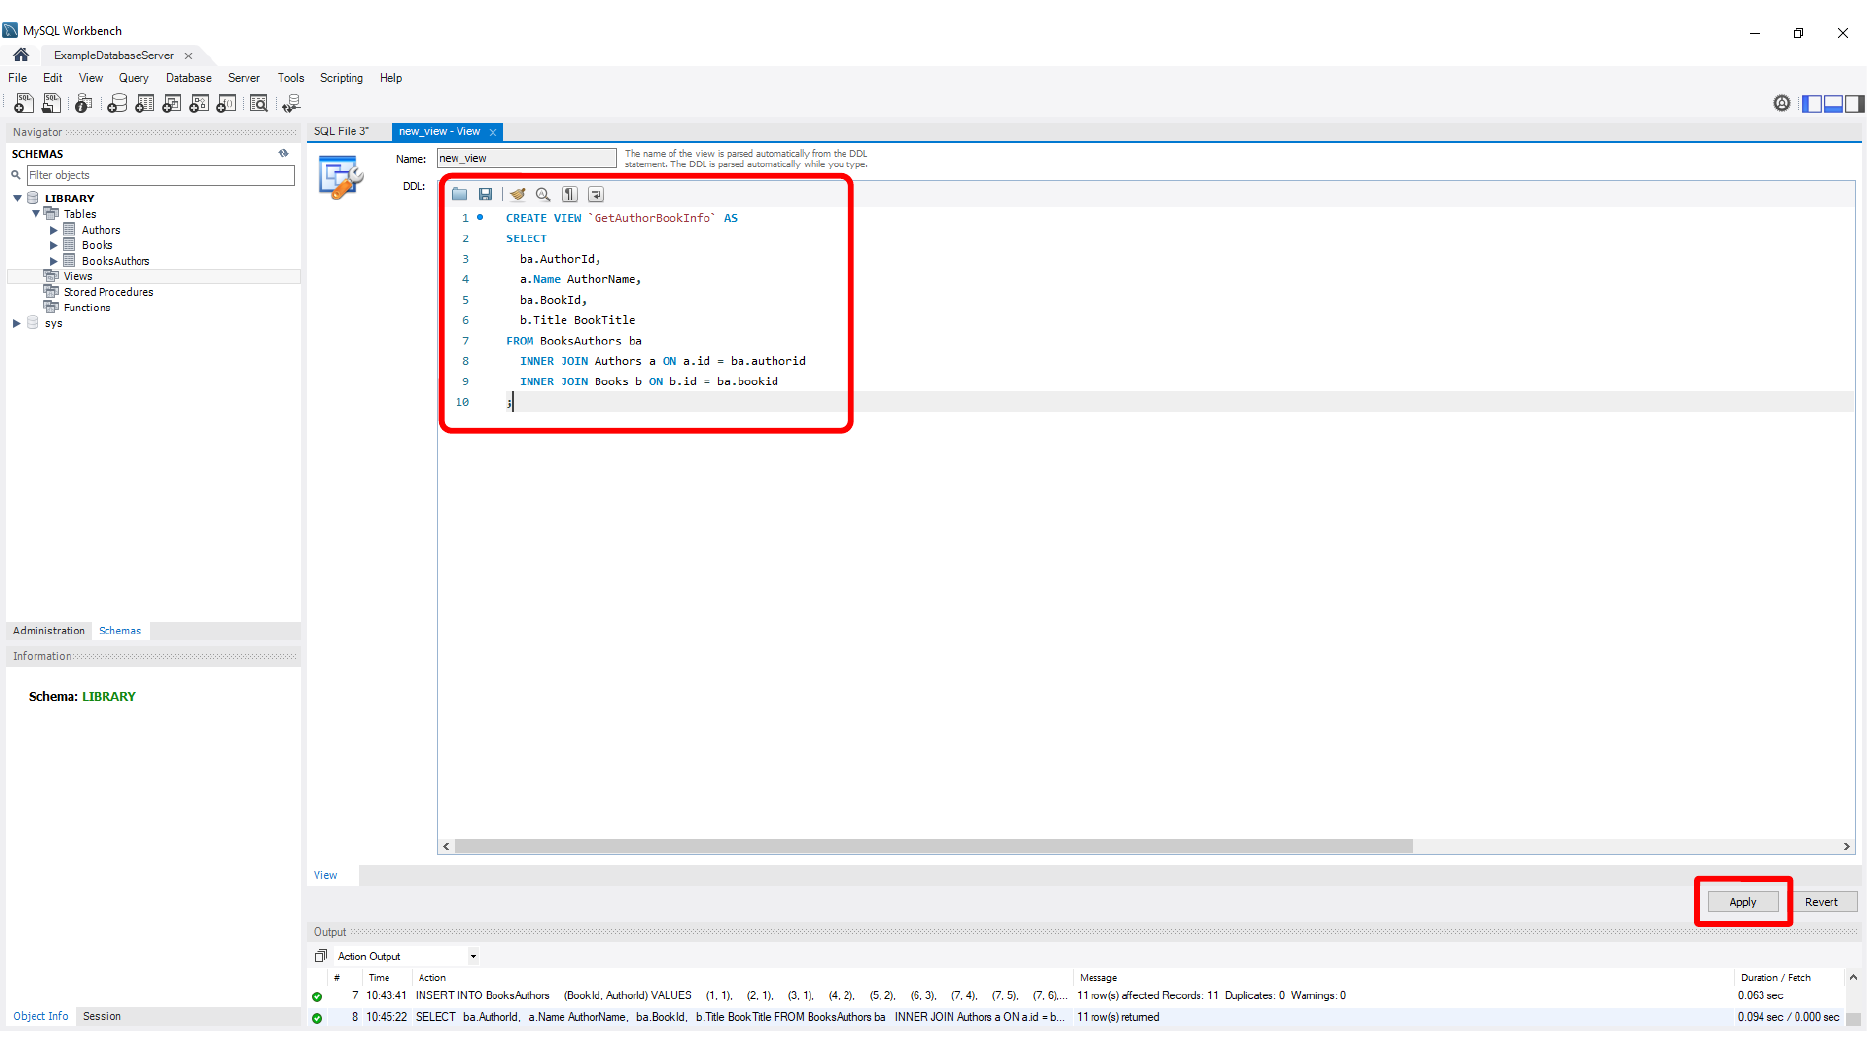
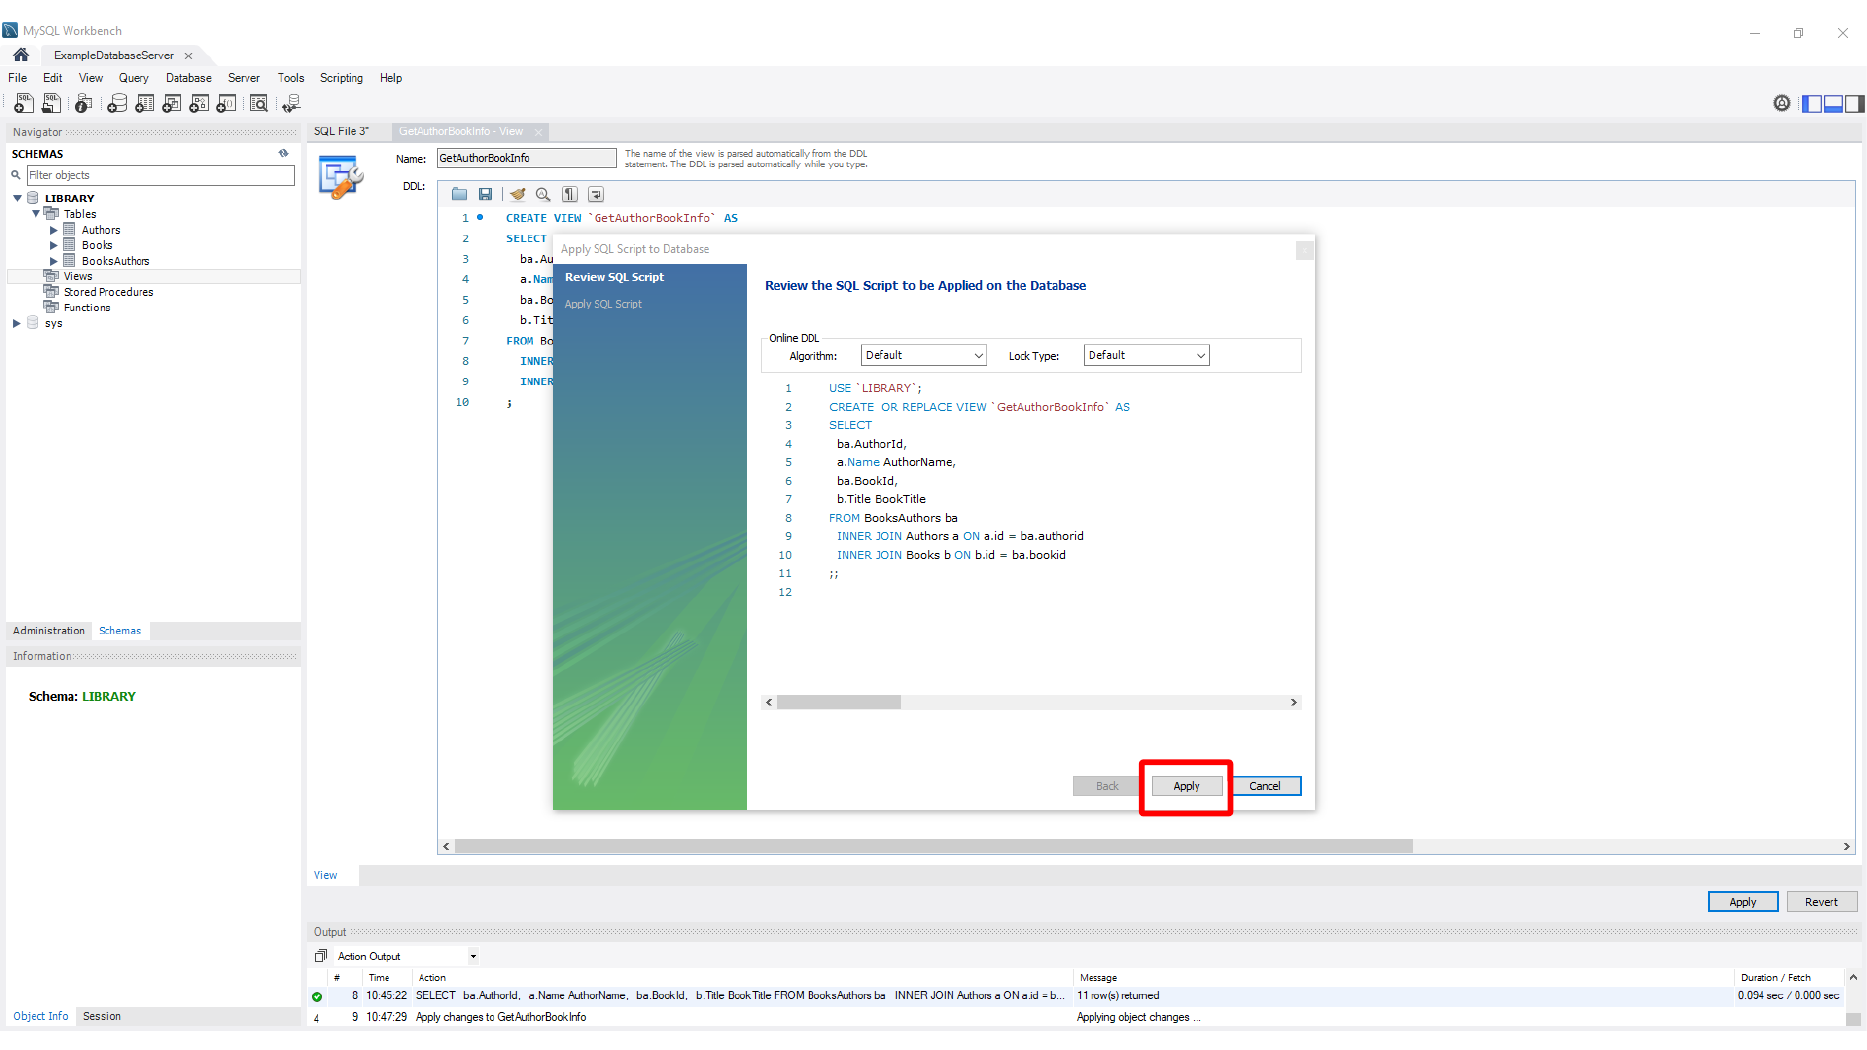
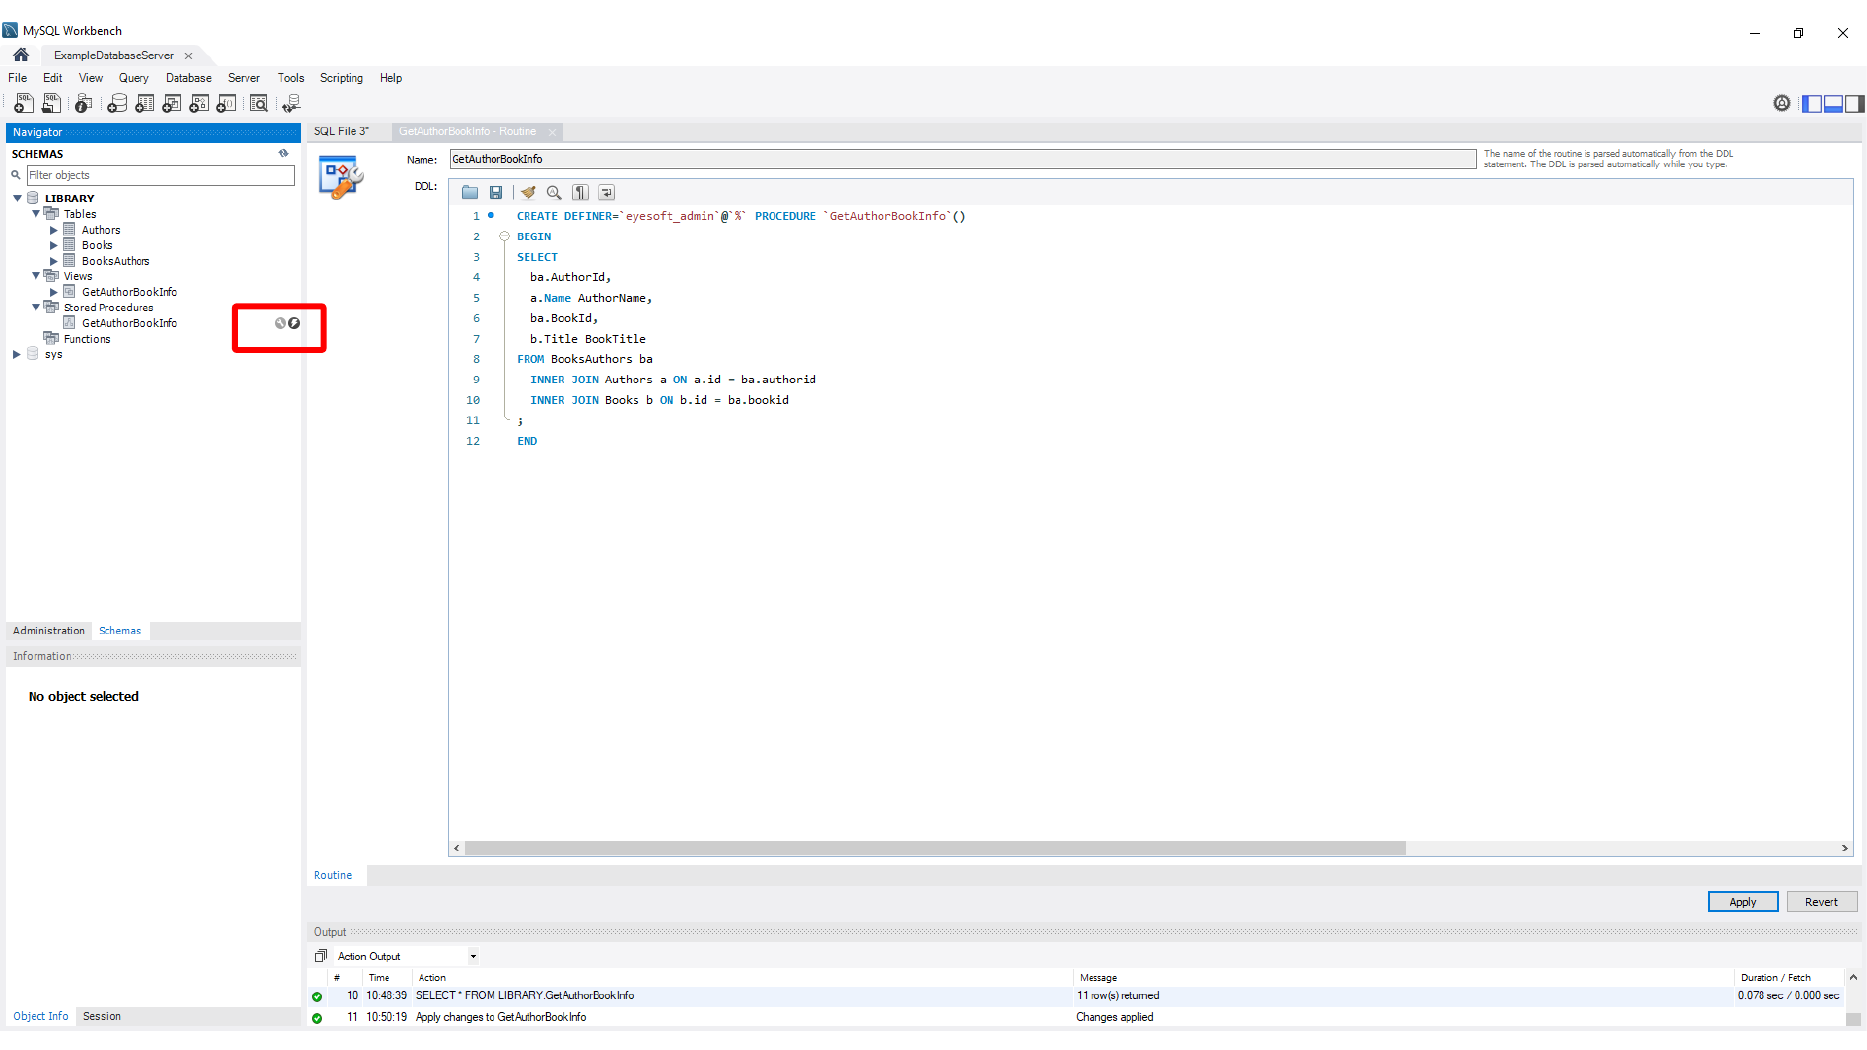
Once the base query works, you can turn repeated SQL logic into reusable database objects. Start with a view for the join query, then create a stored procedure for reusable execution.
This screen shows Writing view SQL for the Library database.
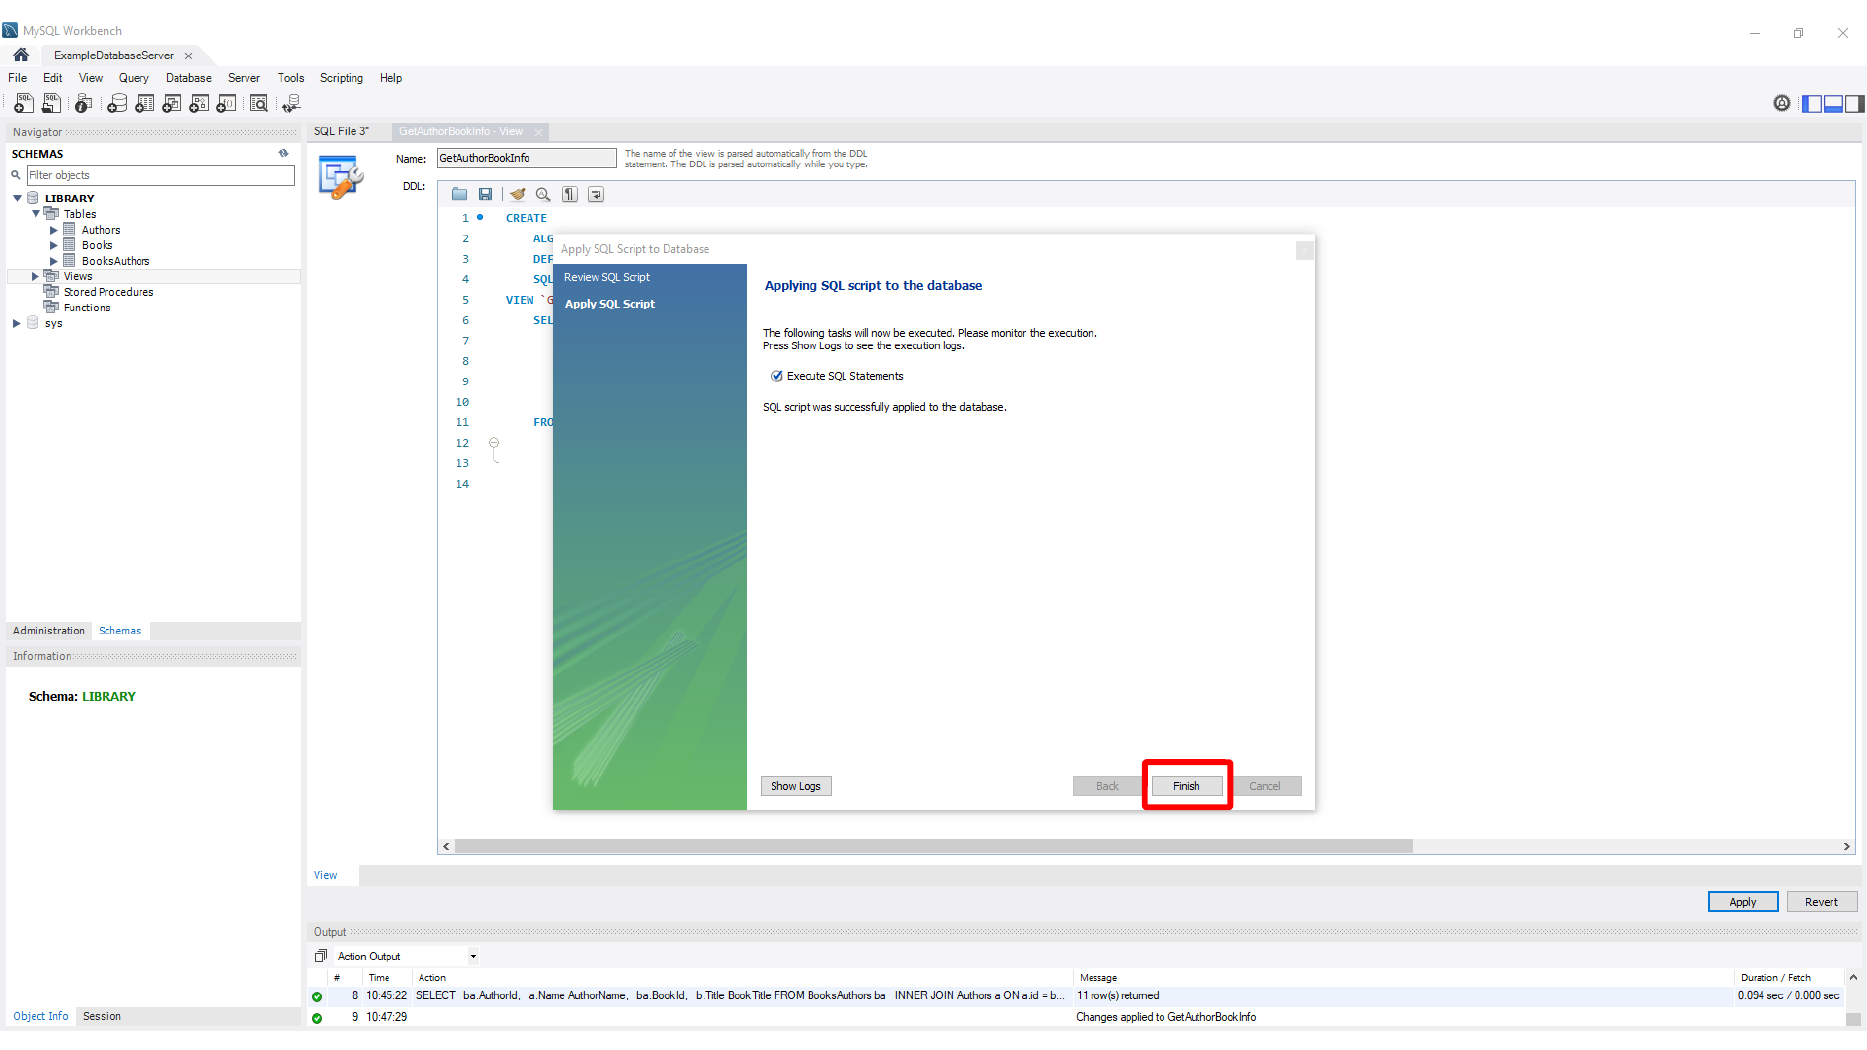
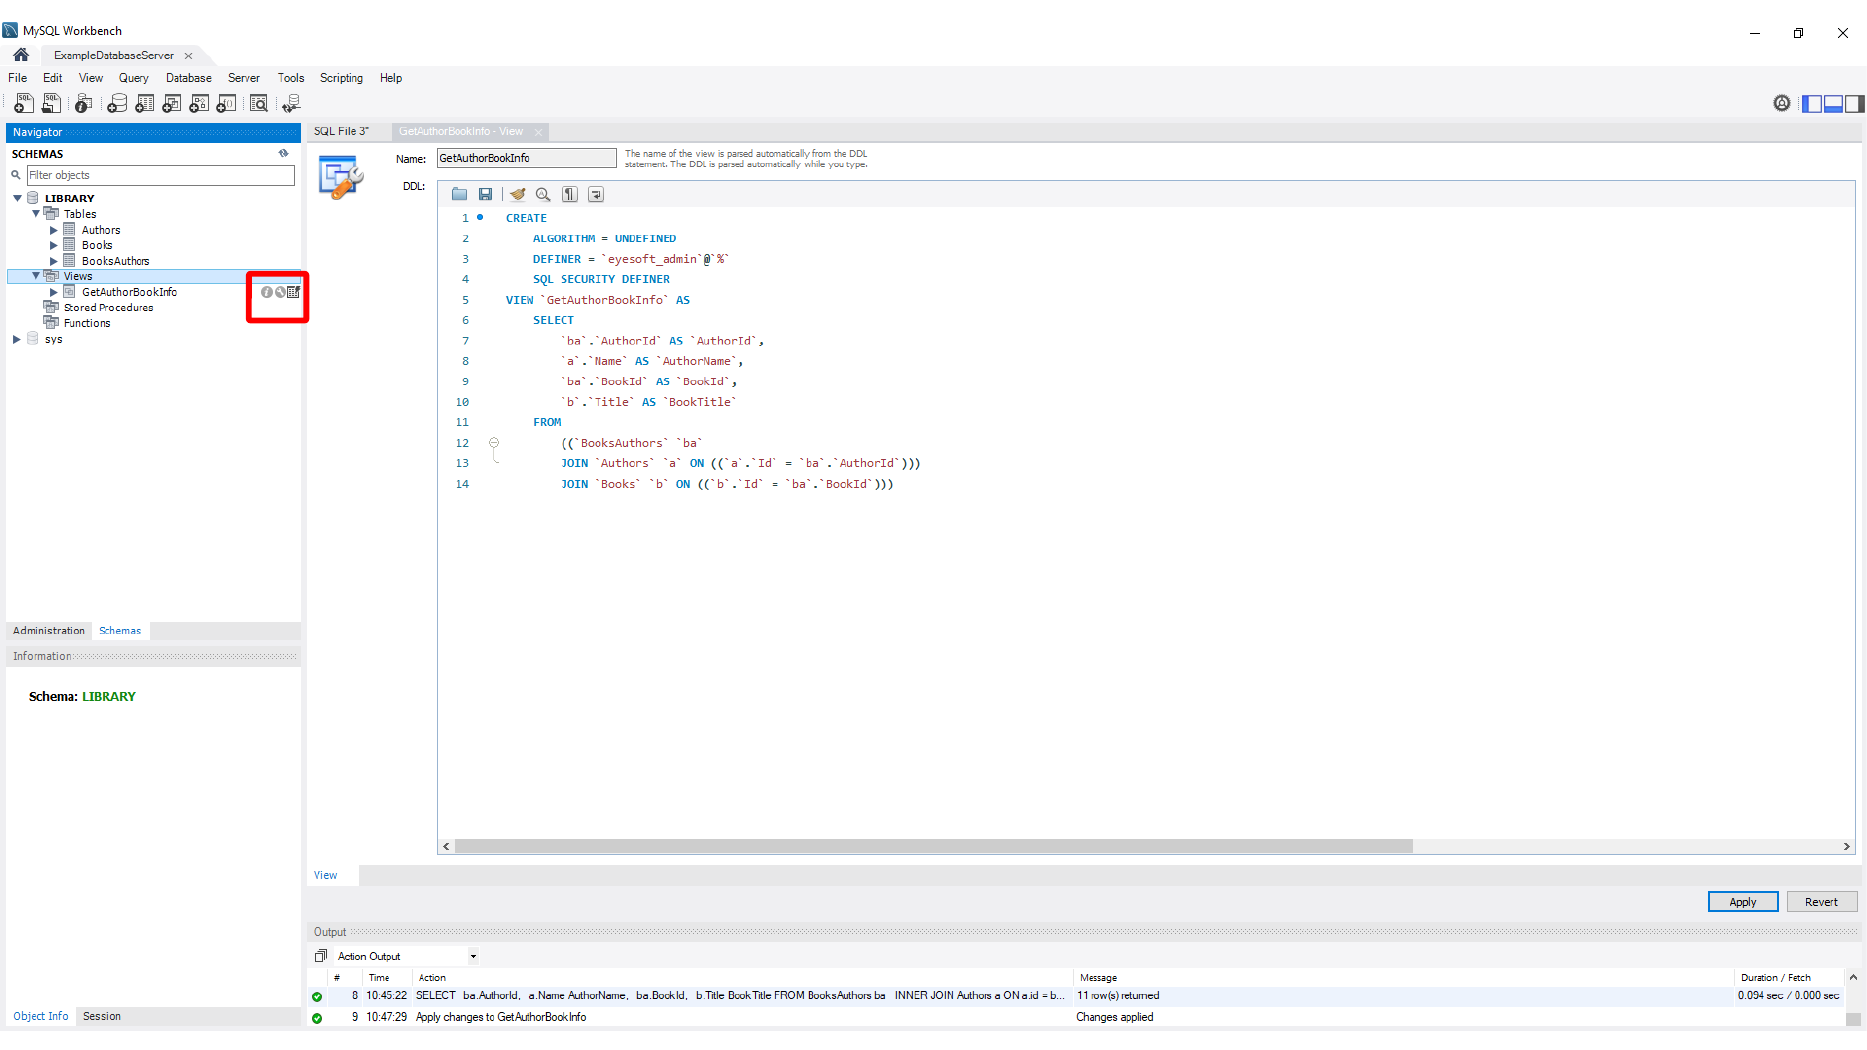
Here, we apply view creation in MySQL Workbench.
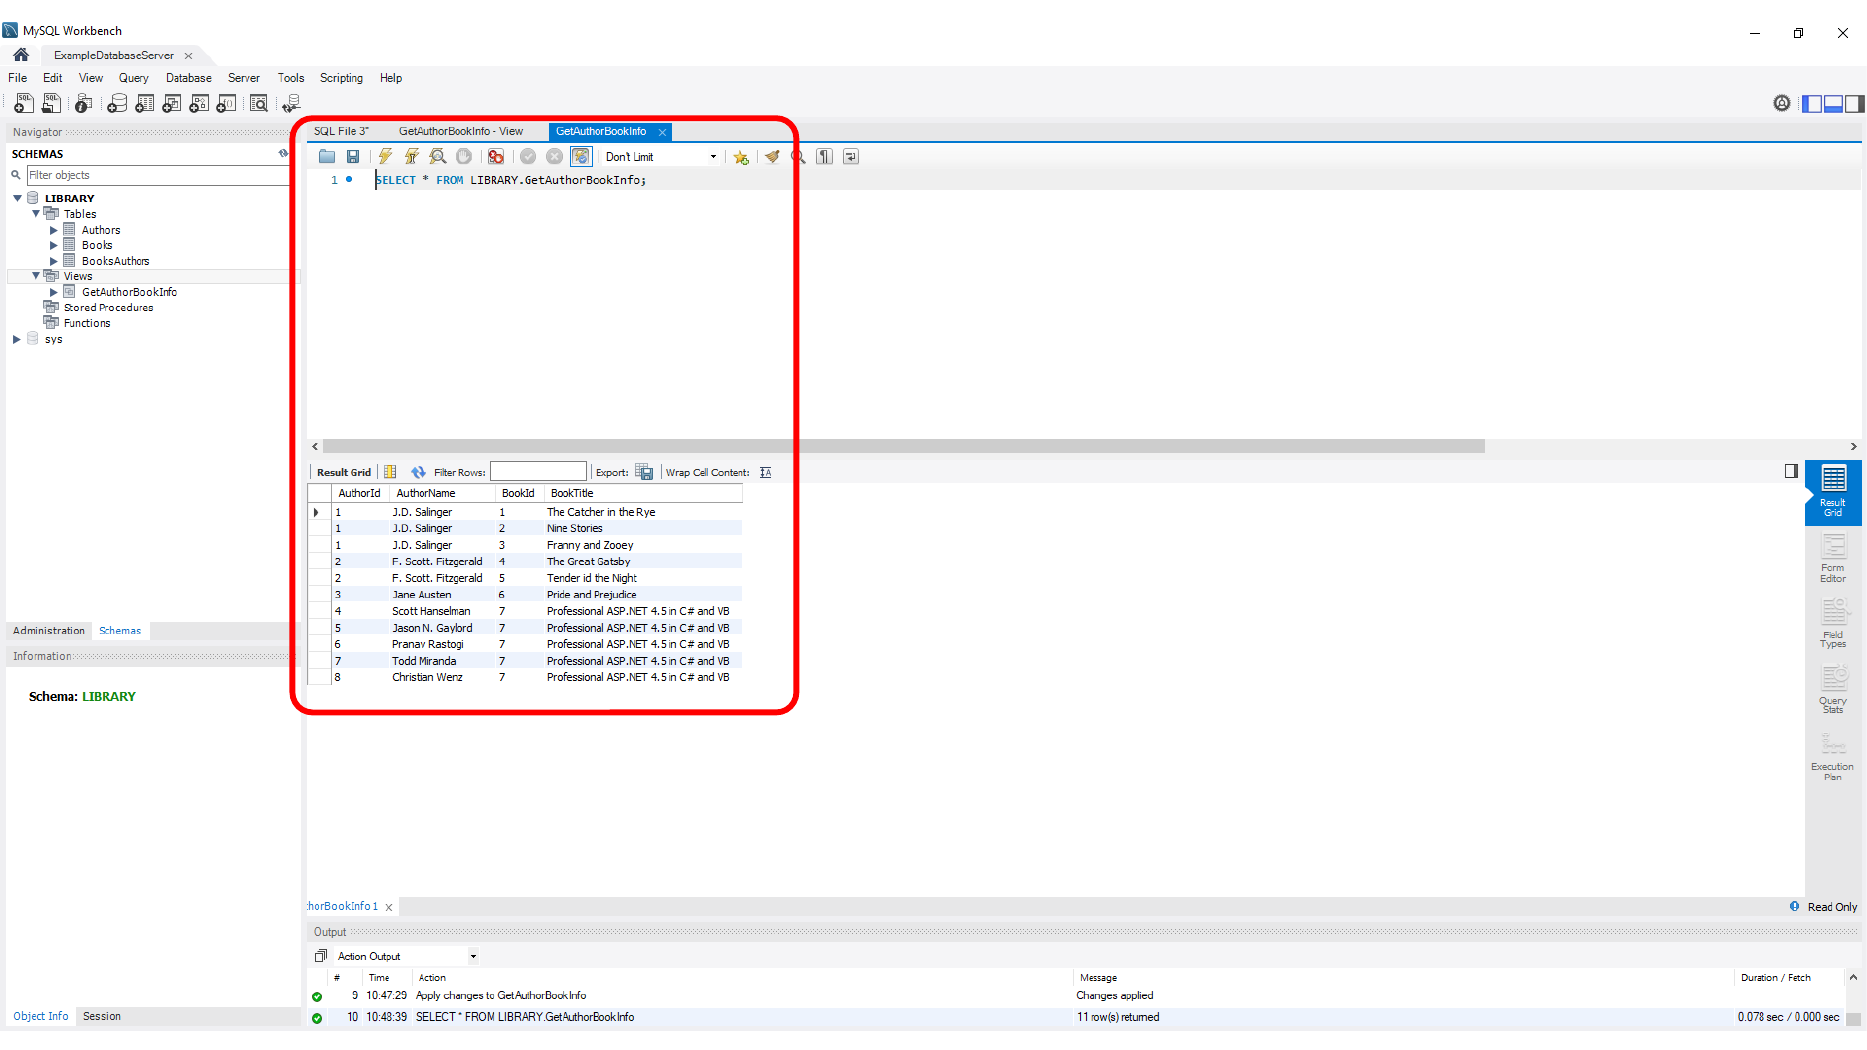
This screen shows Querying the created view.
Here, we create a stored procedure in MySQL Workbench.
This screen shows Writing stored procedure SQL.
Here, we apply stored procedure creation.
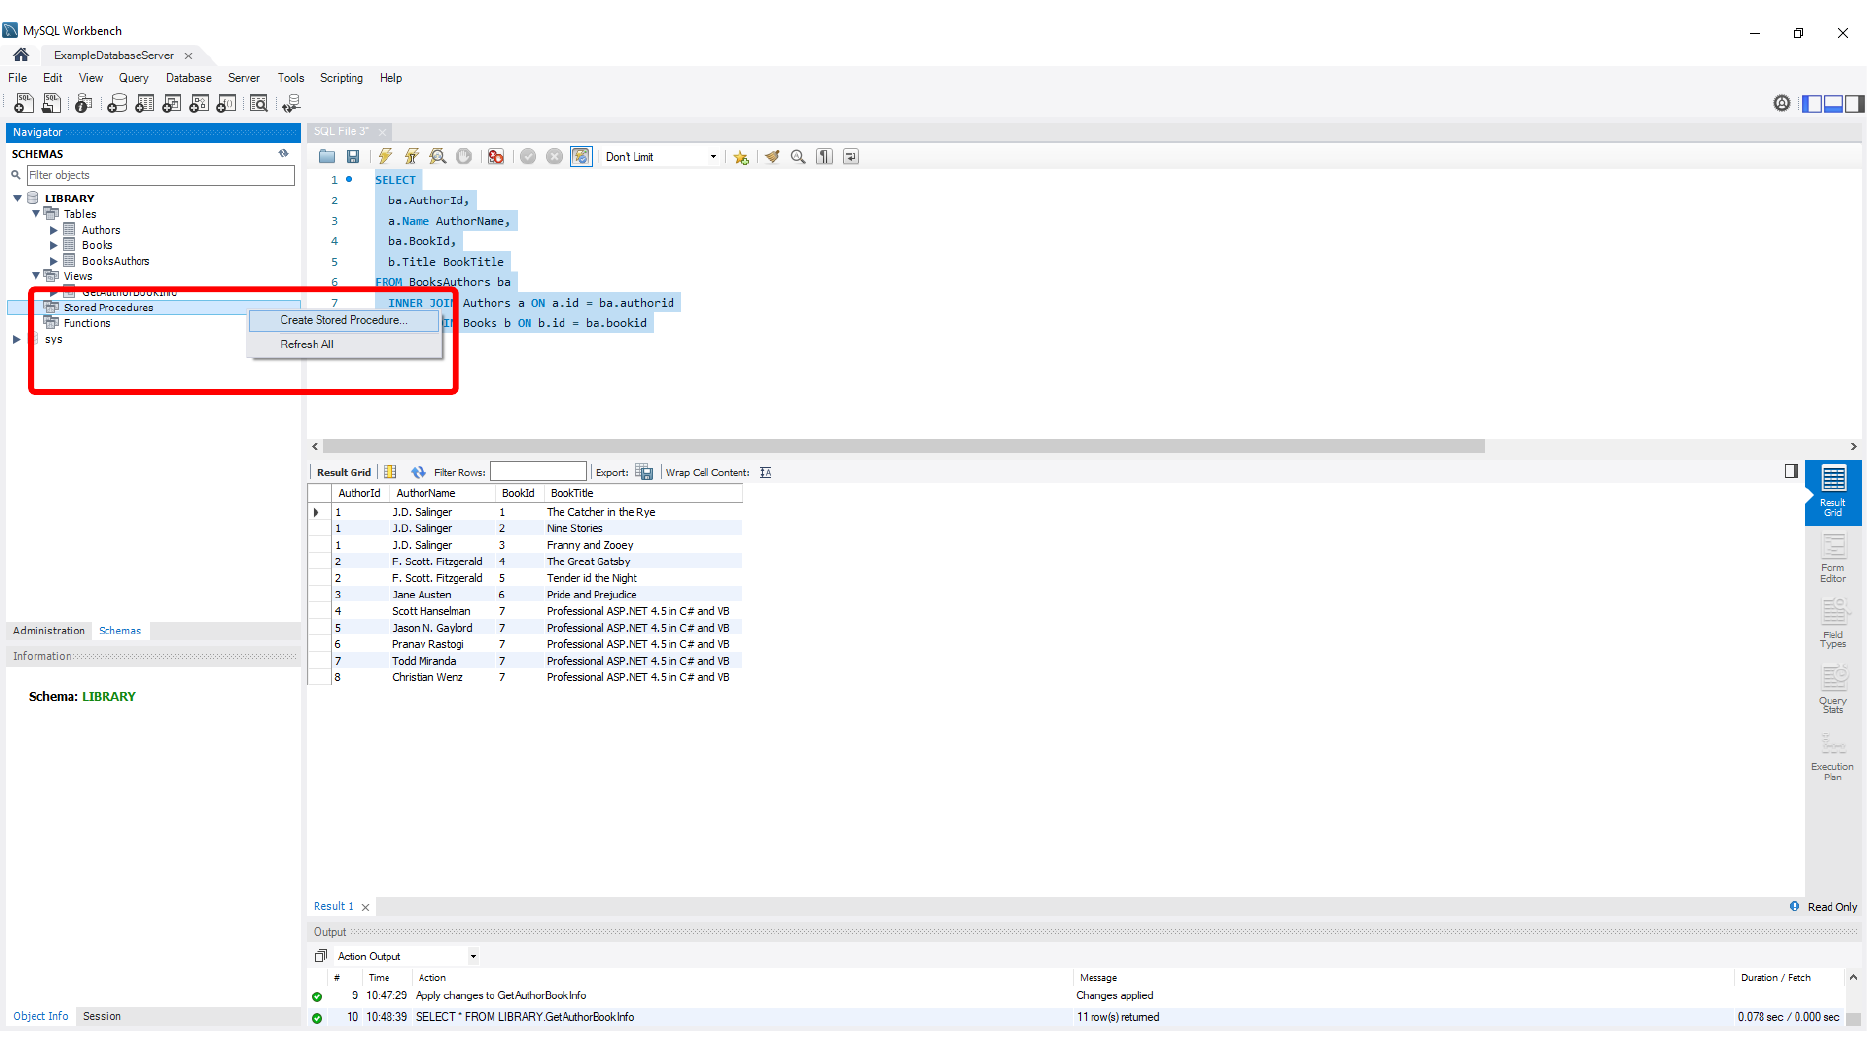
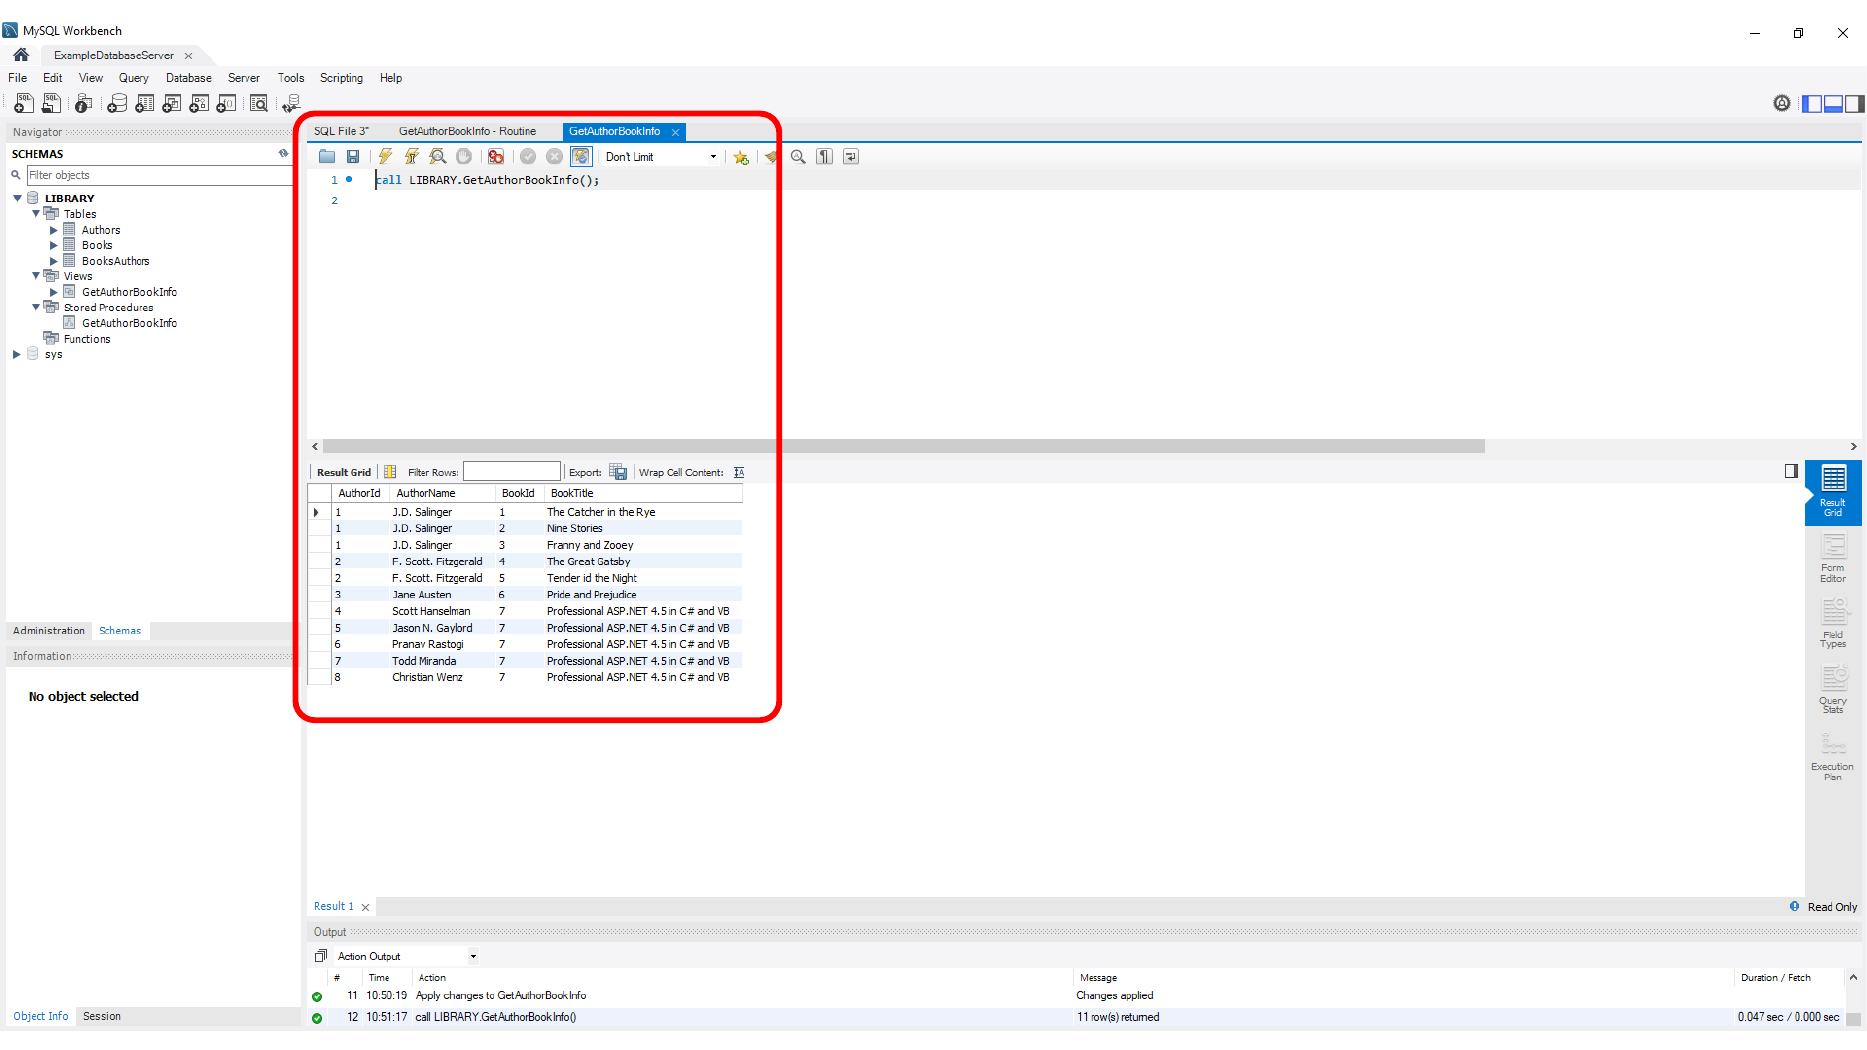
This screen shows Calling the stored procedure.
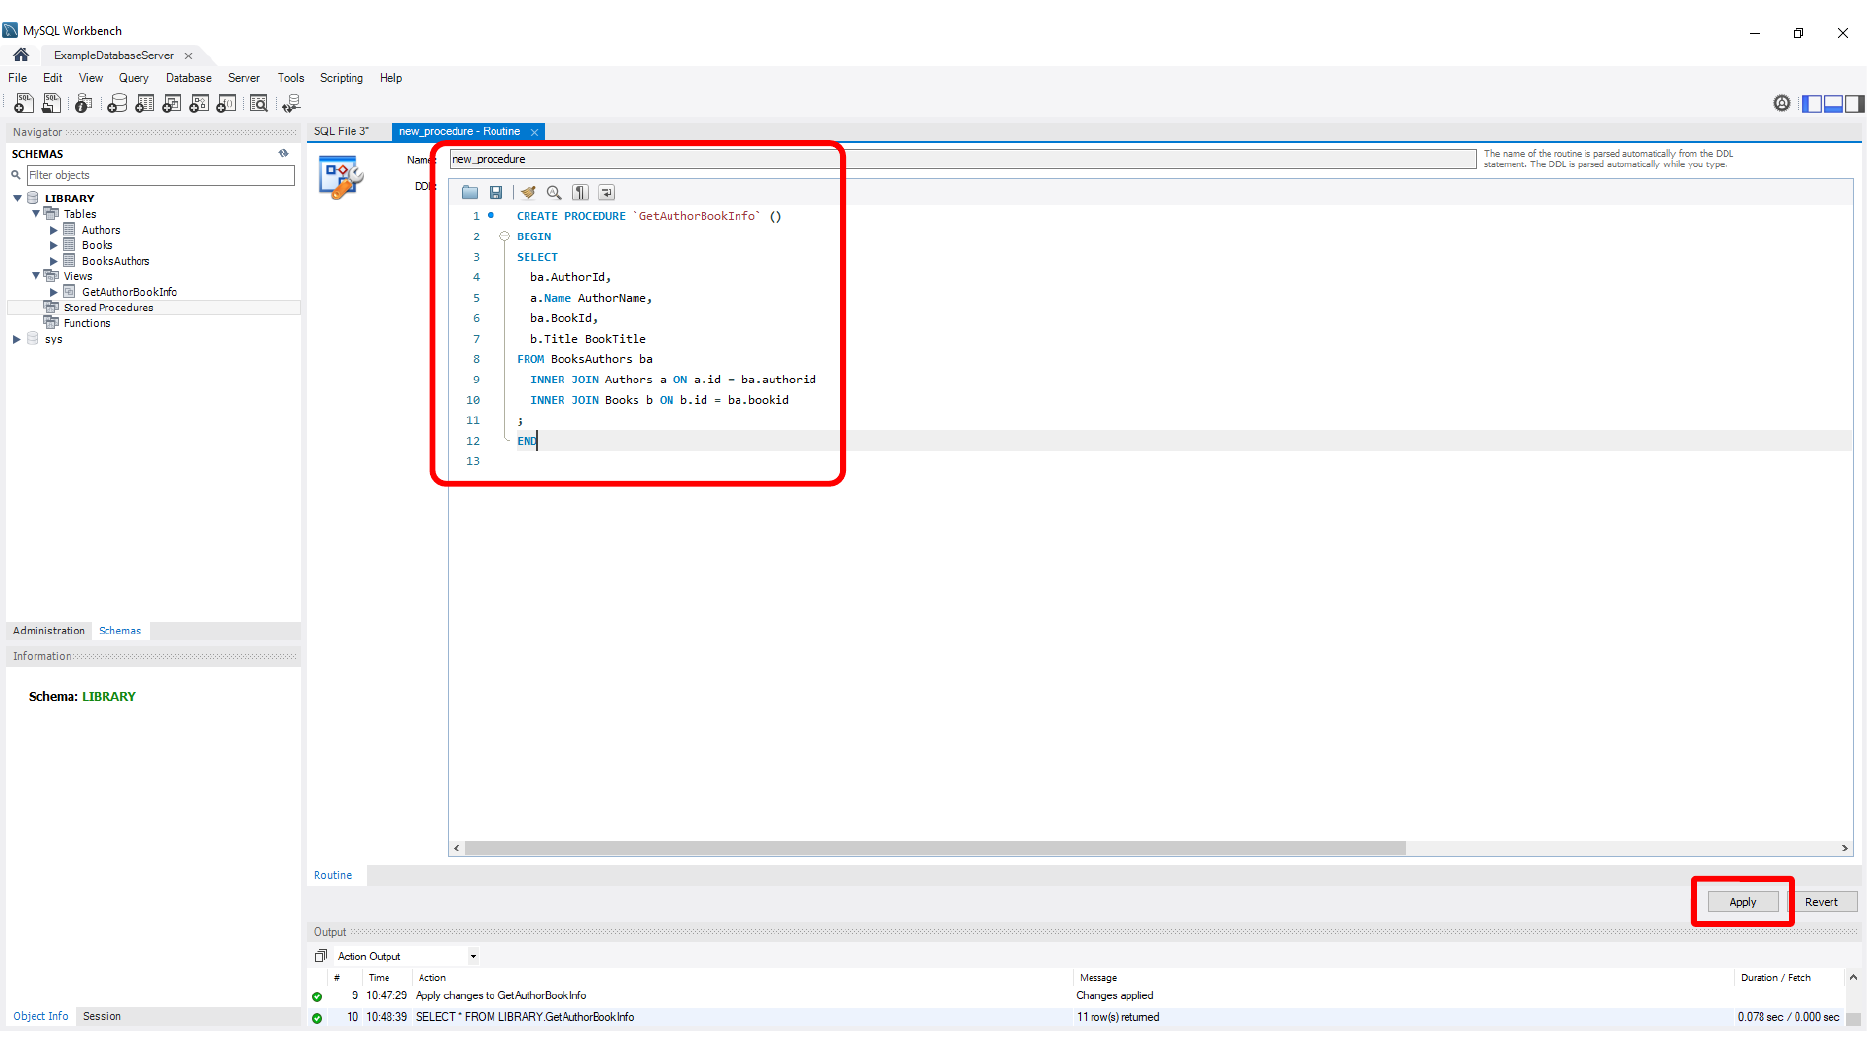
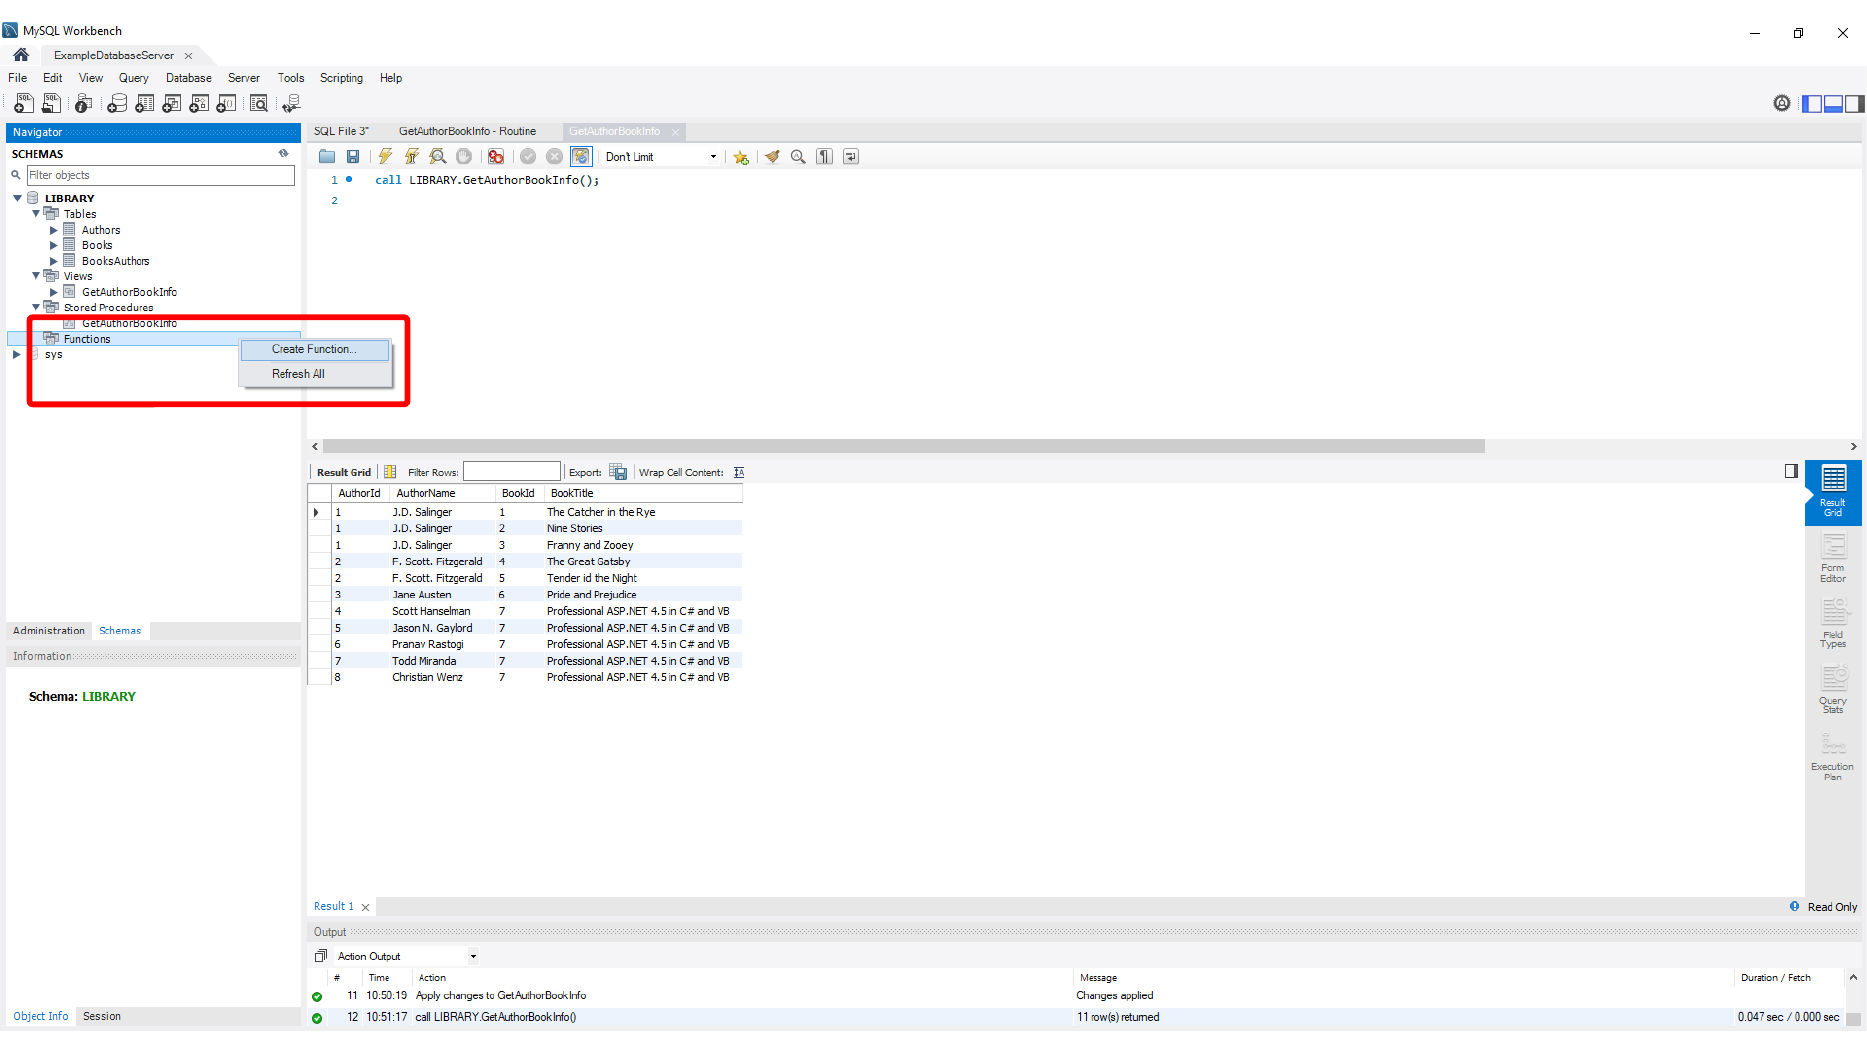
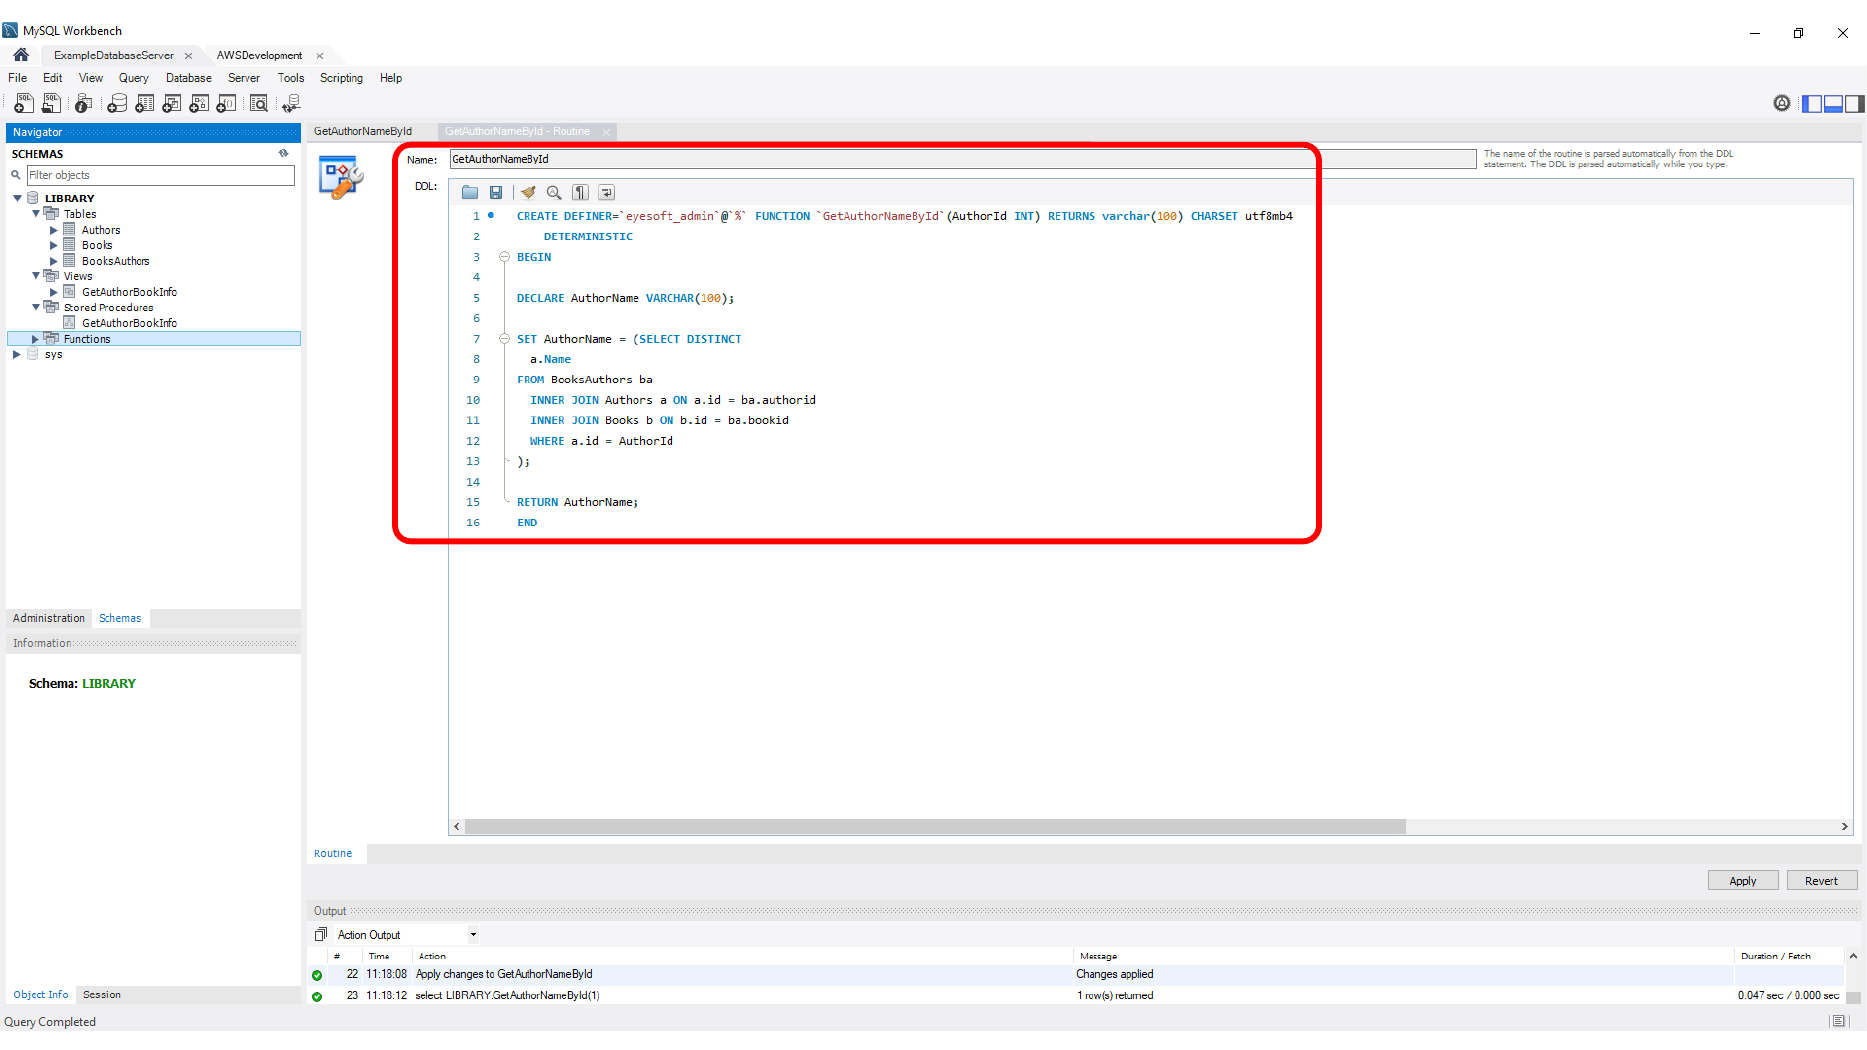
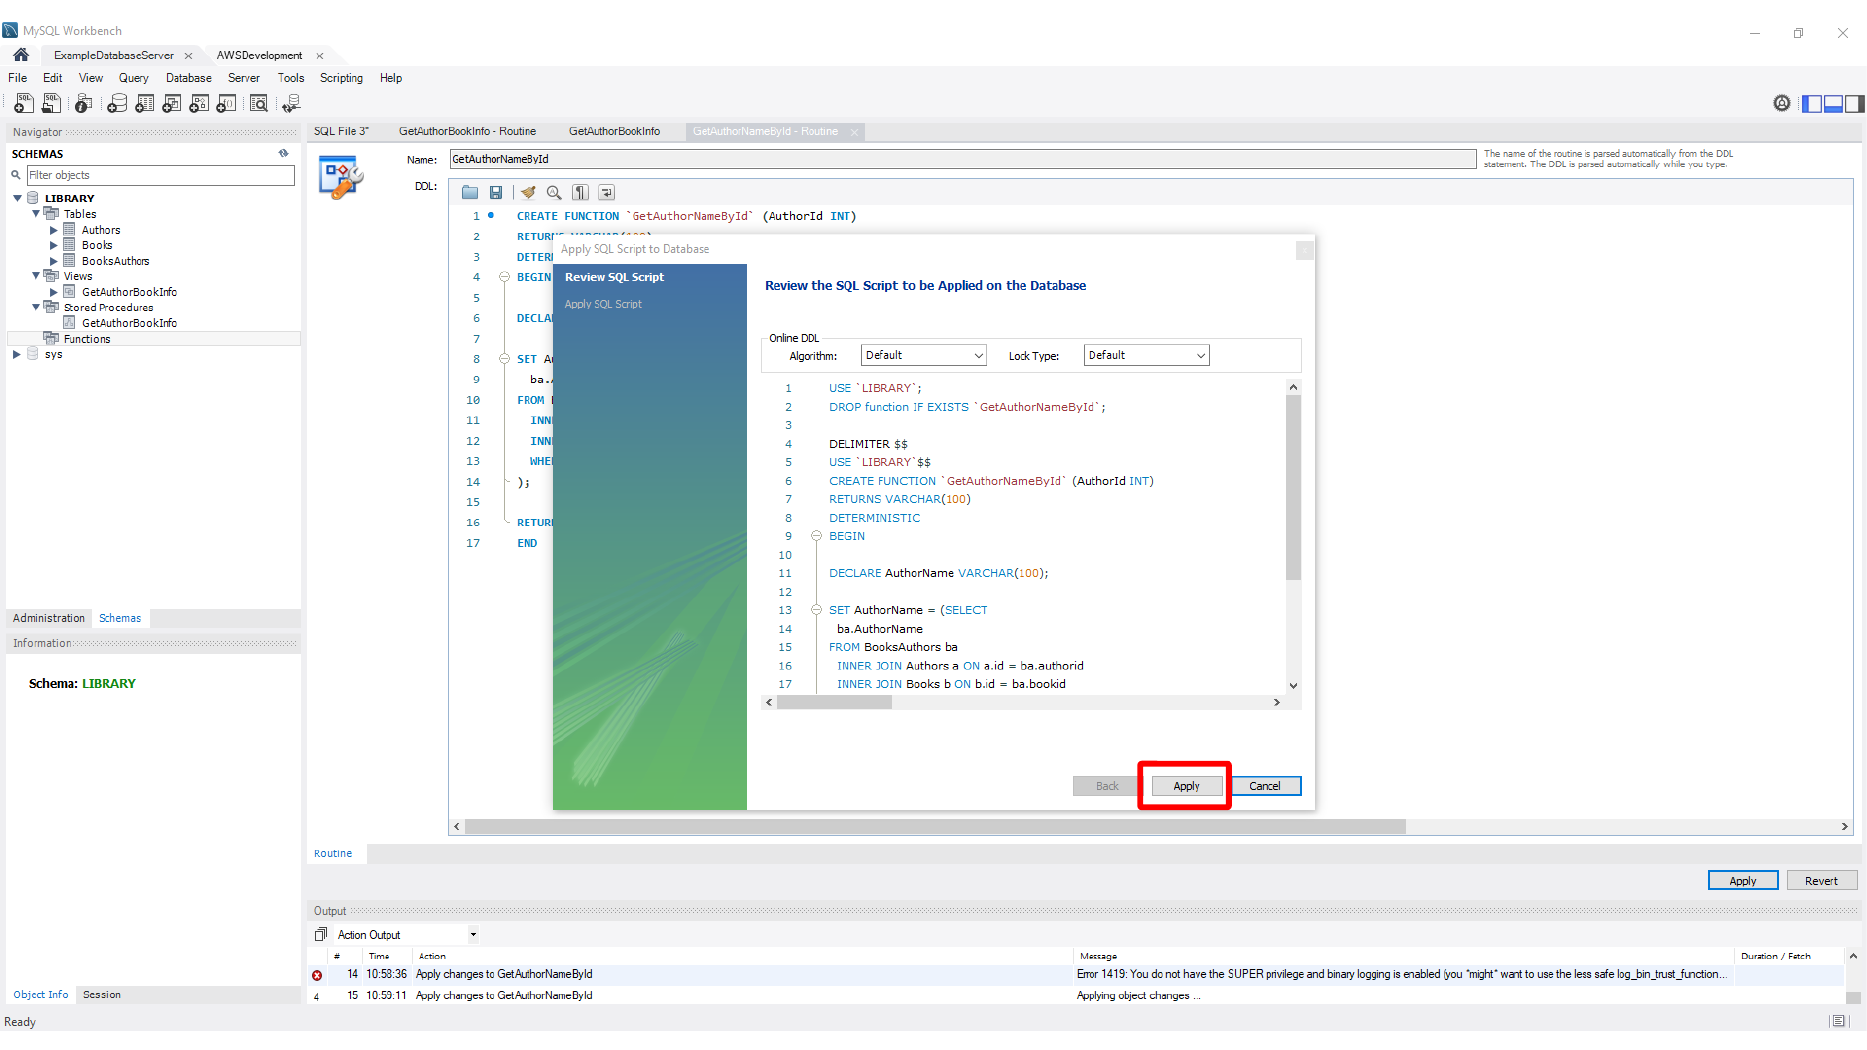
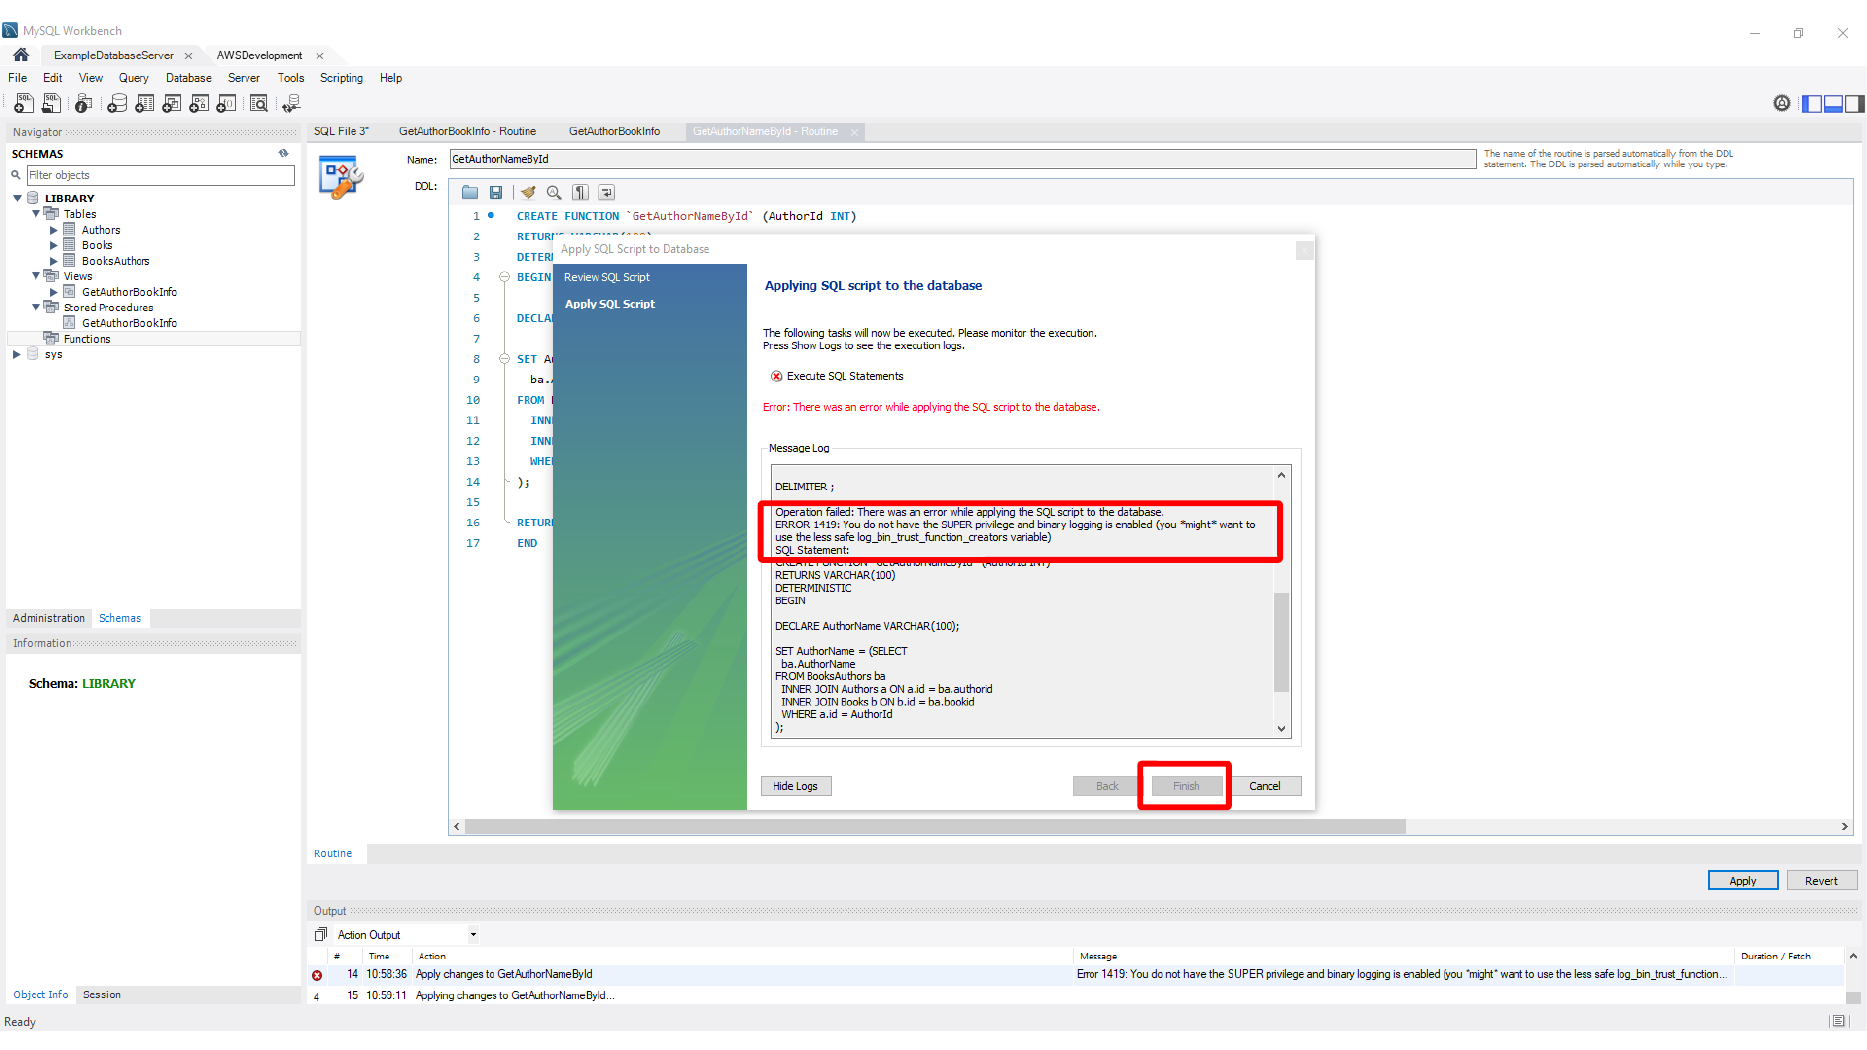
Functions are similar, but RDS can block function creation depending on binary logging and trust settings. If you see a privilege-related error while creating a function, the fix is usually to set log_bin_trust_function_creators to 1 in a custom DB parameter group.
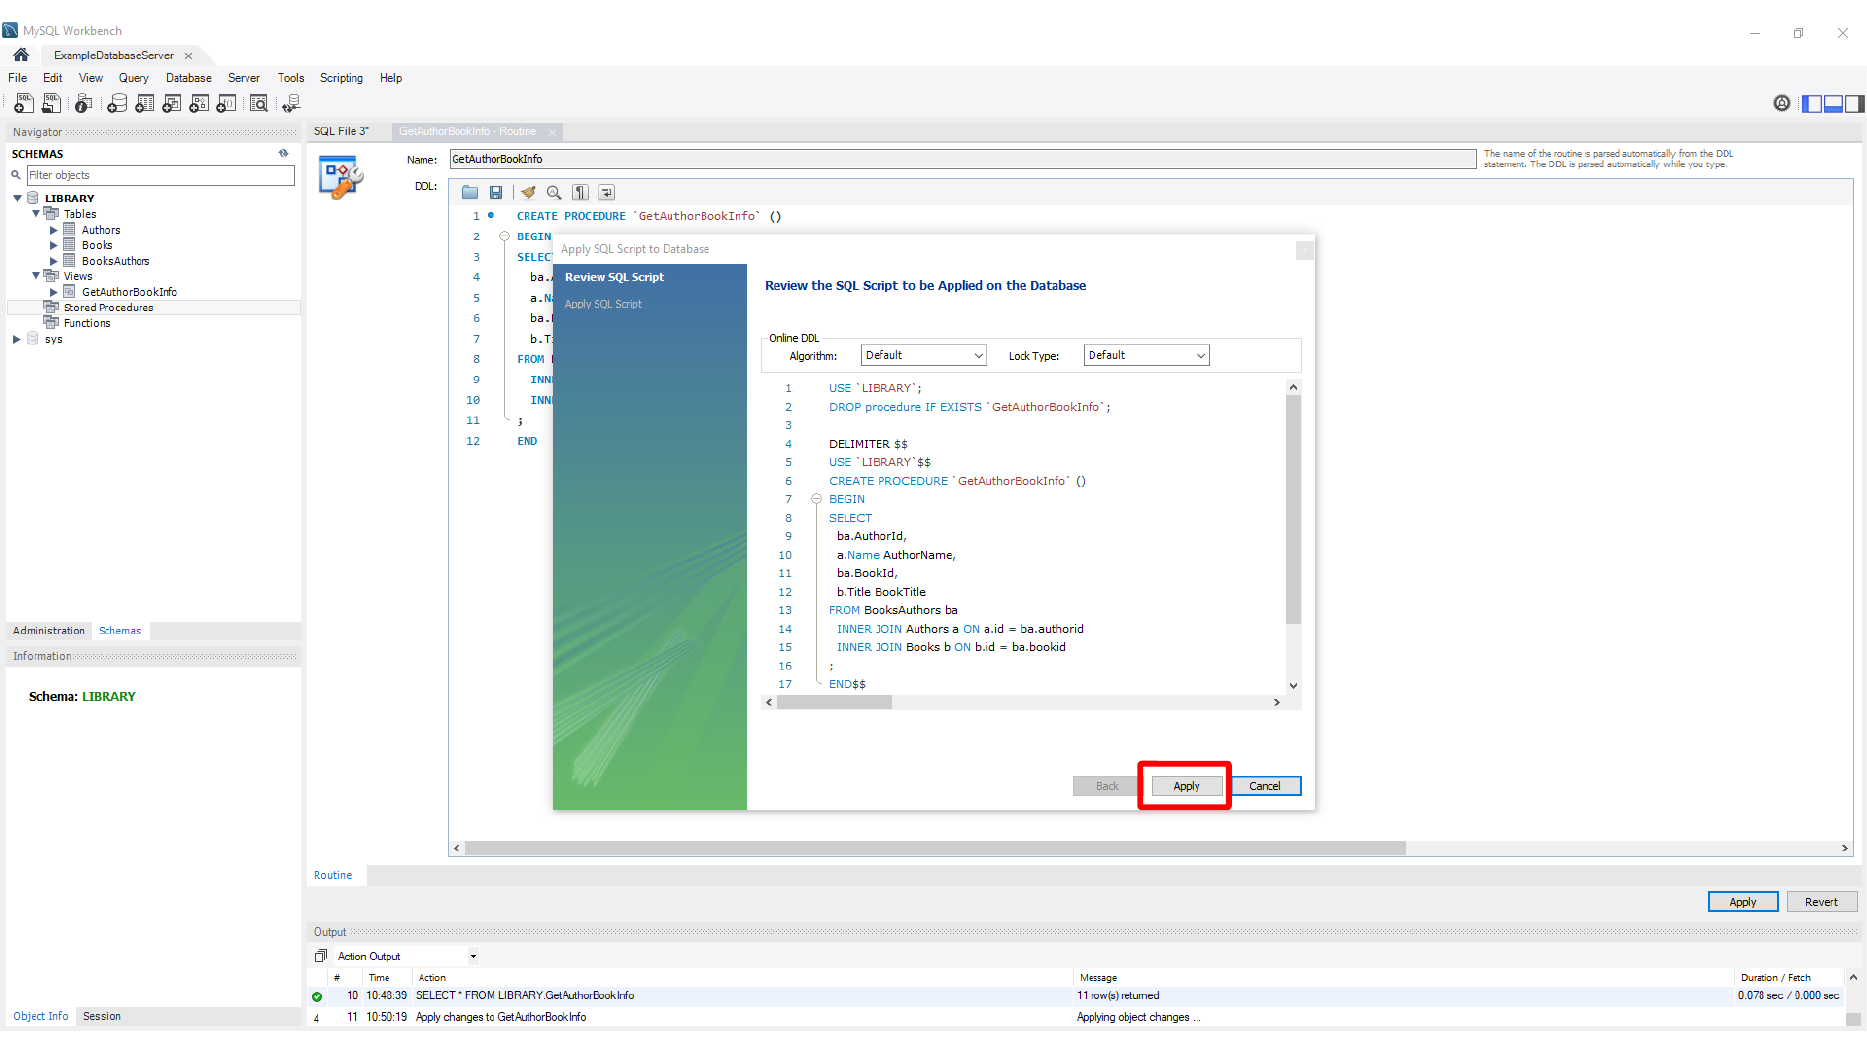
This screen shows Writing MySQL function SQL.
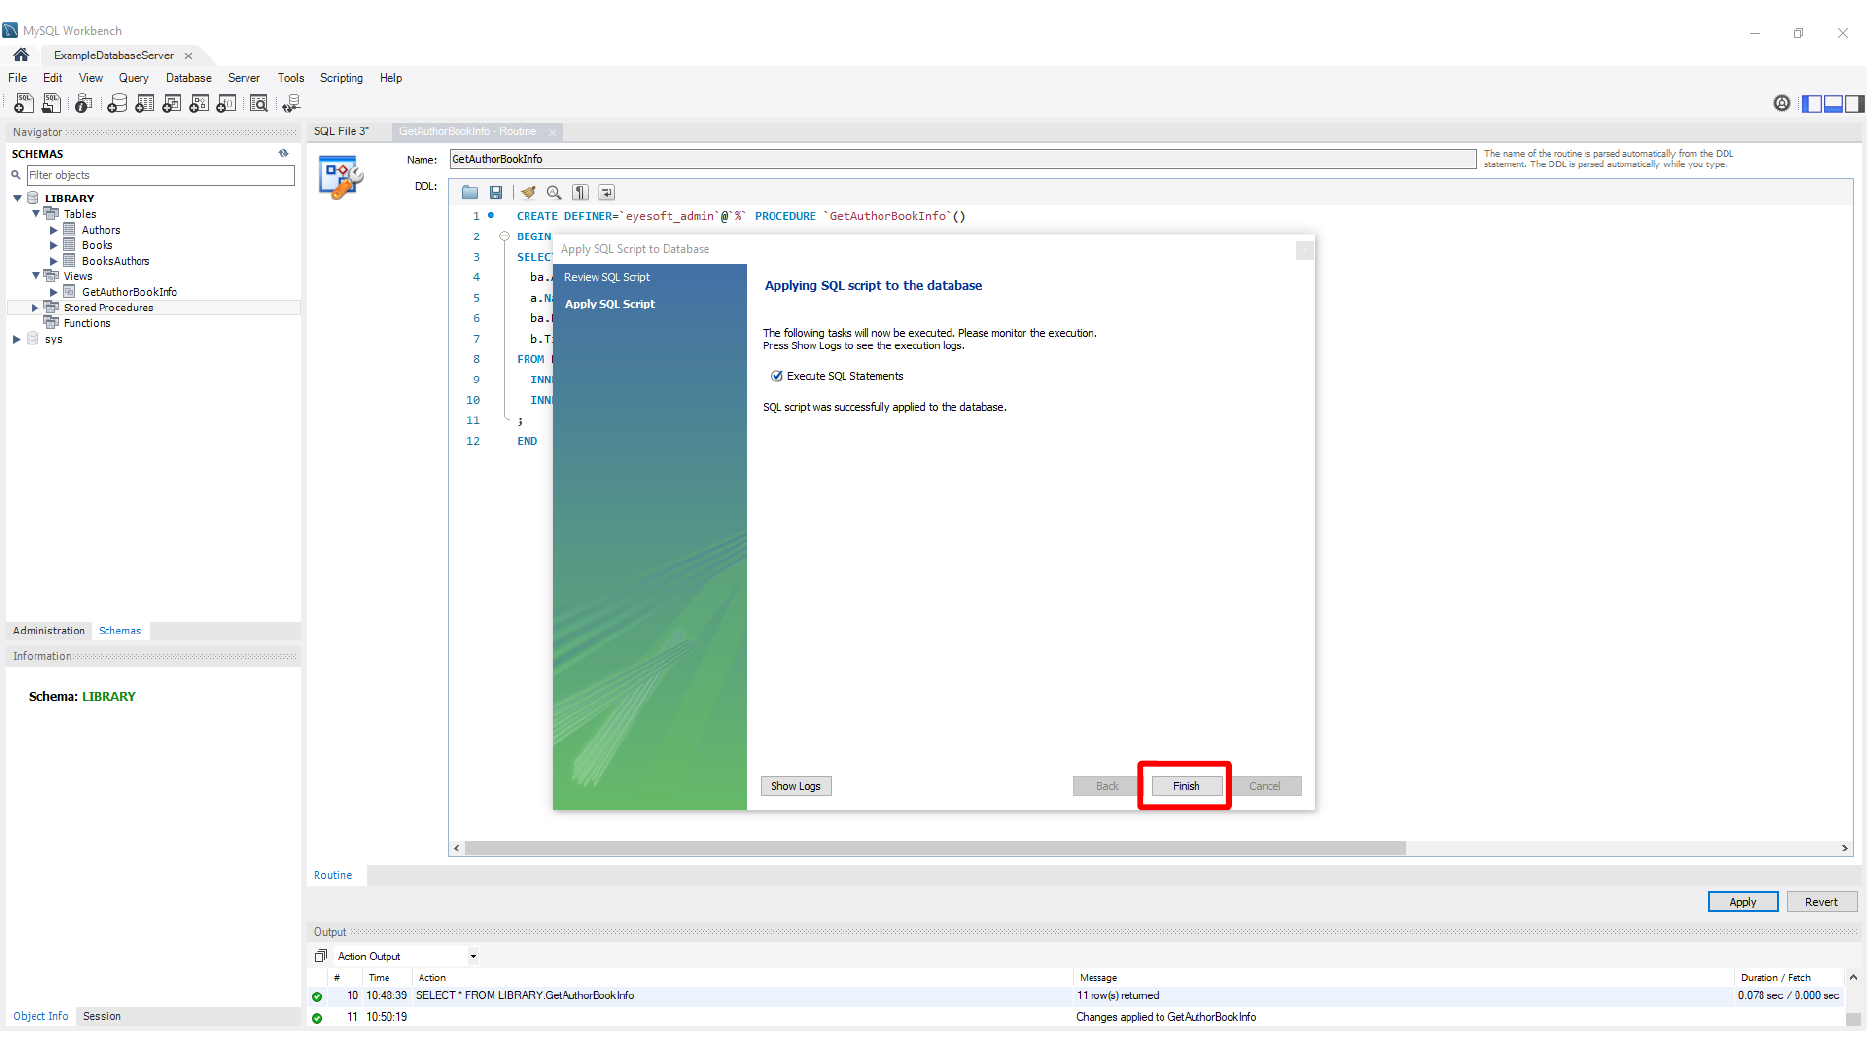
This screen shows Function creation error in MySQL Workbench.
Here, we review the MySQL function privilege error.
Here, we check MySQL function creation behavior.
Here, we prepare to update RDS parameter settings.
This screen shows Function execution after configuration review.
This screen shows MySQL Workbench function test result.
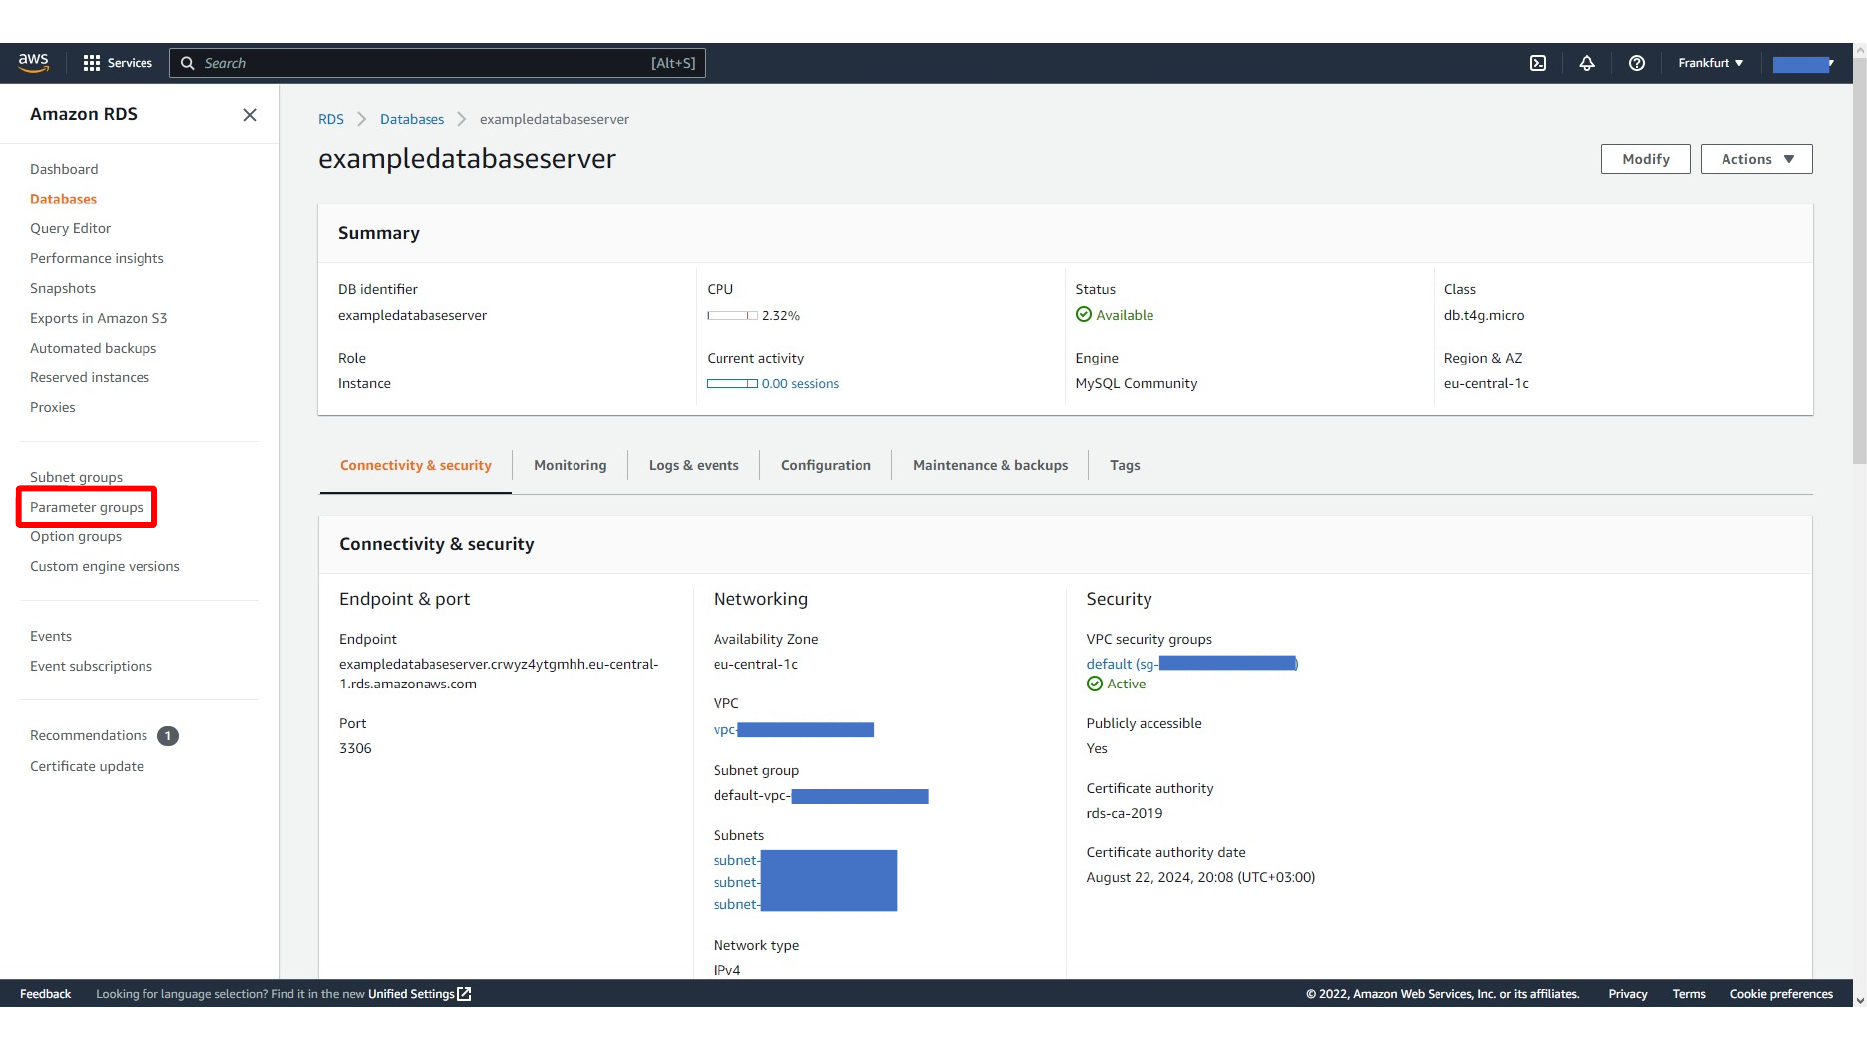
Updating the RDS Parameter Group
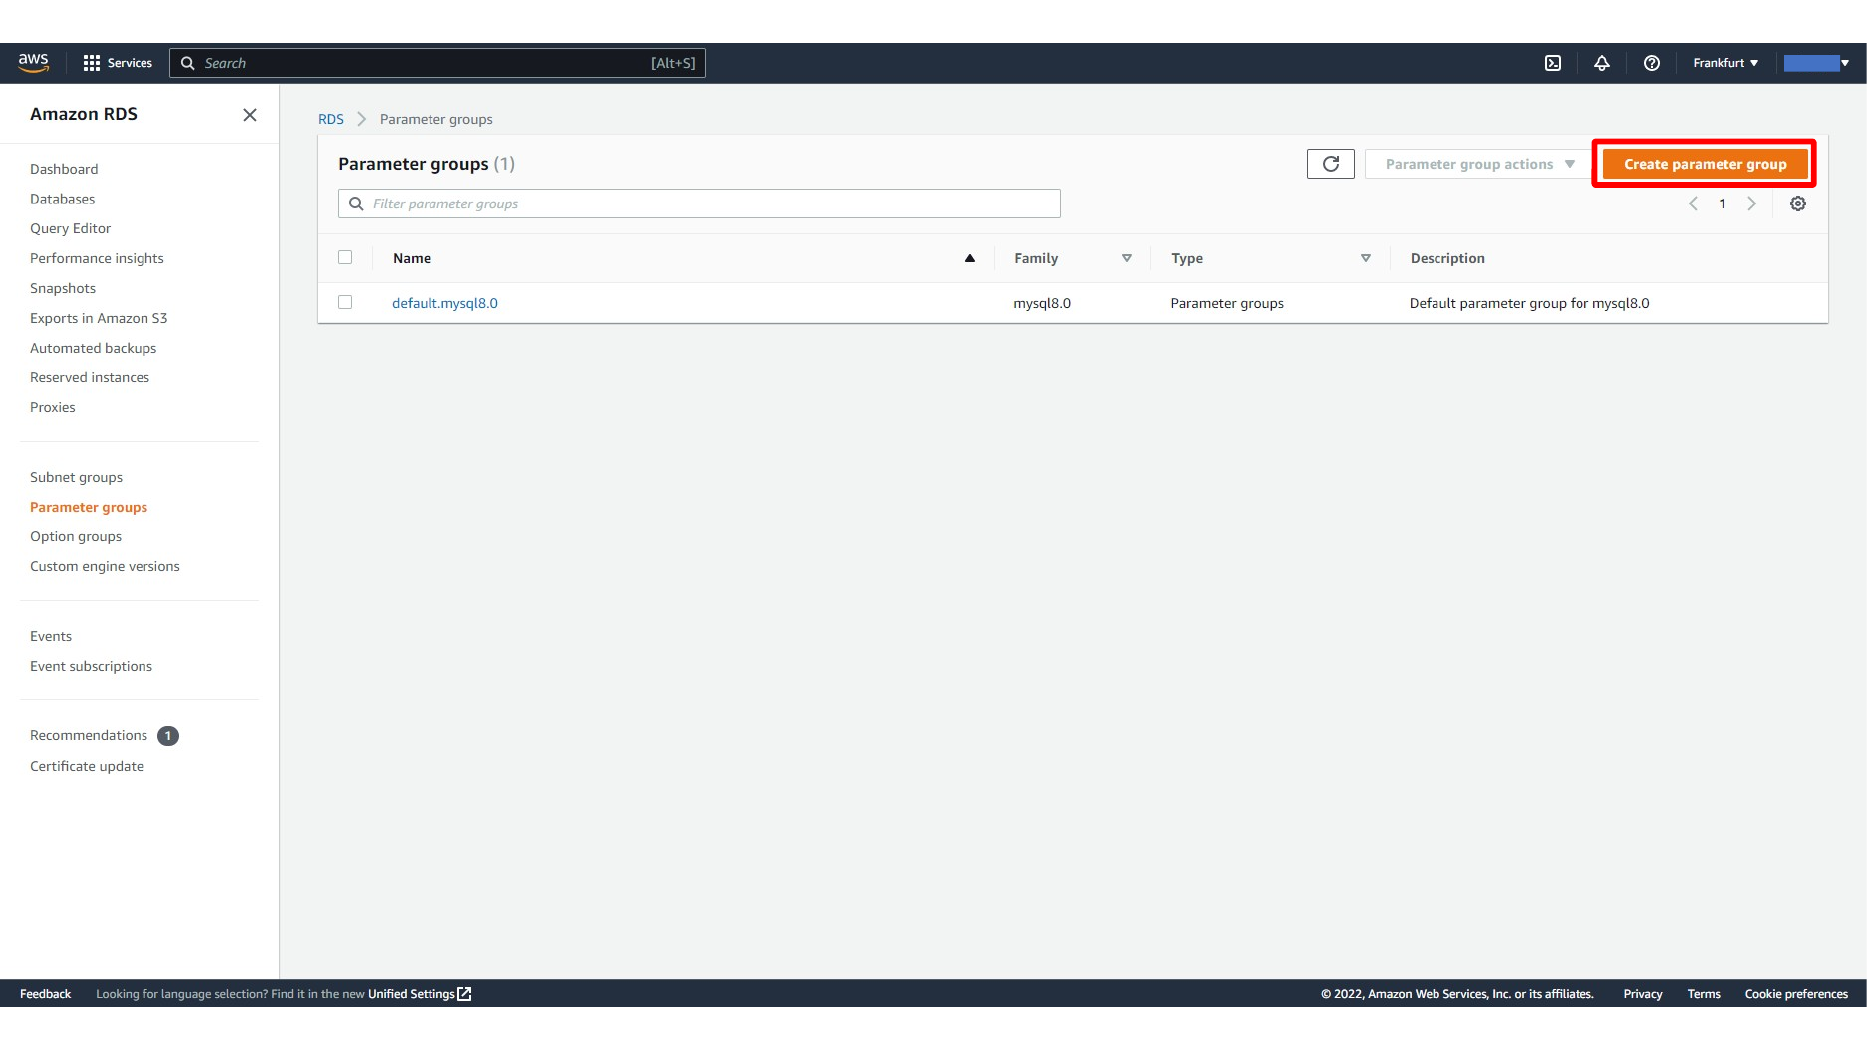
RDS default parameter groups cannot be edited directly for many settings, so create a custom parameter group for your MySQL version. Then search for log_bin_trust_function_creators and set it to 1.
Here, we create a new RDS parameter group.
Here, we choose MySQL family for the parameter group.
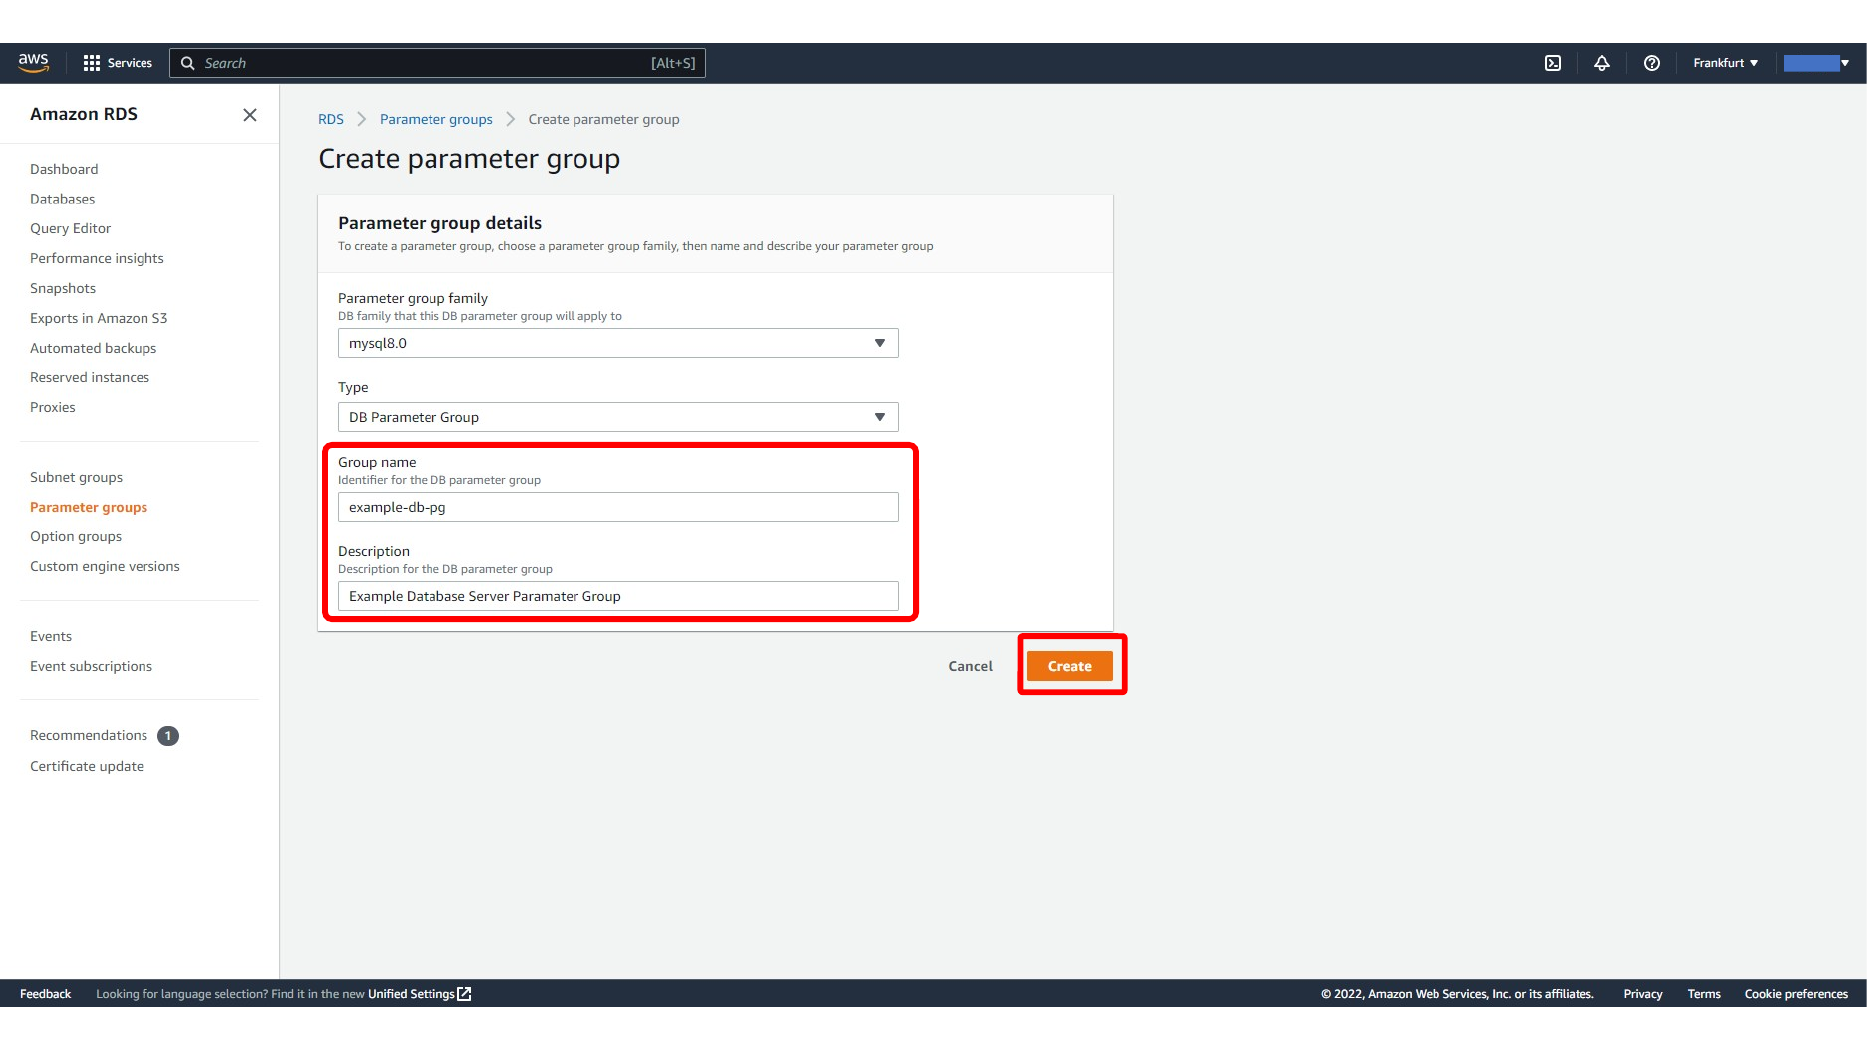
This screen shows Naming the custom RDS parameter group.
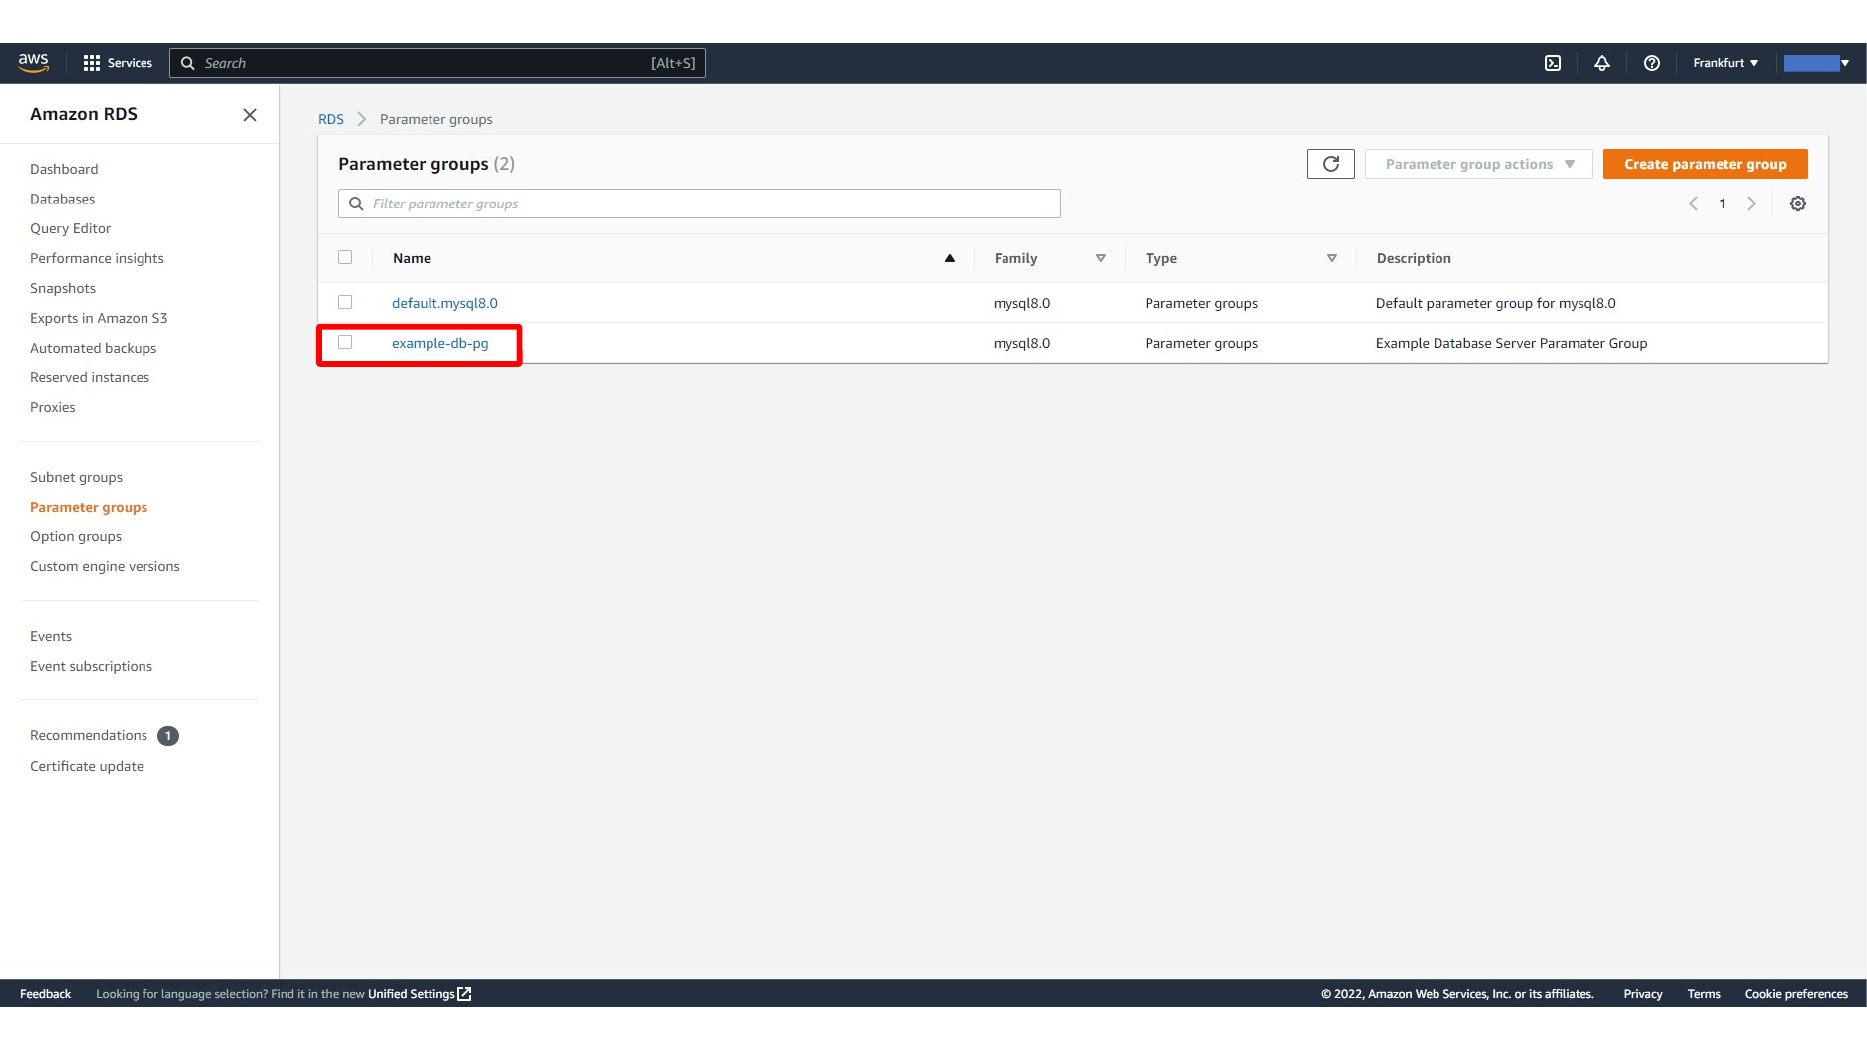
Here, we open parameters inside the custom group.
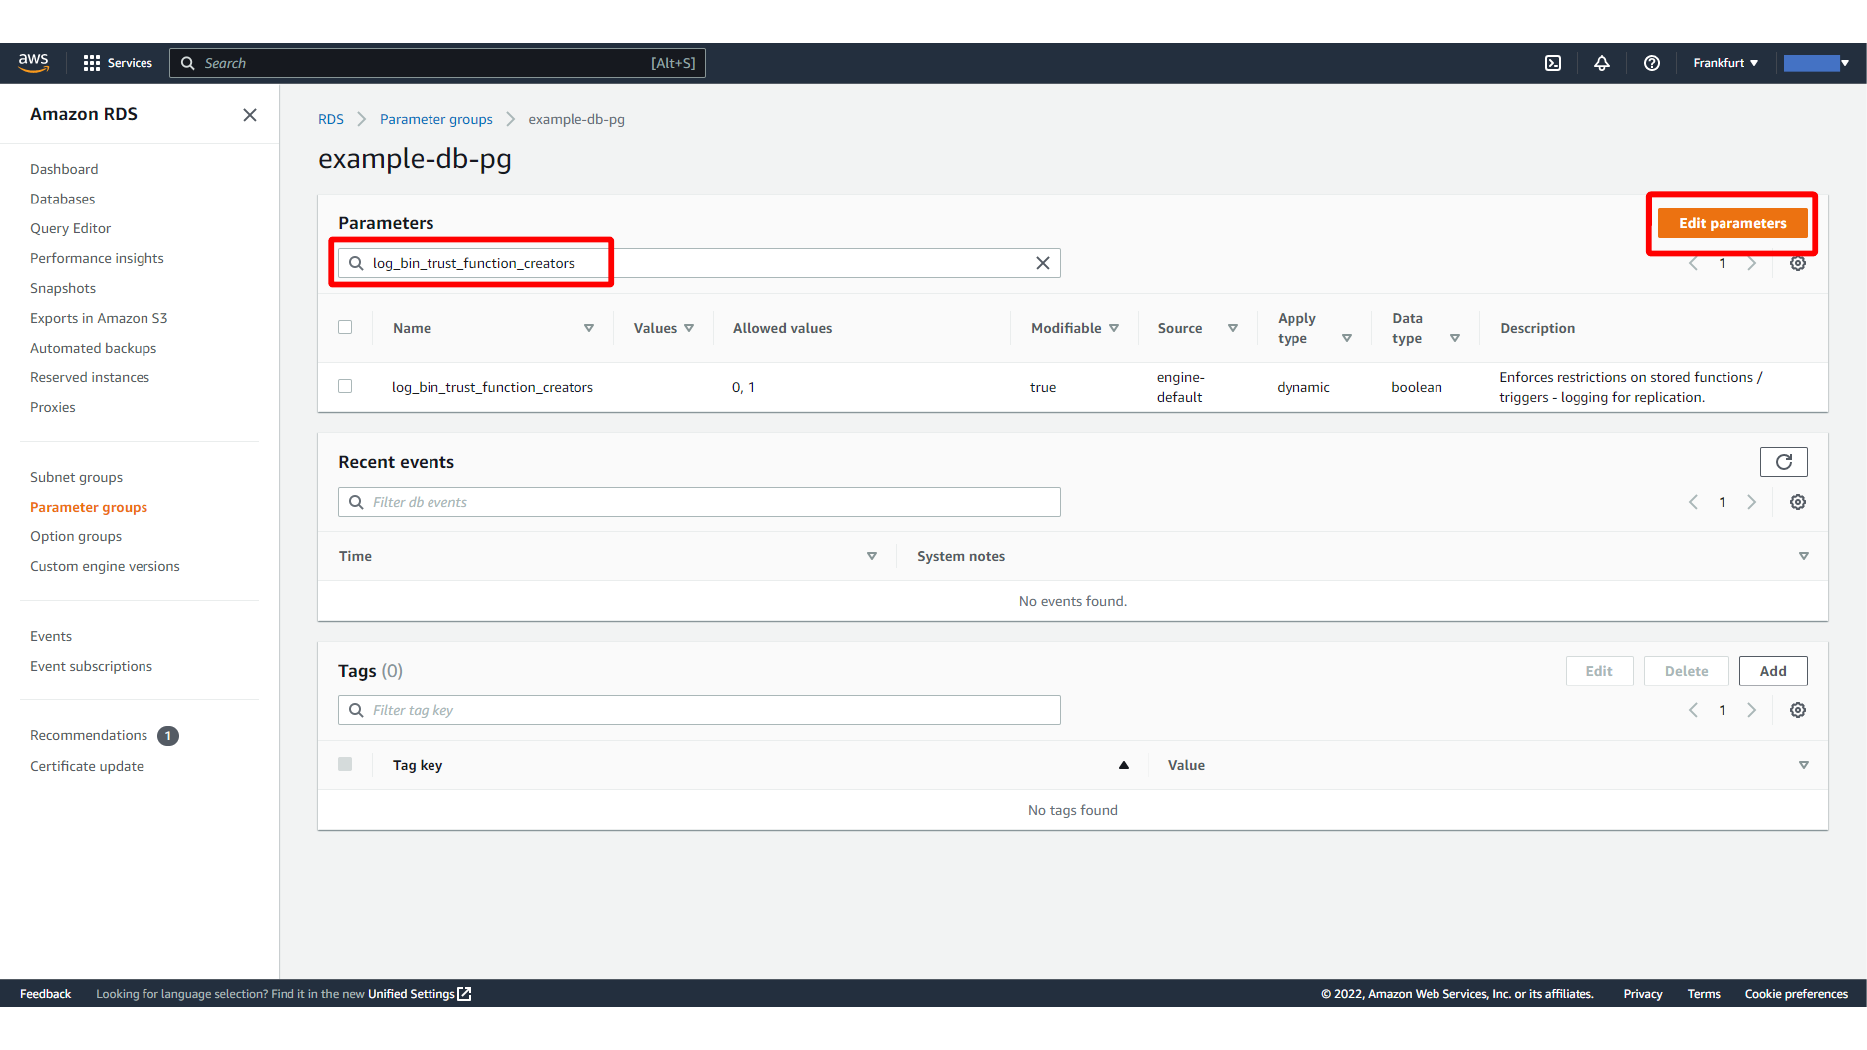
Here, we search for log_bin_trust_function_creators.
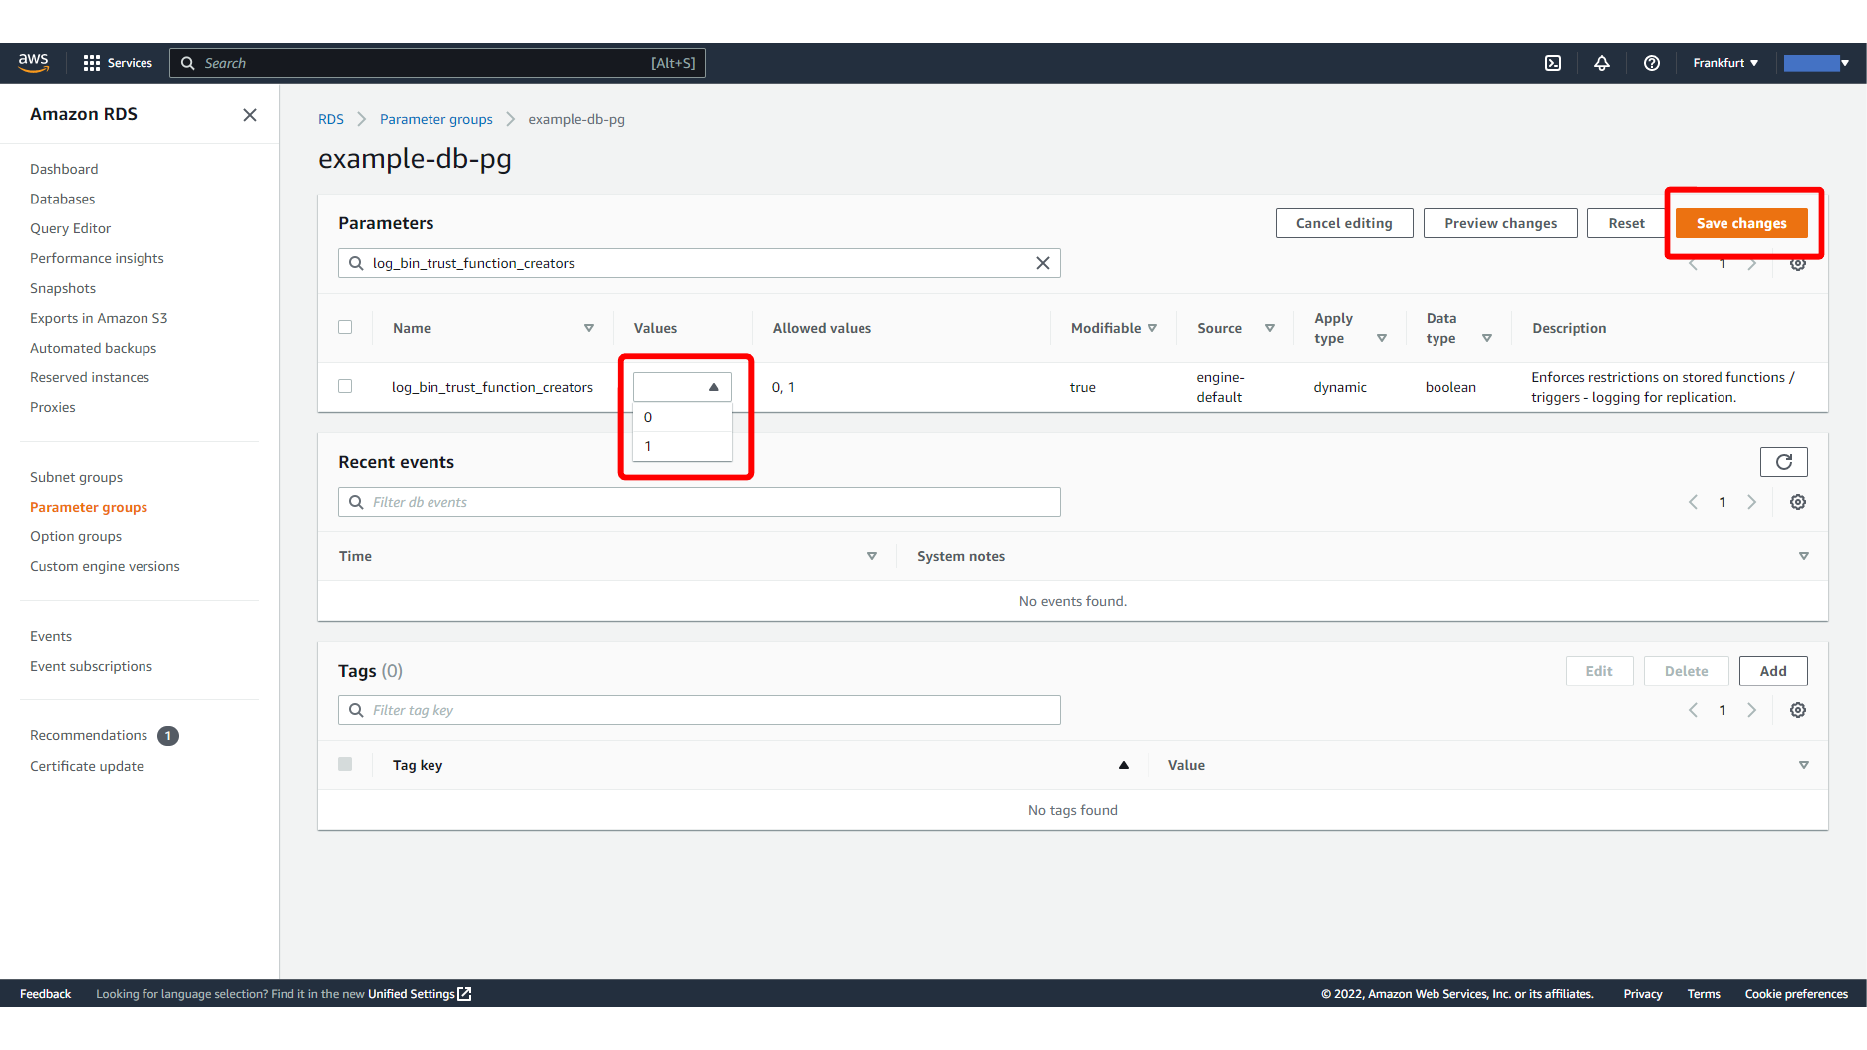
Here, we edit log_bin_trust_function_creators parameter value.
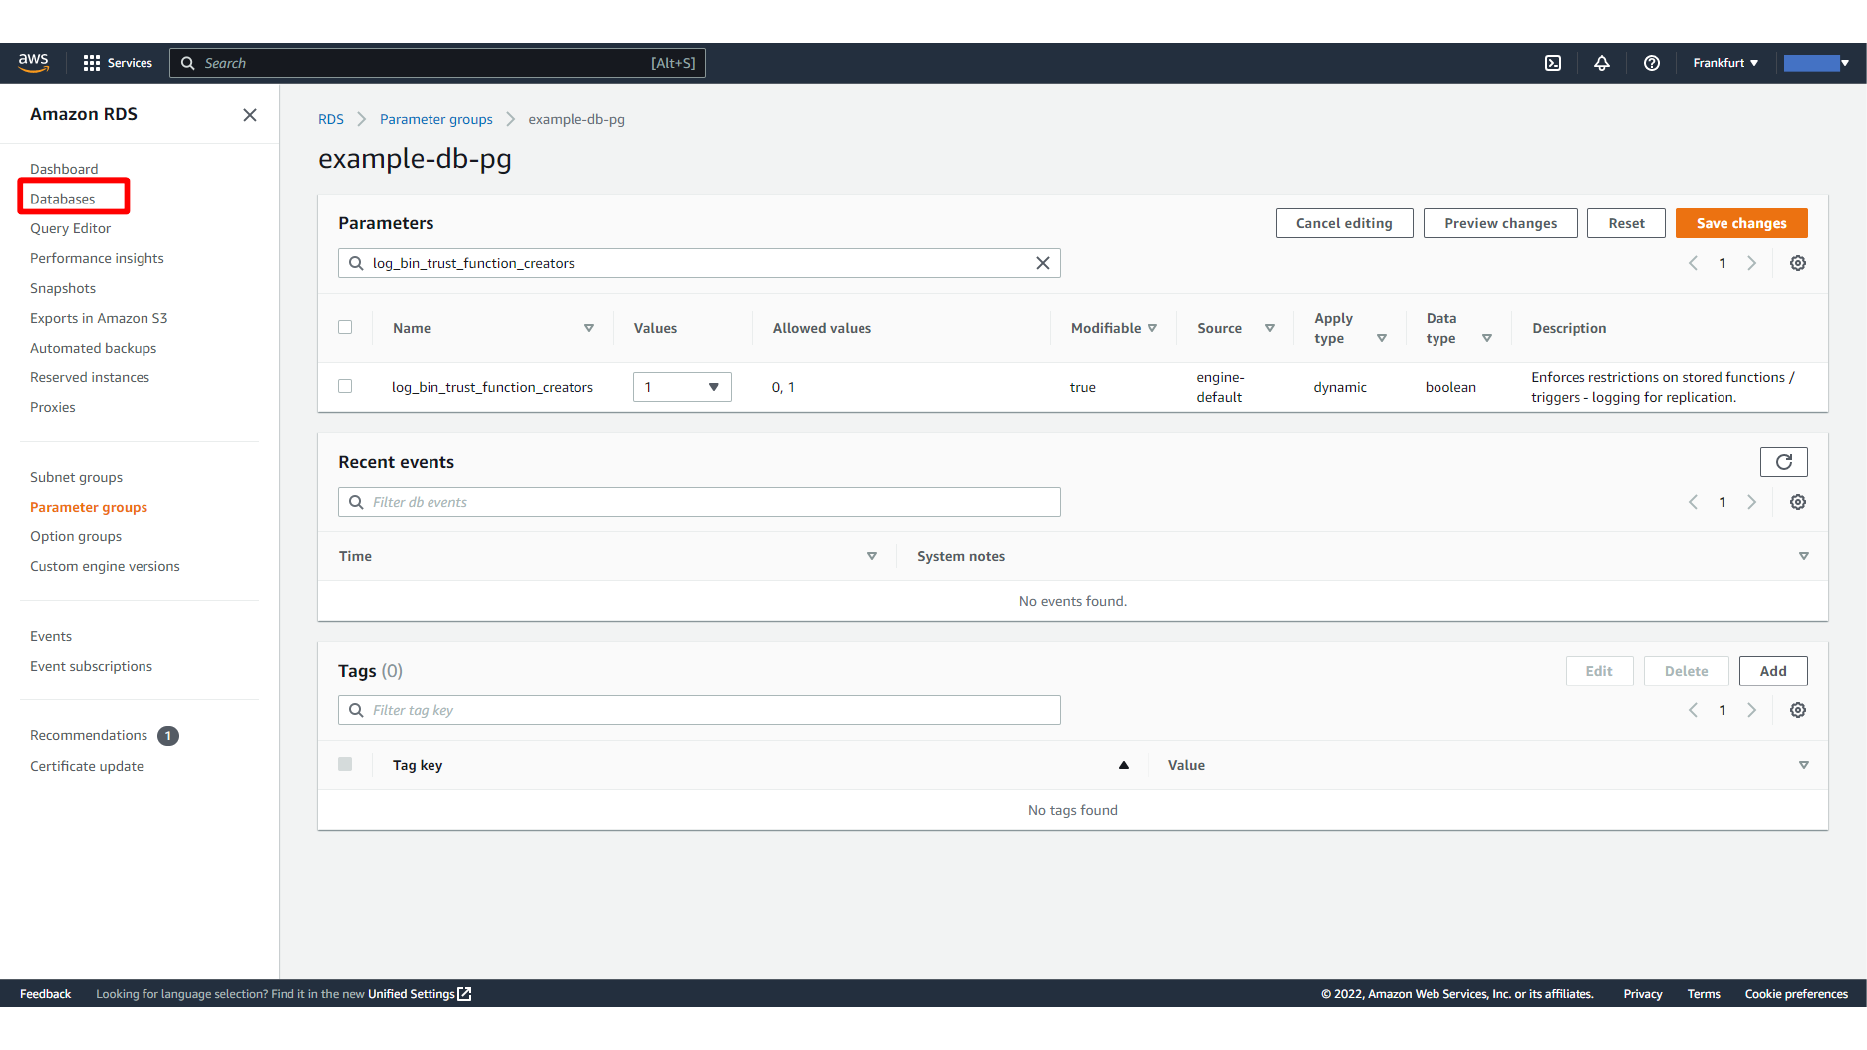
After the parameter is updated, attach the custom parameter group to the RDS database instance from the Modify screen. Apply the change and reboot the instance if AWS requires it for the setting to take effect.
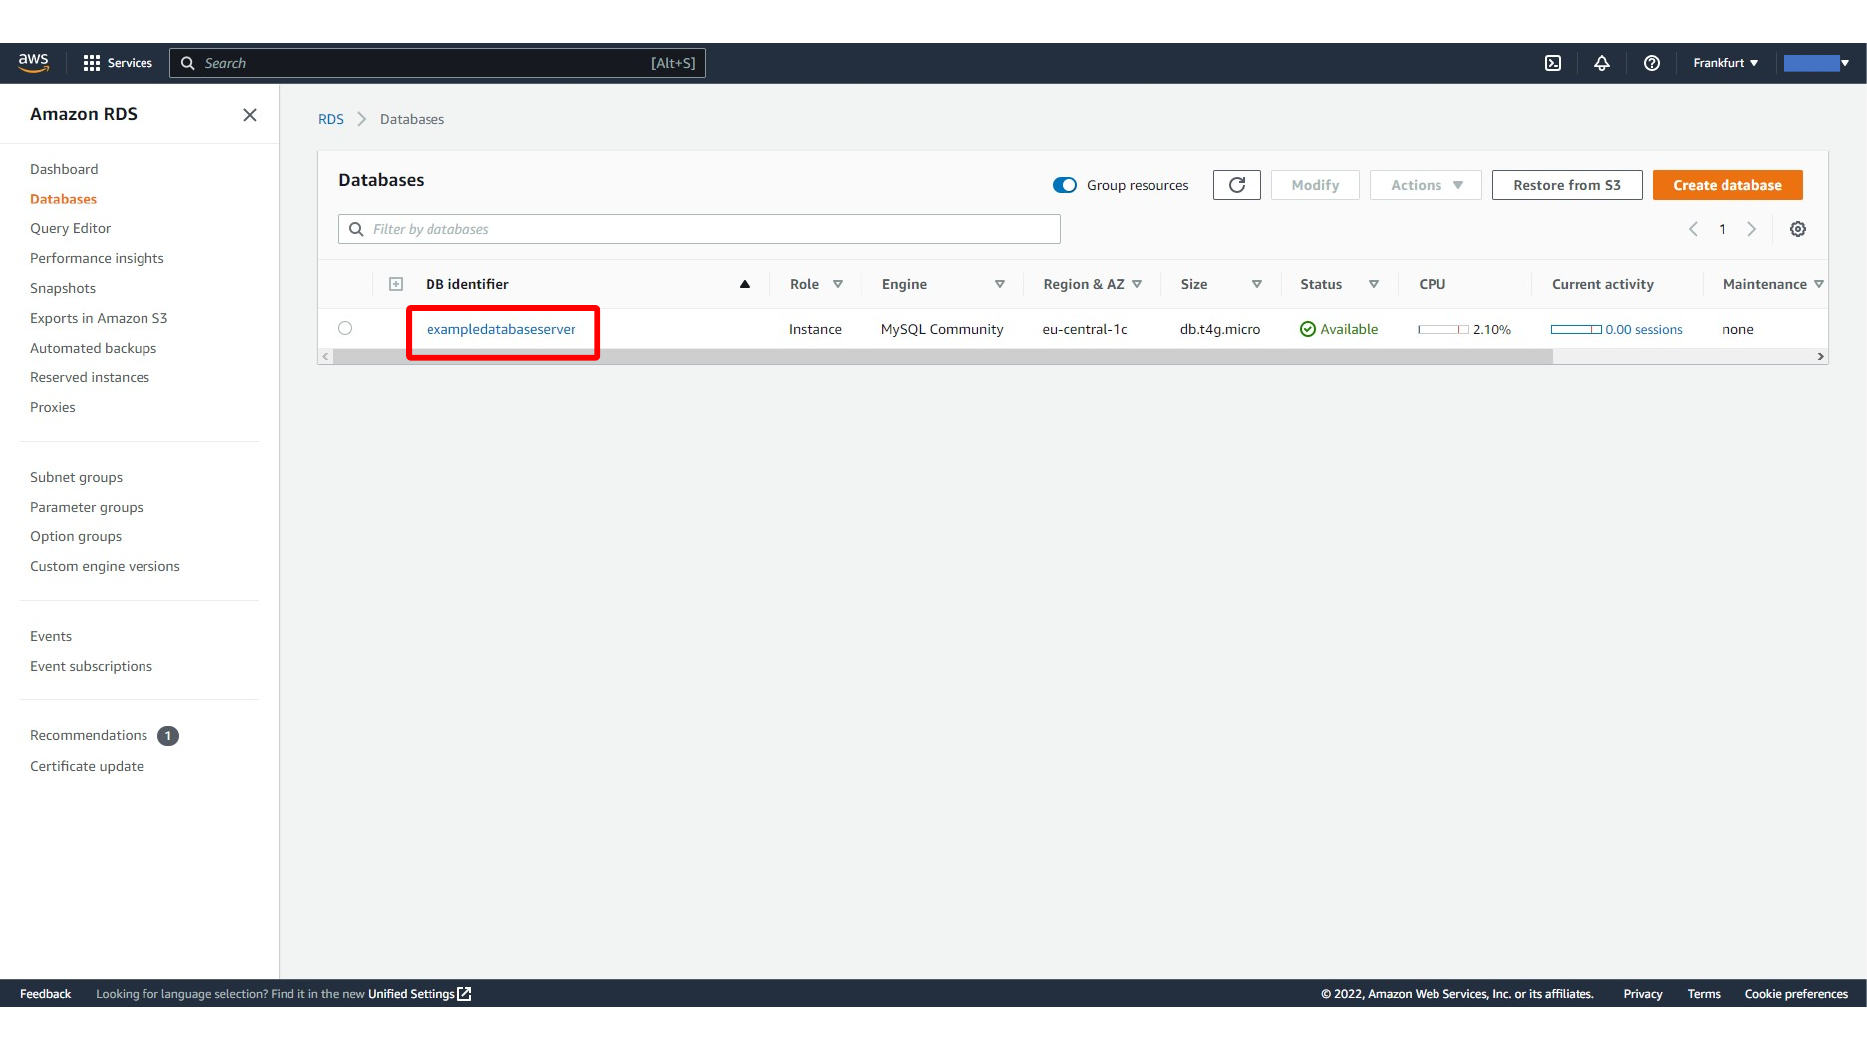
Here, we select the custom parameter group for the RDS database.
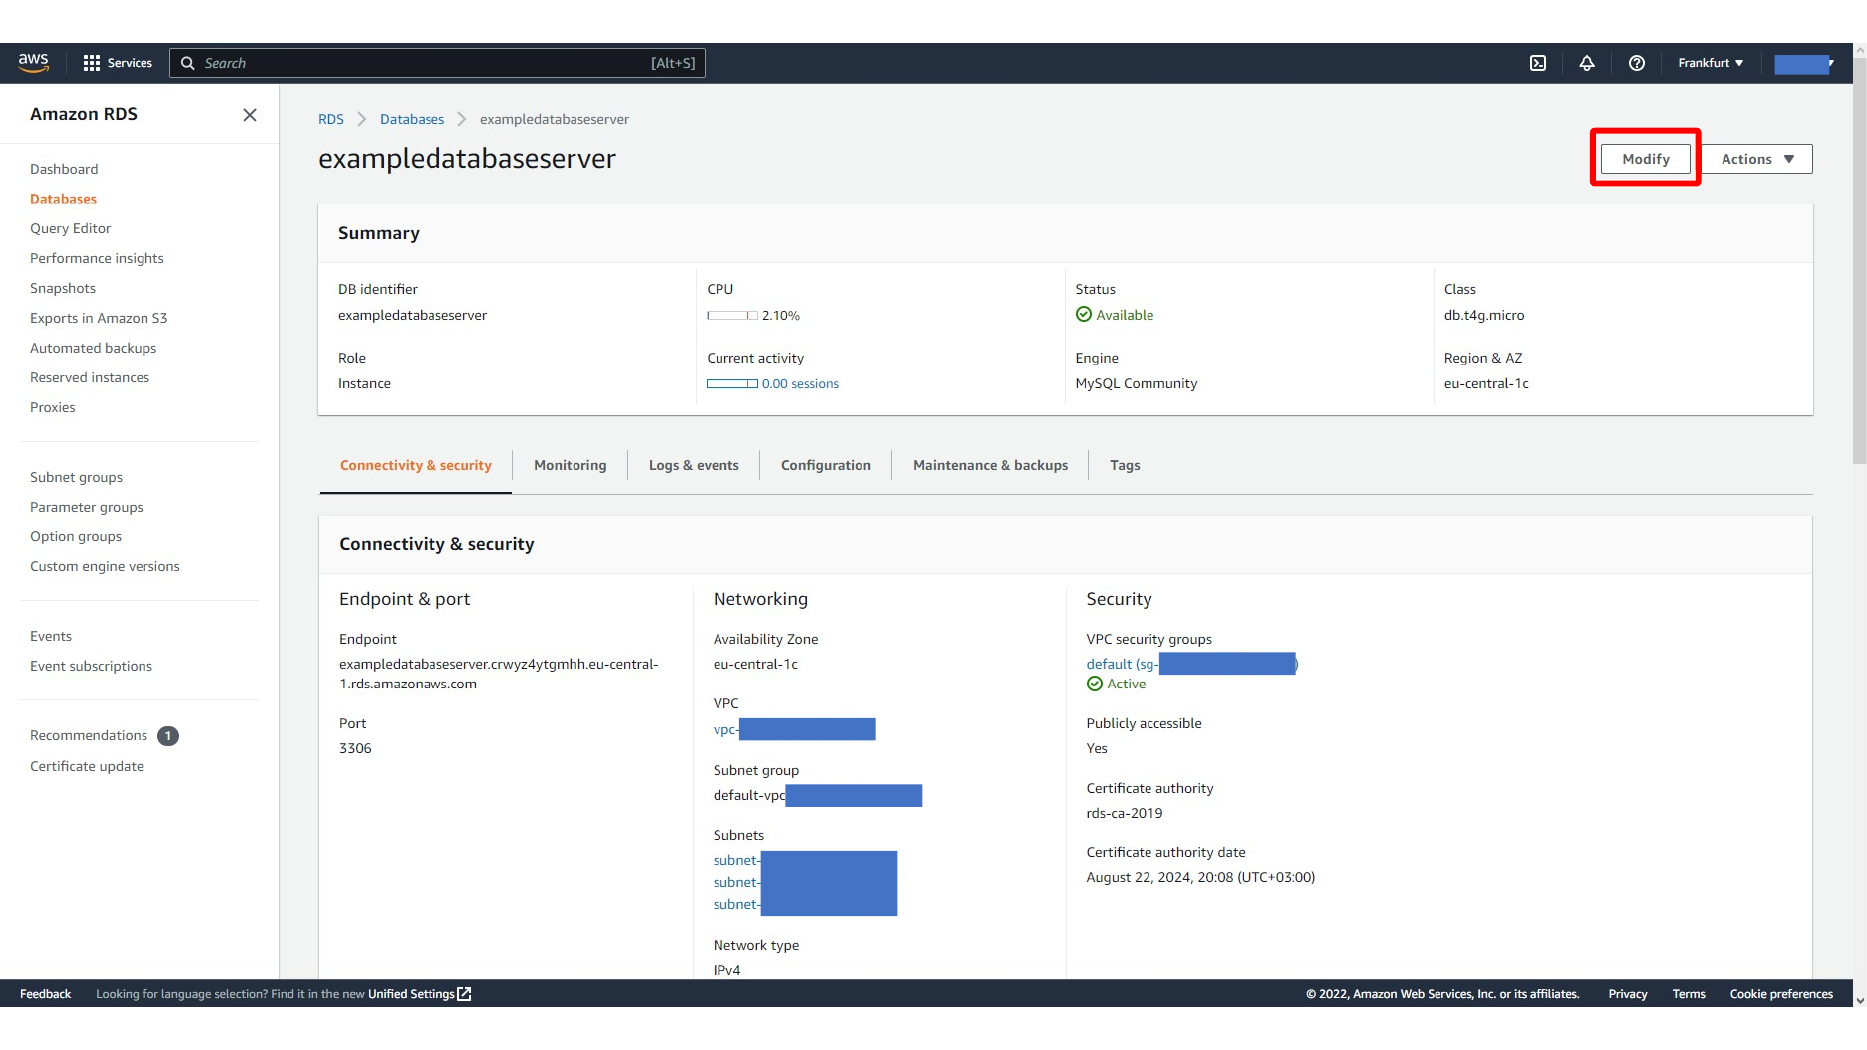
This screen shows Continuing RDS database modification.
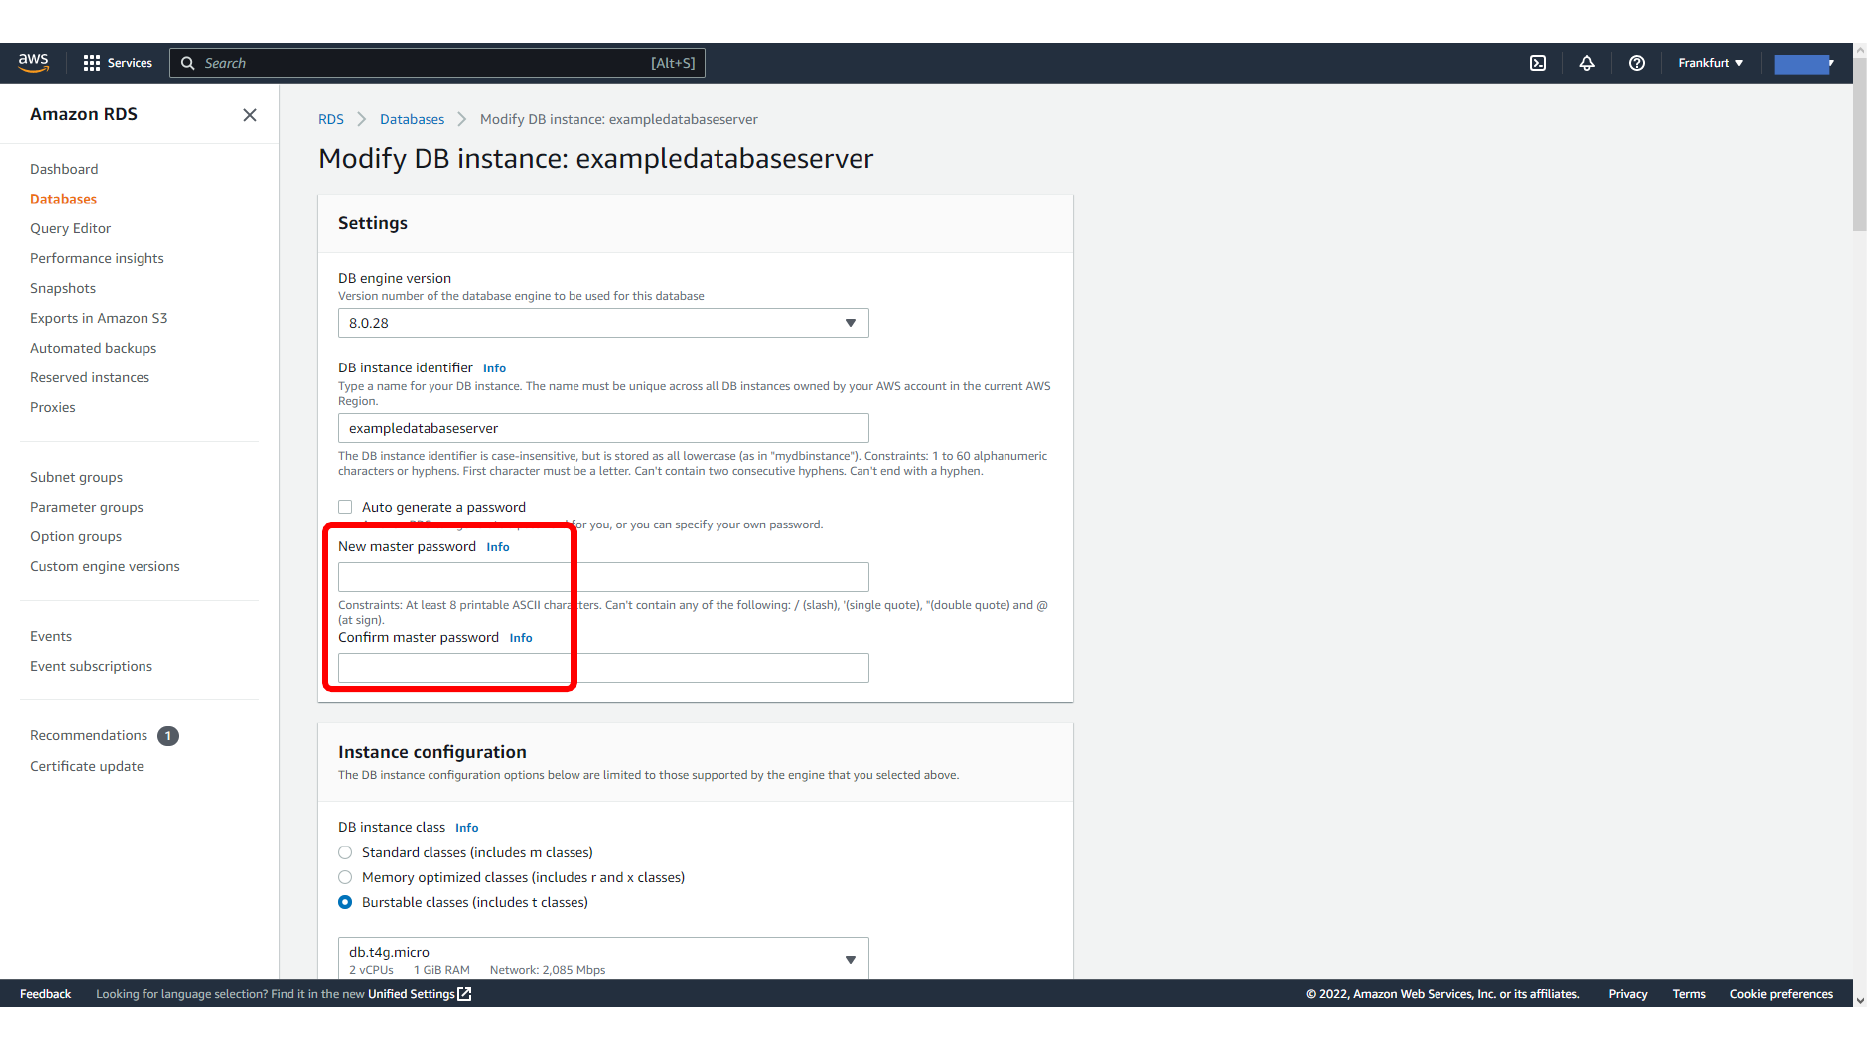
Here, we apply the RDS parameter group change.
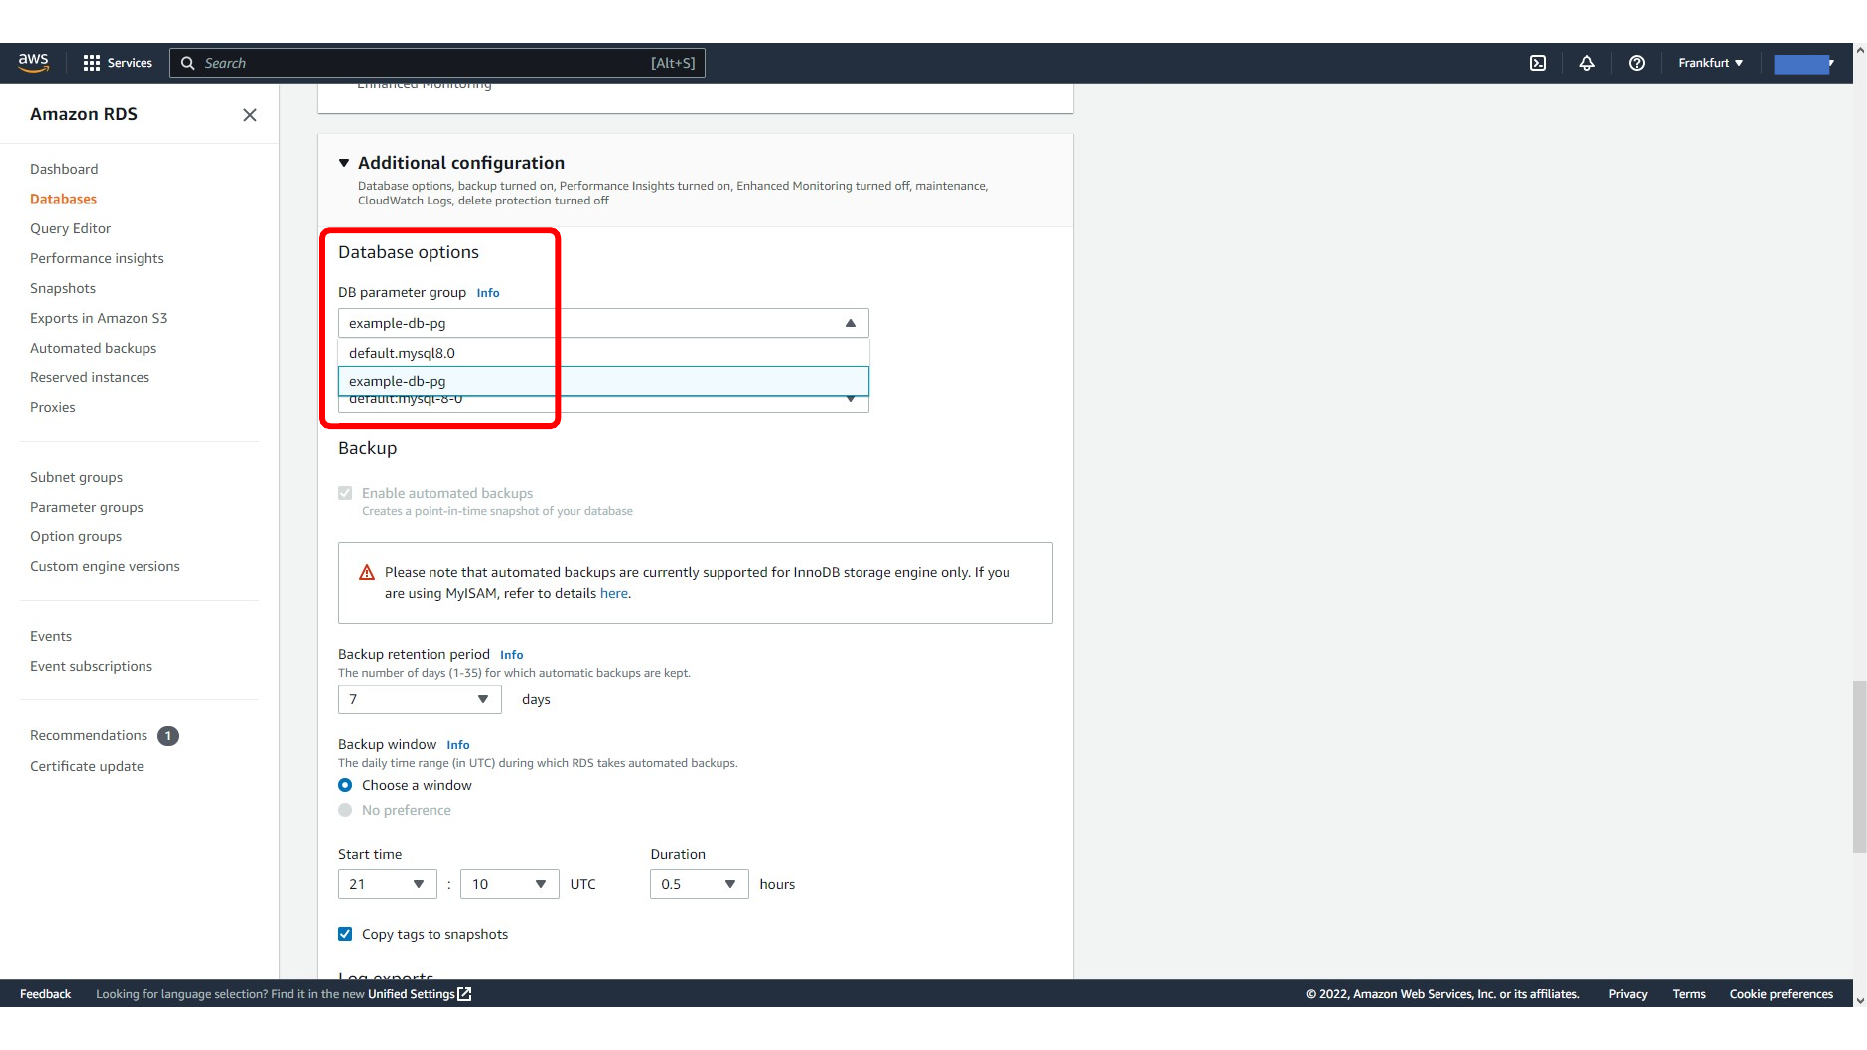
This screen shows RDS database pending parameter group change.
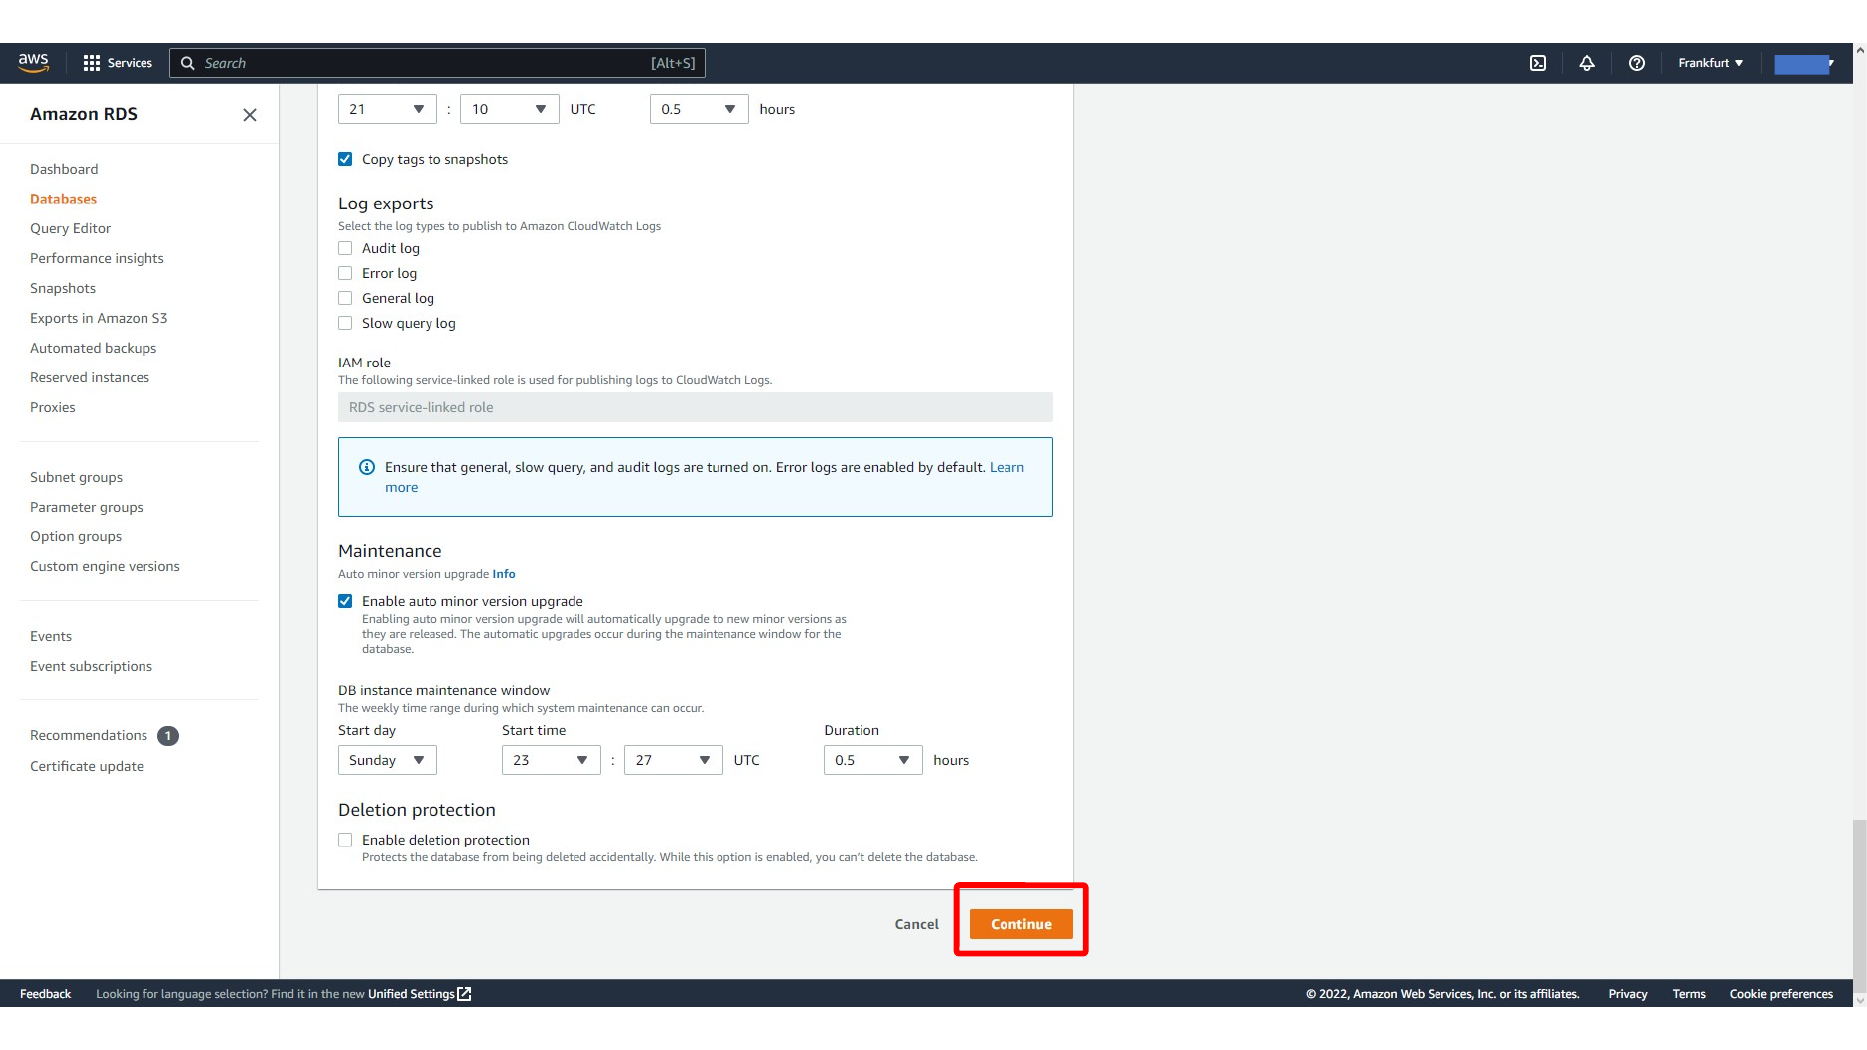
This screen shows Rebooting the RDS database instance.
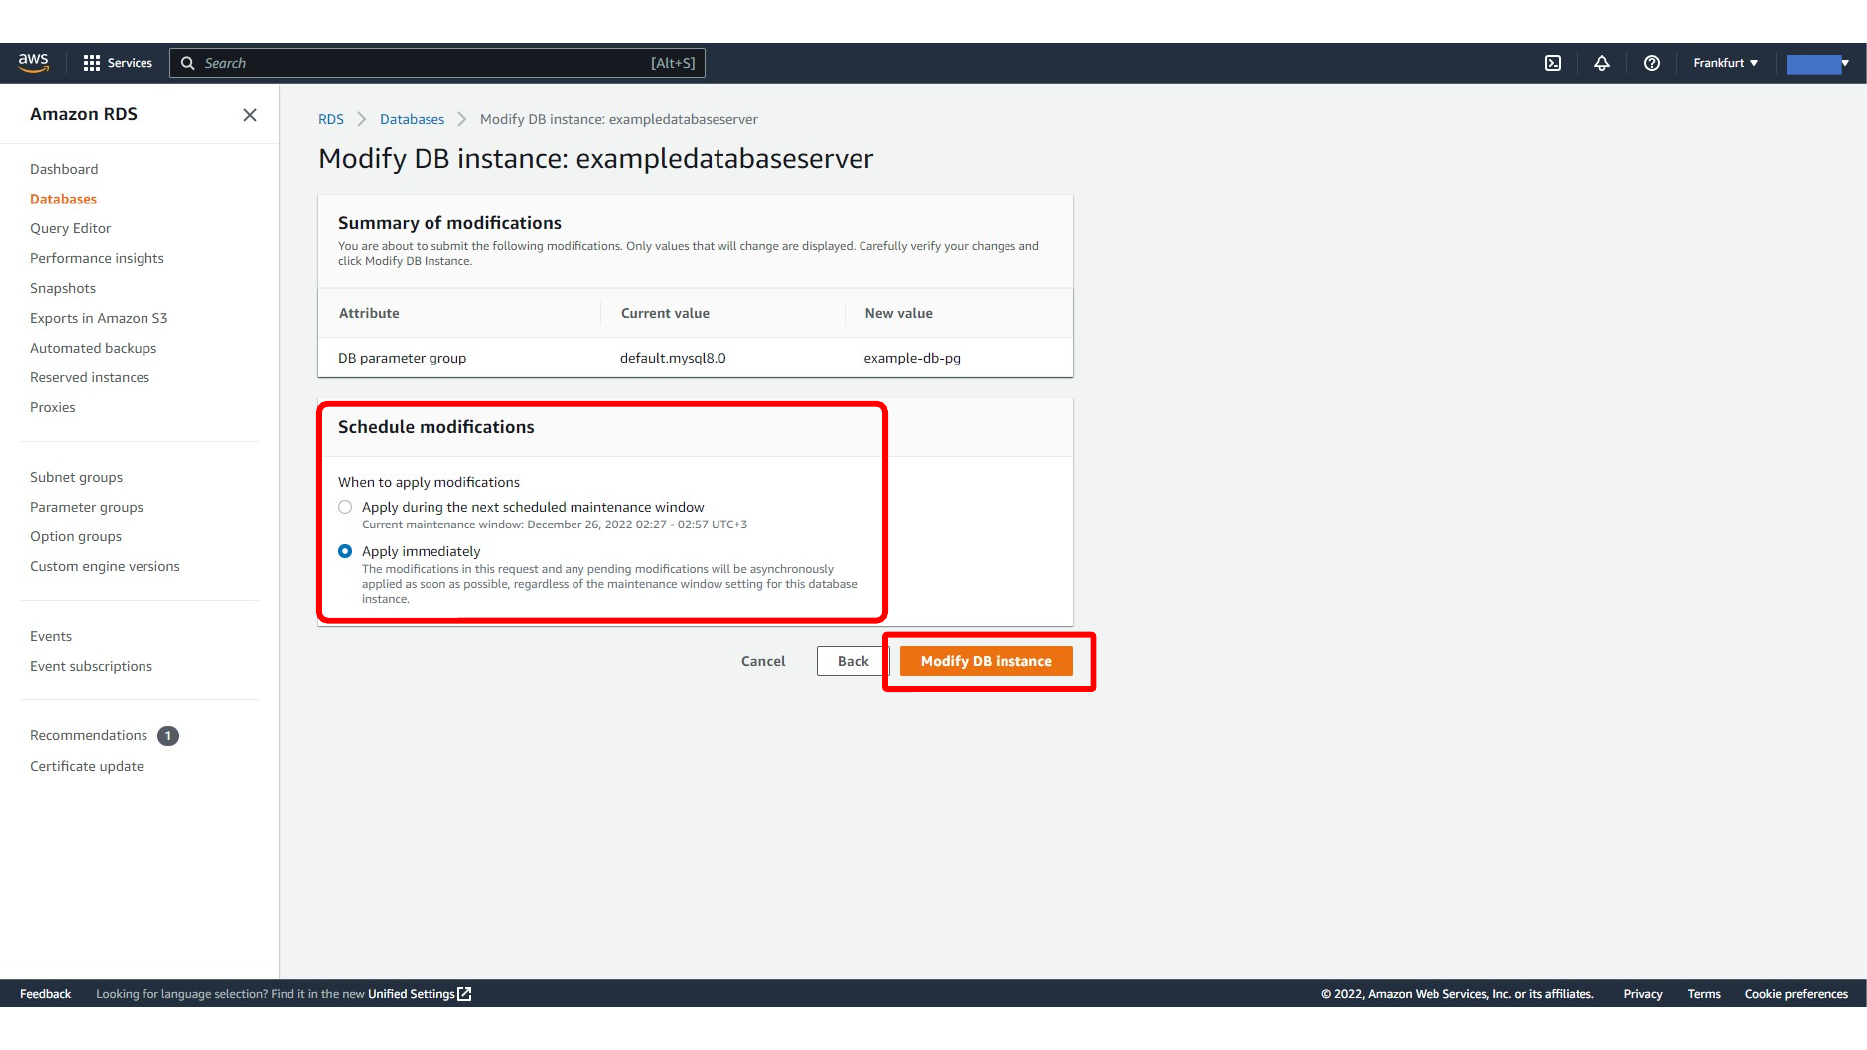
Here, we confirm RDS reboot.
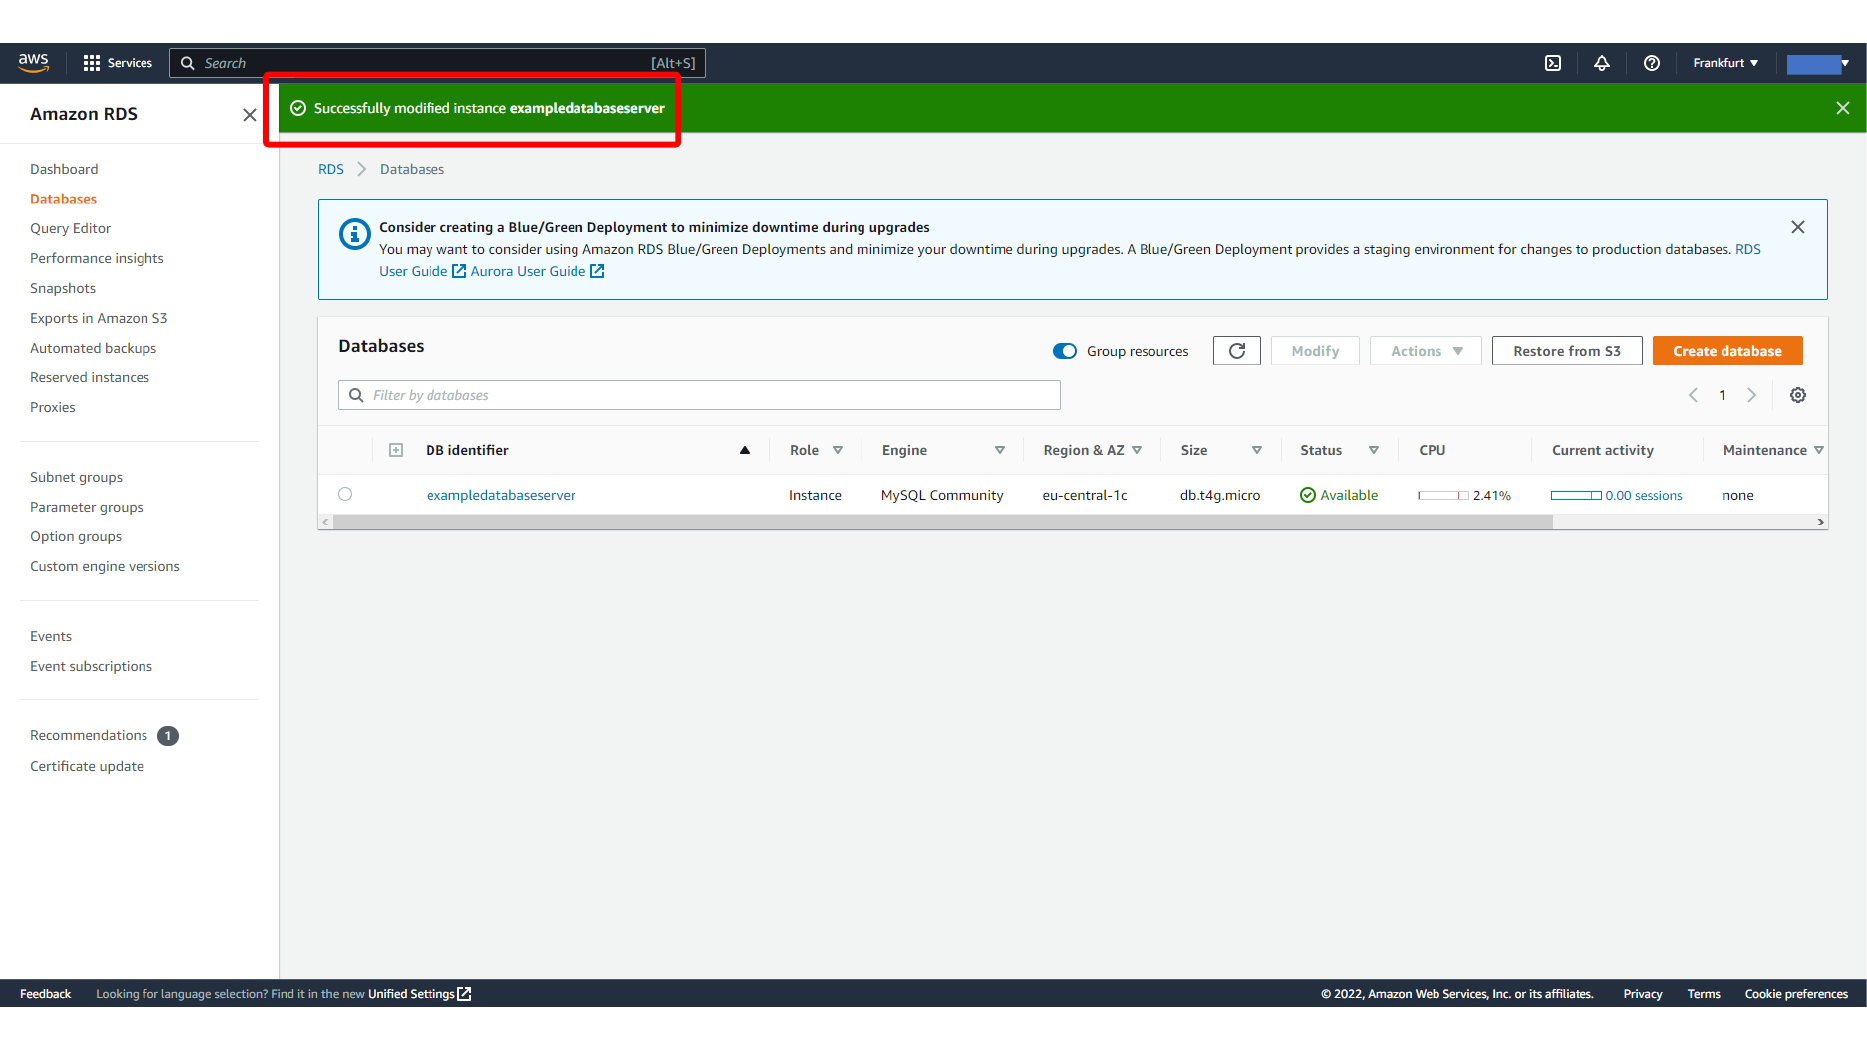
When the instance is available again, reconnect from MySQL Workbench and create the function one more time. With the parameter enabled, the function can be created and called successfully.
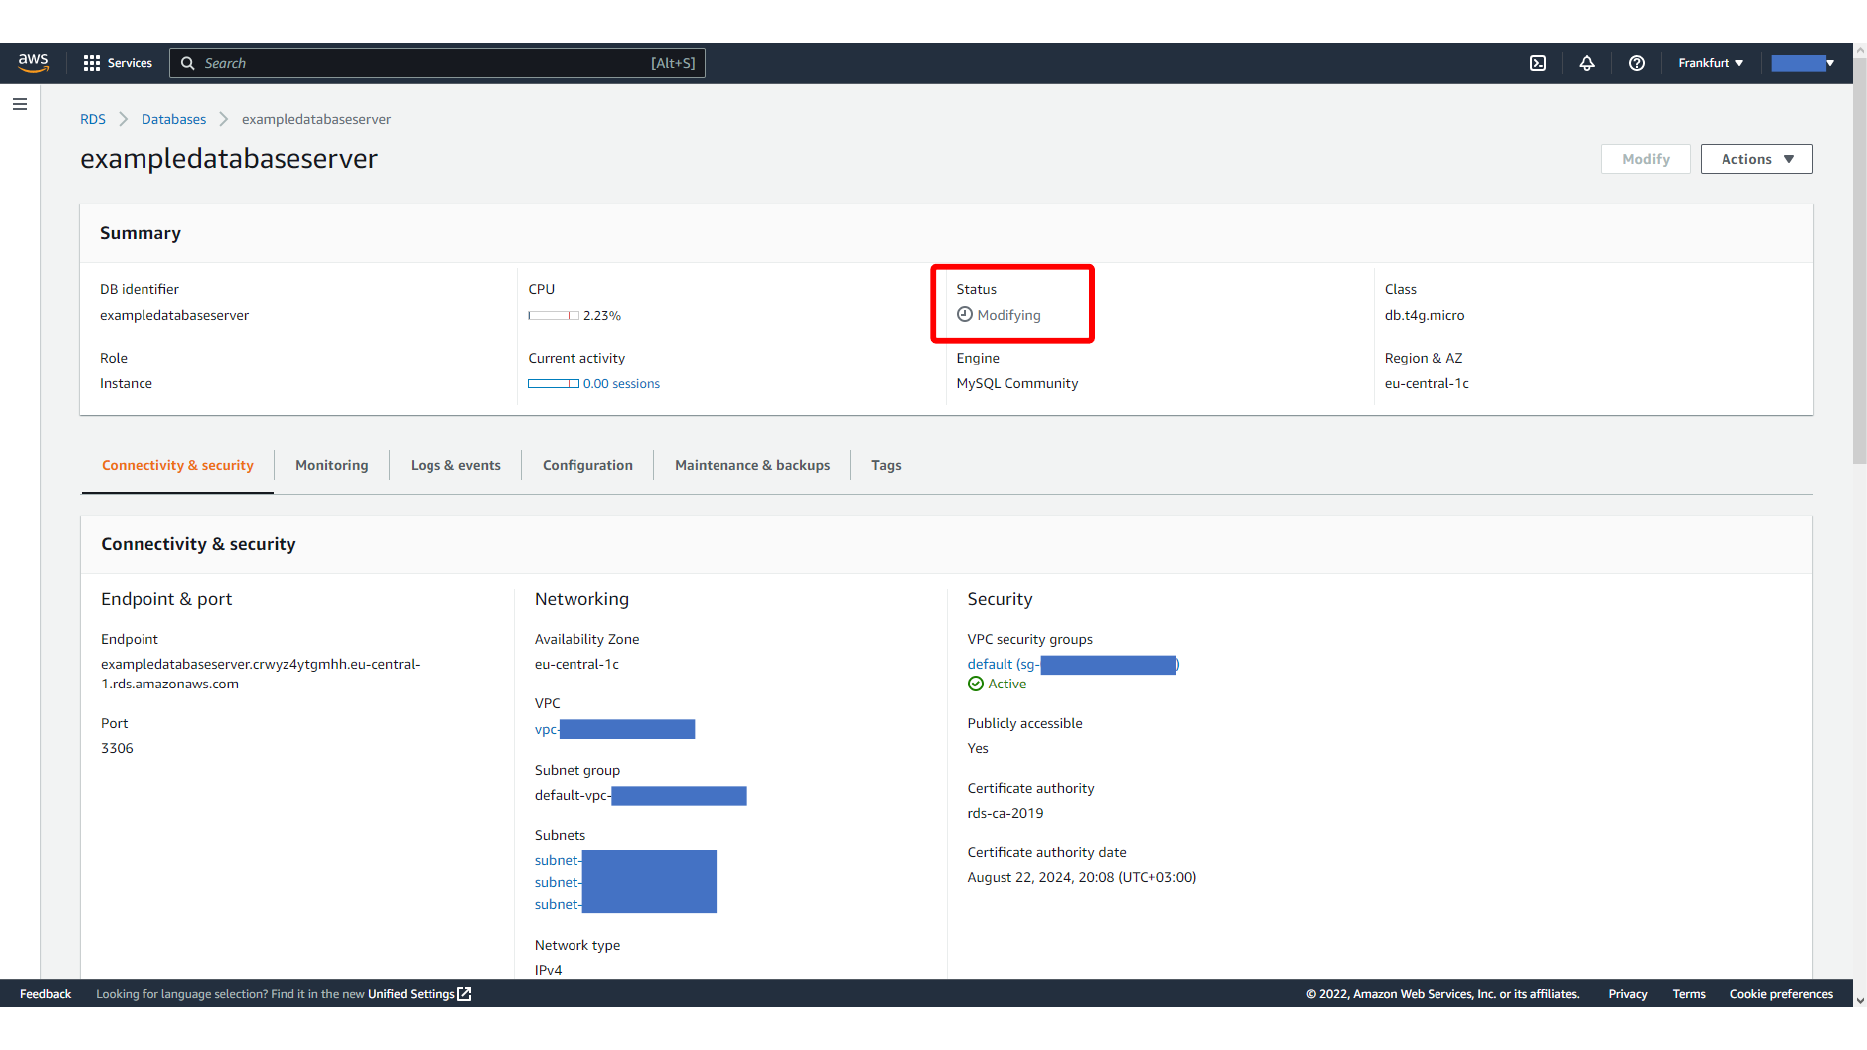
This screen shows Reconnecting to the RDS database in MySQL Workbench.
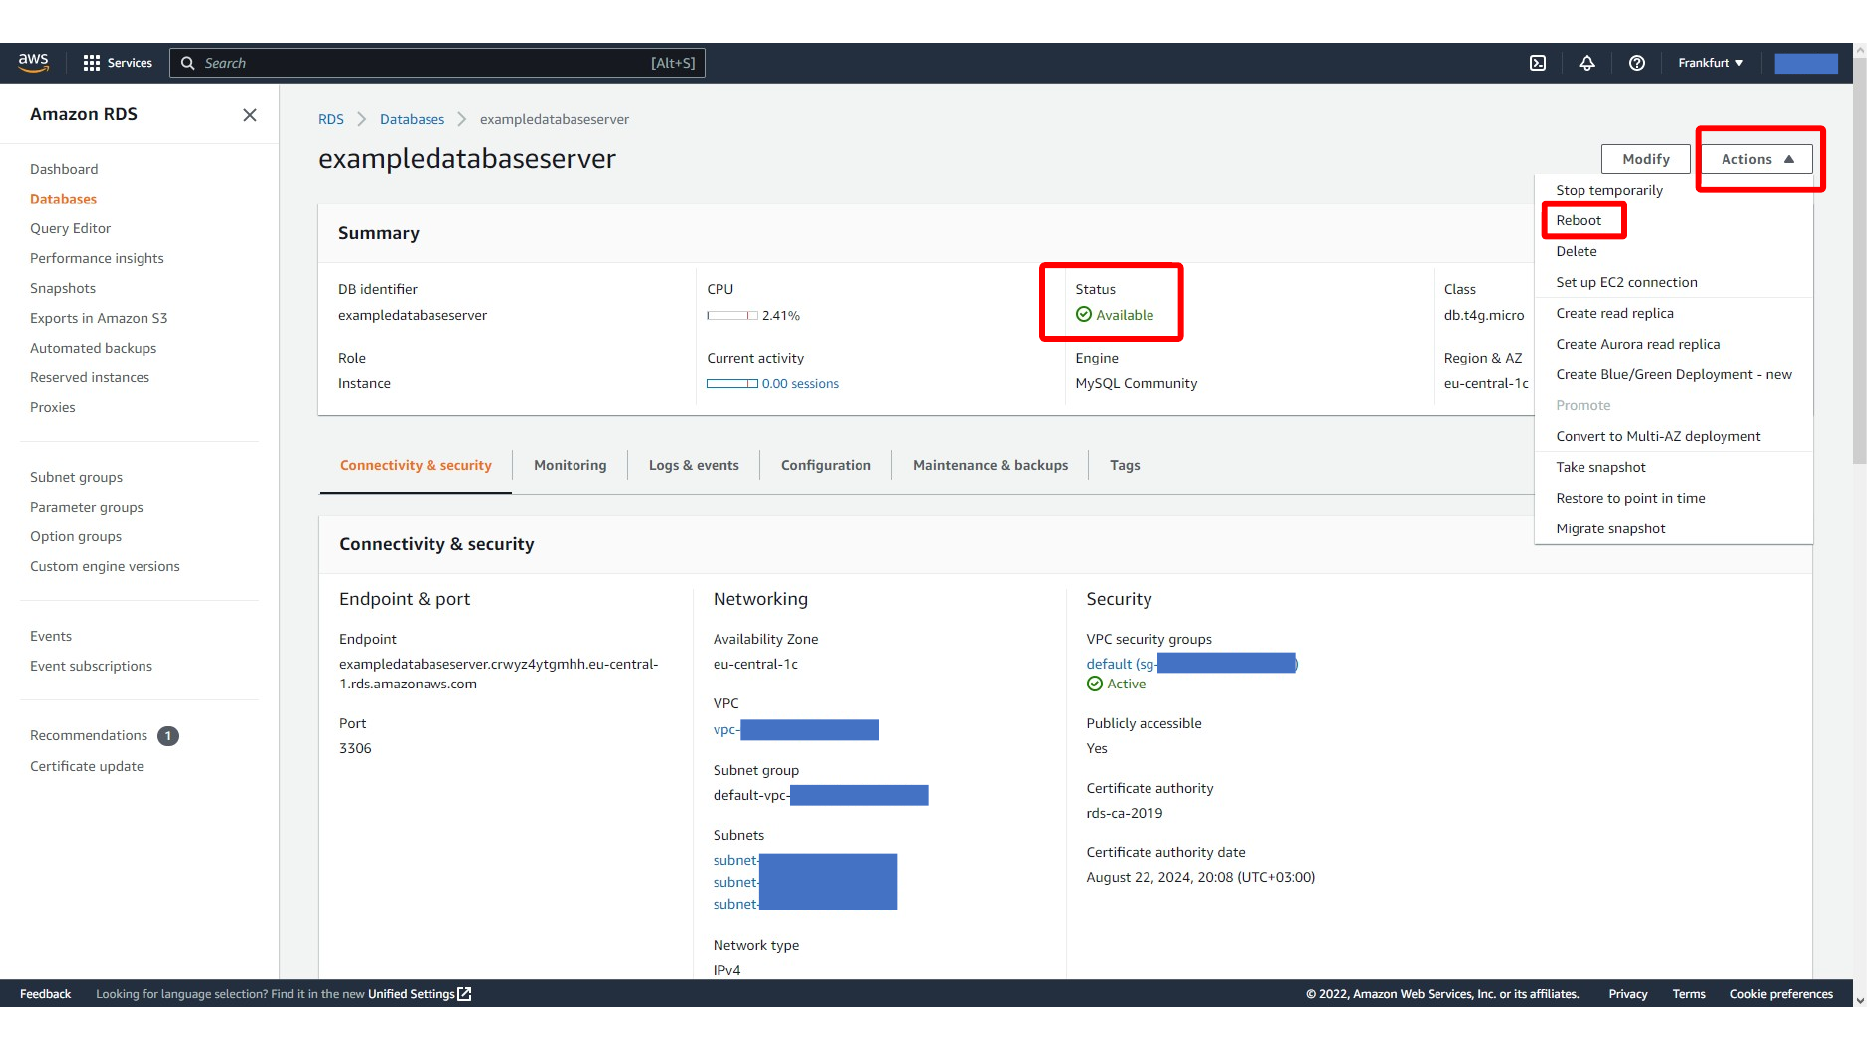
Here, we create the MySQL function after parameter group update.
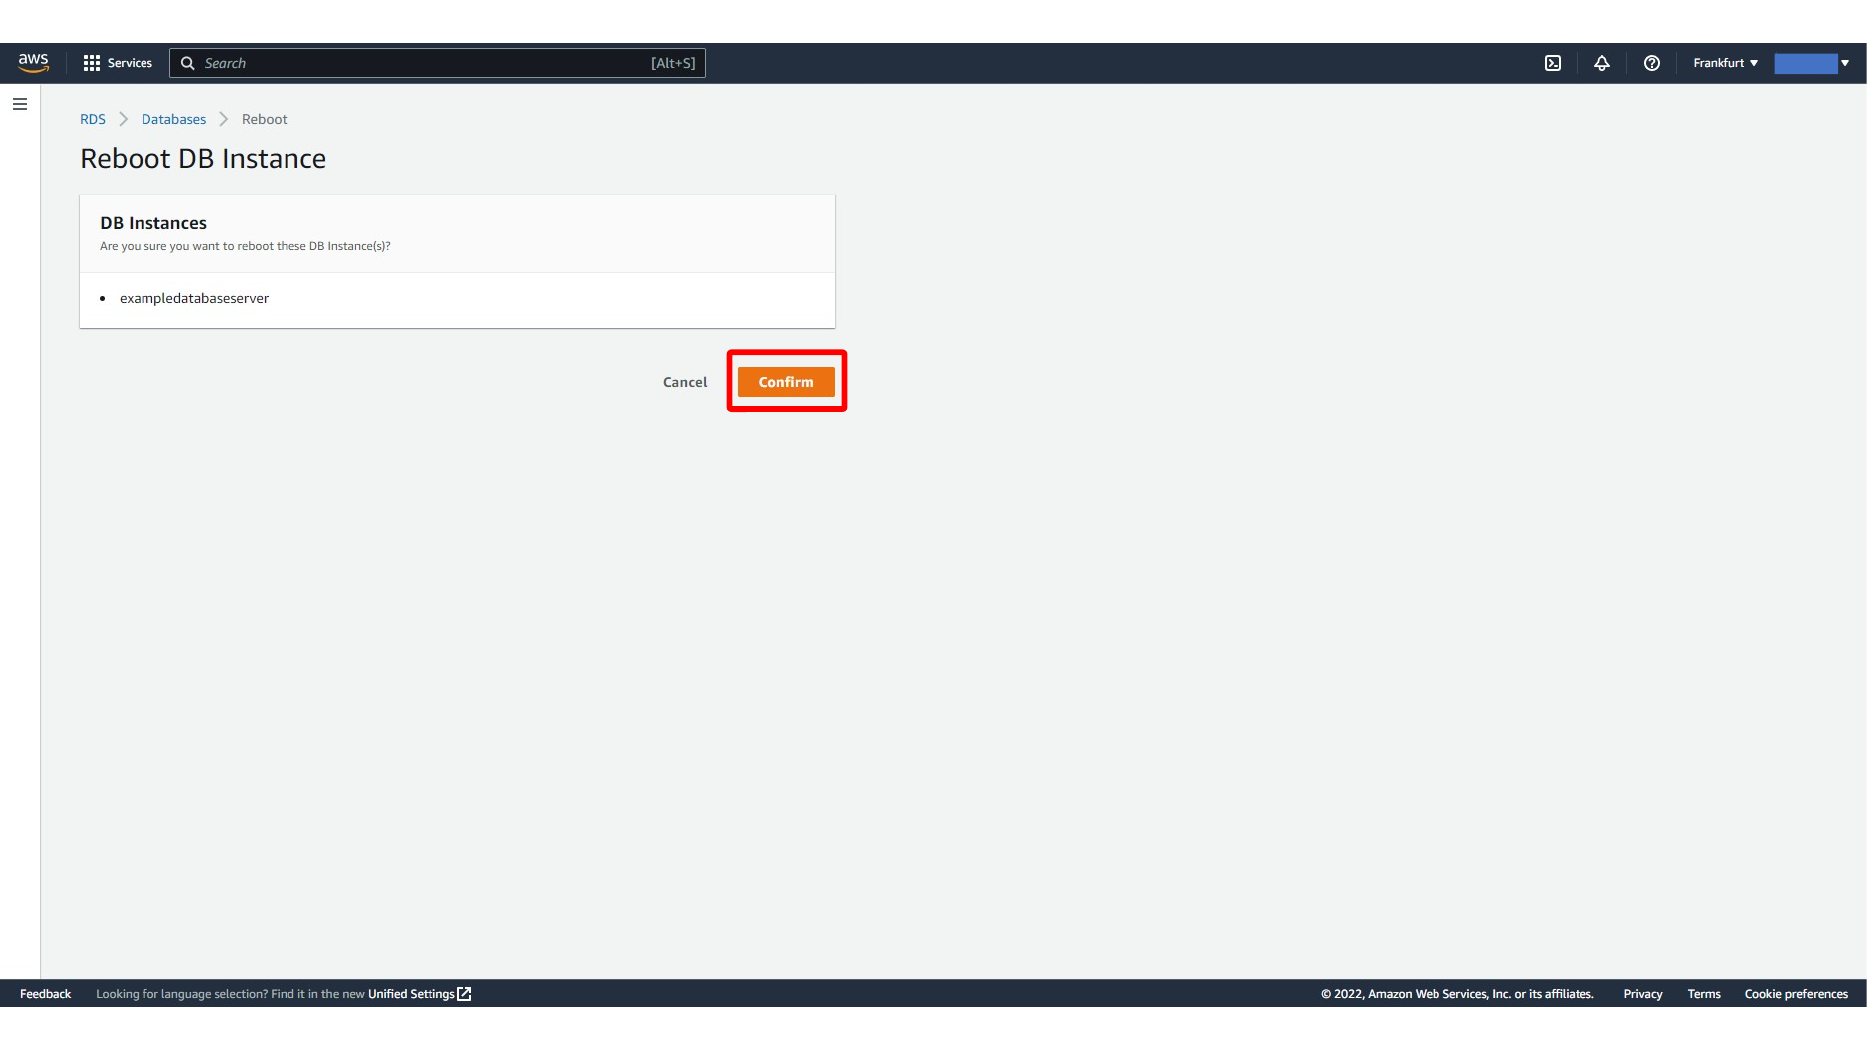
This screen shows Calling the MySQL function successfully.
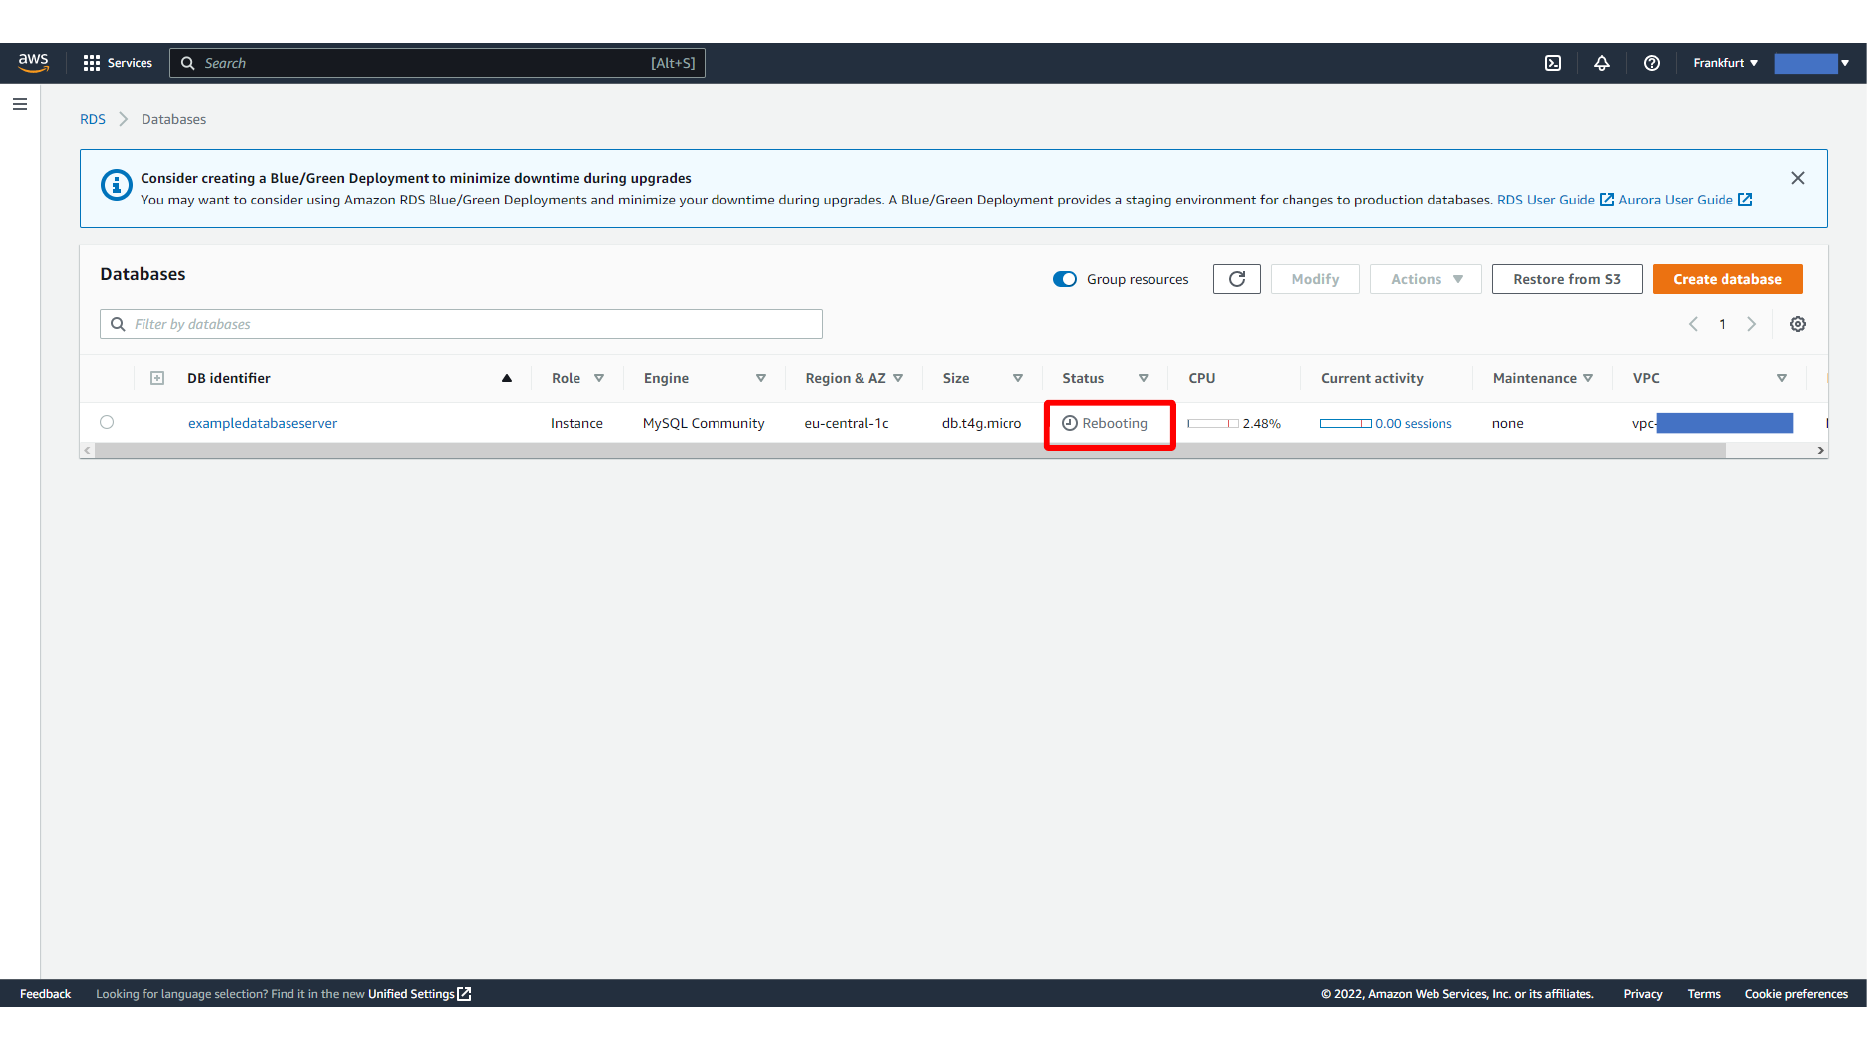
This screen shows Successful MySQL function result in Workbench.

Summary
With this setup, AWS RDS manages the MySQL server while MySQL Workbench remains the main tool for development and testing. The important parts are allowing the network connection correctly, keeping the database credentials available, and using a custom parameter group when a server-level MySQL setting must be changed.
Comments