WinSCP and PuTTY are a practical pair when you work with an AWS EC2 instance from Windows. WinSCP gives you a two-panel file manager for uploading and downloading files, while PuTTY gives you SSH terminal access.
In this guide, I install WinSCP, convert the EC2 .pem key to a PuTTY-compatible .ppk key, install PuTTY, create a WinSCP session, connect to the EC2 file system, and finally open a PuTTY terminal from inside WinSCP.
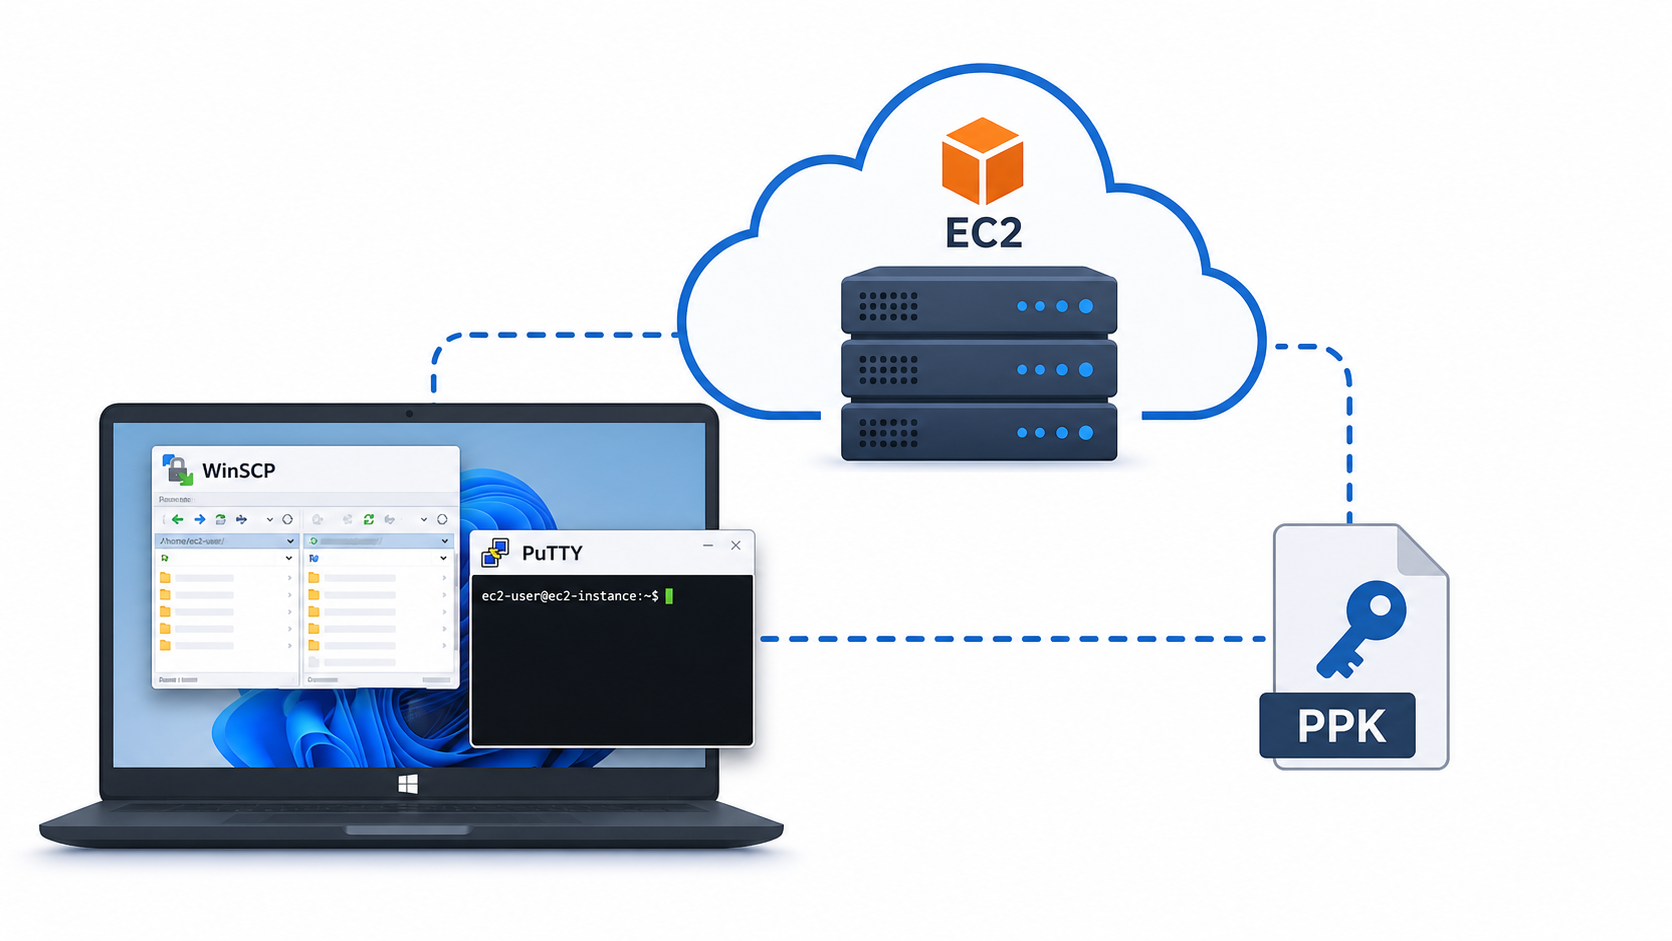
Table of contents
Open Table of contents
Preparing the Tools
The first step is installing WinSCP. Search for WinSCP in your browser, open the official download page, and download the installer from there.
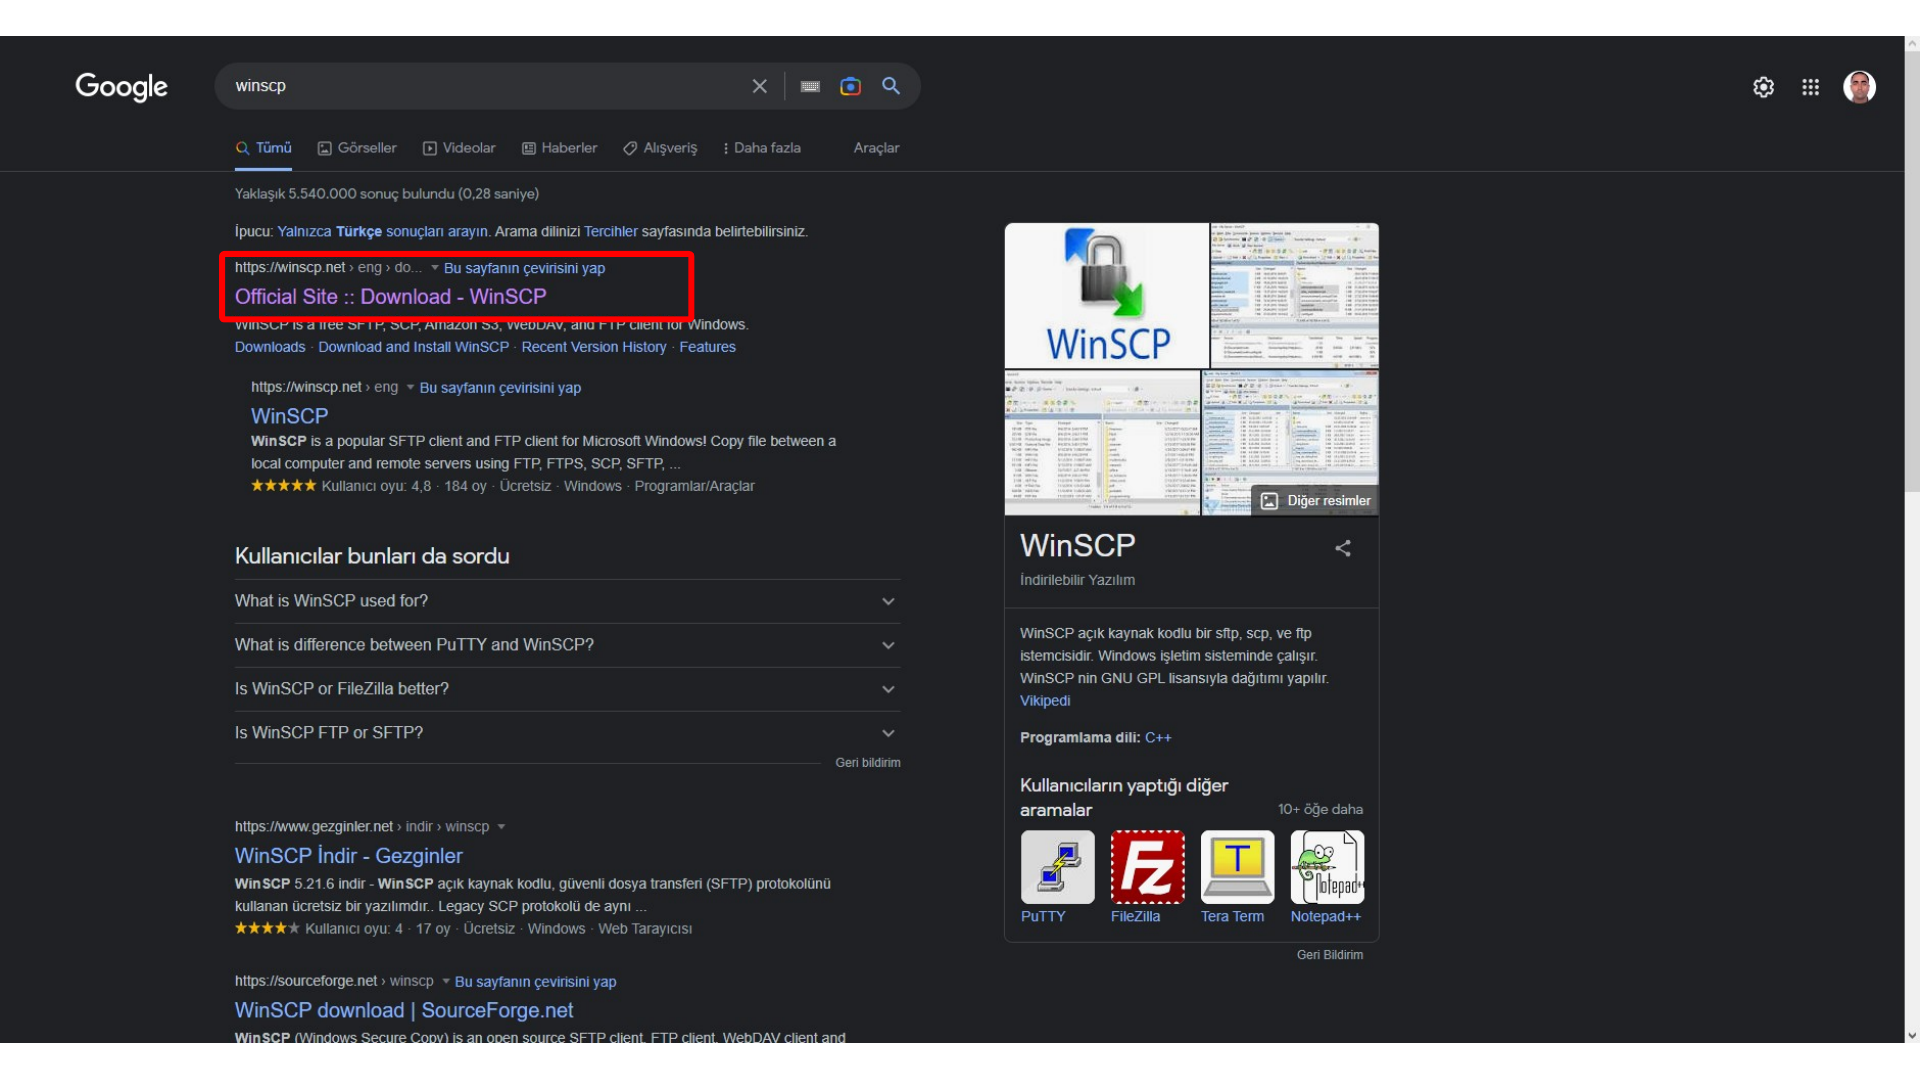
Here, we download WinSCP from the official website.
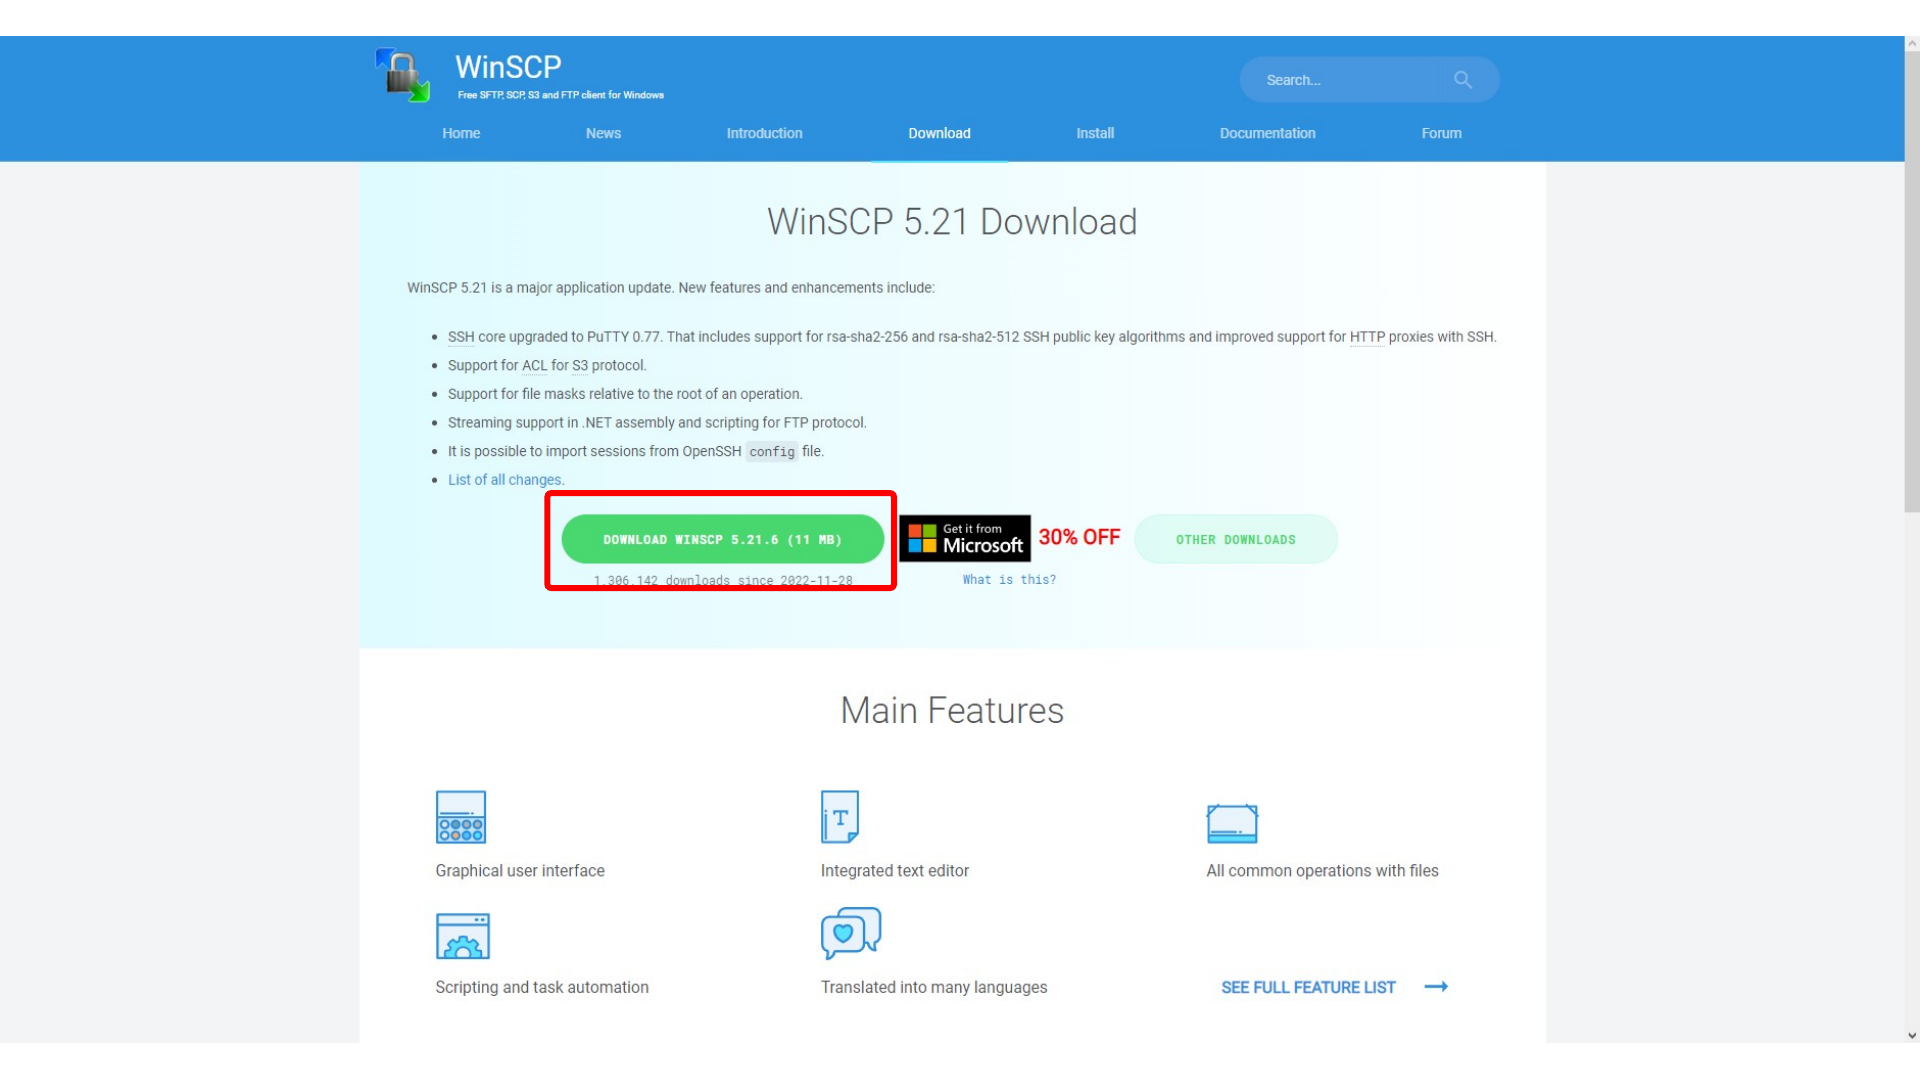
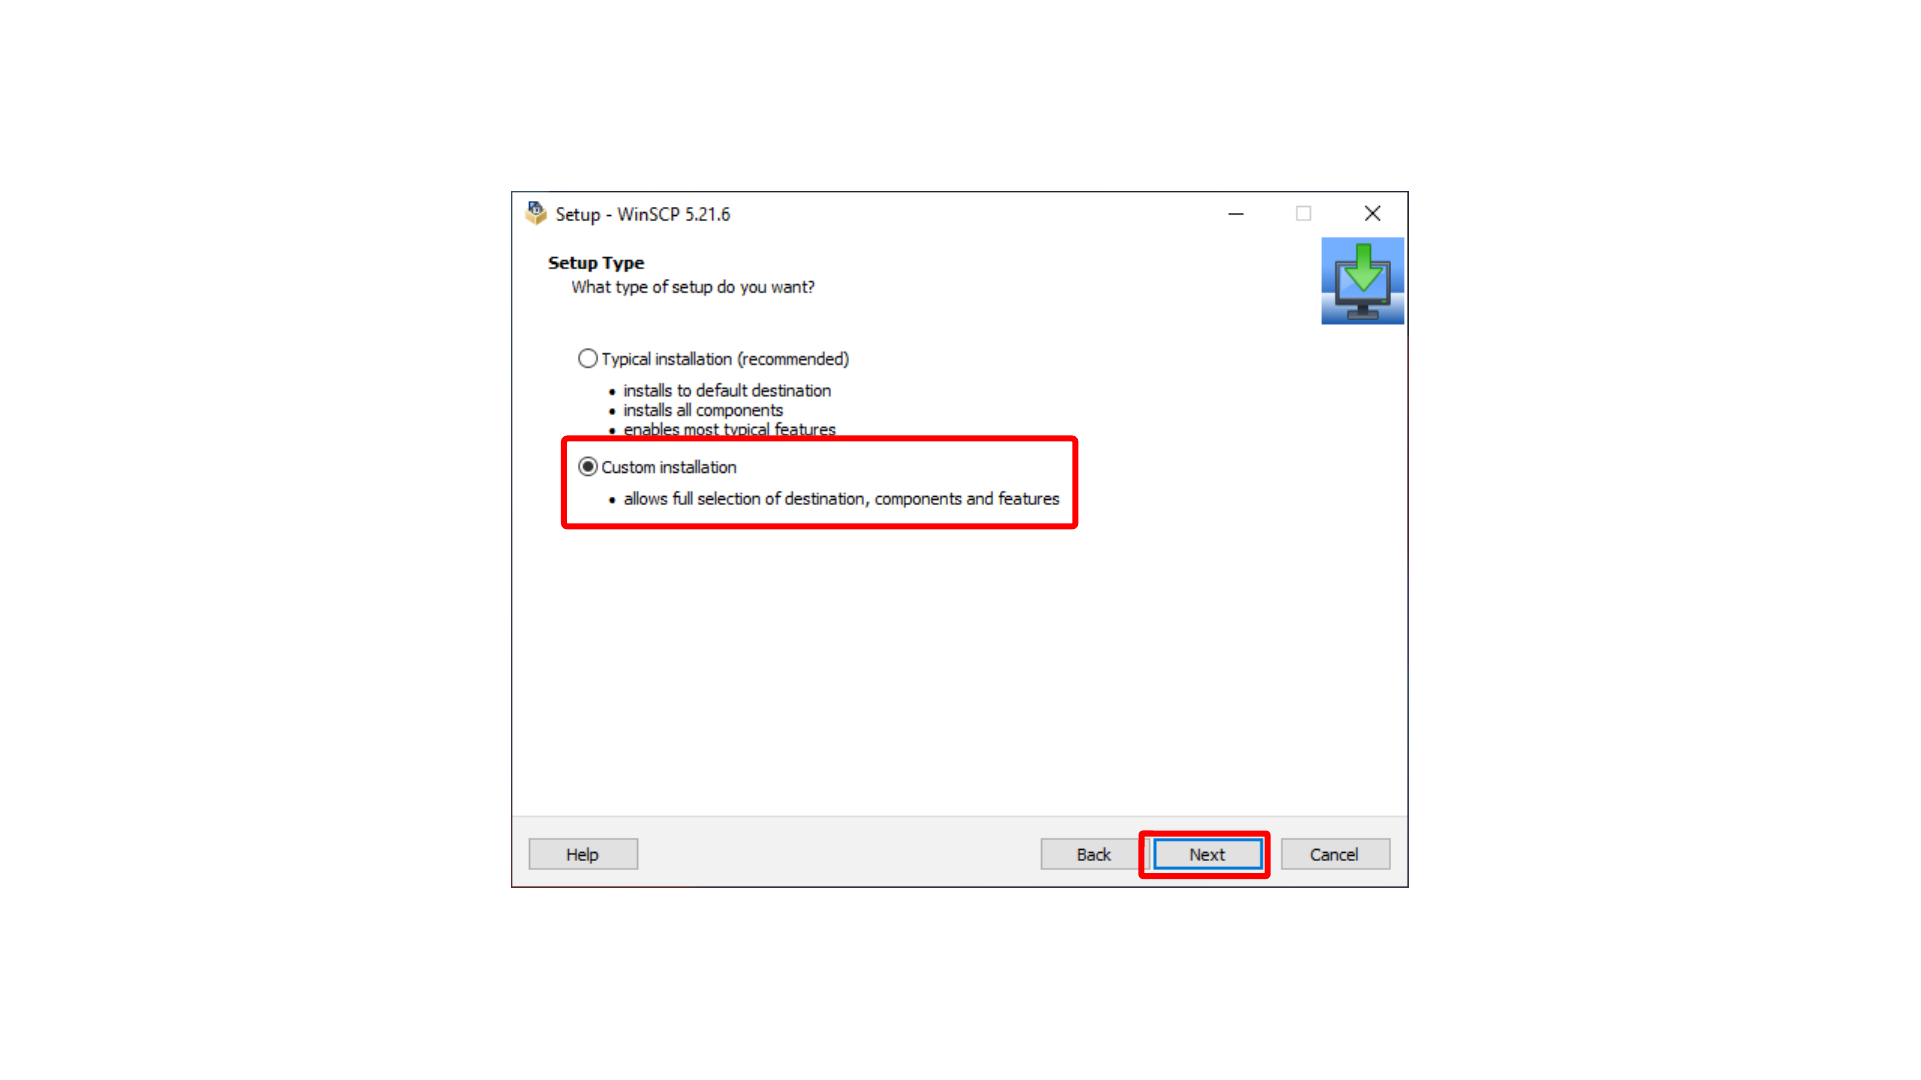
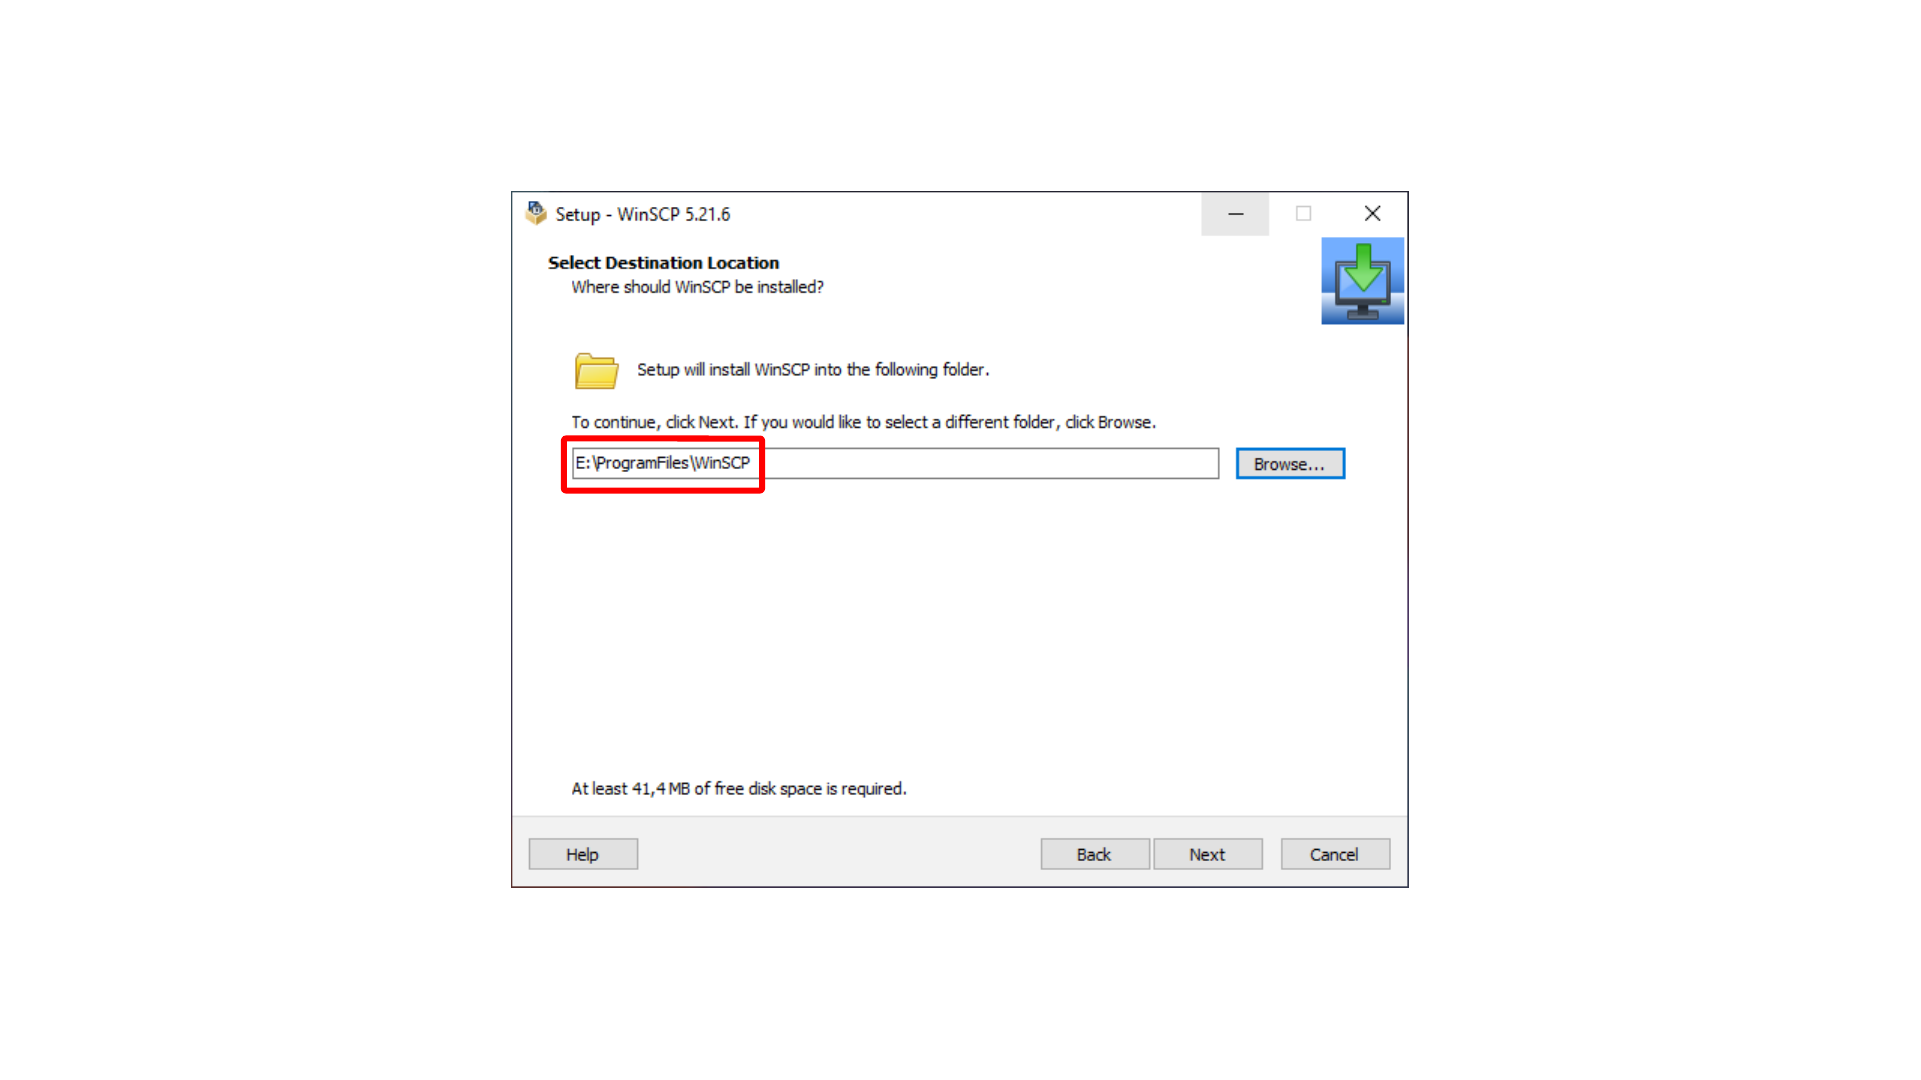
Run the downloaded installer. The recommended installation mode is enough for most environments, but you can choose a custom installation if you want to change the target directory or installed features.

Here, we choose the recommended WinSCP installation mode.
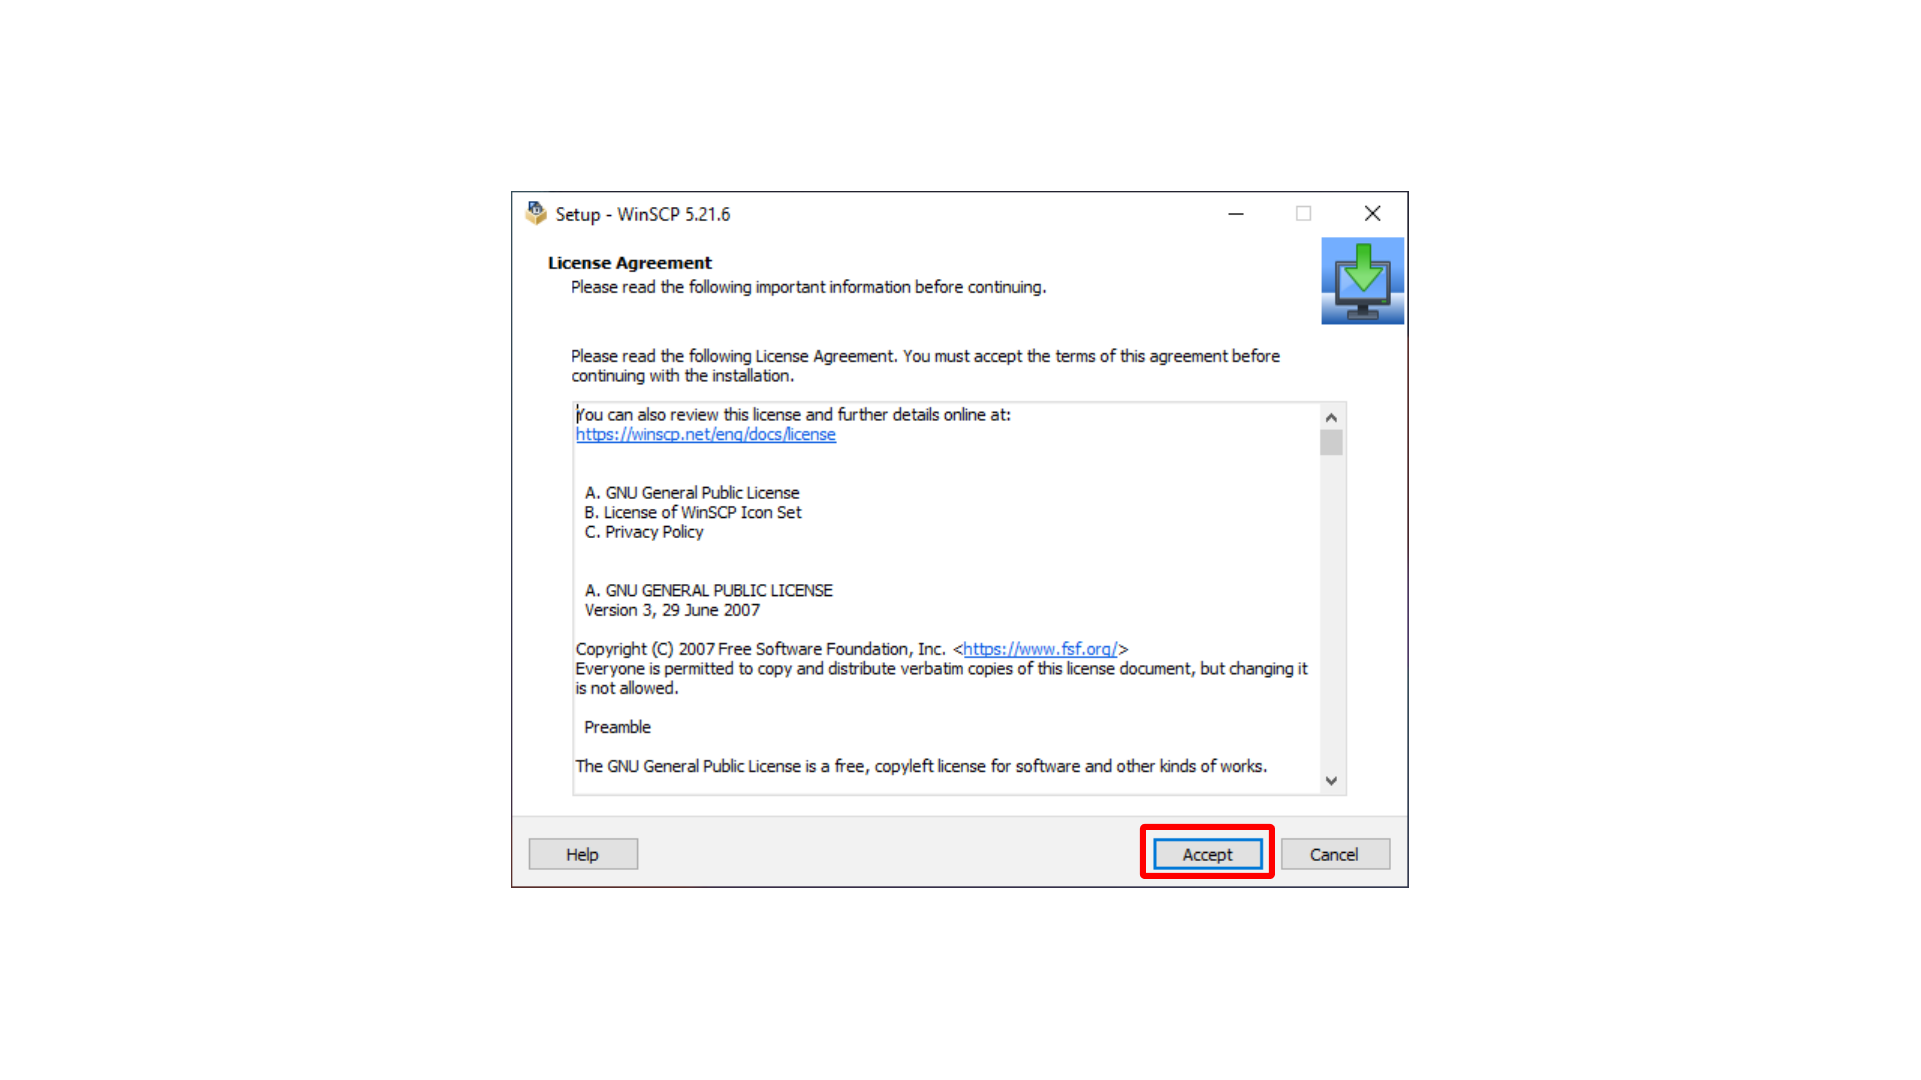
Here, we accept the WinSCP license agreement.
Here, we choose custom installation for WinSCP.
Here, we change the WinSCP installation directory.
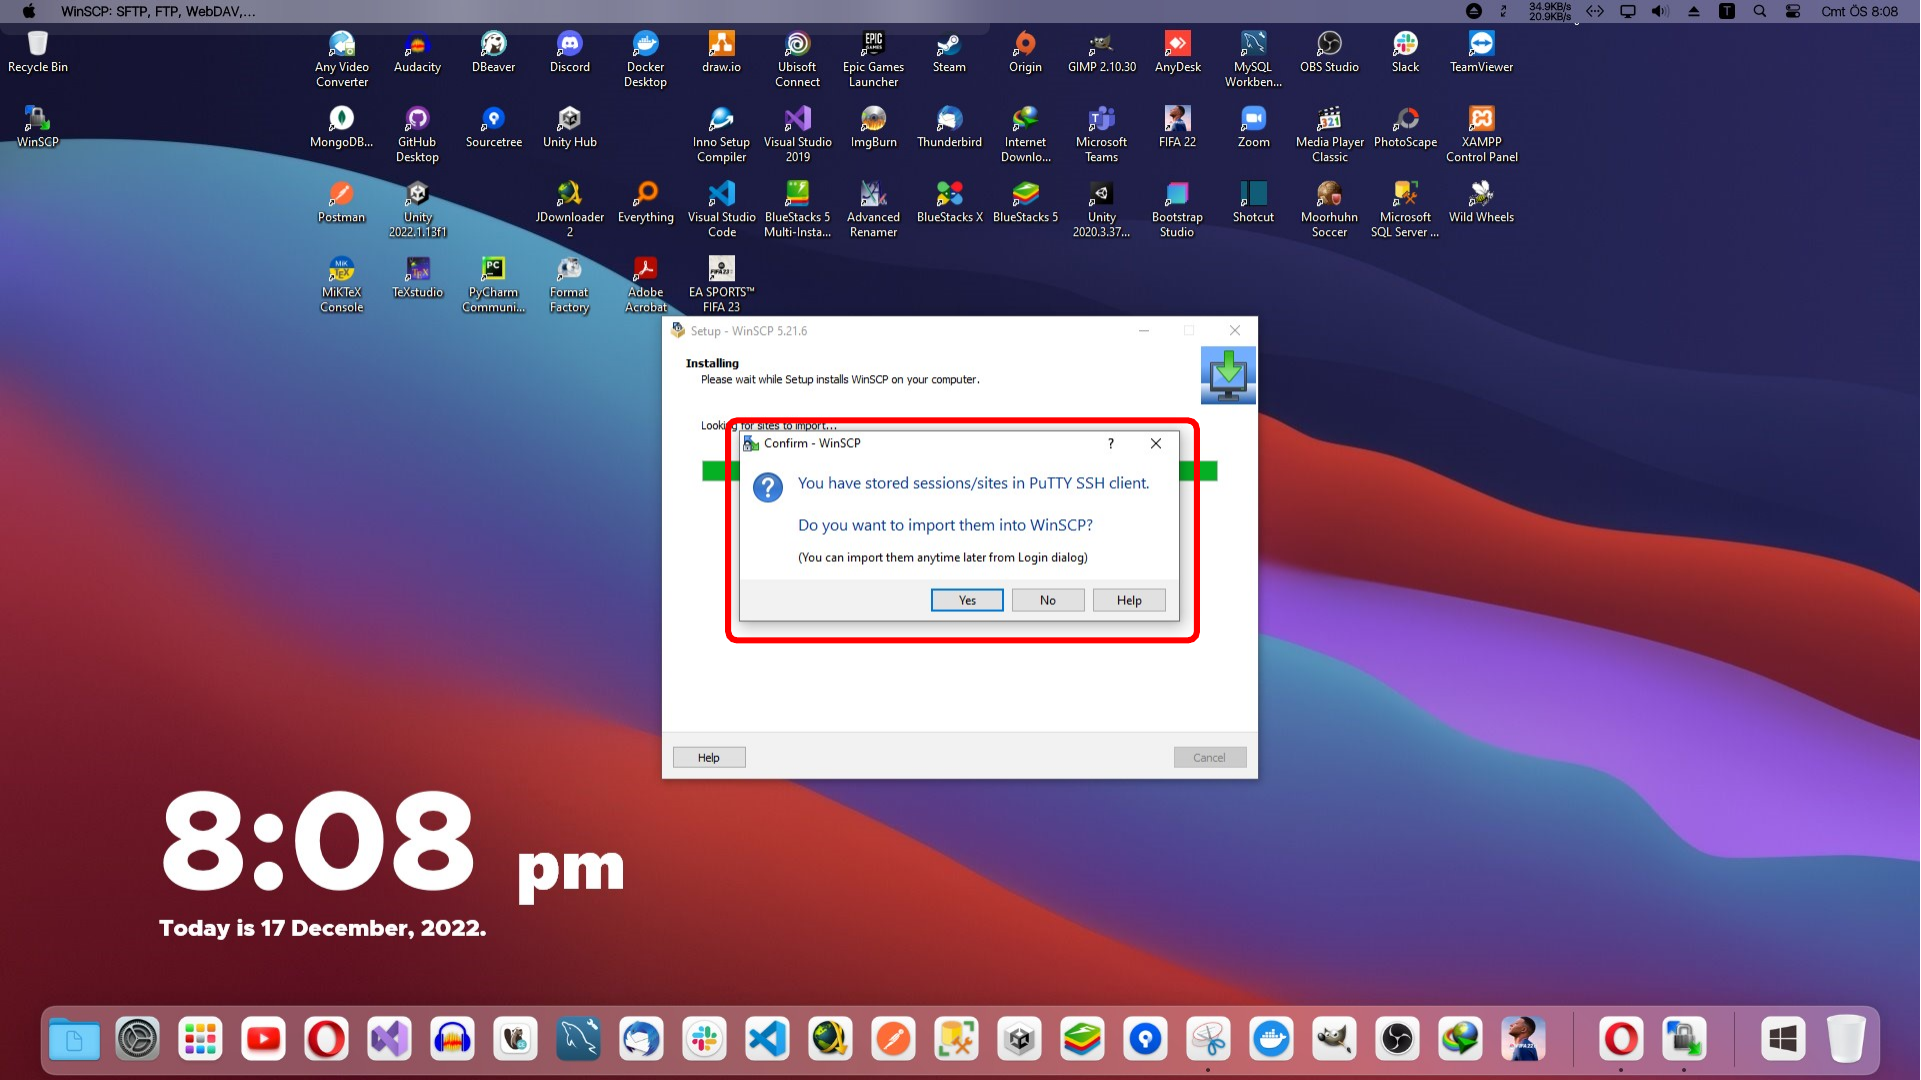
Continue through the setup screens, select the features you need, and start the installation. If WinSCP was installed before, you may see a message about existing stored sessions. In this example, I choose not to import them and finish the installation.
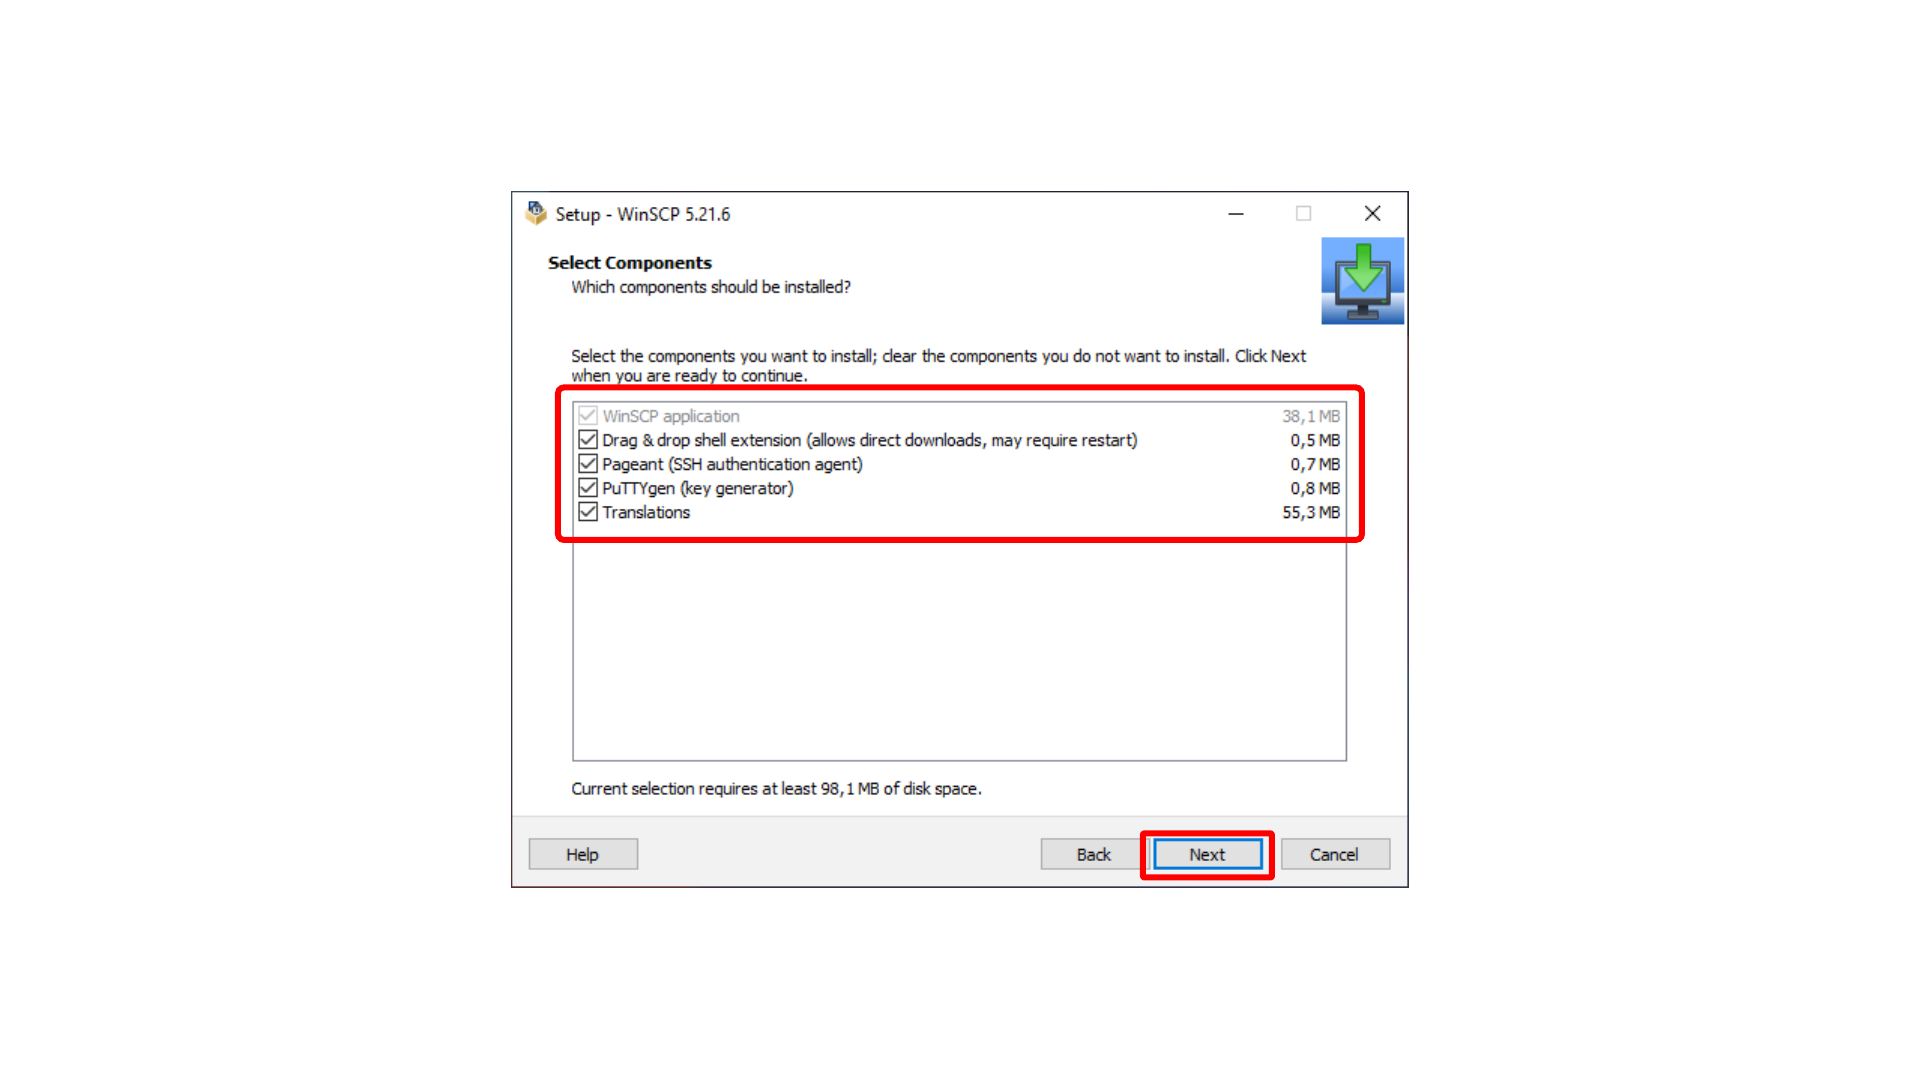
Here, we select additional WinSCP setup options.
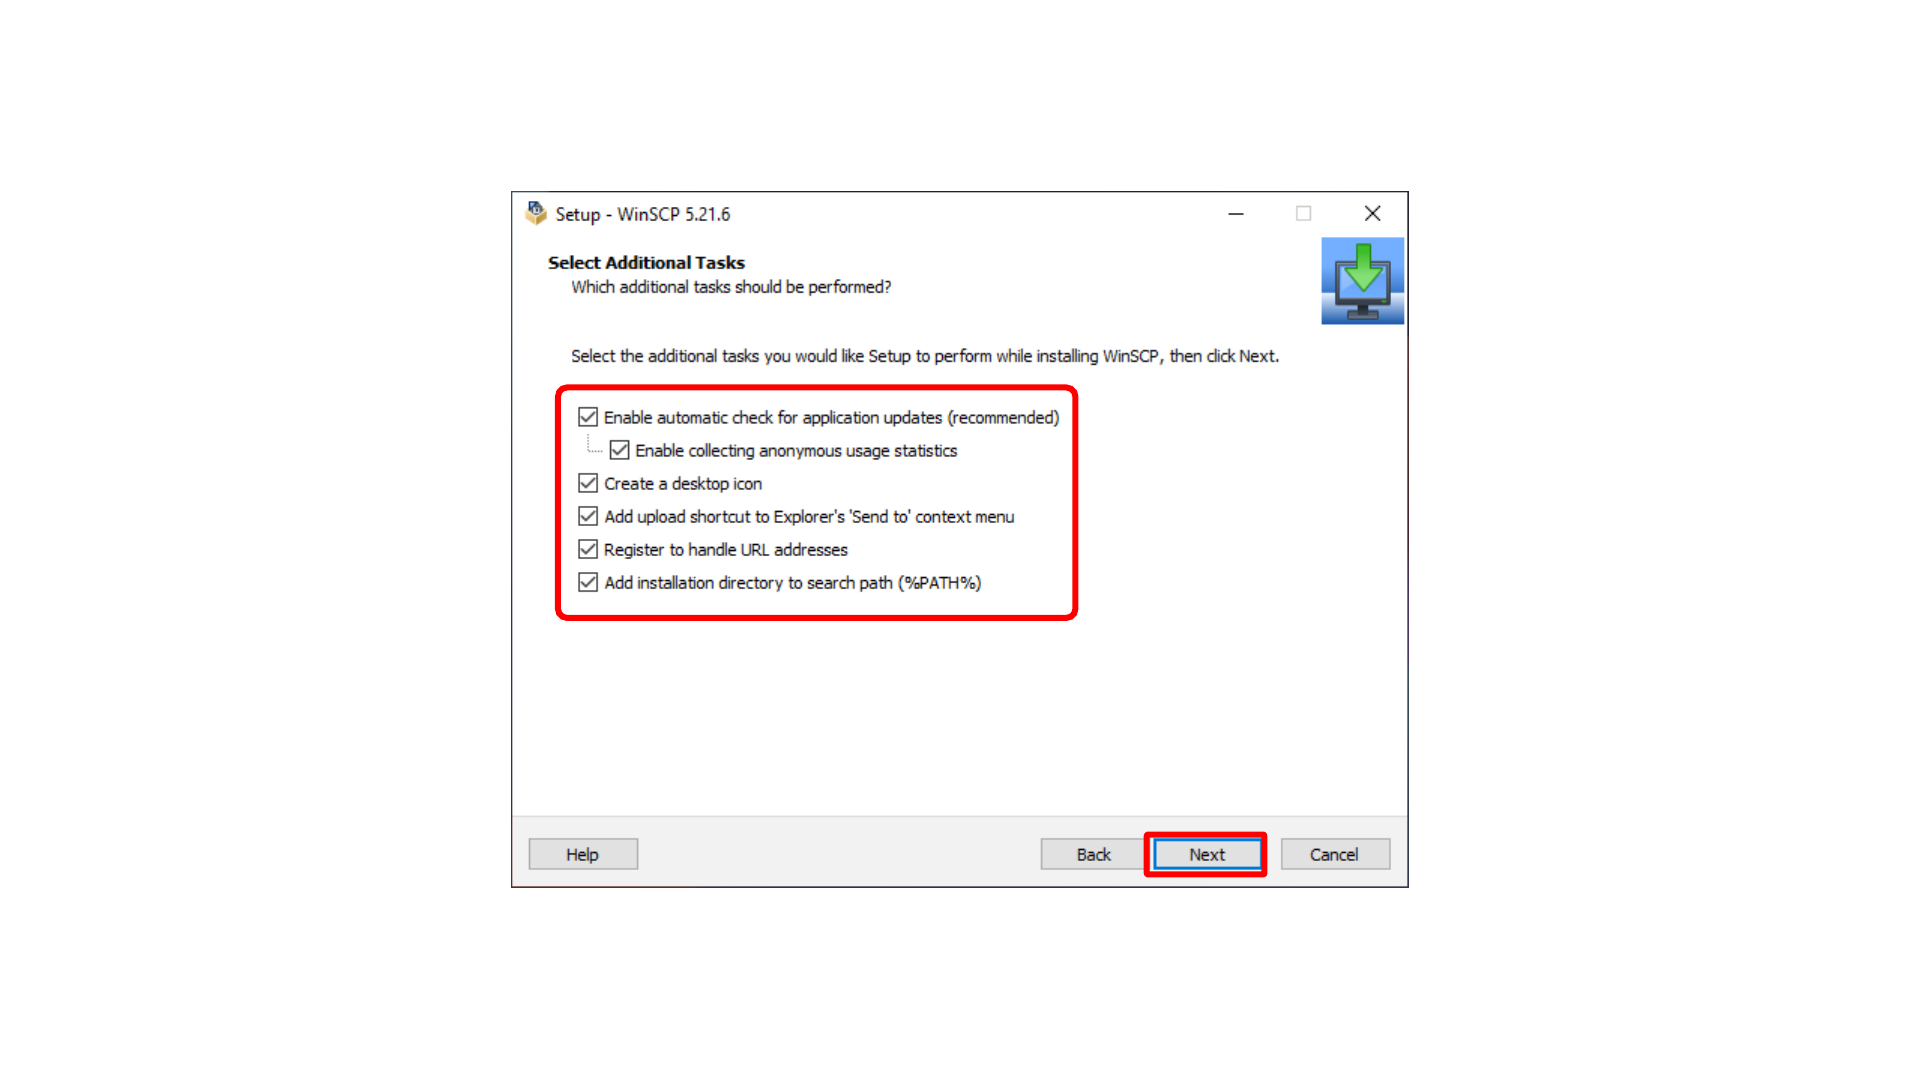
This screen shows Continuing the WinSCP setup wizard.
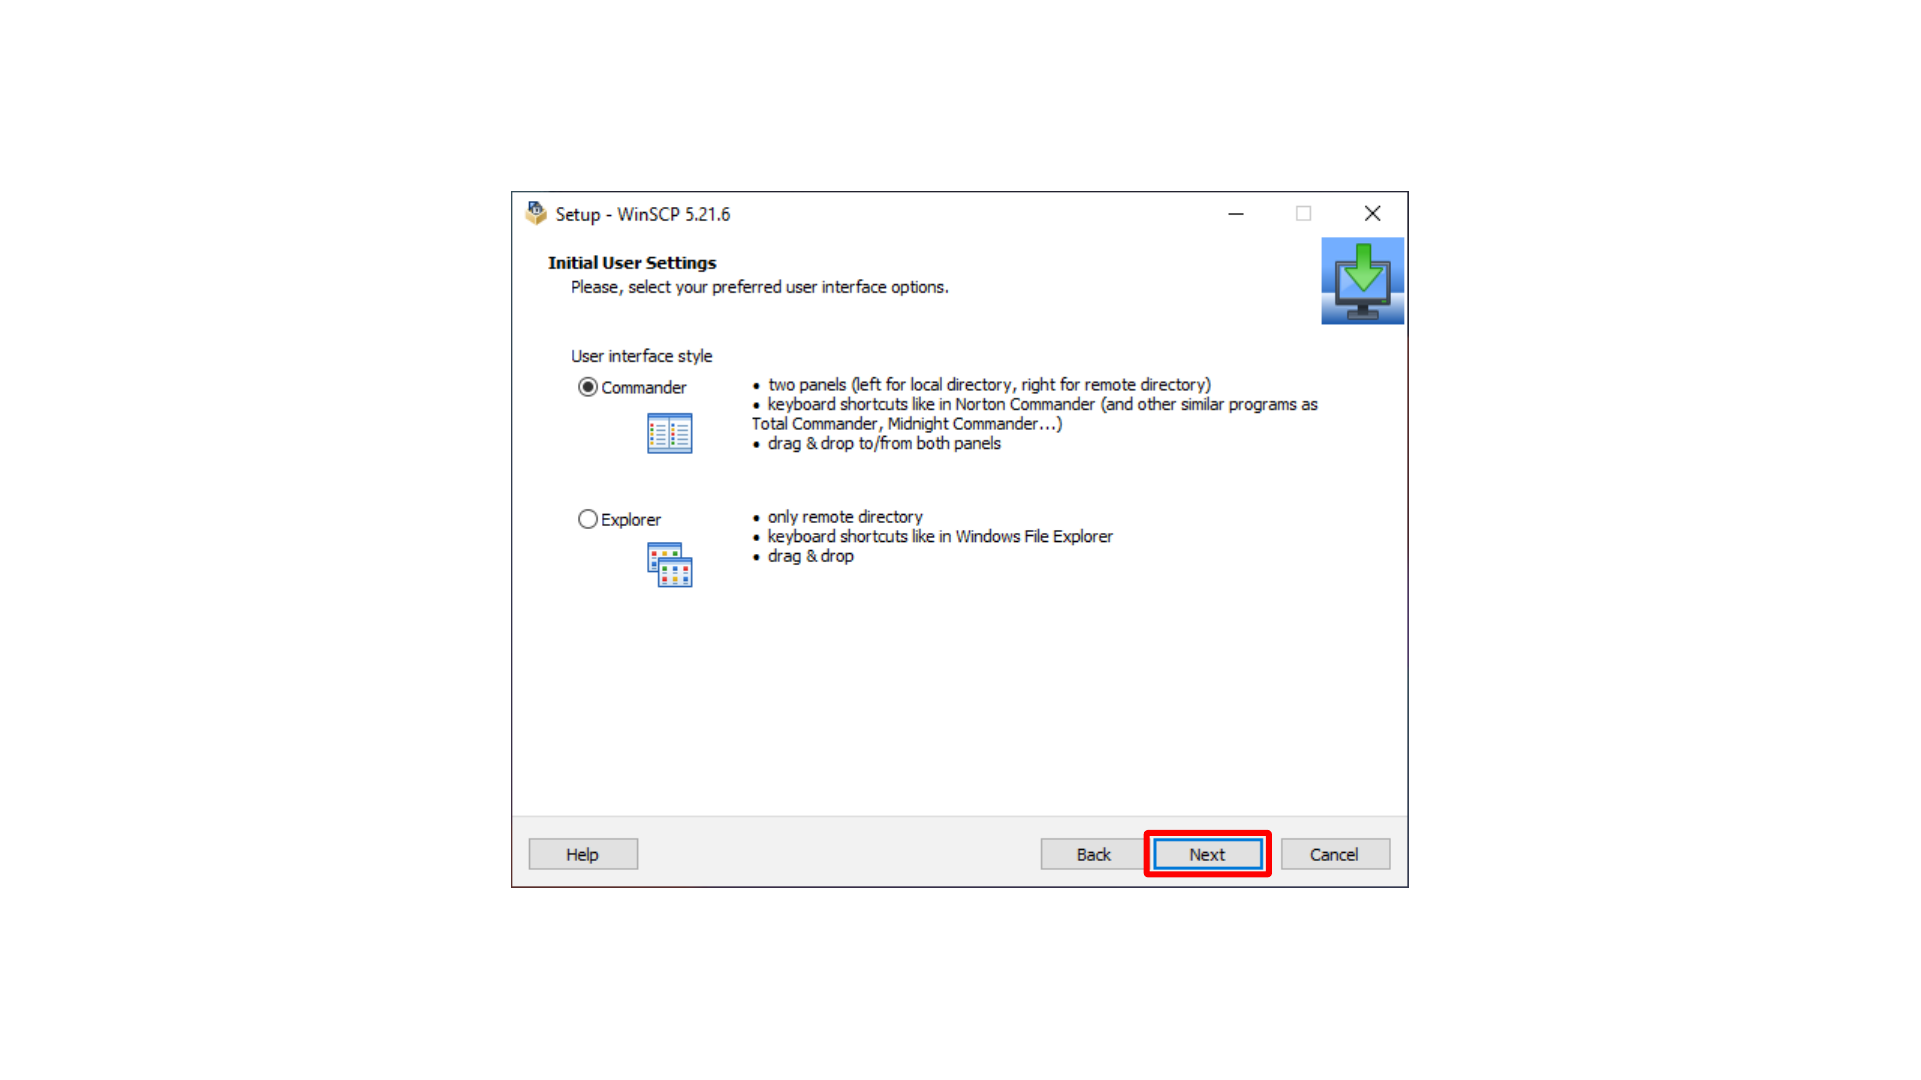
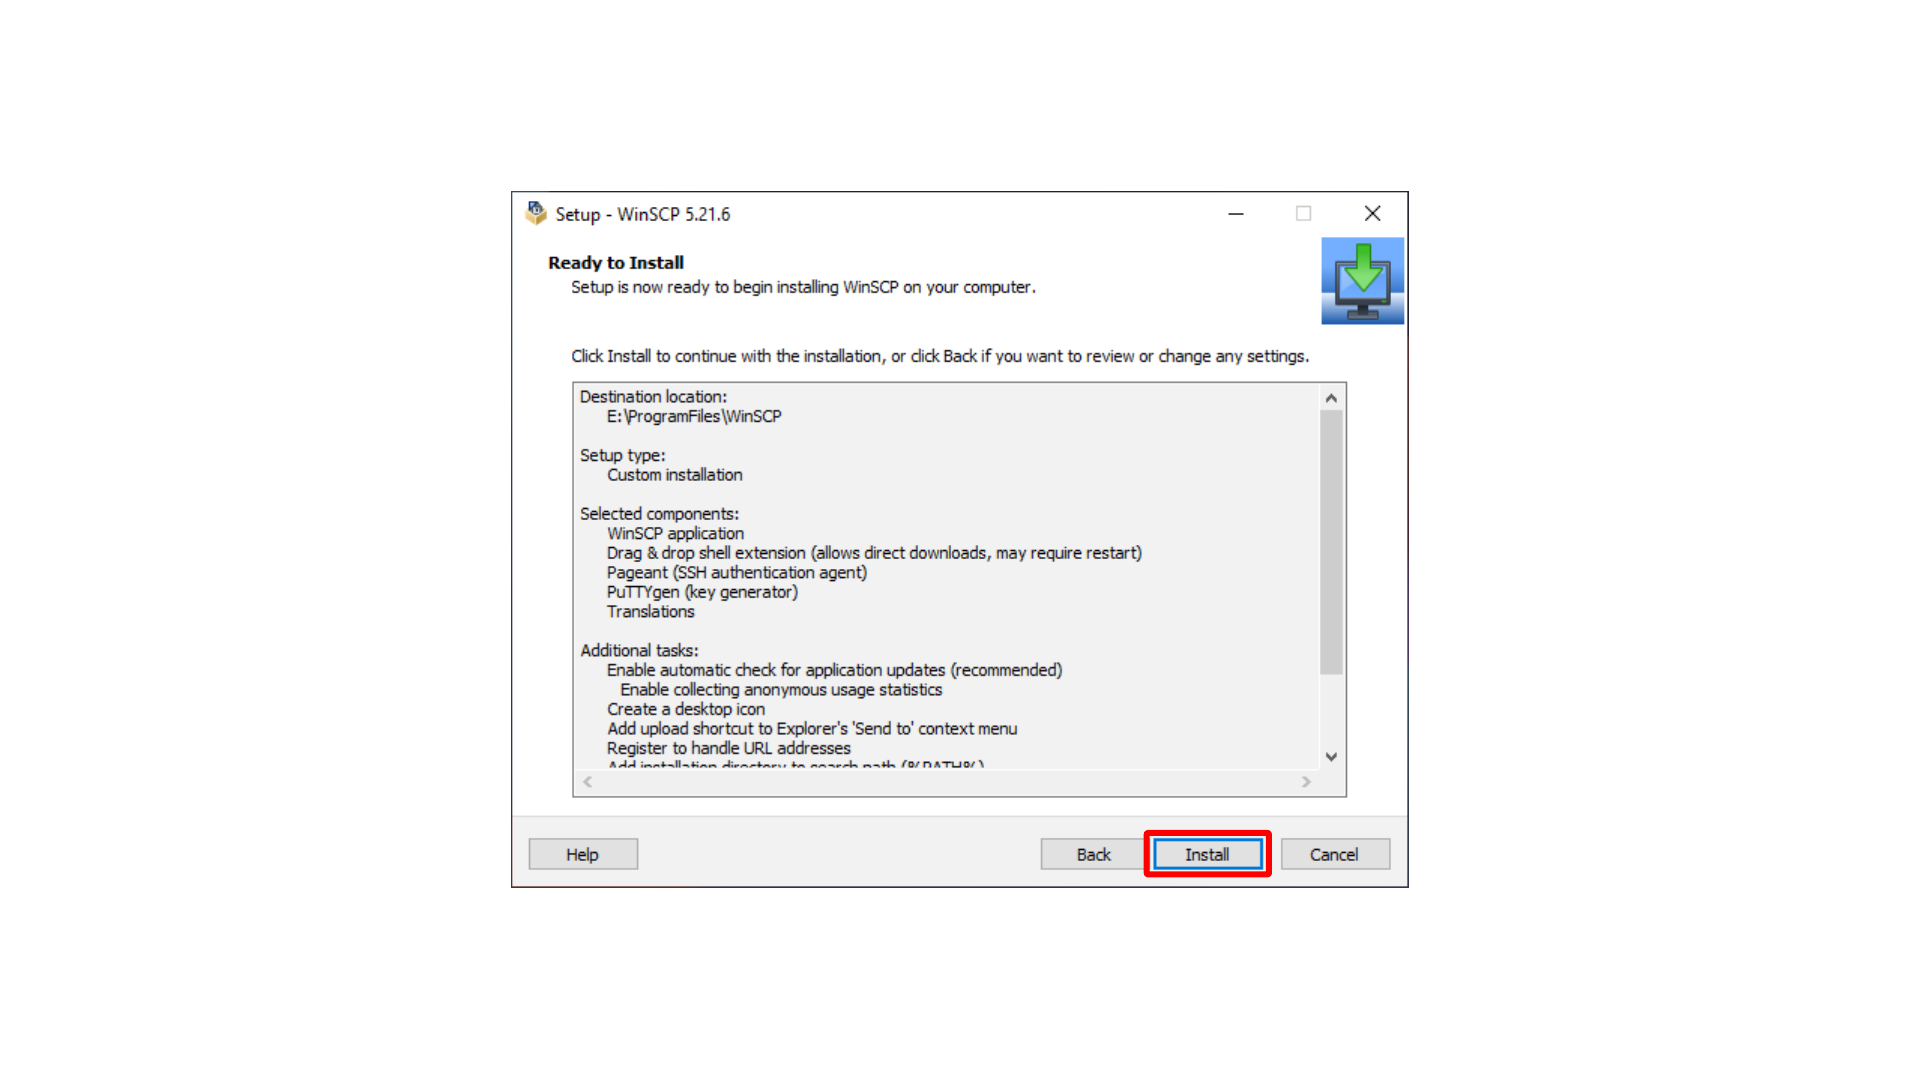
Here, we start the WinSCP installation.
Here, we skip import of existing WinSCP session data.
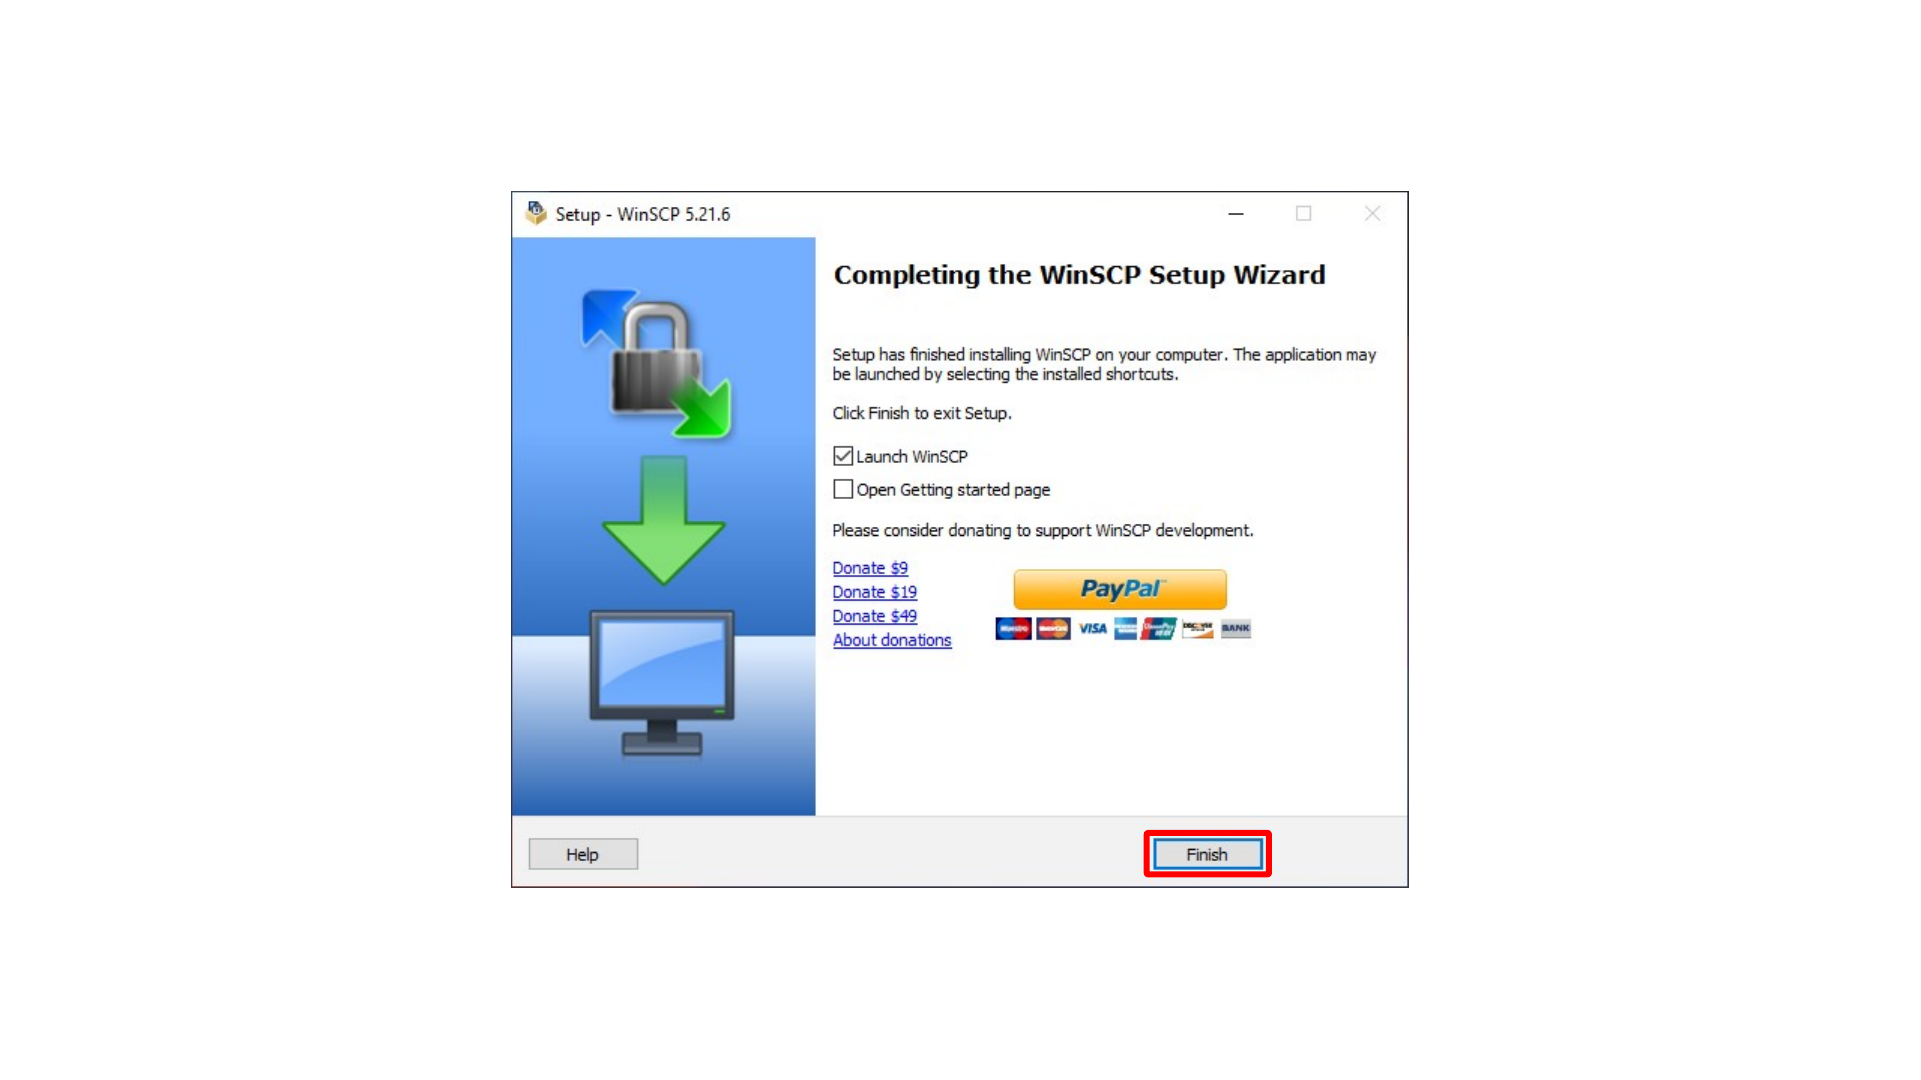
Here, we finish the WinSCP installation.
Converting the PEM Key to PPK
AWS gives you a private key in .pem format when you create the key pair for an EC2 instance. WinSCP and PuTTY work more naturally with PuTTY’s .ppk format, so the next step is converting the key with PuTTYgen.
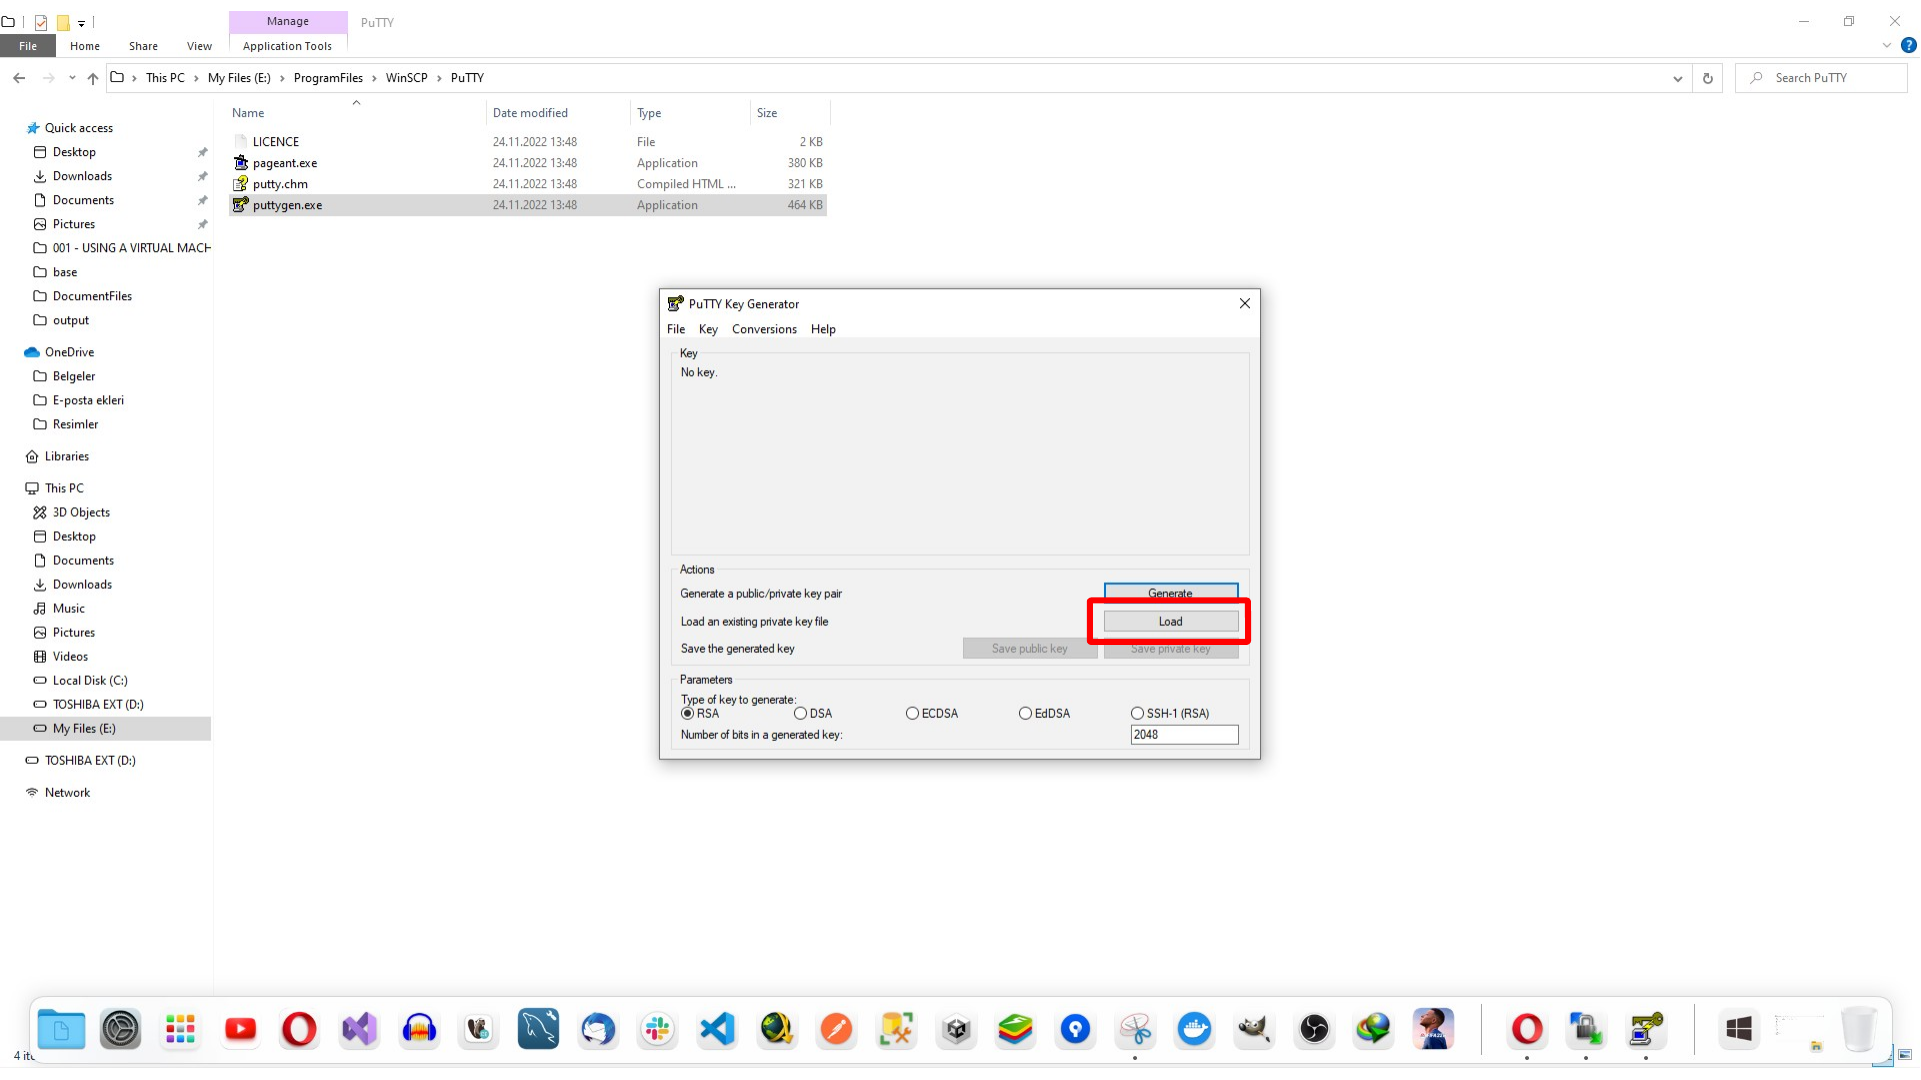
If PuTTYgen was installed together with WinSCP, open the WinSCP installation folder and run puttygen.exe.
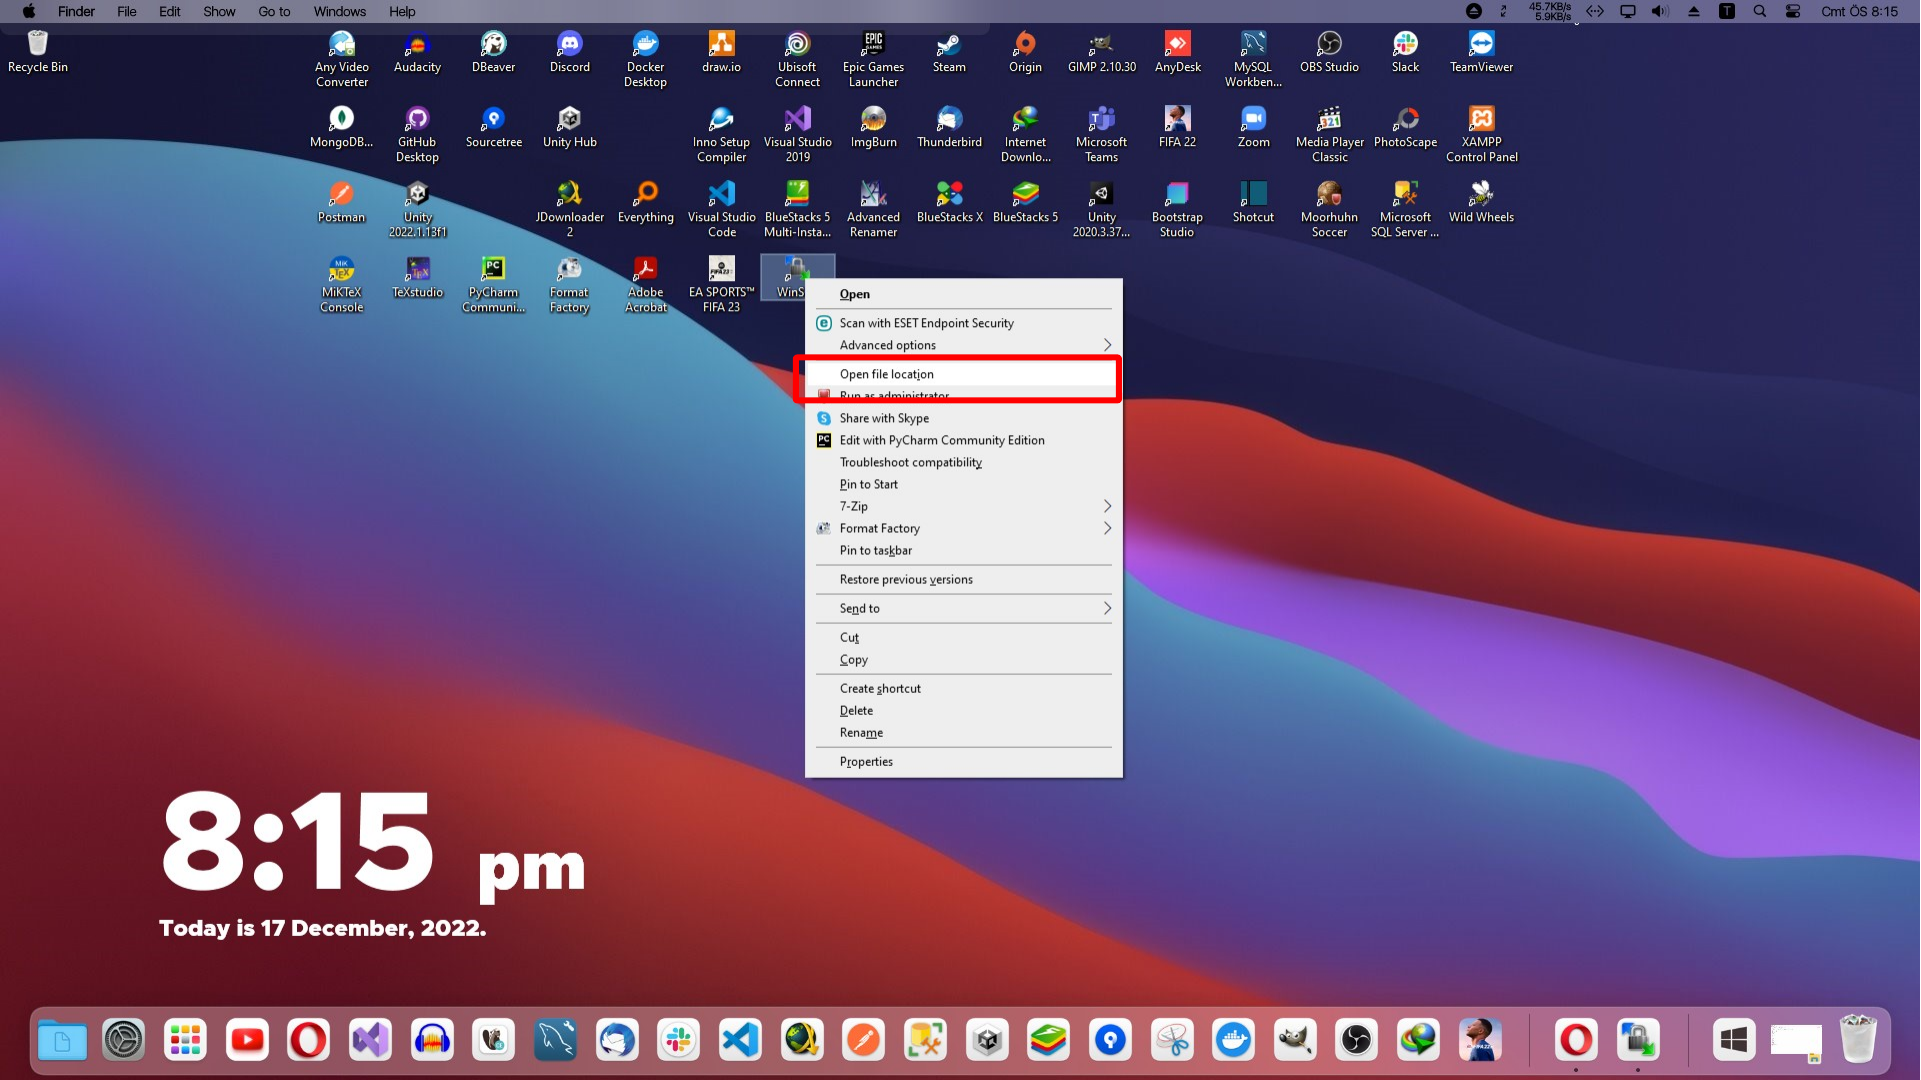
Here, we open the PuTTY folder inside the WinSCP installation directory.
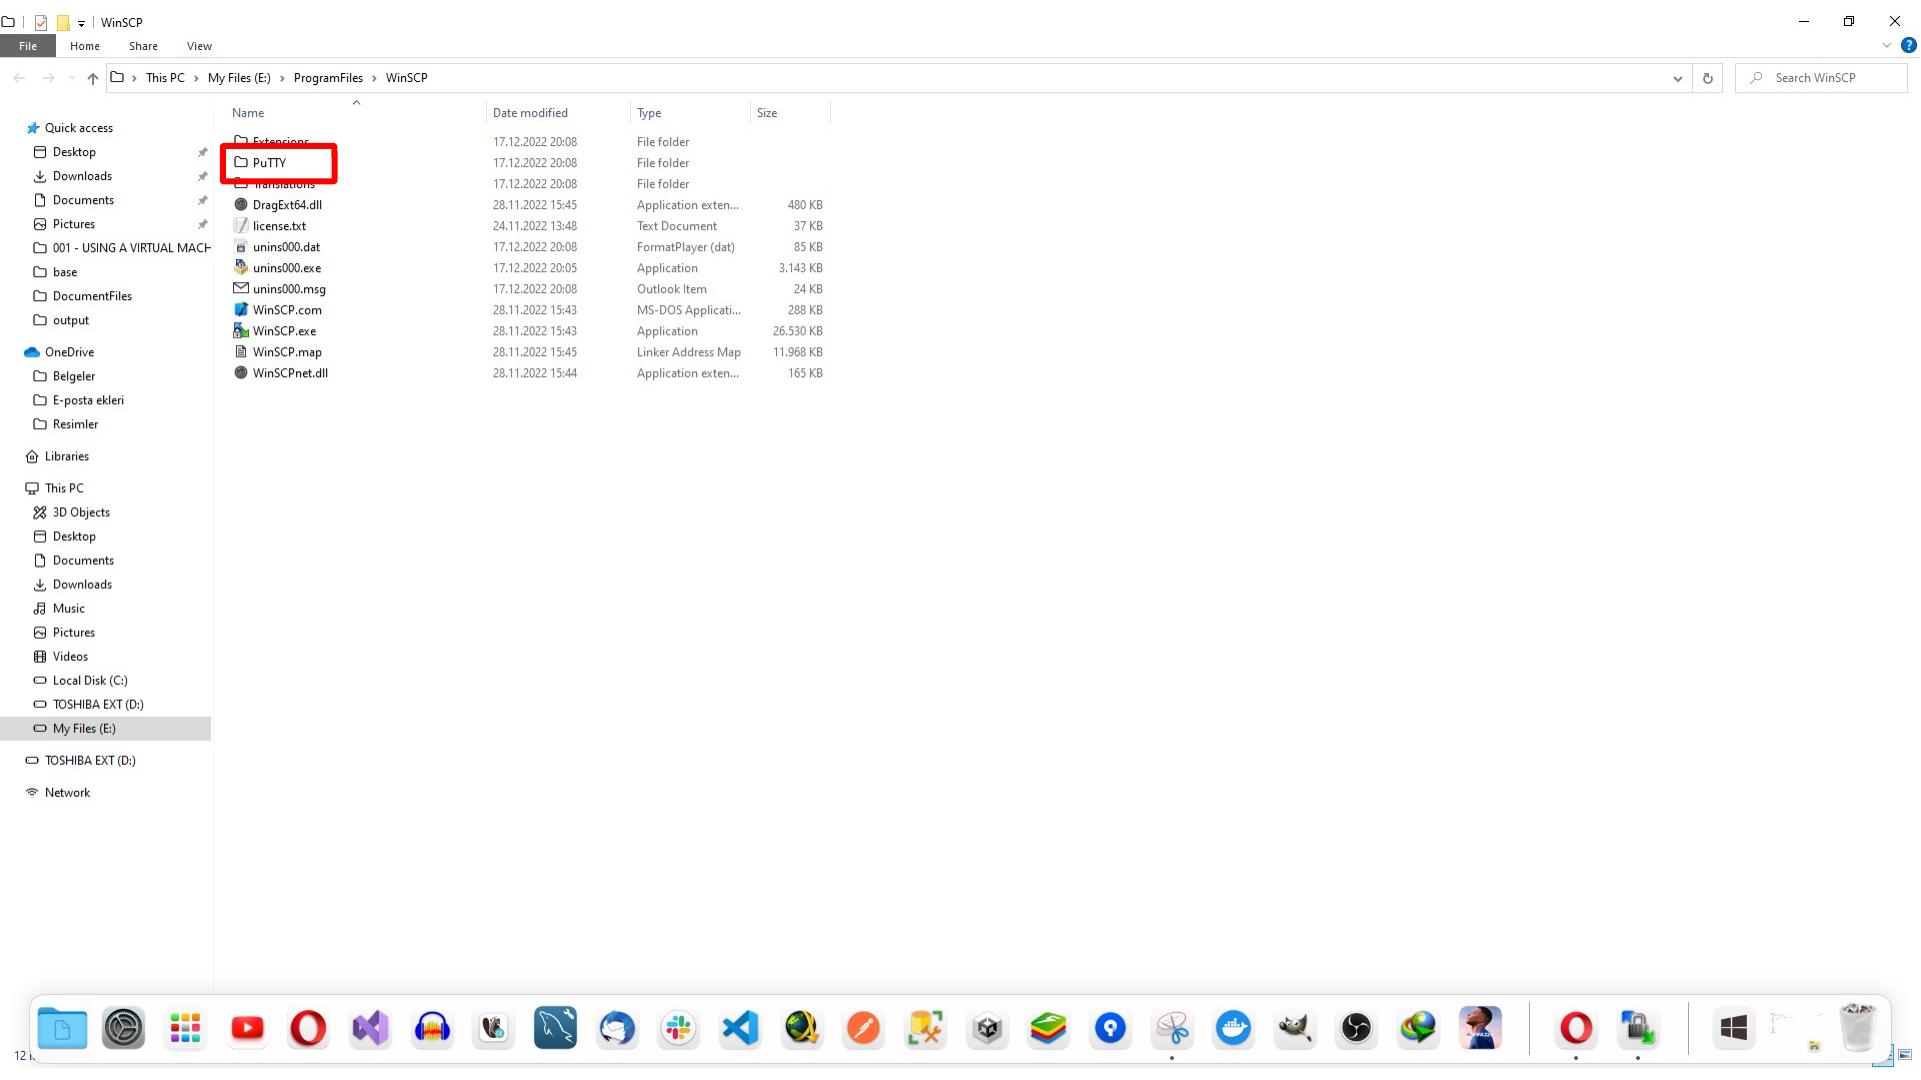
Here, we run puttygen.exe.
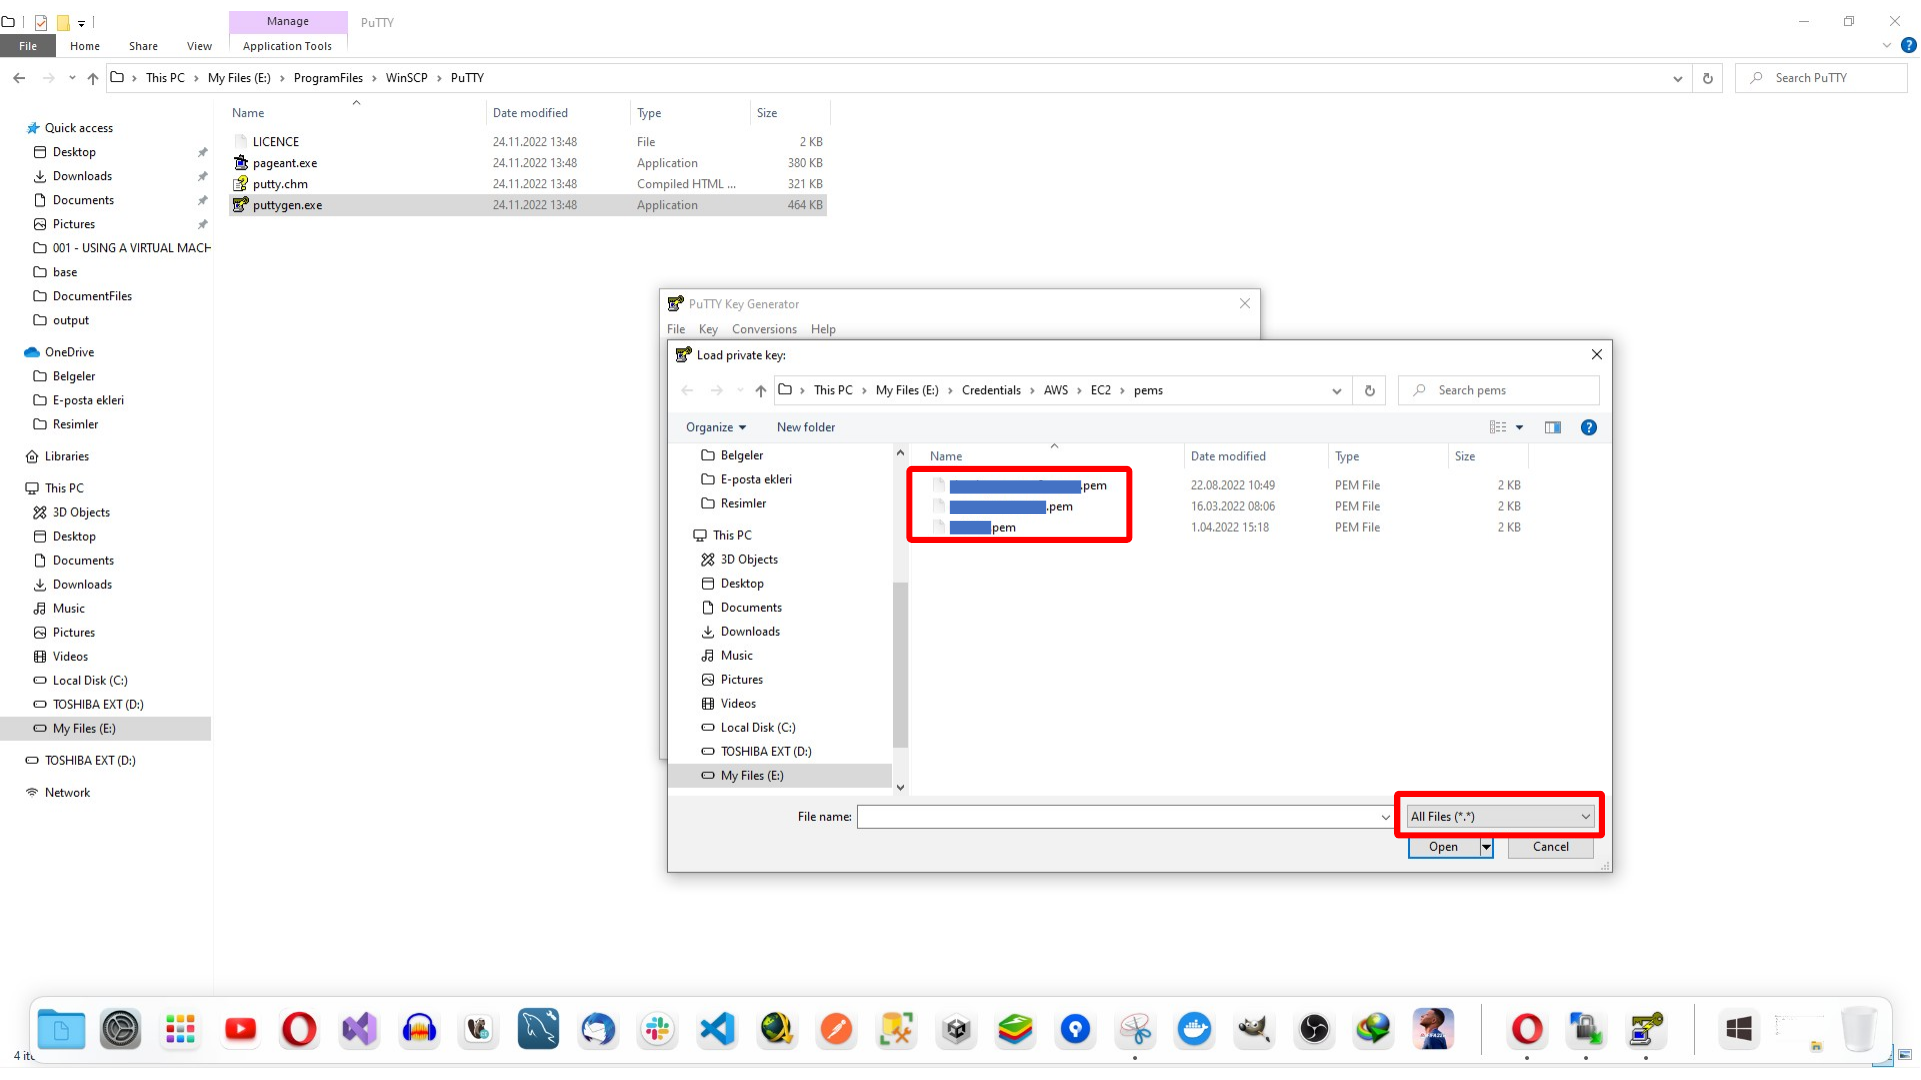
In PuTTYgen, load the existing .pem file. In the file picker, change the file type to show all files, select your EC2 key, and confirm the selection.
Here, we select the EC2 PEM key file in PuTTYgen.
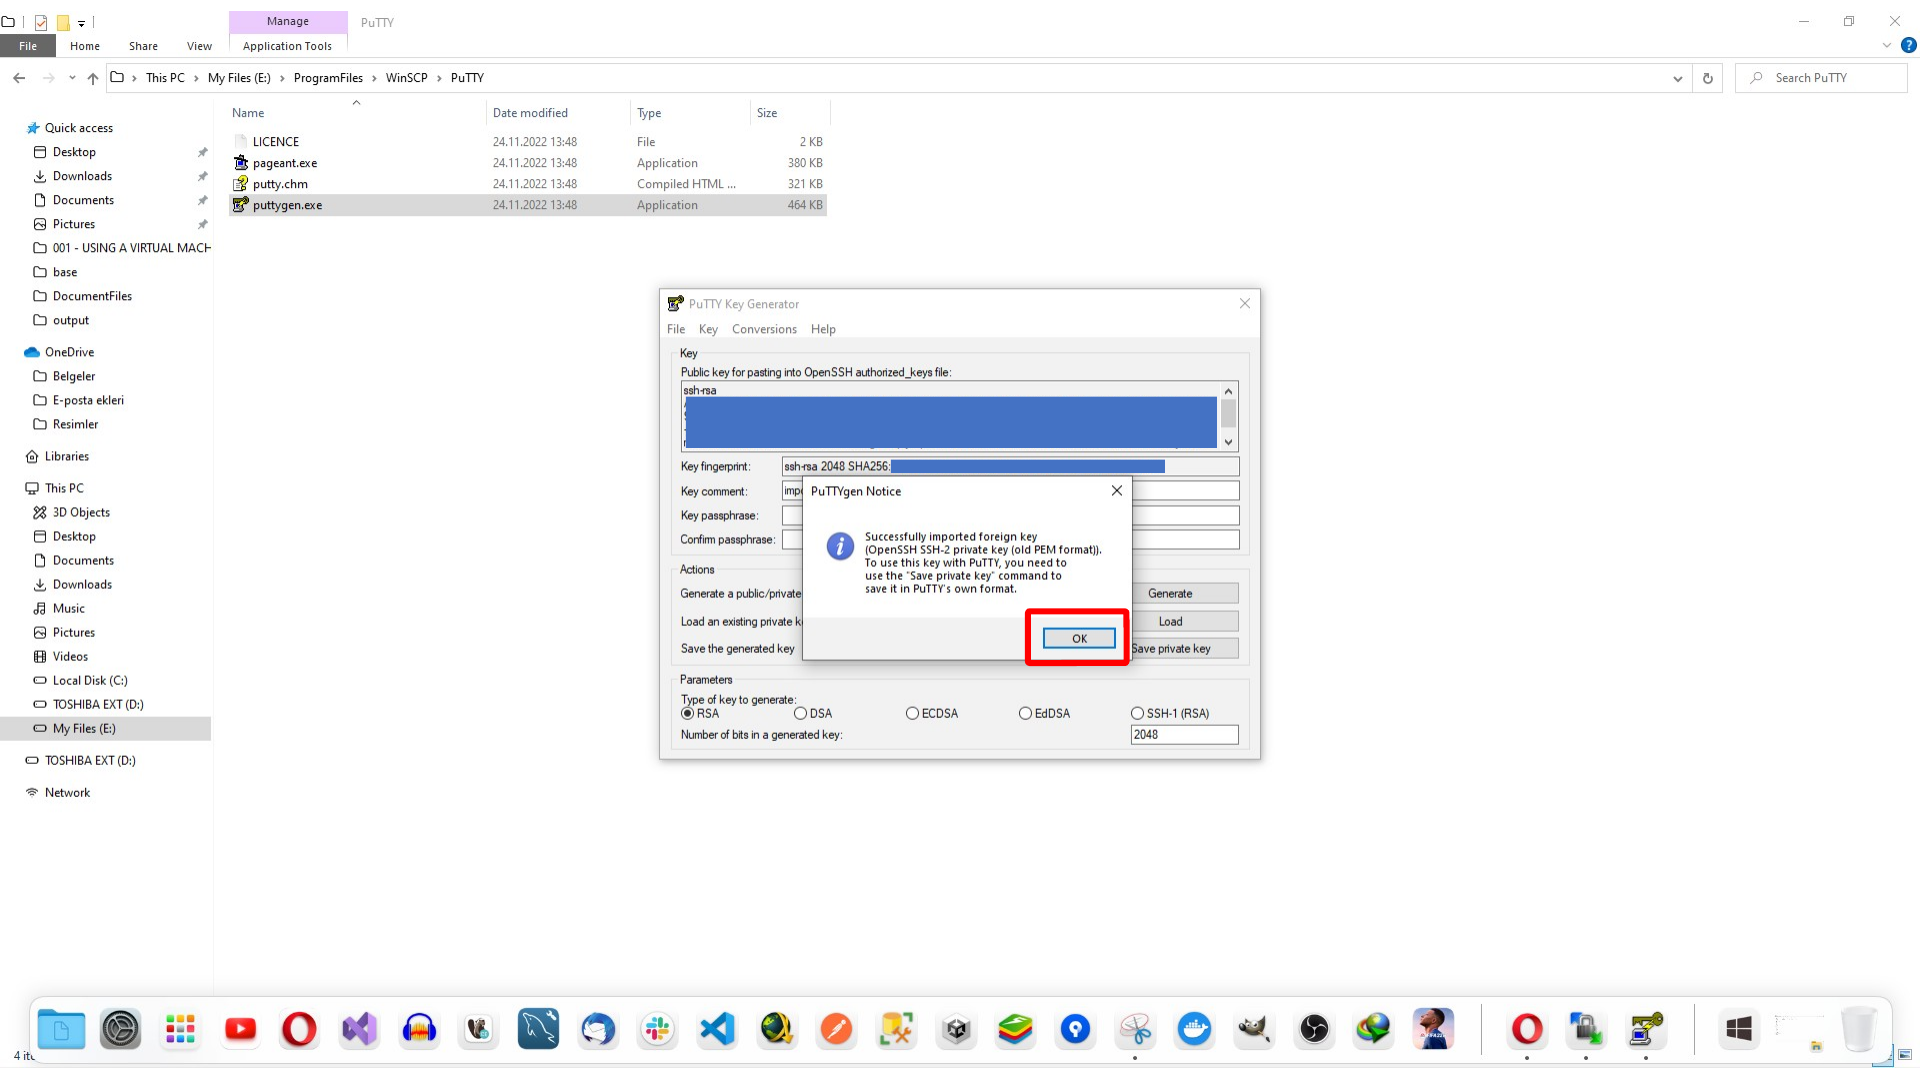
Here, we confirm that the PEM key was loaded successfully.
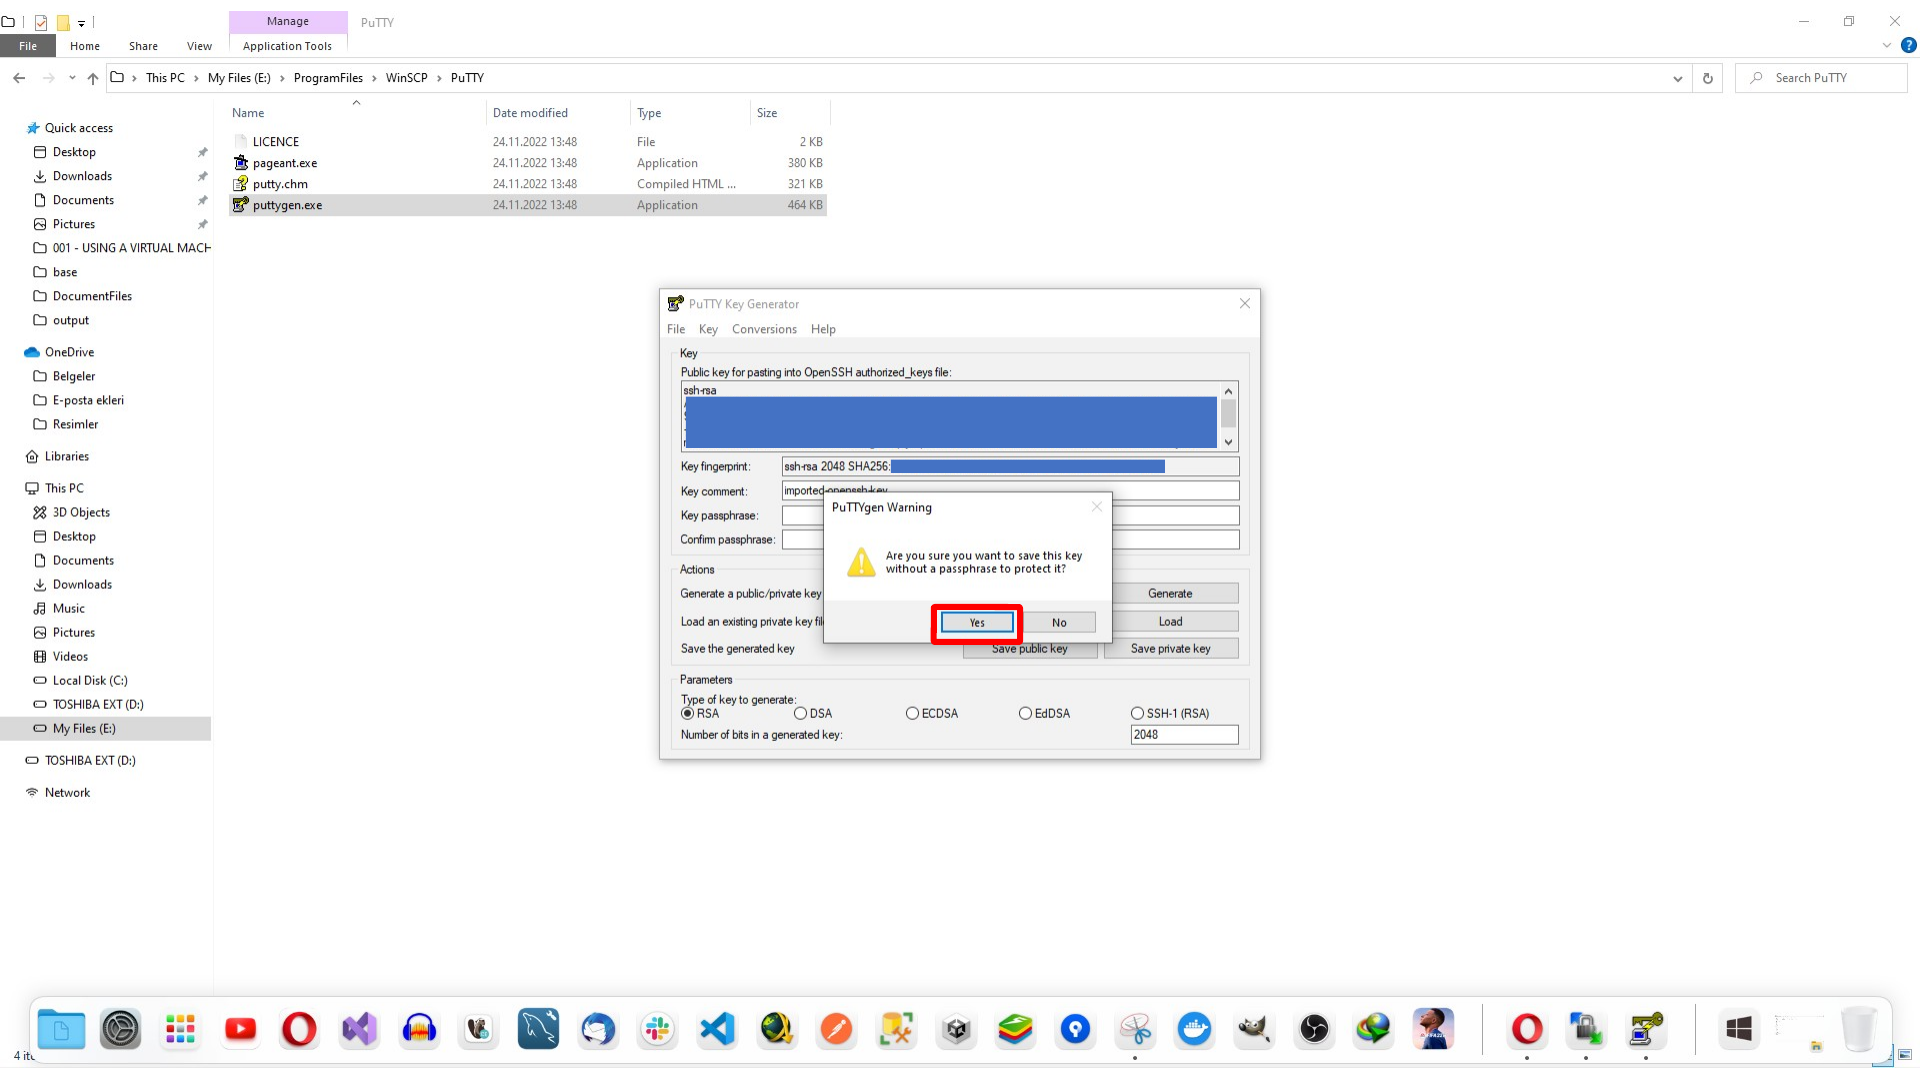
Save the loaded key as a private .ppk file. If you are not using a passphrase for this example, PuTTYgen may warn you about saving the key without one. Confirm the warning, choose a location, and save the generated PPK file.
Here, we choose where to save the generated PPK key.
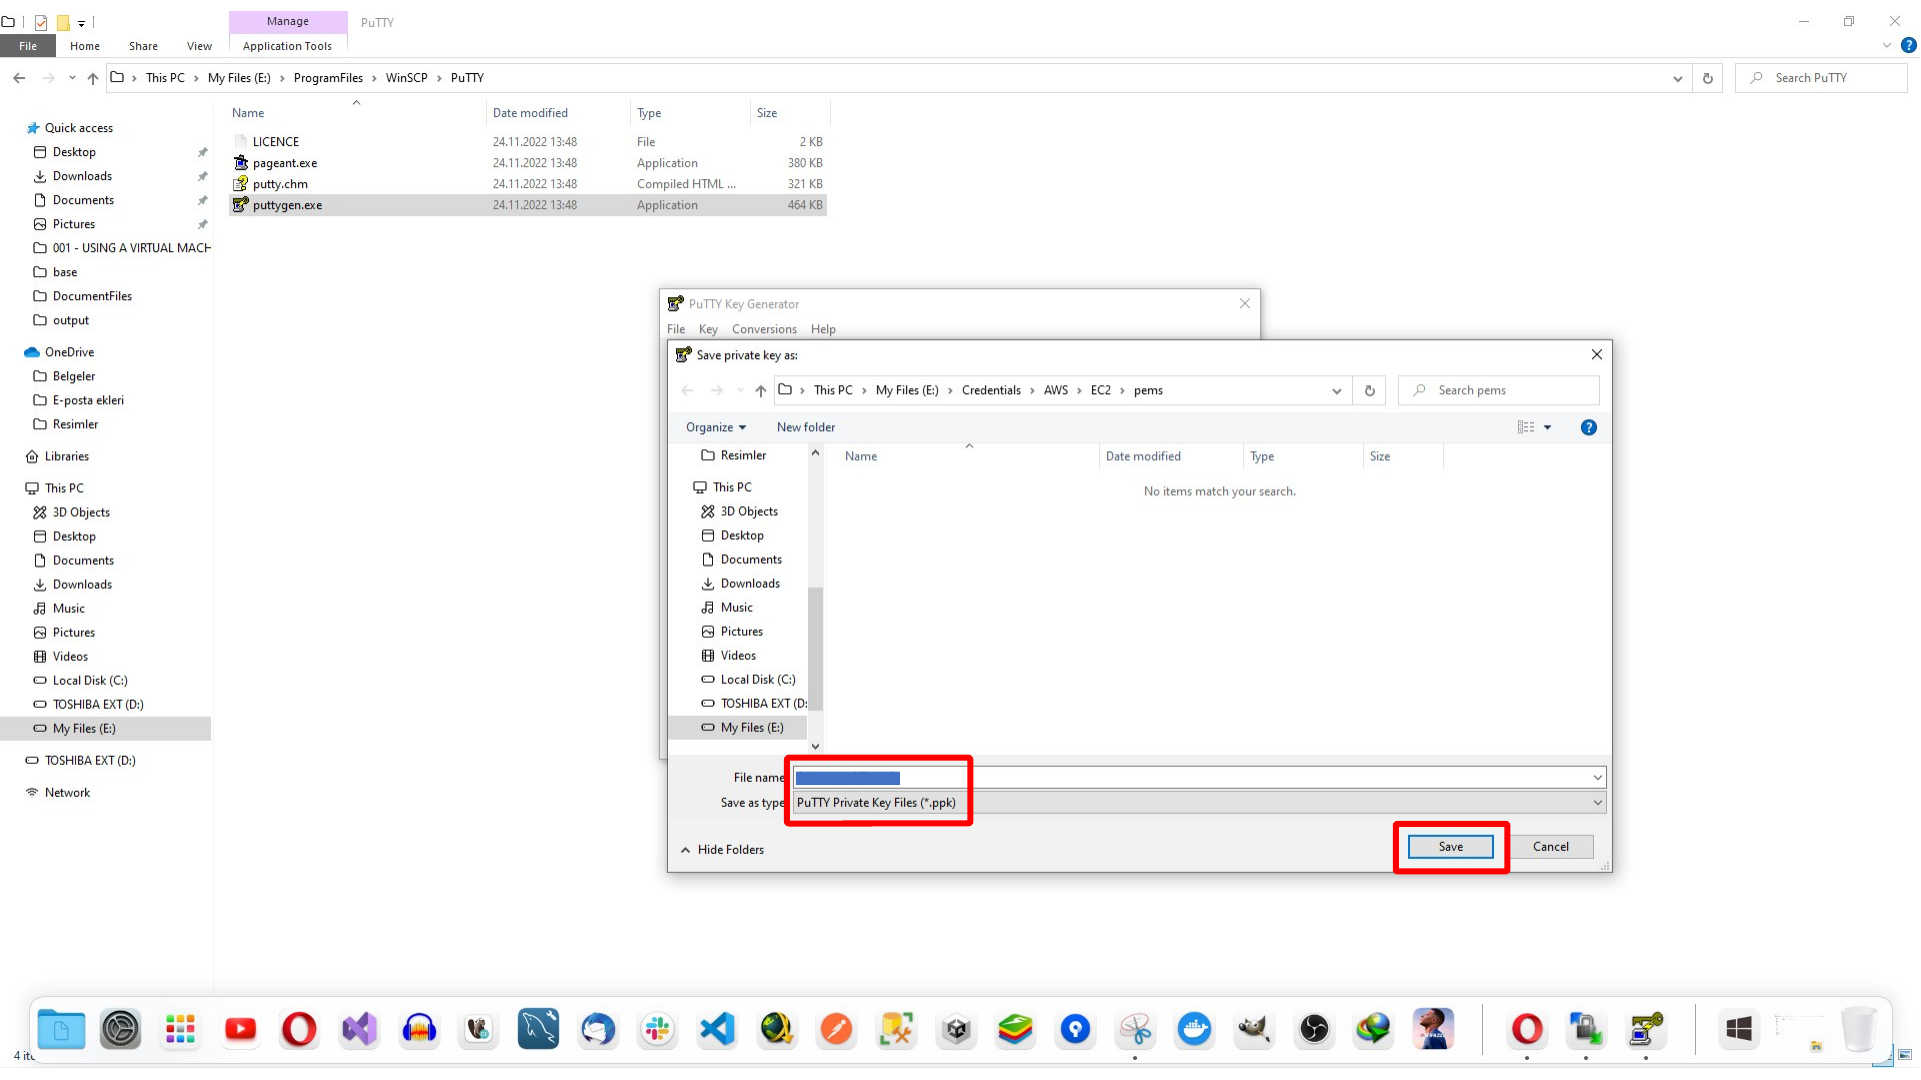
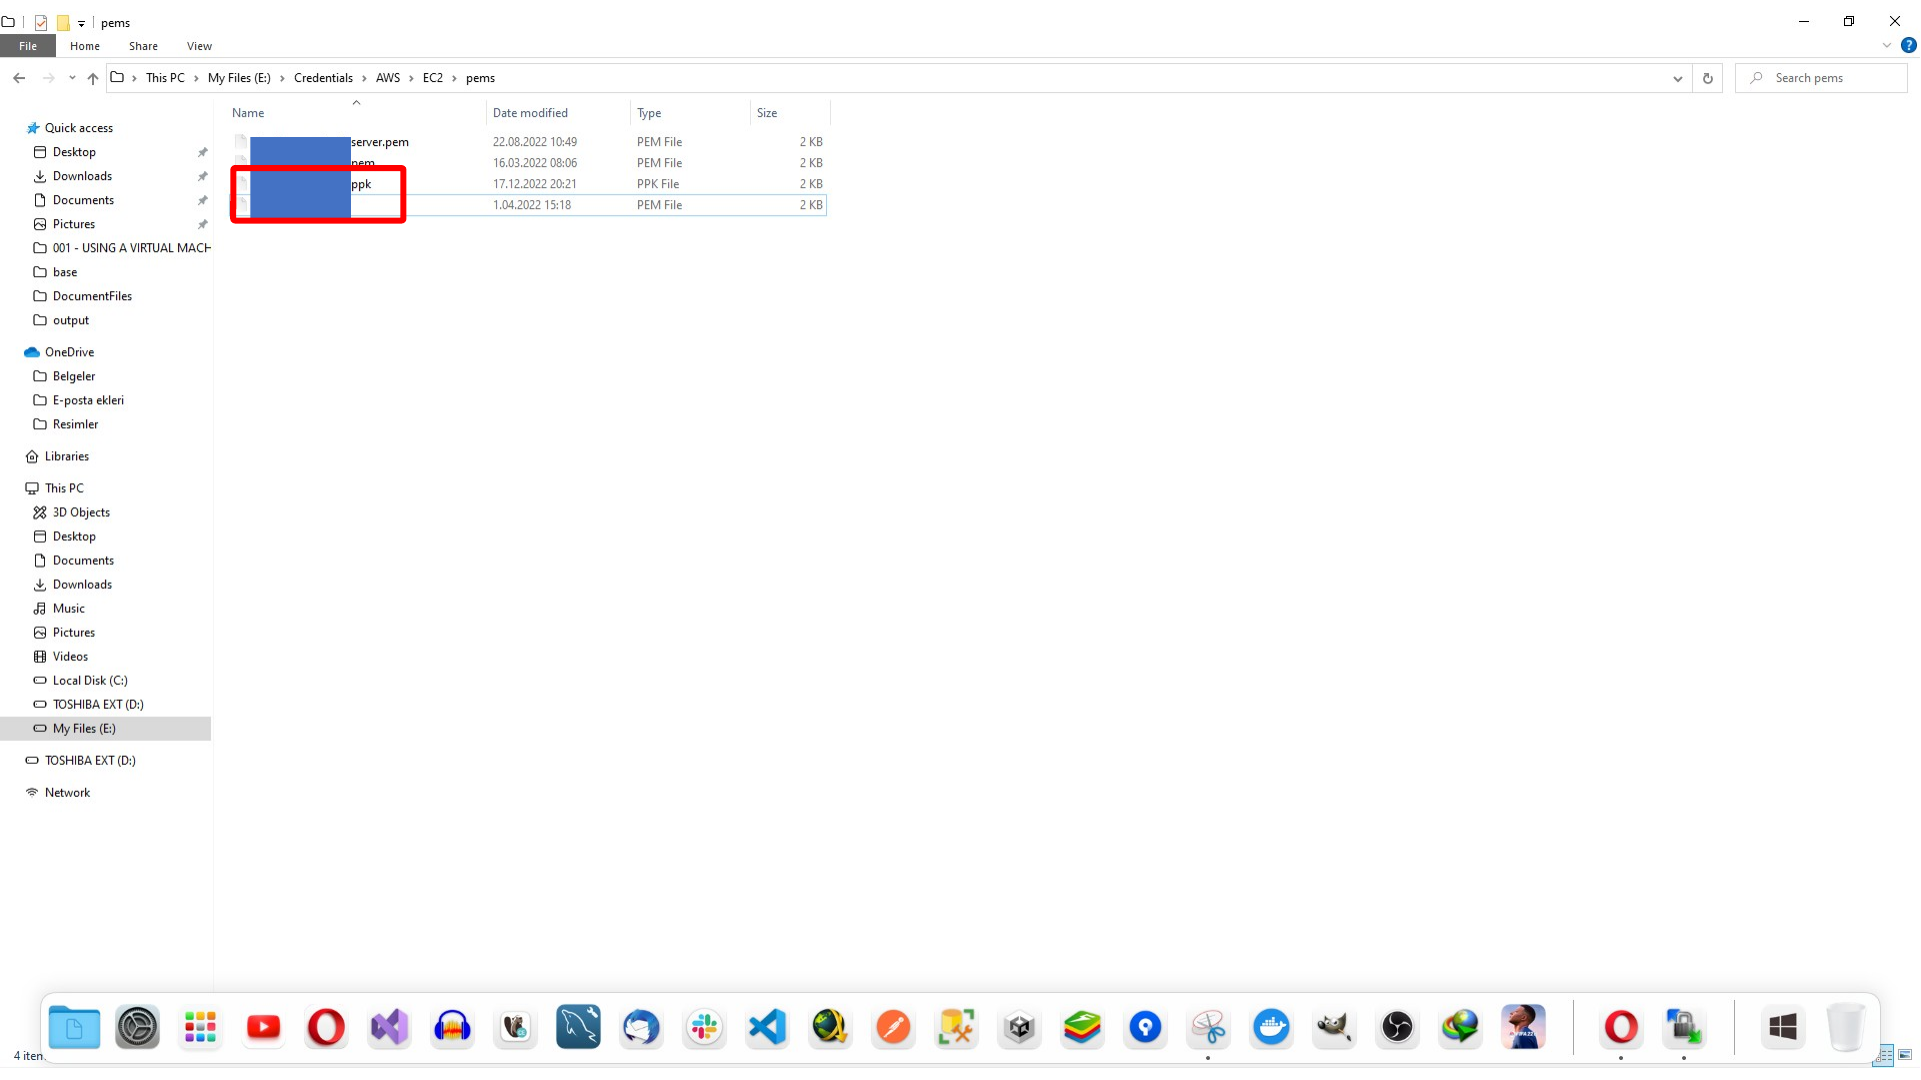
This screen shows Generated PPK key file saved on Windows.
Installing PuTTY
WinSCP can manage file transfers, but we still need PuTTY for terminal access. Search for the PuTTY download page, download the Windows installer, and run it.
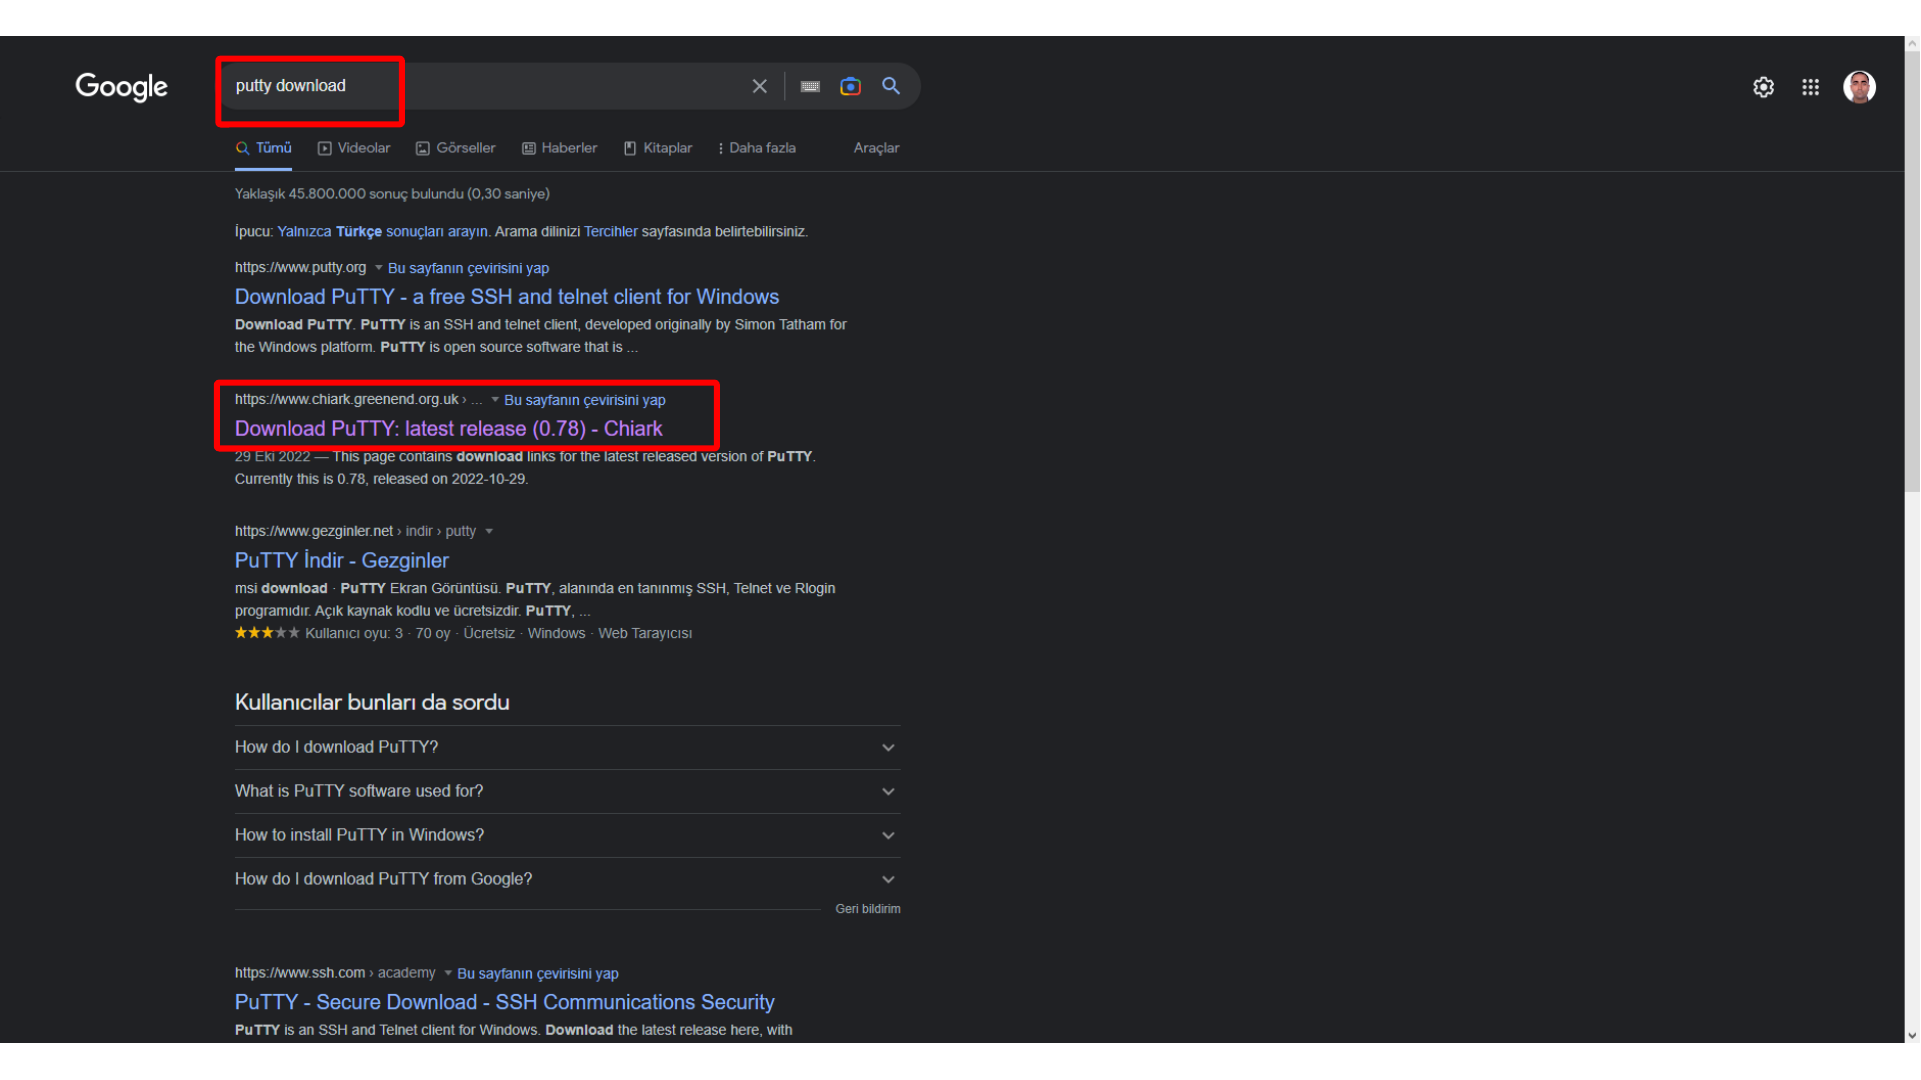
Here, we download the PuTTY Windows installer.
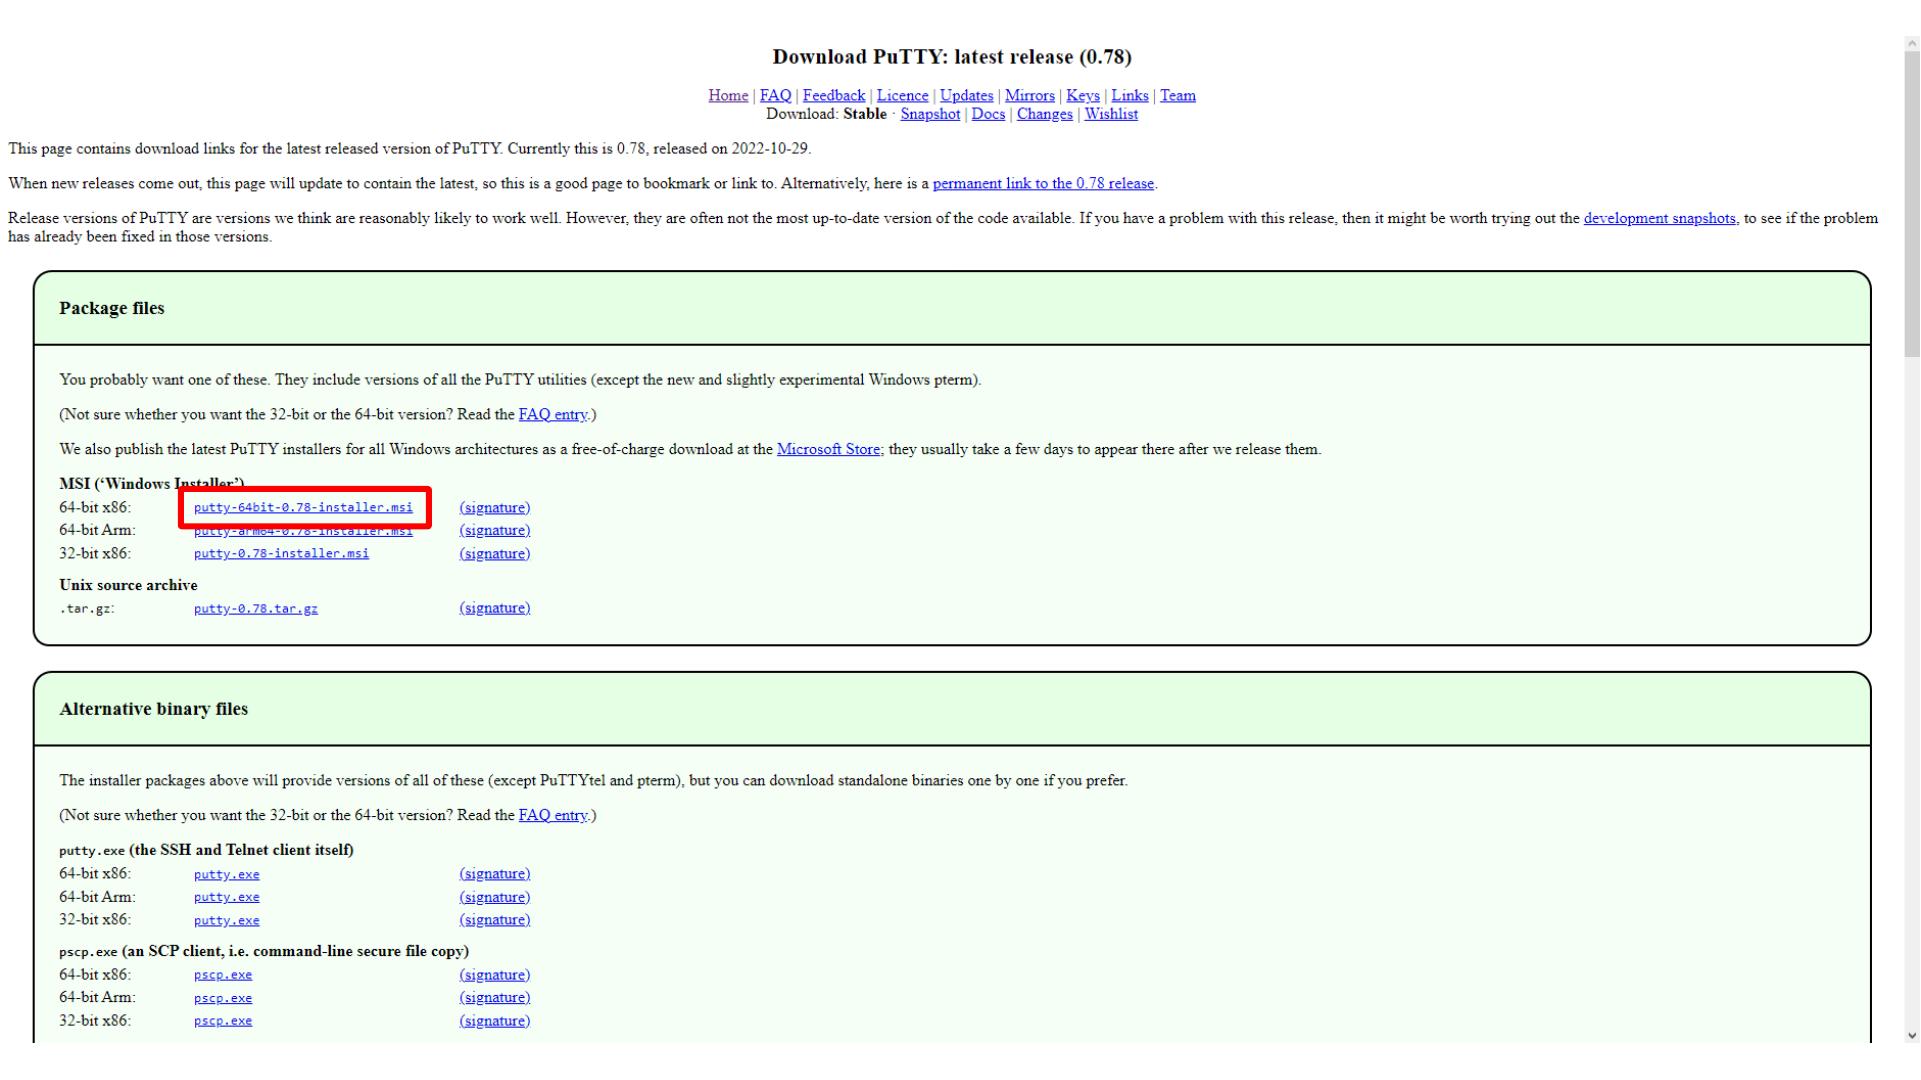
Here, we run the PuTTY installer package.

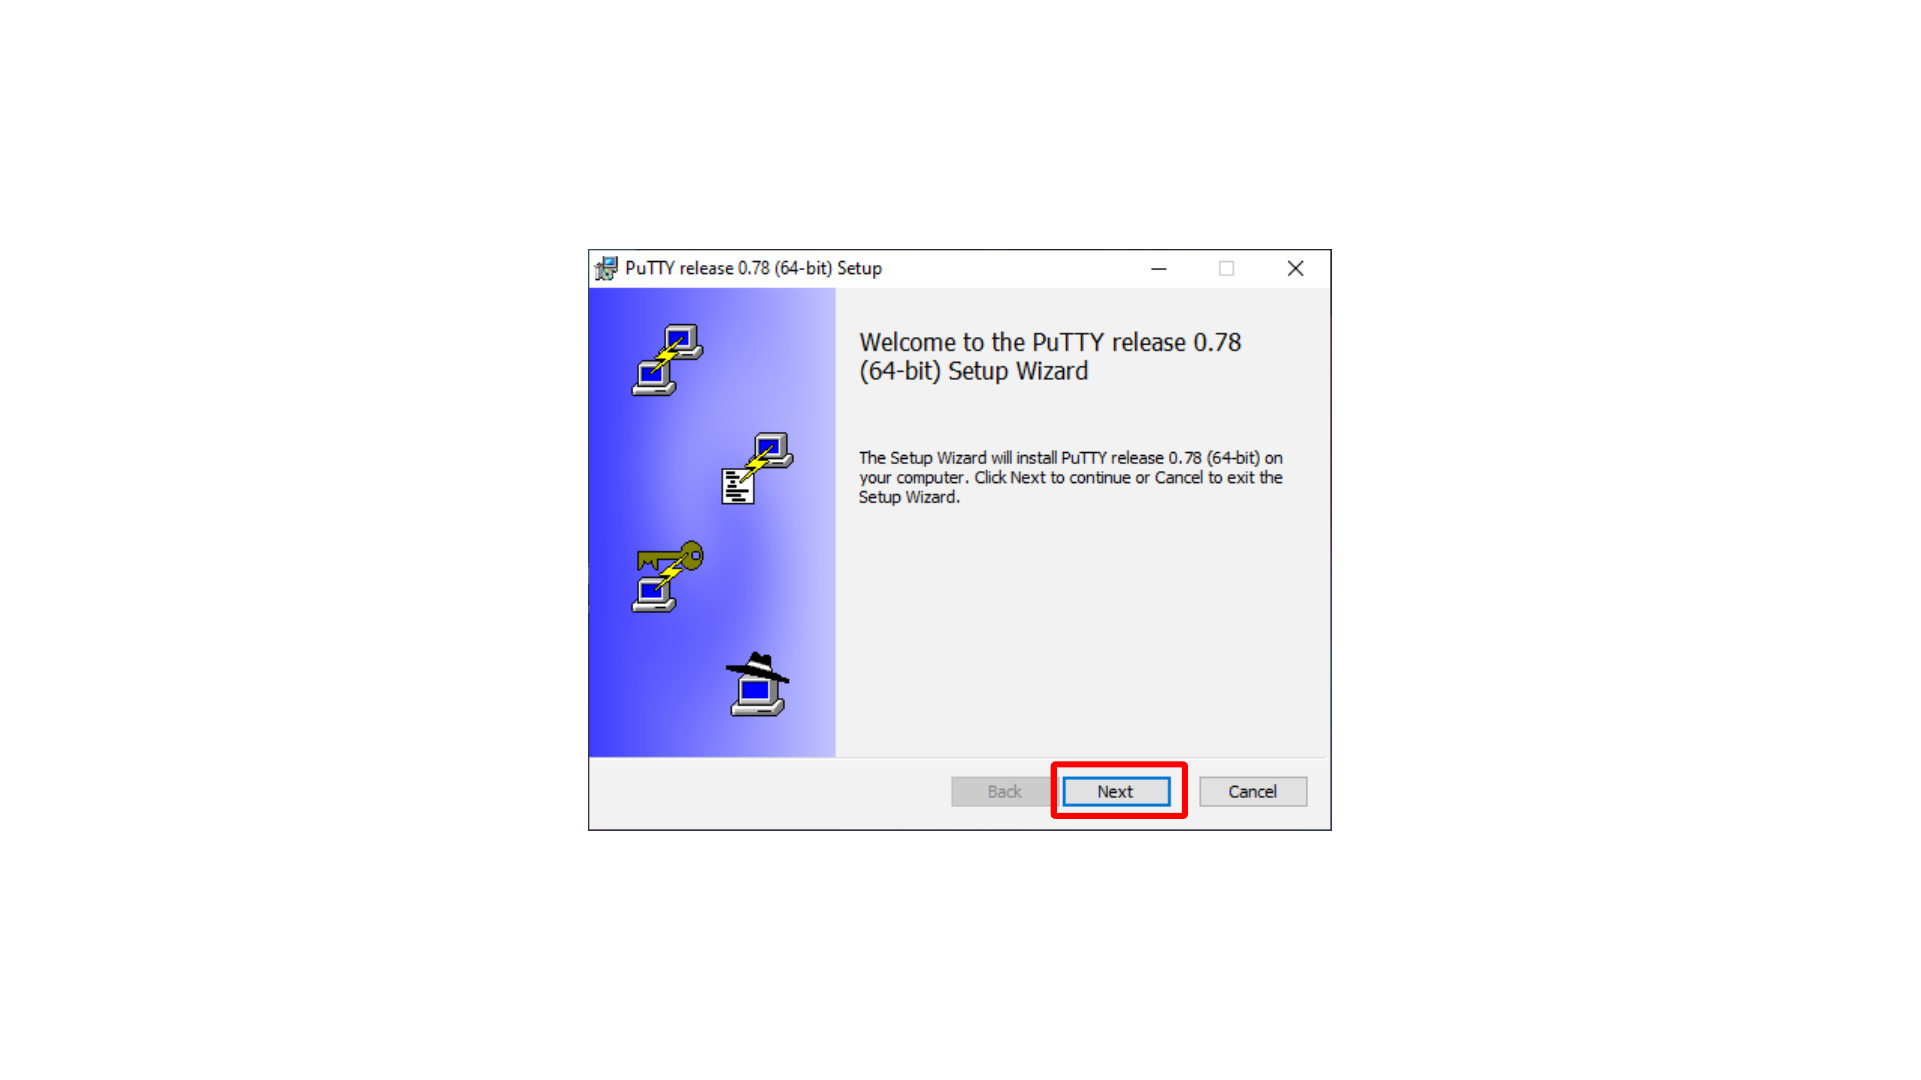
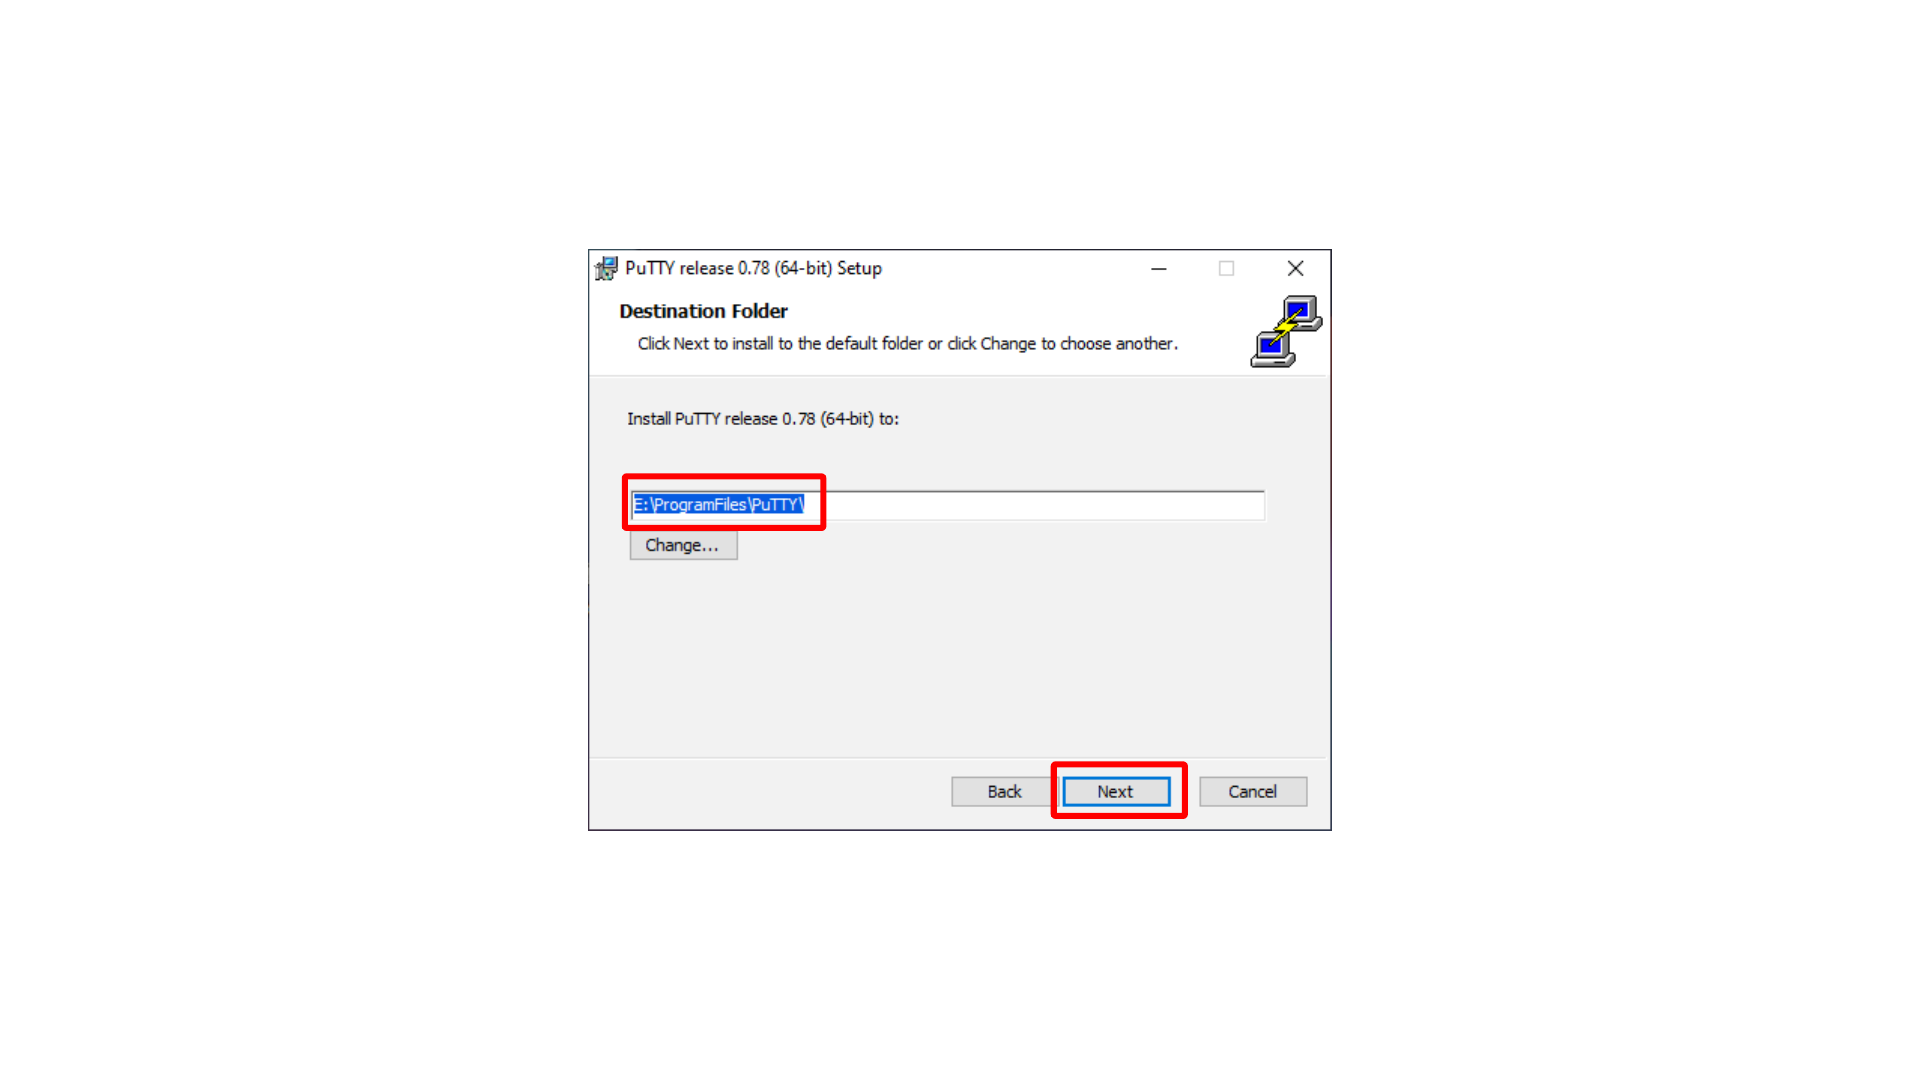
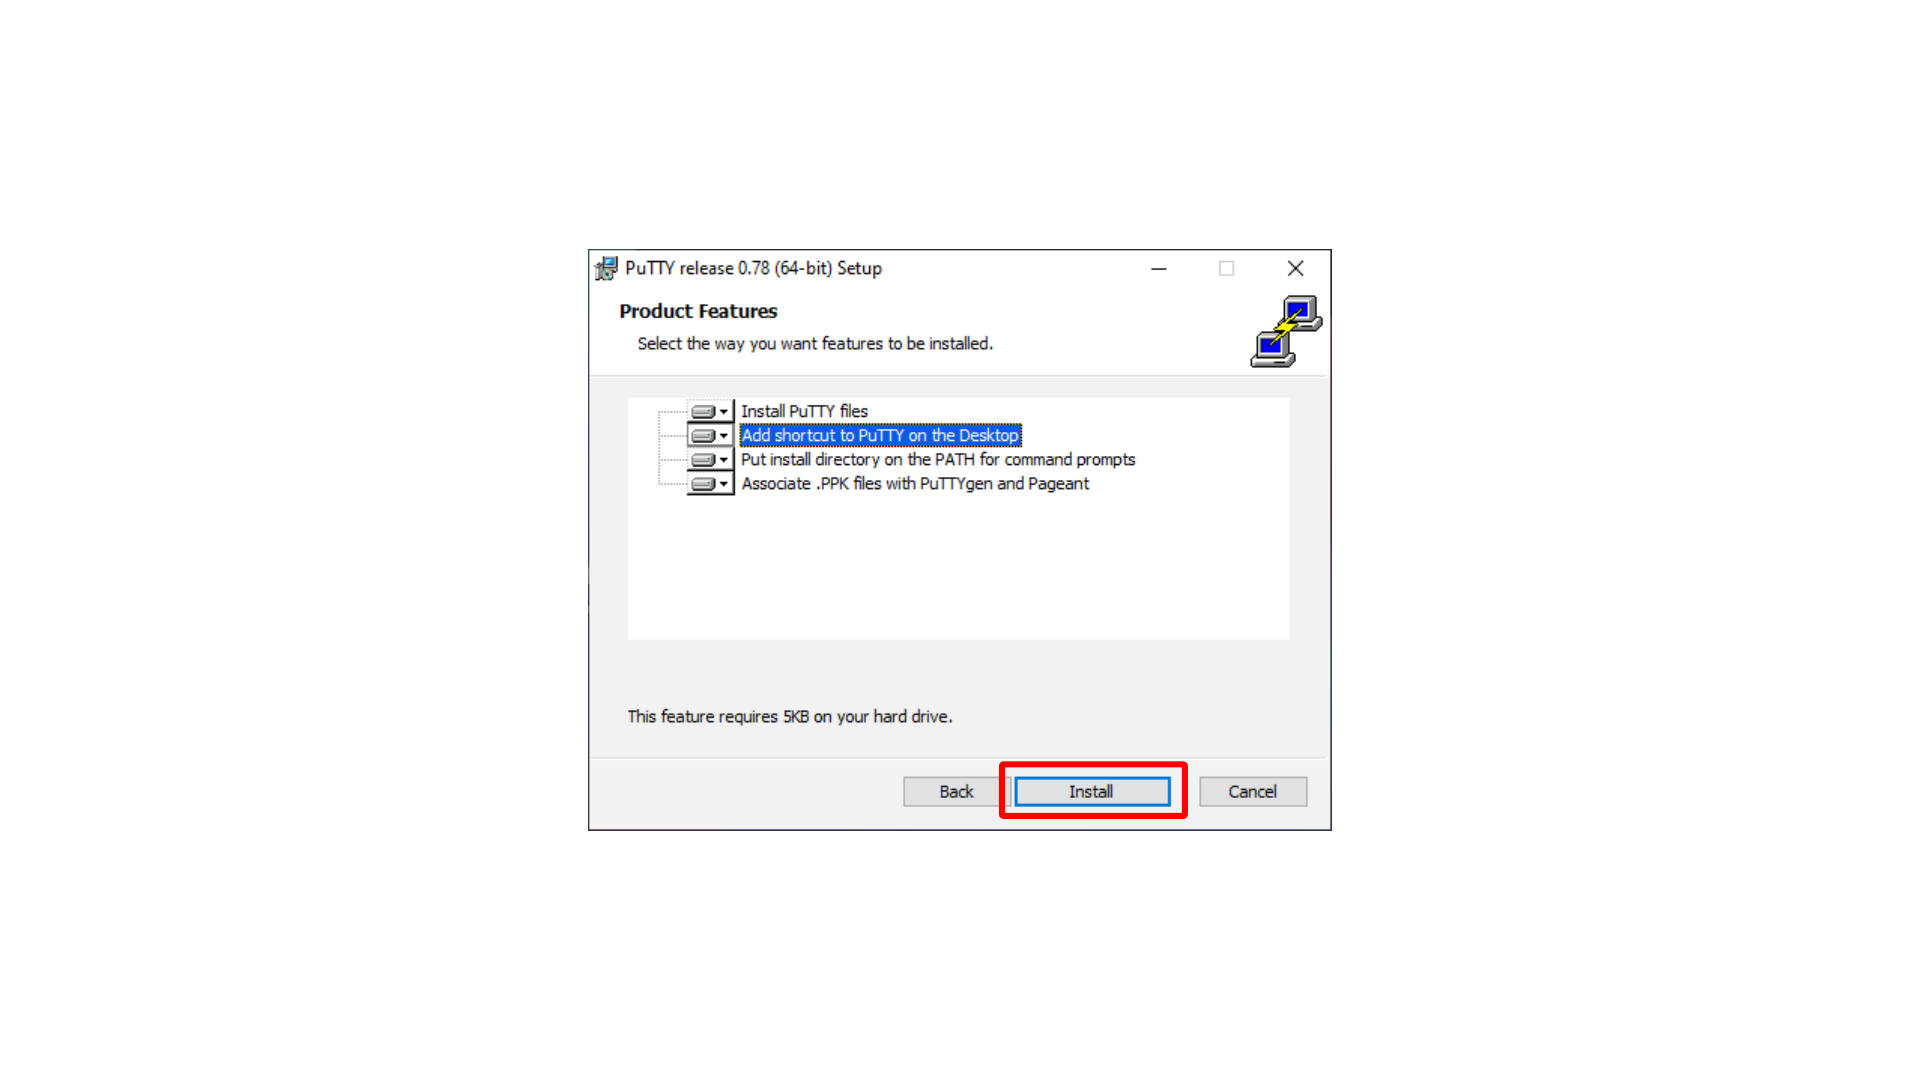
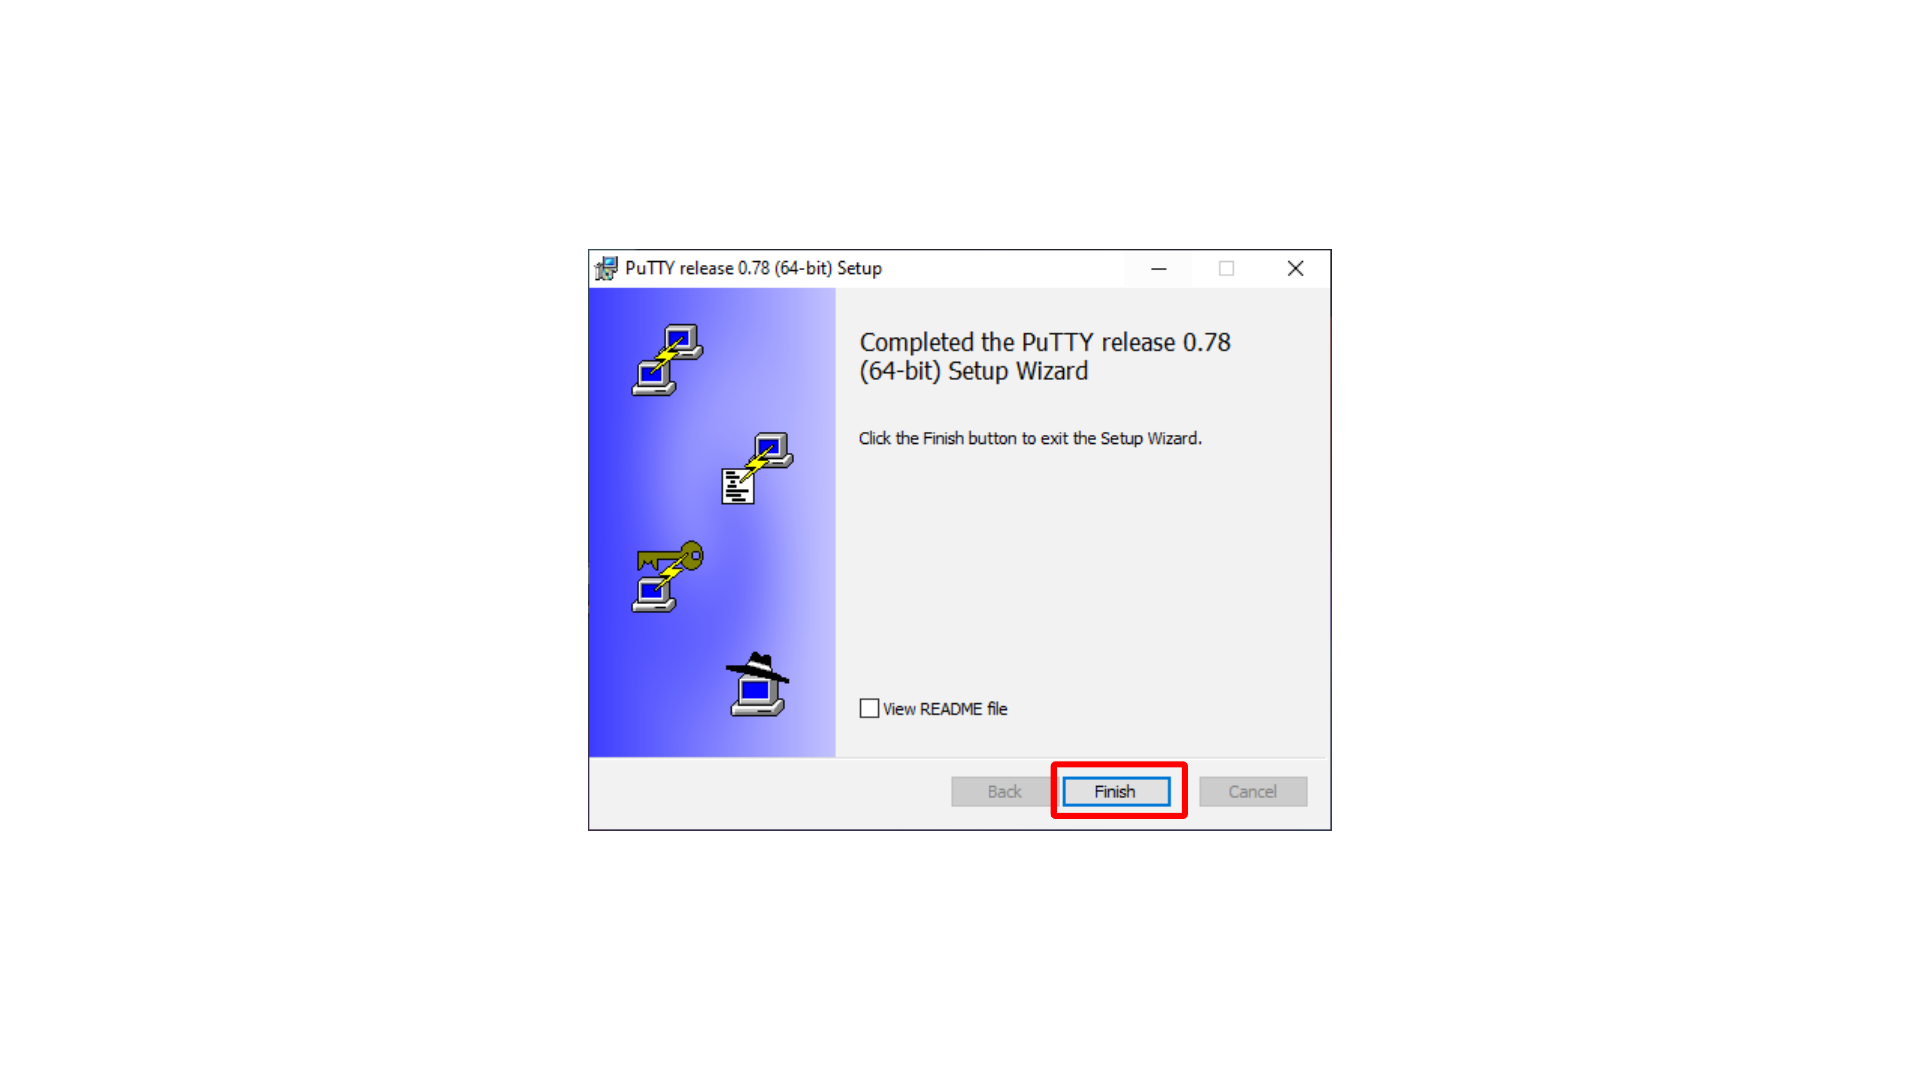
The installer flow is short: continue with Next, choose an installation location if needed, start the installation, and finish the setup.
Here, we choose the PuTTY installation folder.
Here, we start PuTTY installation.
Here, we finish the PuTTY installation.
Creating a WinSCP Session for the EC2 Instance
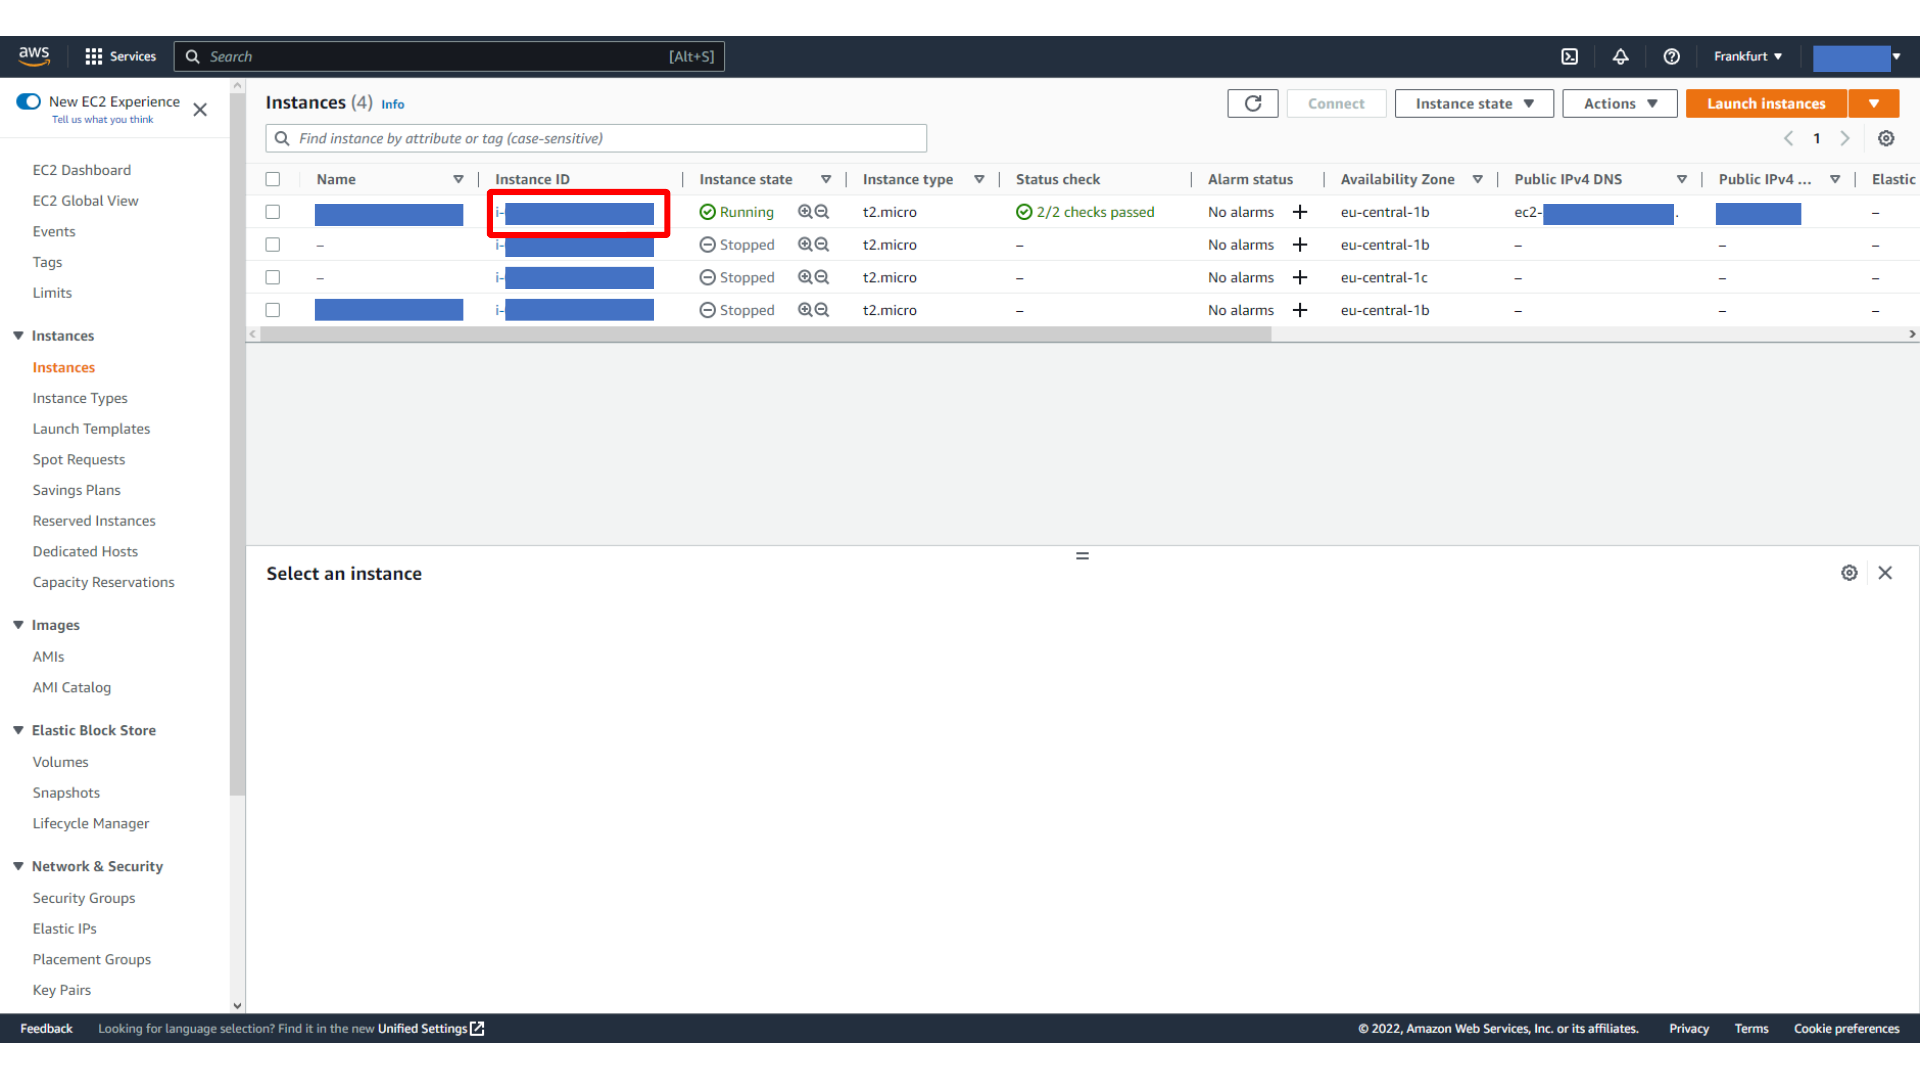
Open the AWS EC2 console and go to your instance details. You need the instance’s public DNS name or public IP address for the WinSCP connection.
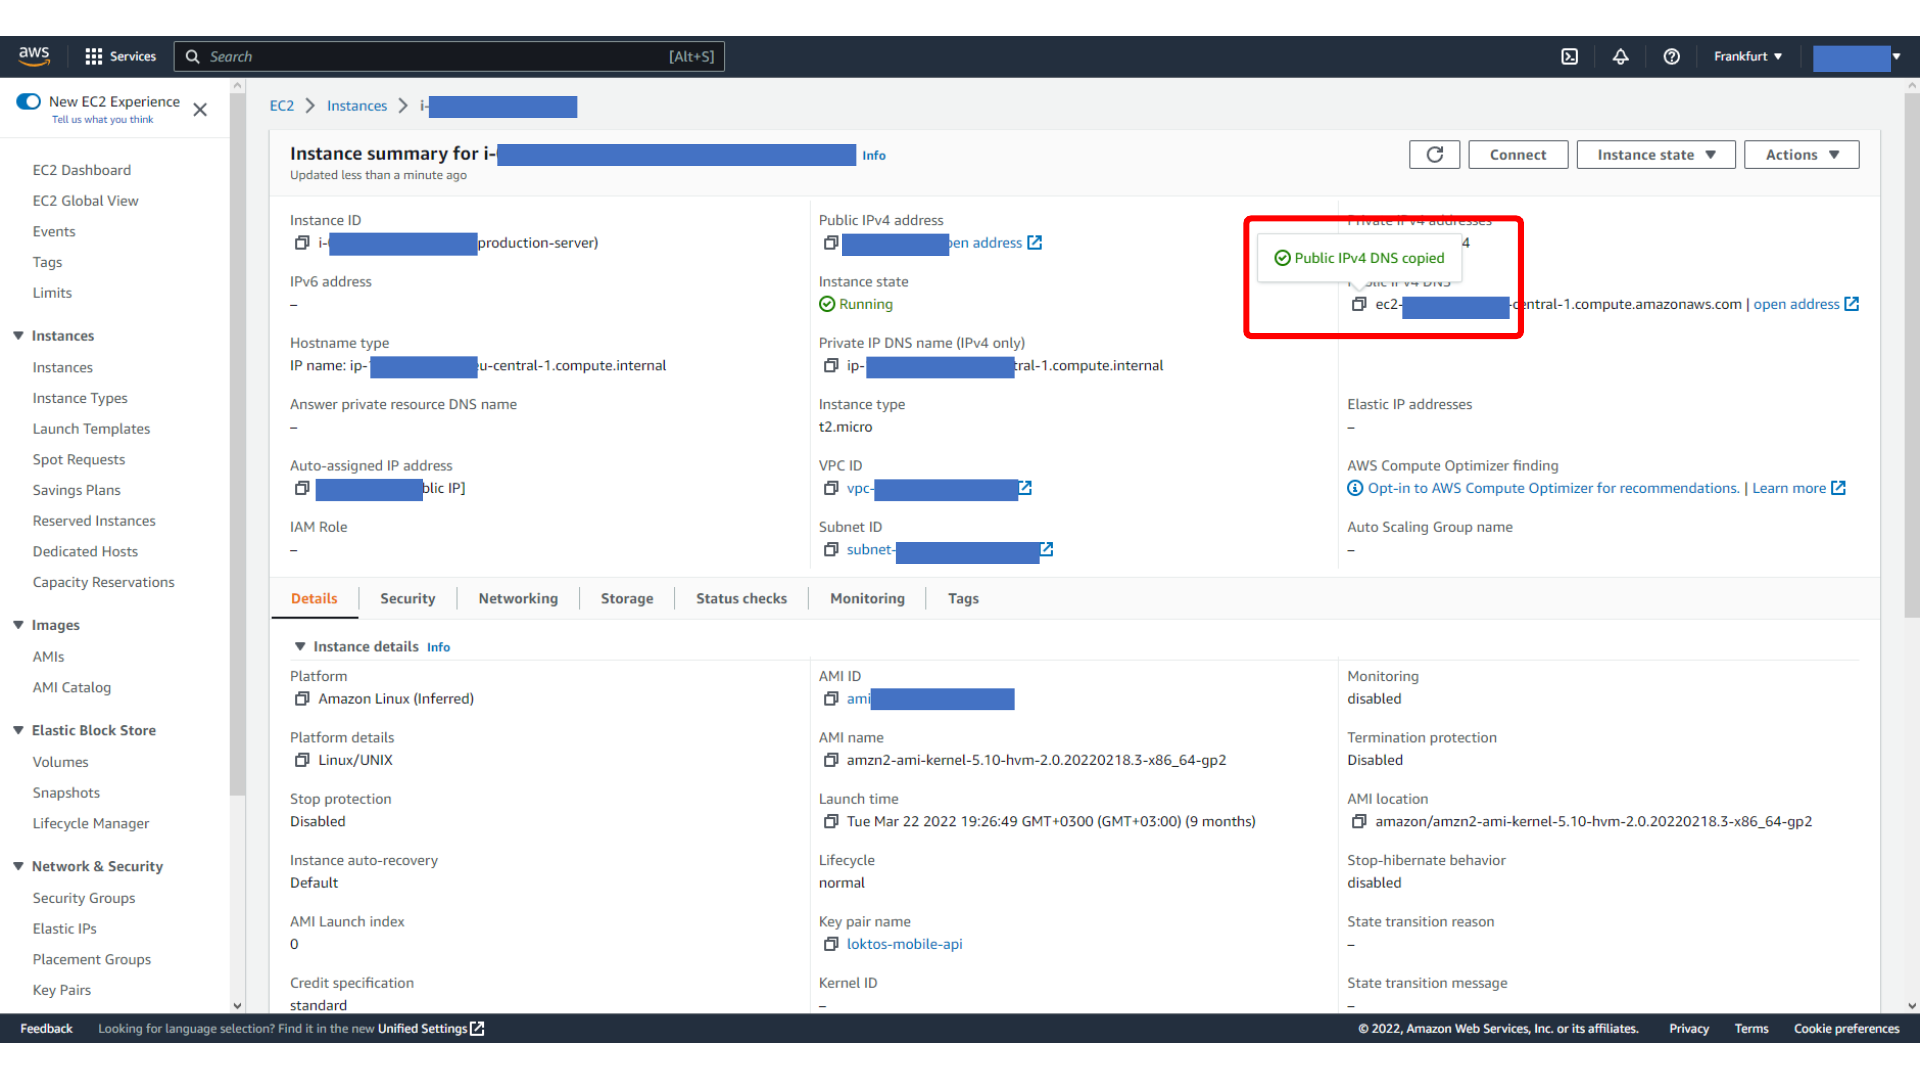
Here, we copy the EC2 public IPv4 DNS value.
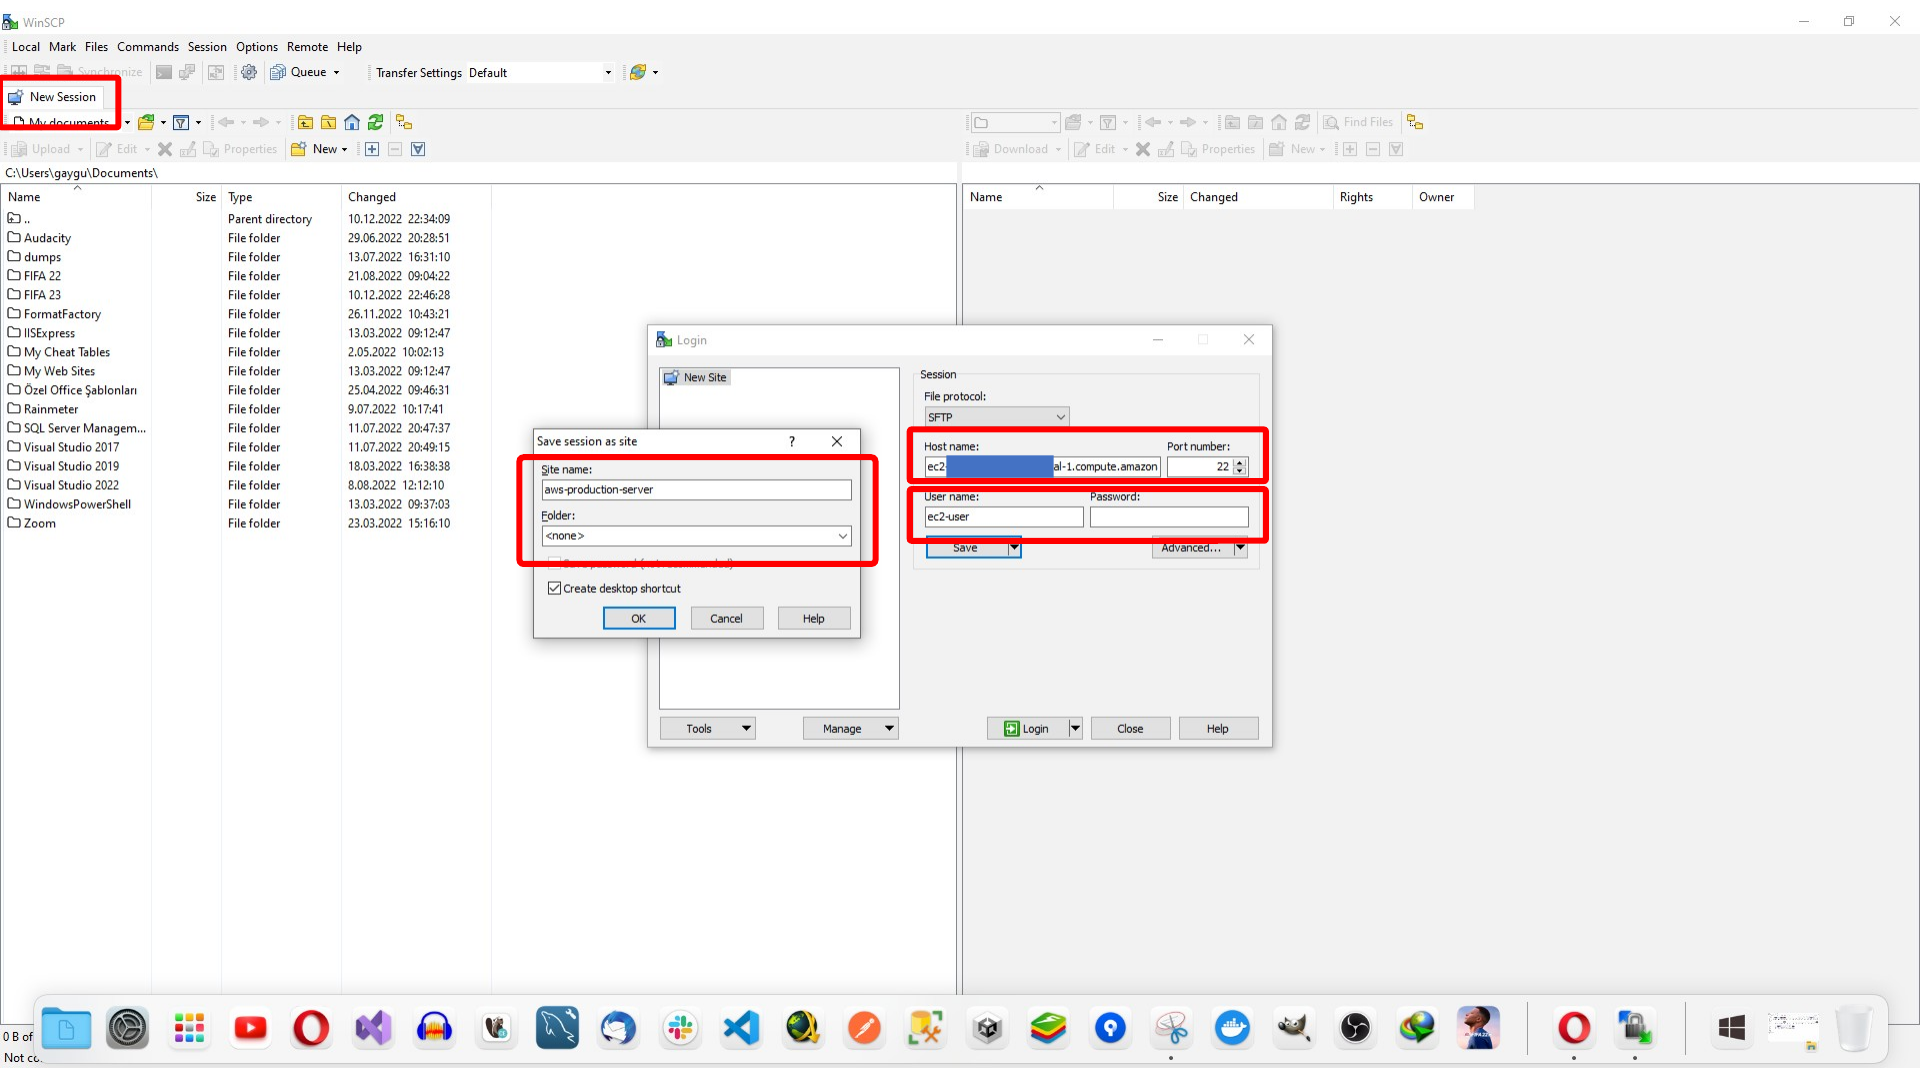
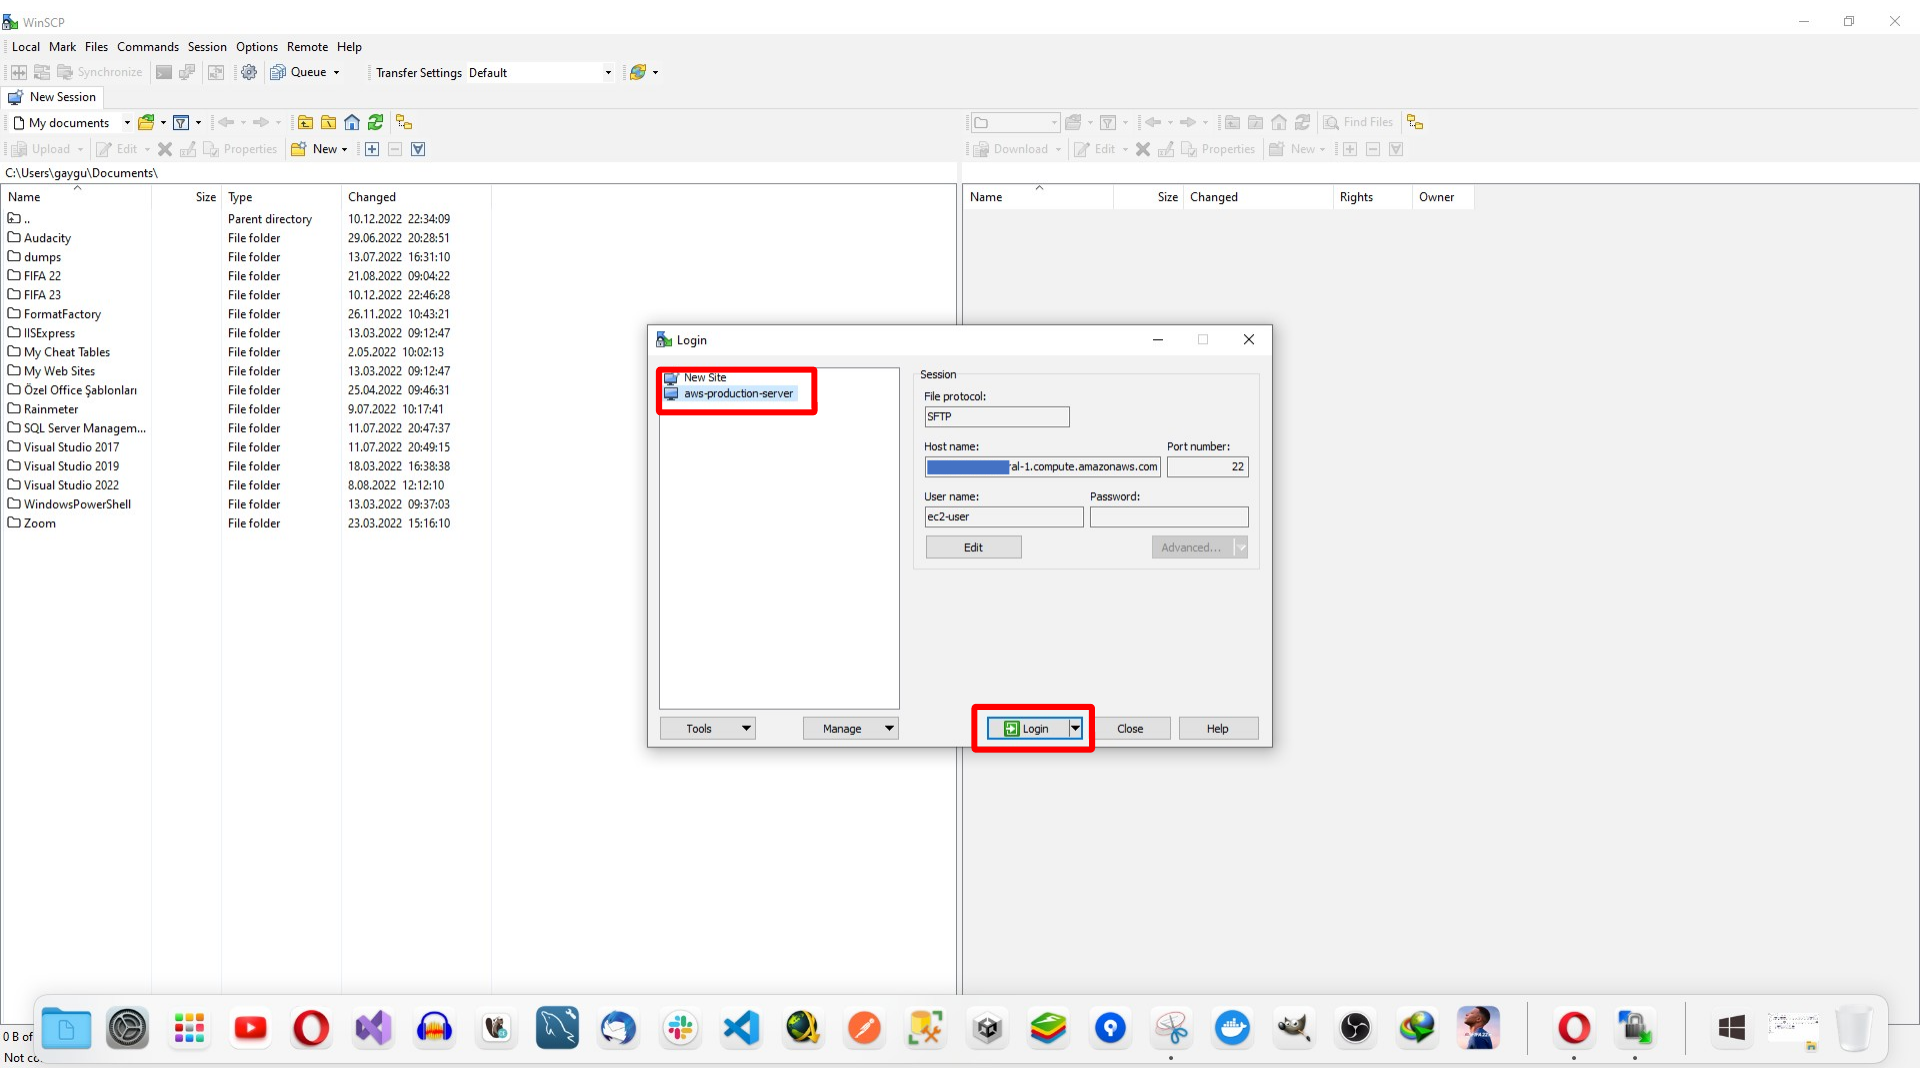
Open WinSCP and create a new session. Use the EC2 public DNS as the host name and ec2-user as the user name for Amazon Linux. Save the session with a recognizable name.
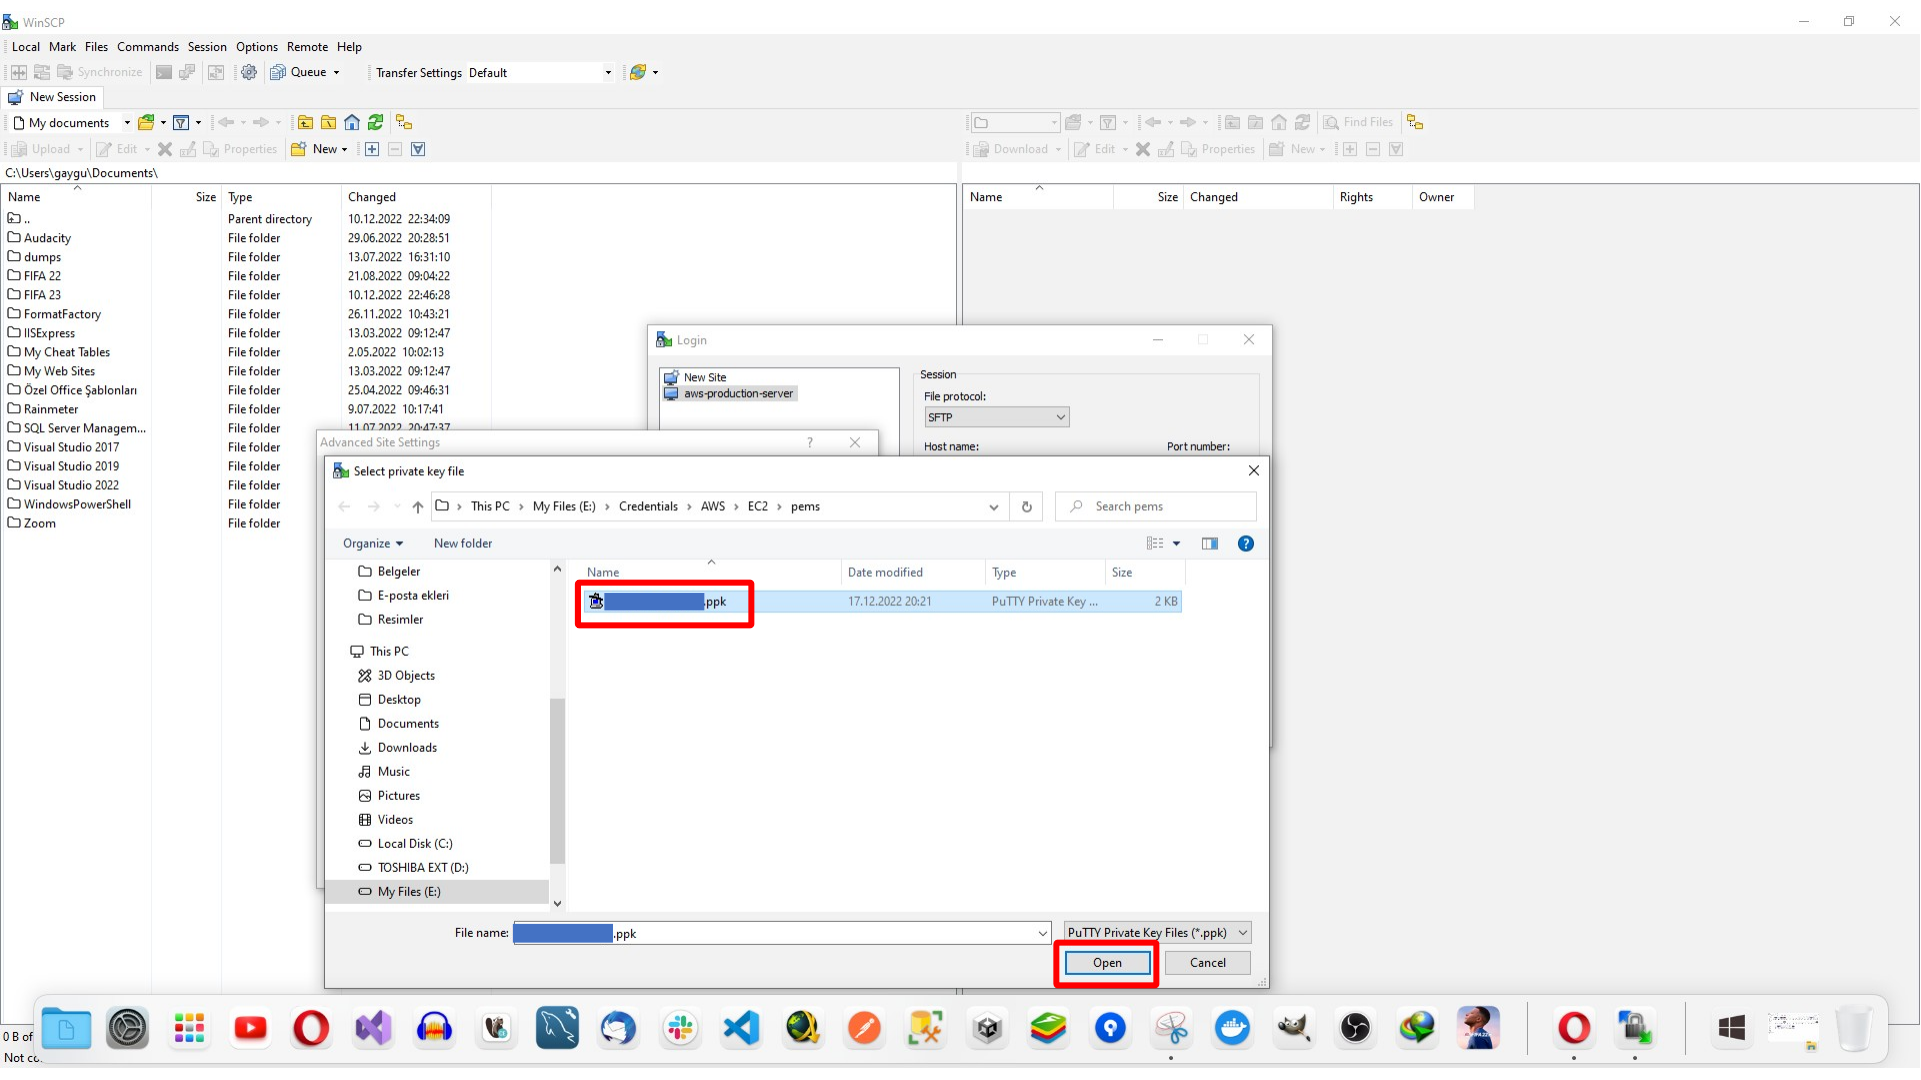
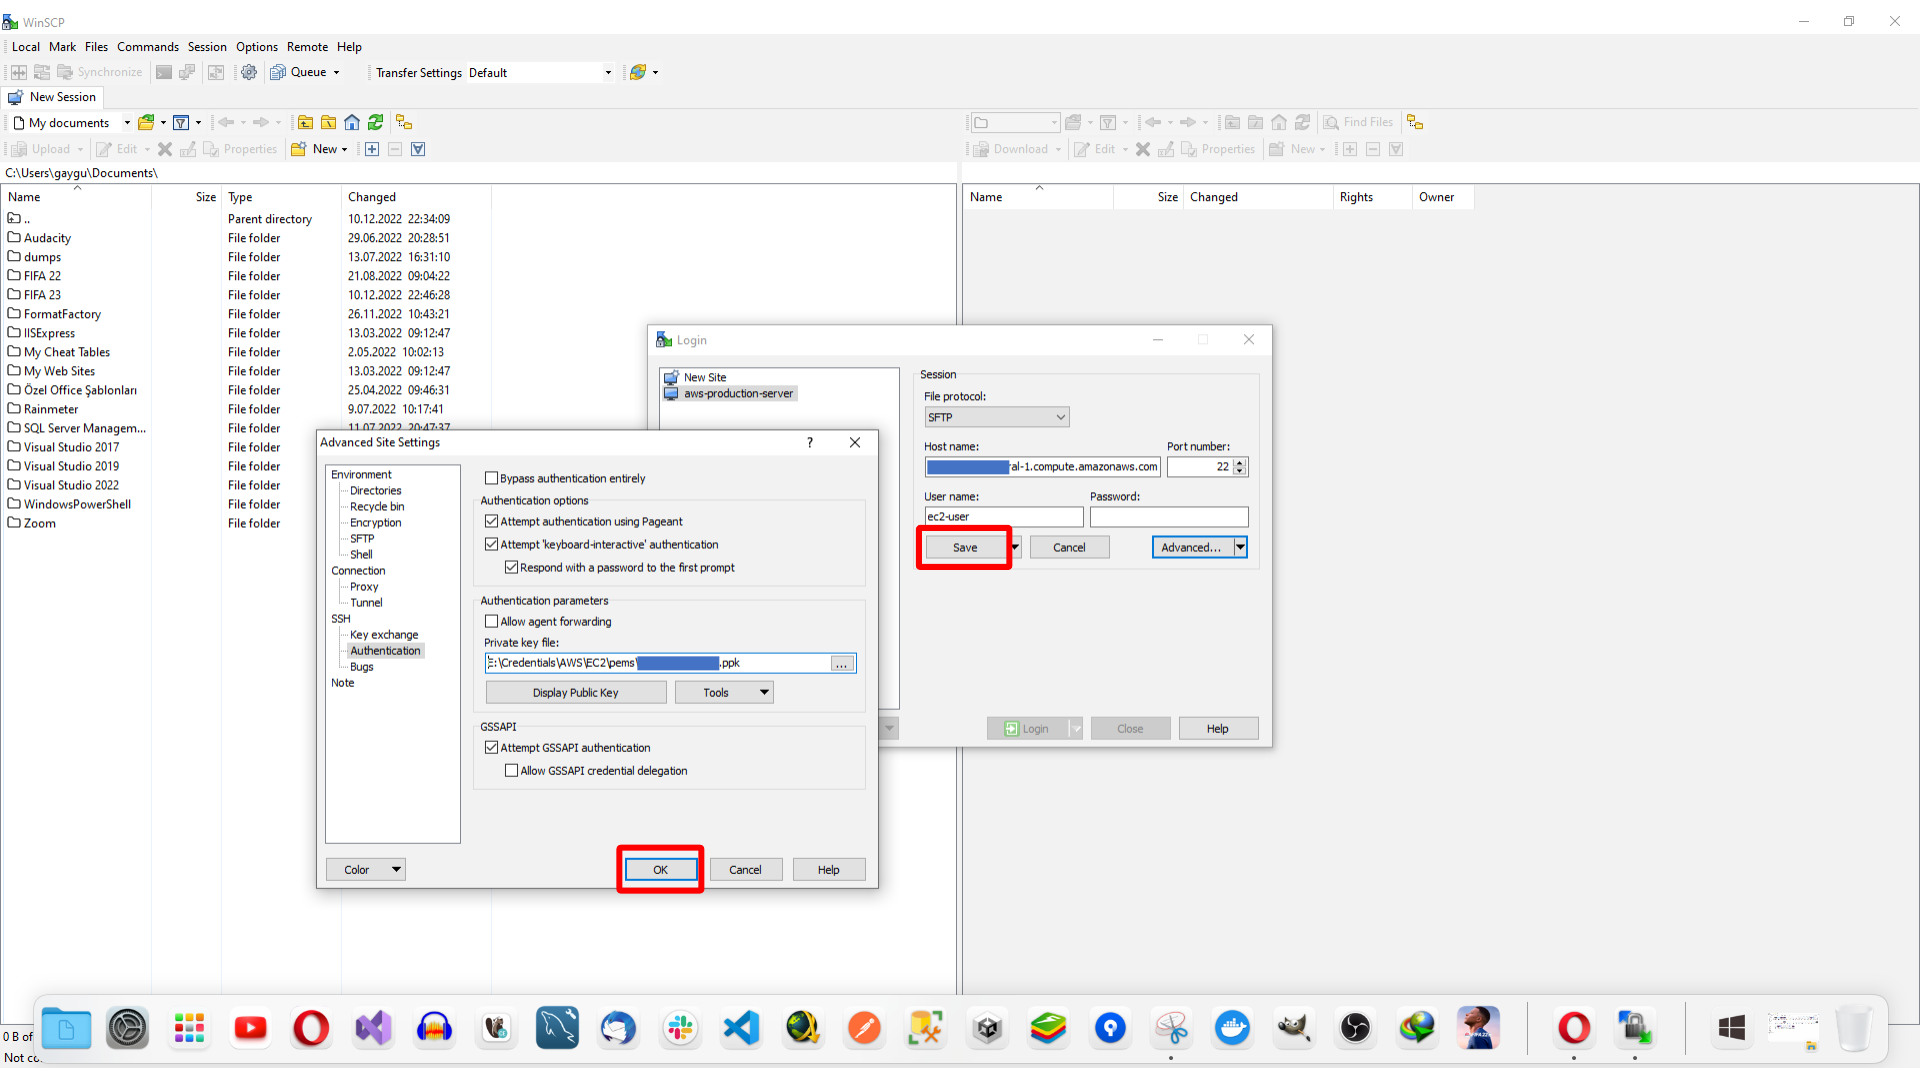
Before logging in, edit the saved session and open the advanced settings. Under SSH > Authentication, select the .ppk file created with PuTTYgen.
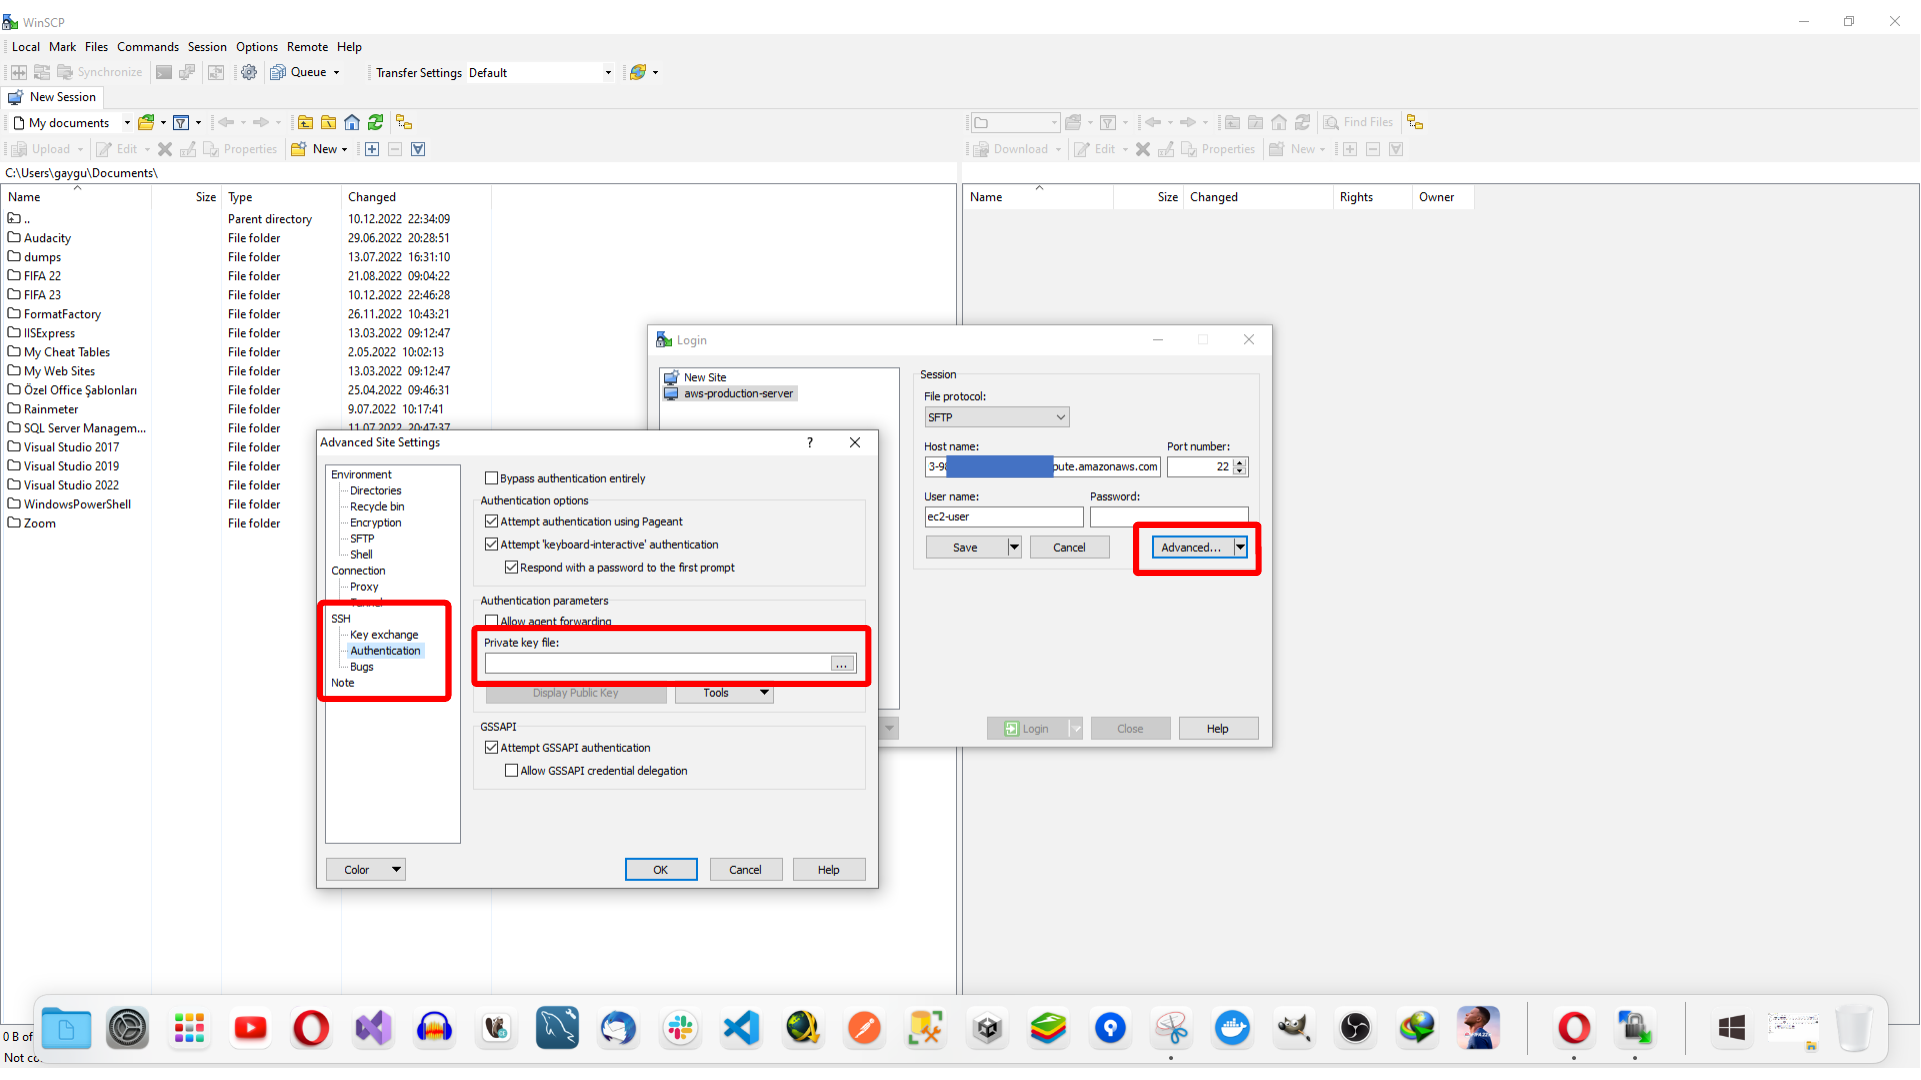
Here, we select the generated PPK key file for WinSCP.
Here, we confirm the WinSCP advanced site settings.
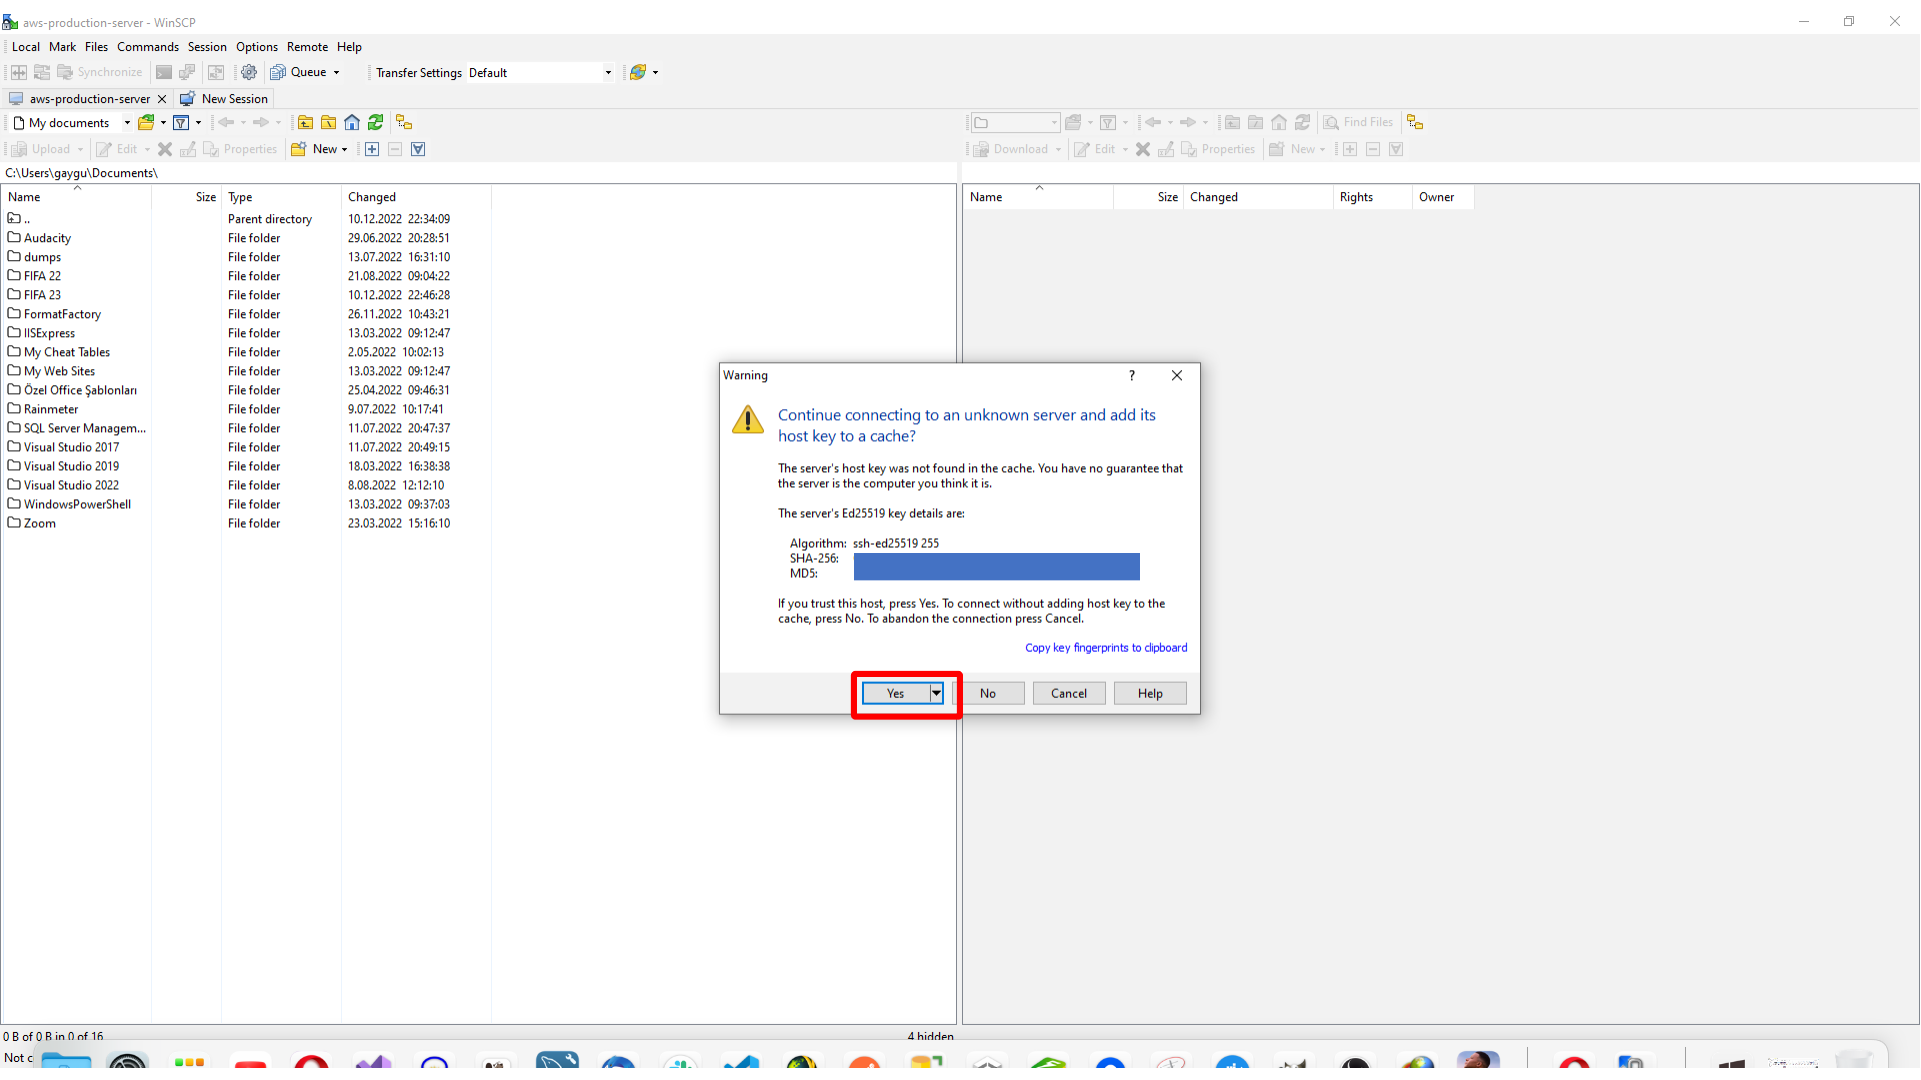
Now log in to the session. On the first connection, WinSCP may ask whether you trust the server host key. Confirm it if the instance details are correct.
Here, we accept the WinSCP host key prompt.
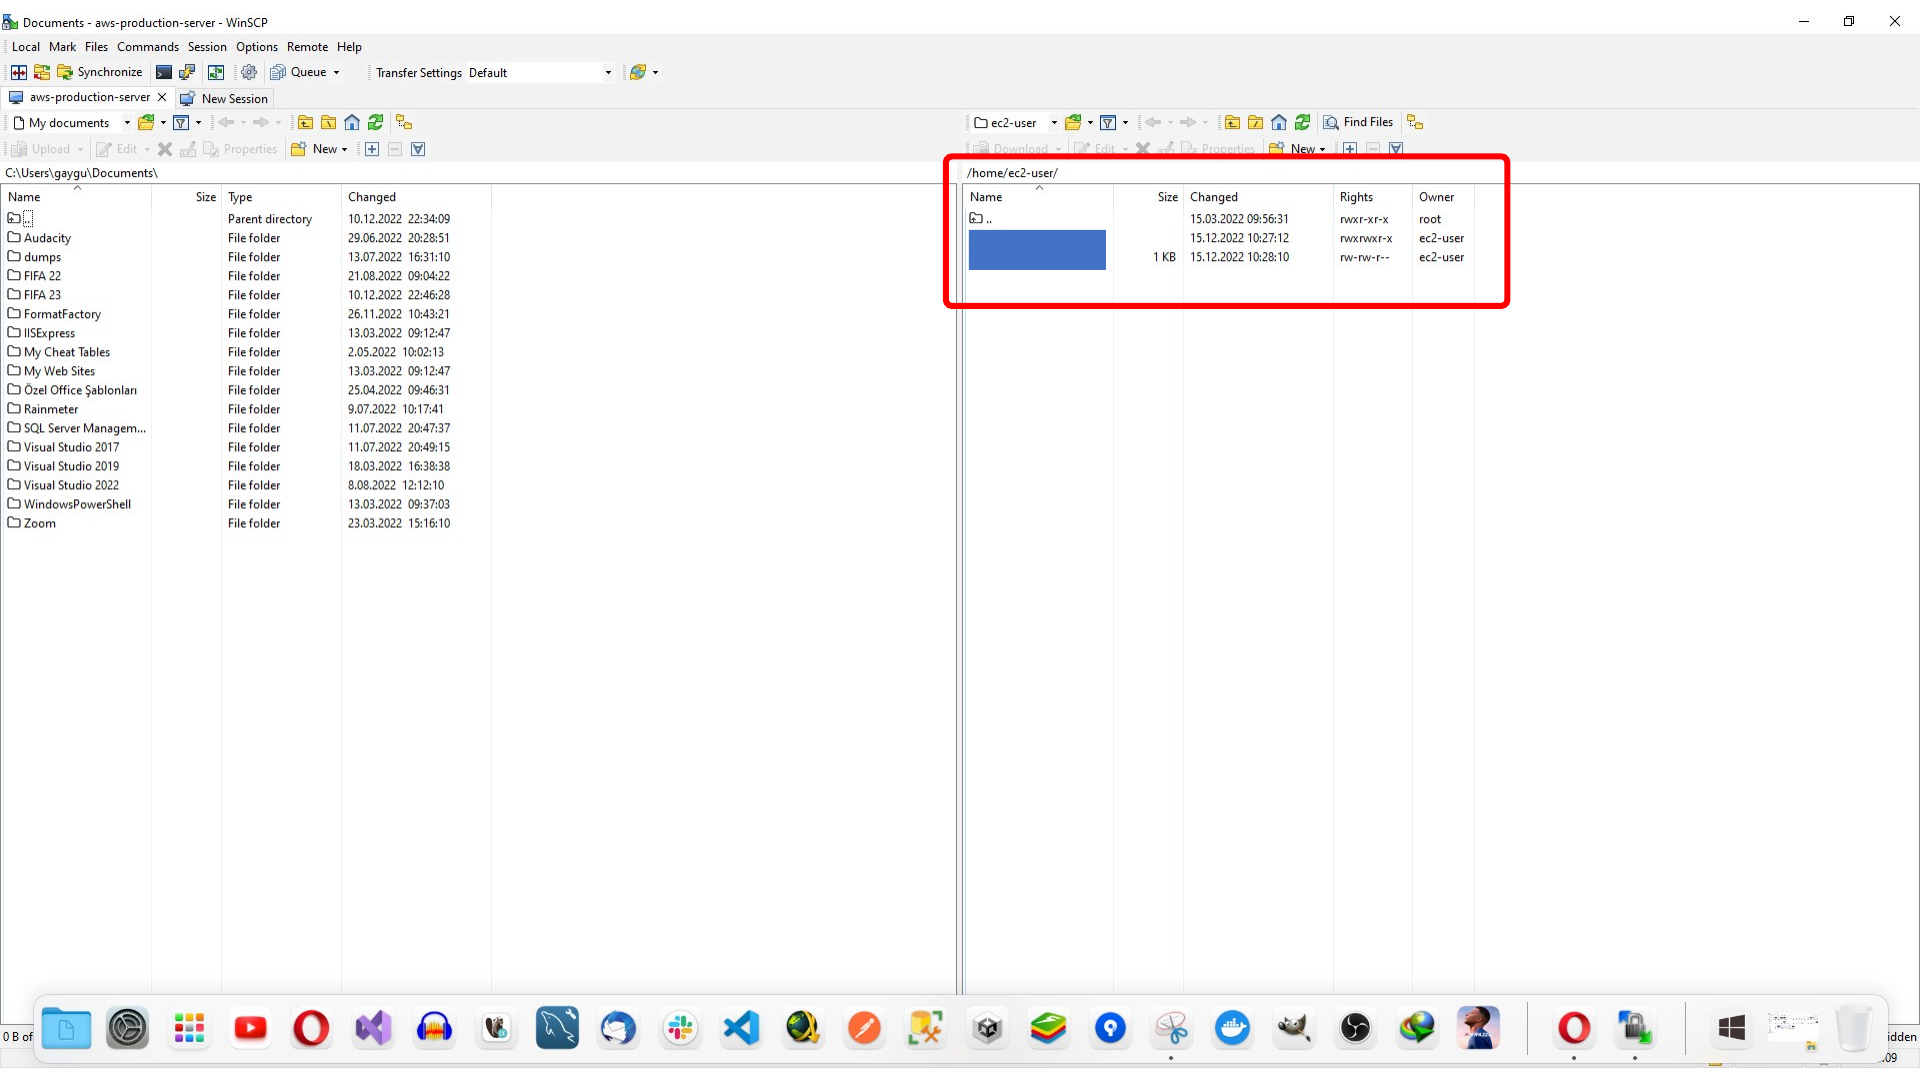
After the connection succeeds, WinSCP shows the local file system on one side and the EC2 file system on the other. You can upload or download files by dragging them between the panels.
Opening PuTTY from WinSCP
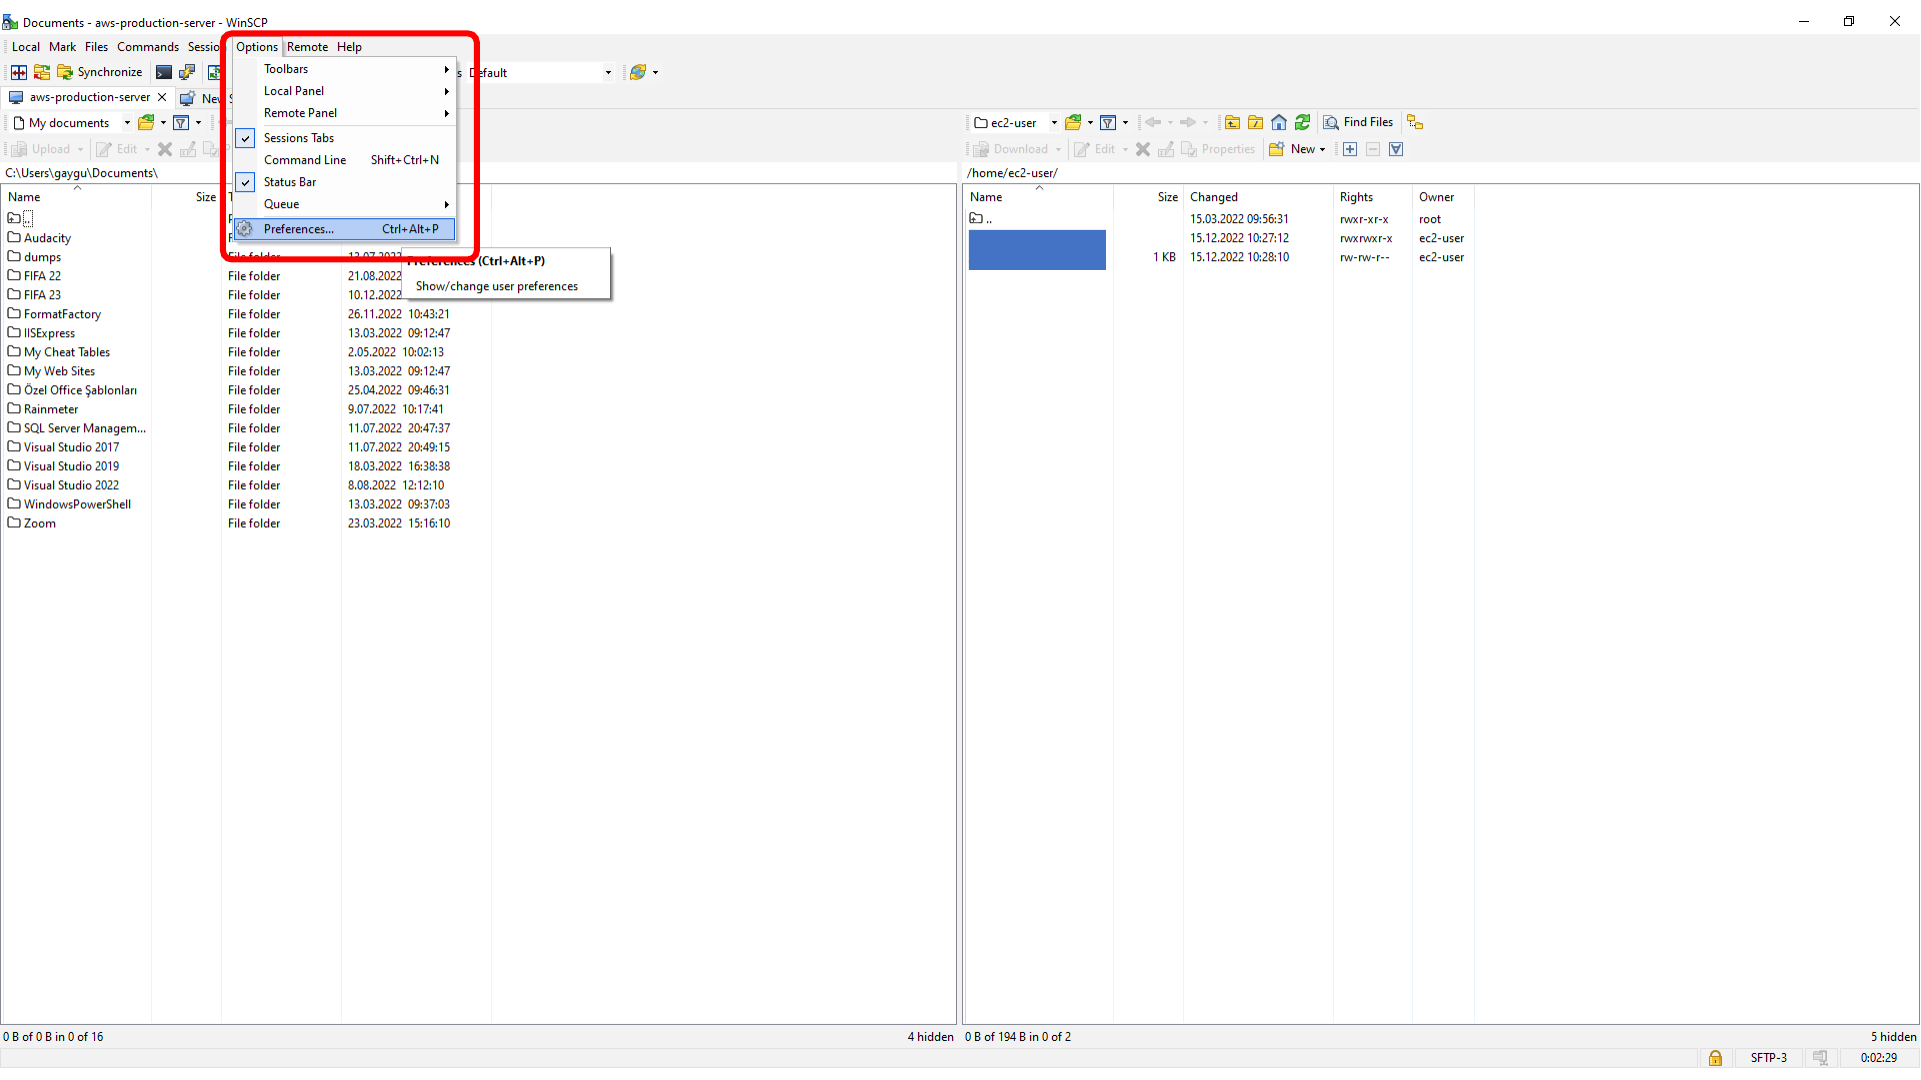
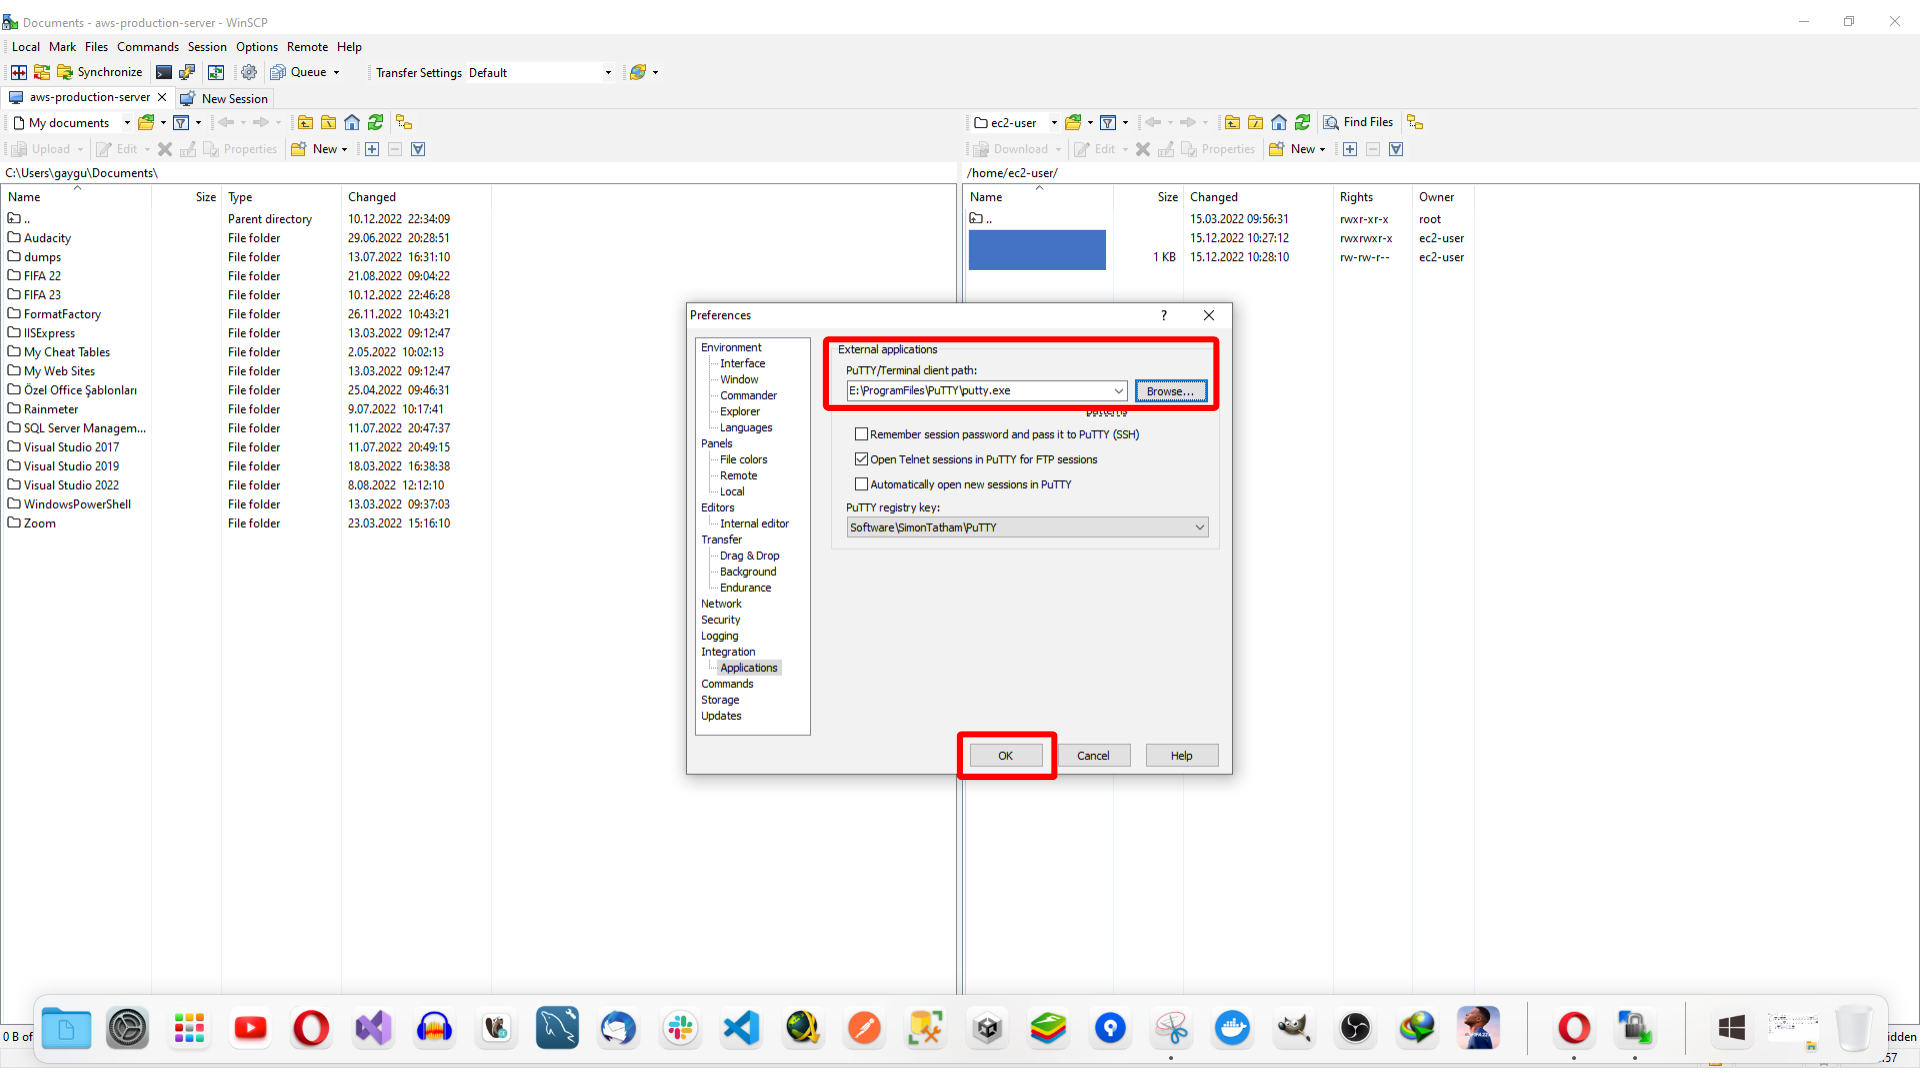
WinSCP can also open the current session in PuTTY. First, set the PuTTY executable location from Options > Preferences.
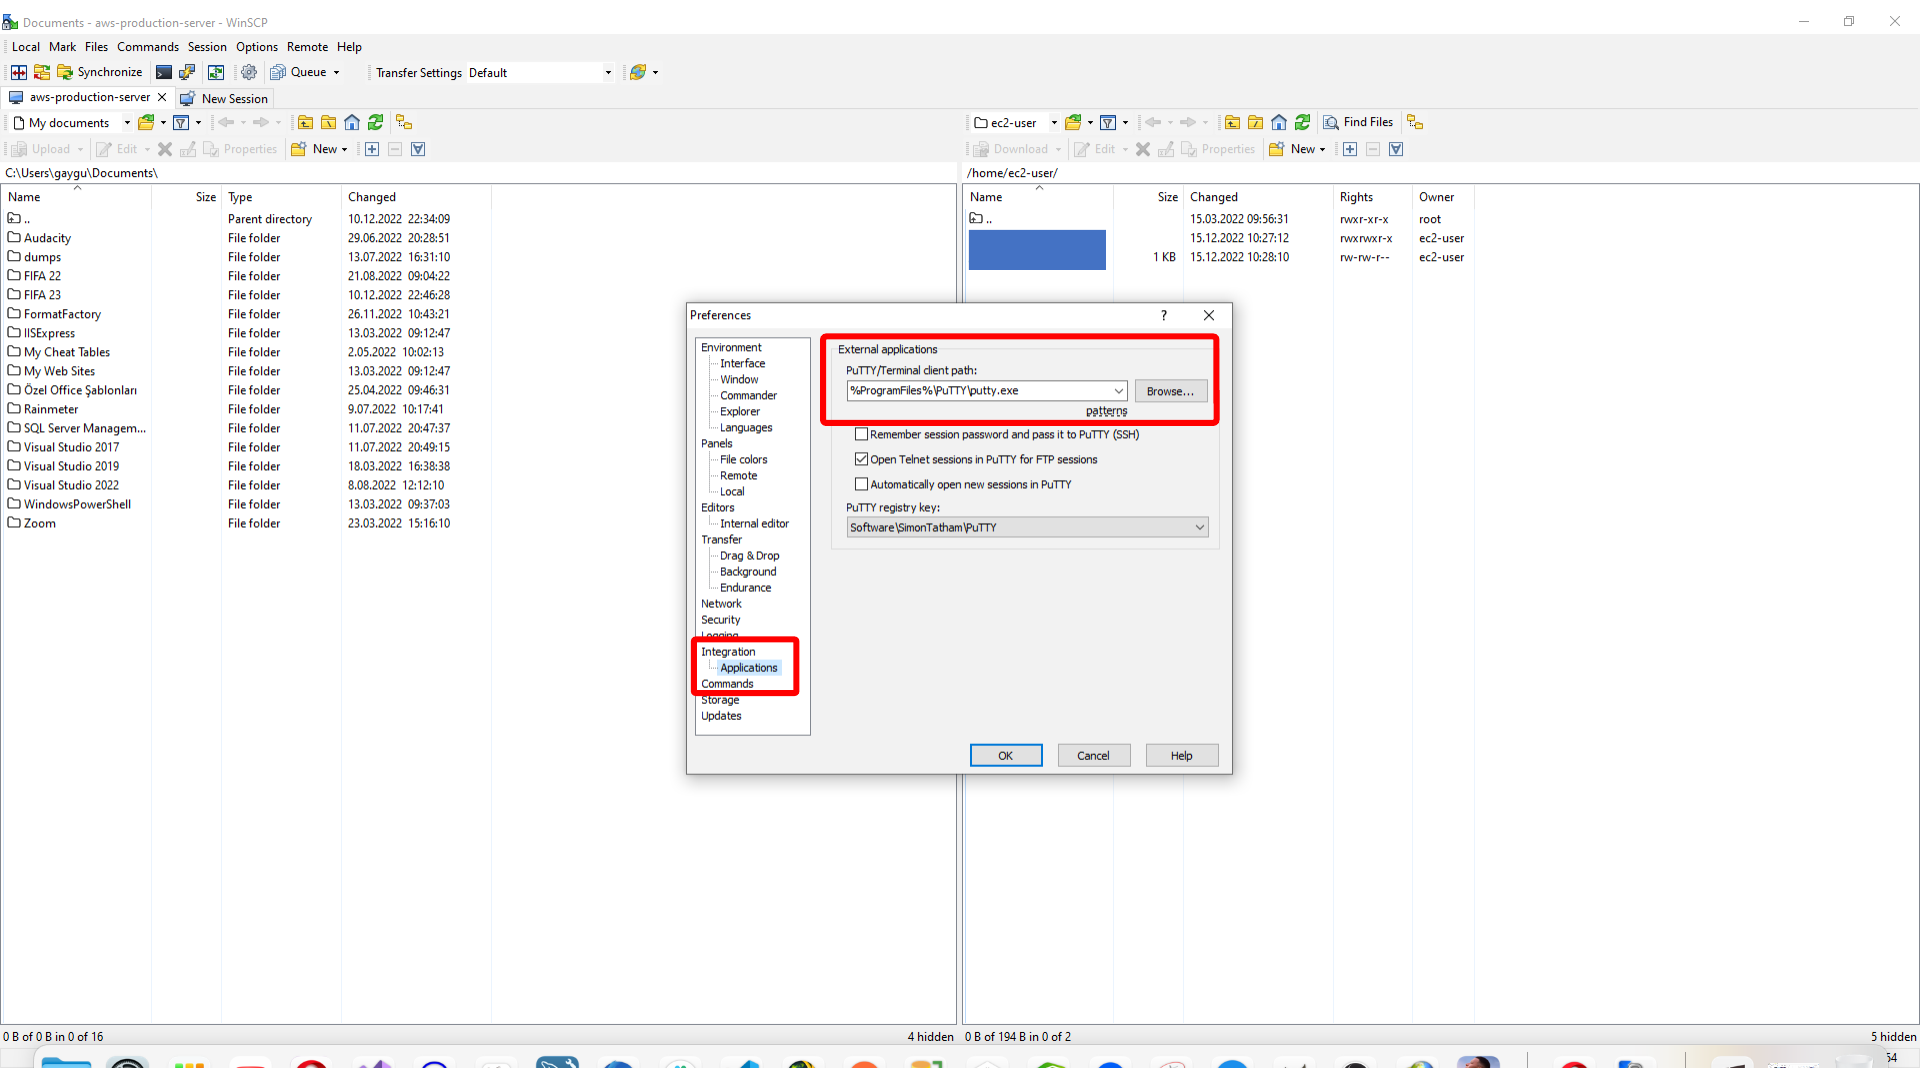
In the preferences window, go to Integration > Applications, browse for putty.exe, and apply the change.
Here, we select putty.exe for WinSCP integration.
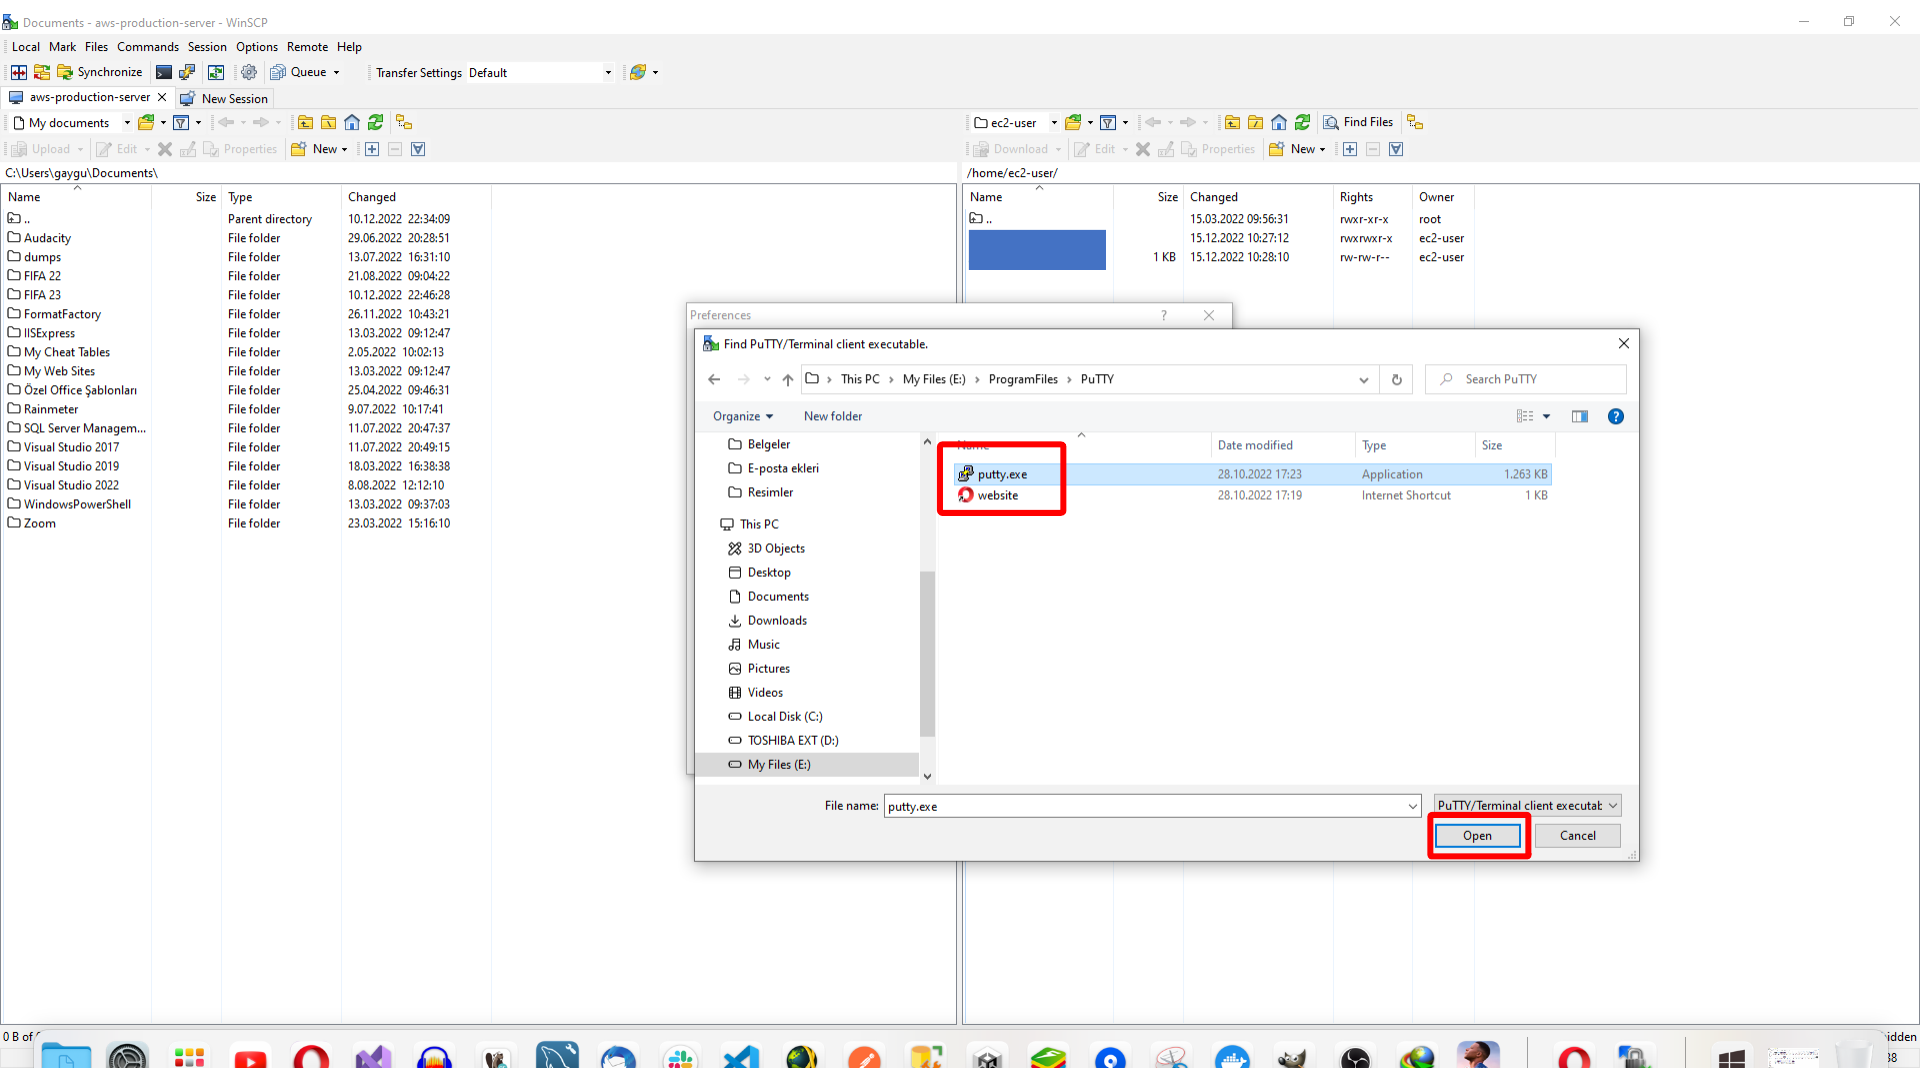
Here, we apply the PuTTY integration settings in WinSCP.
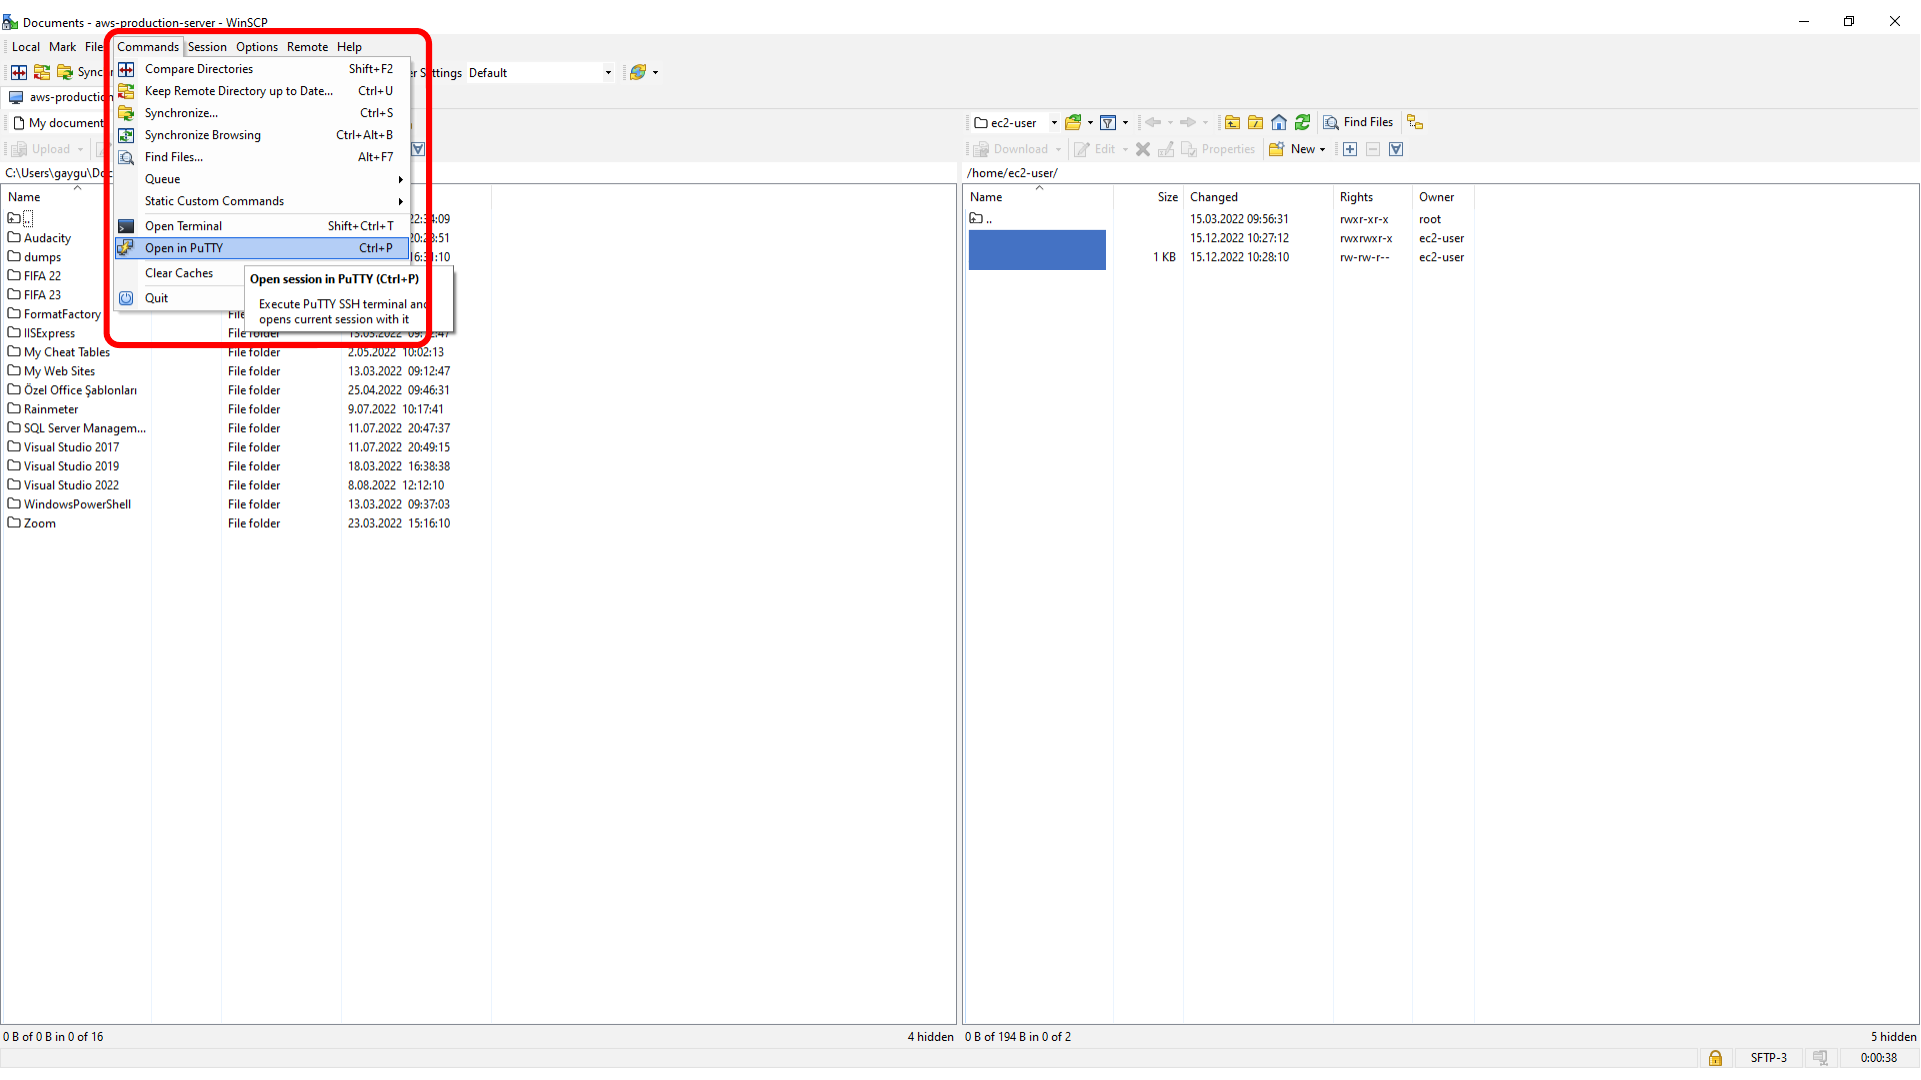
After that, use Commands > Open in PuTTY. PuTTY opens an SSH terminal for the same EC2 instance.
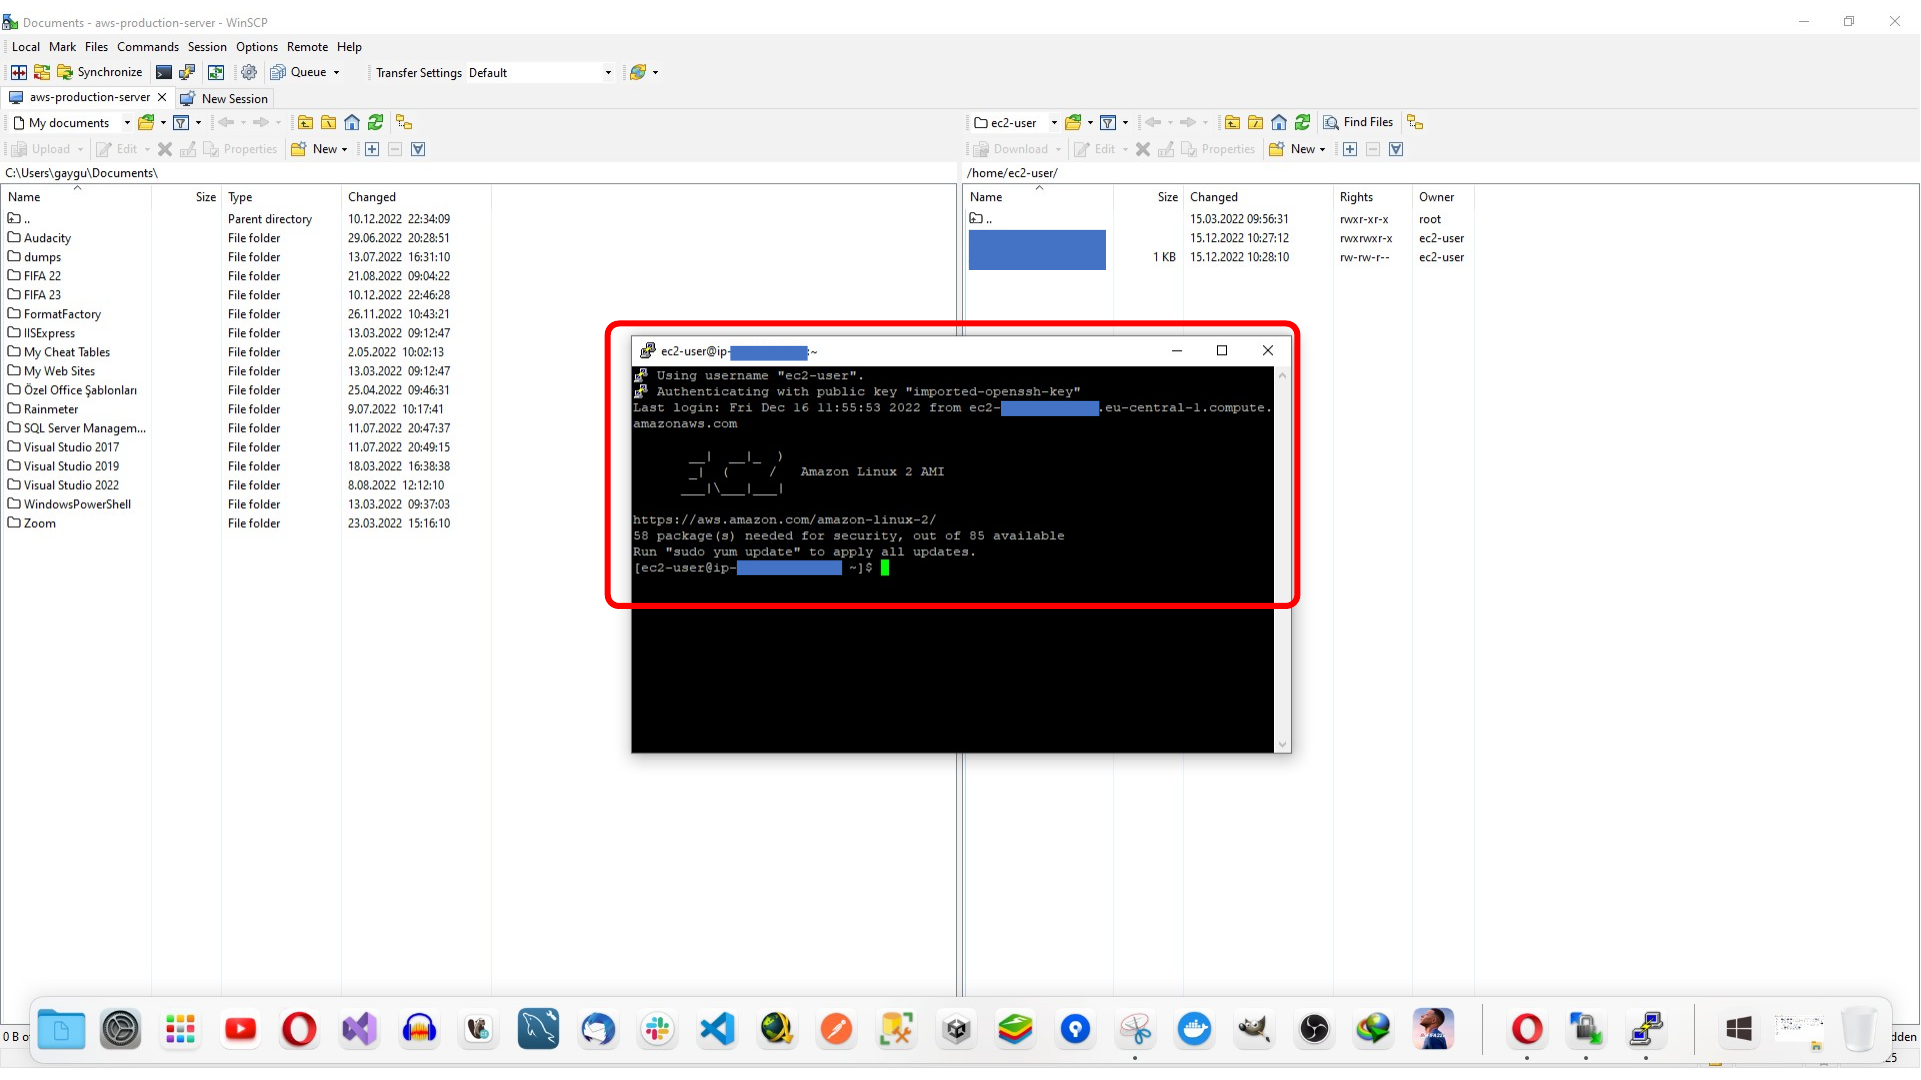
This screen shows Successful PuTTY SSH connection to the EC2 instance.
Summary
At the end of this flow, the EC2 instance is accessible in two useful ways: WinSCP handles file transfer with the generated .ppk key, and PuTTY provides SSH terminal access. Once the session is saved, the same configuration can be reused whenever you need to upload files or run commands on the instance.
Comments