This archived 2016 walkthrough creates a Twitch account and embeds its channel player in Moodle. Twitch’s interface and embed requirements have changed over time, so use the current Twitch embed instructions and test the player on your Moodle domain.
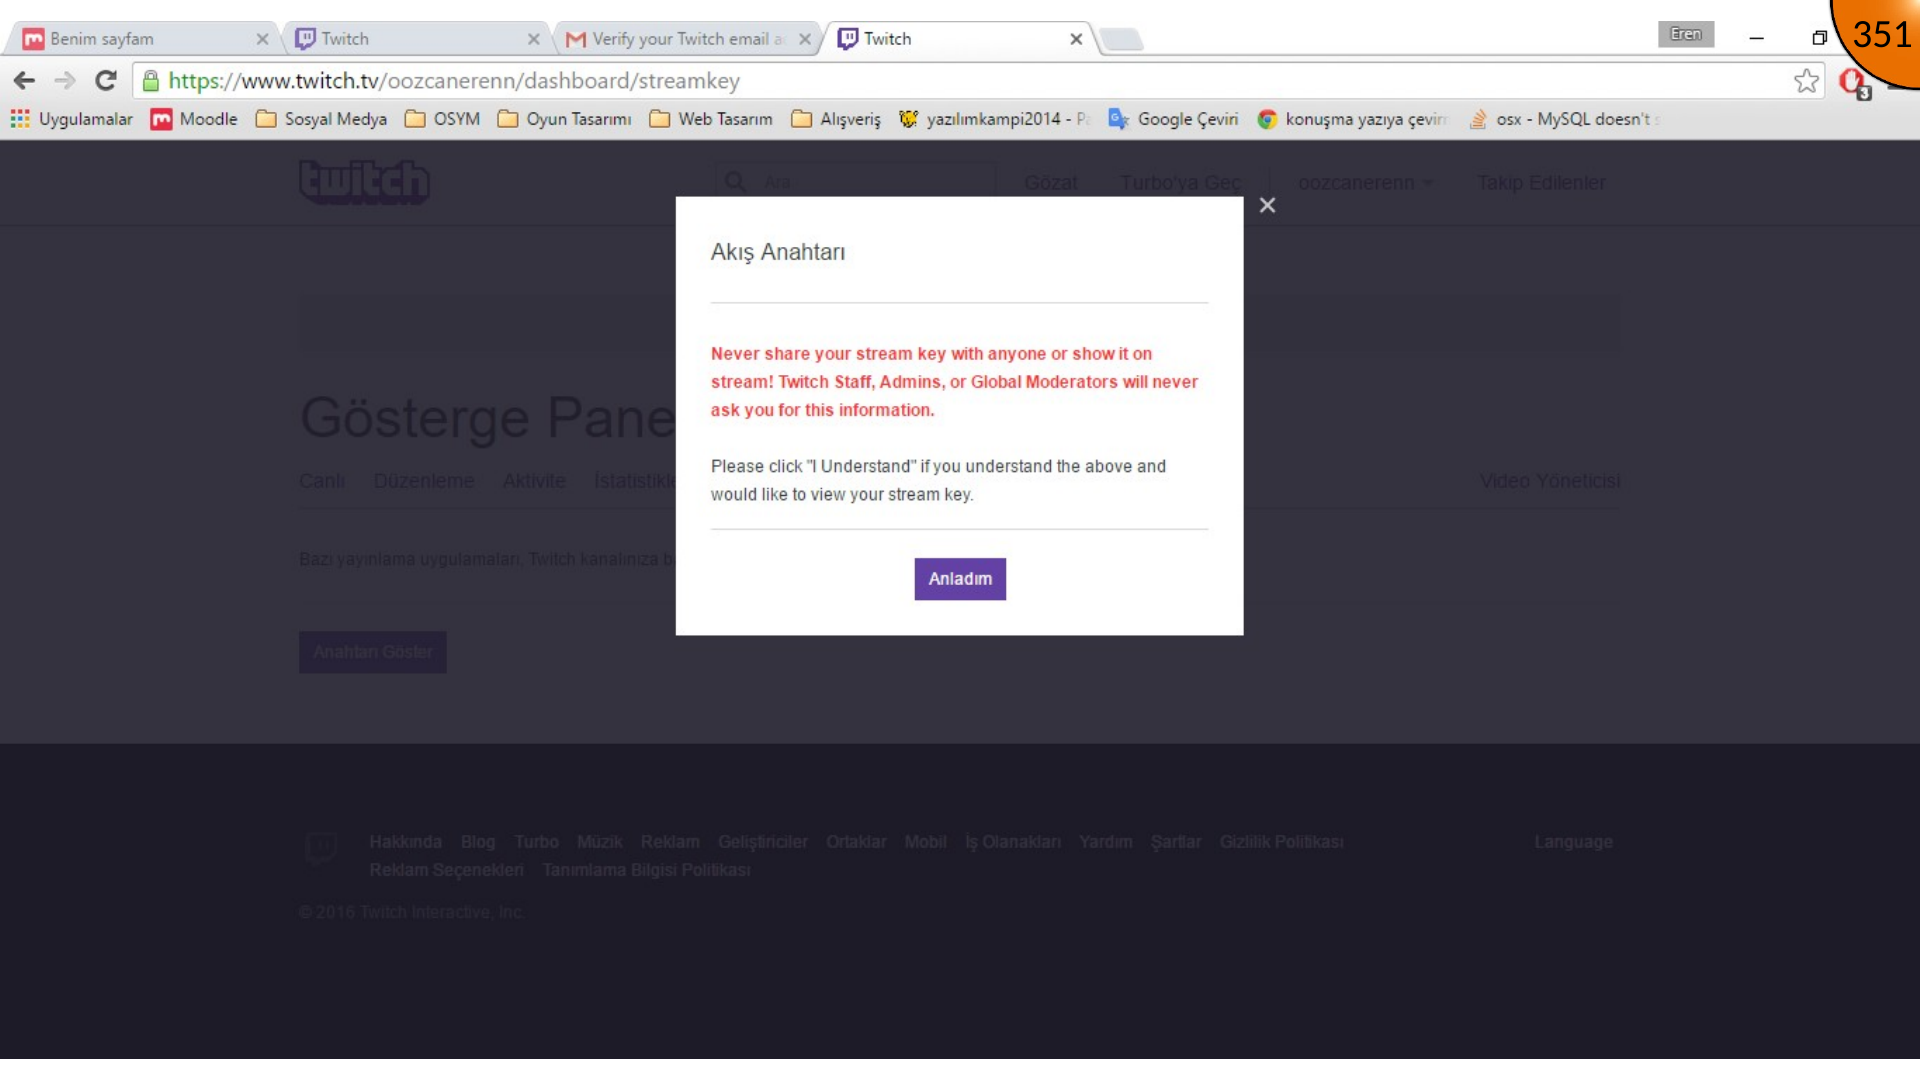
Never share a stream key. Treat it like a password: store it privately, regenerate it if exposed, and use it only in your streaming software—not in Moodle or a public page.
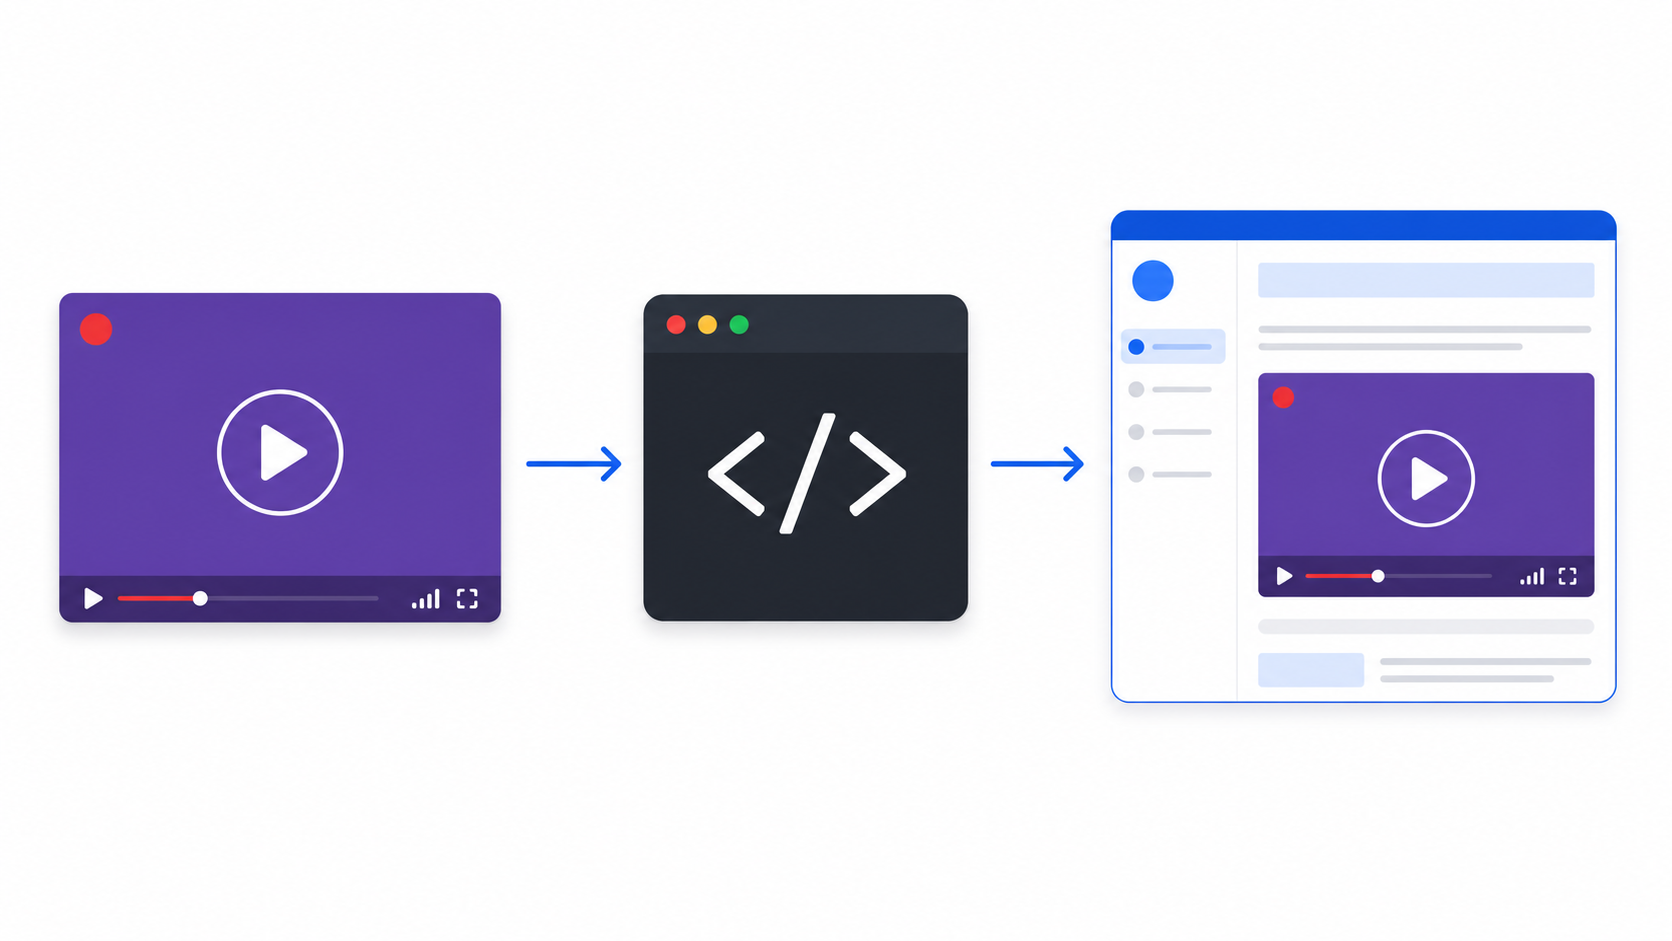
Table of contents
Open Table of contents
Creating and Verifying the Twitch Account
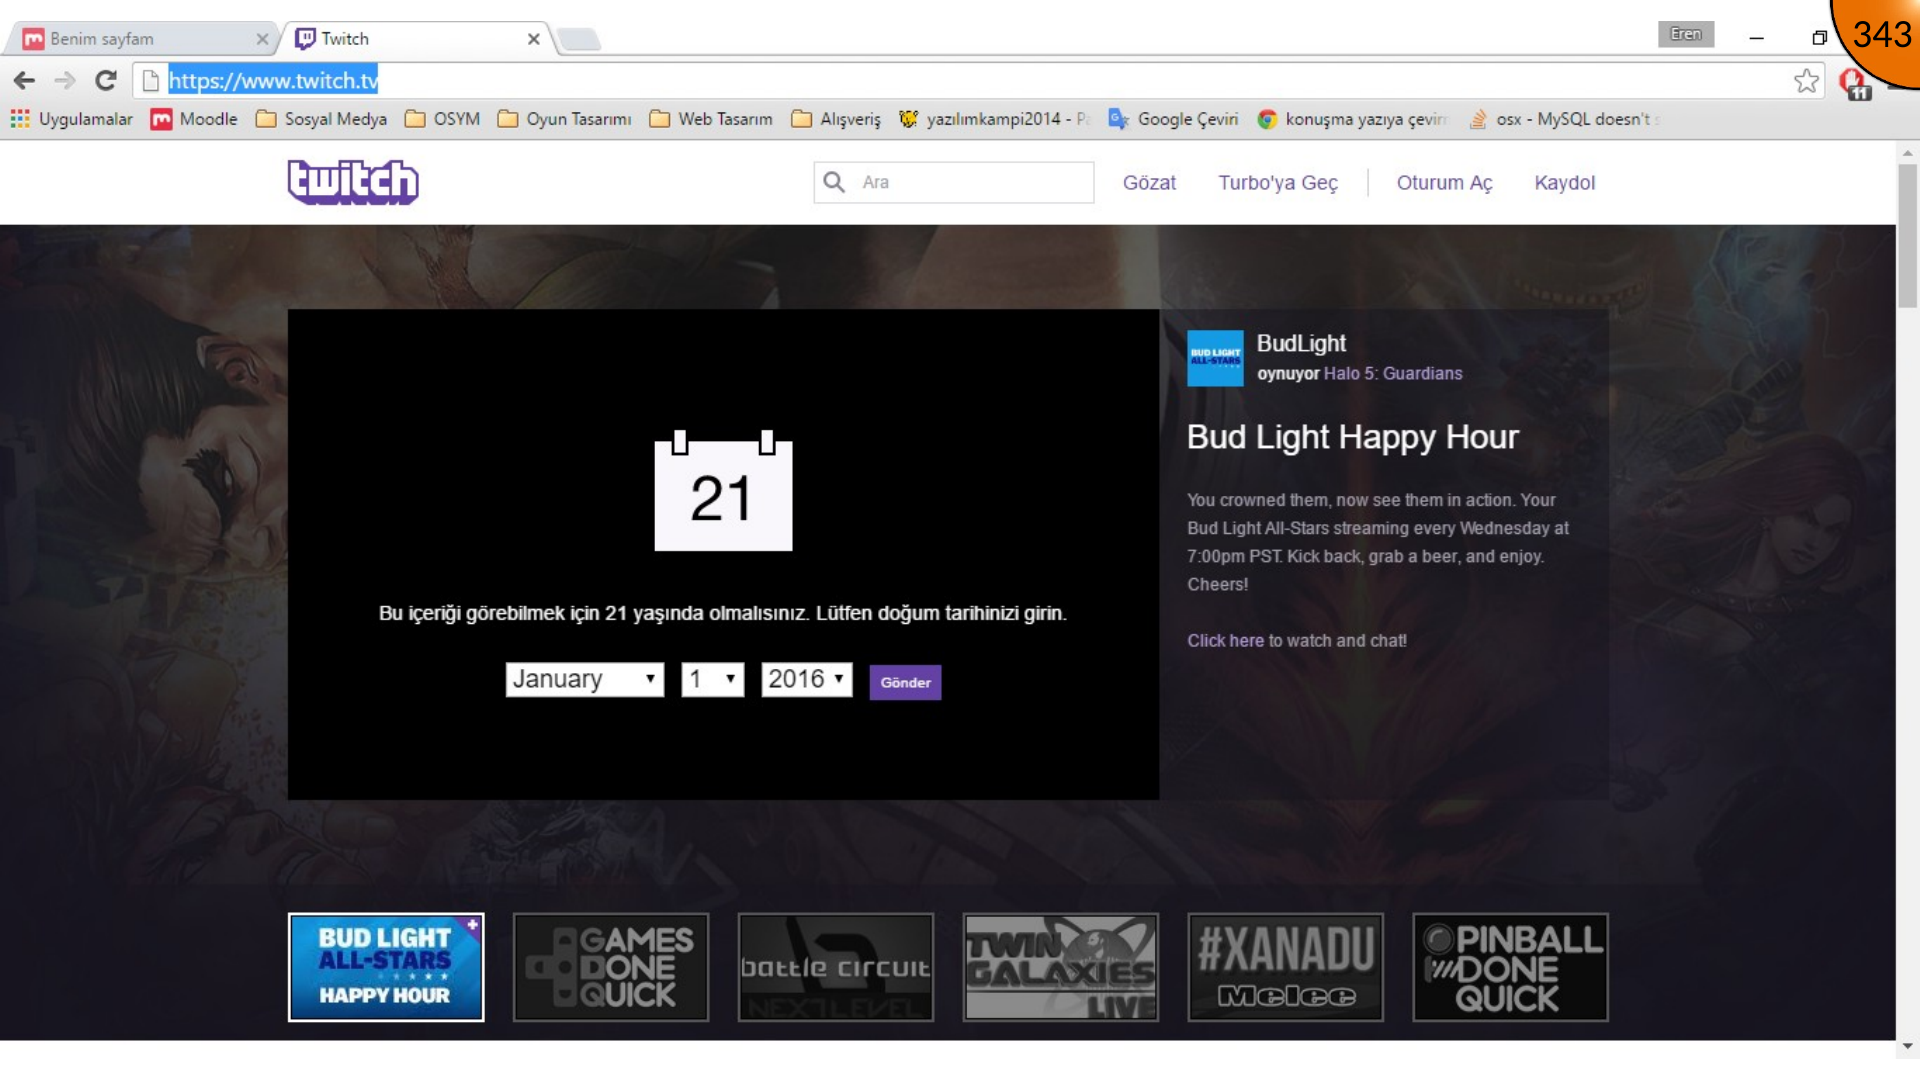
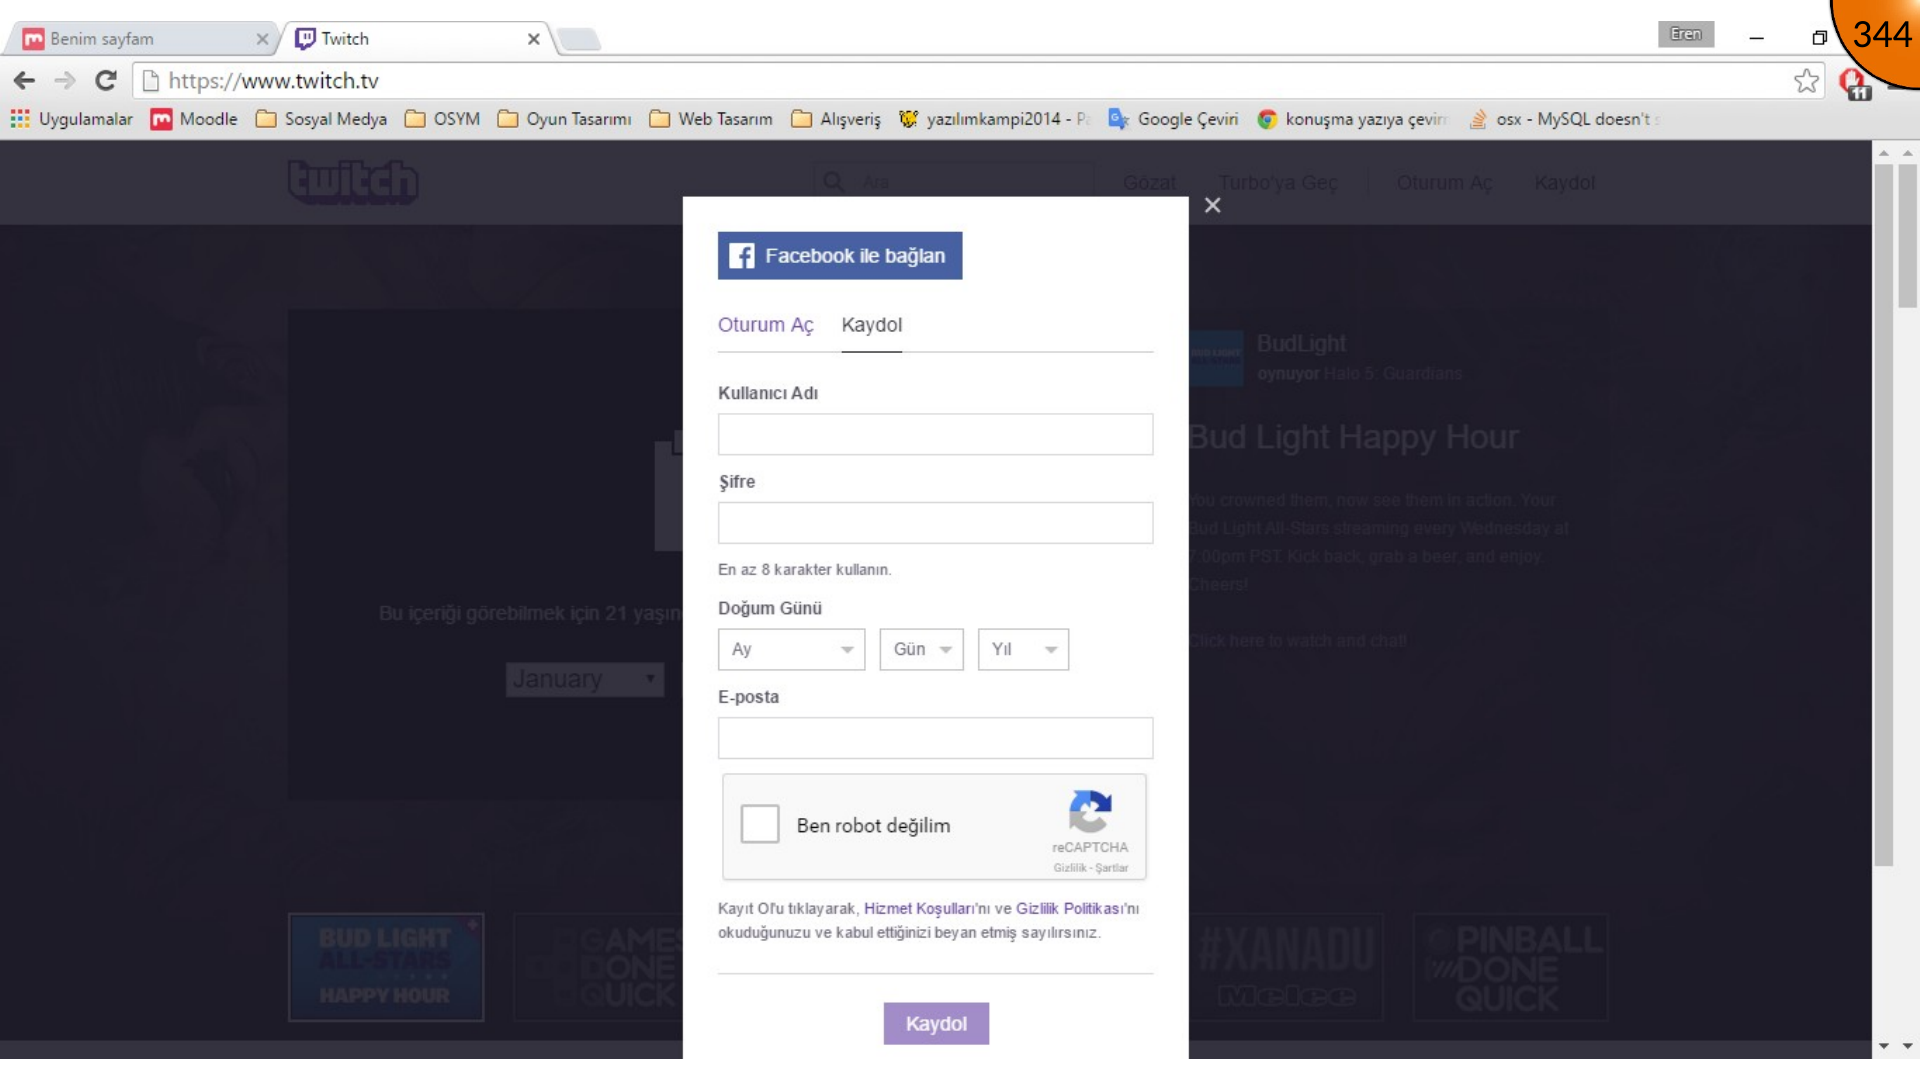
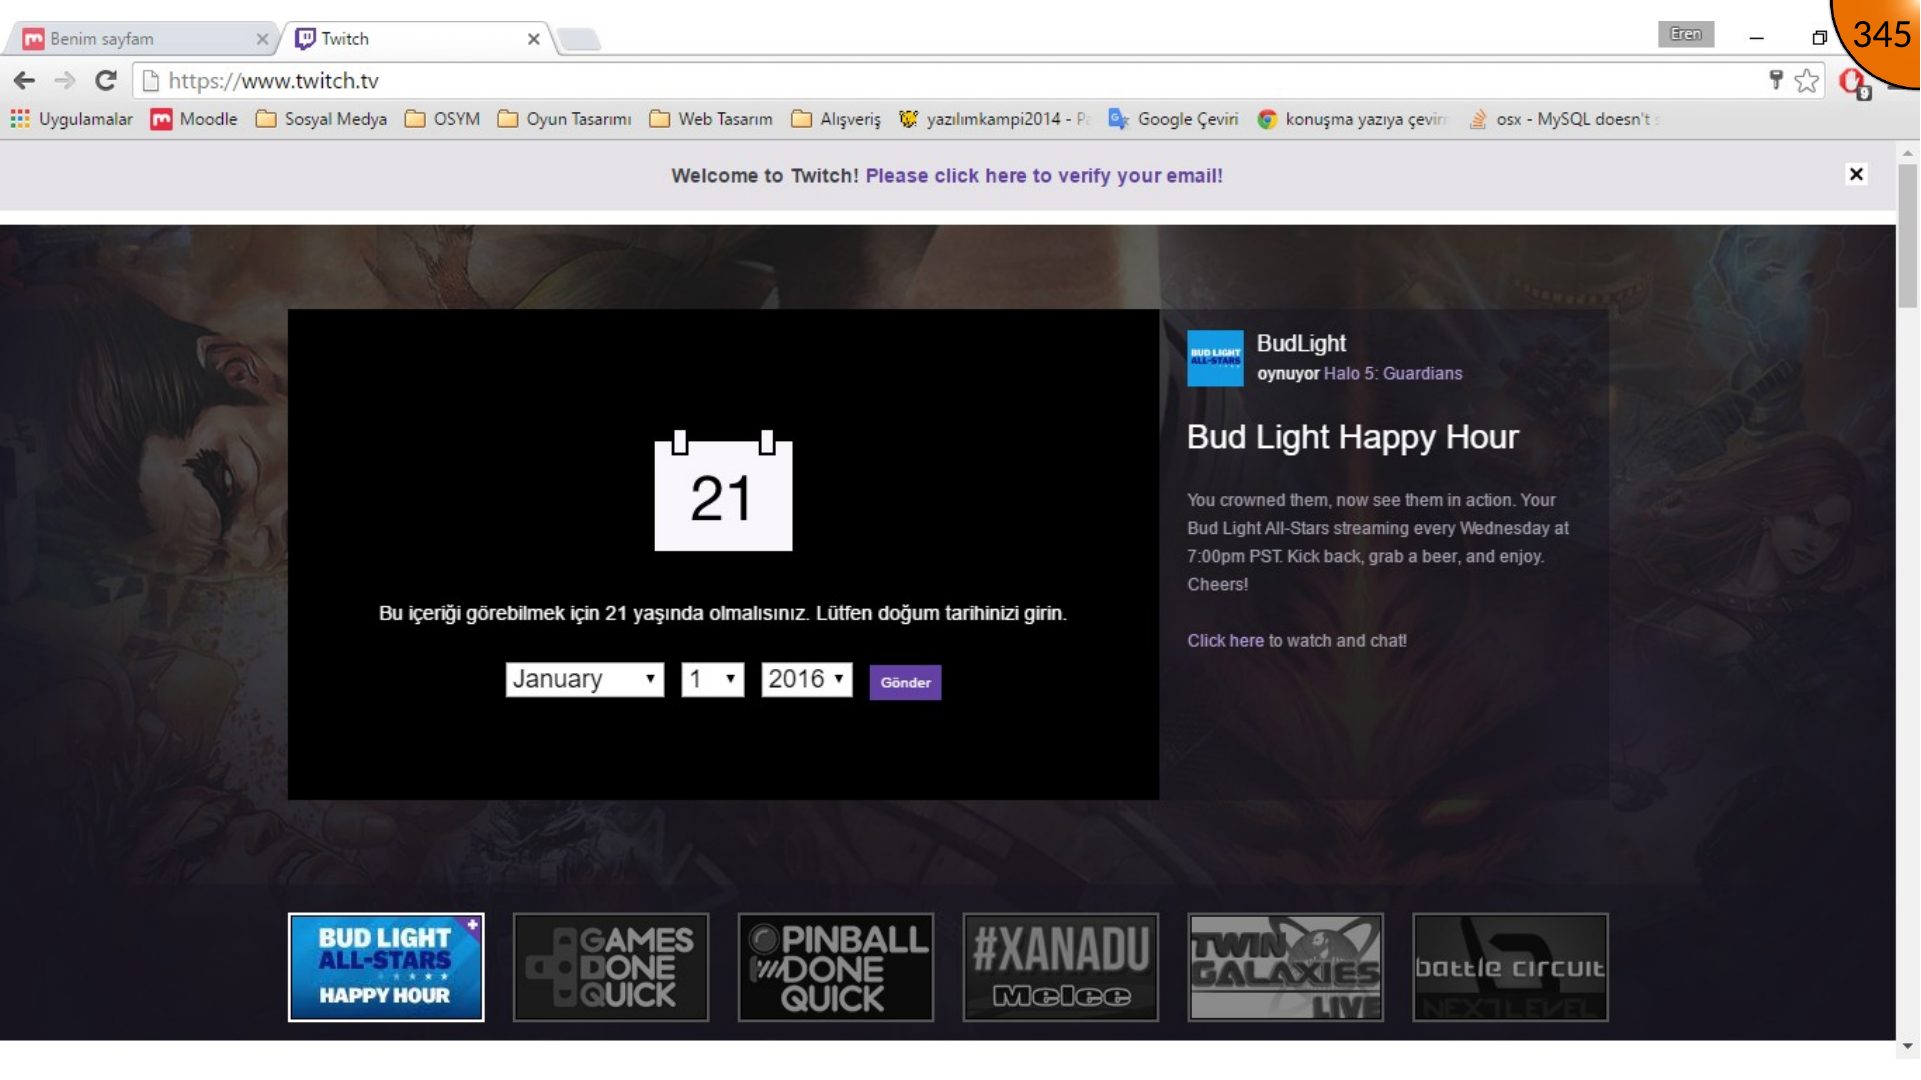
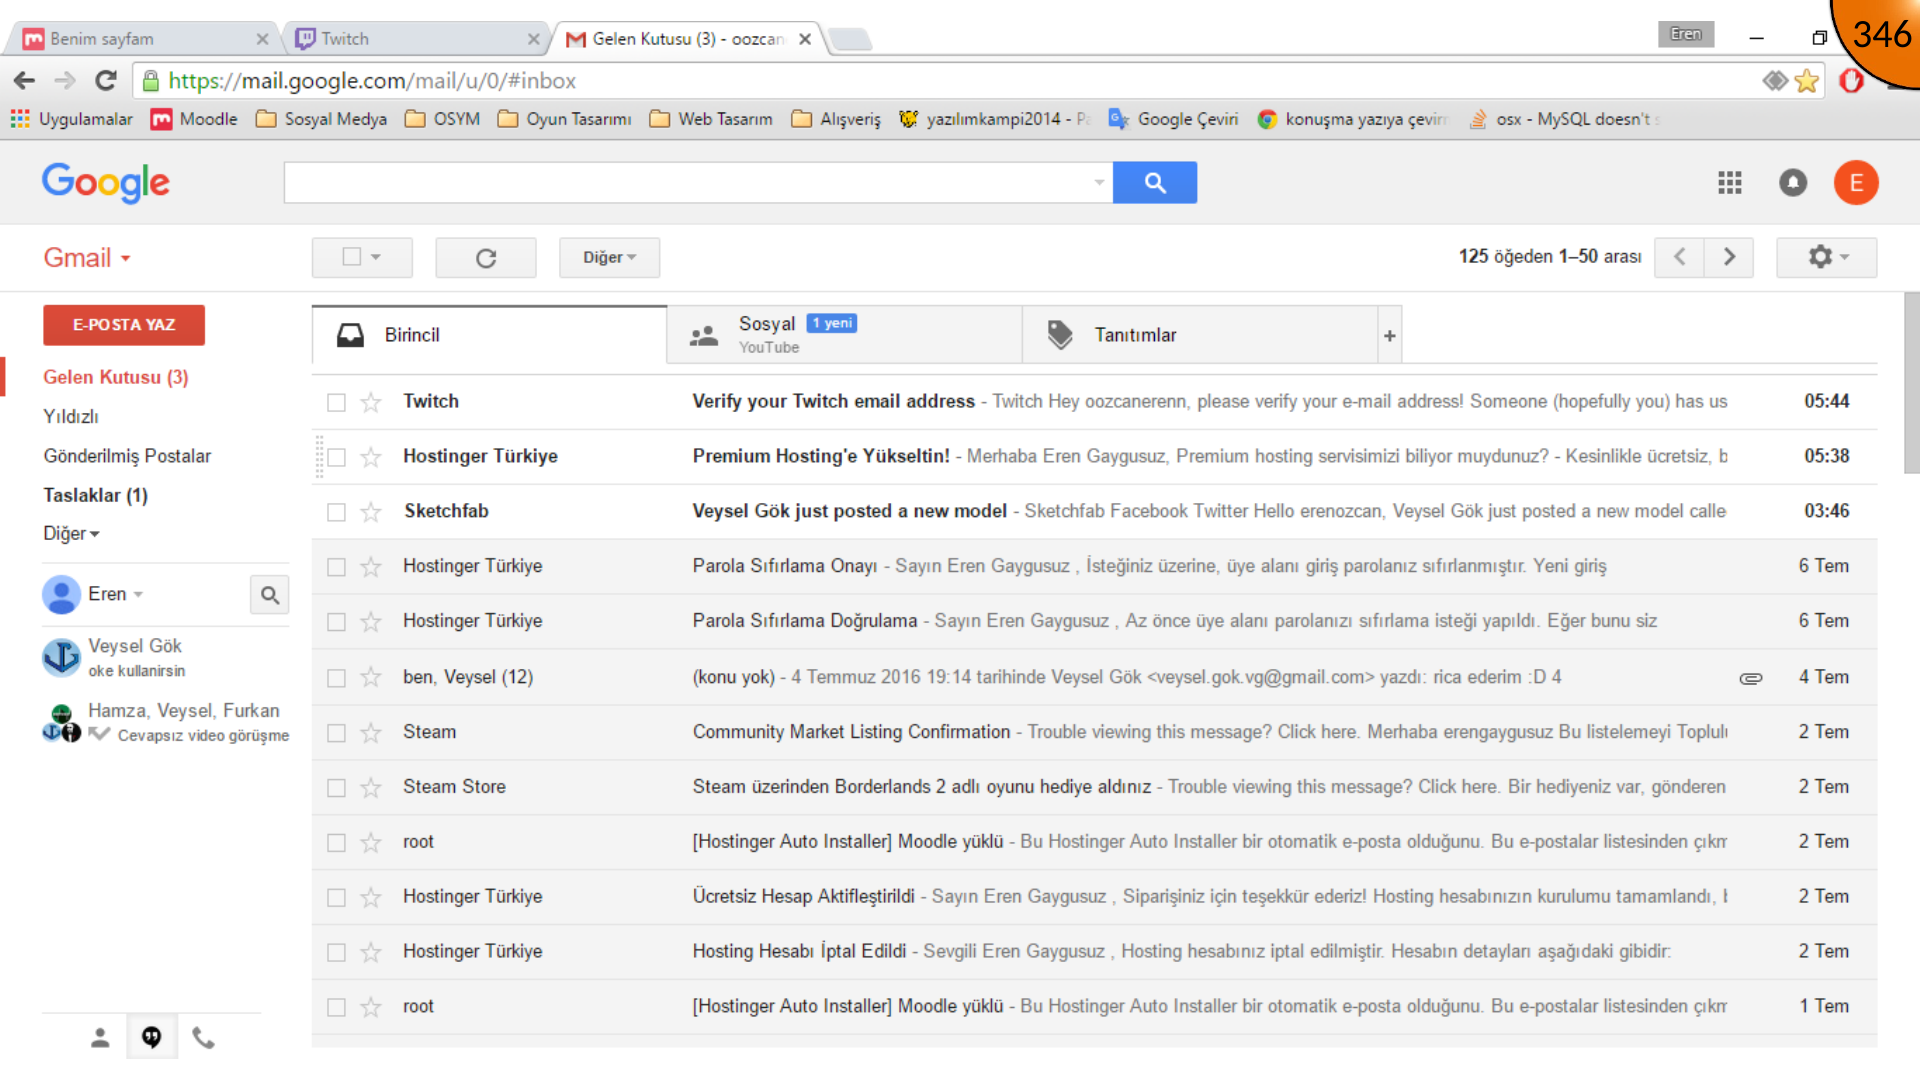
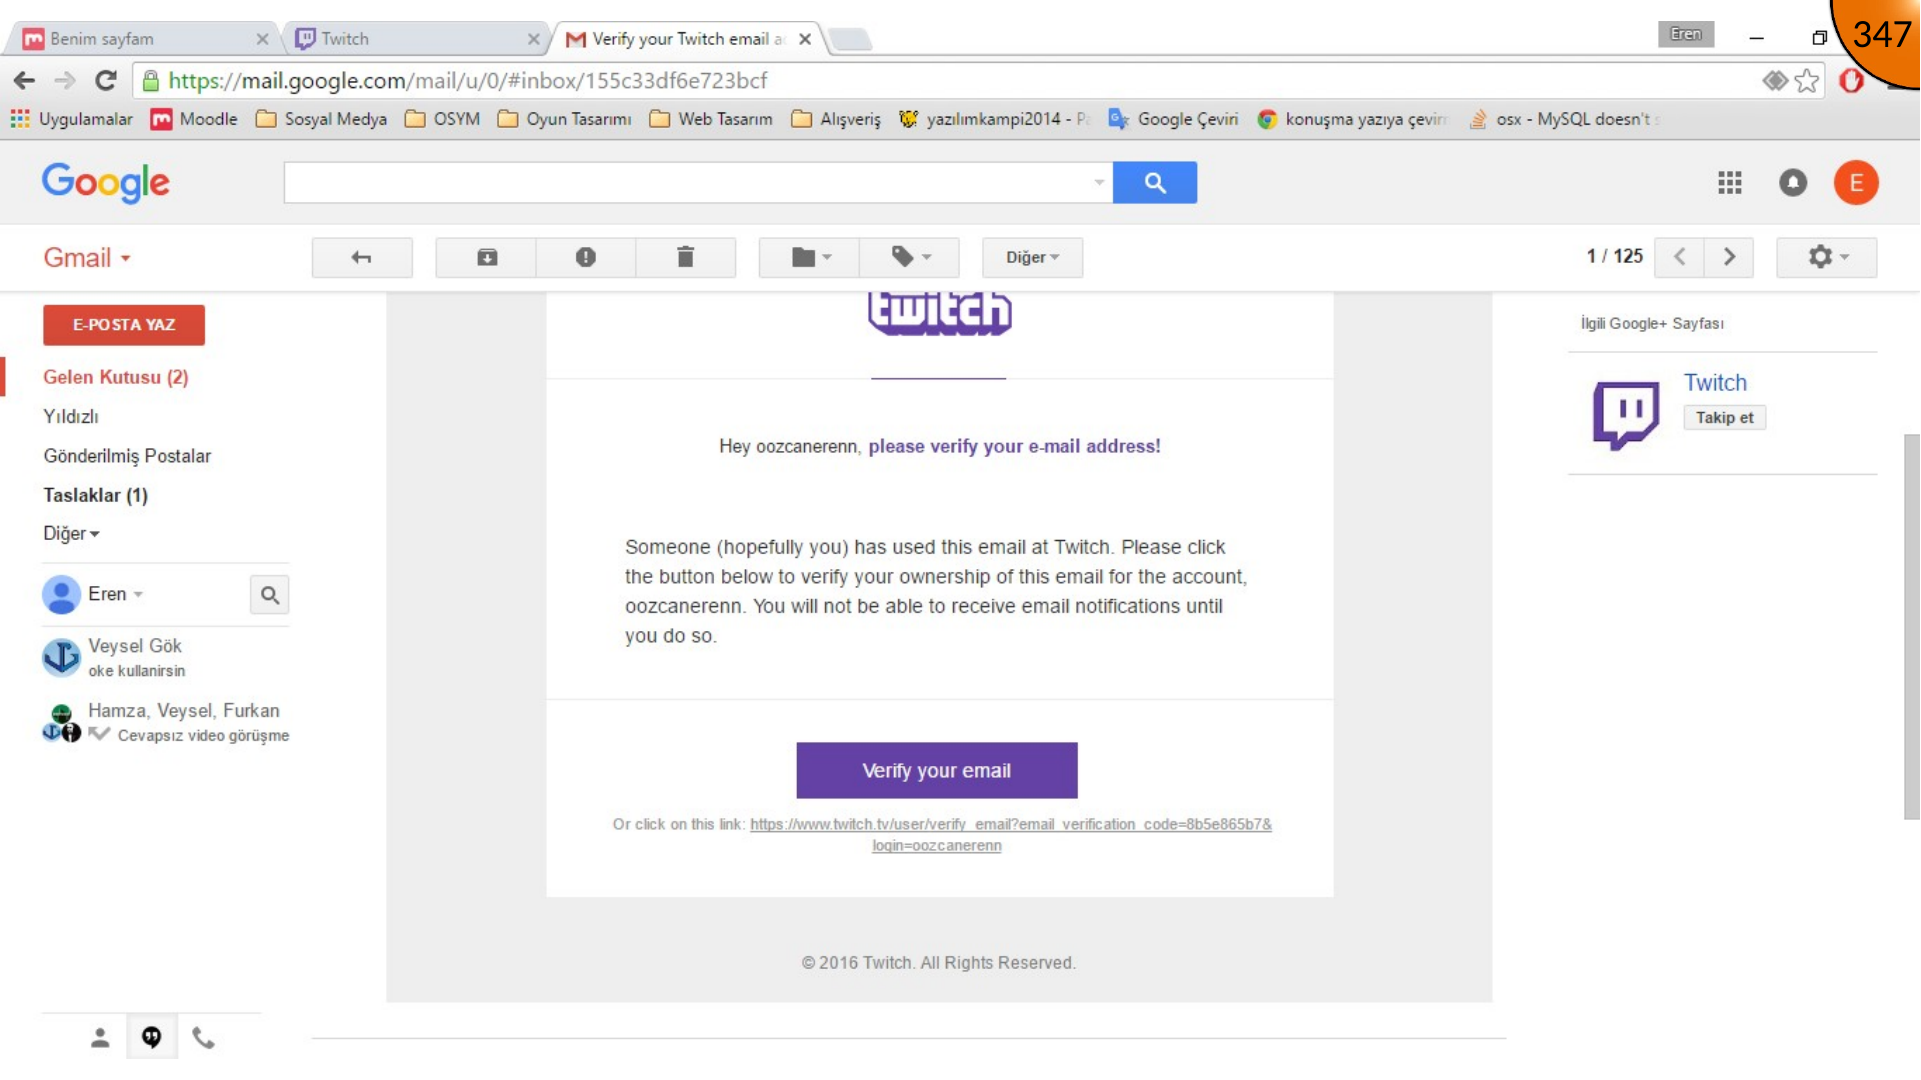
Open Twitch and choose the sign-up option. Complete the requested account details and any verification step, then open the verification email and confirm the account.
Opening the Channel Dashboard
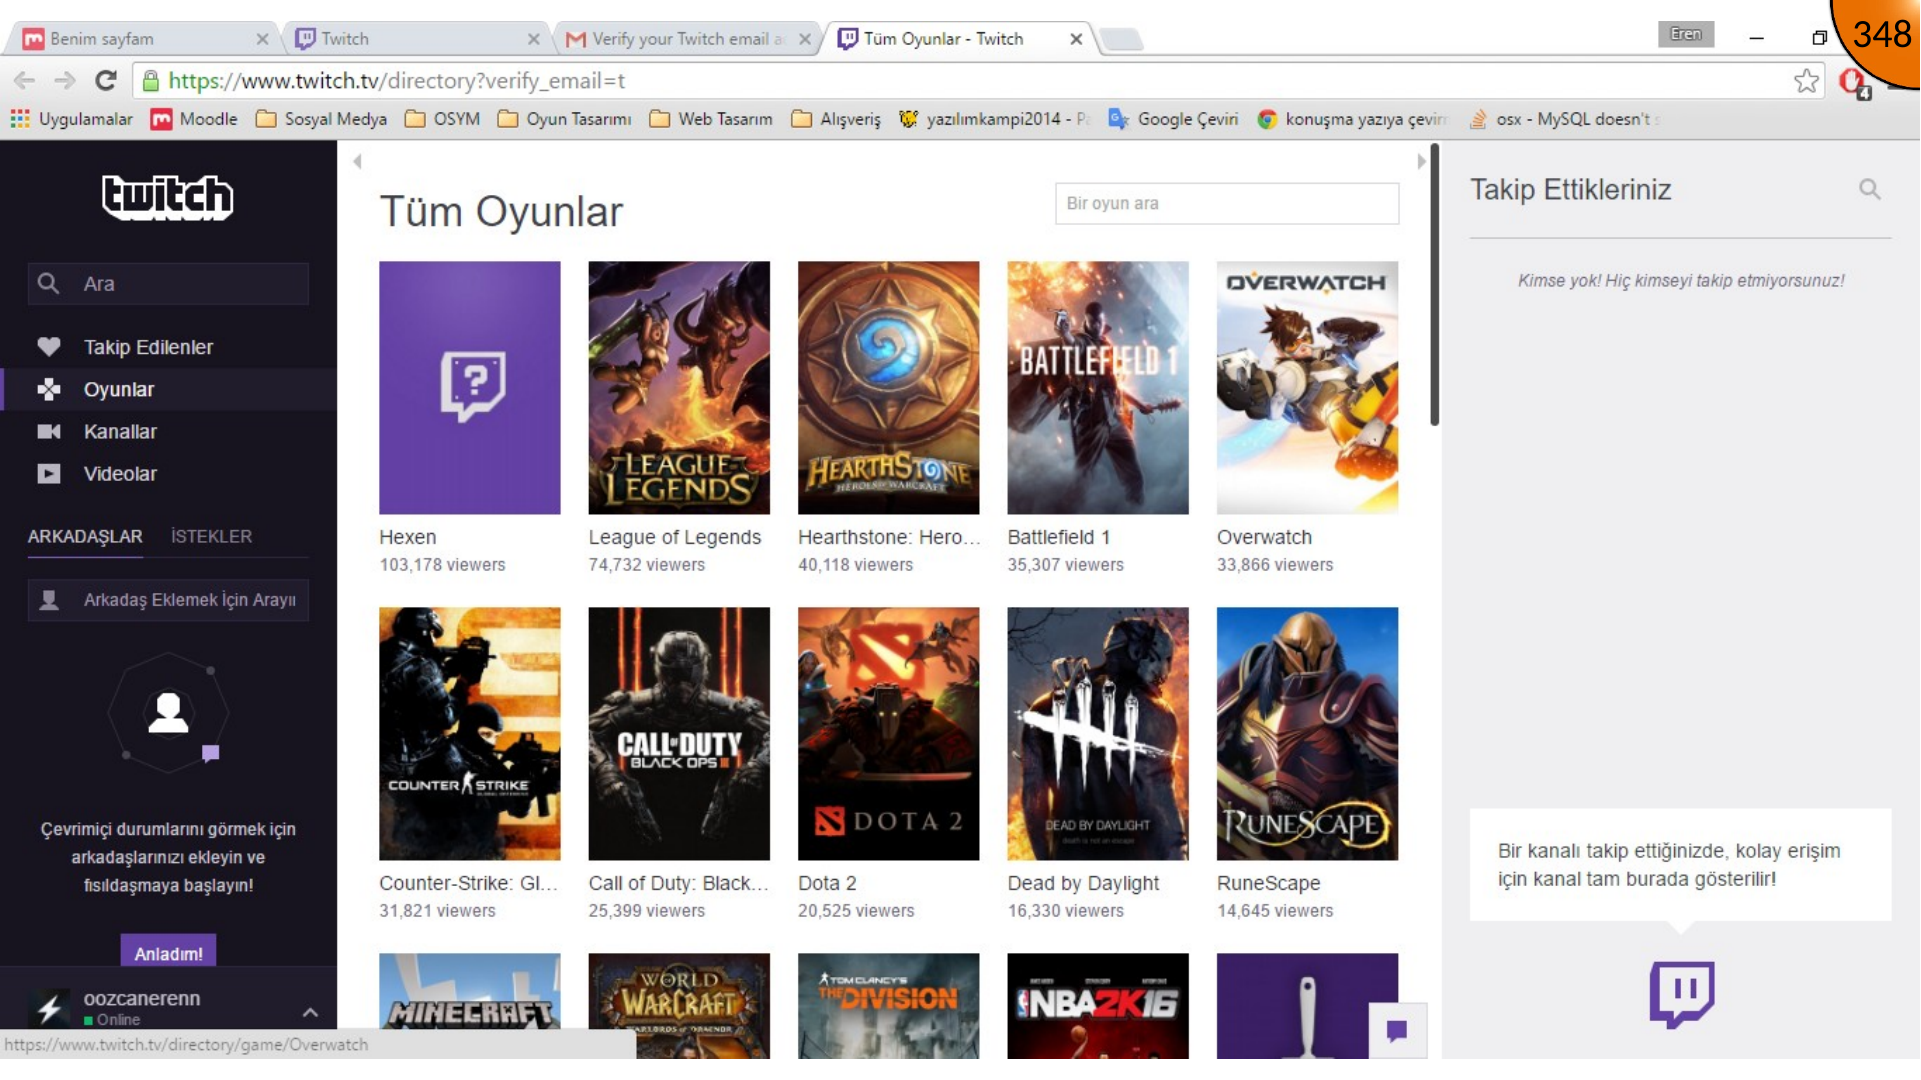
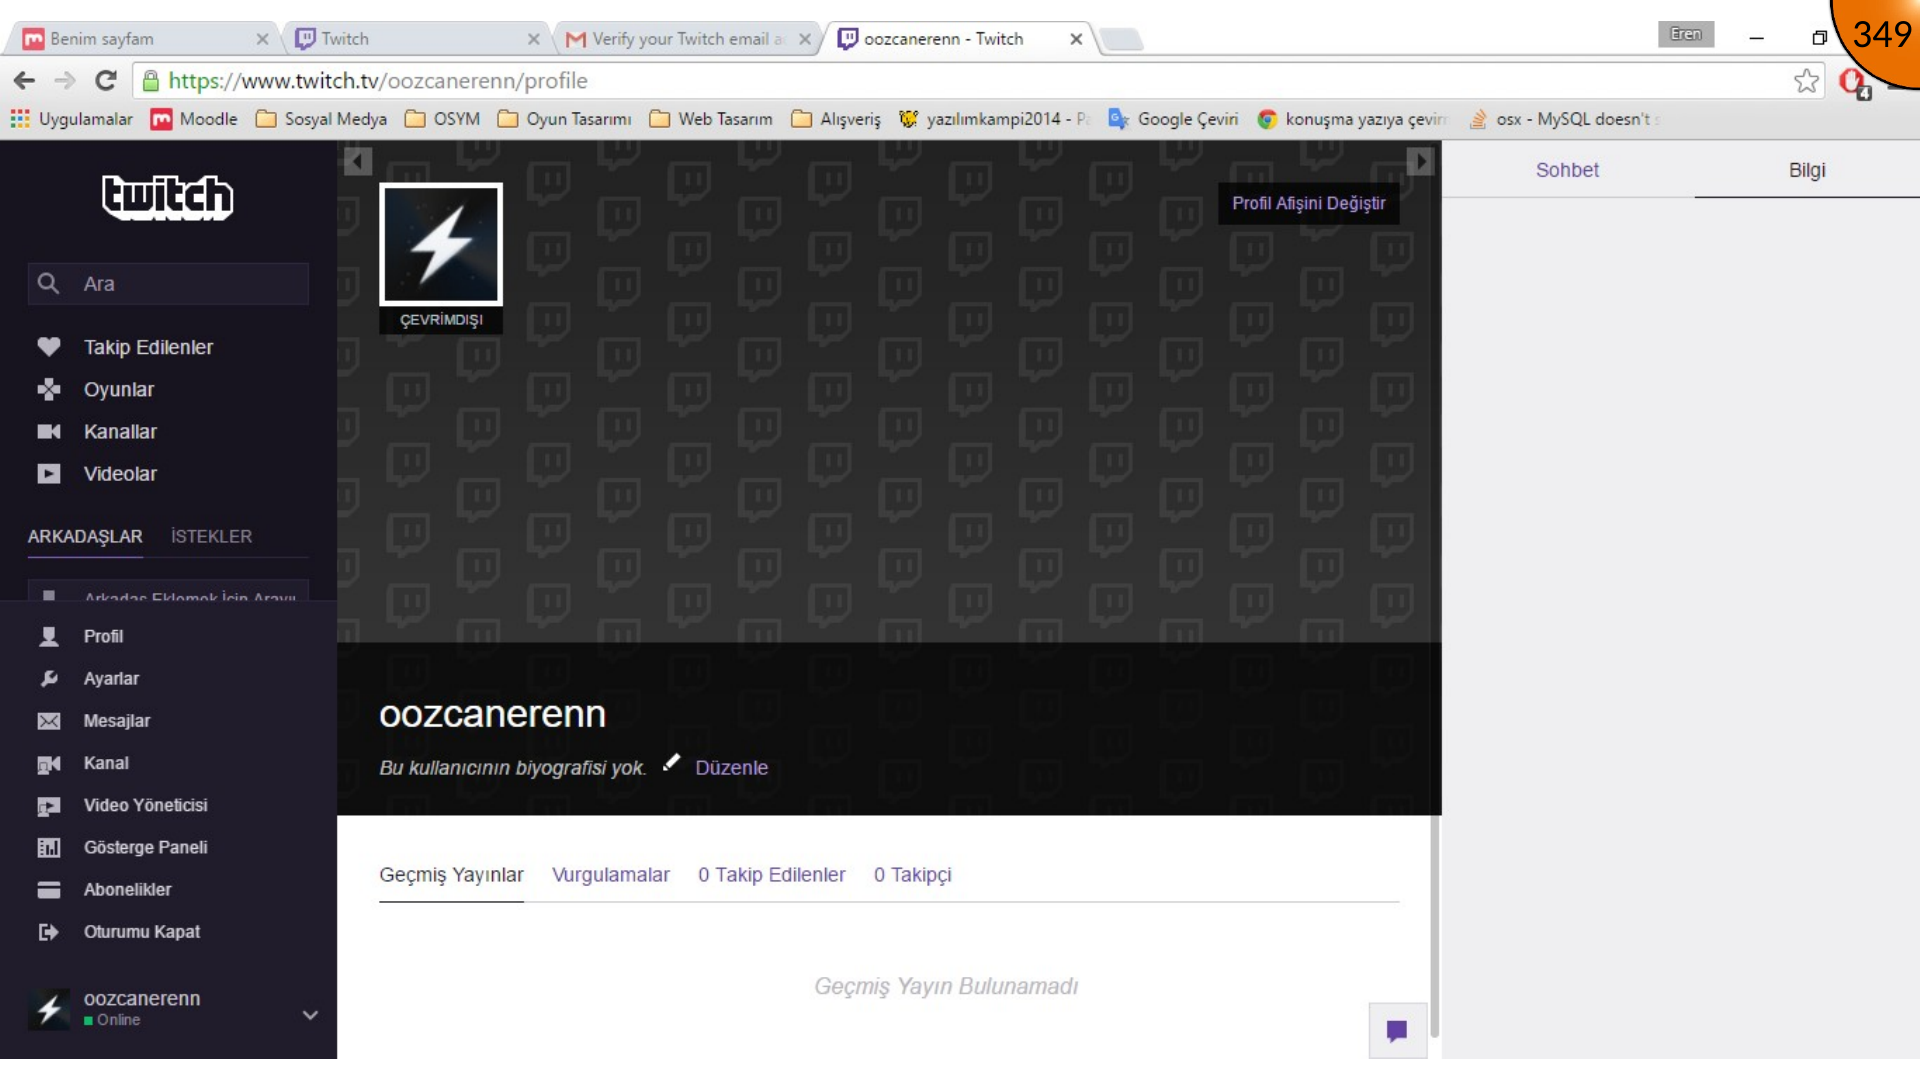
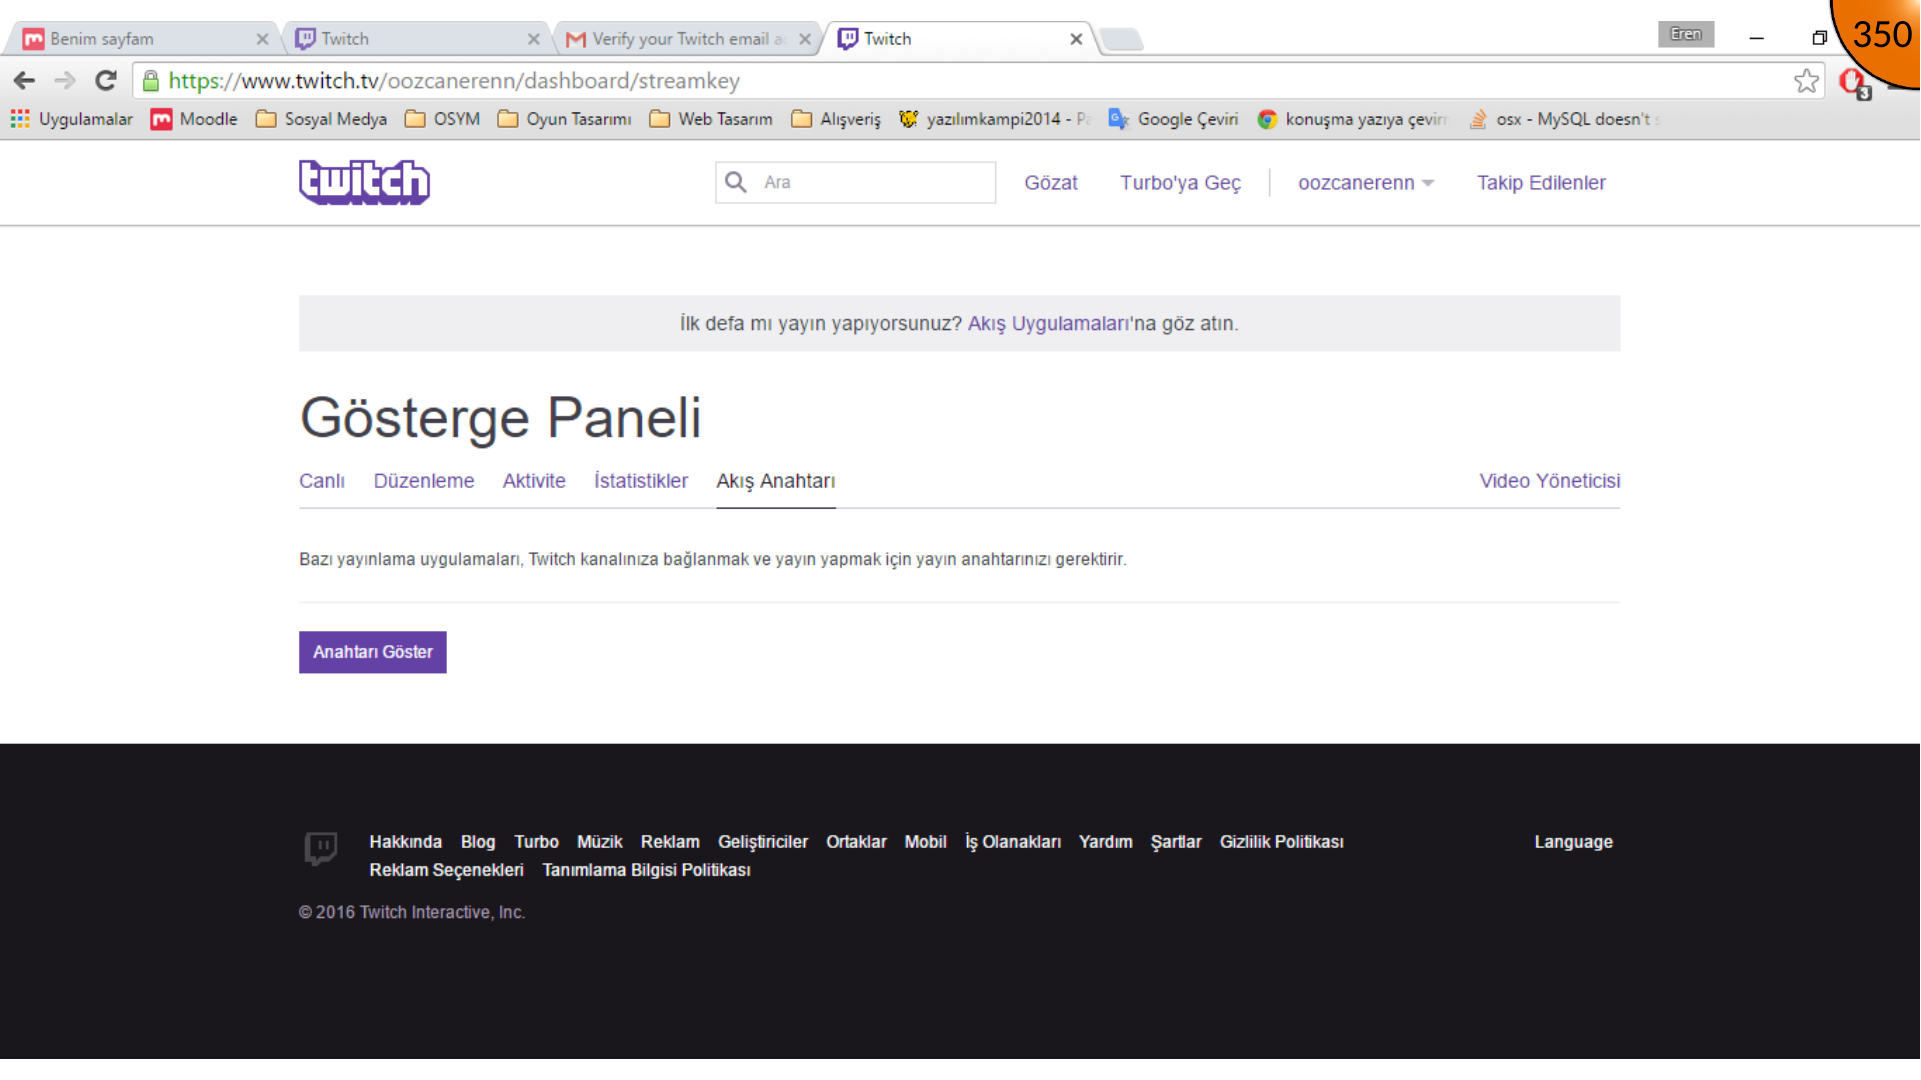
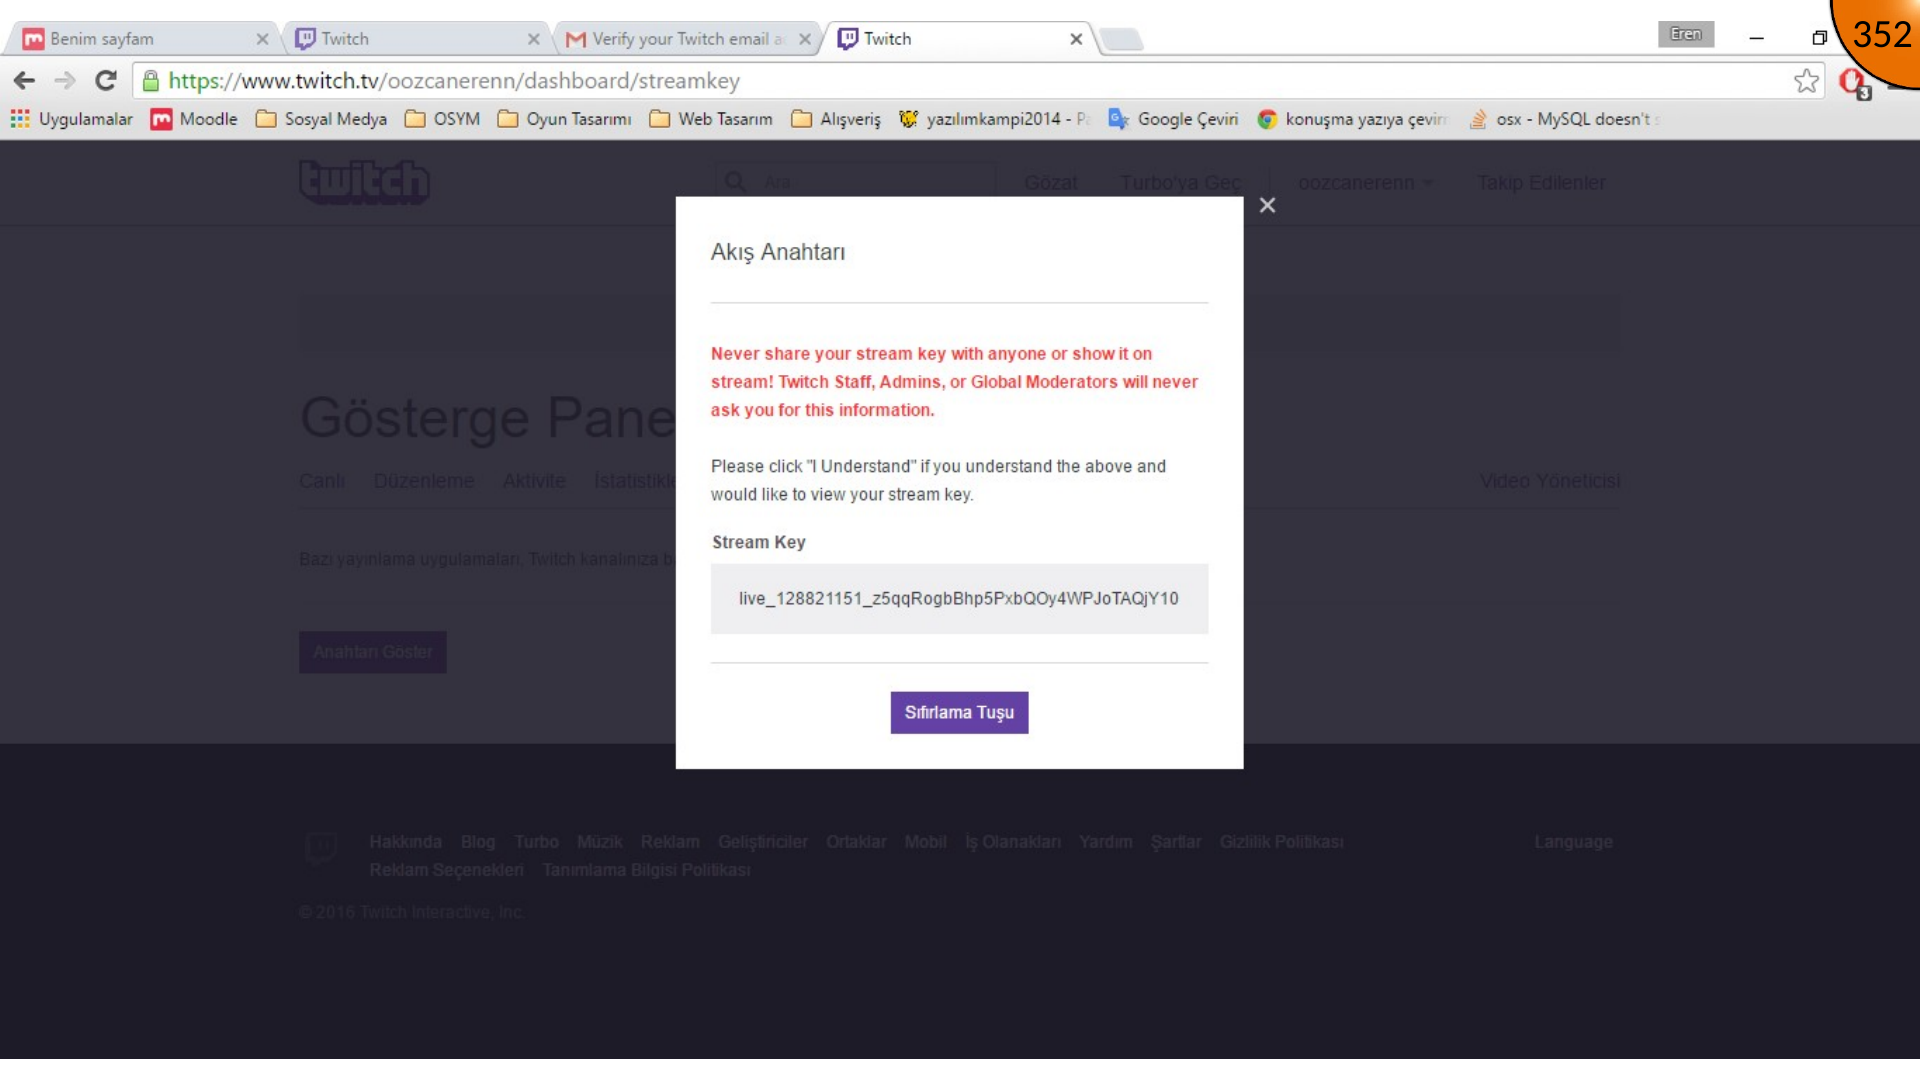
After verification, open the user menu and choose the dashboard. From there, open the stream-key area. The key is used later by streaming software; copy it only into a secure location and never place it in public content.
Copying the Player Embed Code
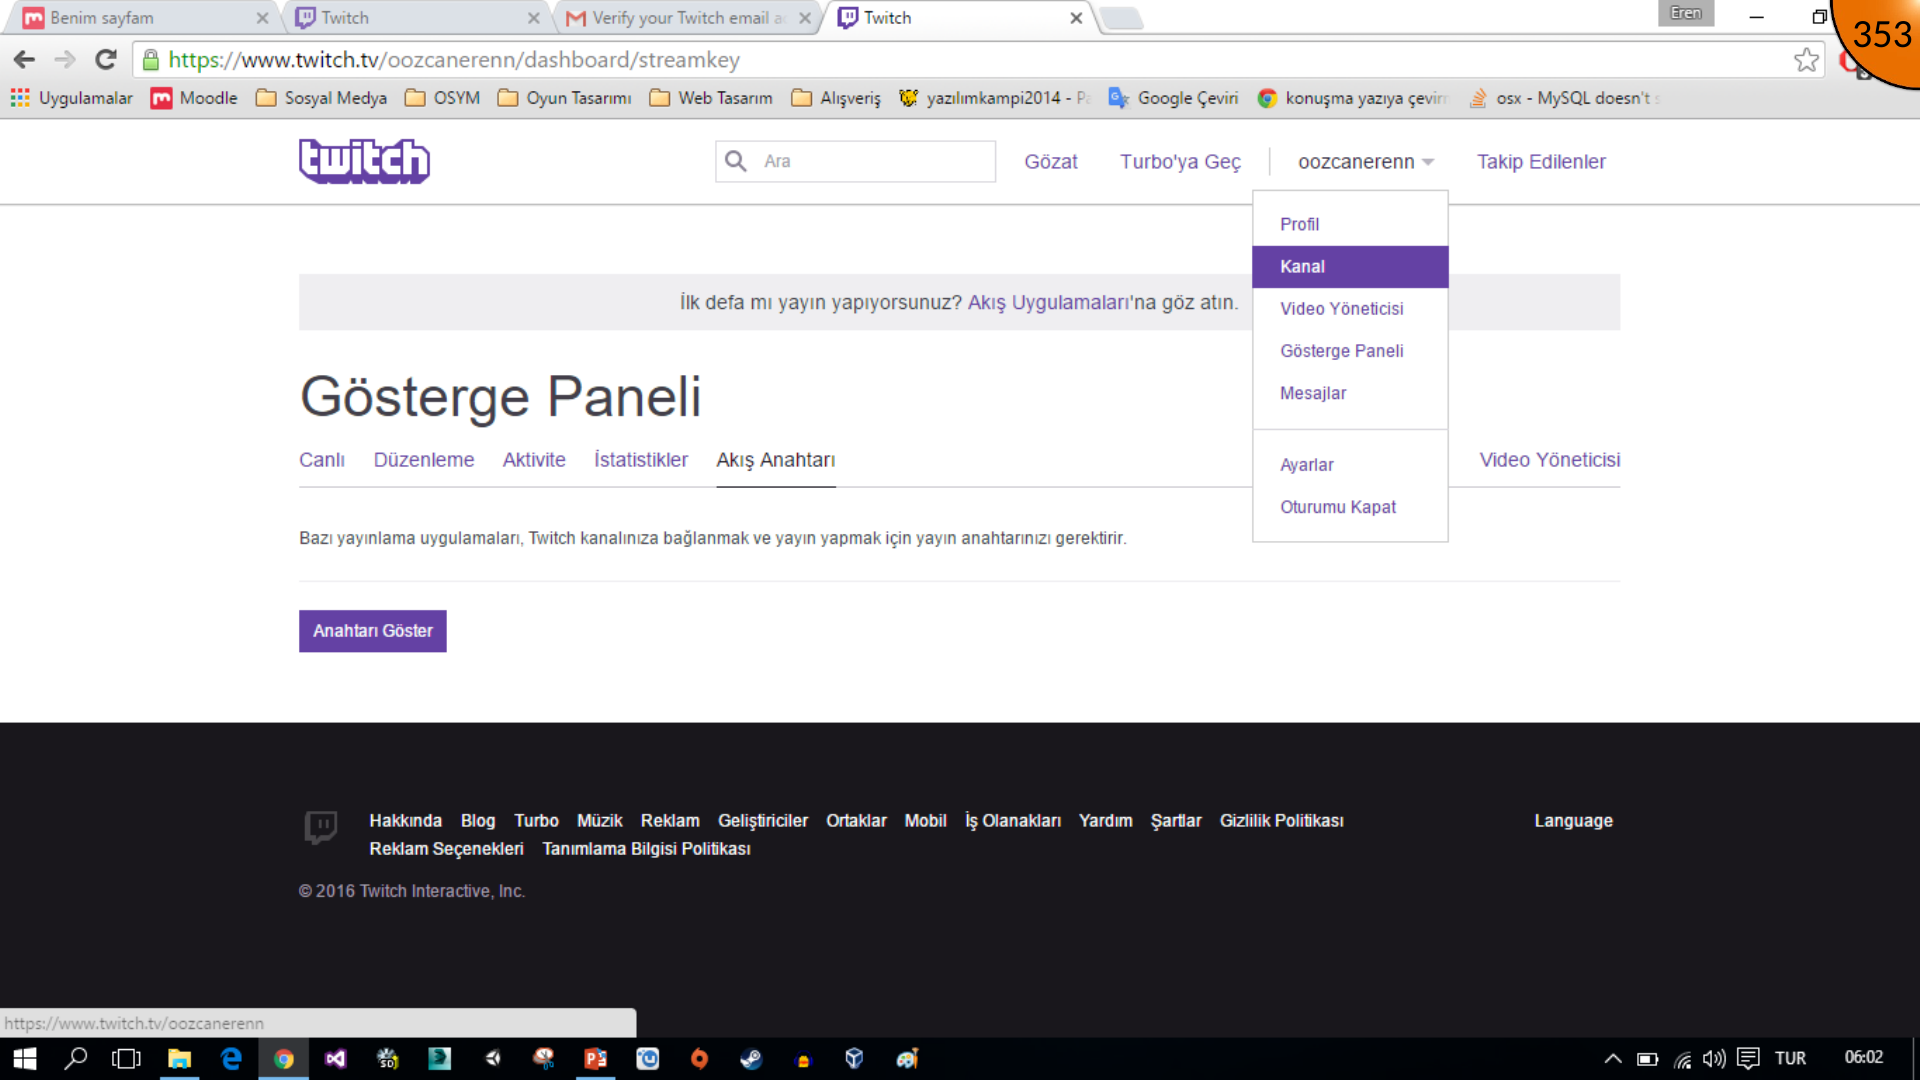
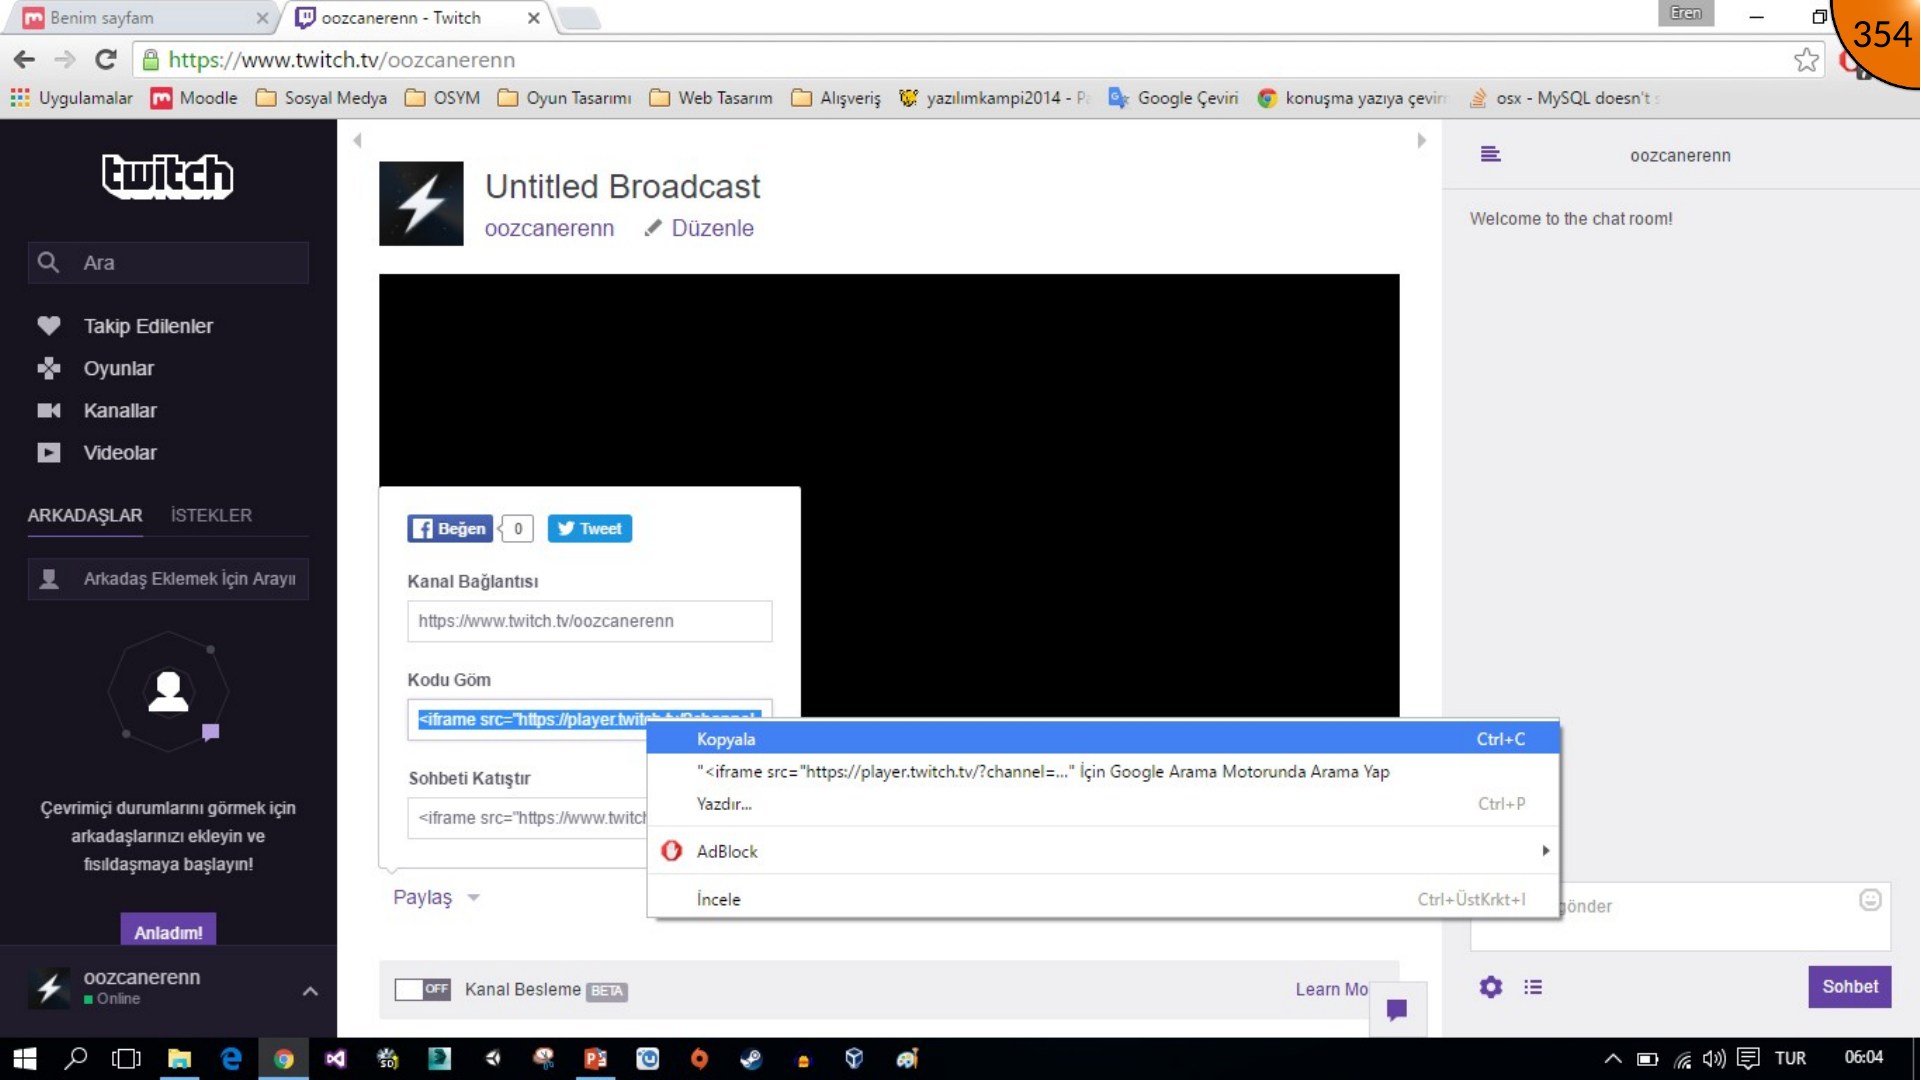
Open the user menu again and choose the channel. Use the channel’s sharing area and copy the player embed code. Current Twitch embeds may require an allowed parent domain; obtain the code and parameters from Twitch’s current sharing interface.
Adding the Player to Moodle
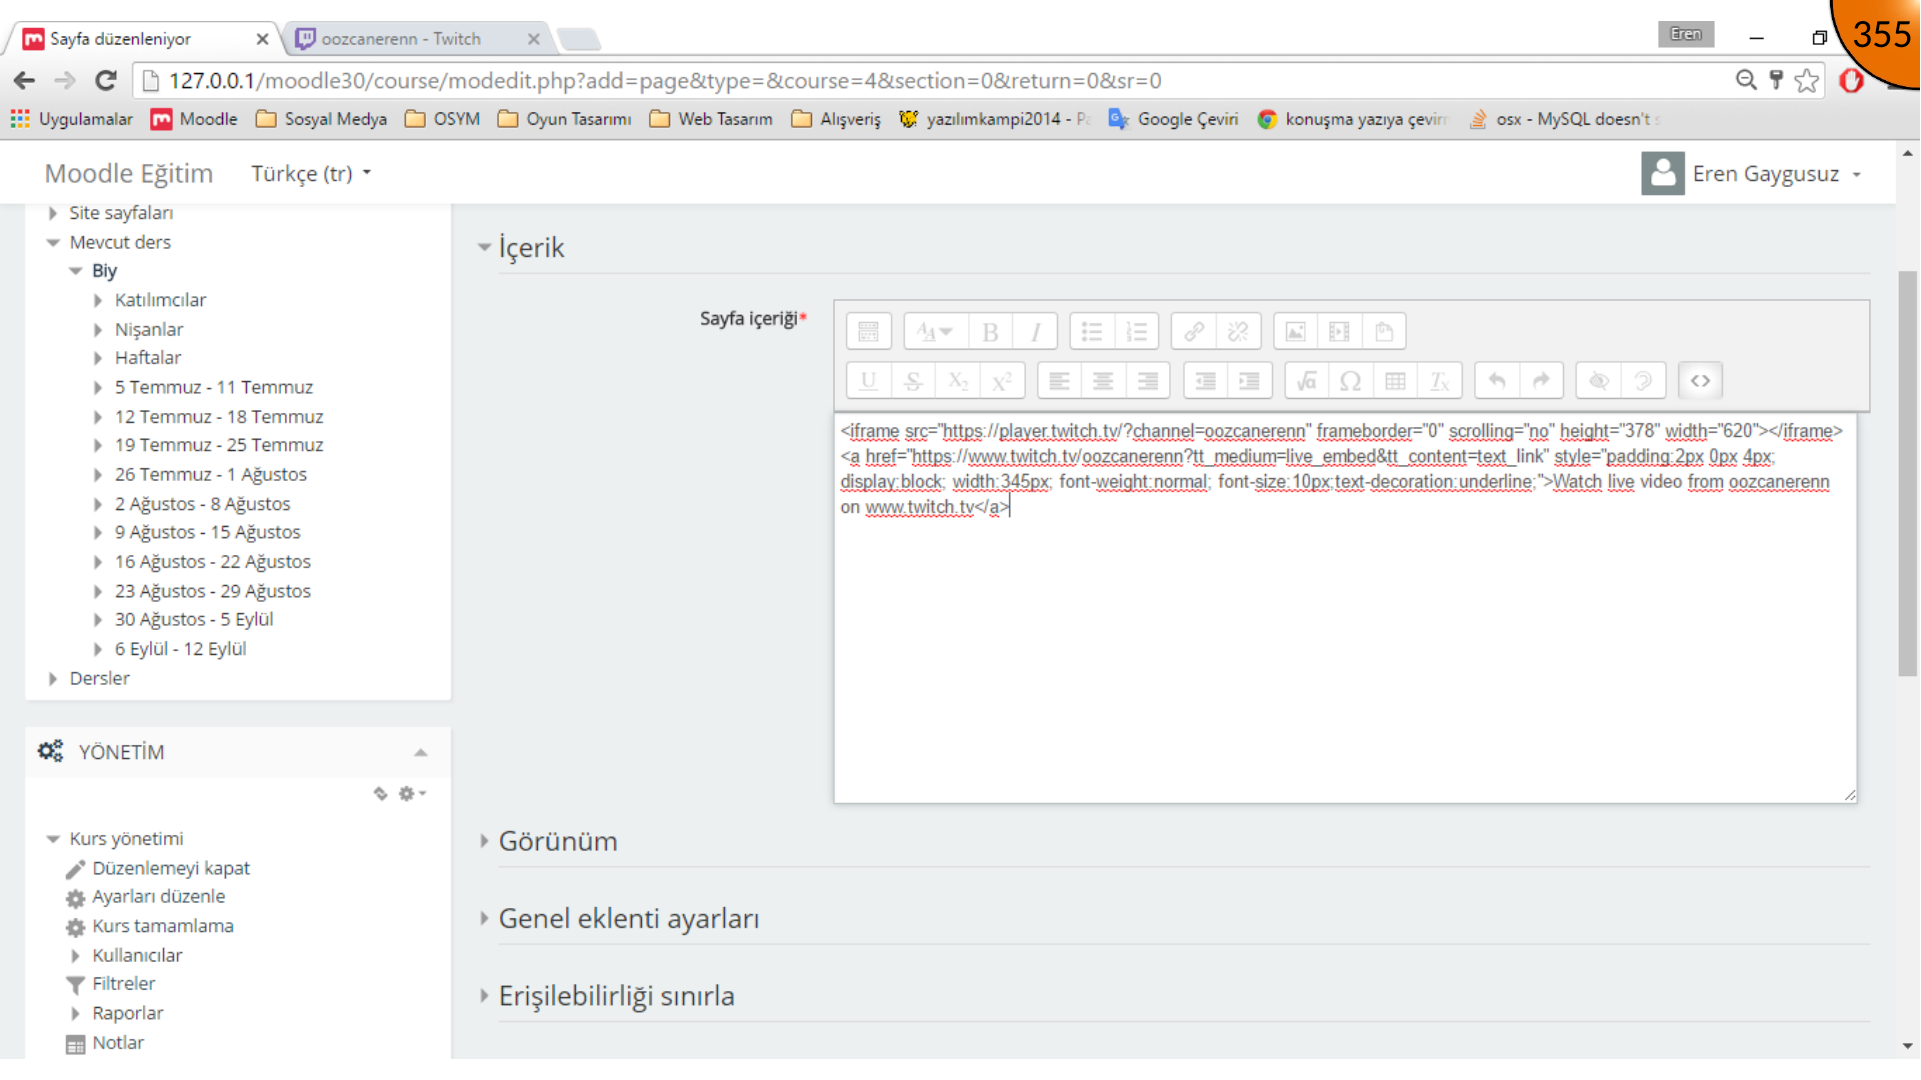
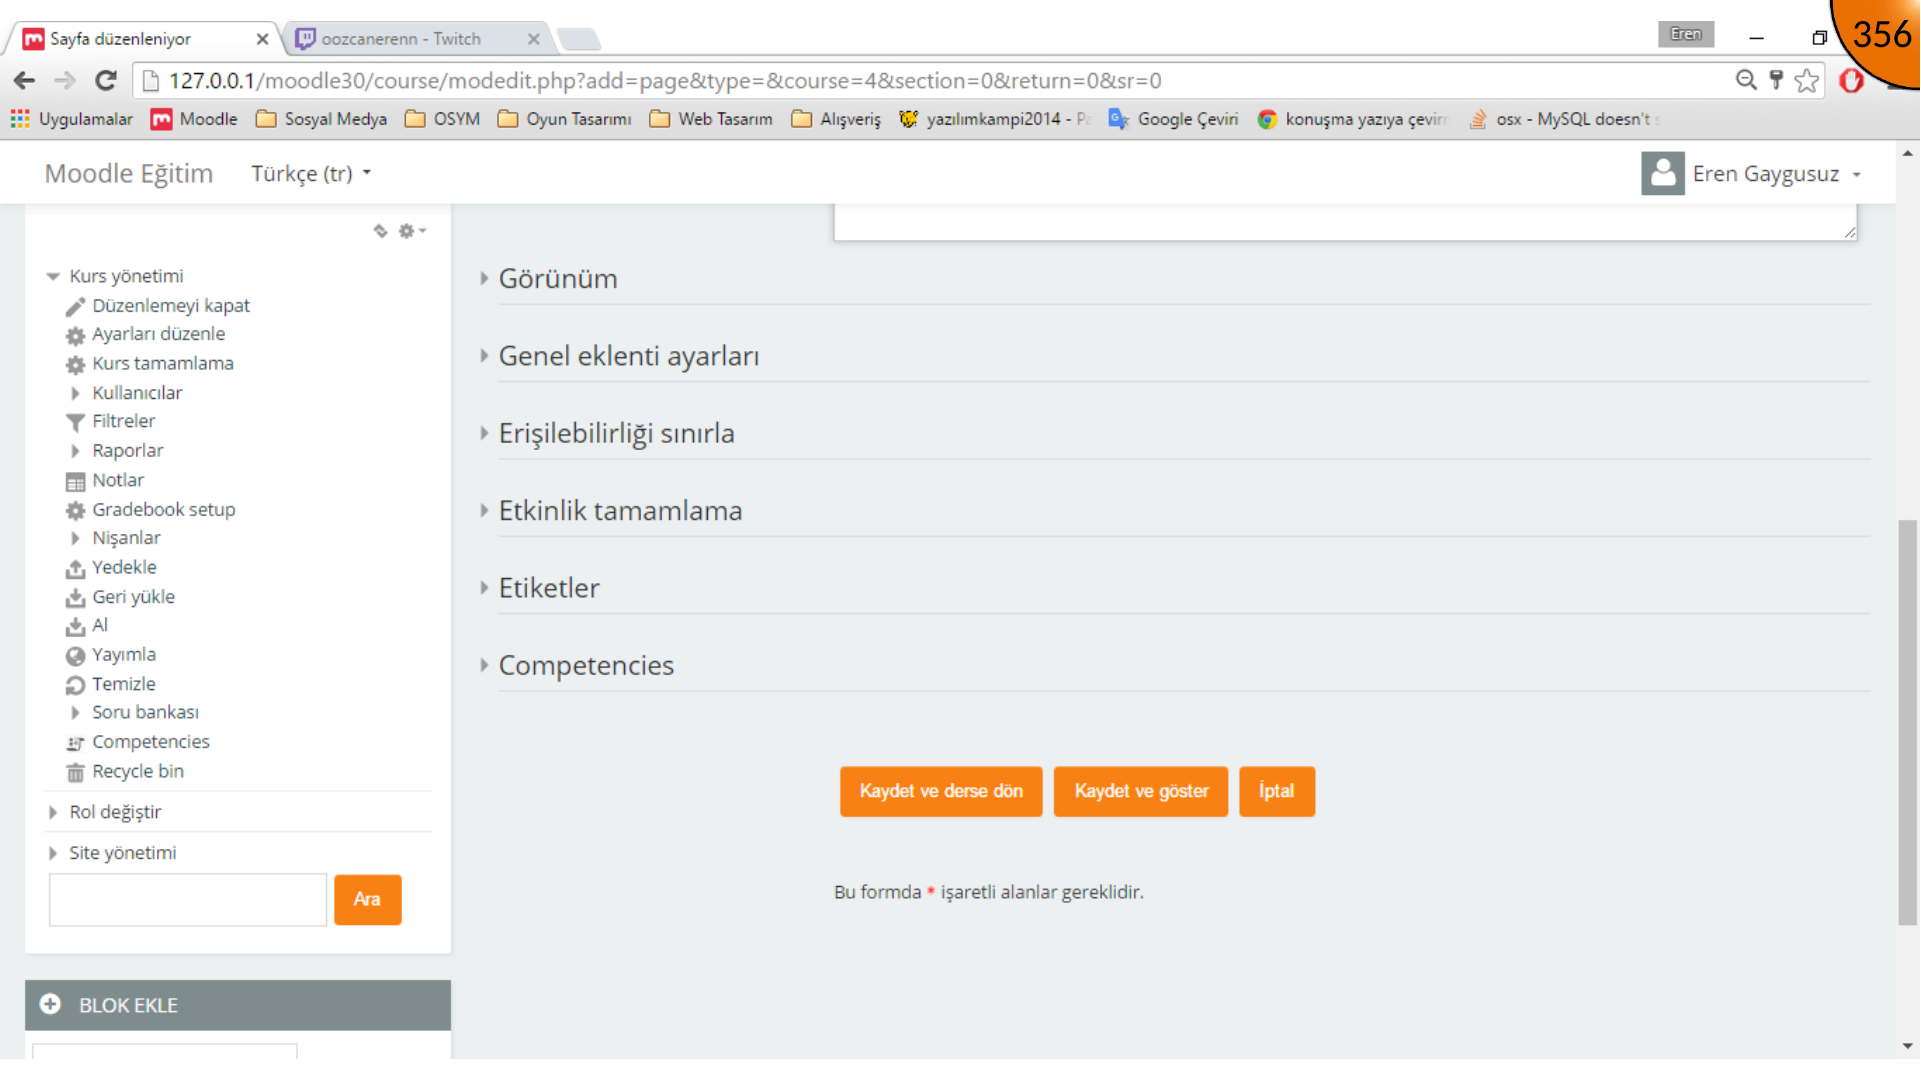
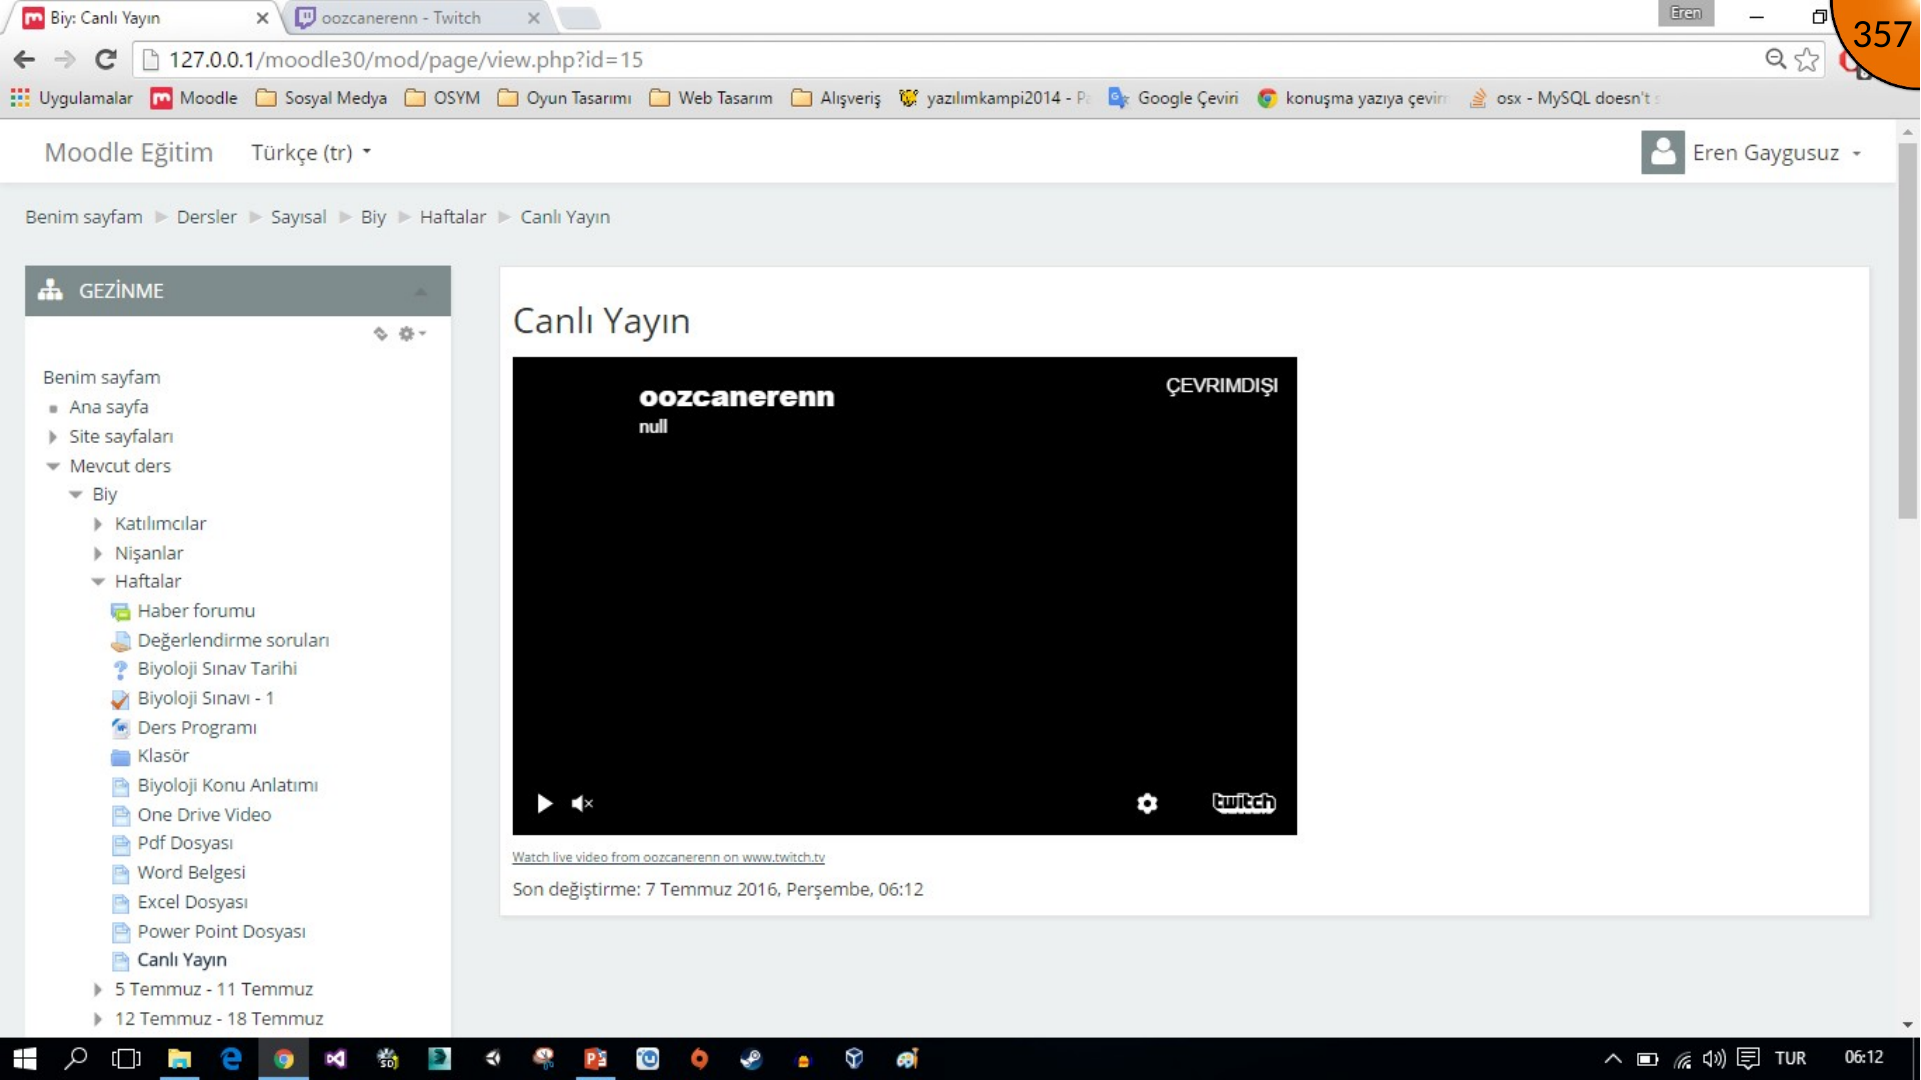
In Moodle, create a Page resource, enter the content editor’s HTML mode, and paste the channel embed code. Save and display the page.
The following section installs and configures the broadcasting software that sends the live stream to the channel.
Summary
The Moodle page can host the live player while Twitch handles the stream delivery. Test the embed in the target browser and plan an accessible alternative such as captions, a recording, or course notes.
Comments