This archived workflow uses OBS Studio 0.14.2 to send a desktop capture to Twitch, whose player was embedded in Moodle in the preceding article. OBS and Twitch have changed substantially since 2016, but the core flow remains: configure the service, add scenes and sources, preview, then start streaming.
Keep the stream key private and avoid broadcasting personal data, notifications, passwords, or student information visible on your desktop. Run a private test stream before any teaching session.
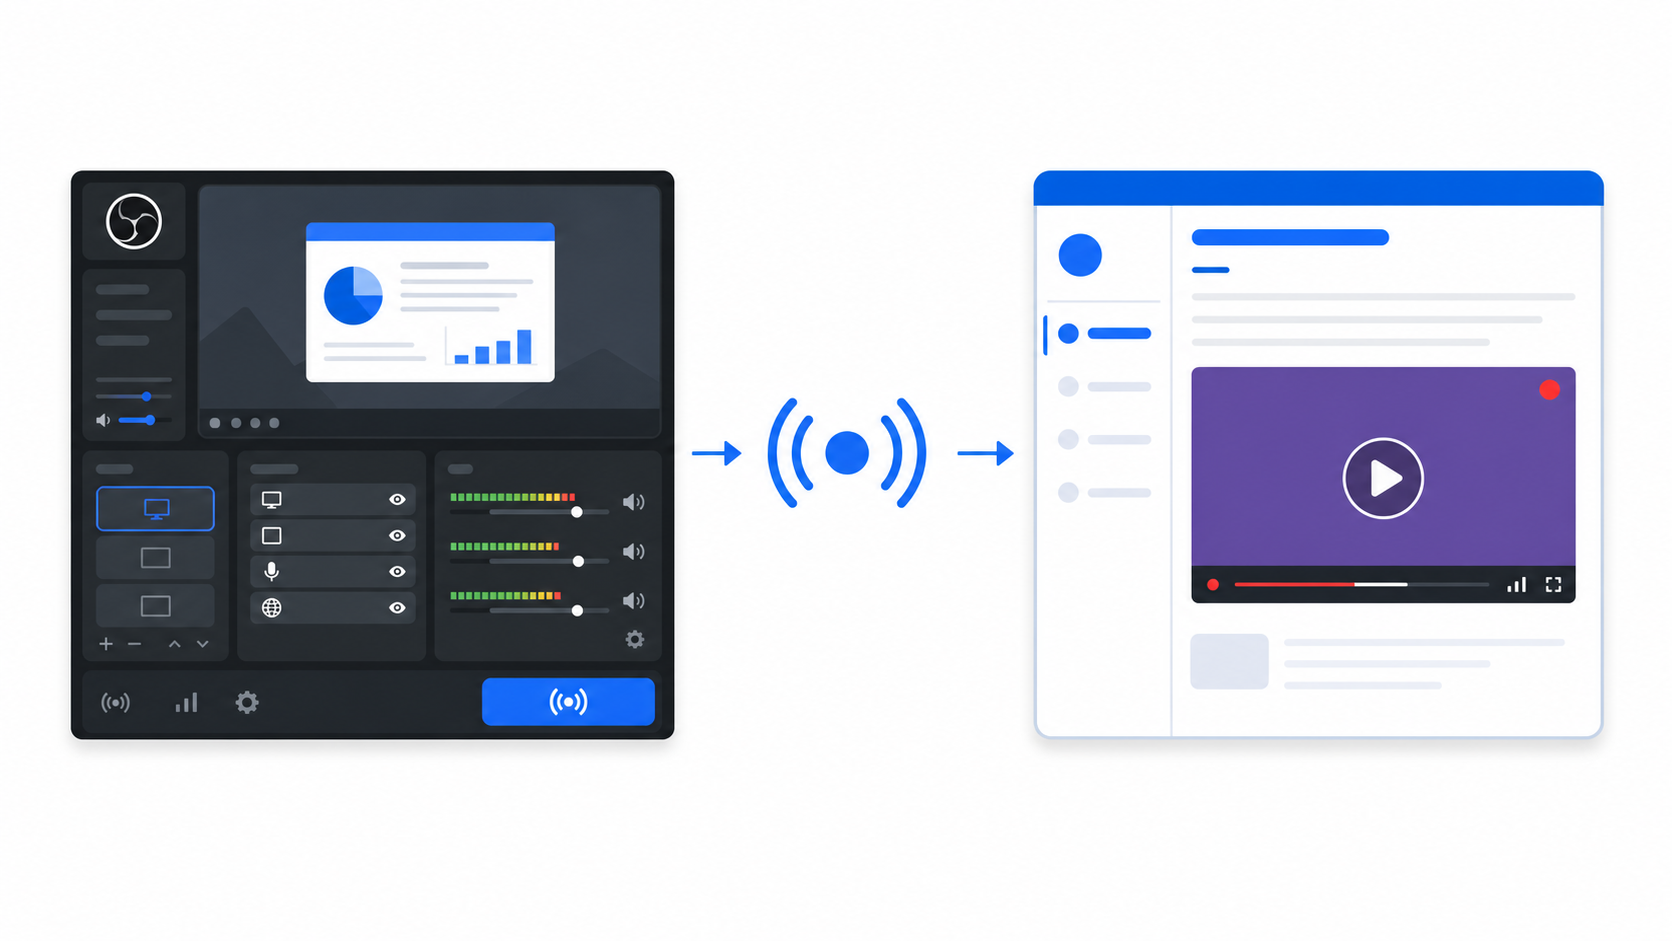
Table of contents
Open Table of contents
Installing OBS Studio
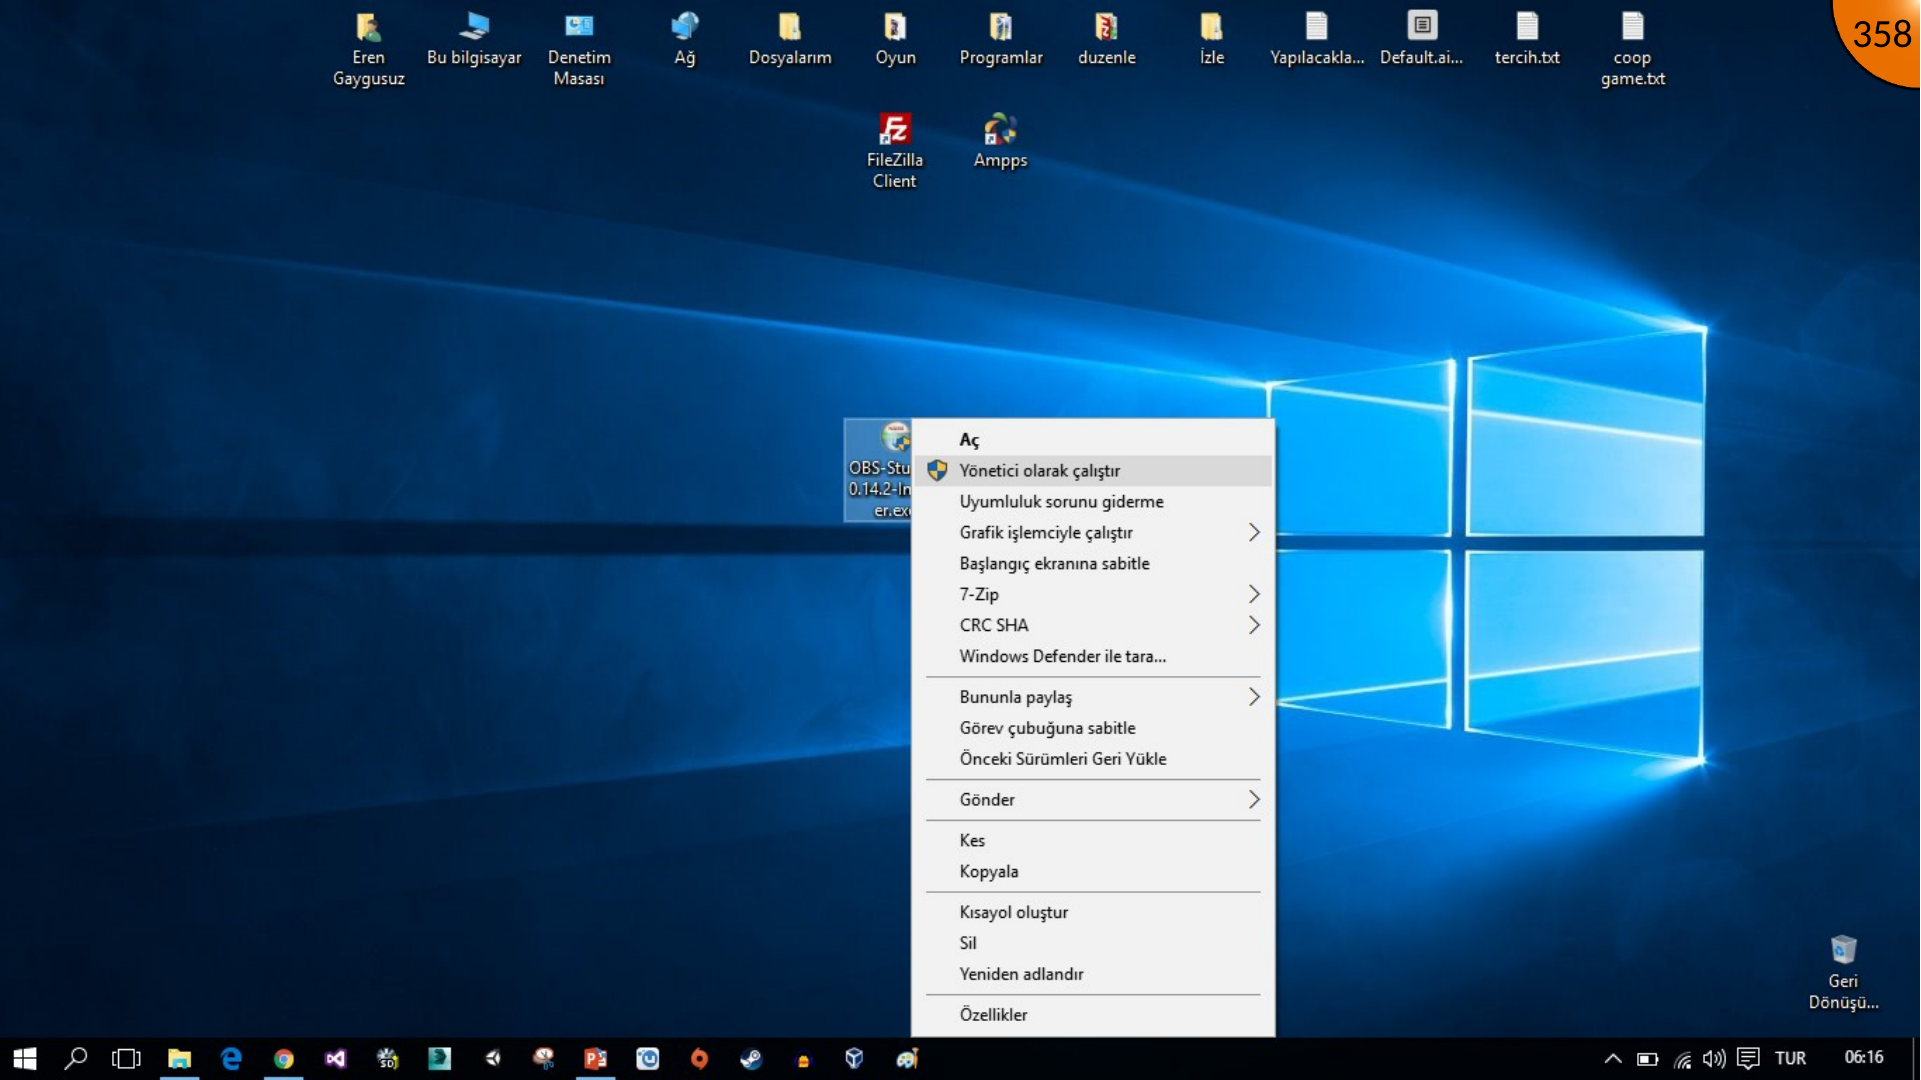
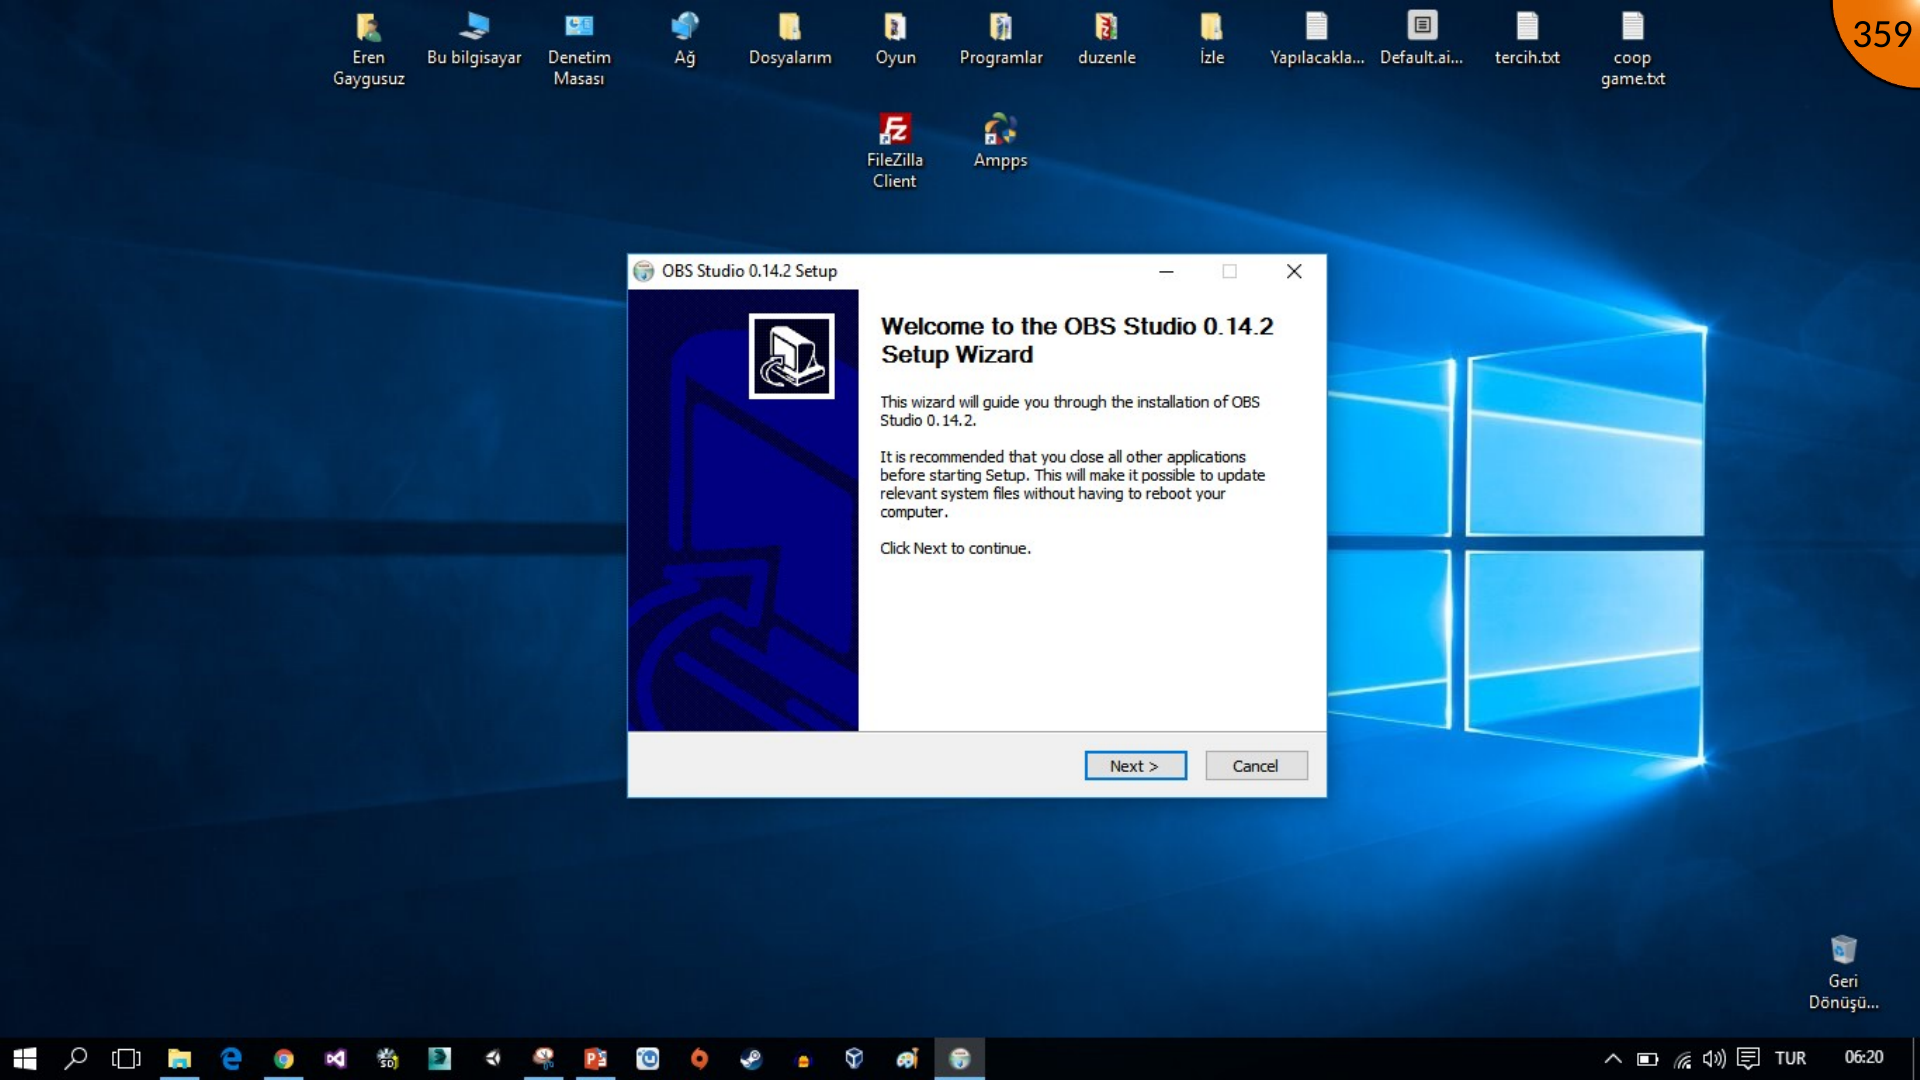
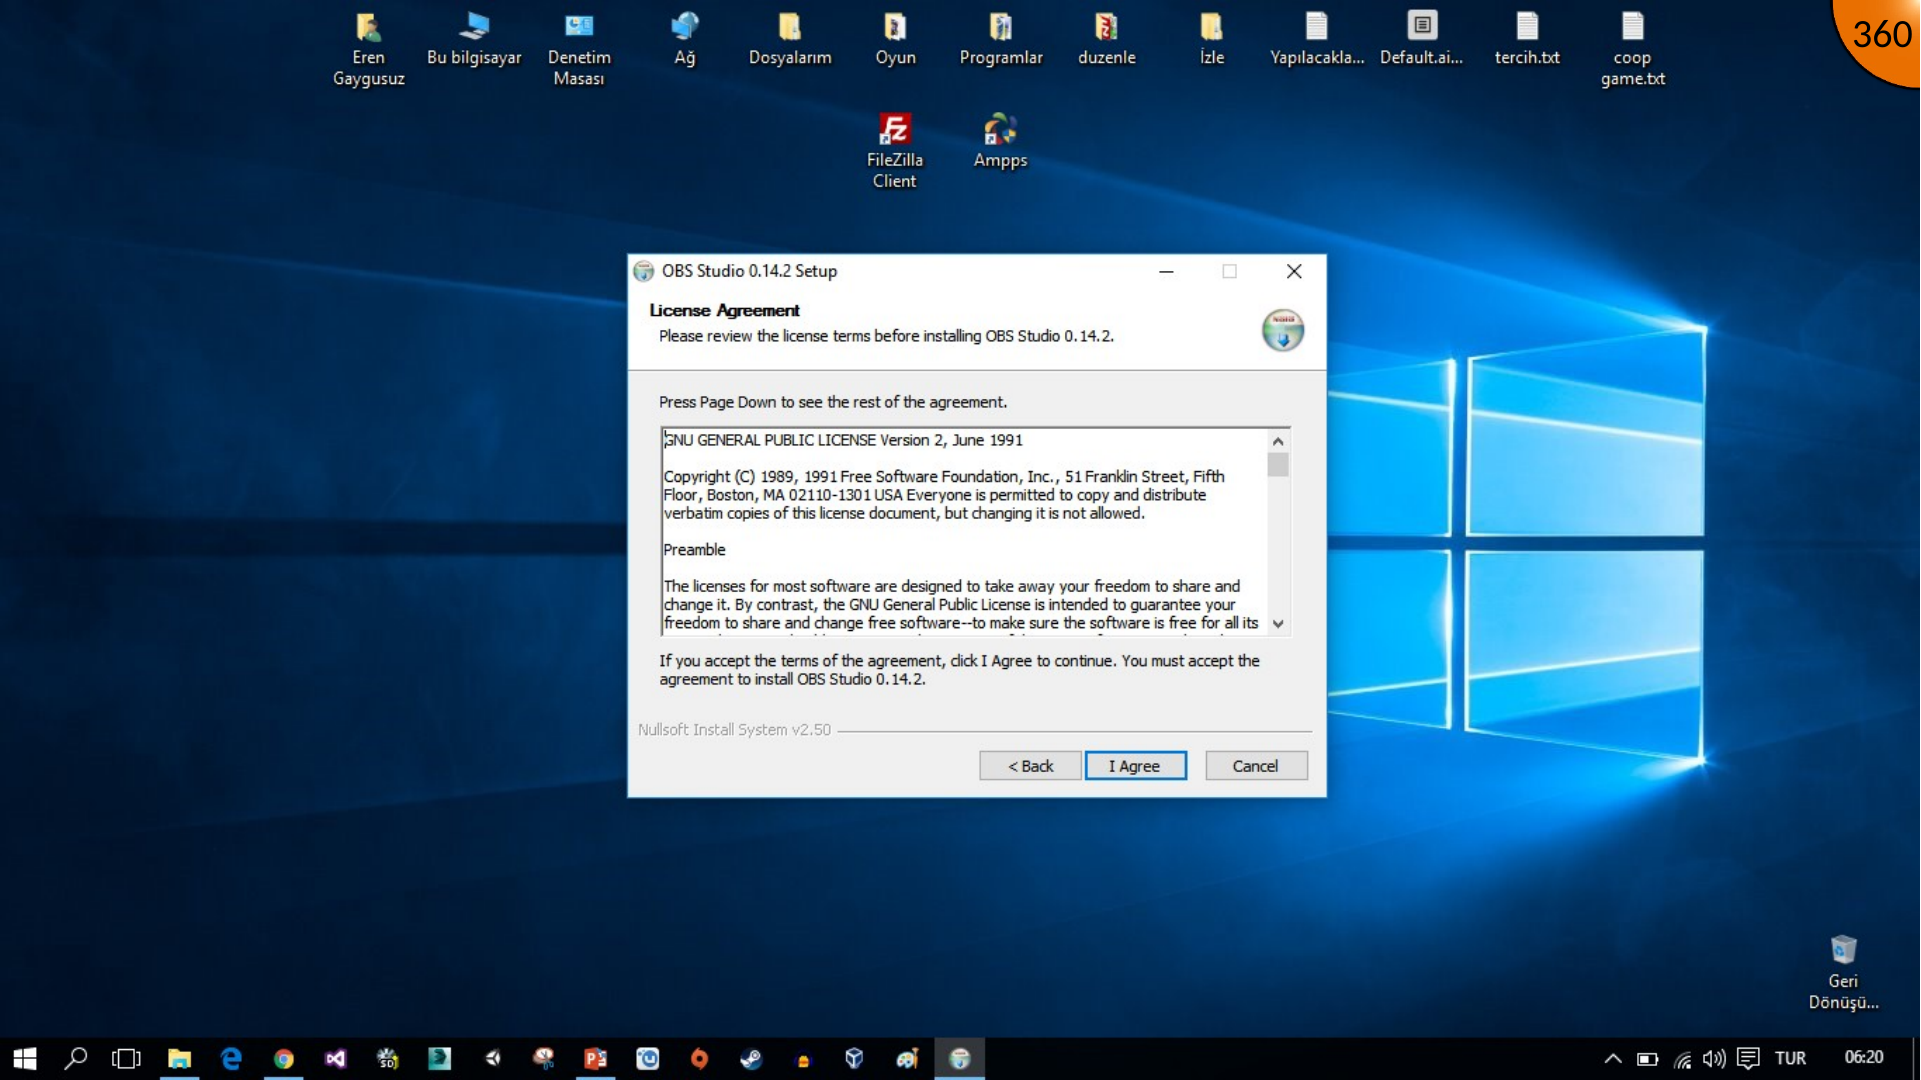
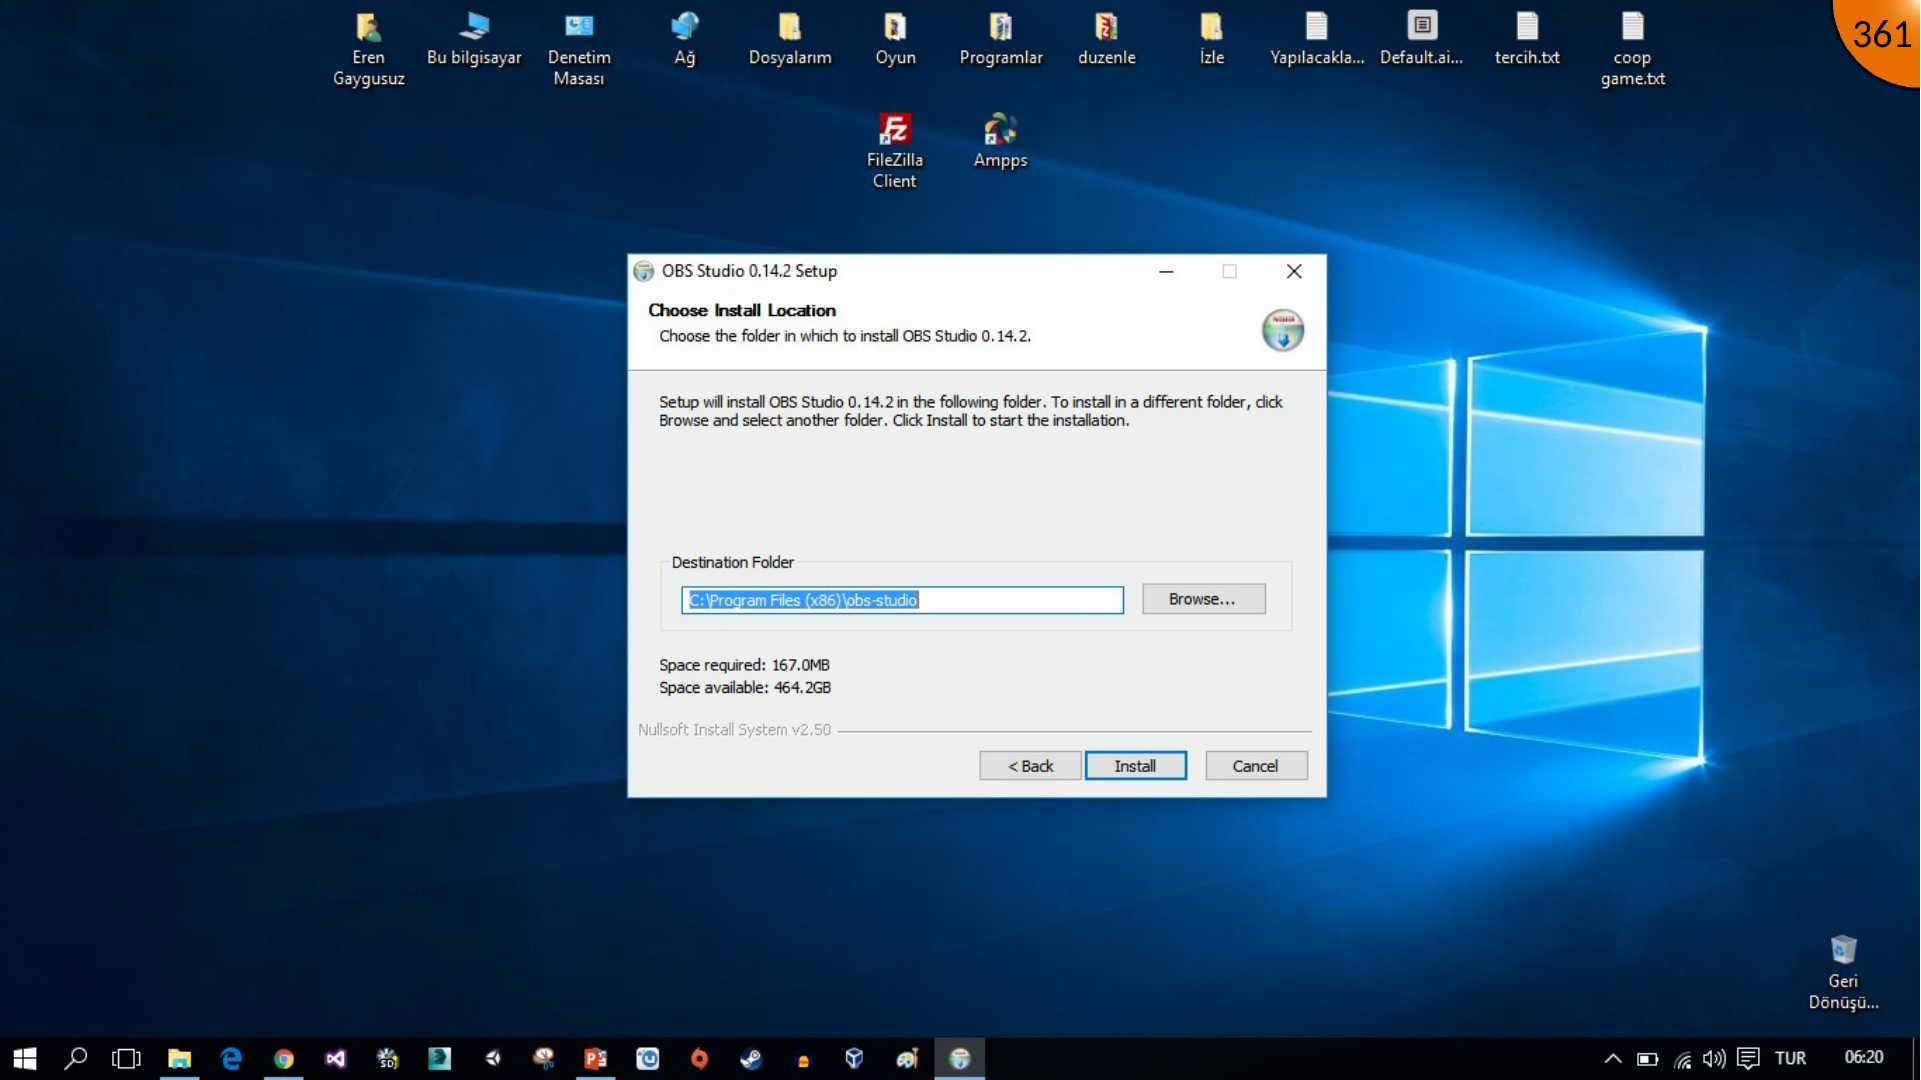
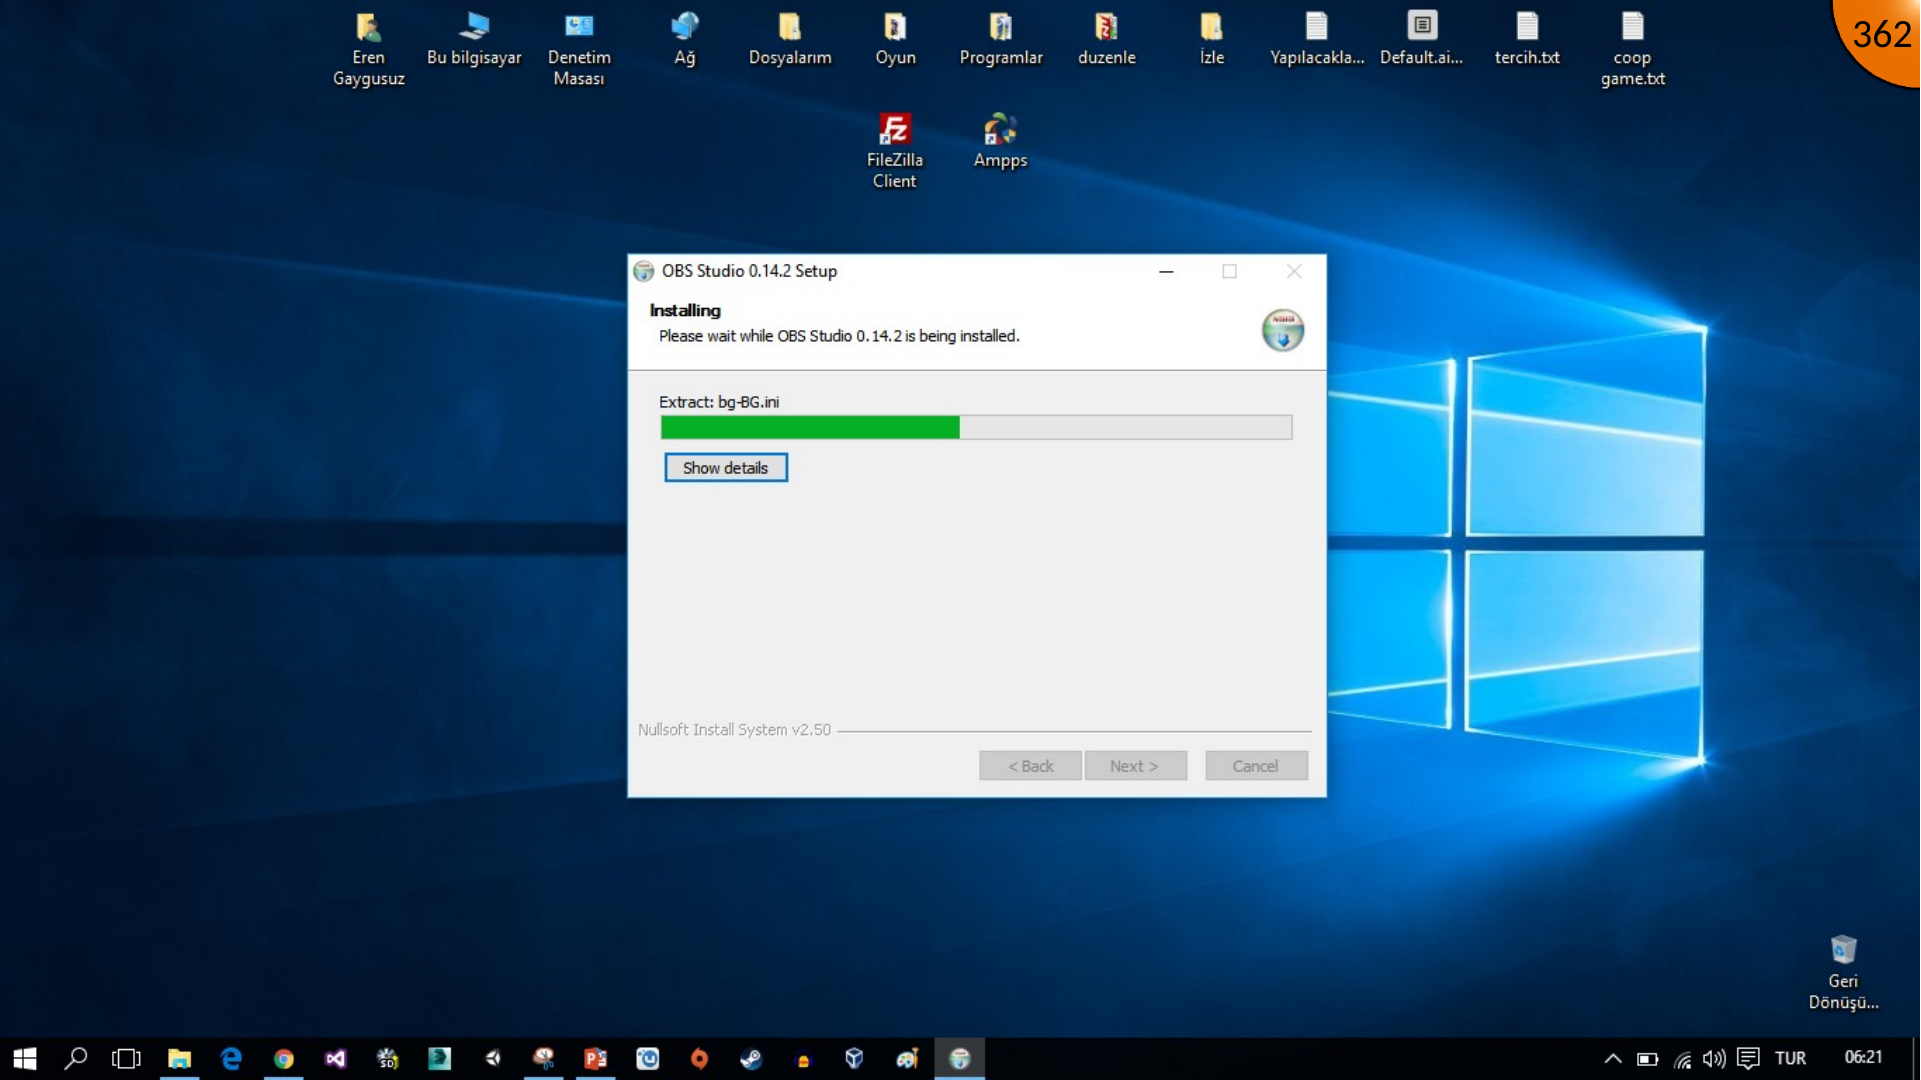
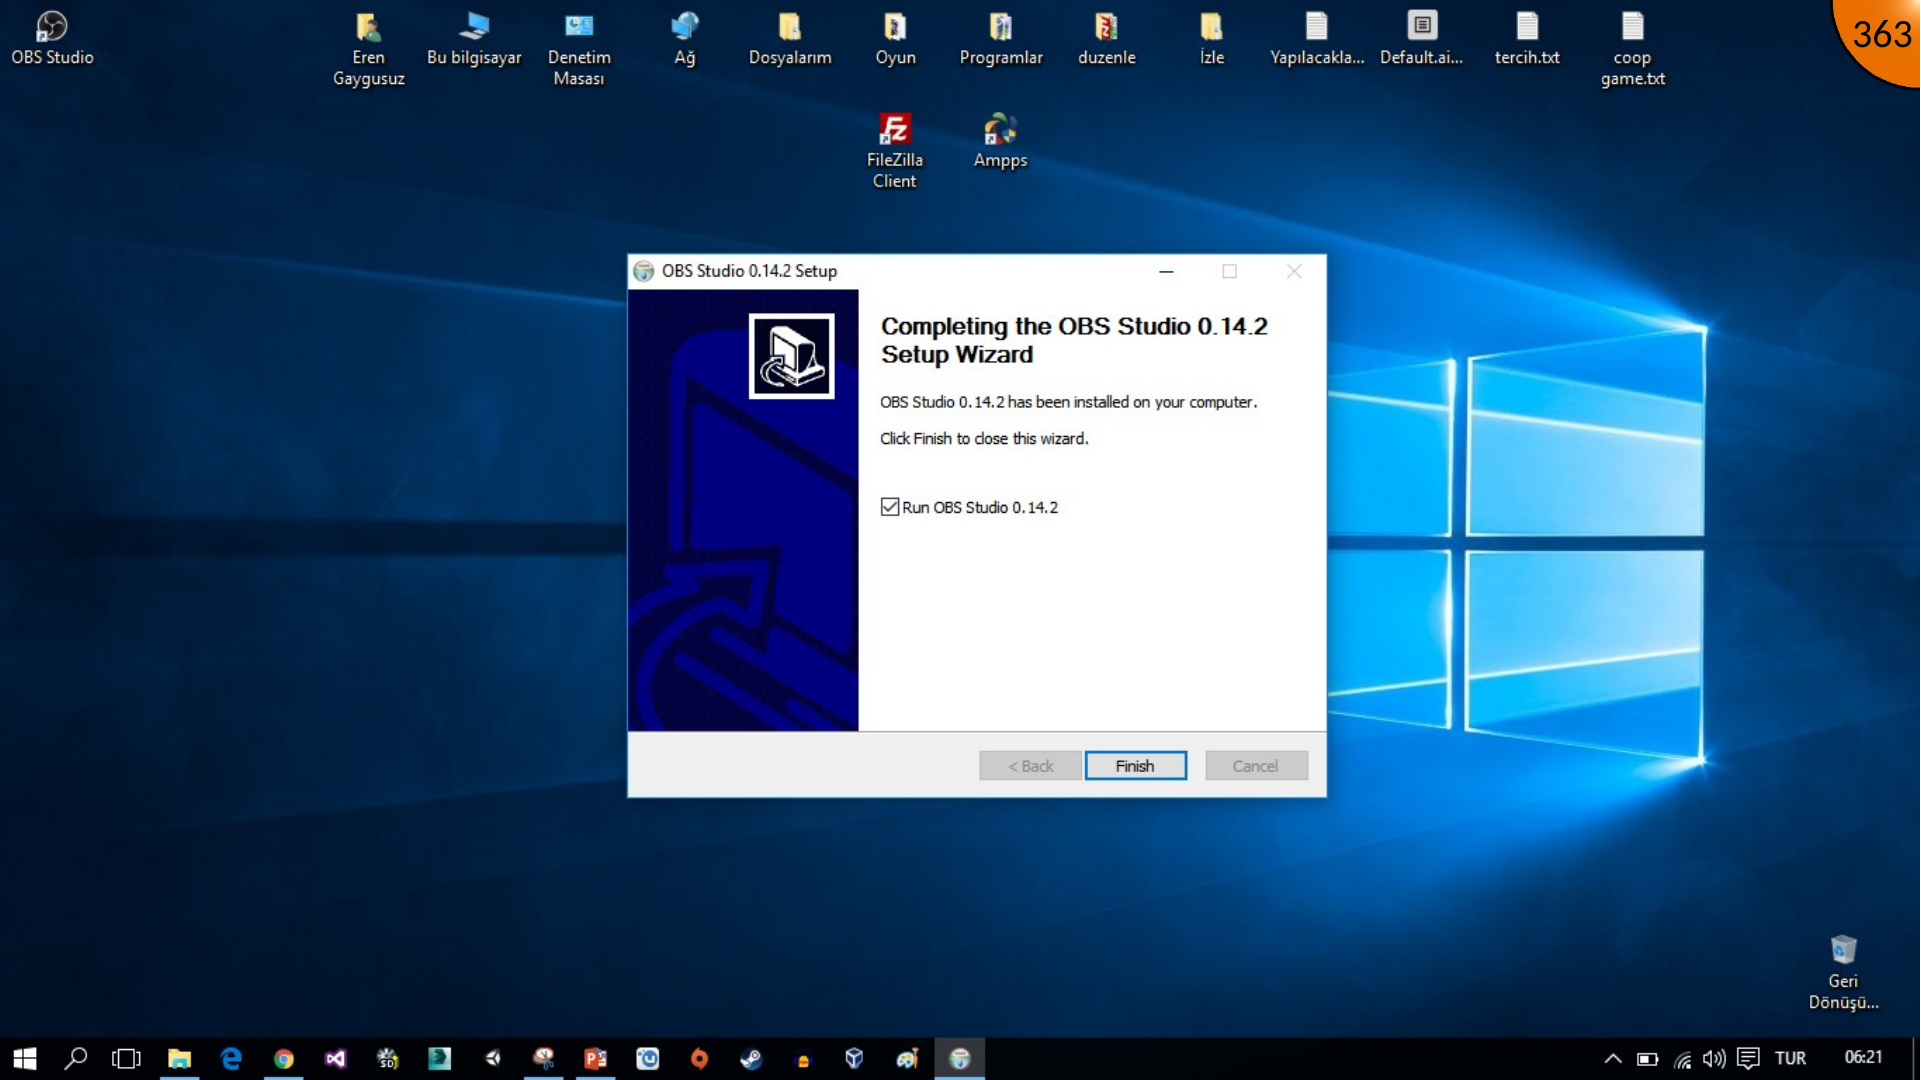
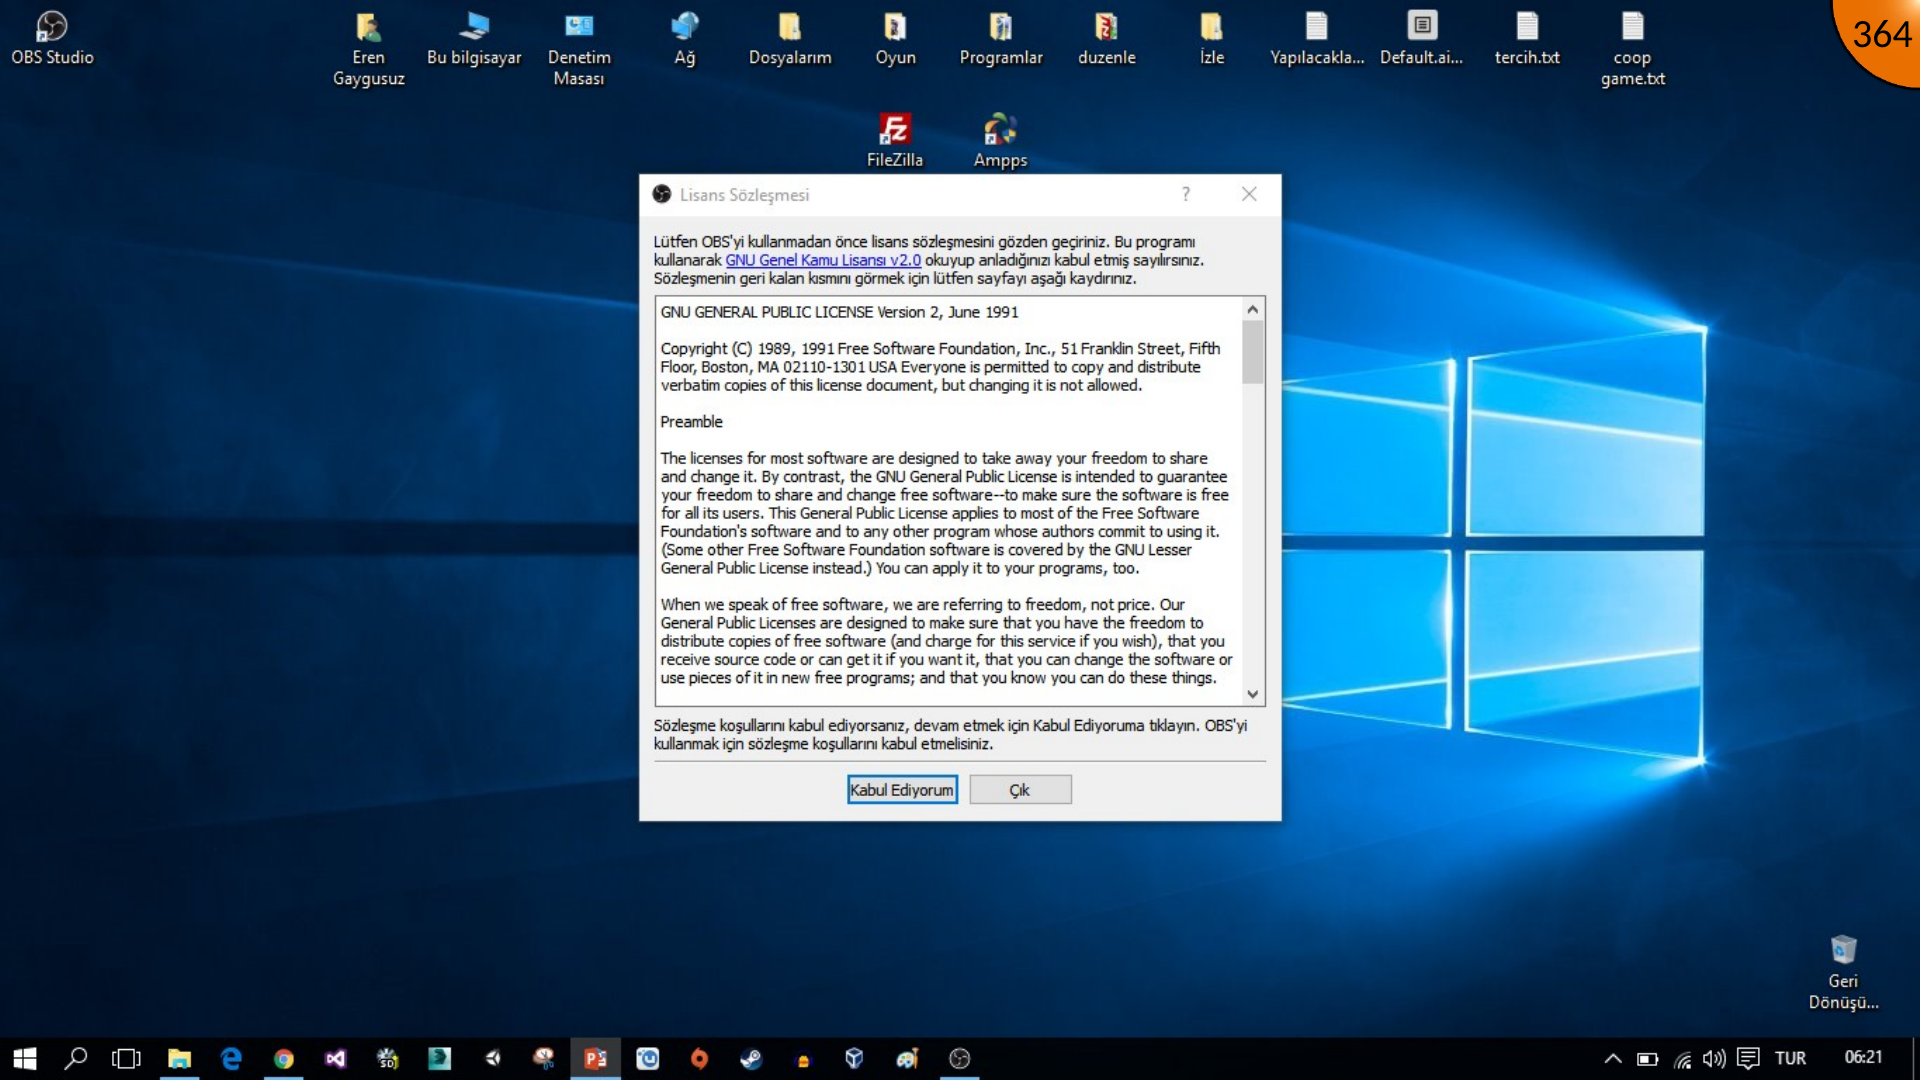
The source installs the archived OBS Studio 0.14.2 installer with administrator approval, accepts the license, proceeds through the installer, and opens OBS after installation. For a current setup, download the supported OBS release from its official project rather than using this old installer.
Connecting OBS to the Stream
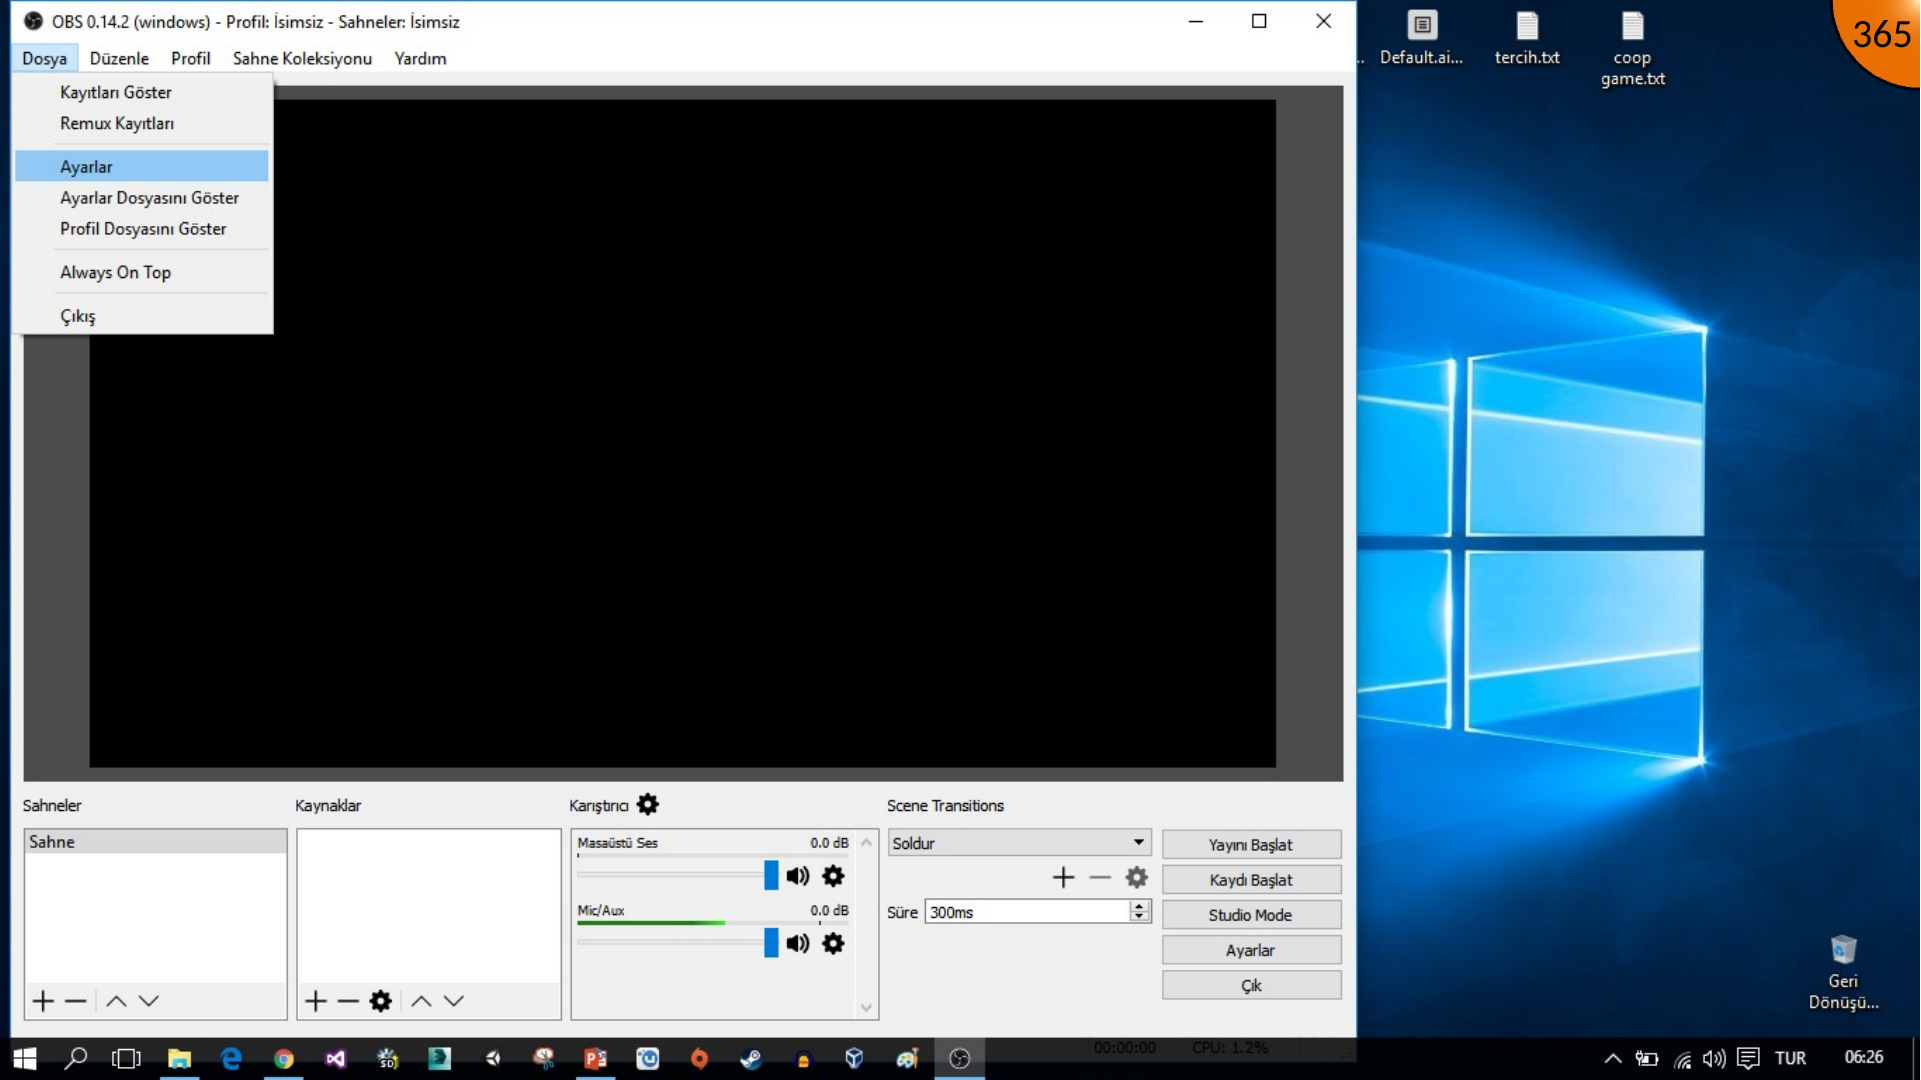
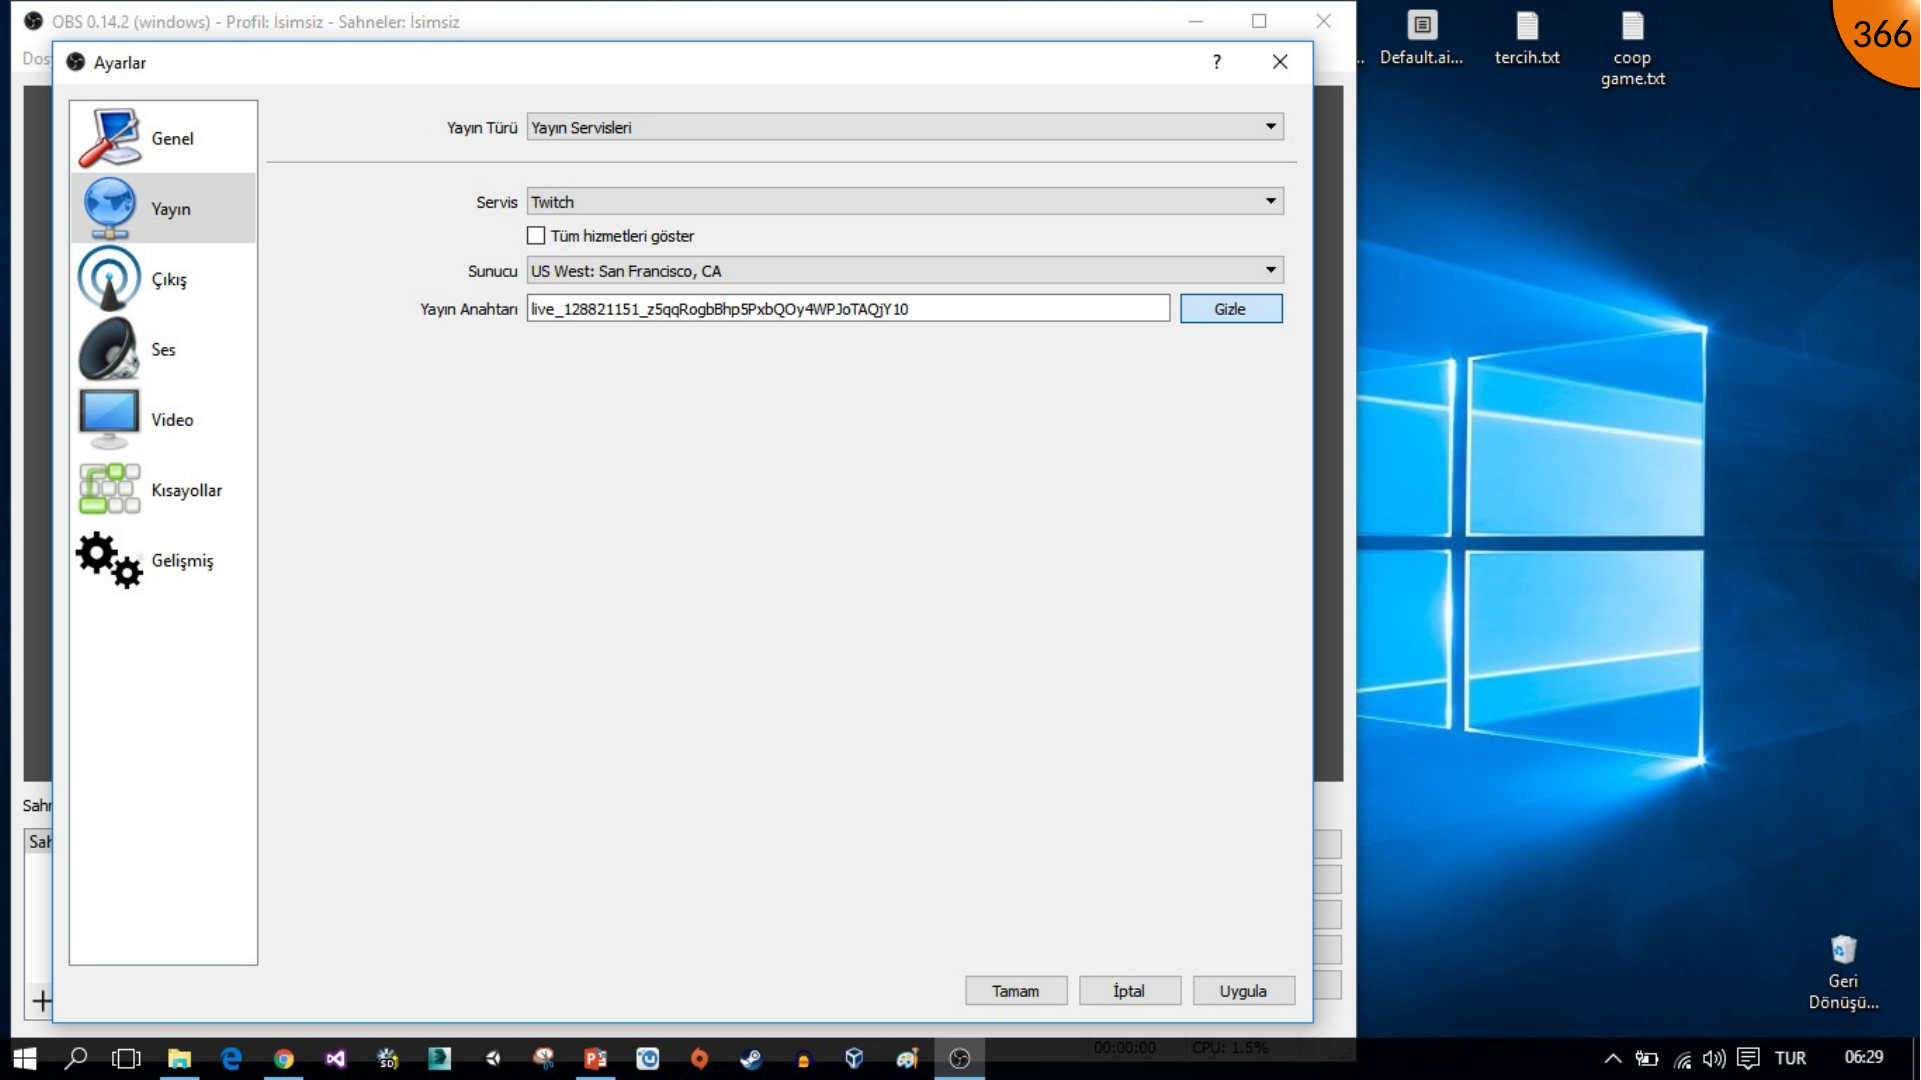
Open File > Settings, go to the stream settings, and enter the stream key obtained from Twitch. Apply the settings and confirm them. Never show this value in a screen recording or screenshot.
Creating a Scene and Screen Source
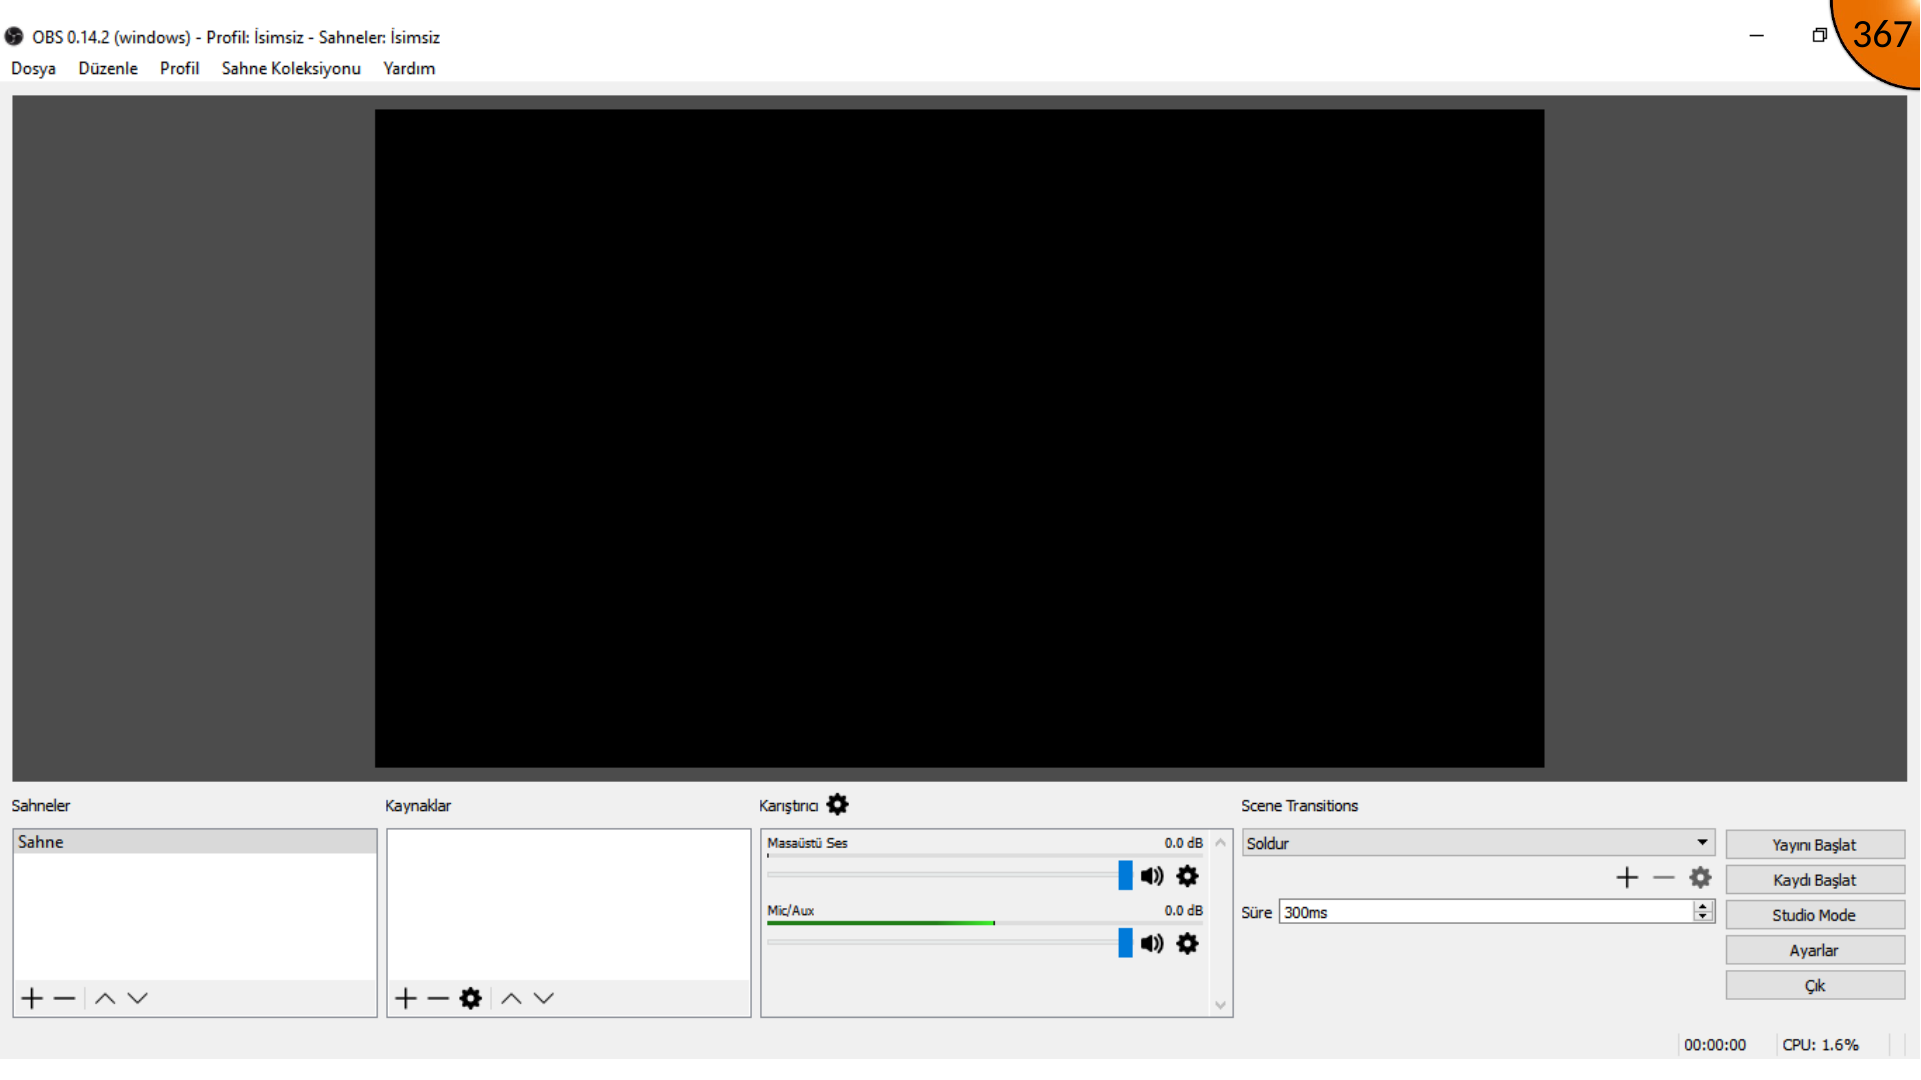
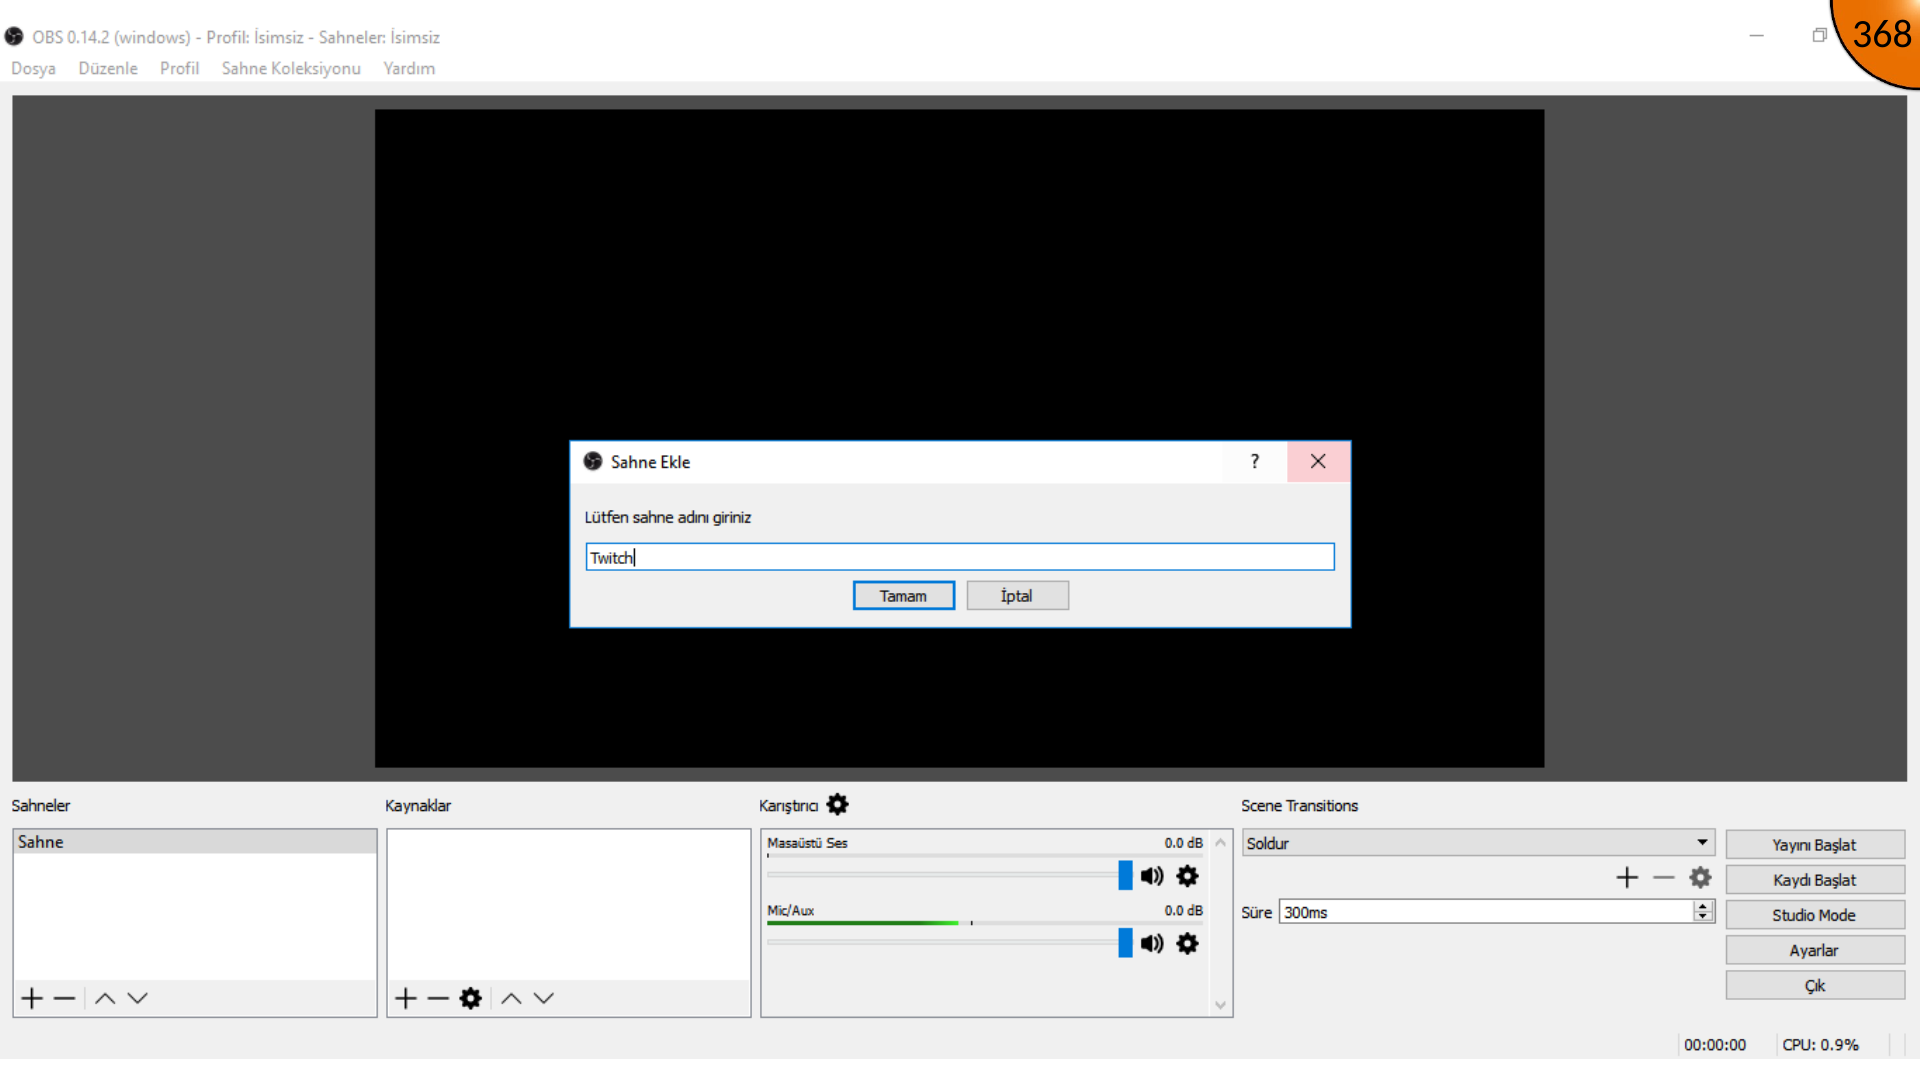
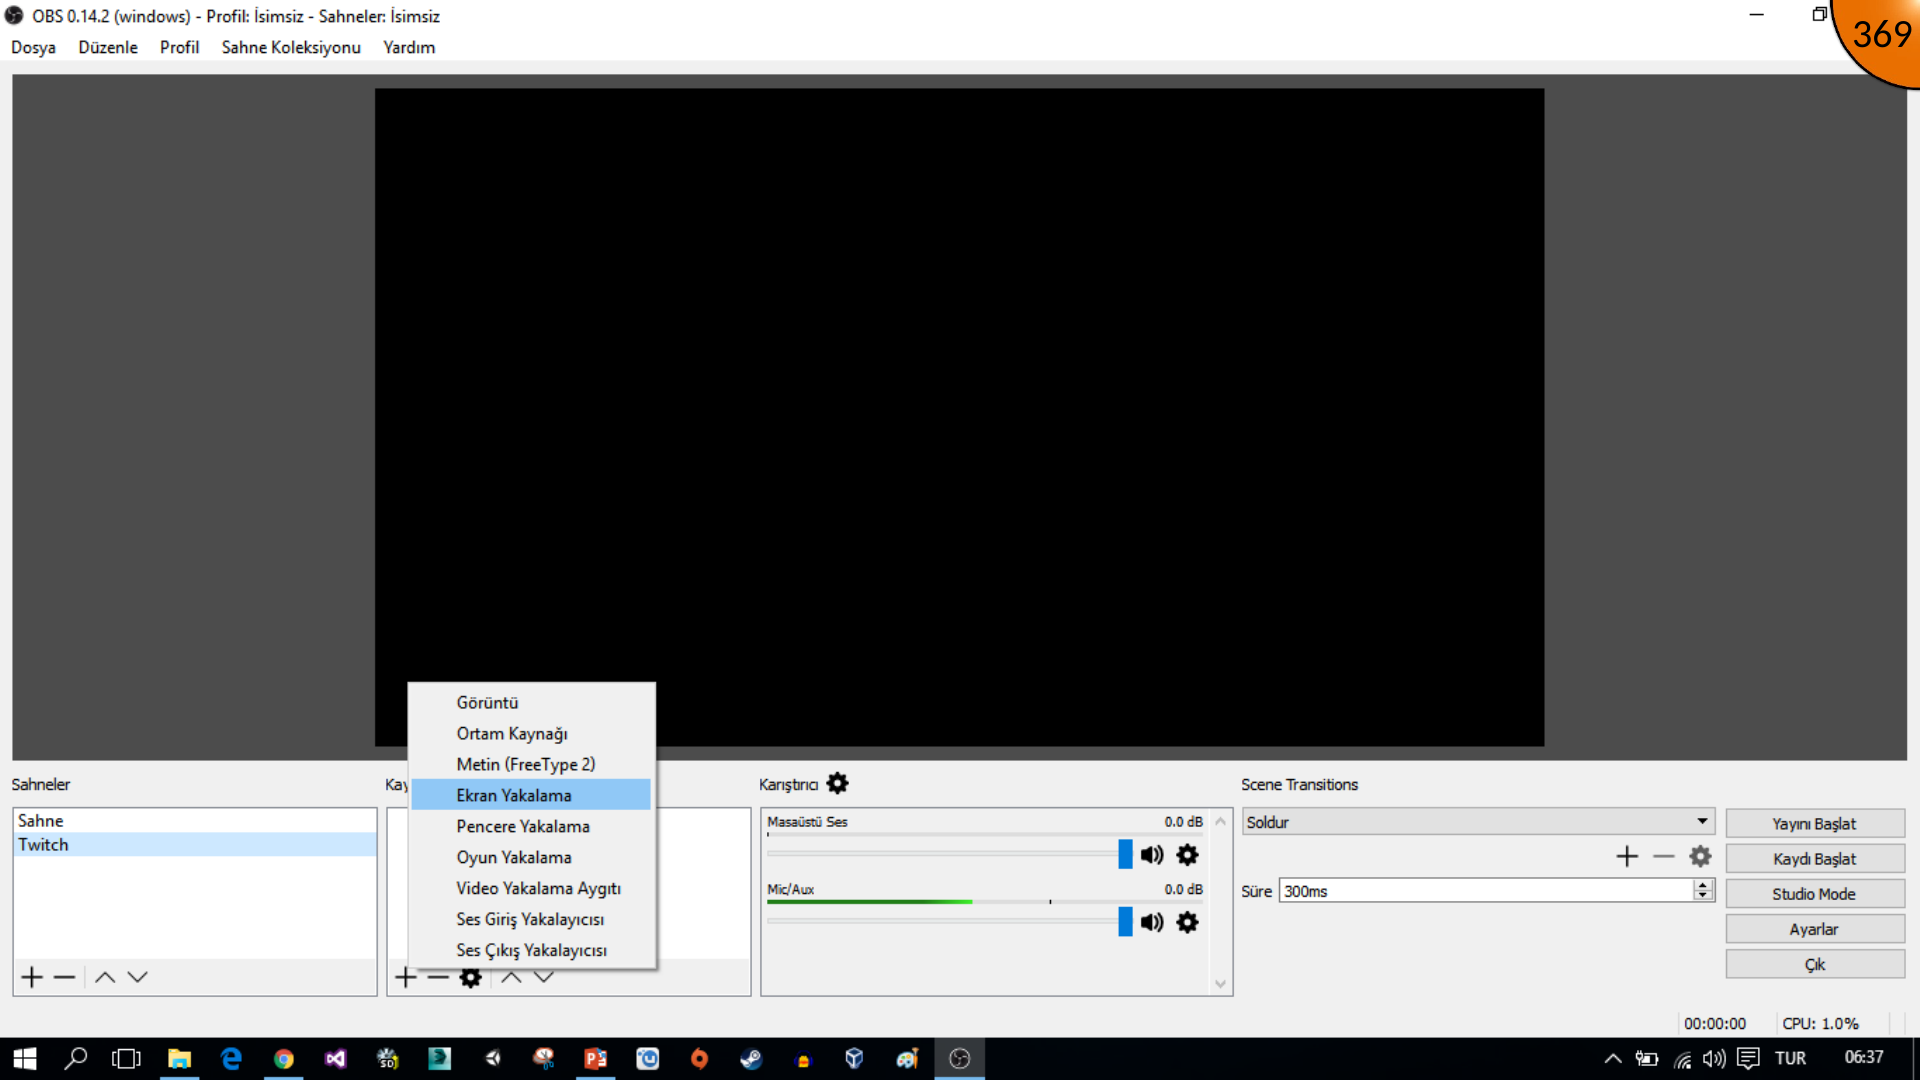
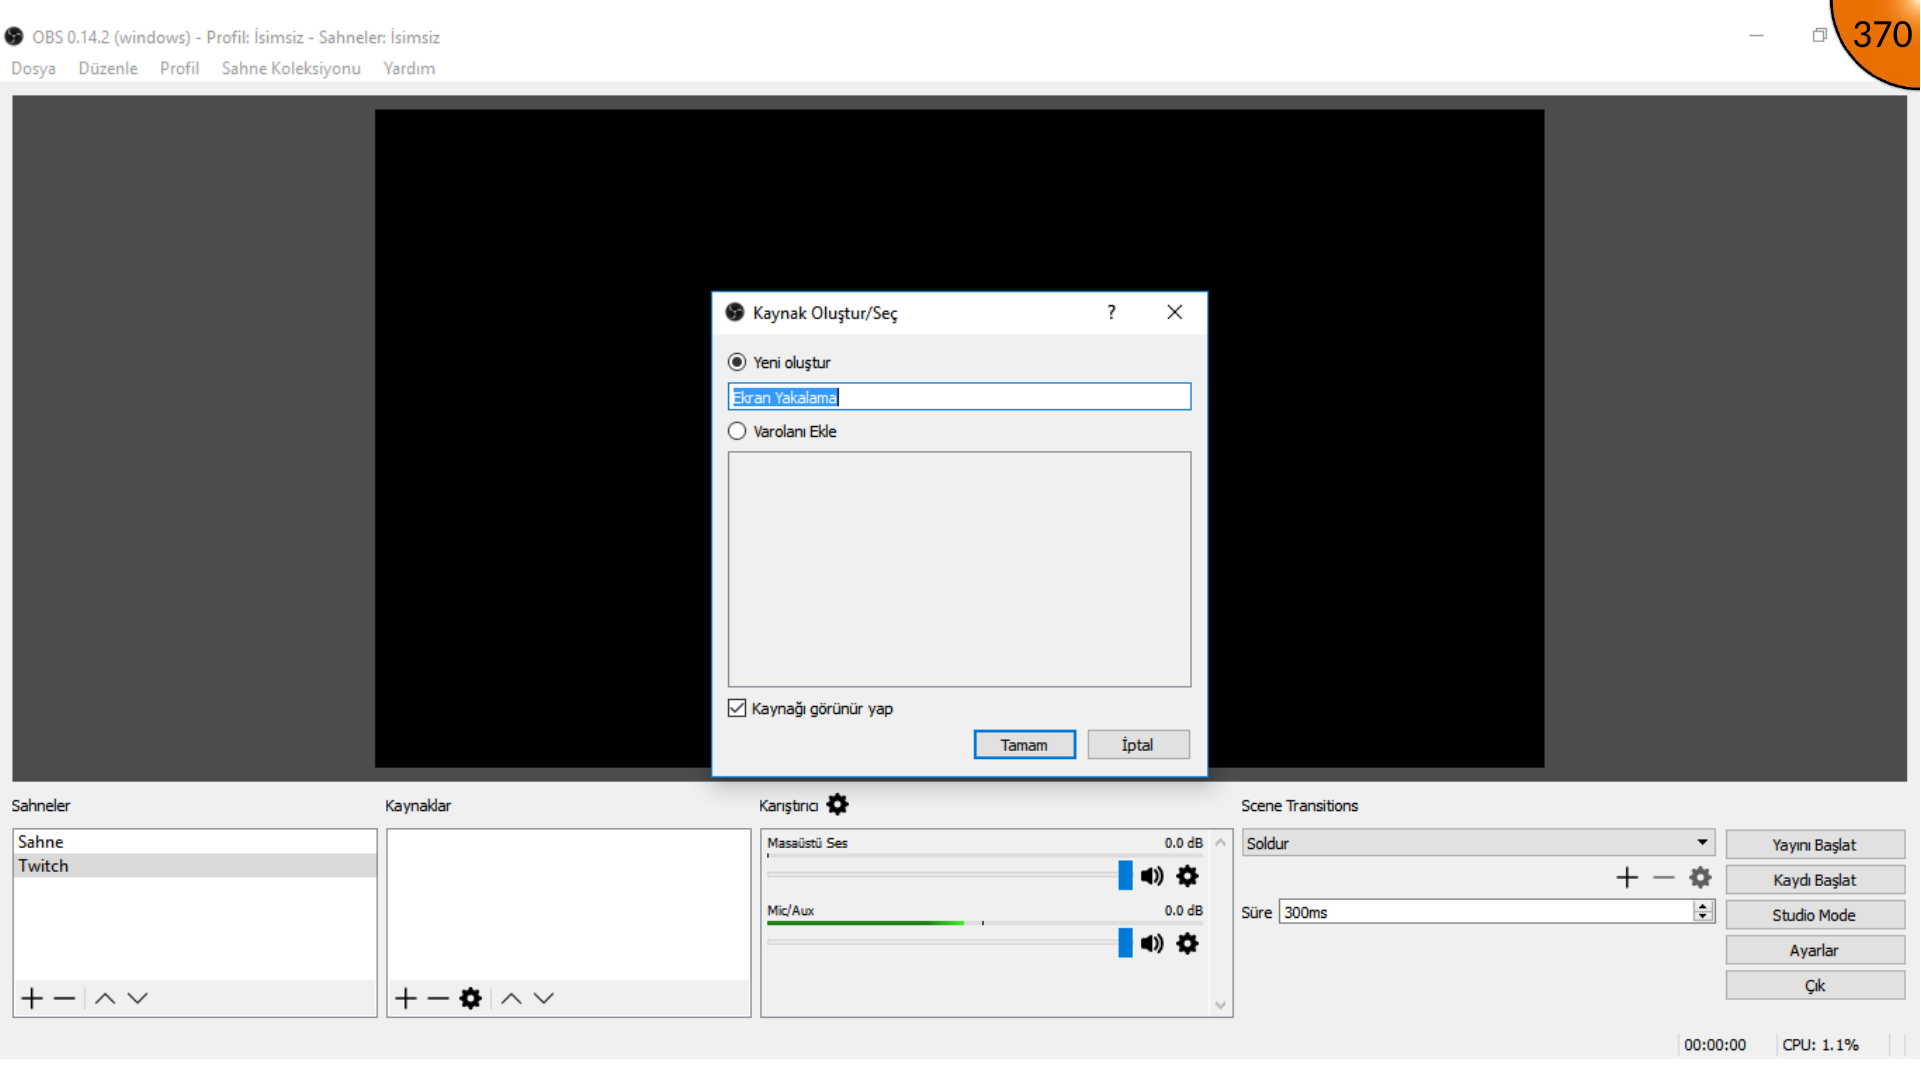
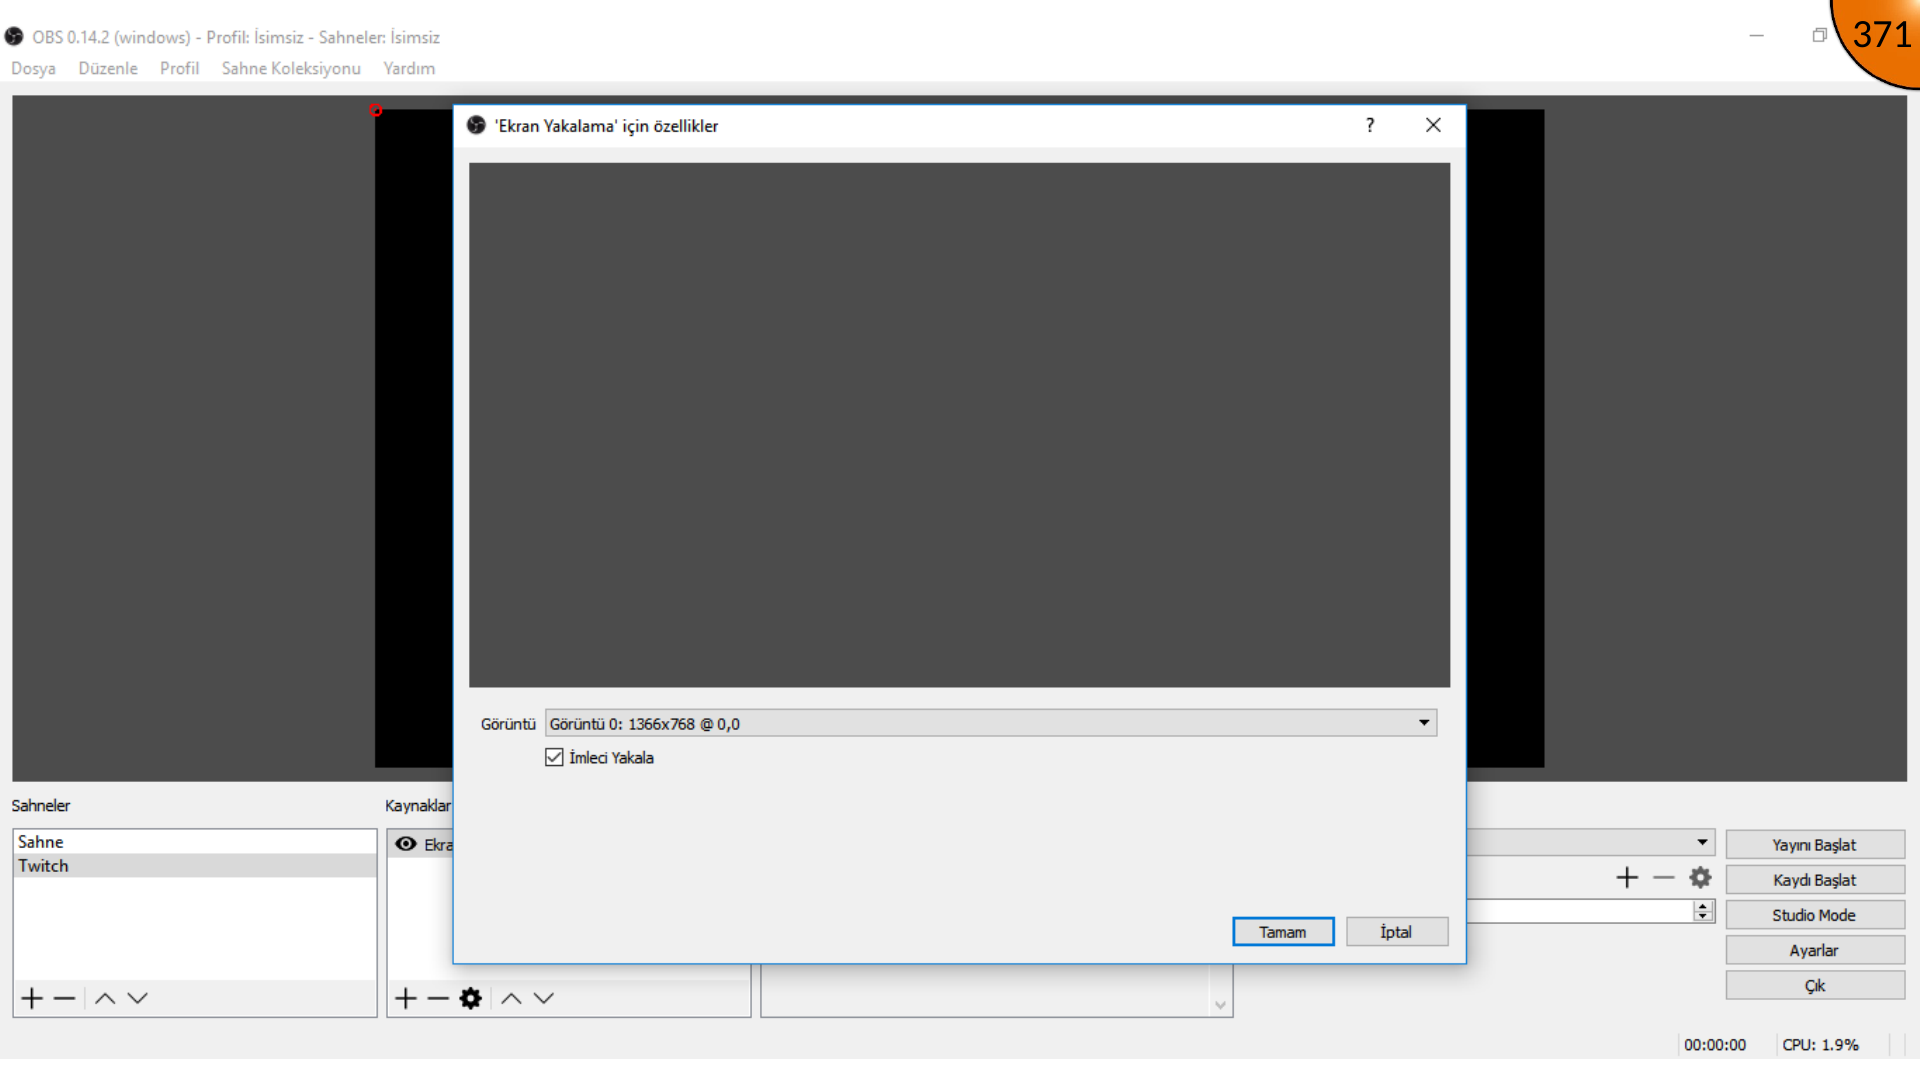
Add a scene, give it a meaningful name, then add a source. The source example selects Display Capture to broadcast the desktop; use a video-capture-device source instead when the lesson should use a camera.
Fixing the Source Preview
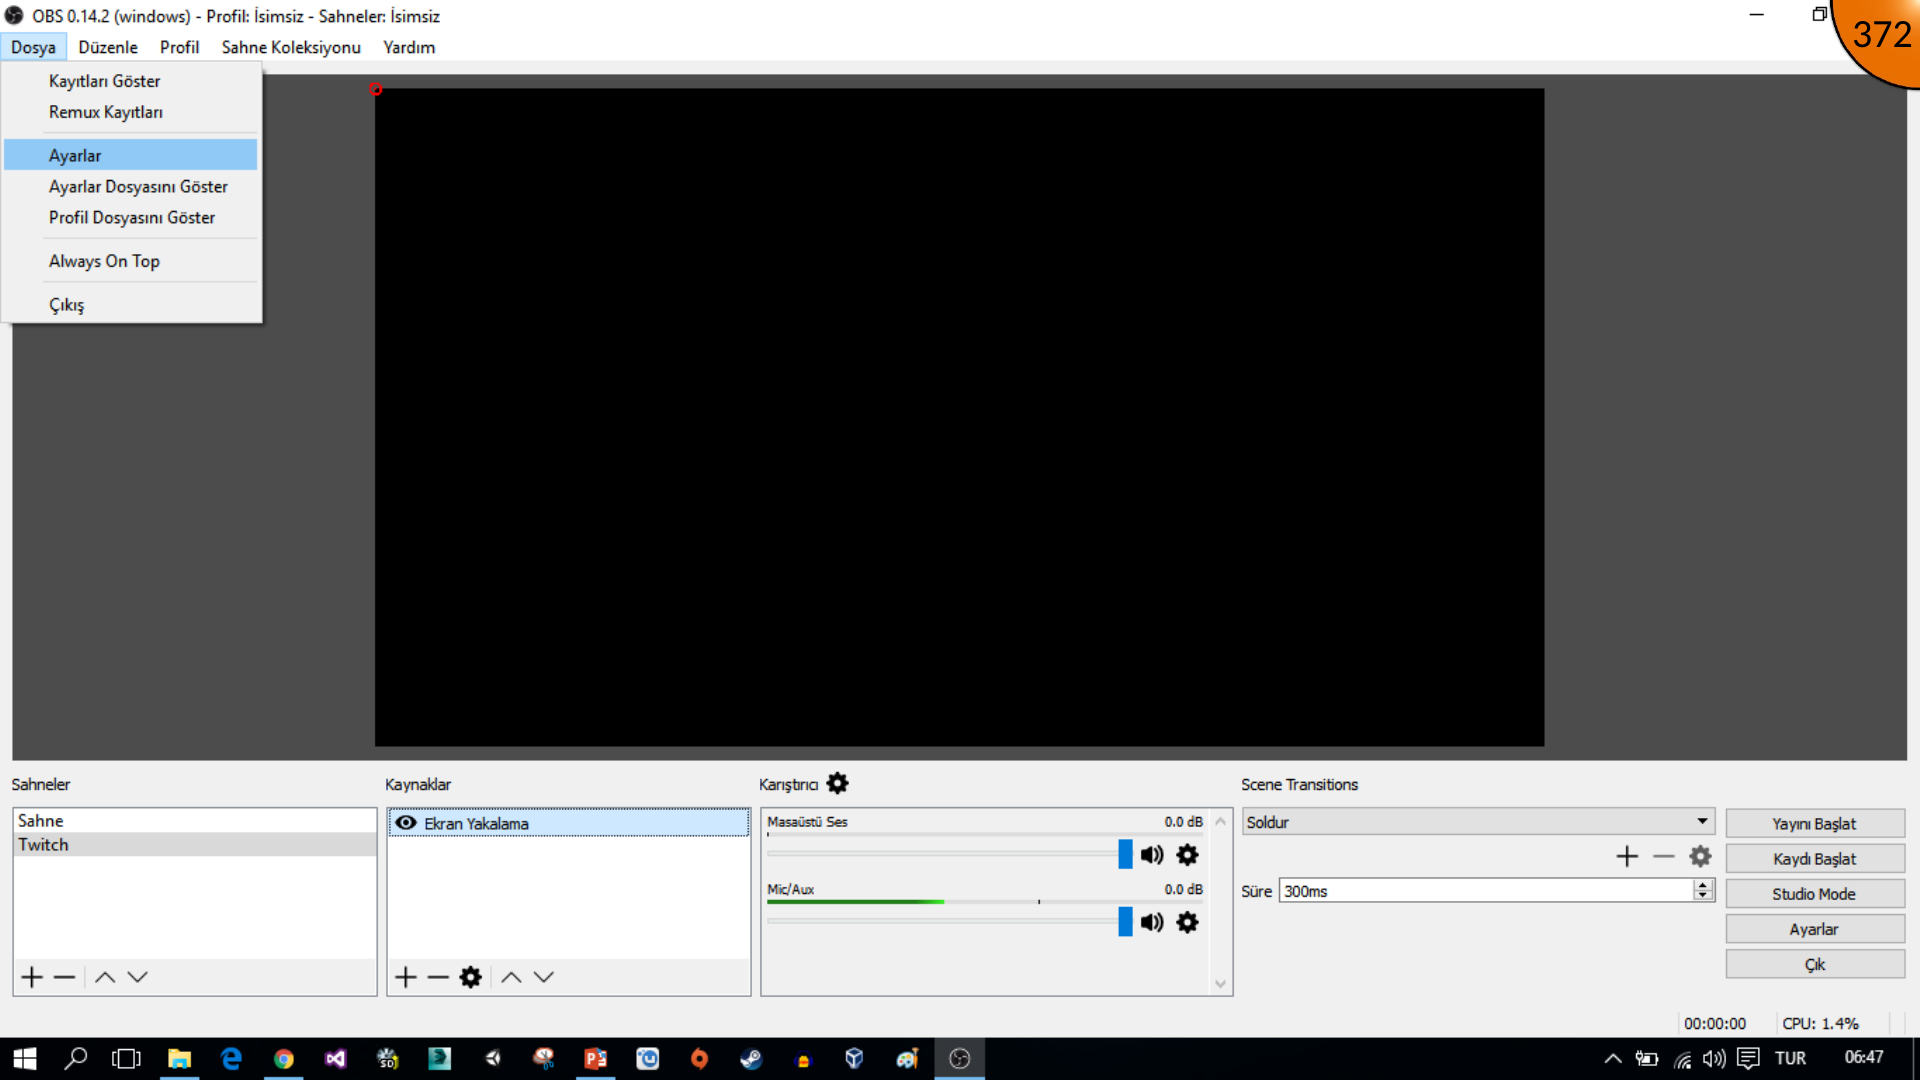
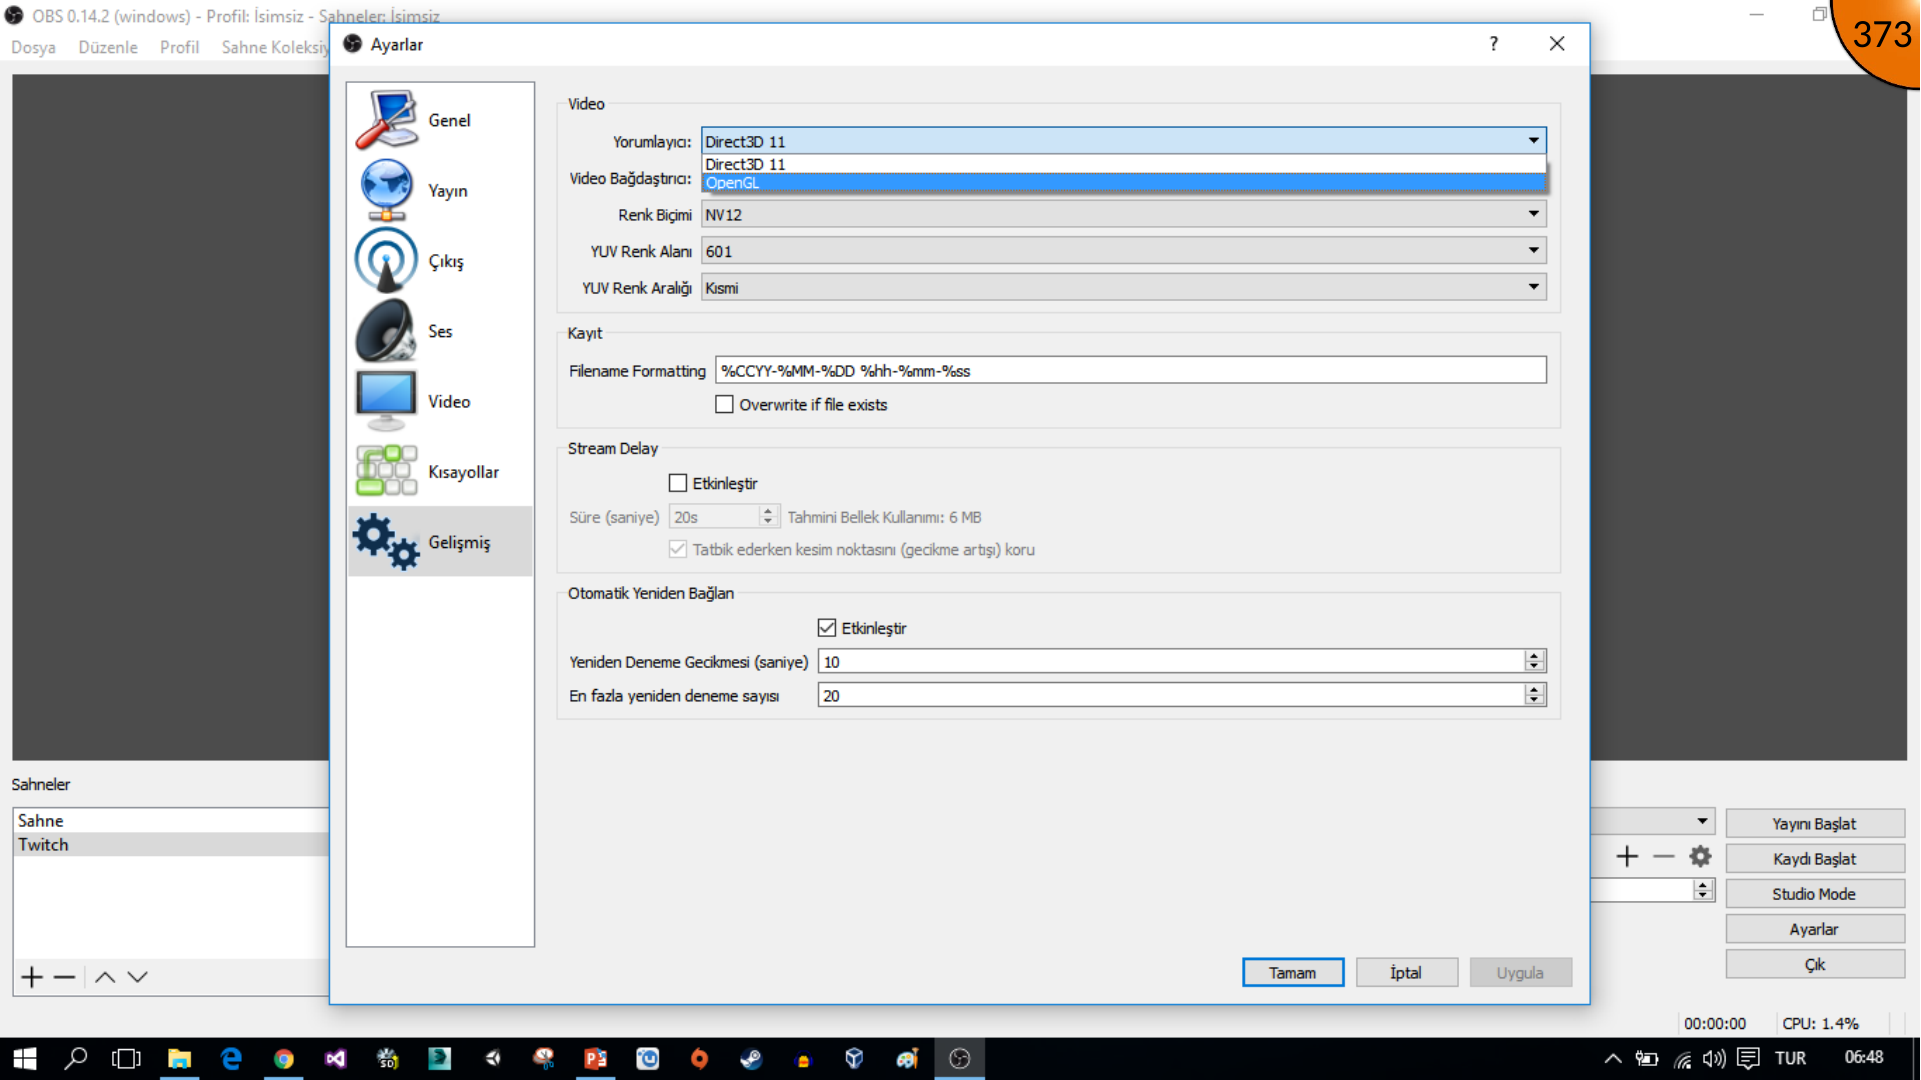
In the archived example, the desktop preview initially does not appear. It opens advanced video settings, switches the renderer to OpenGL, applies the change, and restarts OBS as administrator. Treat this as a version-specific historical workaround: for a current OBS issue, check the current log and documentation before changing renderer settings.
Starting and Checking the Stream
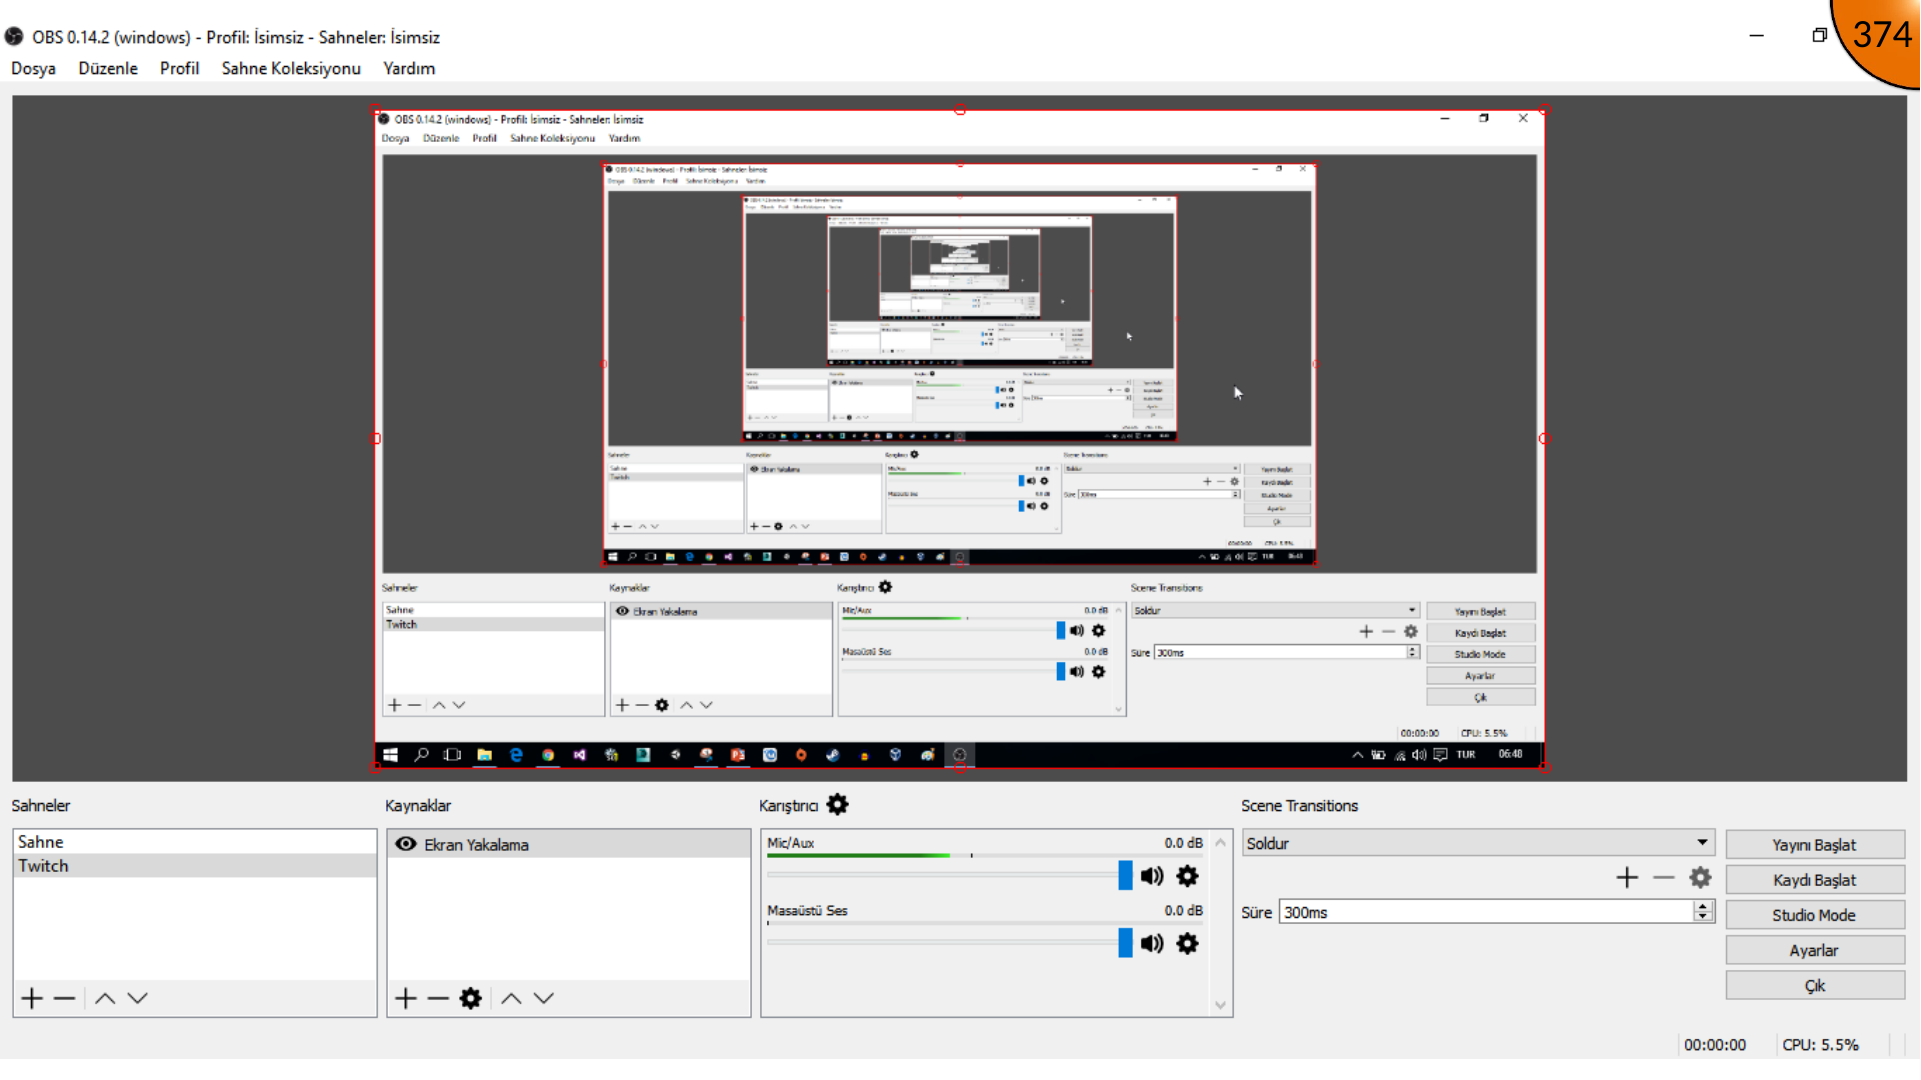
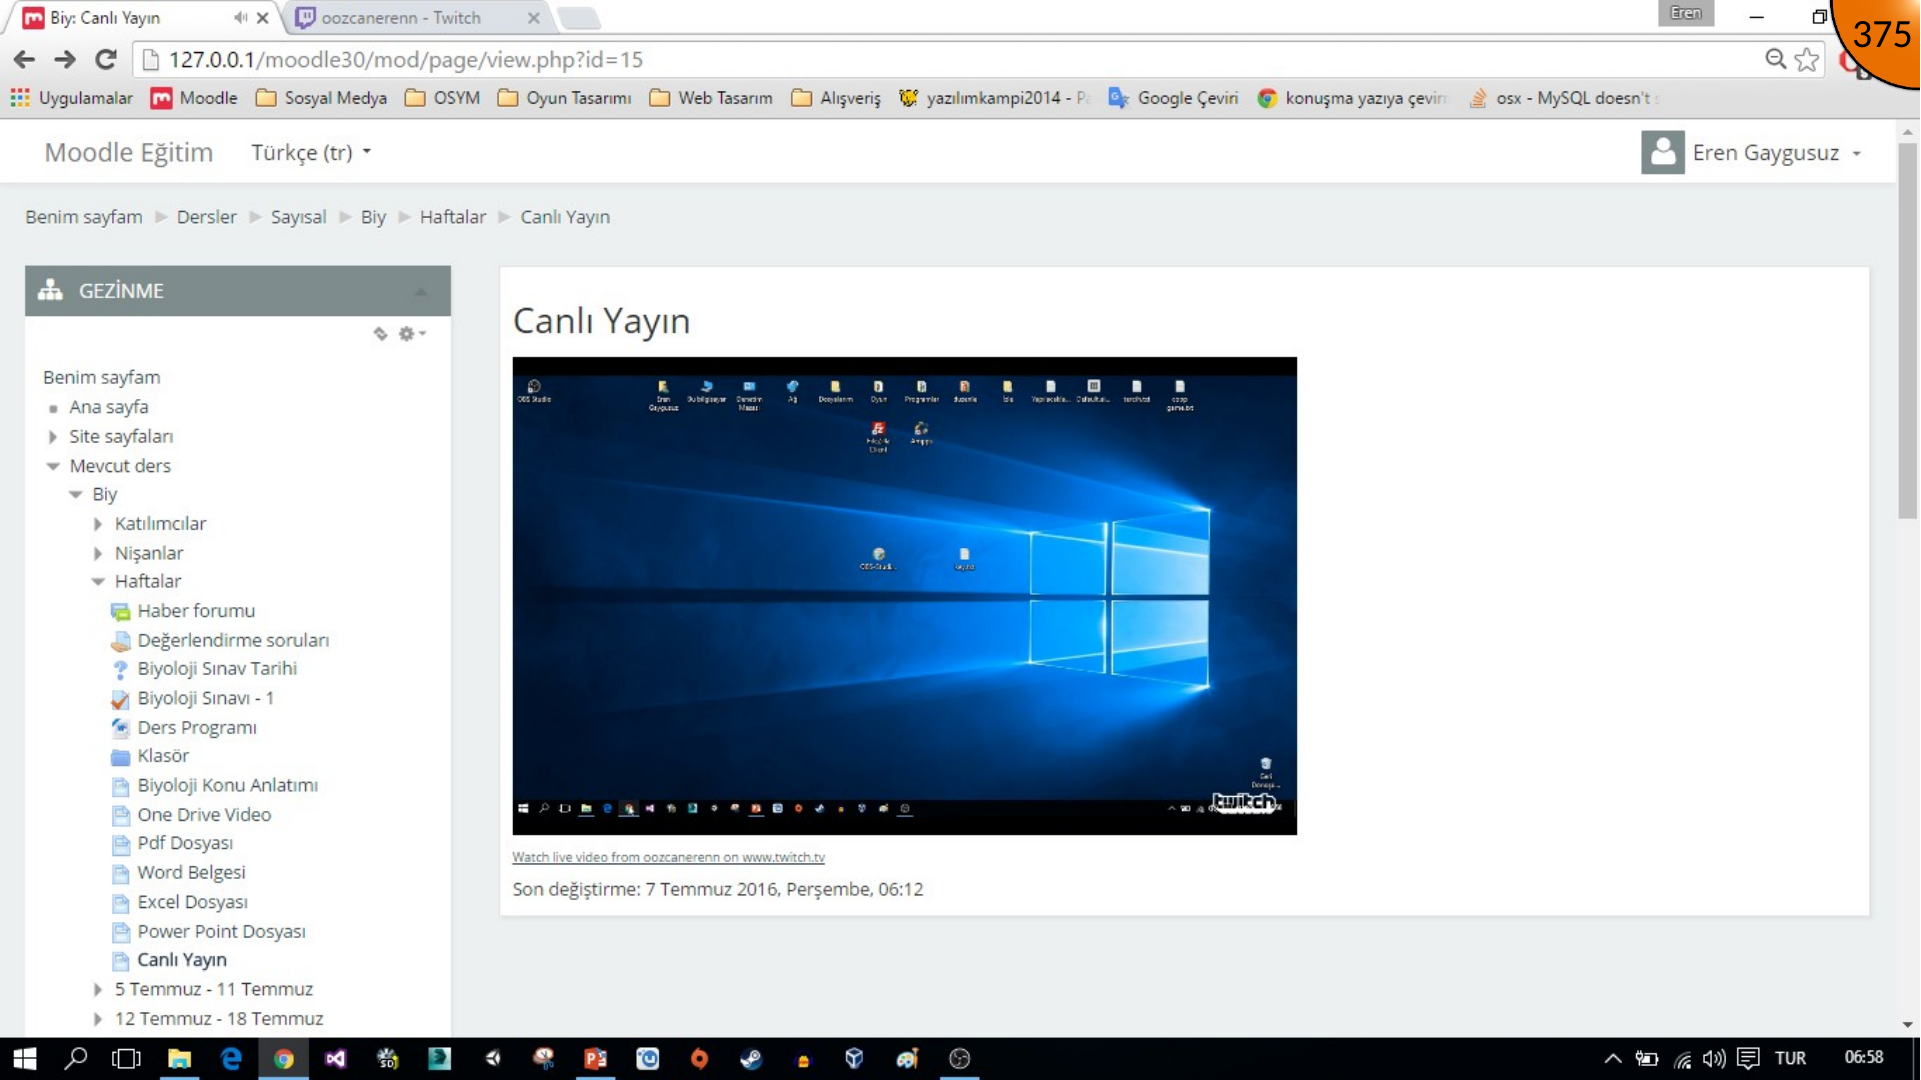
After restarting, verify that the capture preview appears, then choose Start Streaming. Refresh the Moodle page containing the channel player; after a short delay, the live desktop stream should be visible to learners.
Summary
OBS publishes the stream, Twitch distributes it, and Moodle provides the course entry point. Test audio, screen sharing, privacy, latency, and accessibility before starting a real class.
Comments