This archived 2016 walkthrough installs the Moodle Progress Bar plugin and configures it as a course block. Plugin compatibility depends on the Moodle version, so review the plugin’s supported versions, maintenance status, and security information before installing anything on a current production site.
Back up the site and database first. Treat installation warnings and errors as signals to investigate rather than messages to ignore.
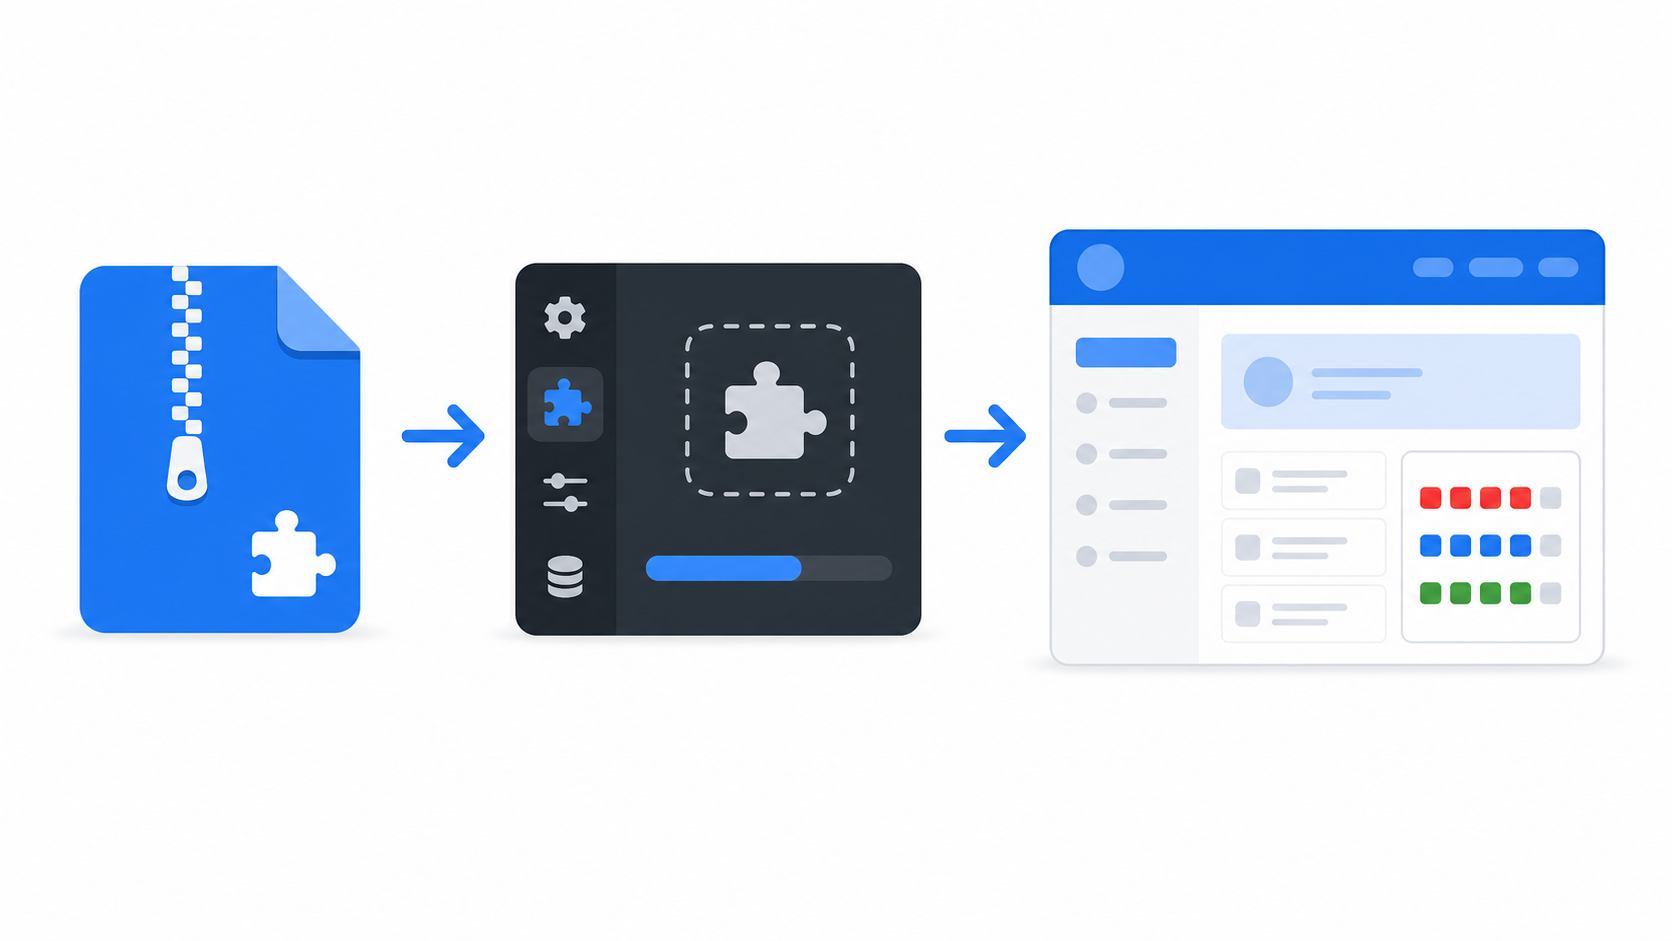
Table of contents
Open Table of contents
Downloading the Plugin
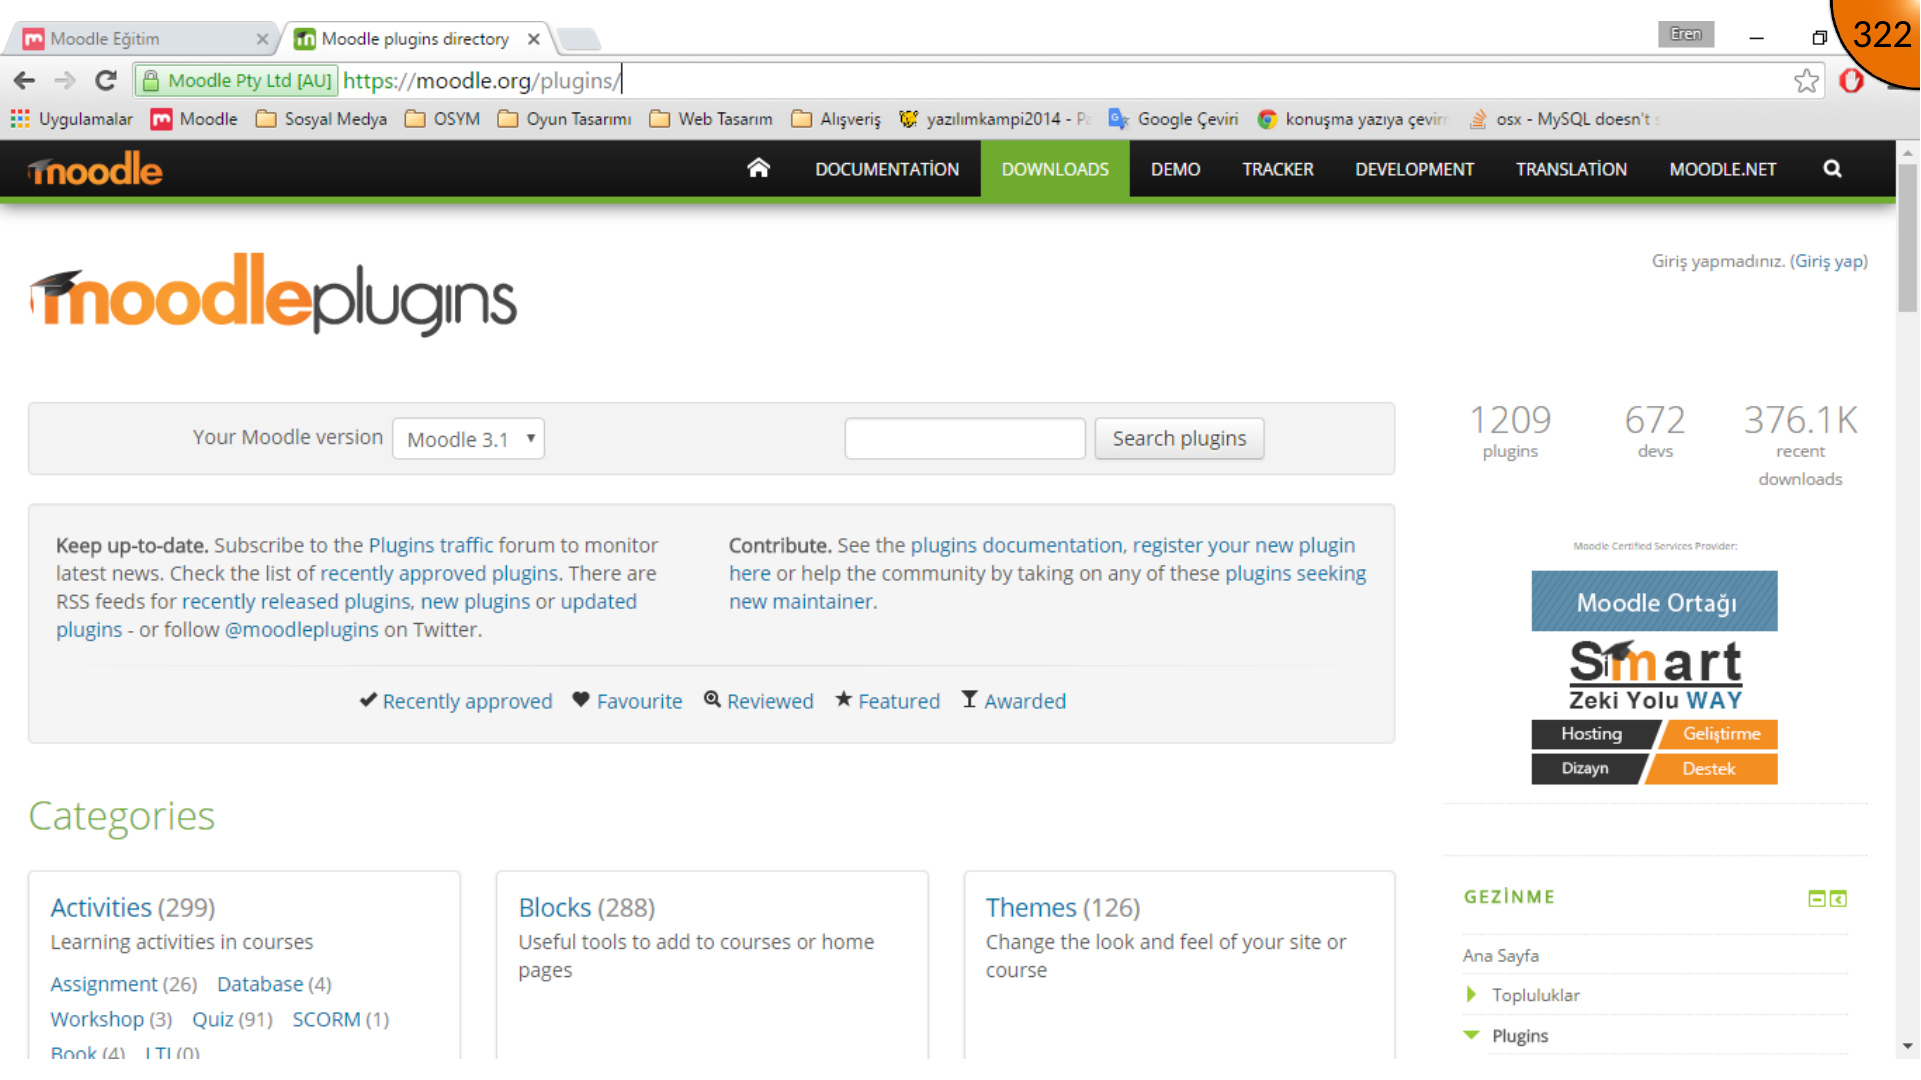
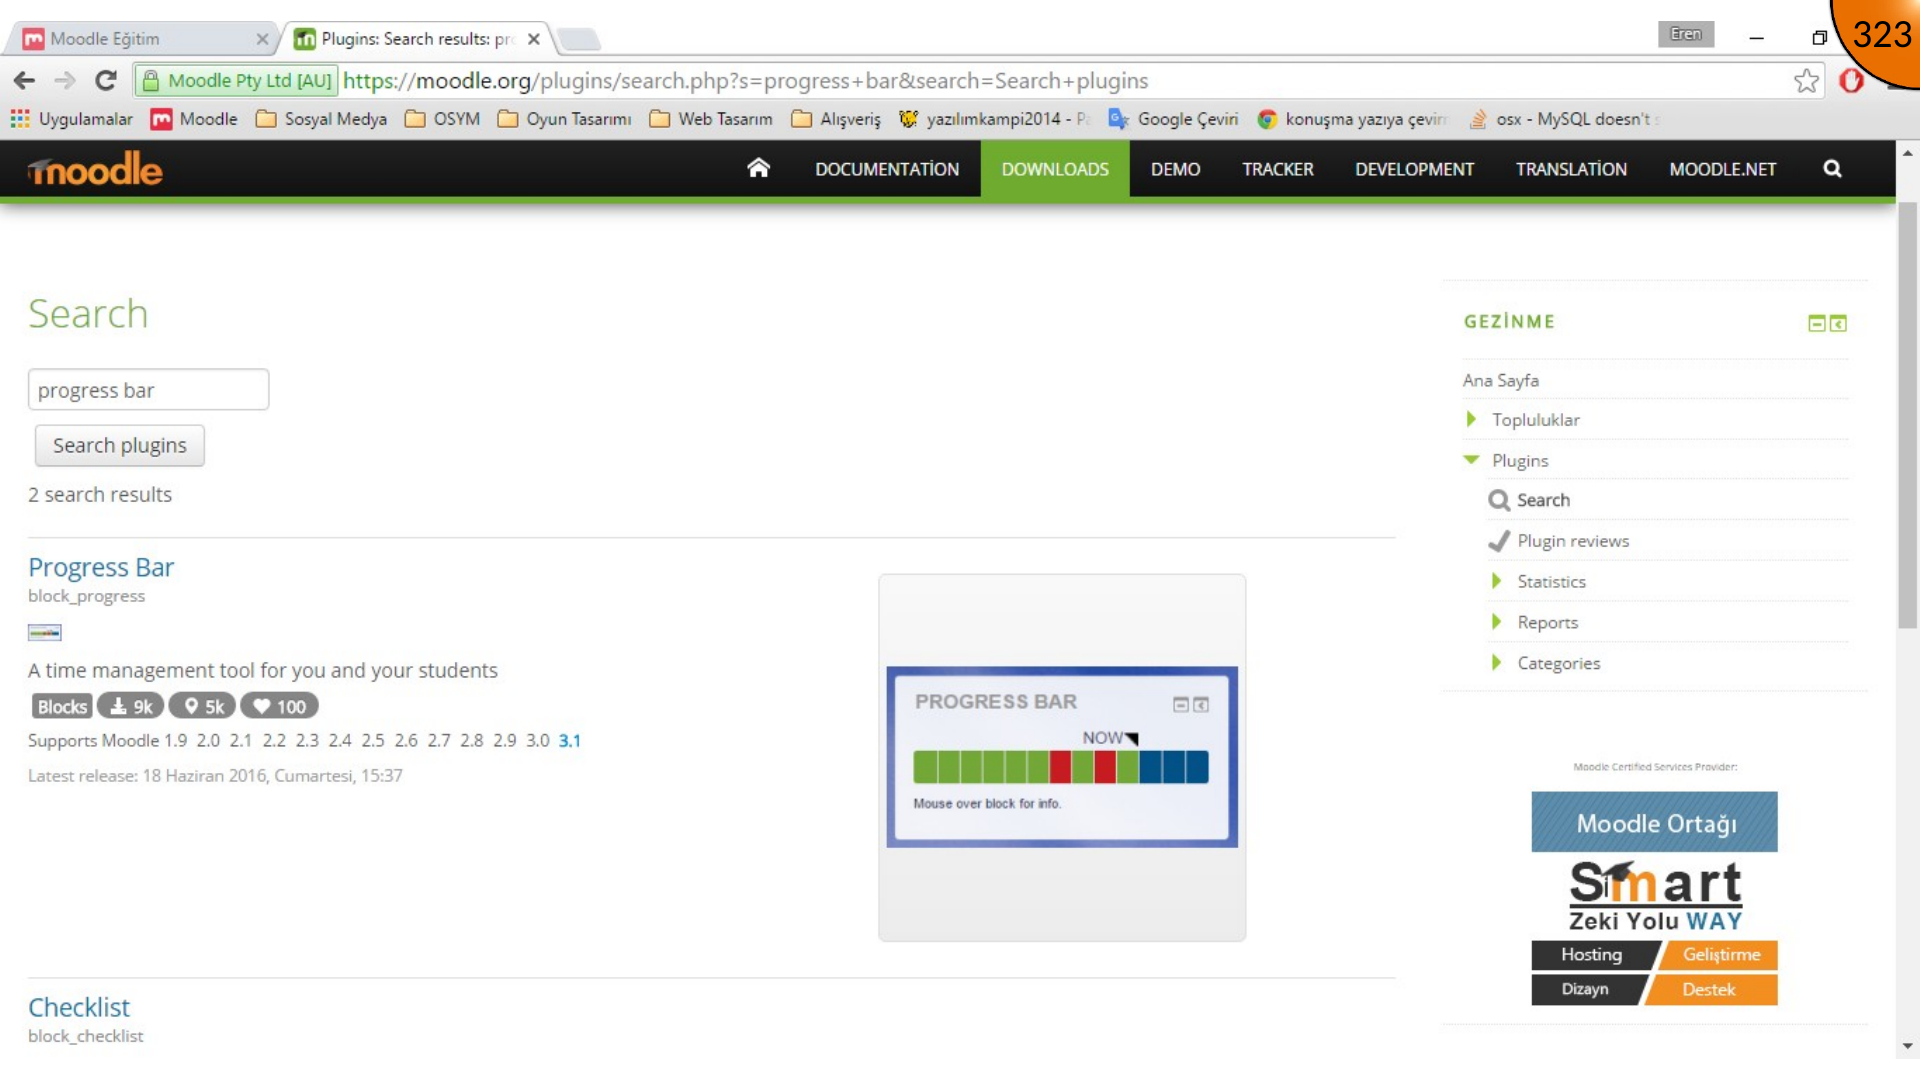
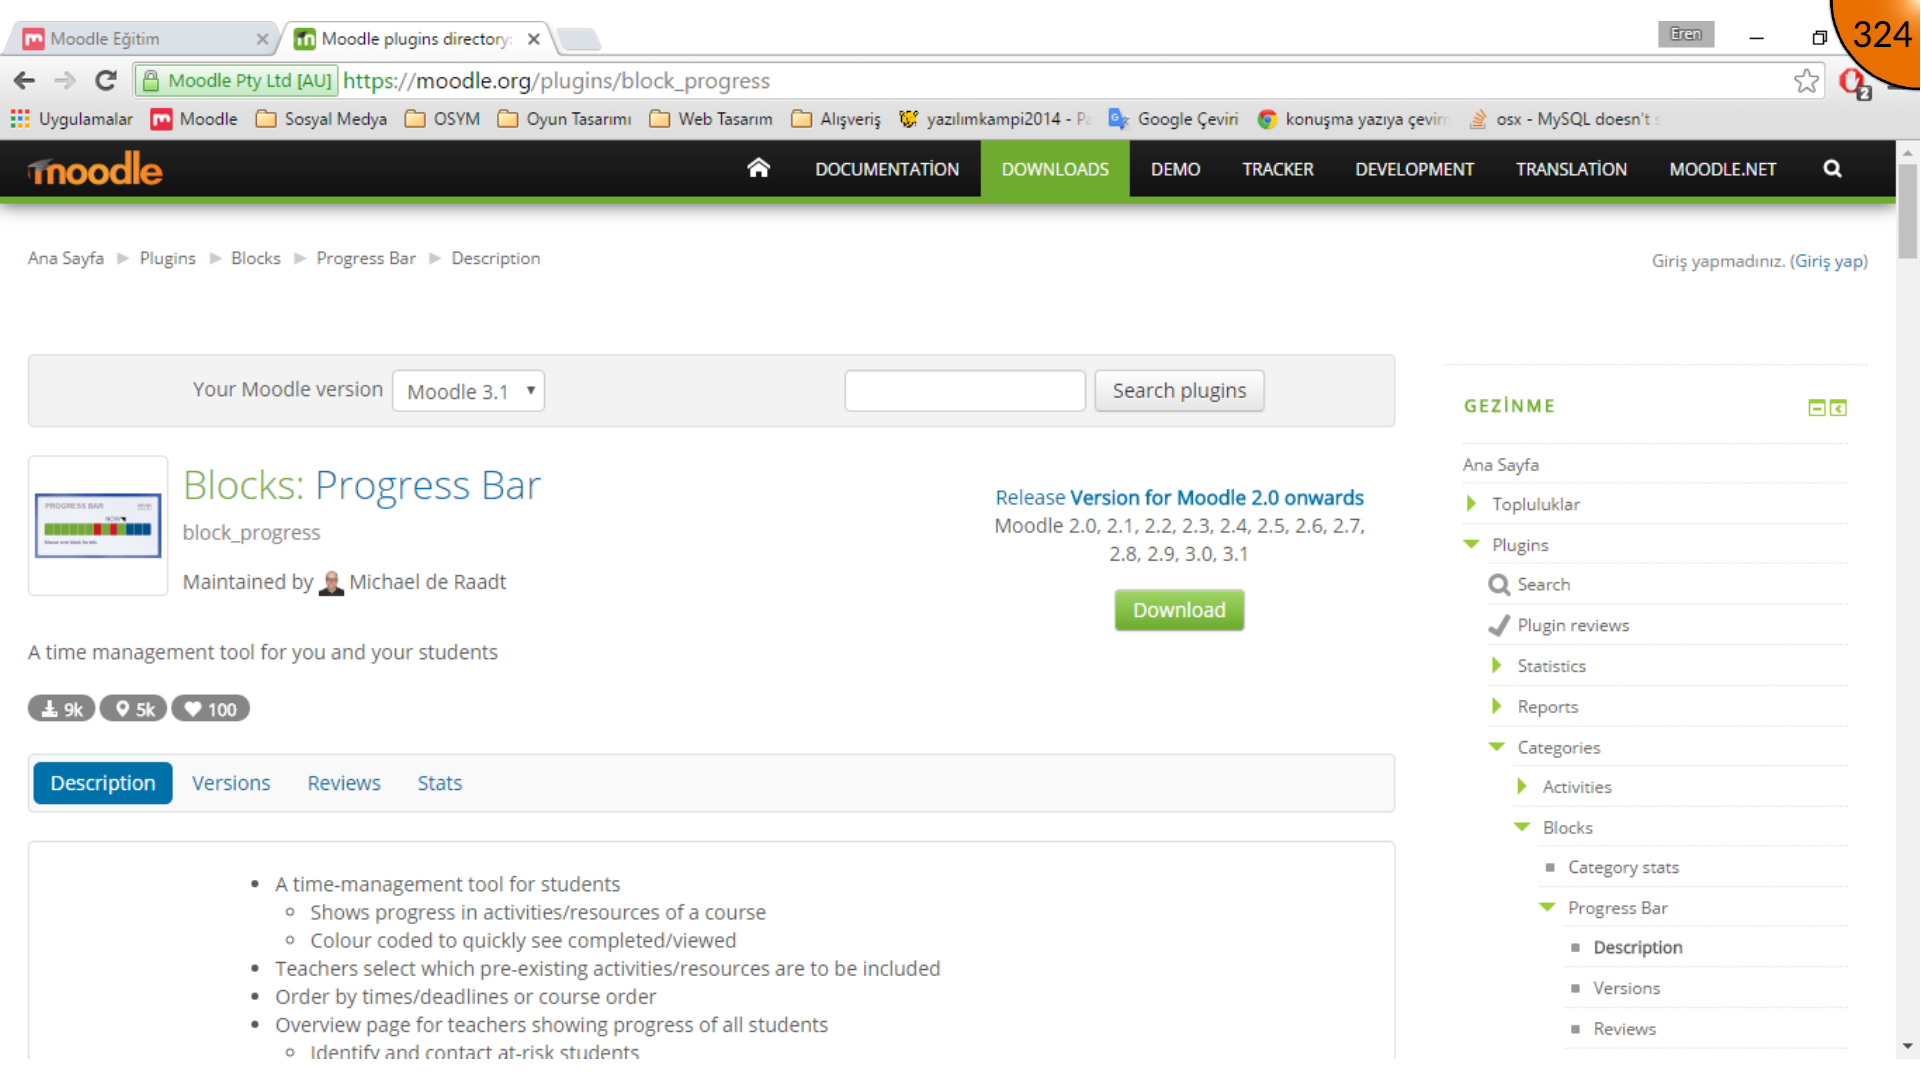
Open the Moodle plugins directory, search for Progress Bar, open its result, and download the plugin archive.
Installing the Plugin Archive
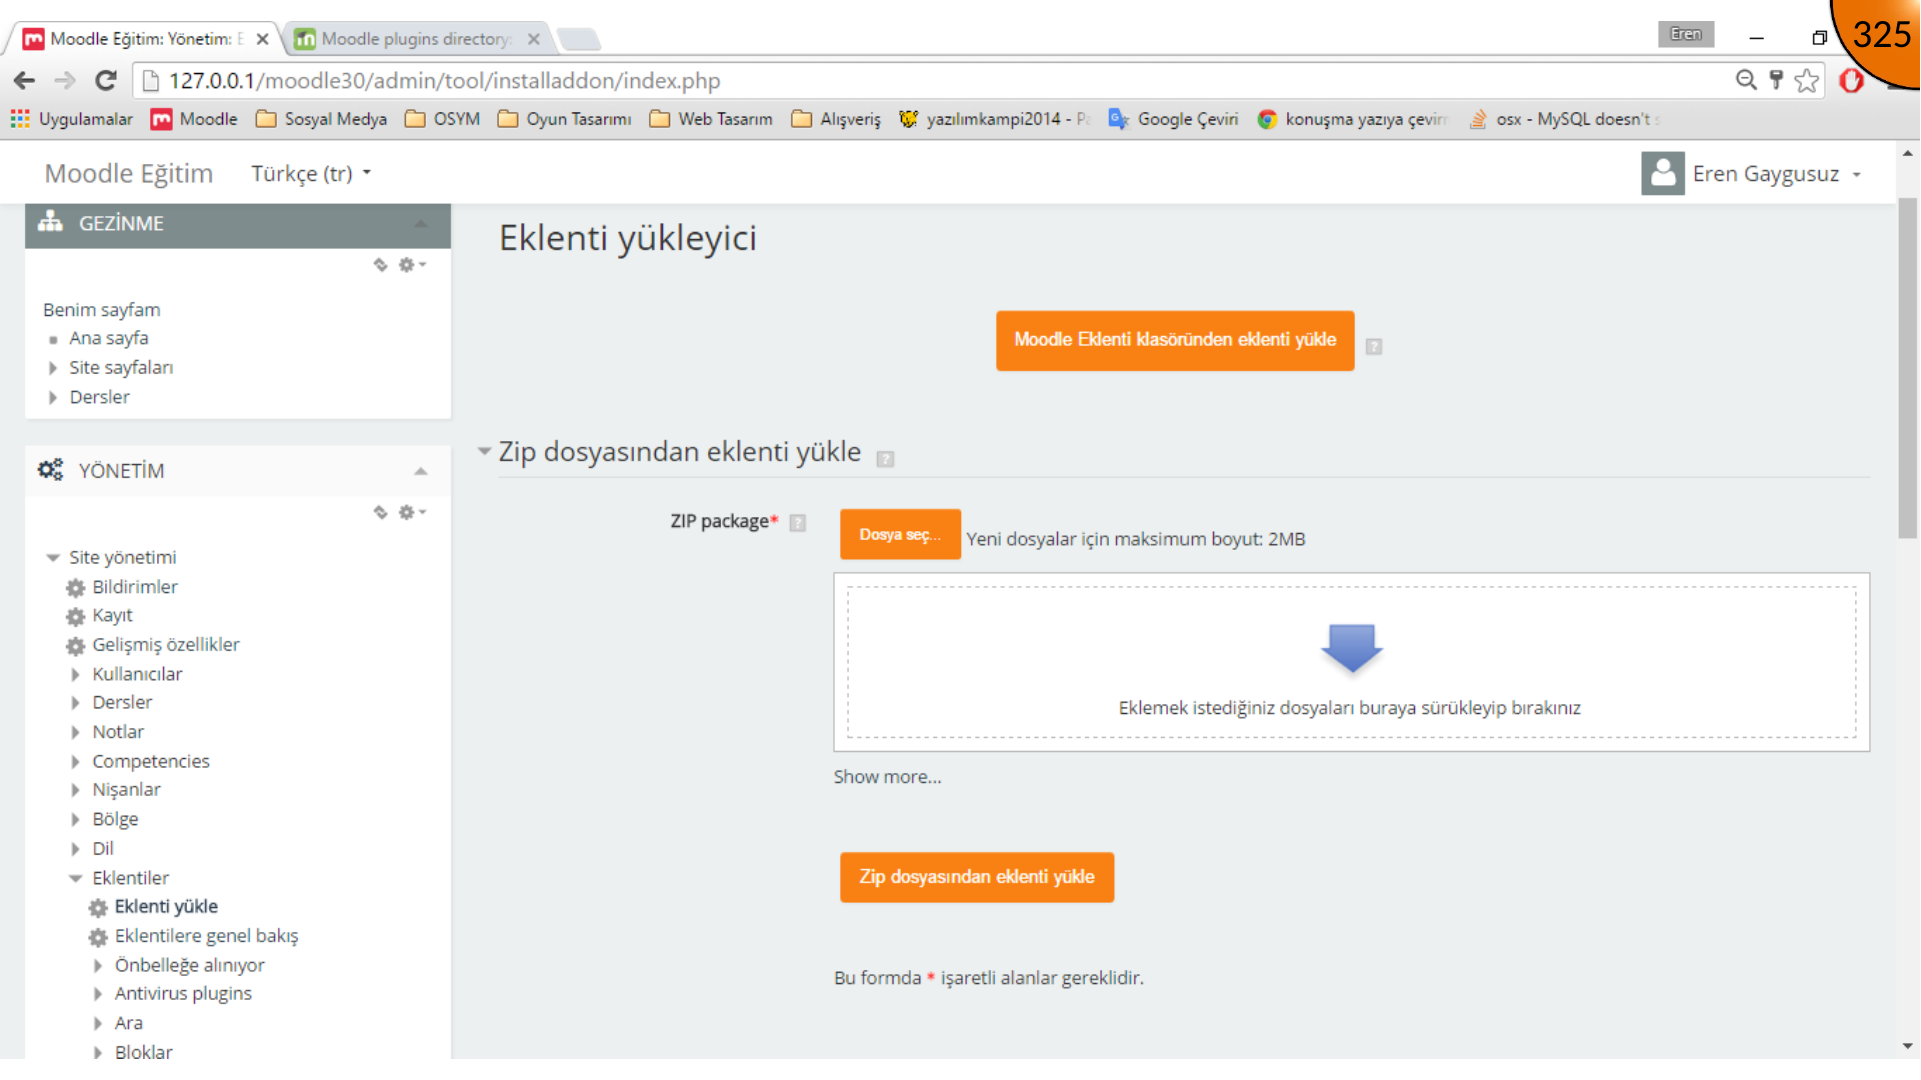
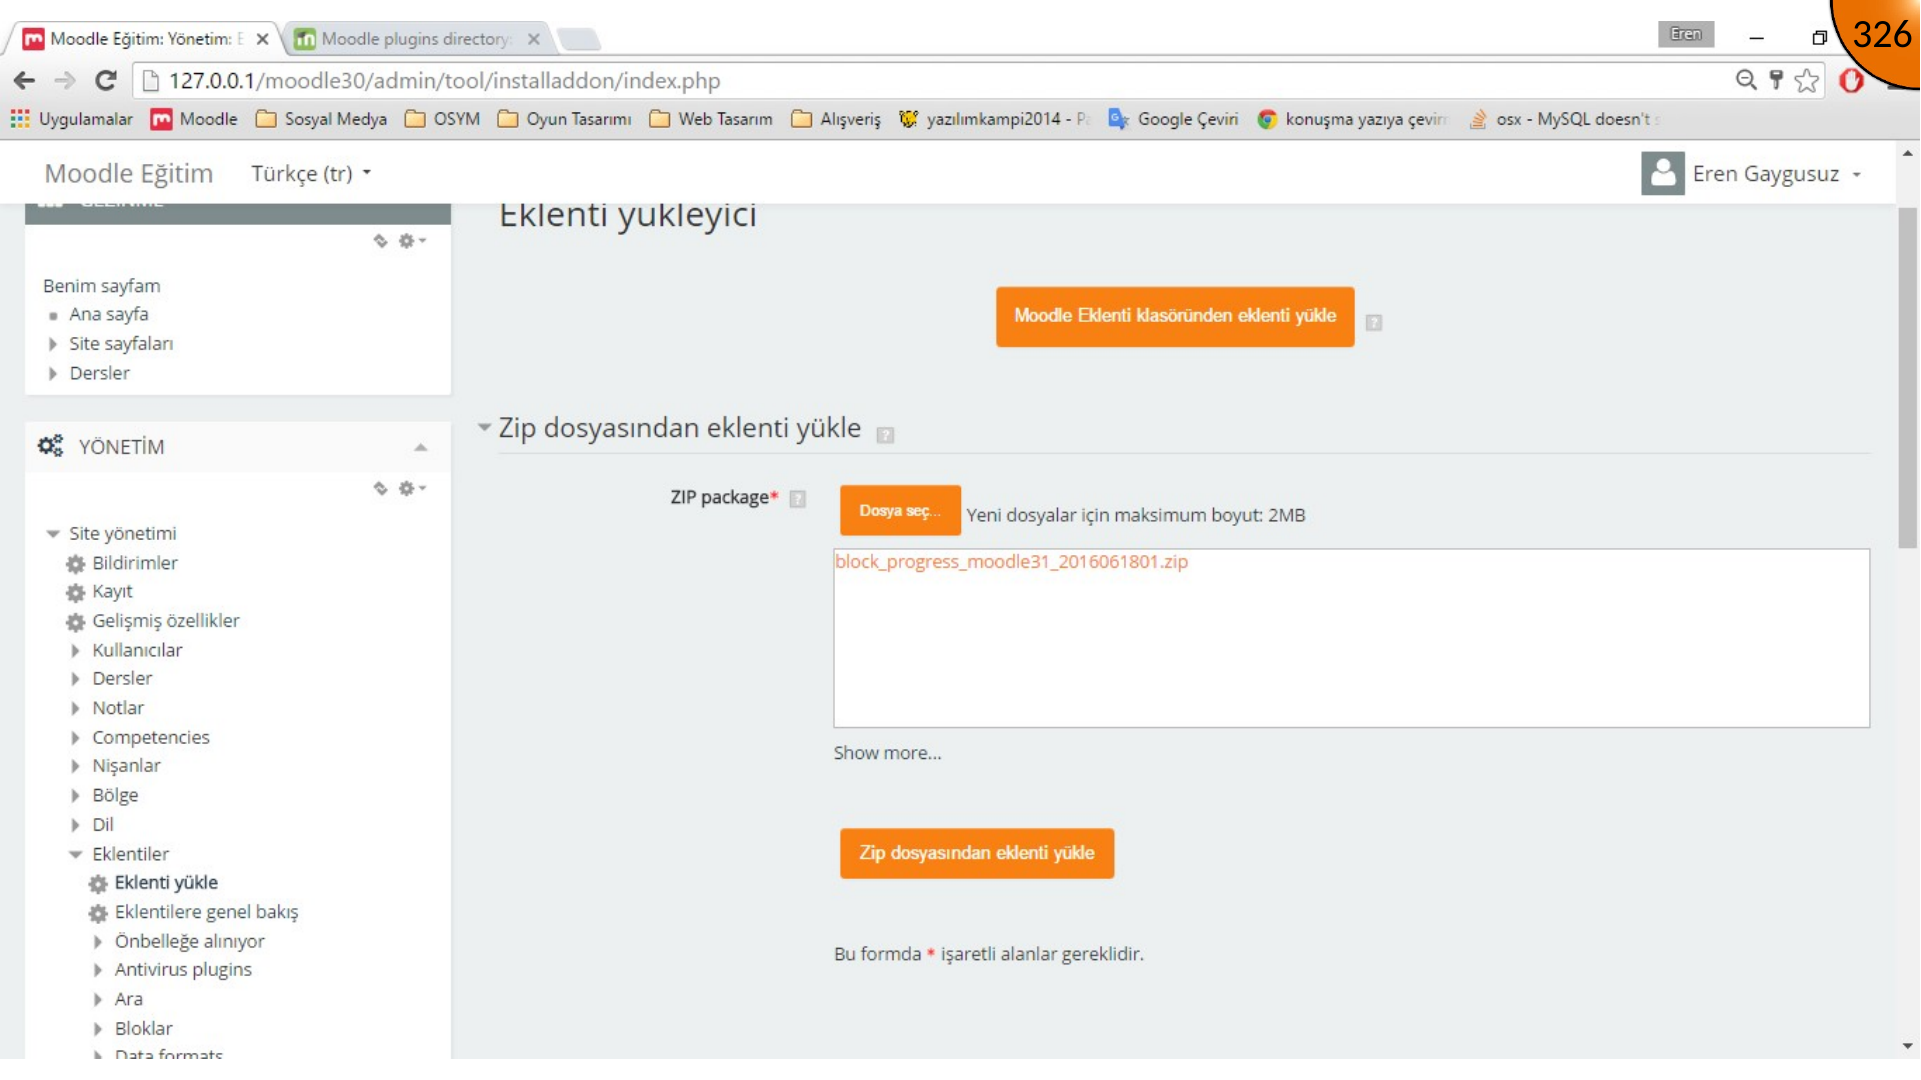
In Moodle, use the site administration/plugins path and choose the plugin-install option. Drag the downloaded ZIP archive into the upload area, then select the install-from-ZIP action.
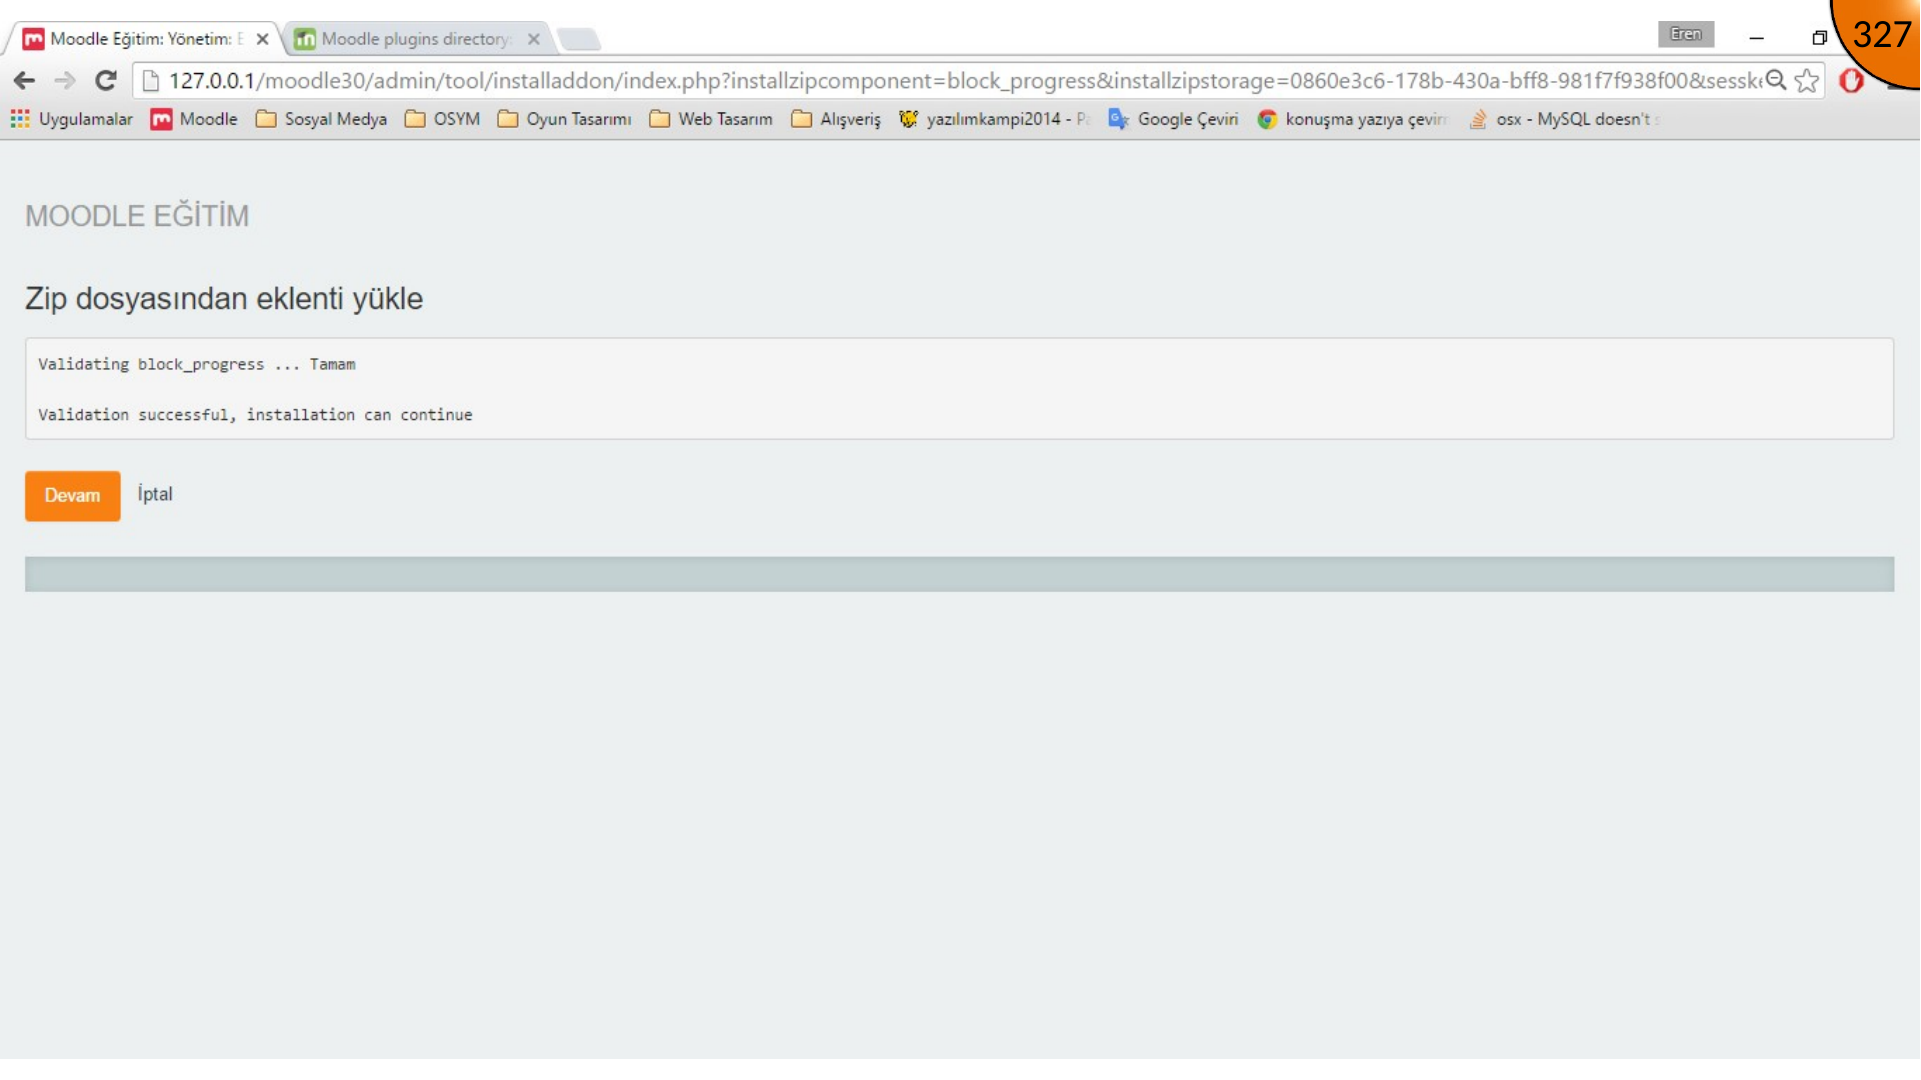
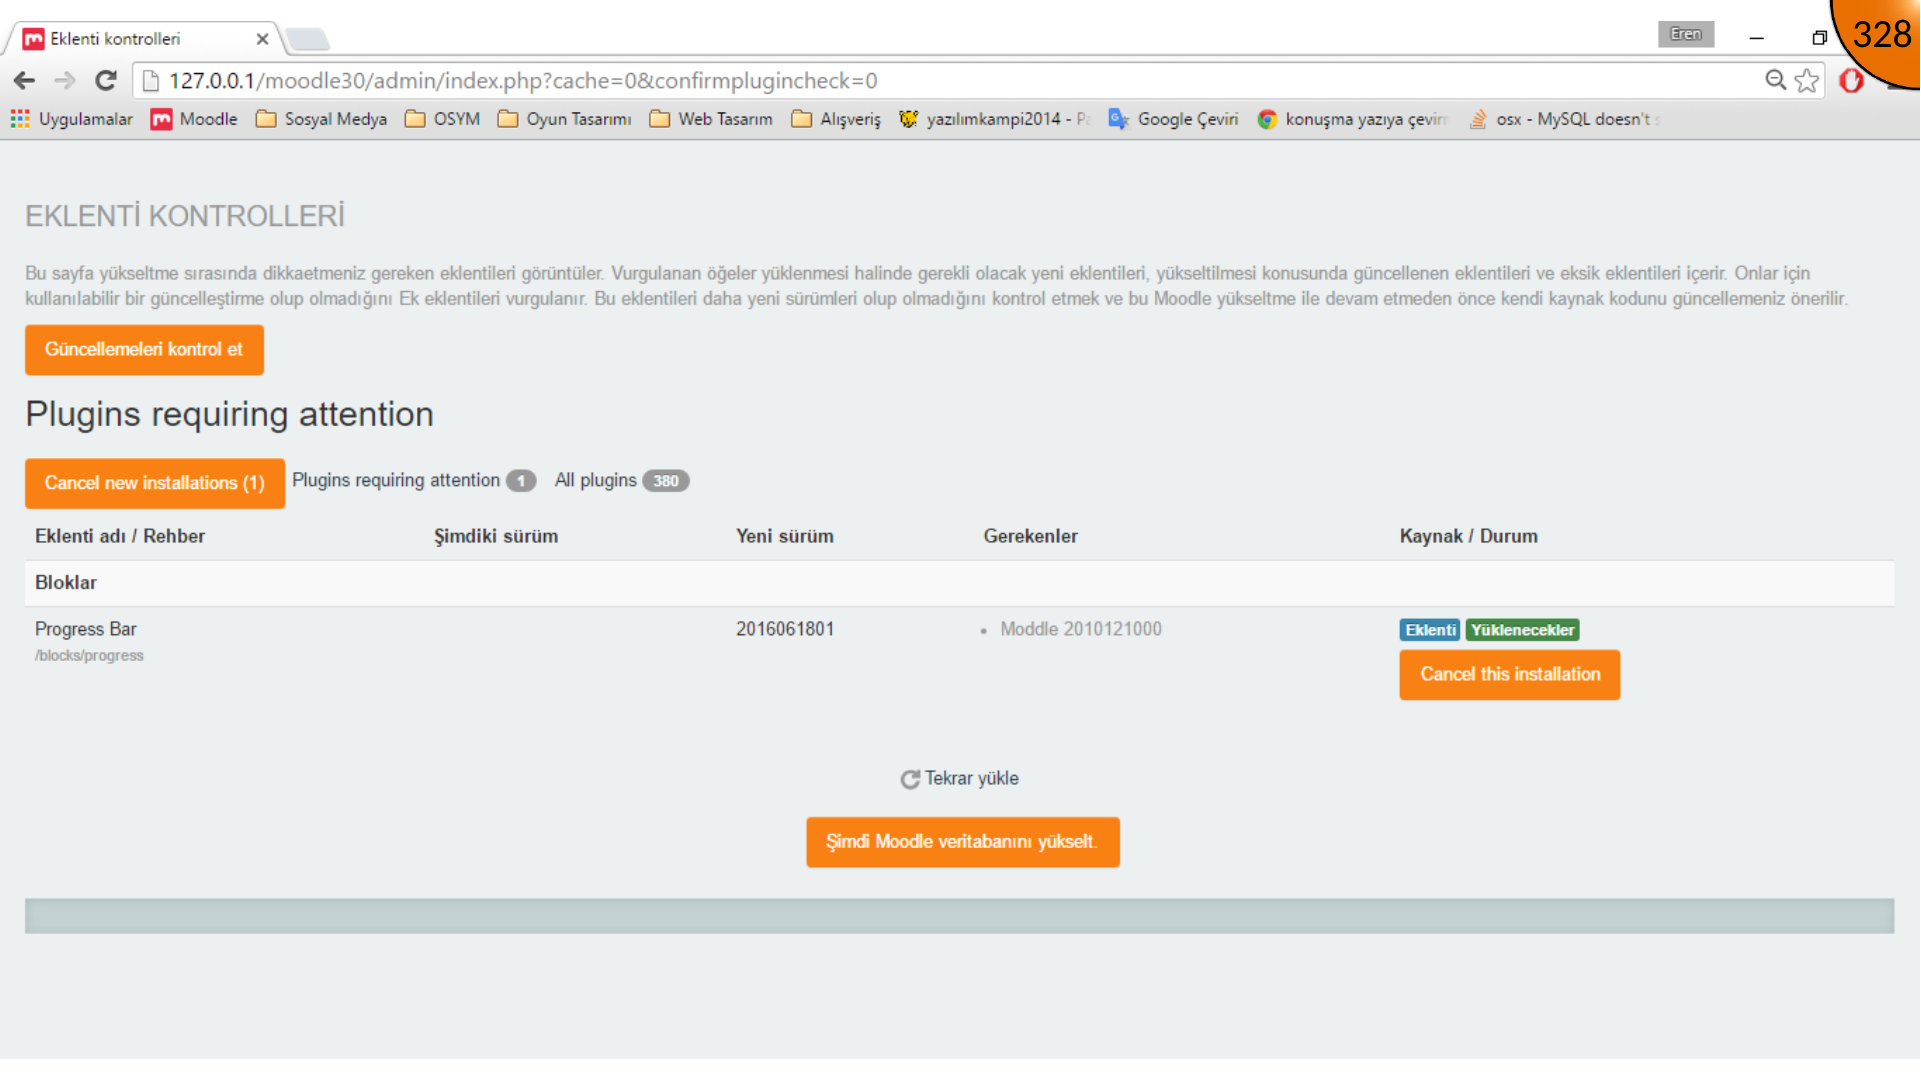
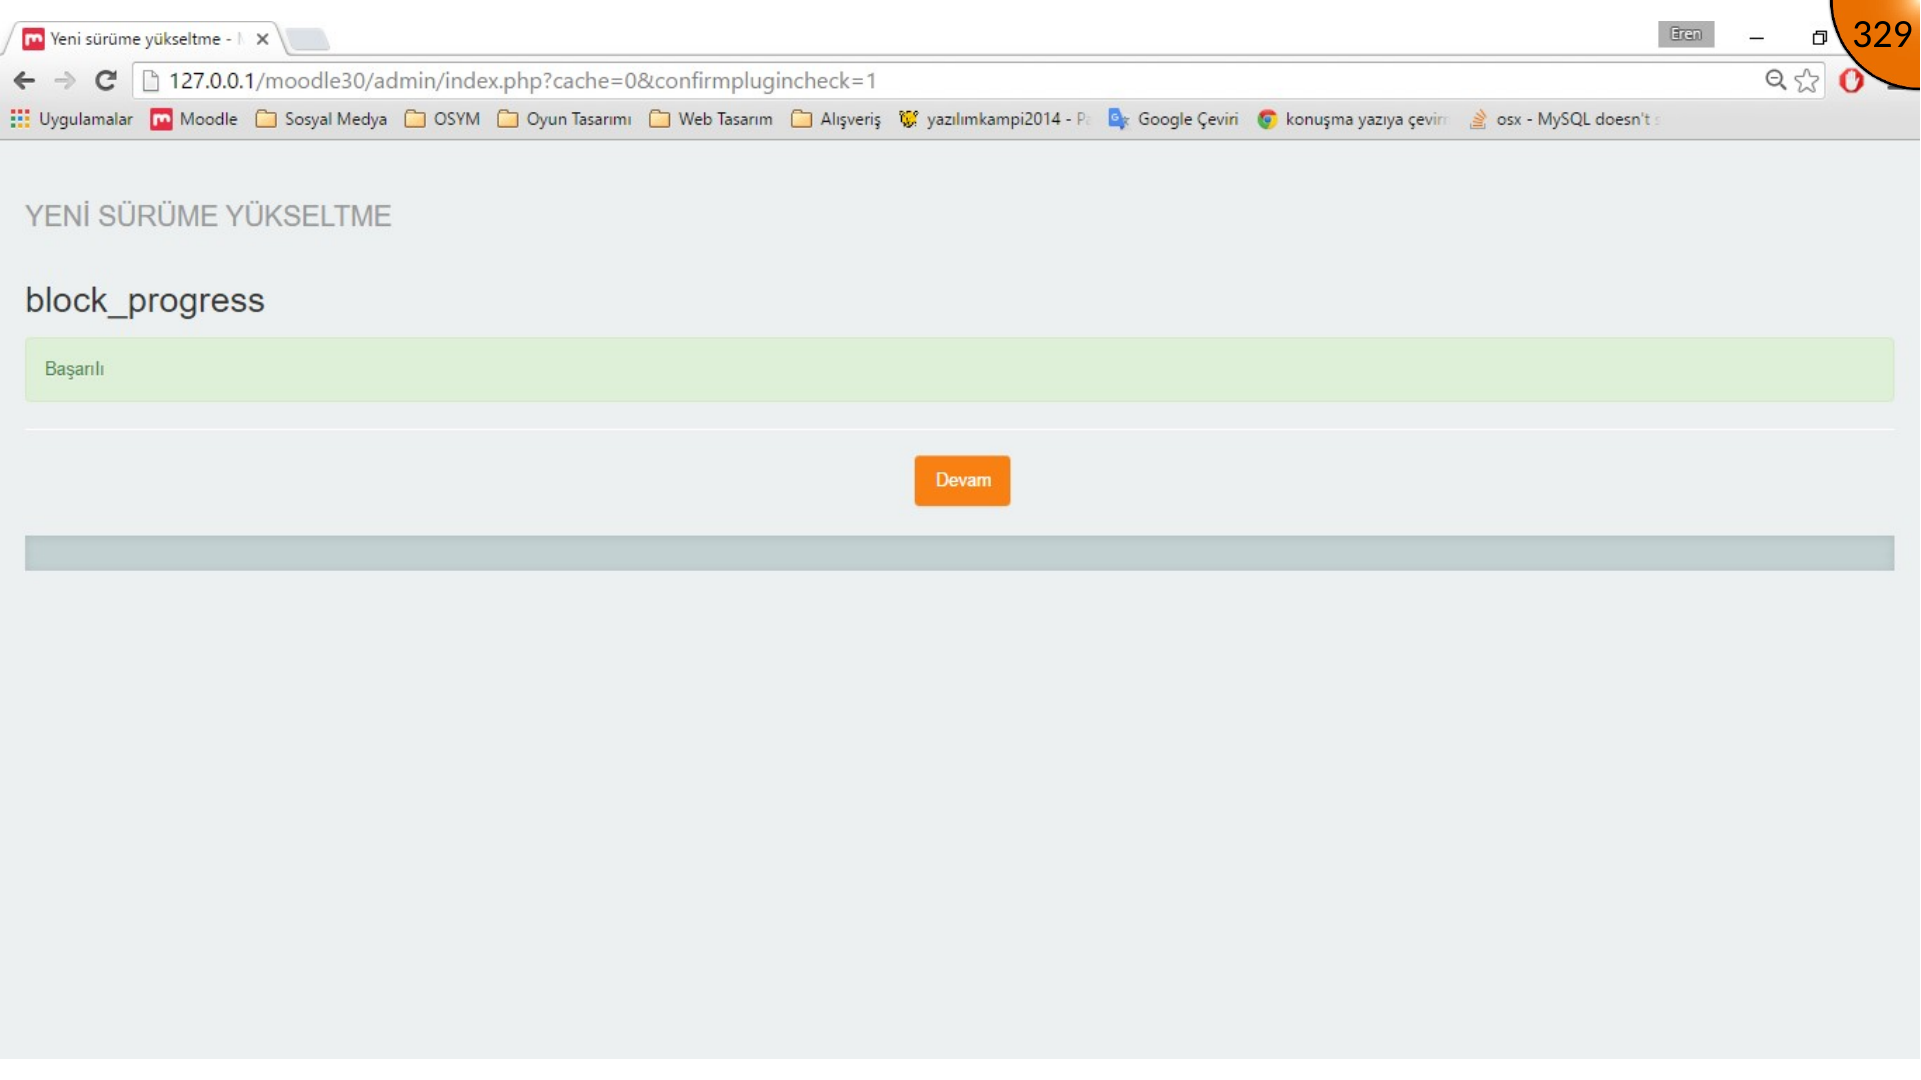
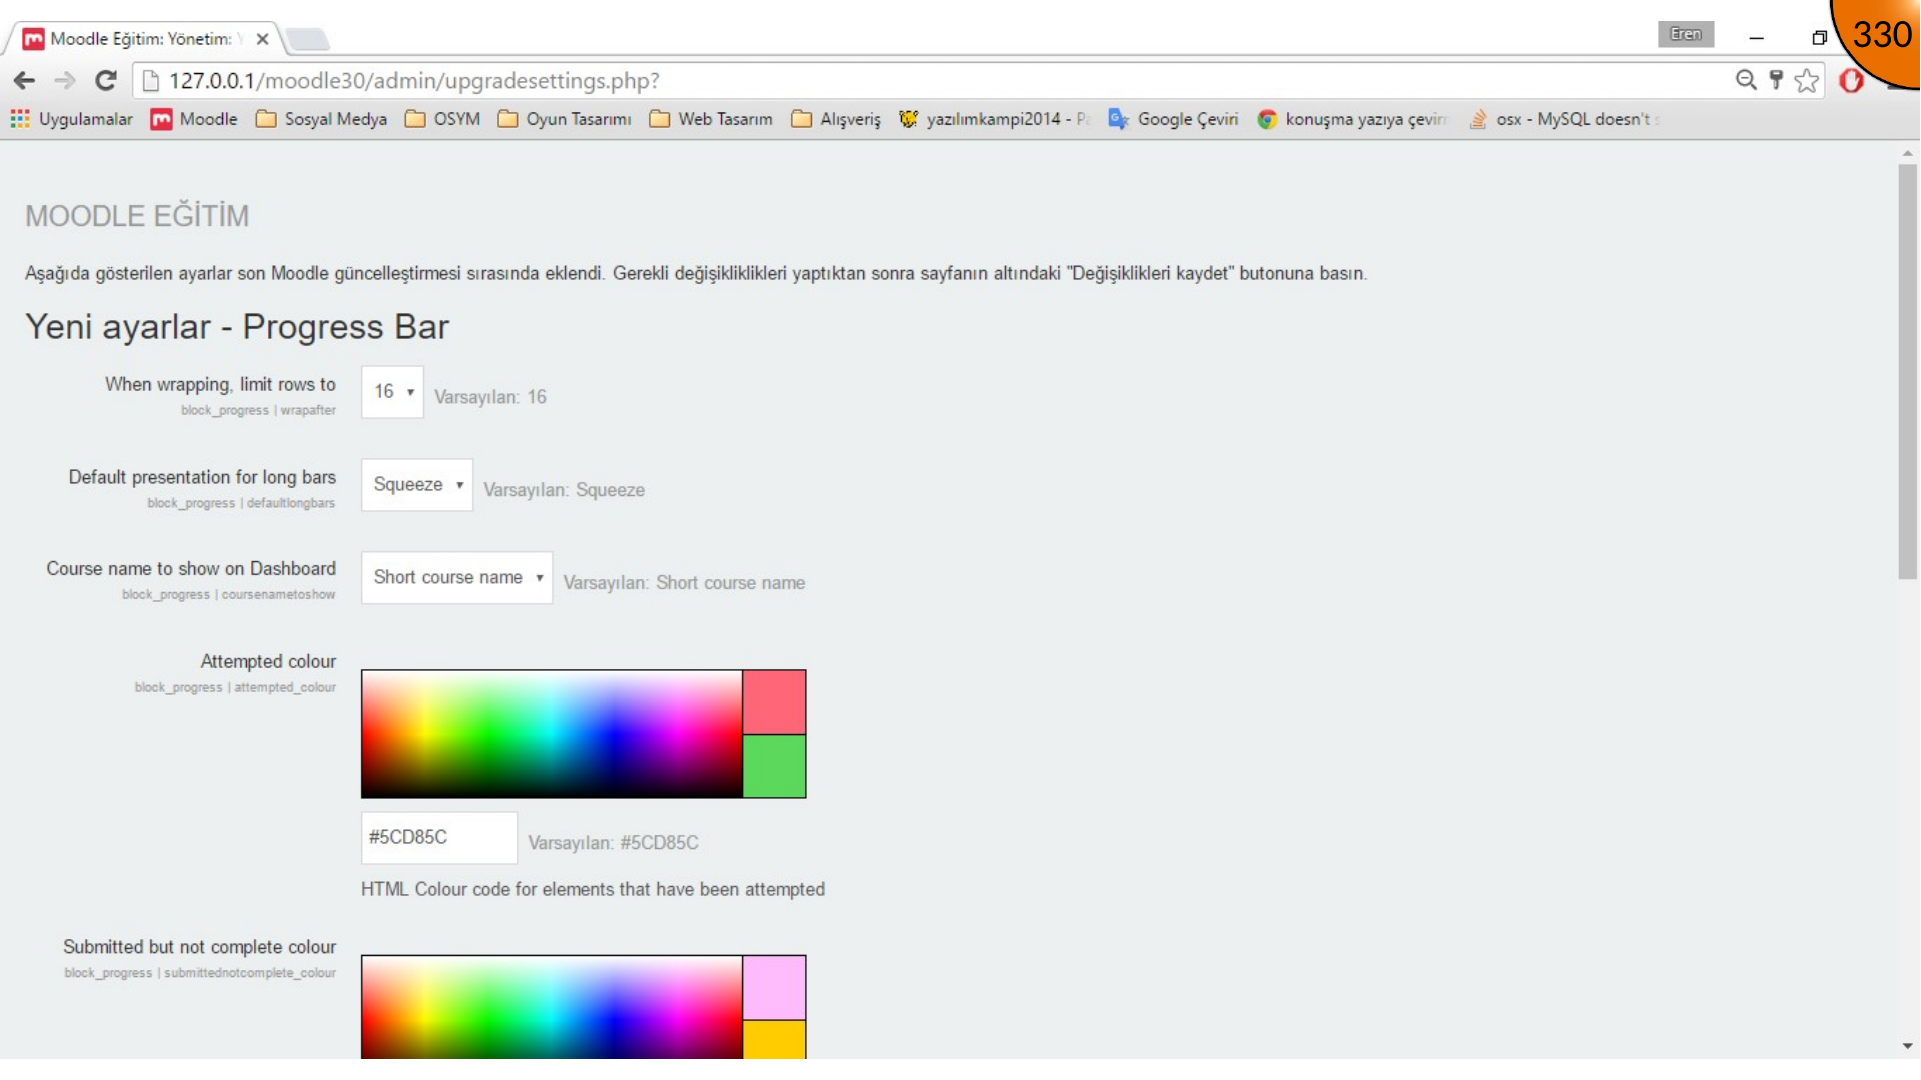
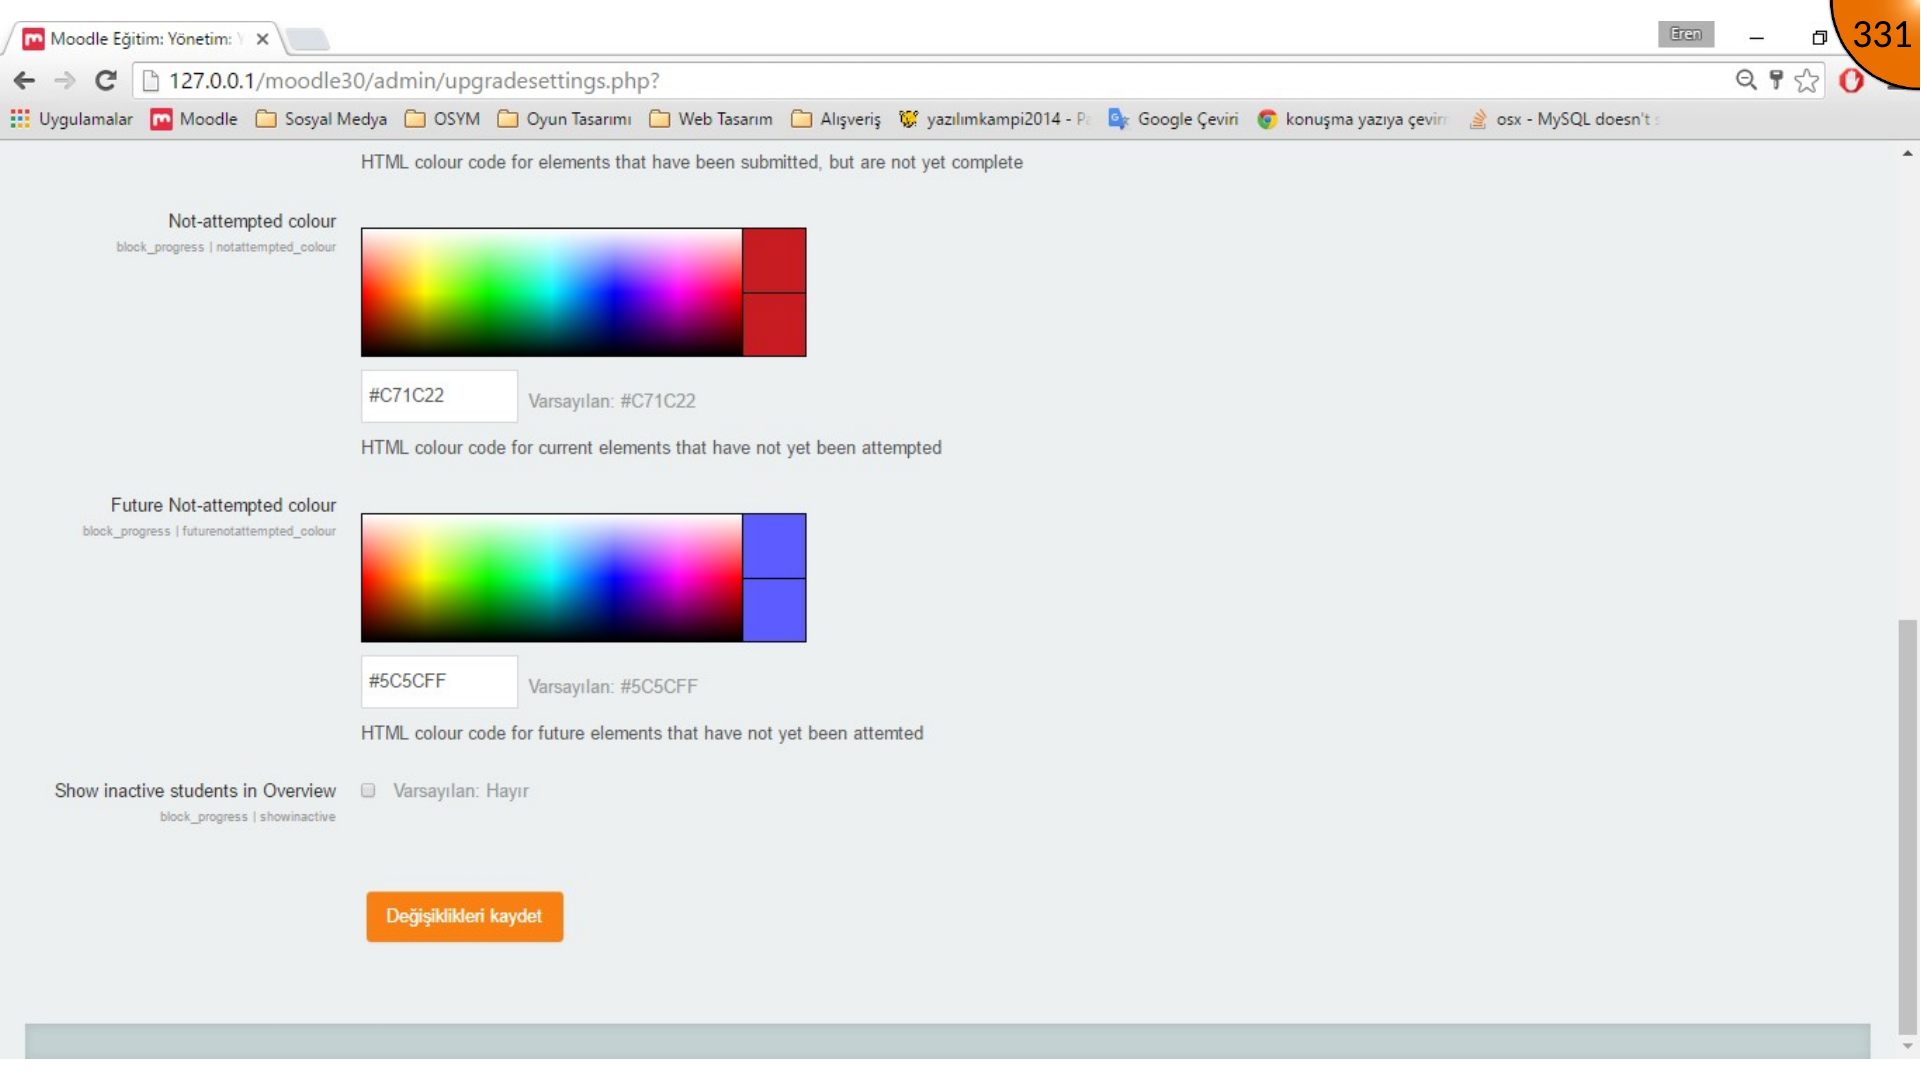
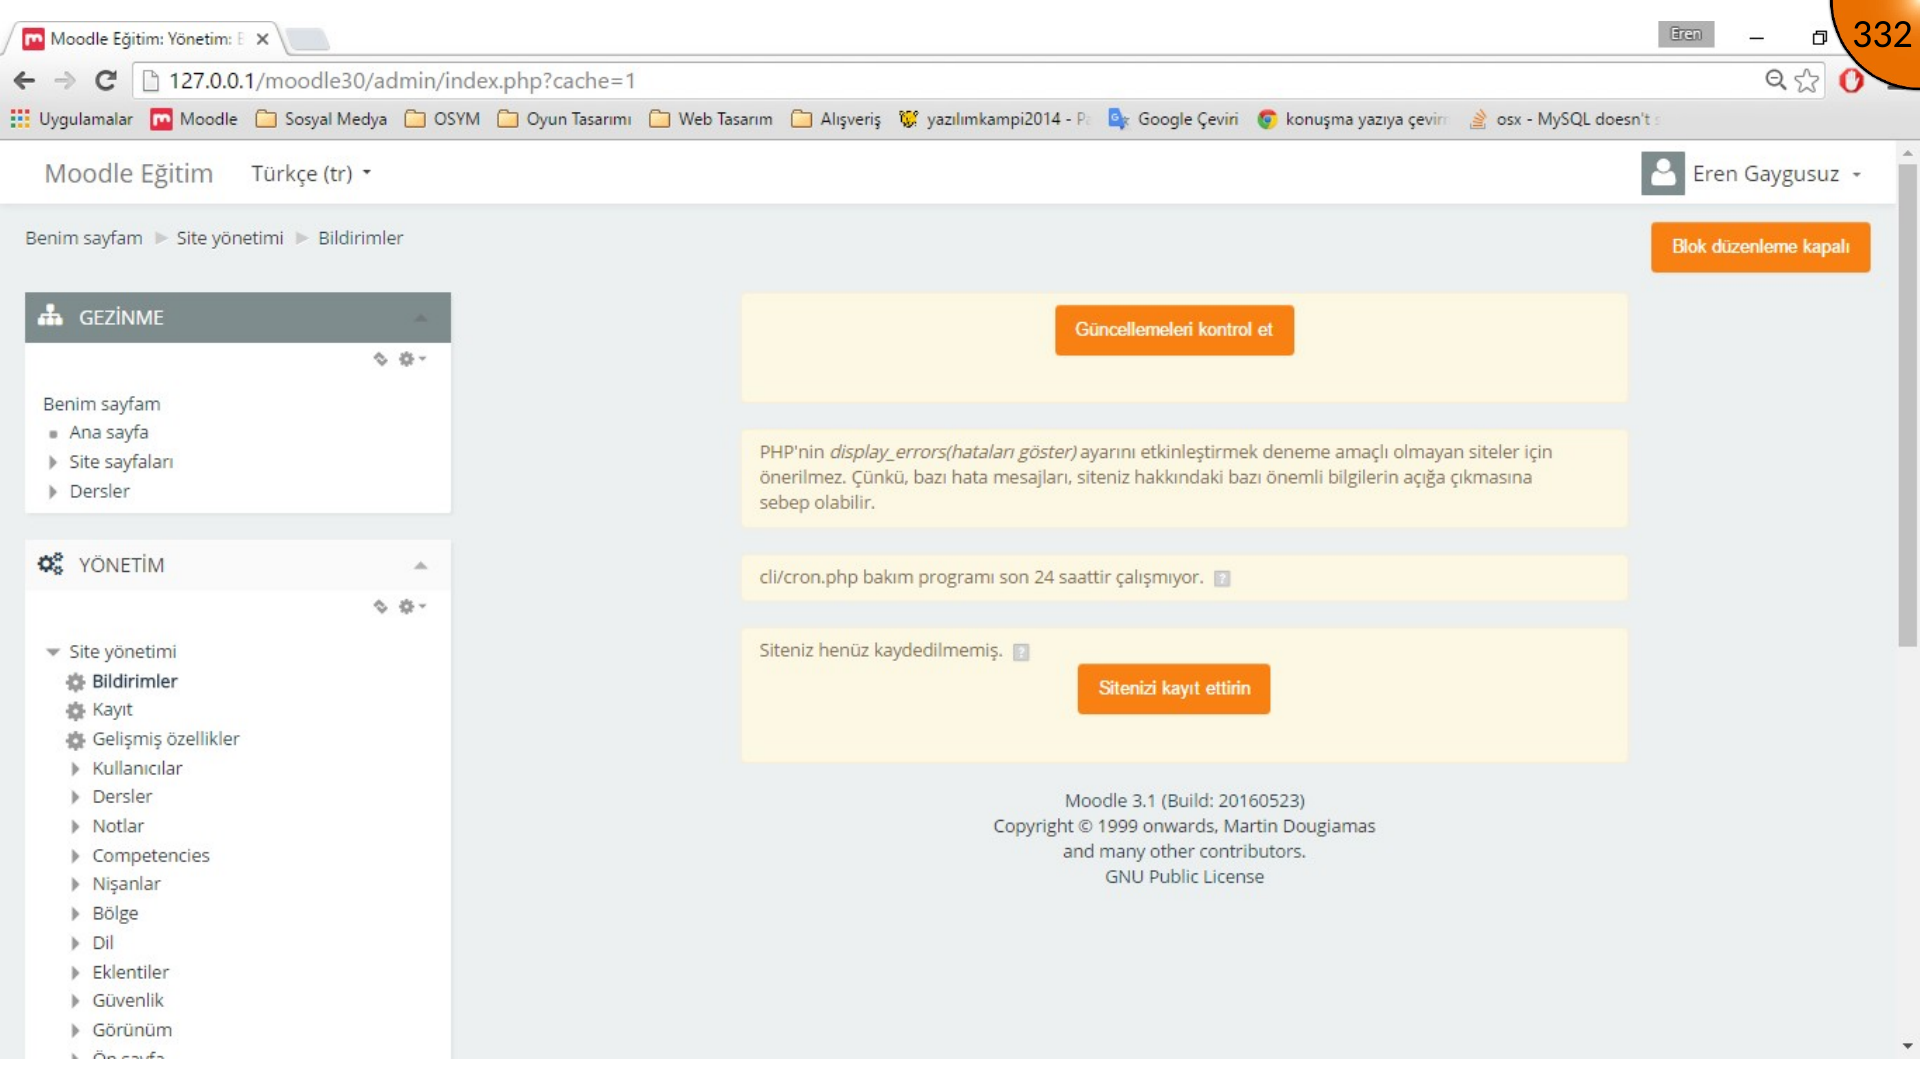
Continue through the installation and database-upgrade screens. Review every compatibility message or error before proceeding, then save the plugin settings.
Adding the Progress Block
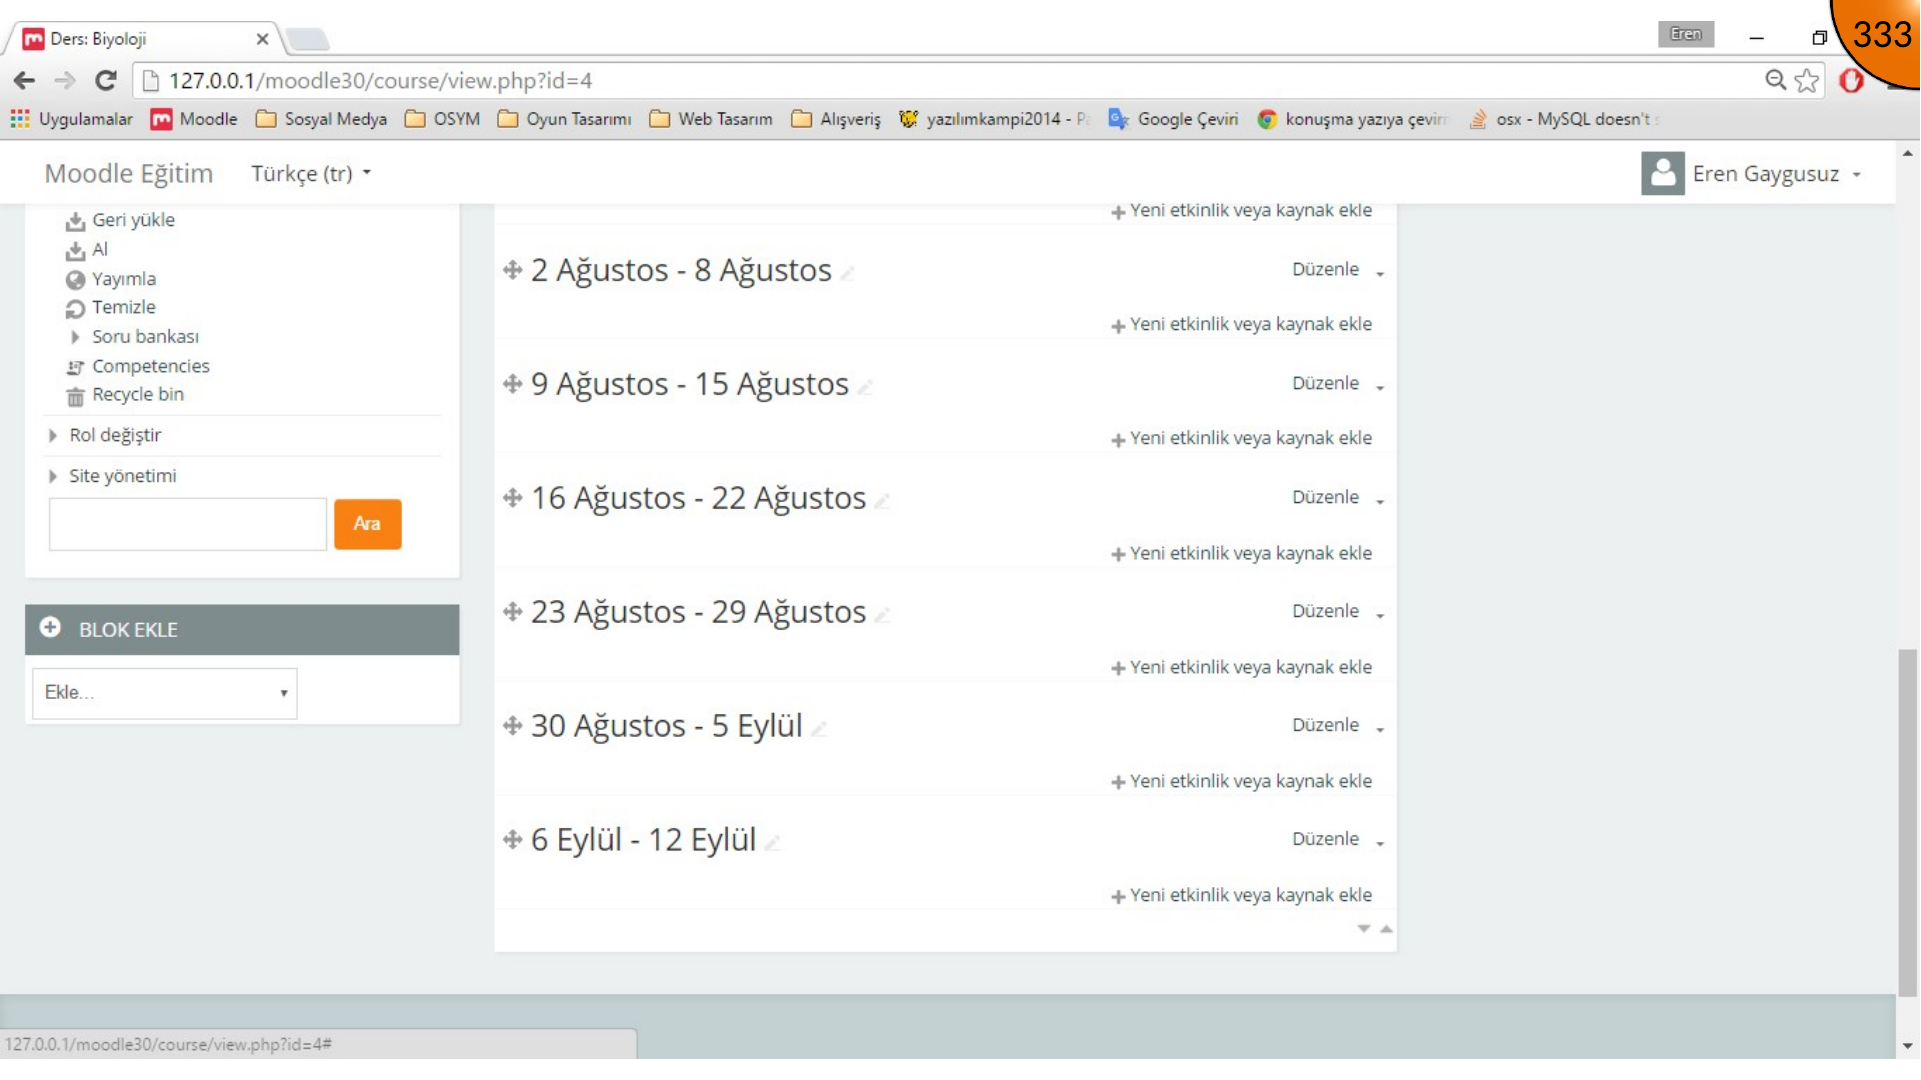
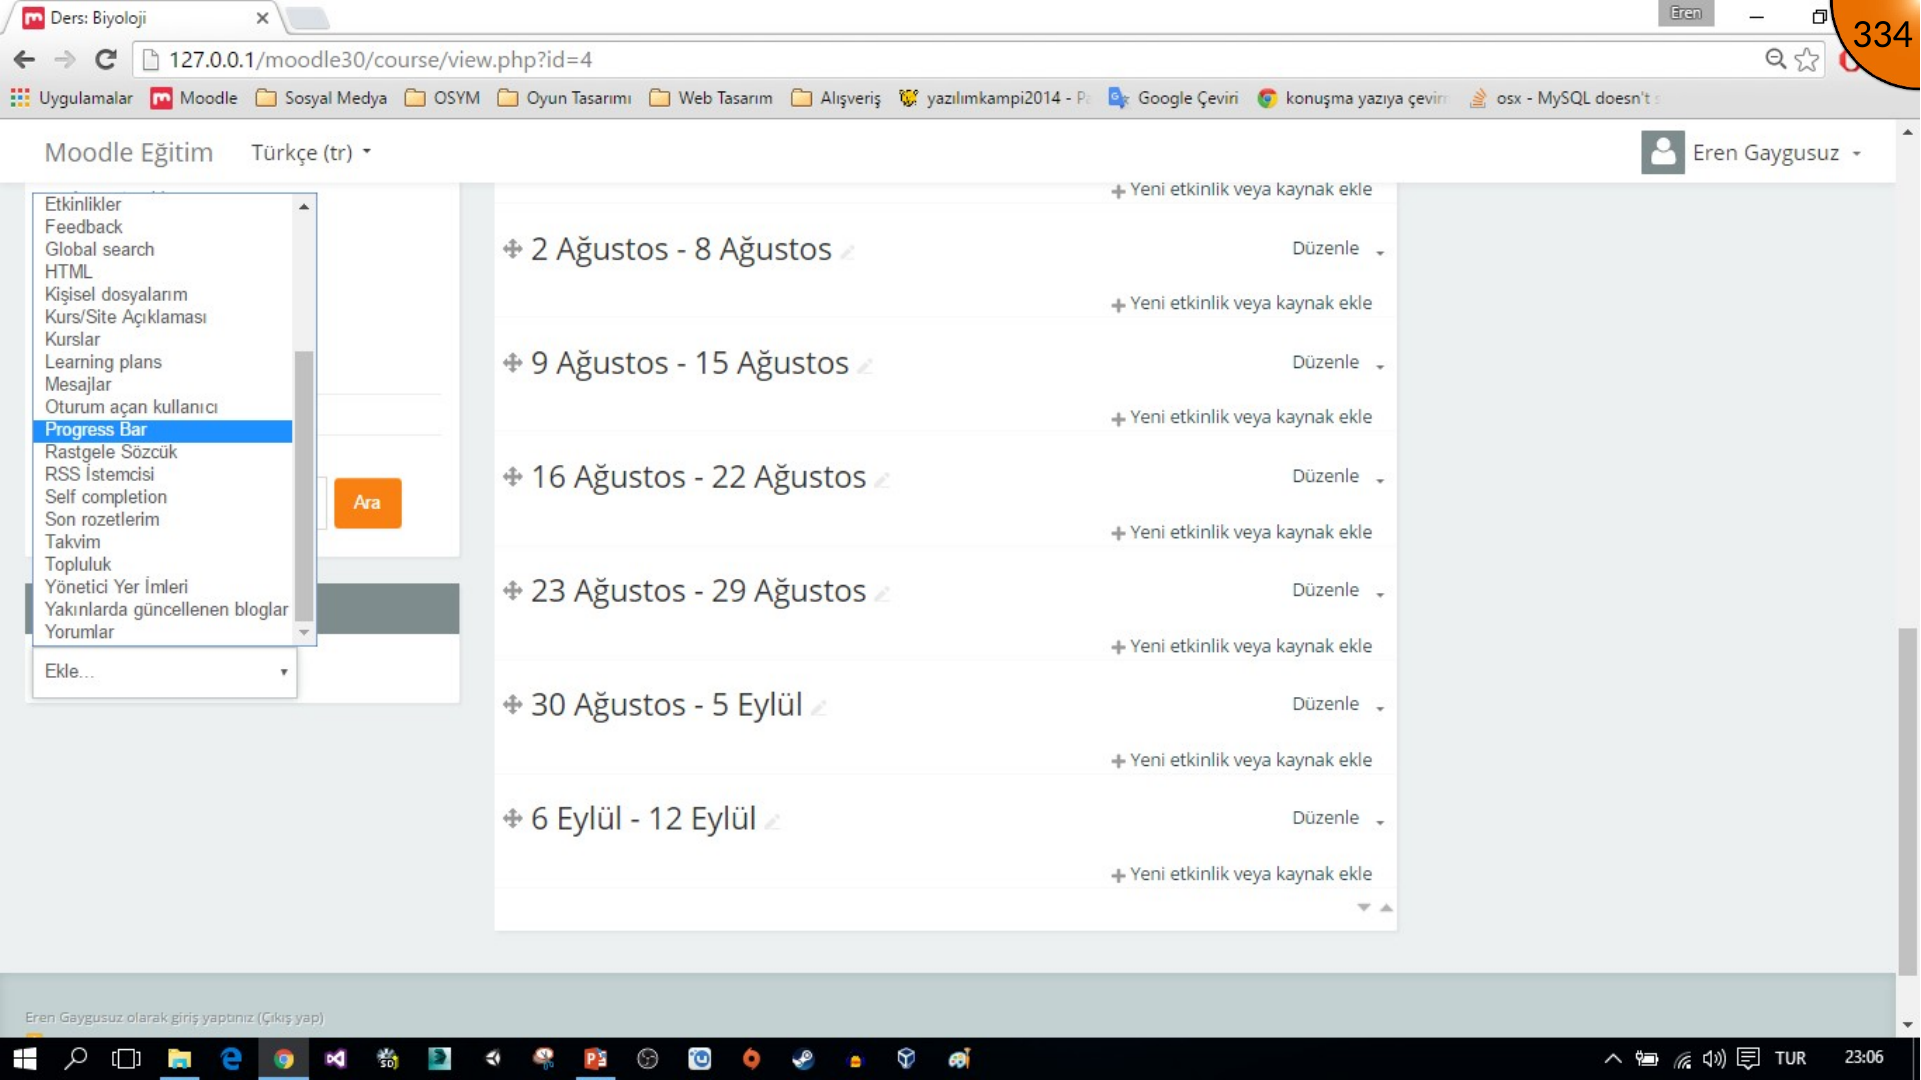
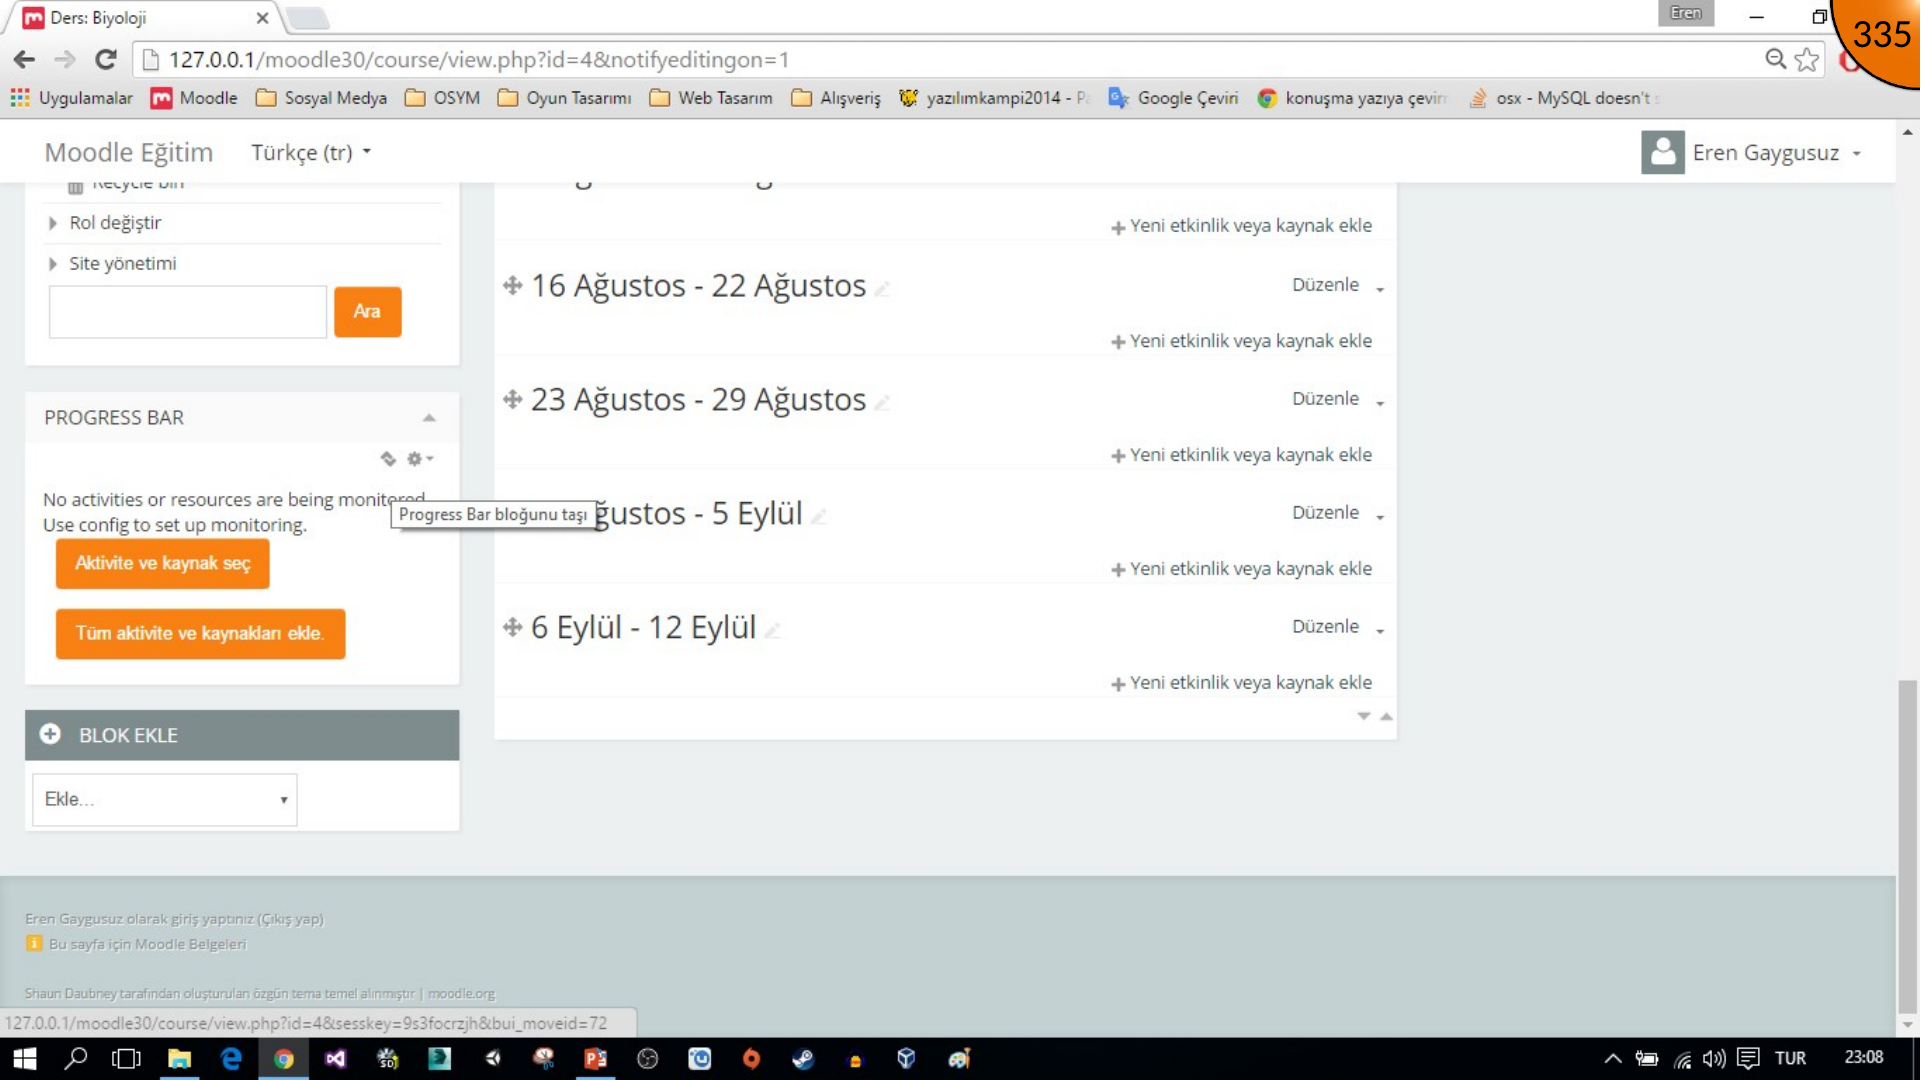
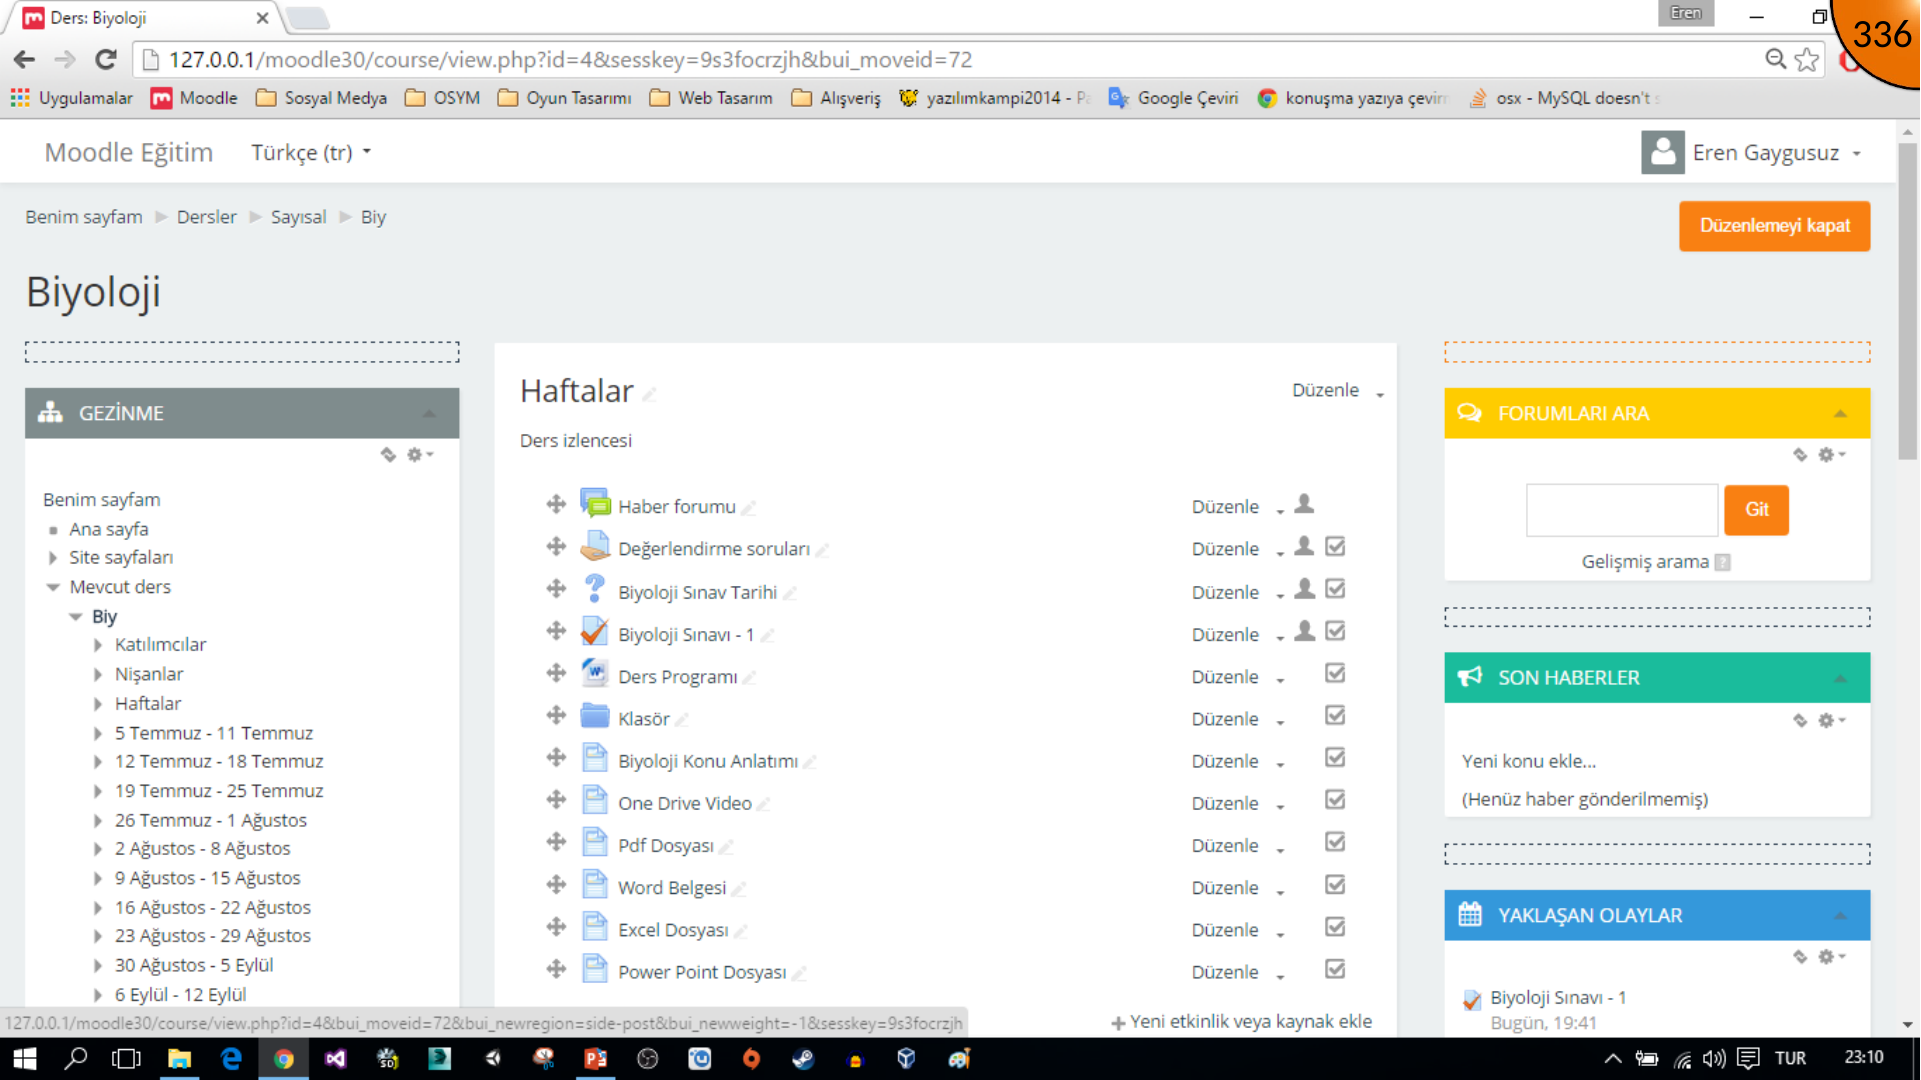
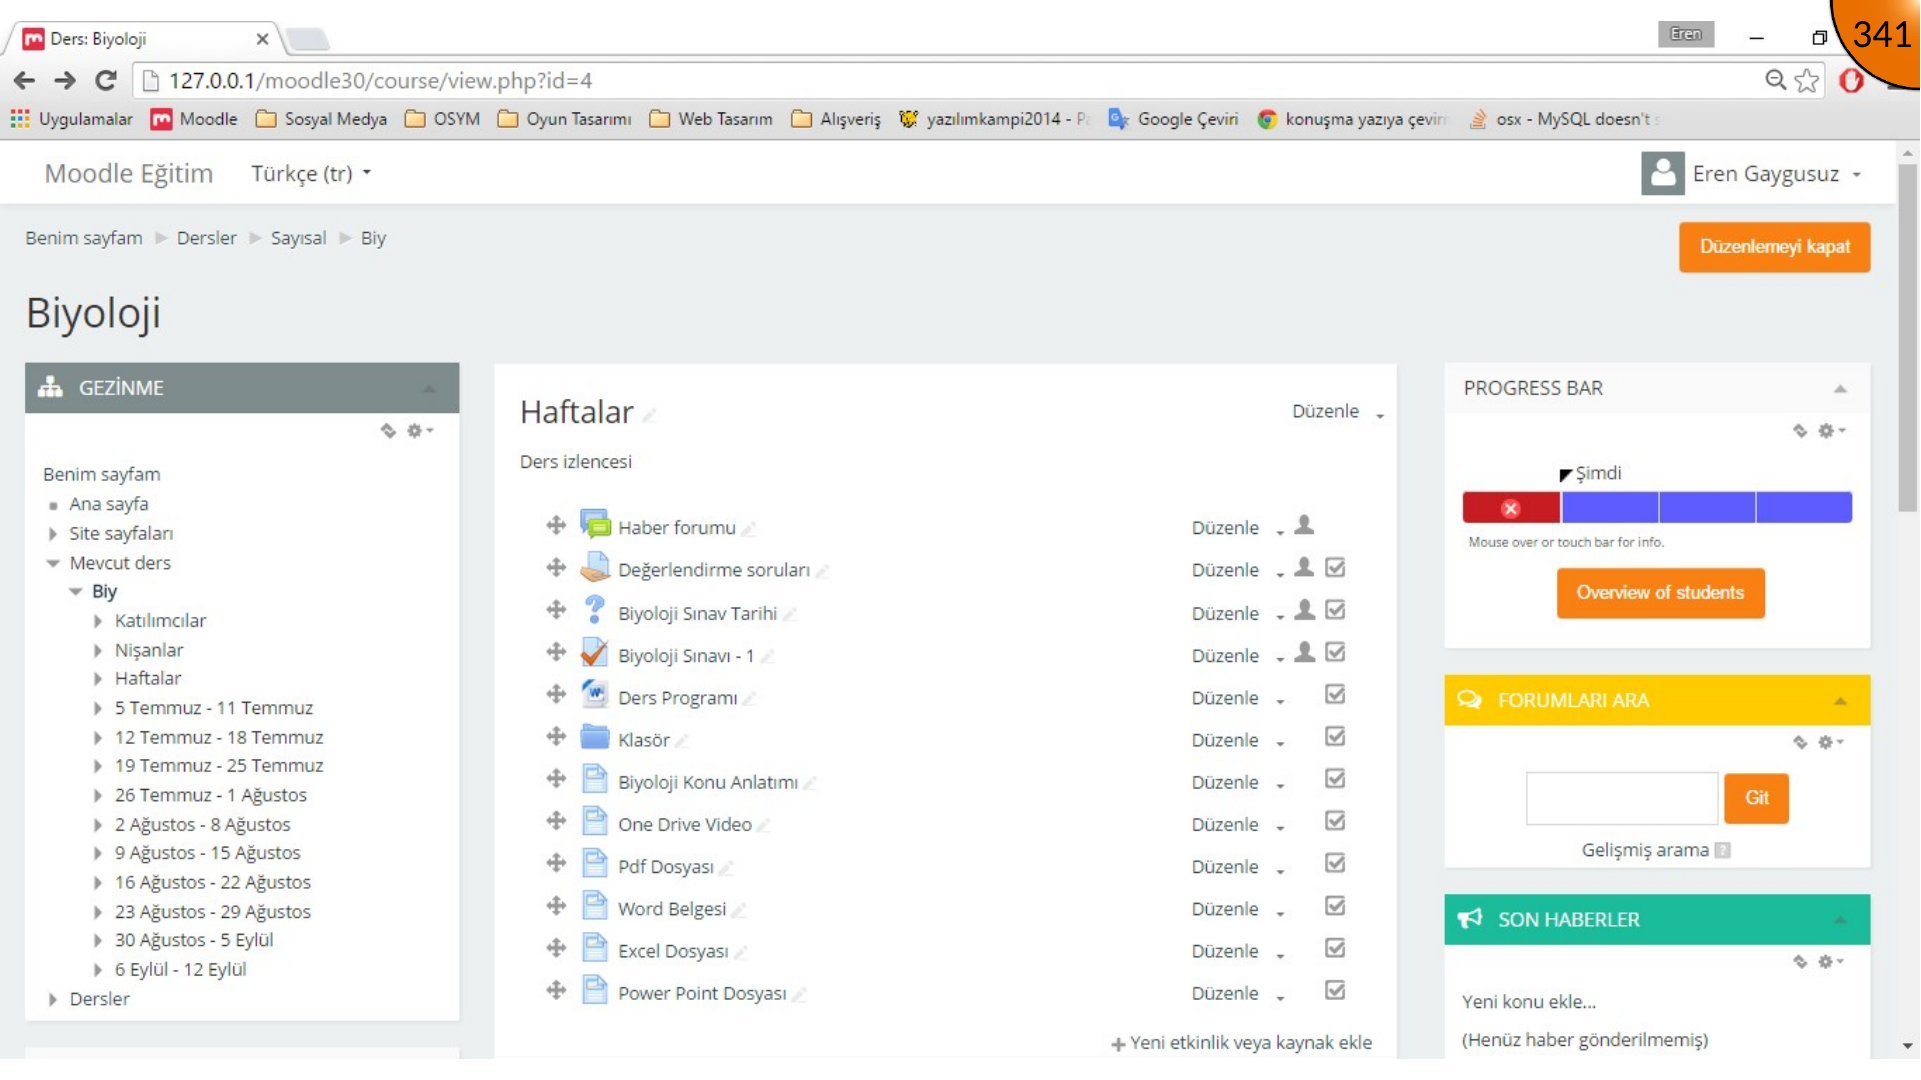
Open the course, turn editing on, use Add a block, and select Progress Bar. Move the added block to the preferred location in the course layout.
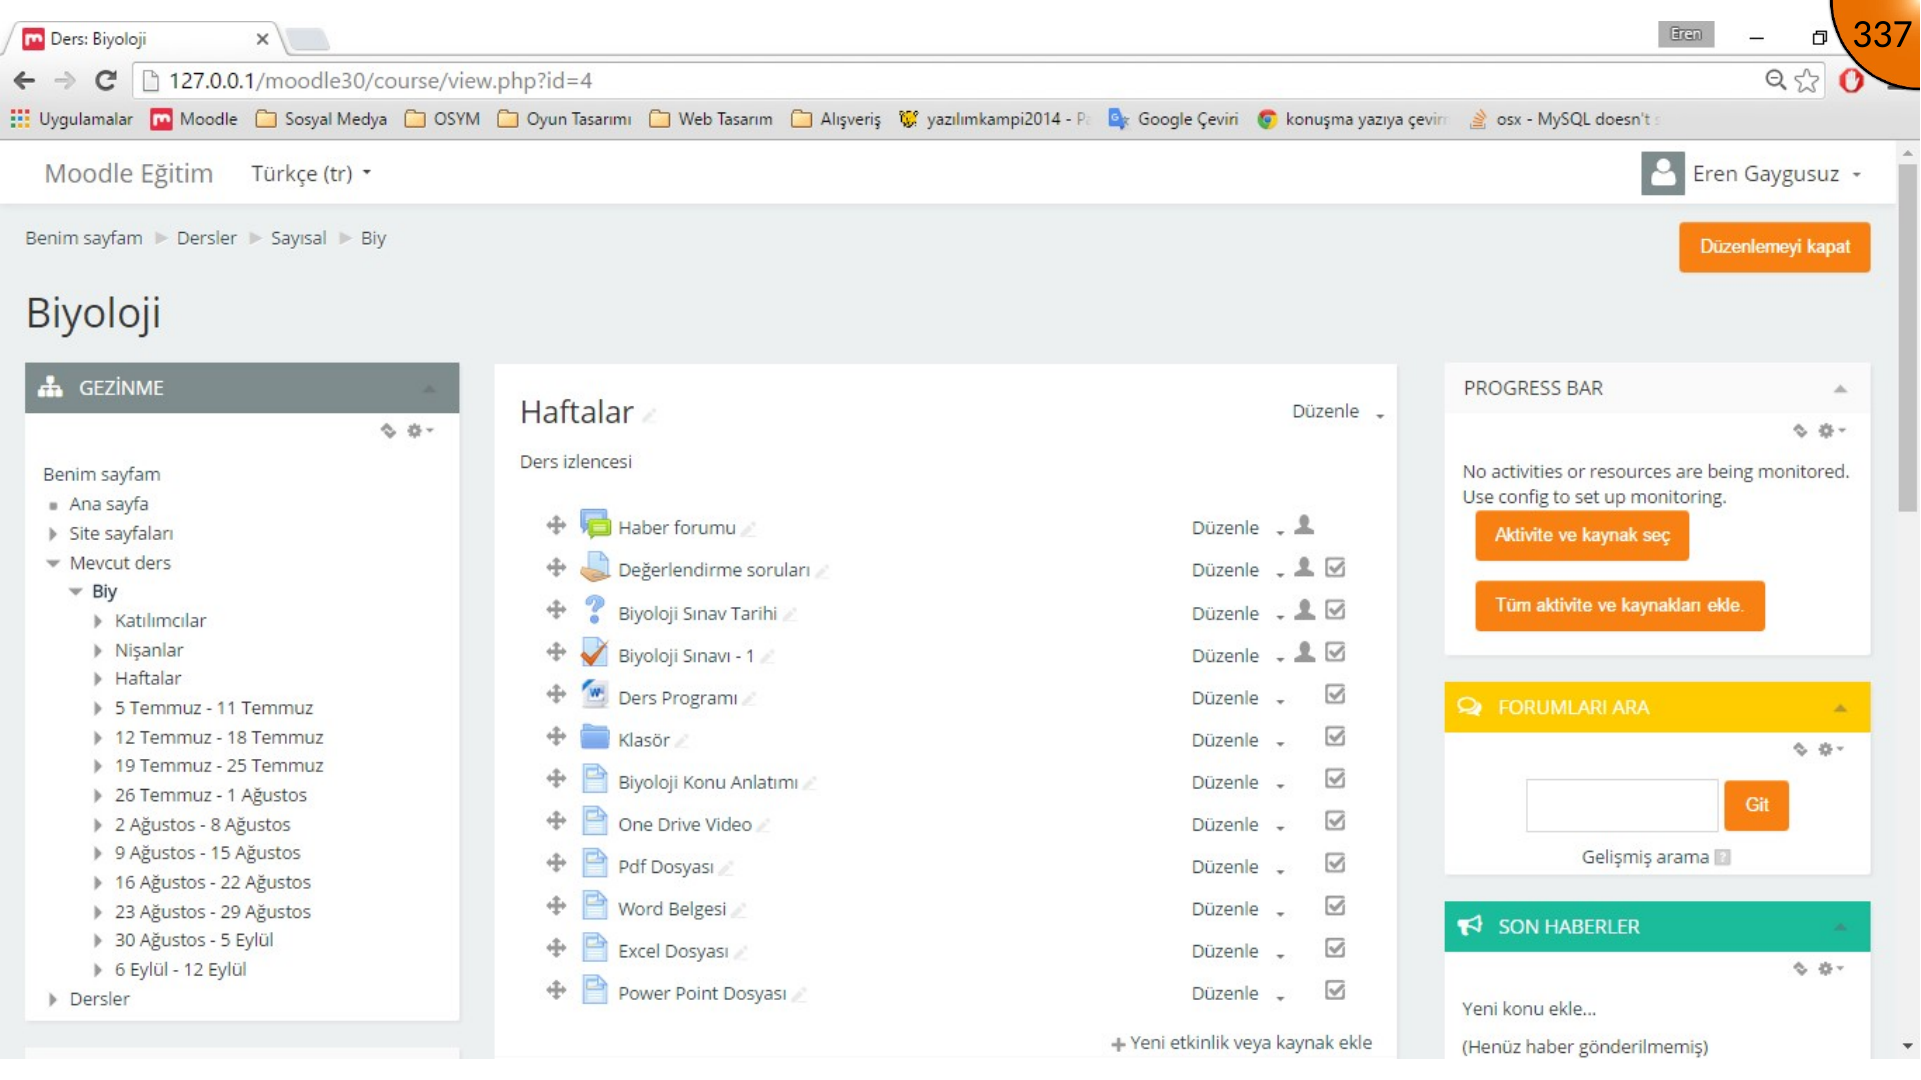
Configuring Activities
Open the activity-and-resource selection in the block settings. You can give the block an alternative title, enable the displayed icons, and mark individual activities or resources as monitored.
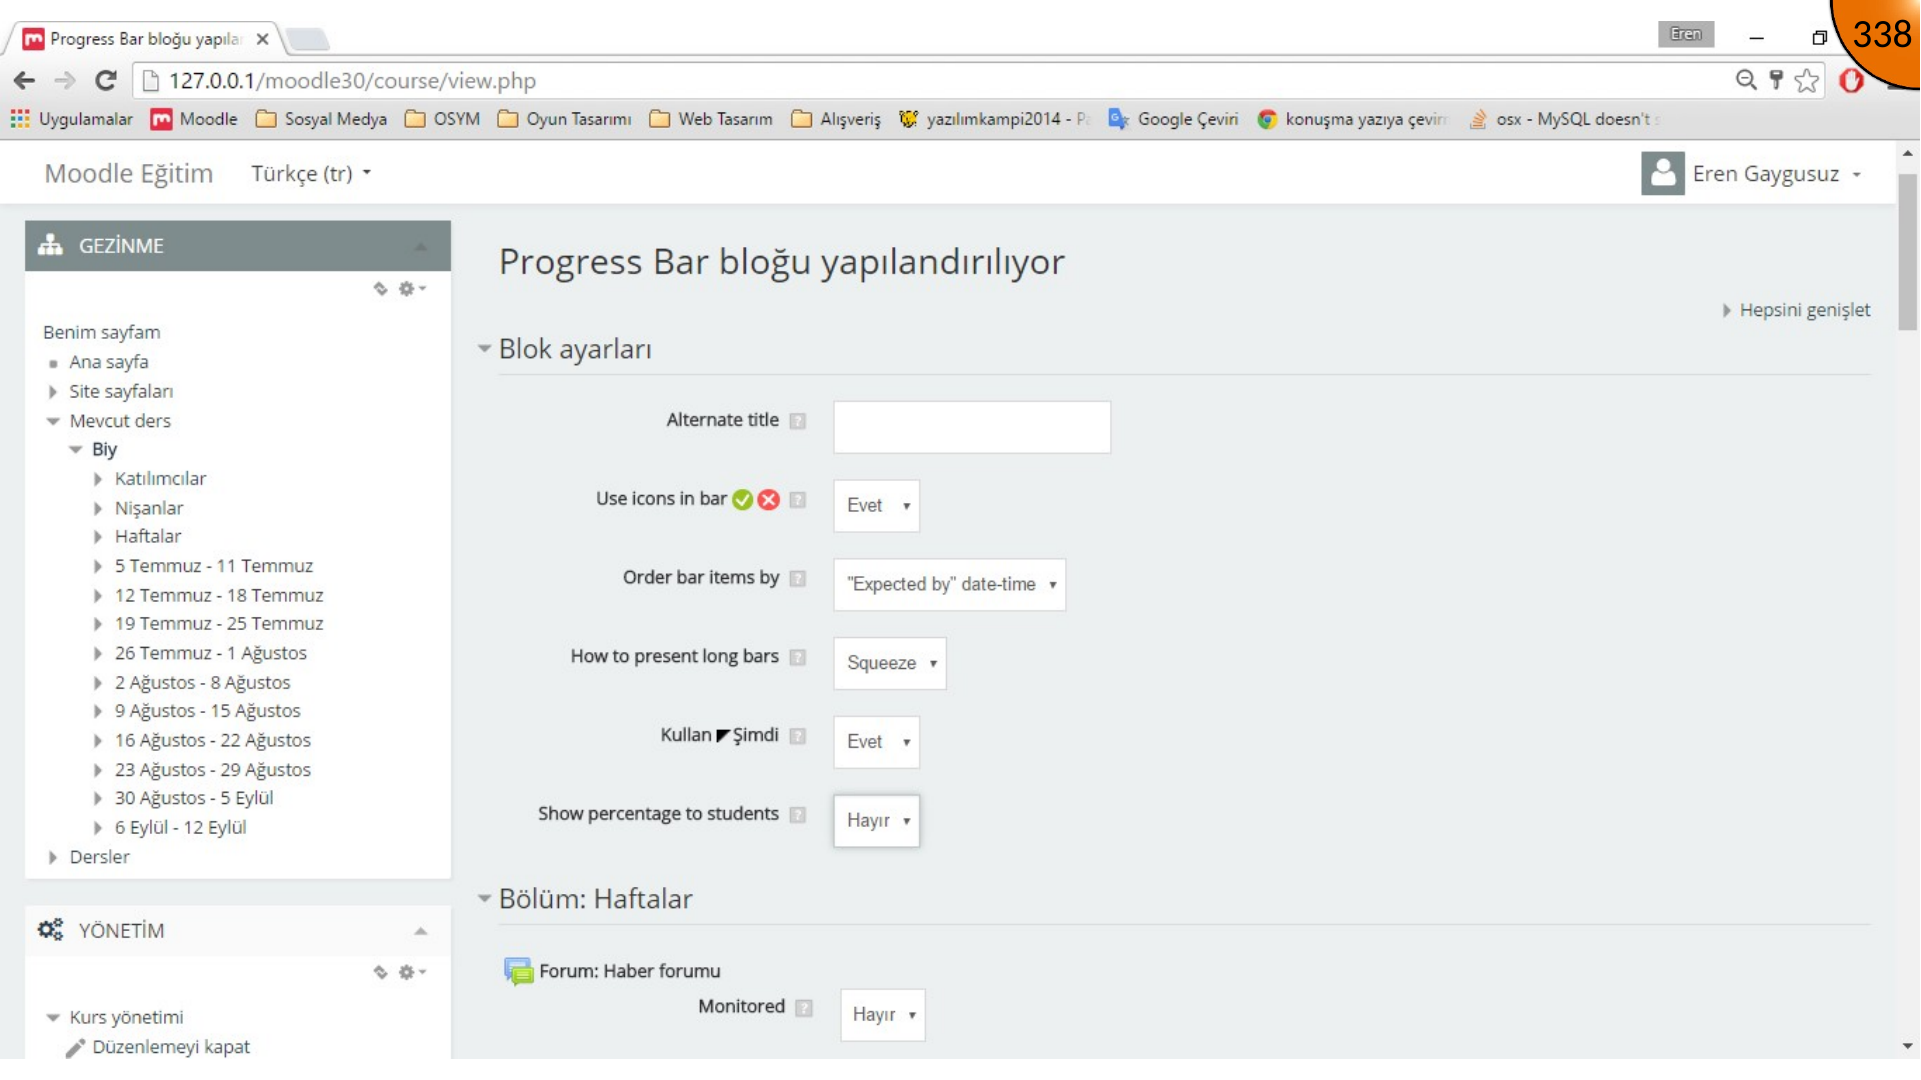
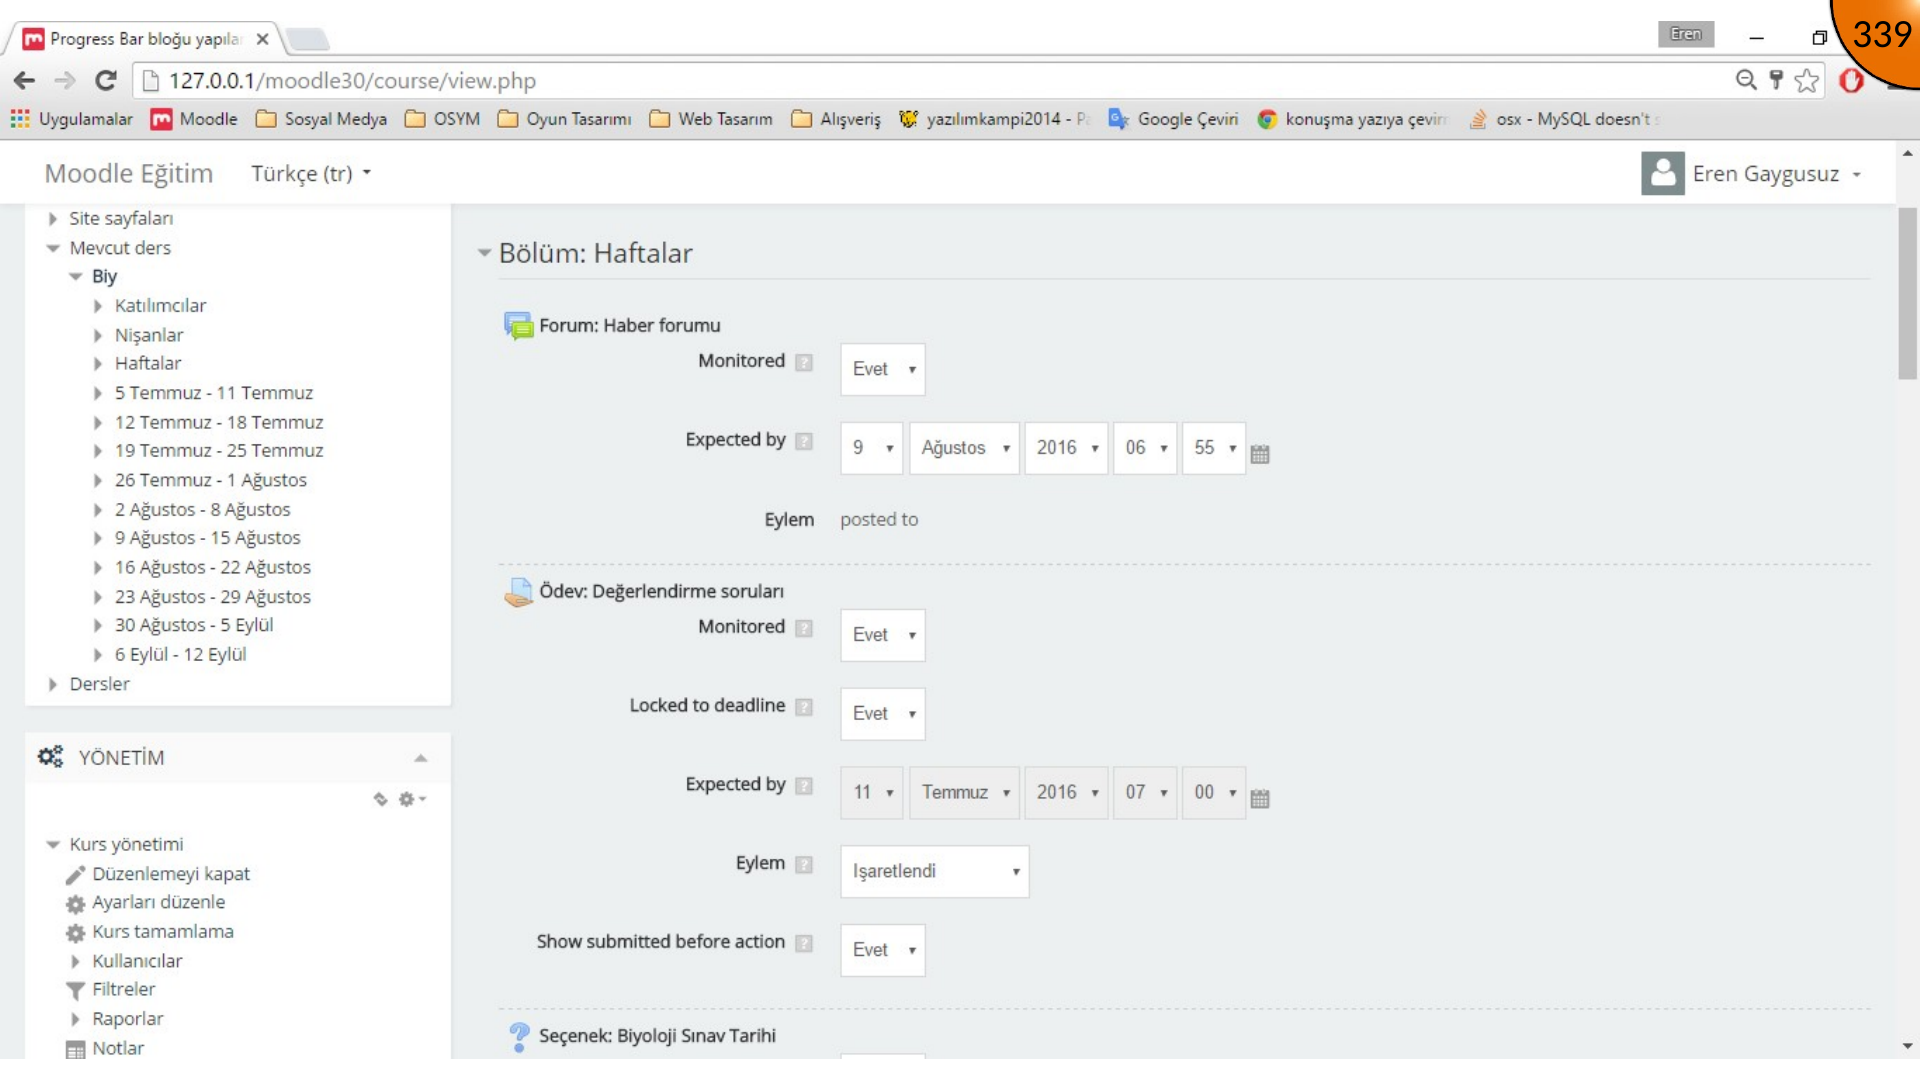
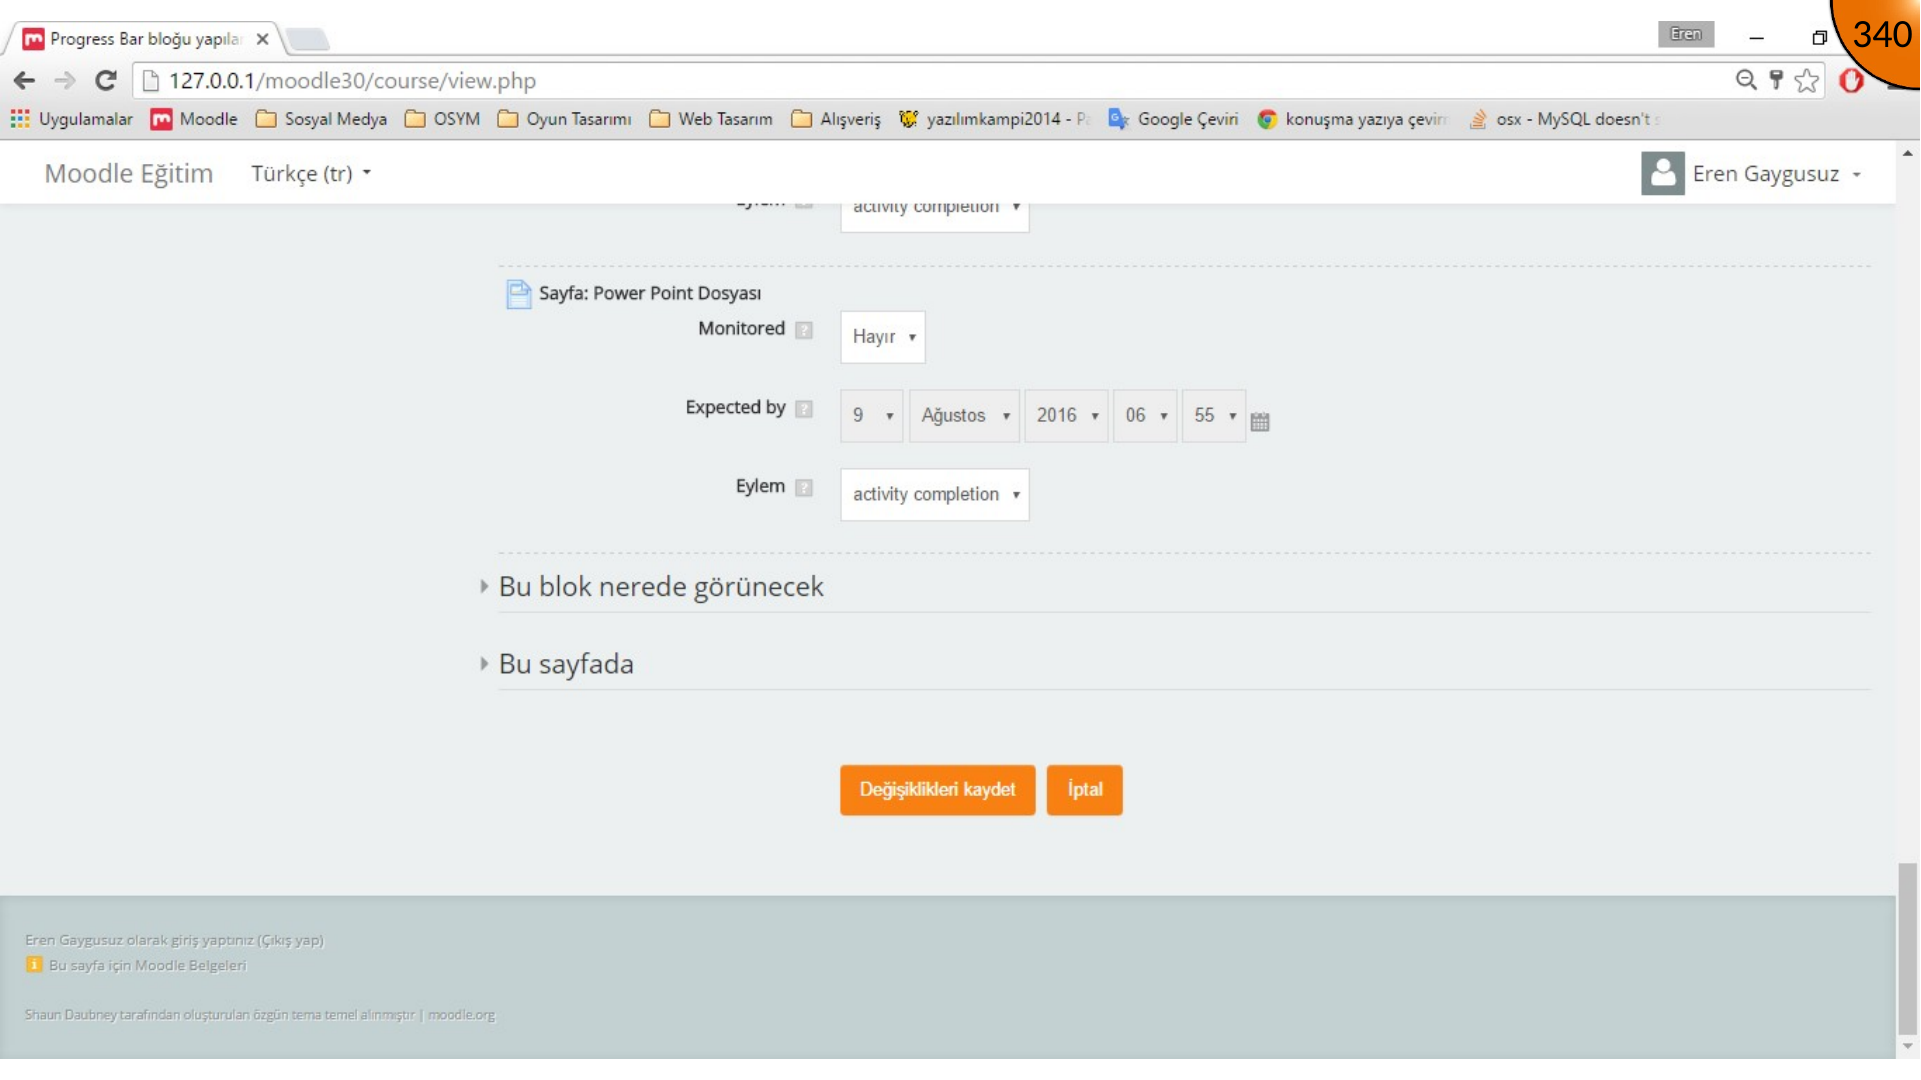
The completed block uses status colors in the source example: red for missed or incomplete work, blue for items still available, and green for completed activities. Confirm what each status means for your installed plugin version.
Summary
Install only compatible, maintained plugins and test them first in a staging environment. Once configured, a progress block can give learners a compact view of monitored course activities.
Comments