After uploading files to the web server, they can be displayed in Moodle with HTML. This archived 2016 walkthrough uses the embed element for a PDF and the video element for media. In a current site, test browser compatibility and prefer an iframe or a Moodle-supported file viewer for PDFs where appropriate.
Use only paths and files you are authorized to publish. Verify access over HTTPS and test both resources with a learner account.
Table of contents
Open Table of contents
Embedding a Hosted PDF
Open the Moodle Page resource prepared in the previous step and switch the content editor to HTML mode. The source uses an embed tag: src points to the PDF, while width, height, and type control the display.
<embed
  src="../icerik/ornek.pdf"
  width="1000"
  height="1210"
  type="application/pdf"
/>
The relative ../icerik/ path in the original keeps the example independent of the full site address. Adjust the path to match your Moodle installation and uploaded folder.
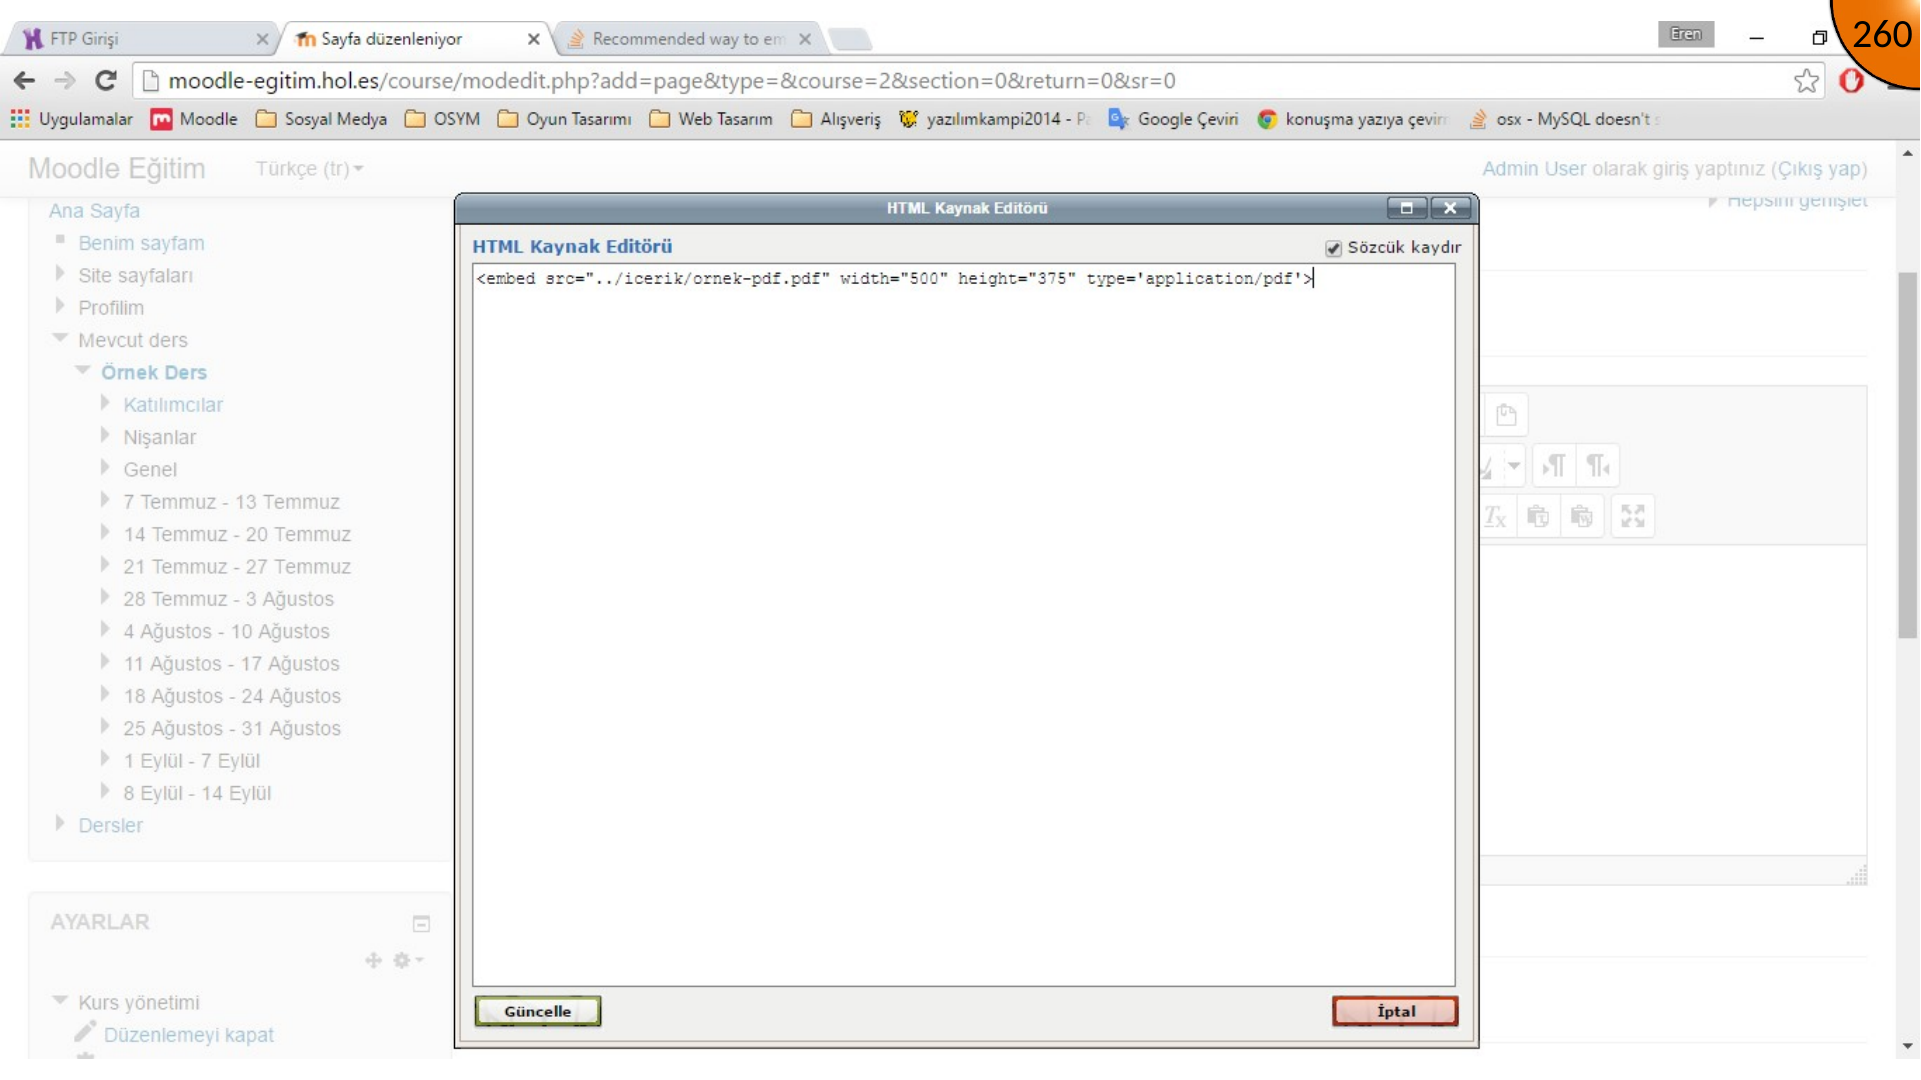
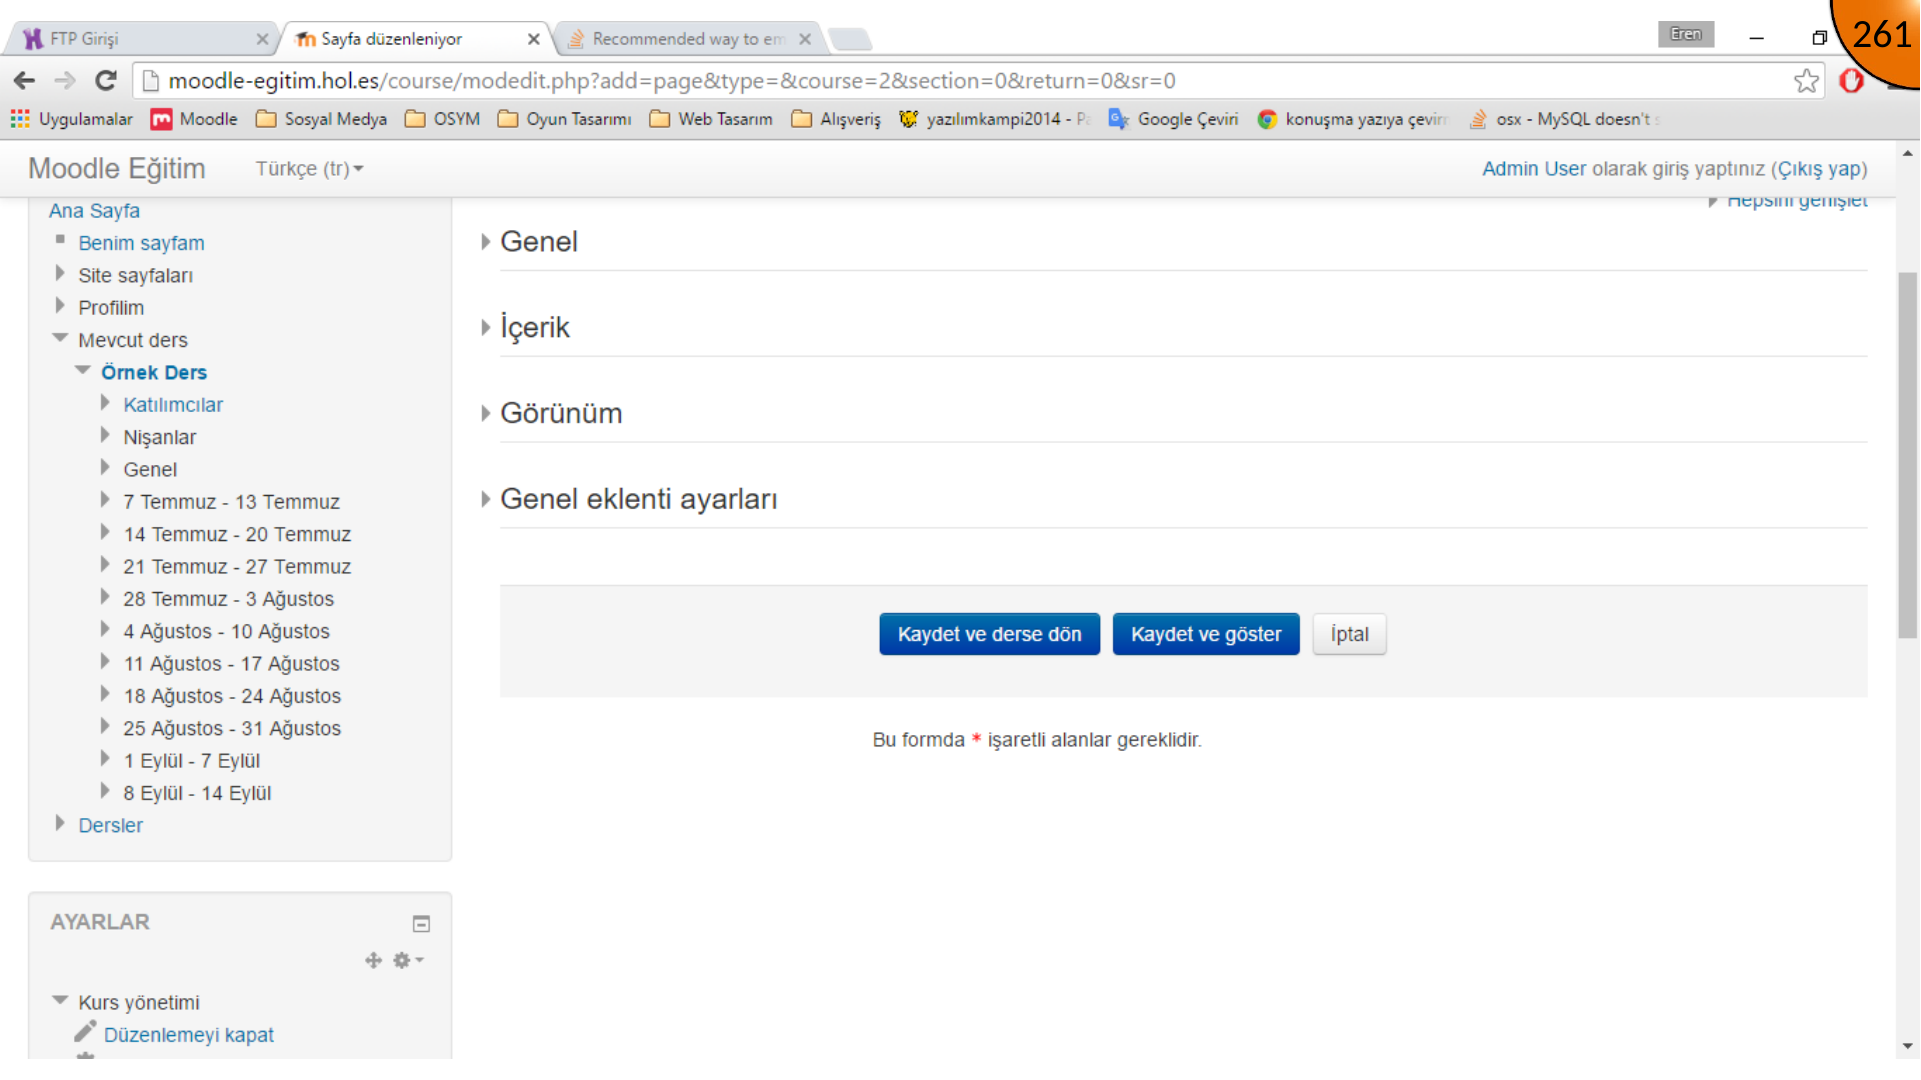
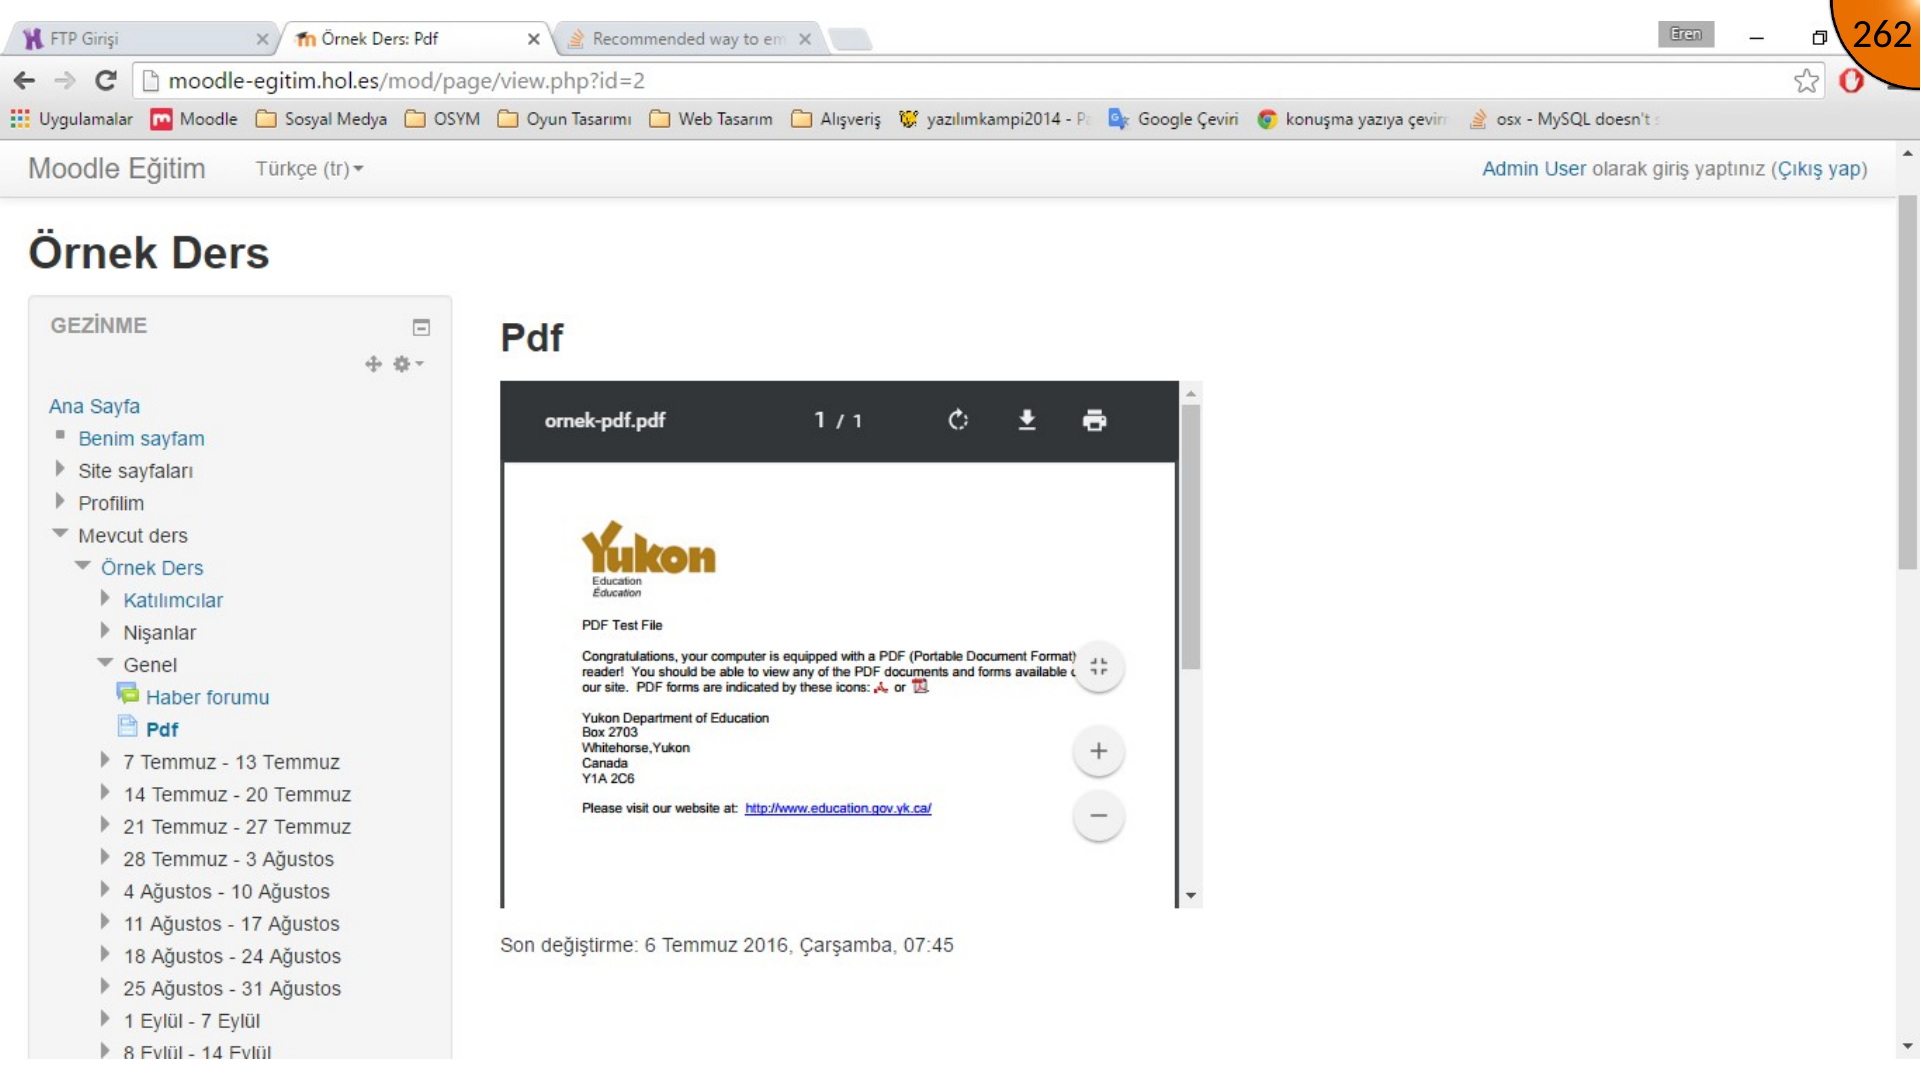
Click Update, then Save and display to review the result. Change the dimensions in the markup if the viewer does not fit the page.
Embedding a Hosted Video
Create another Moodle Page, enter its name and description, and switch the content editor to HTML mode.
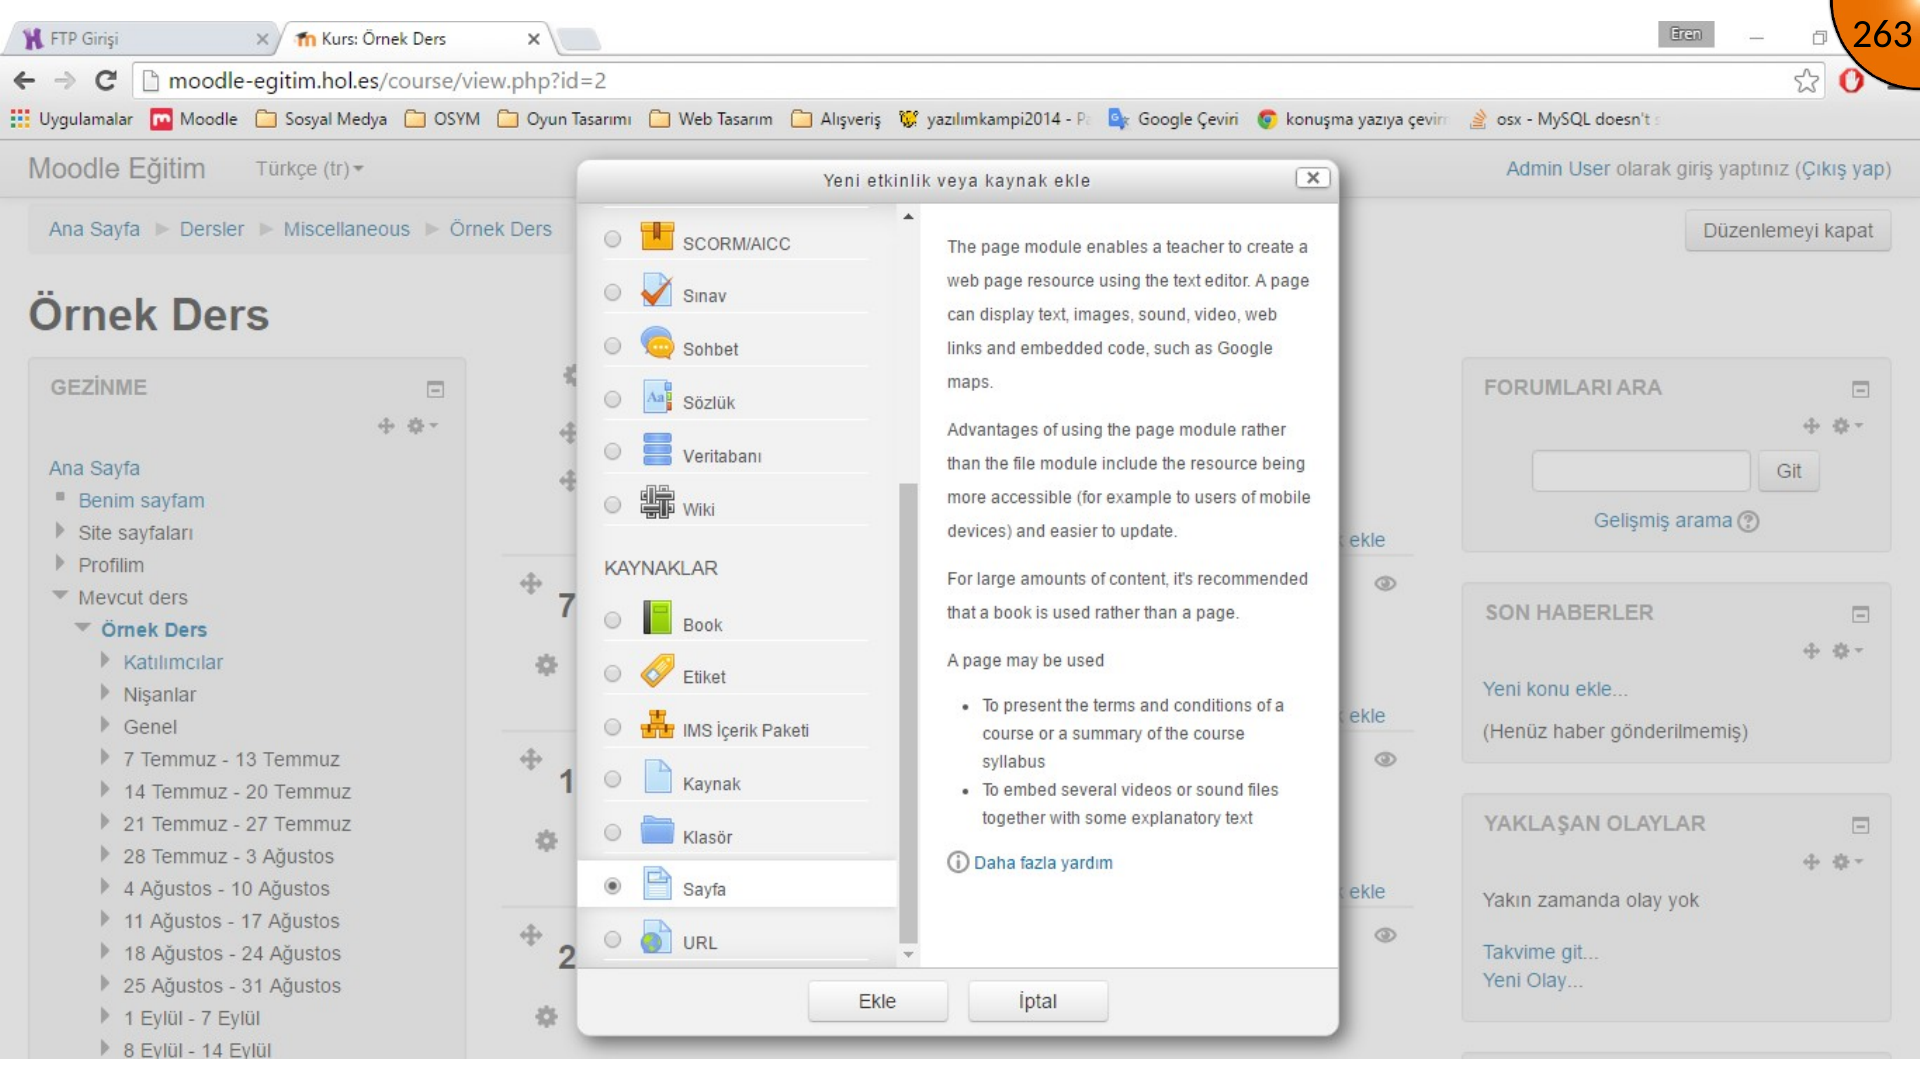
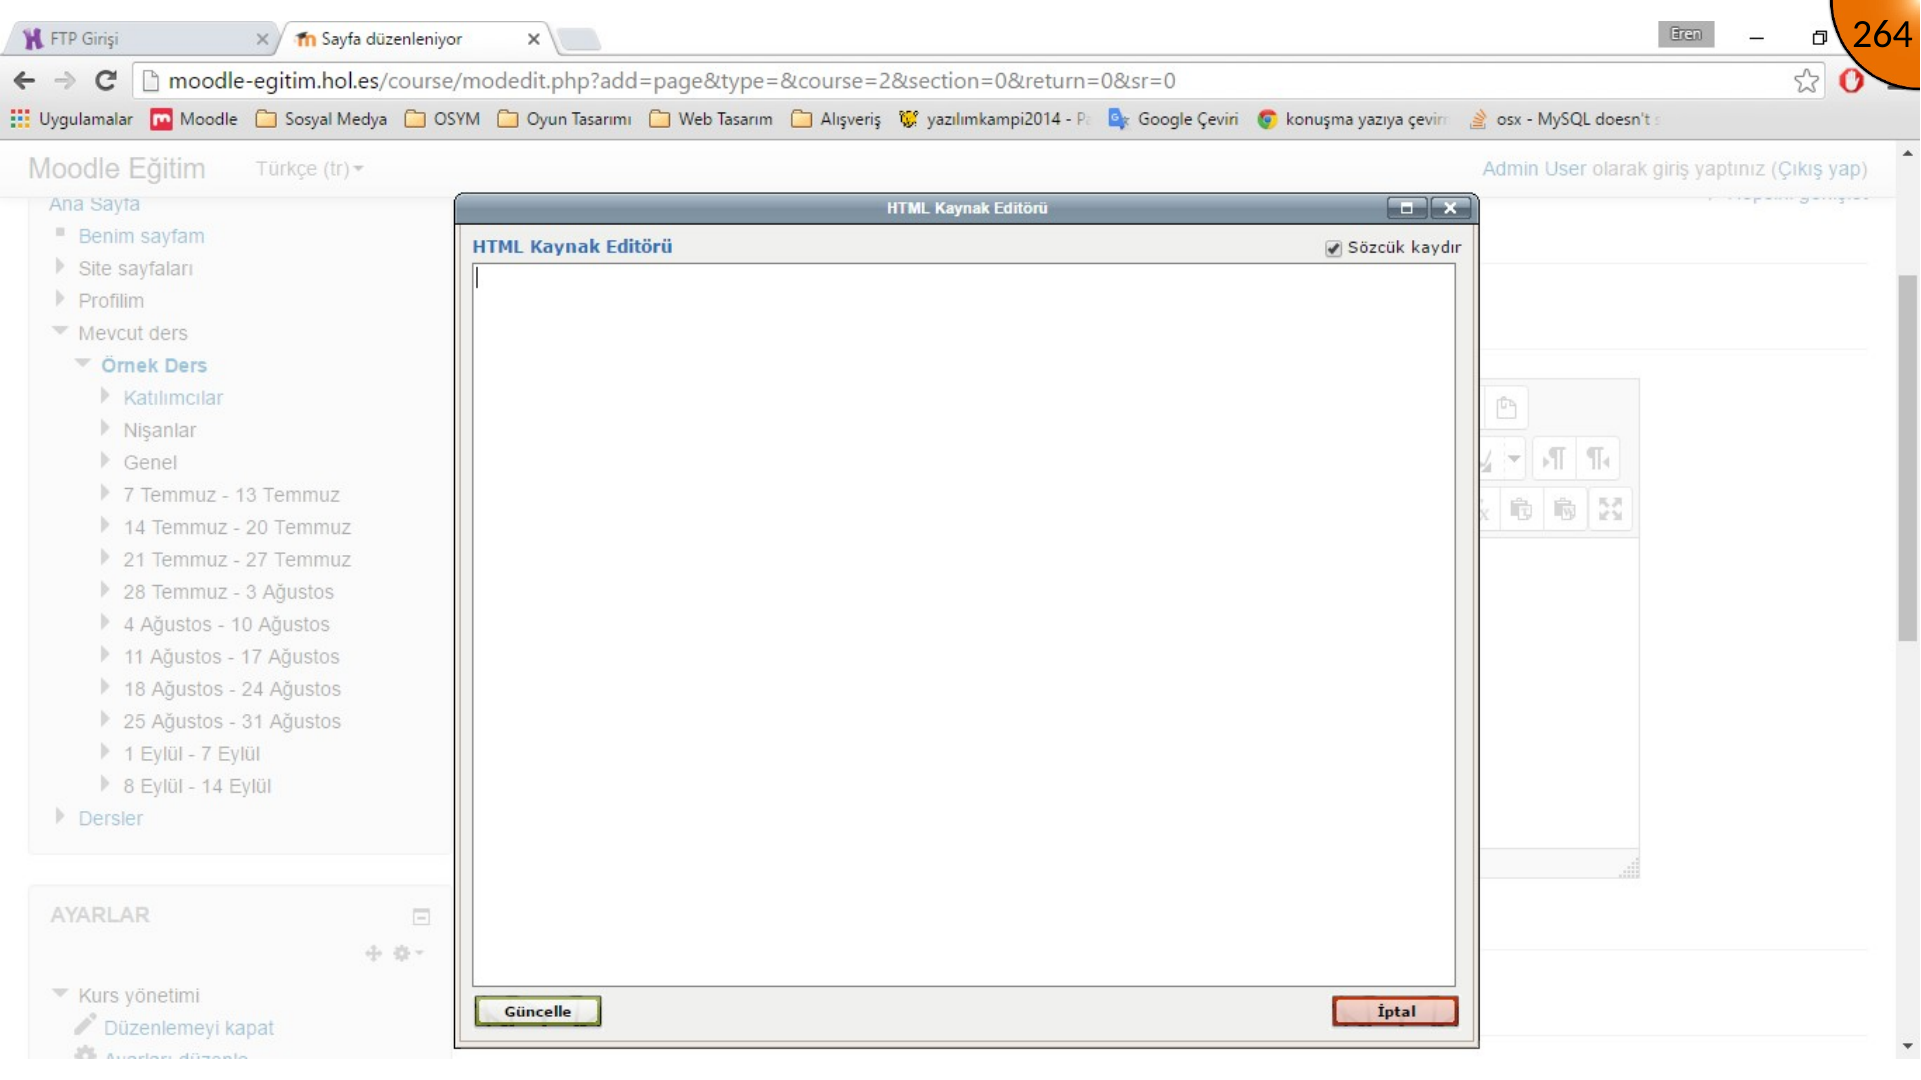
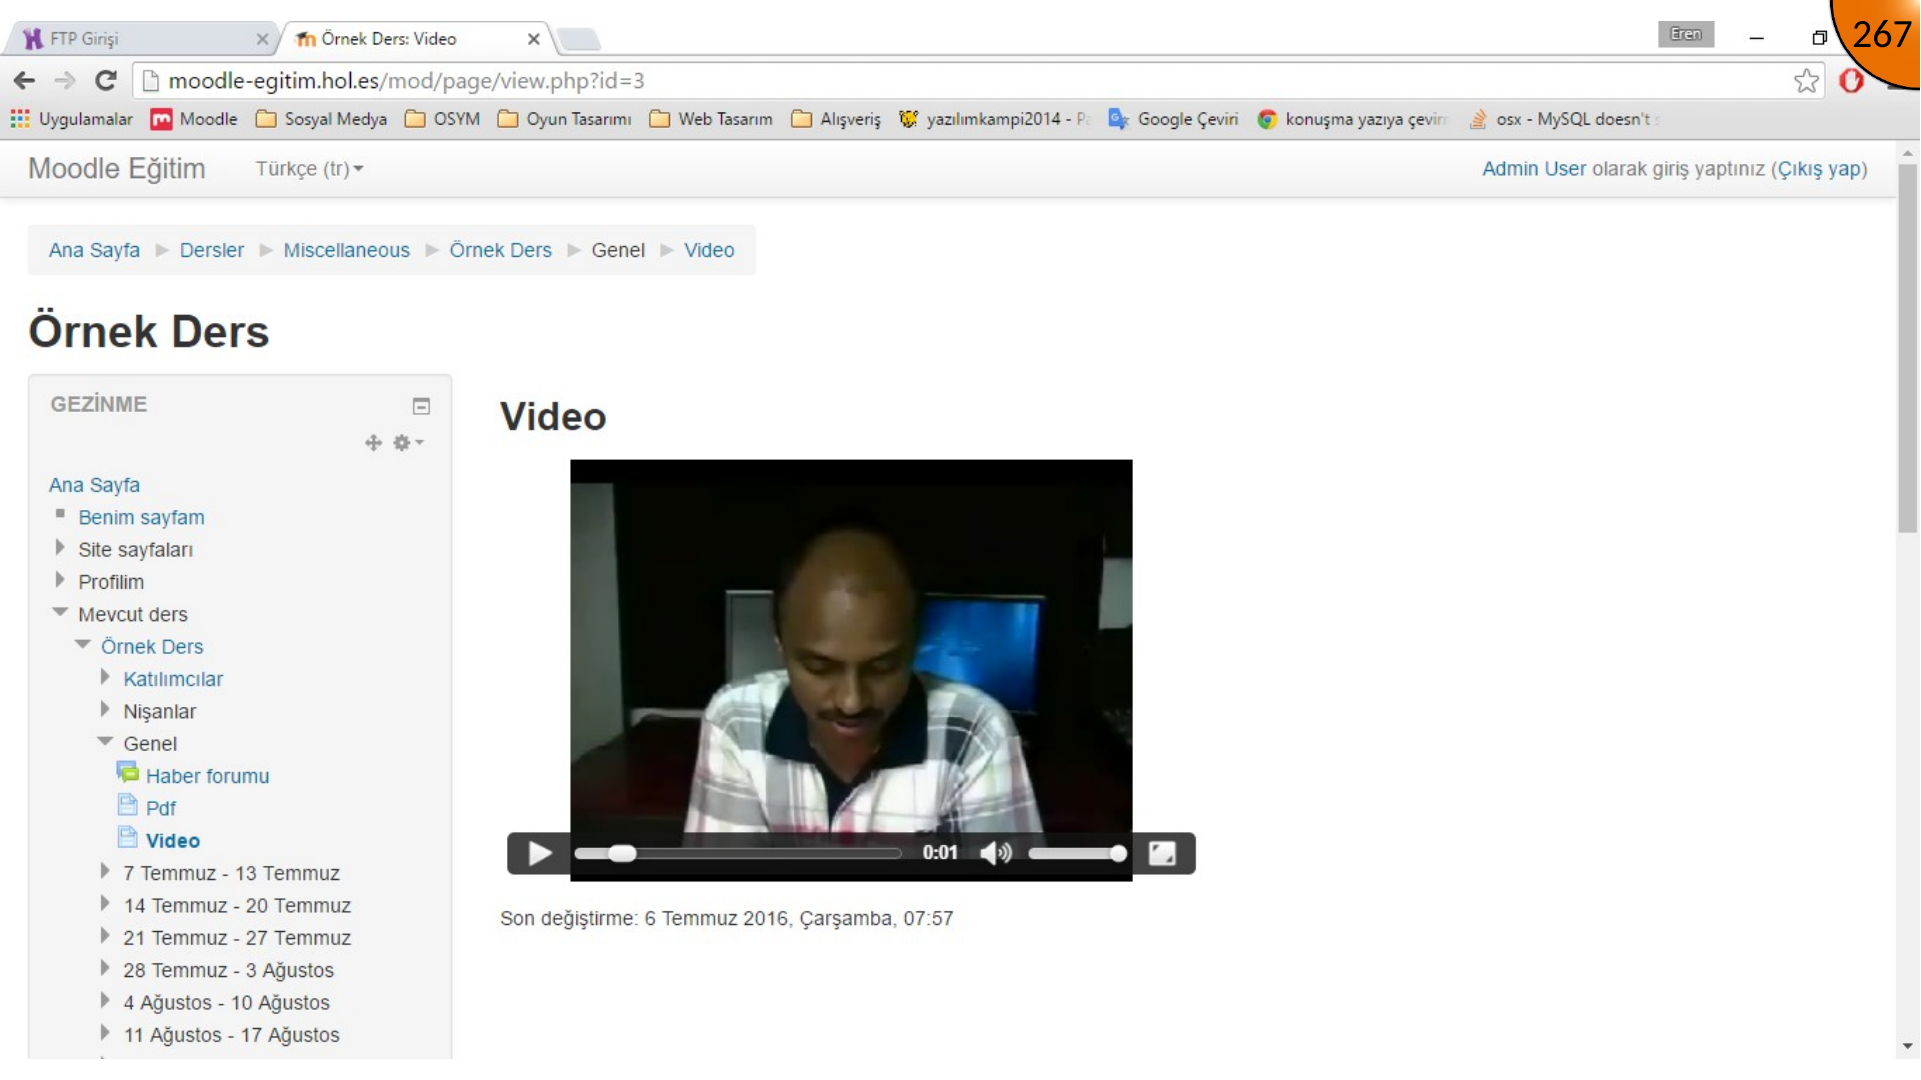
Use a video element with a nested source. Here, src is the uploaded video path, type states the media type, width and height set its size, and controls shows the playback controls.
<video width="1000" height="563" controls>
  <source src="../icerik/ornek.mp4" type="video/mp4" />
  Your browser does not support the video element.
</video>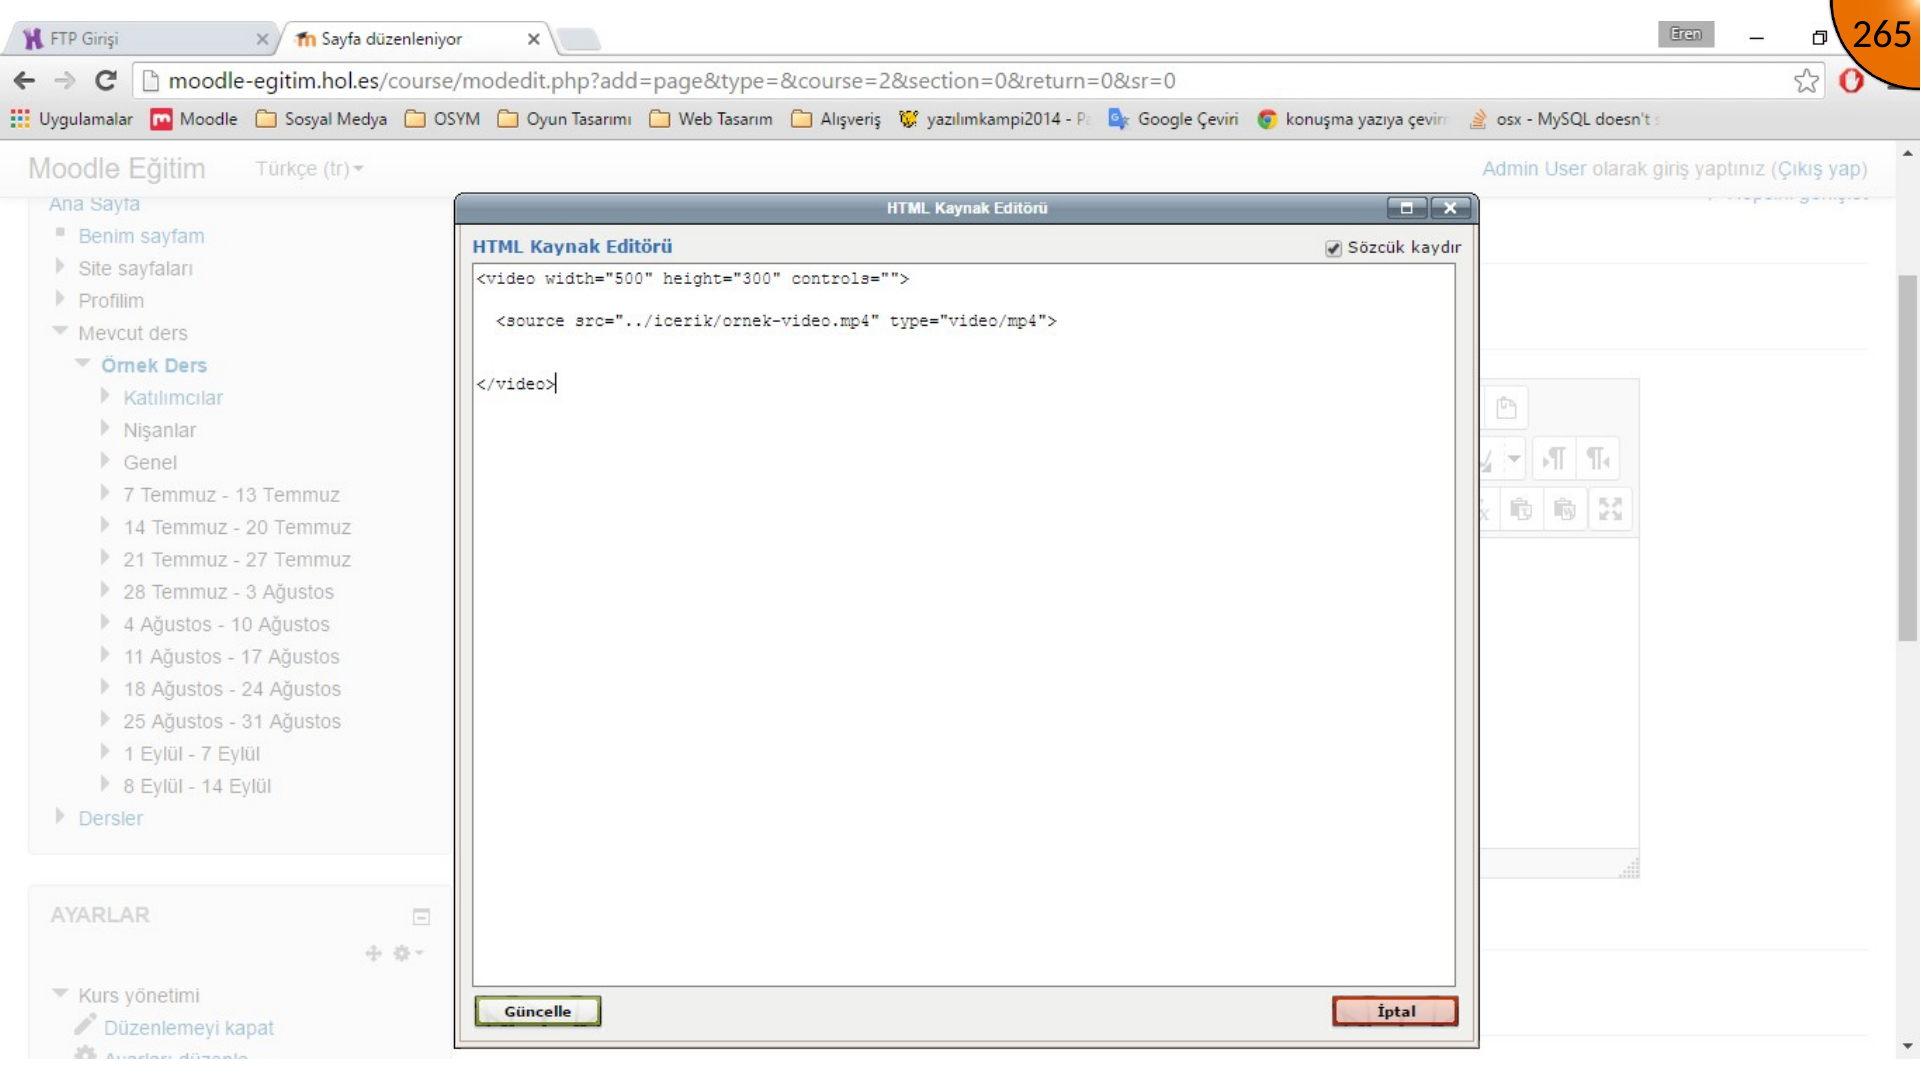
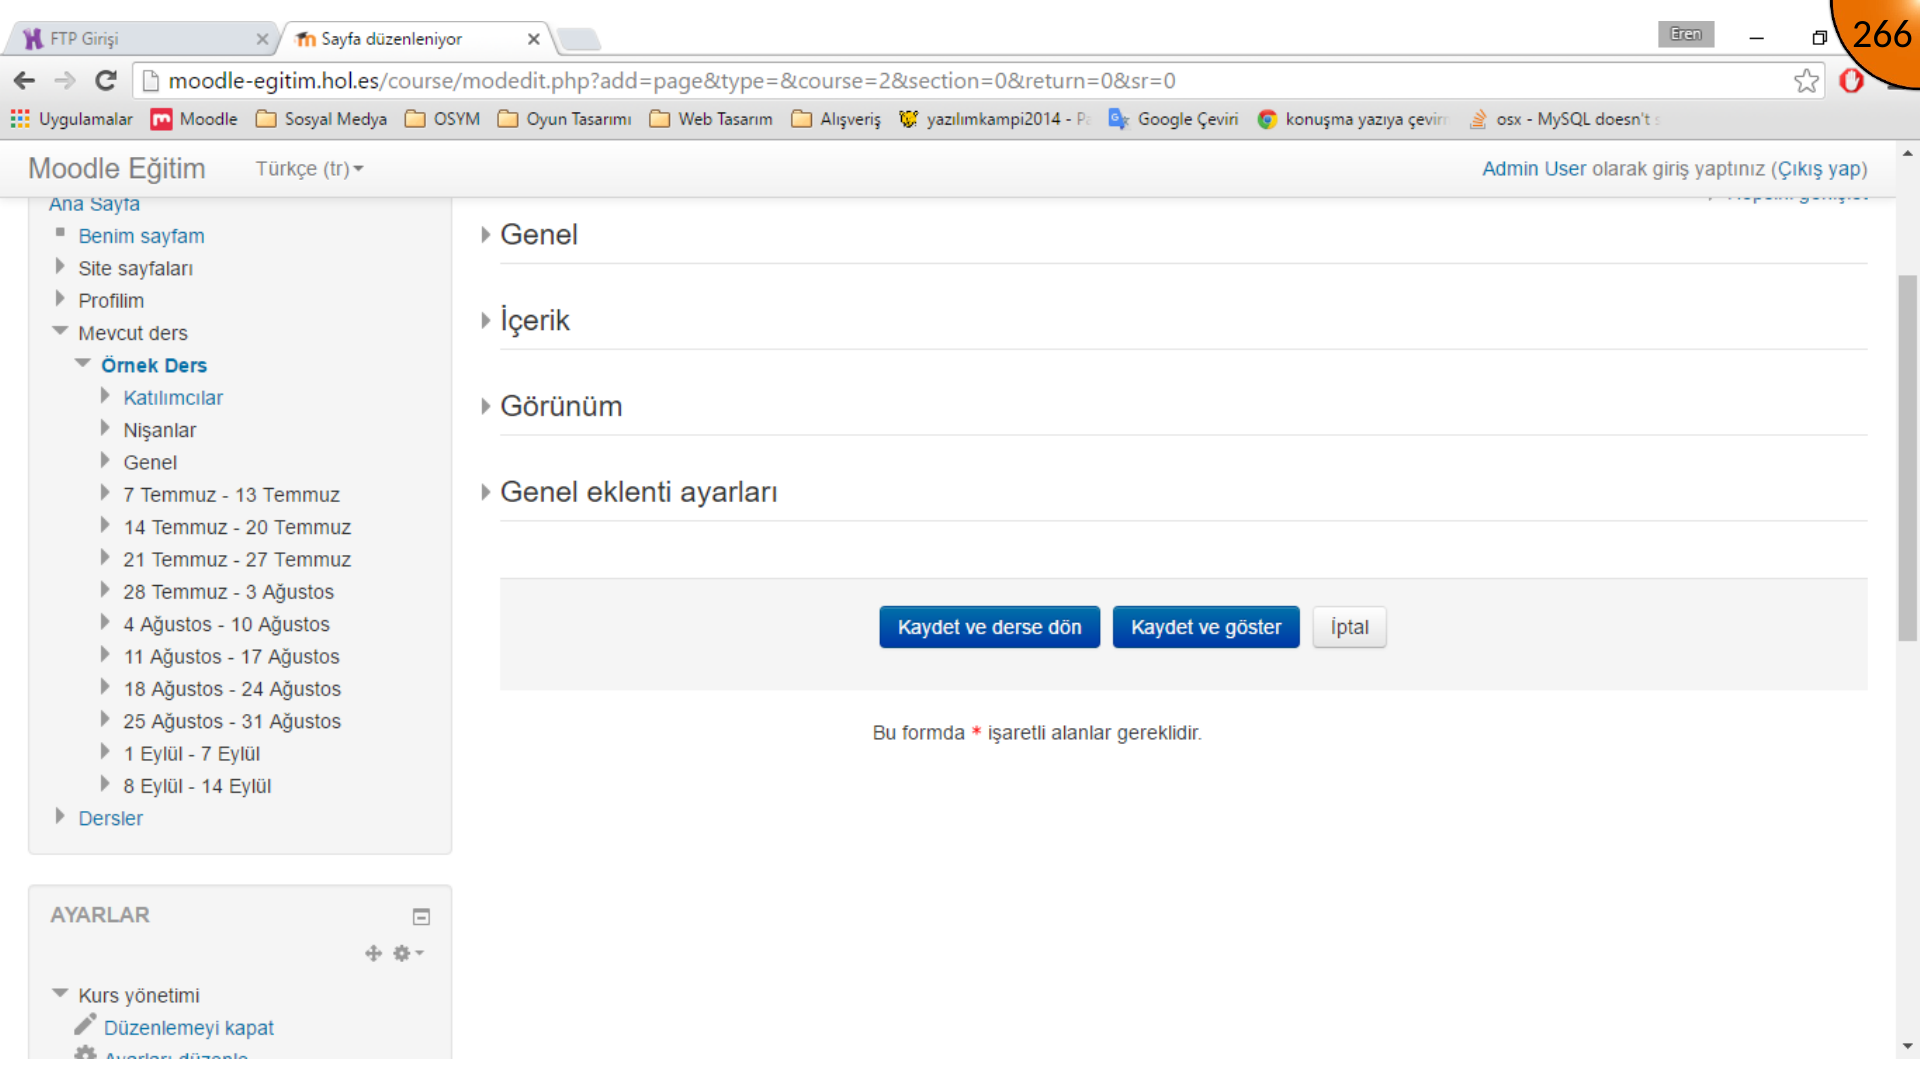
Click Update, then Save and display. The video should appear with its playback bar in the Moodle page.
Summary
Hosted files can be embedded directly once their paths are known. Keep the PDF and video dimensions appropriate for the course layout, serve media securely, and provide captions or a transcript for video content.
Comments