This archived 2016 walkthrough installs FileZilla and uploads course media to a hosted Moodle site. Hosting panels, FileZilla screens, and security defaults have changed since then; use SFTP rather than plain FTP whenever your host supports it.
Never publish a host password or reuse a credential shown in screenshots. Store credentials in a password manager and create a restricted account when possible.

Table of contents
Open Table of contents
Installing FileZilla
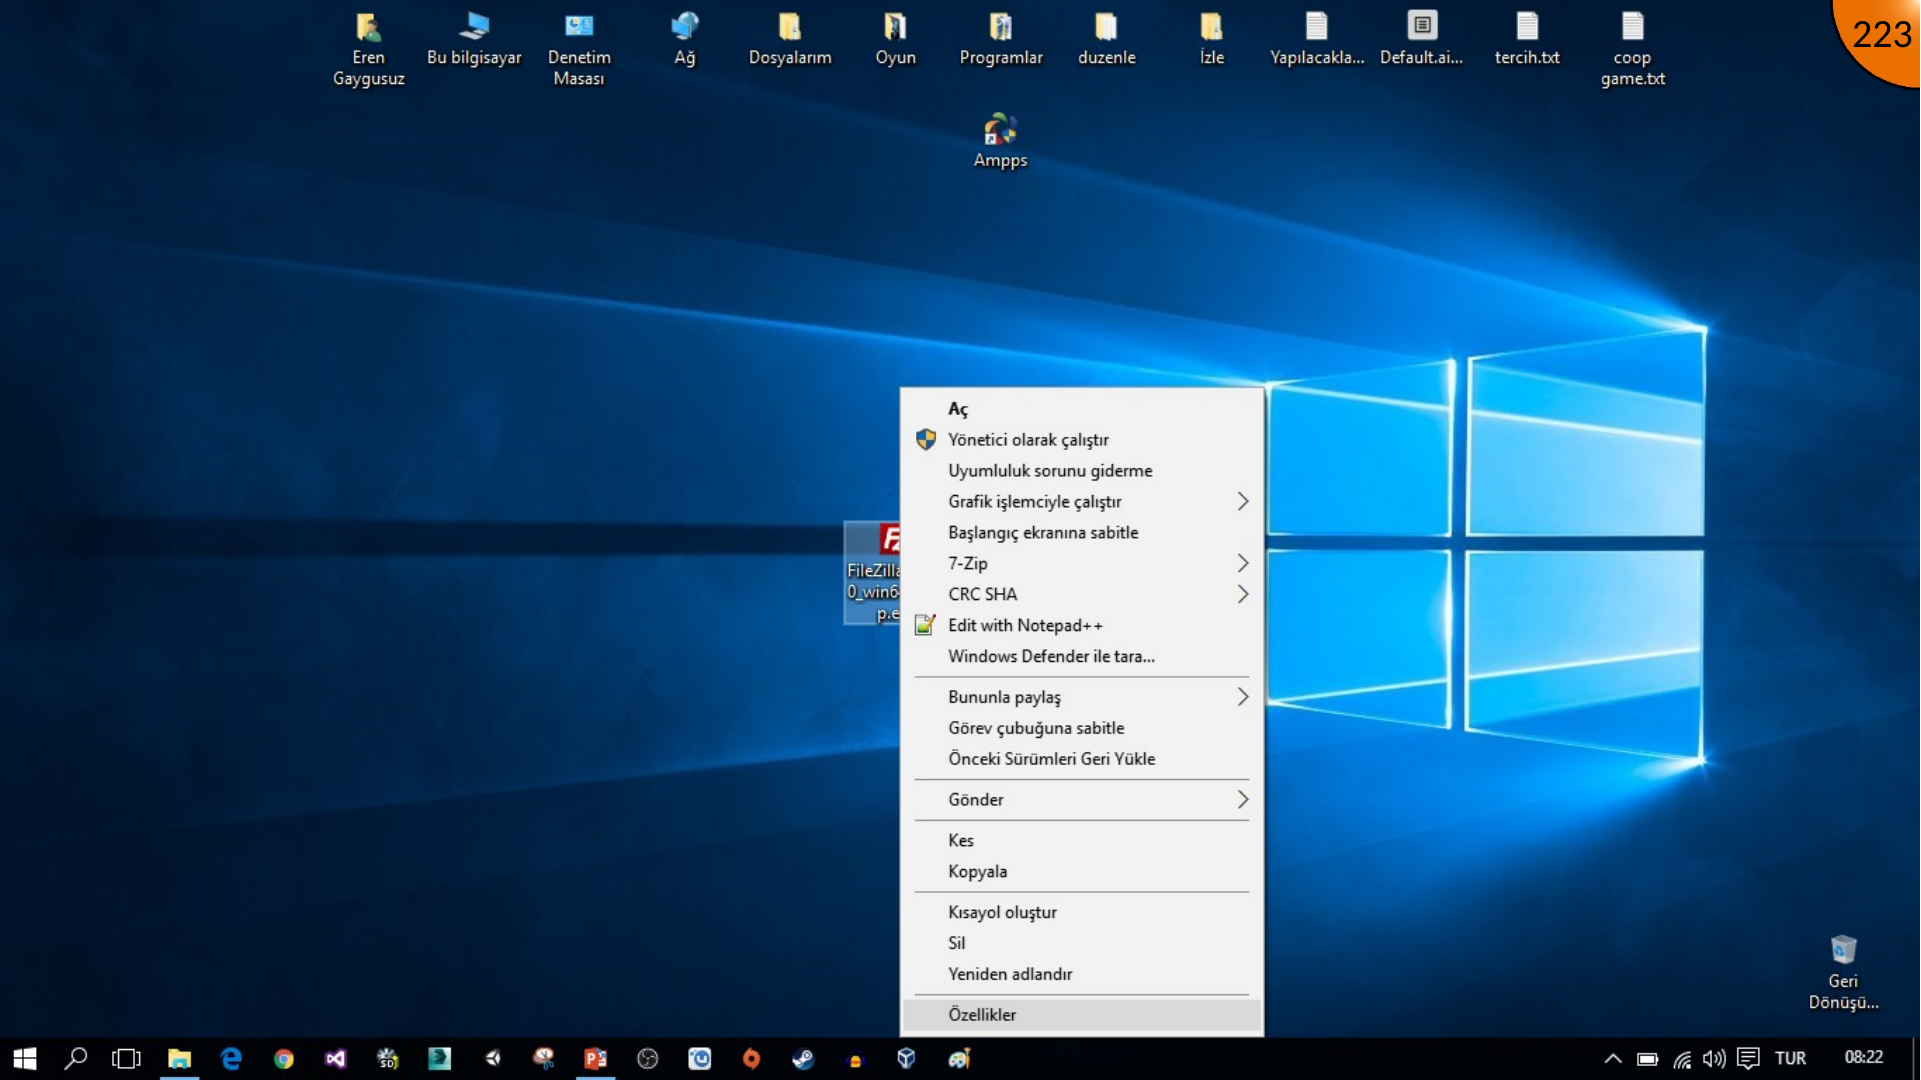
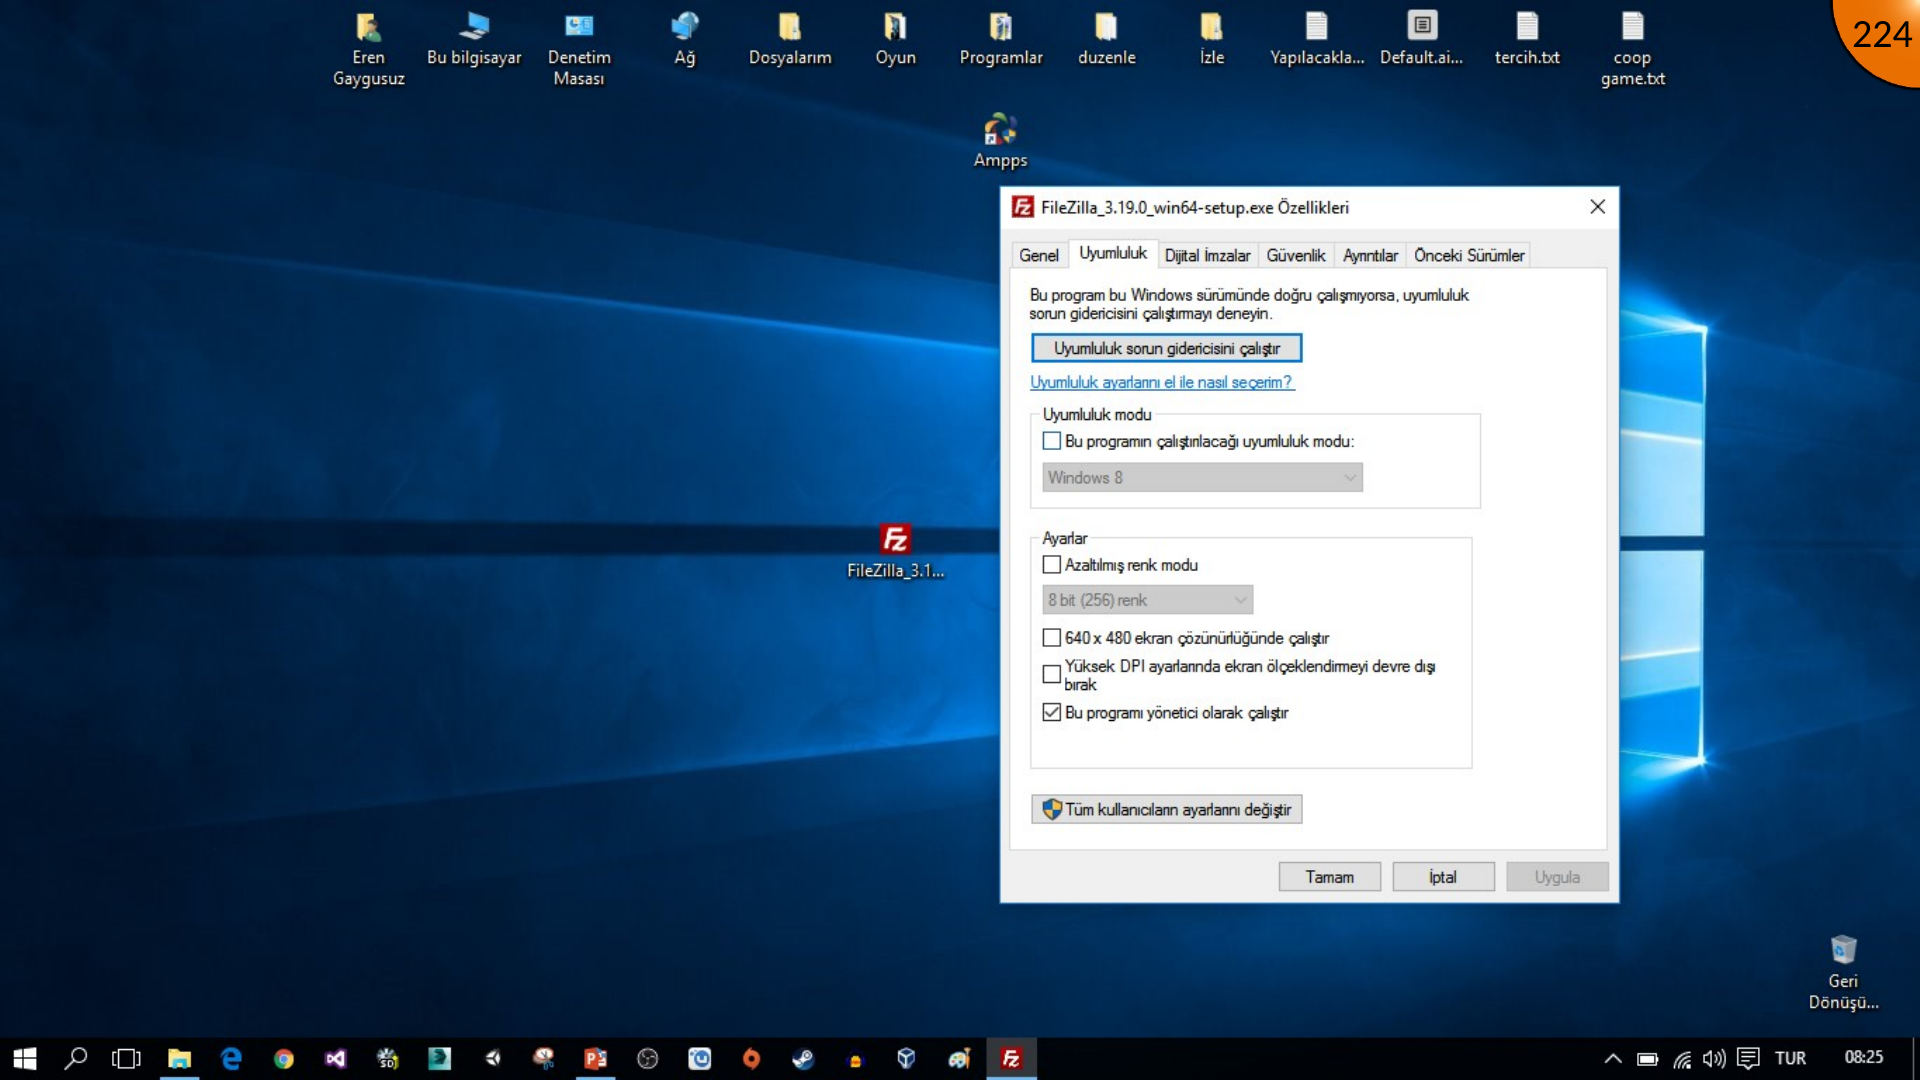
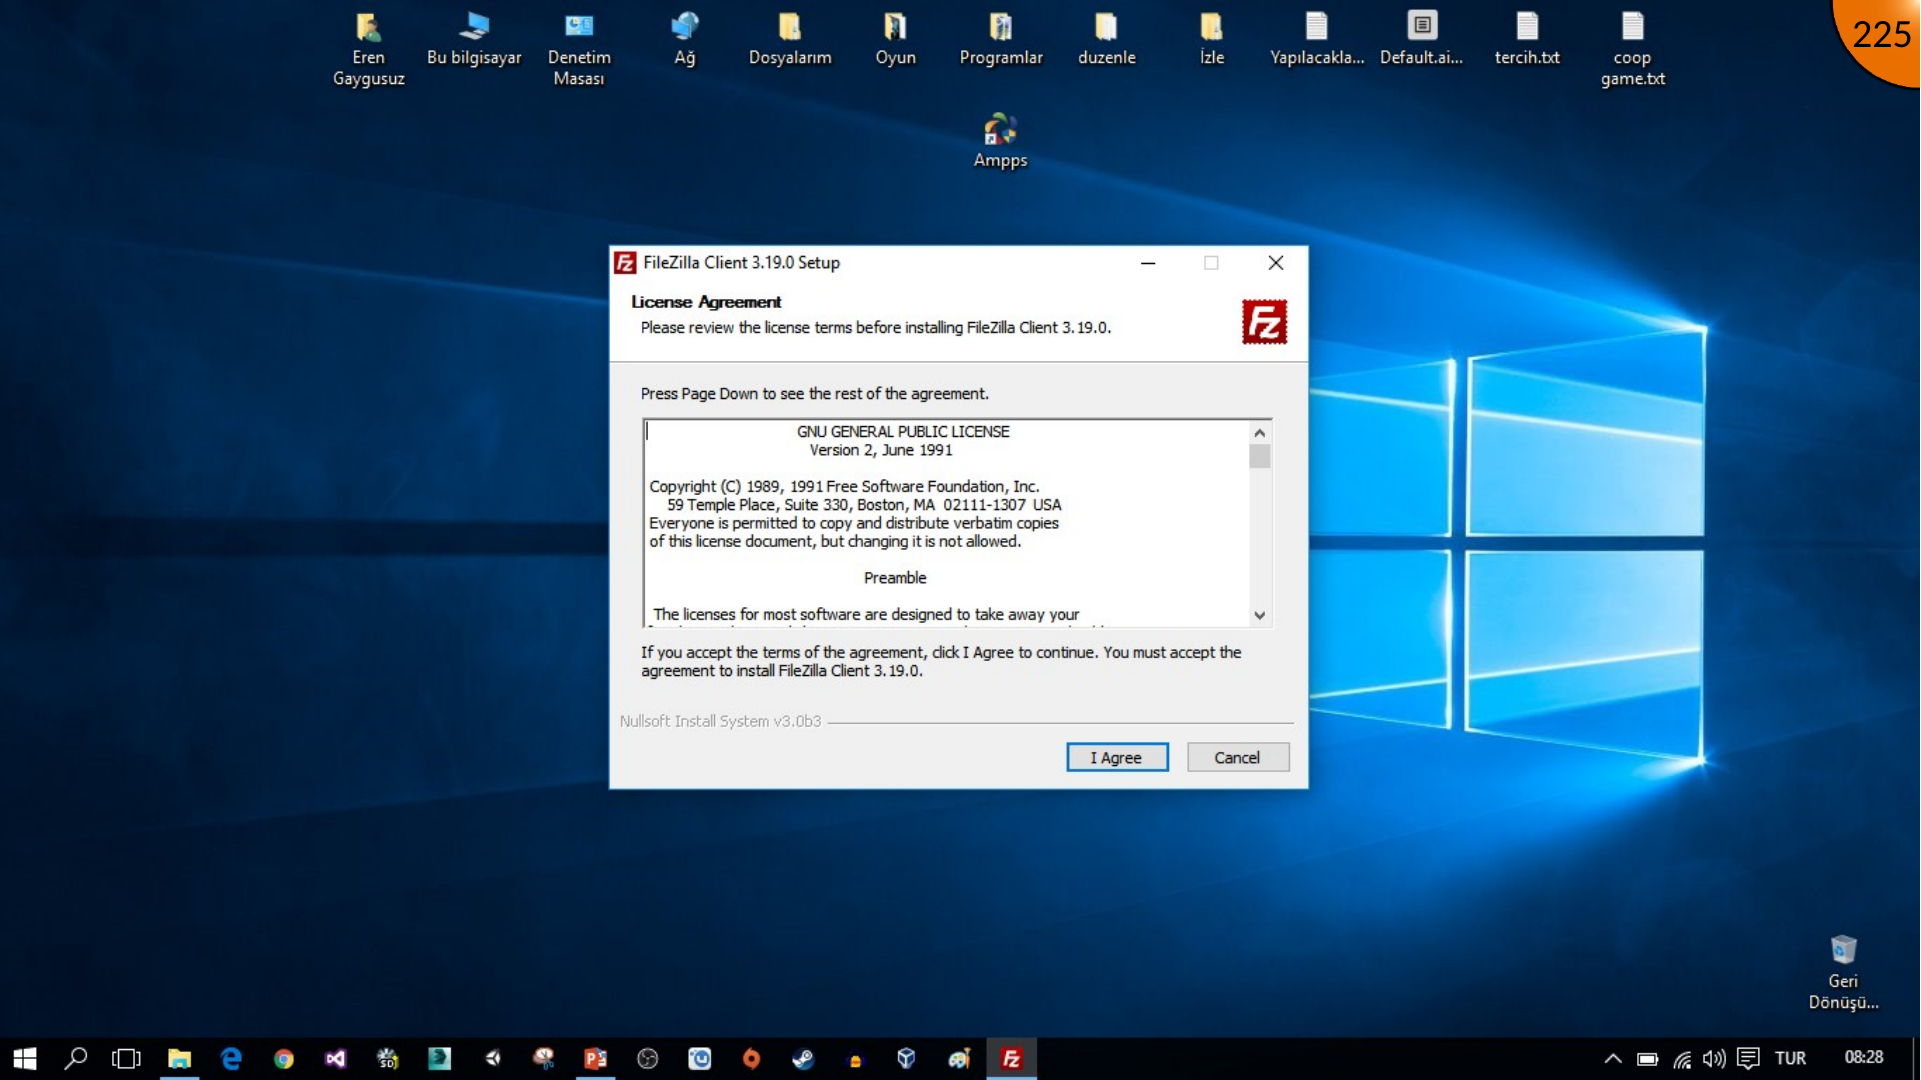
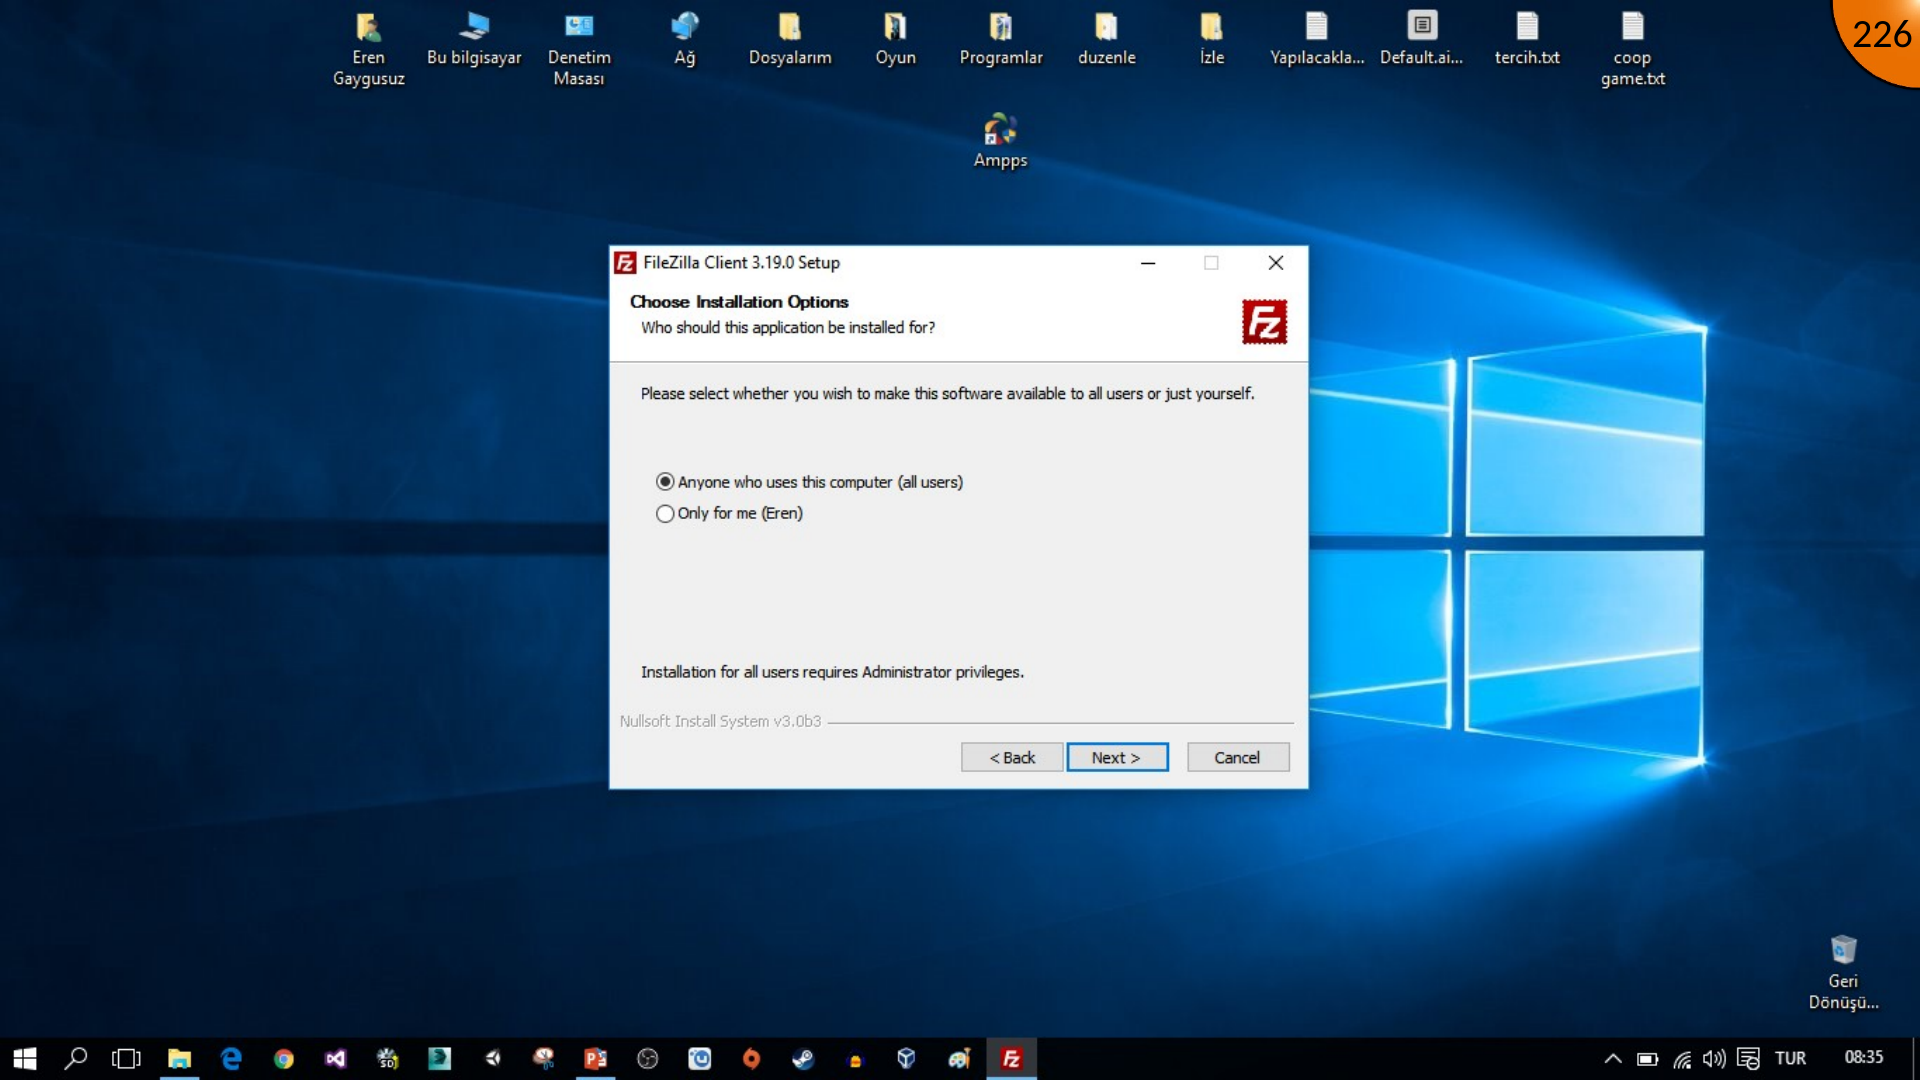
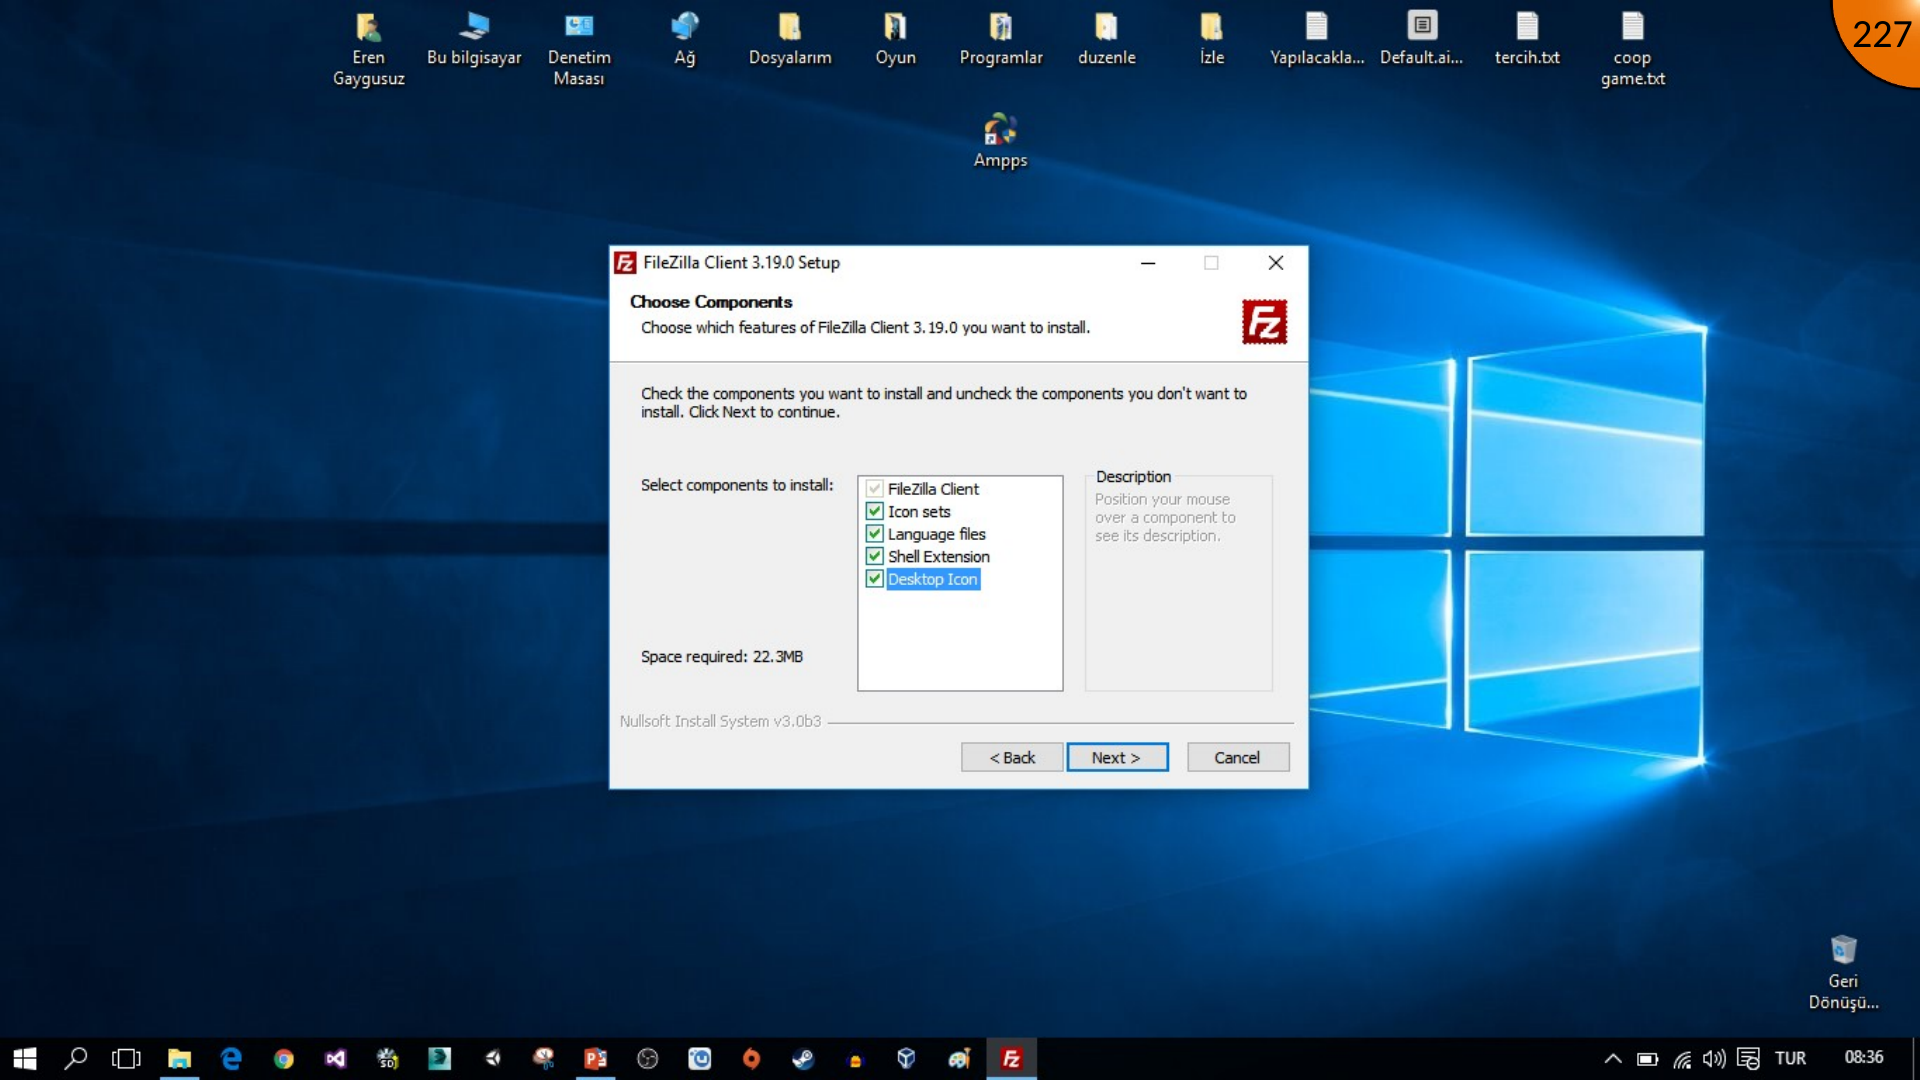
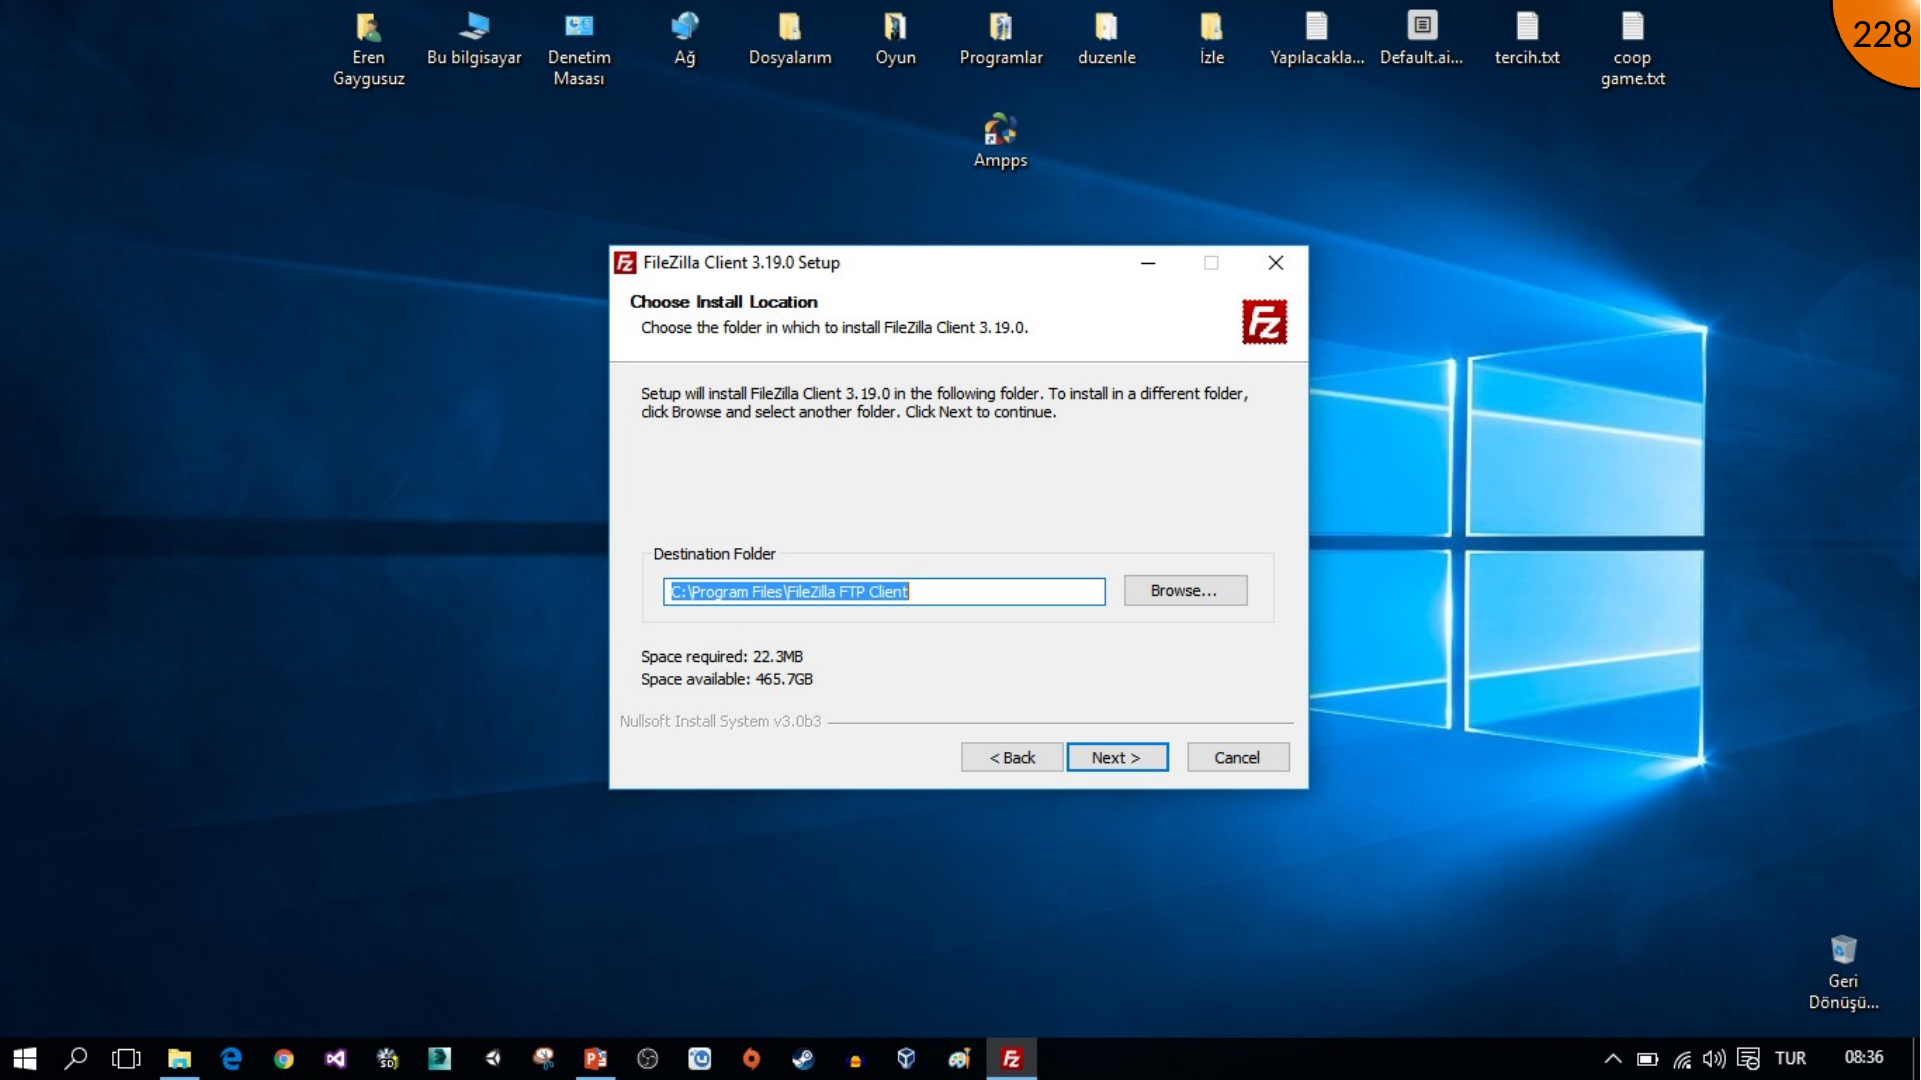
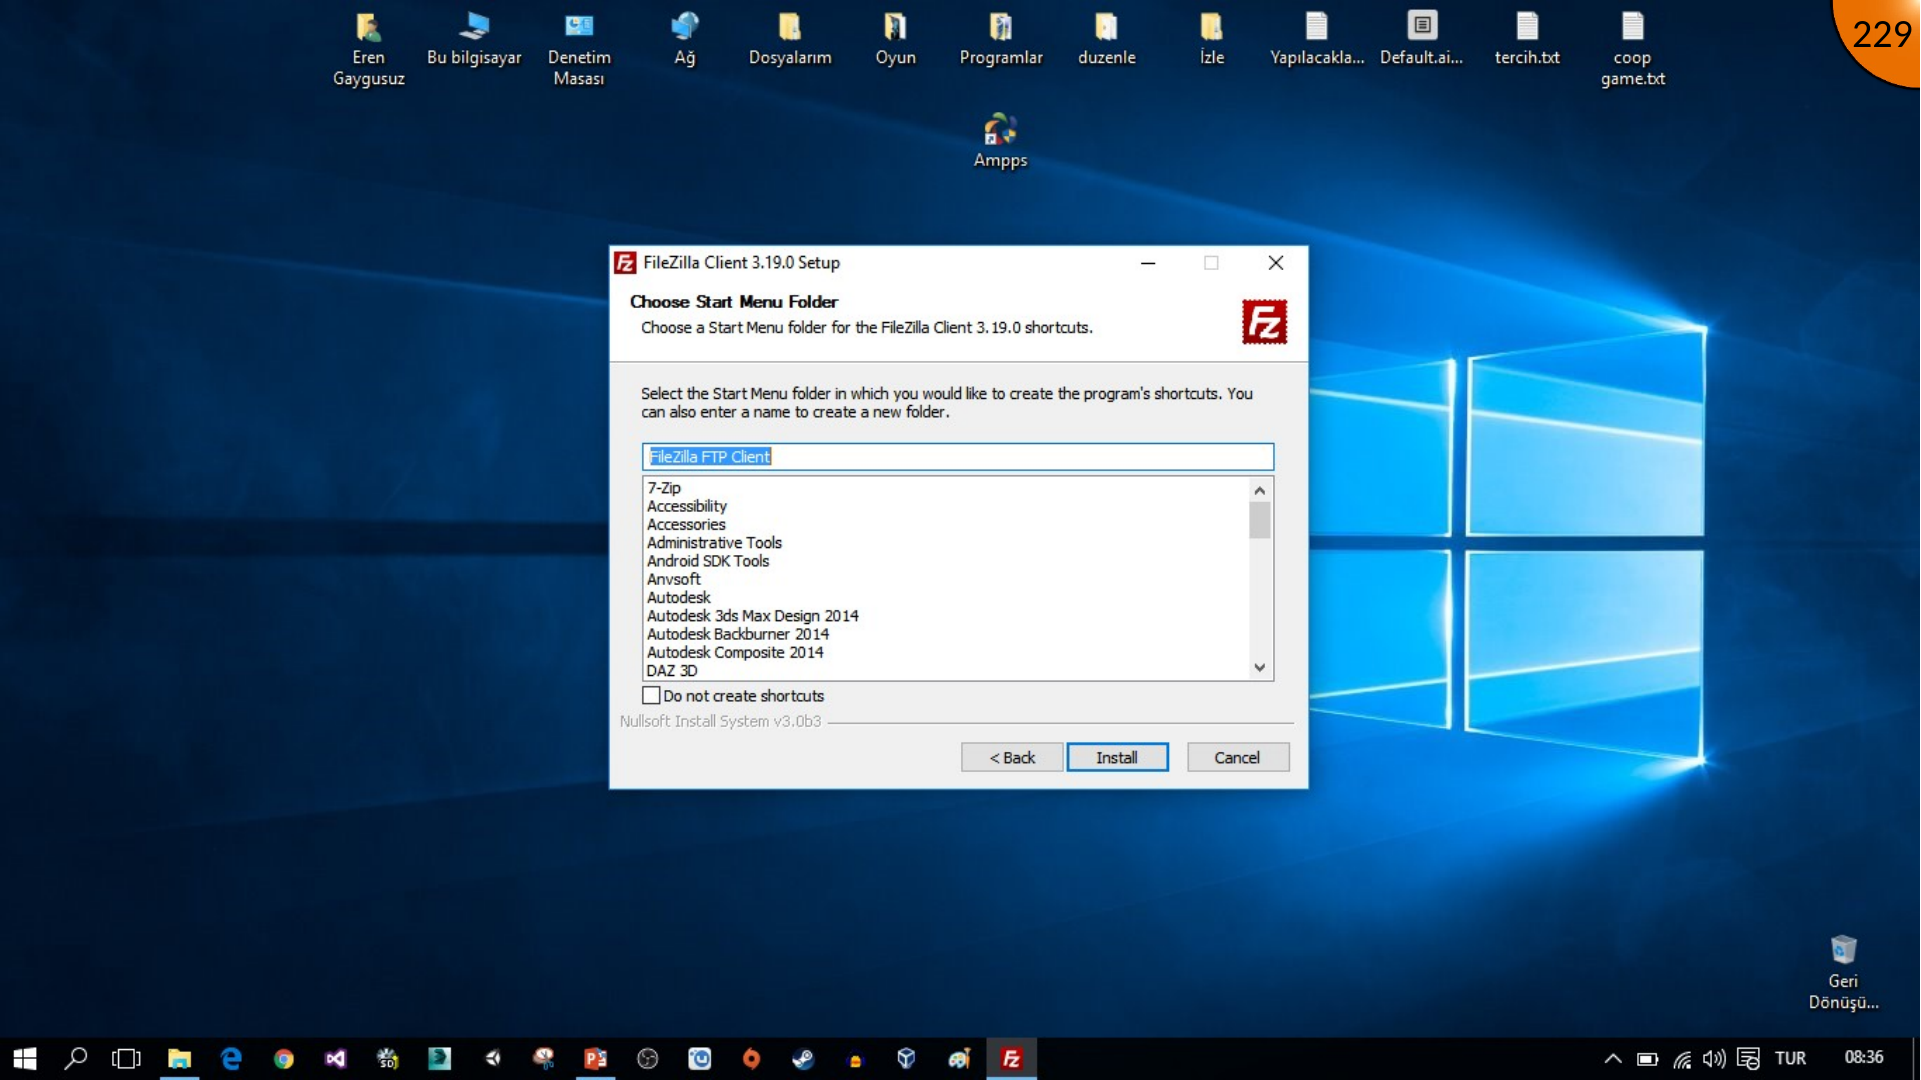
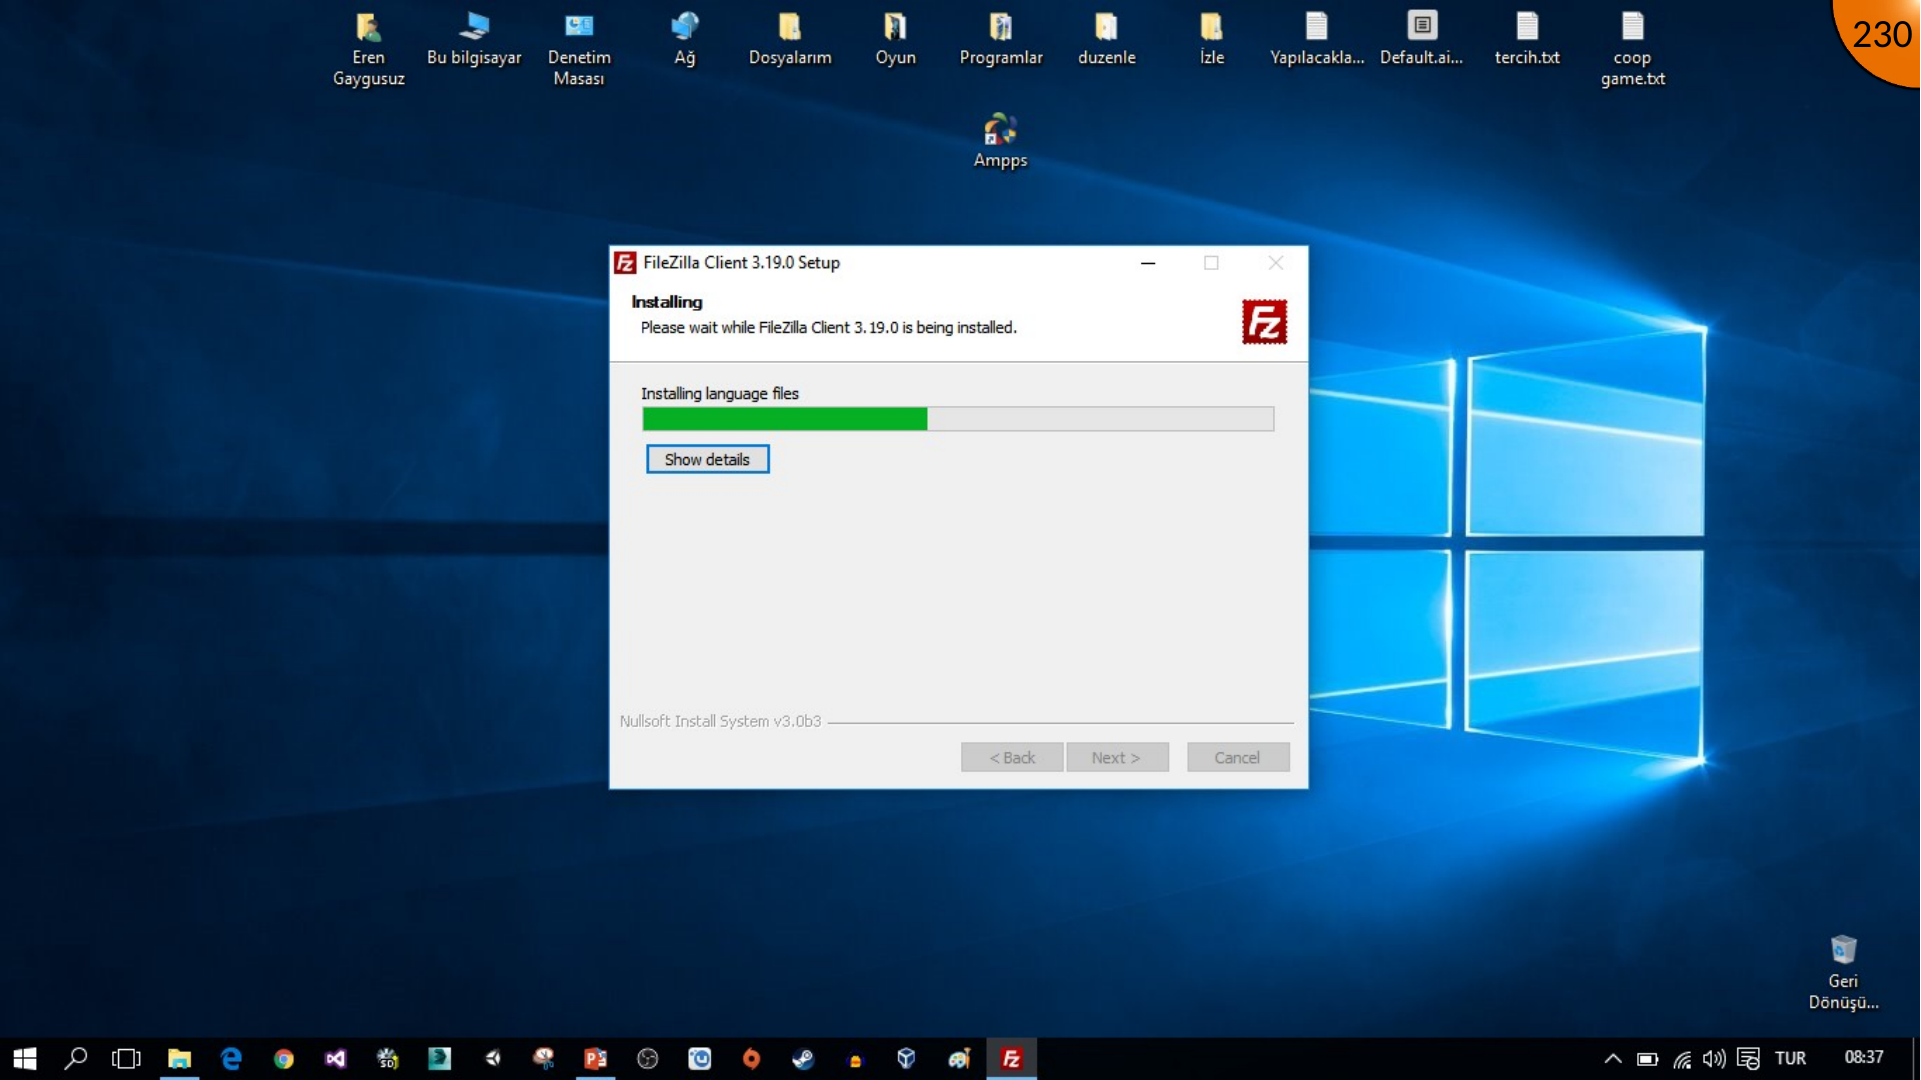
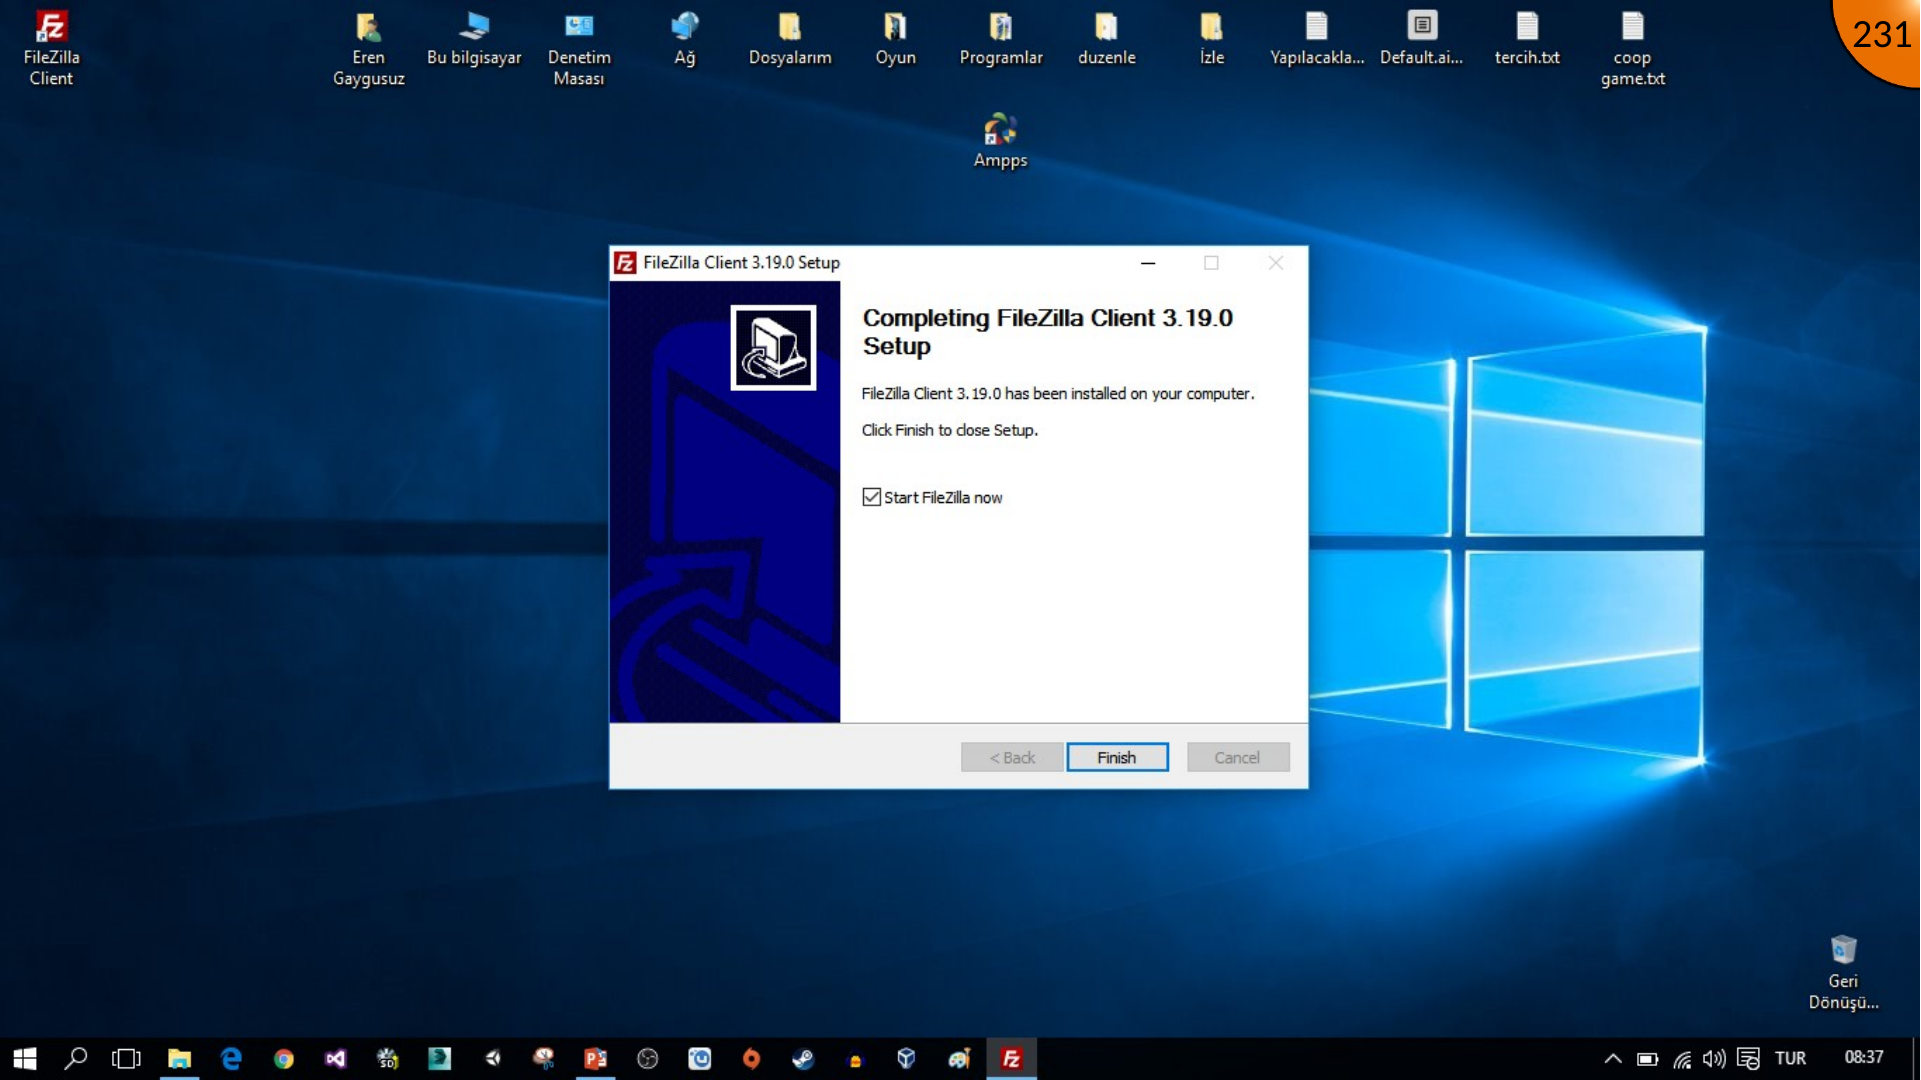
The source begins with the FileZilla installer. On Windows, set the installer to run as administrator if required, then accept the license and continue through the default setup screens until installation completes.
Preparing the Hosted Moodle Course
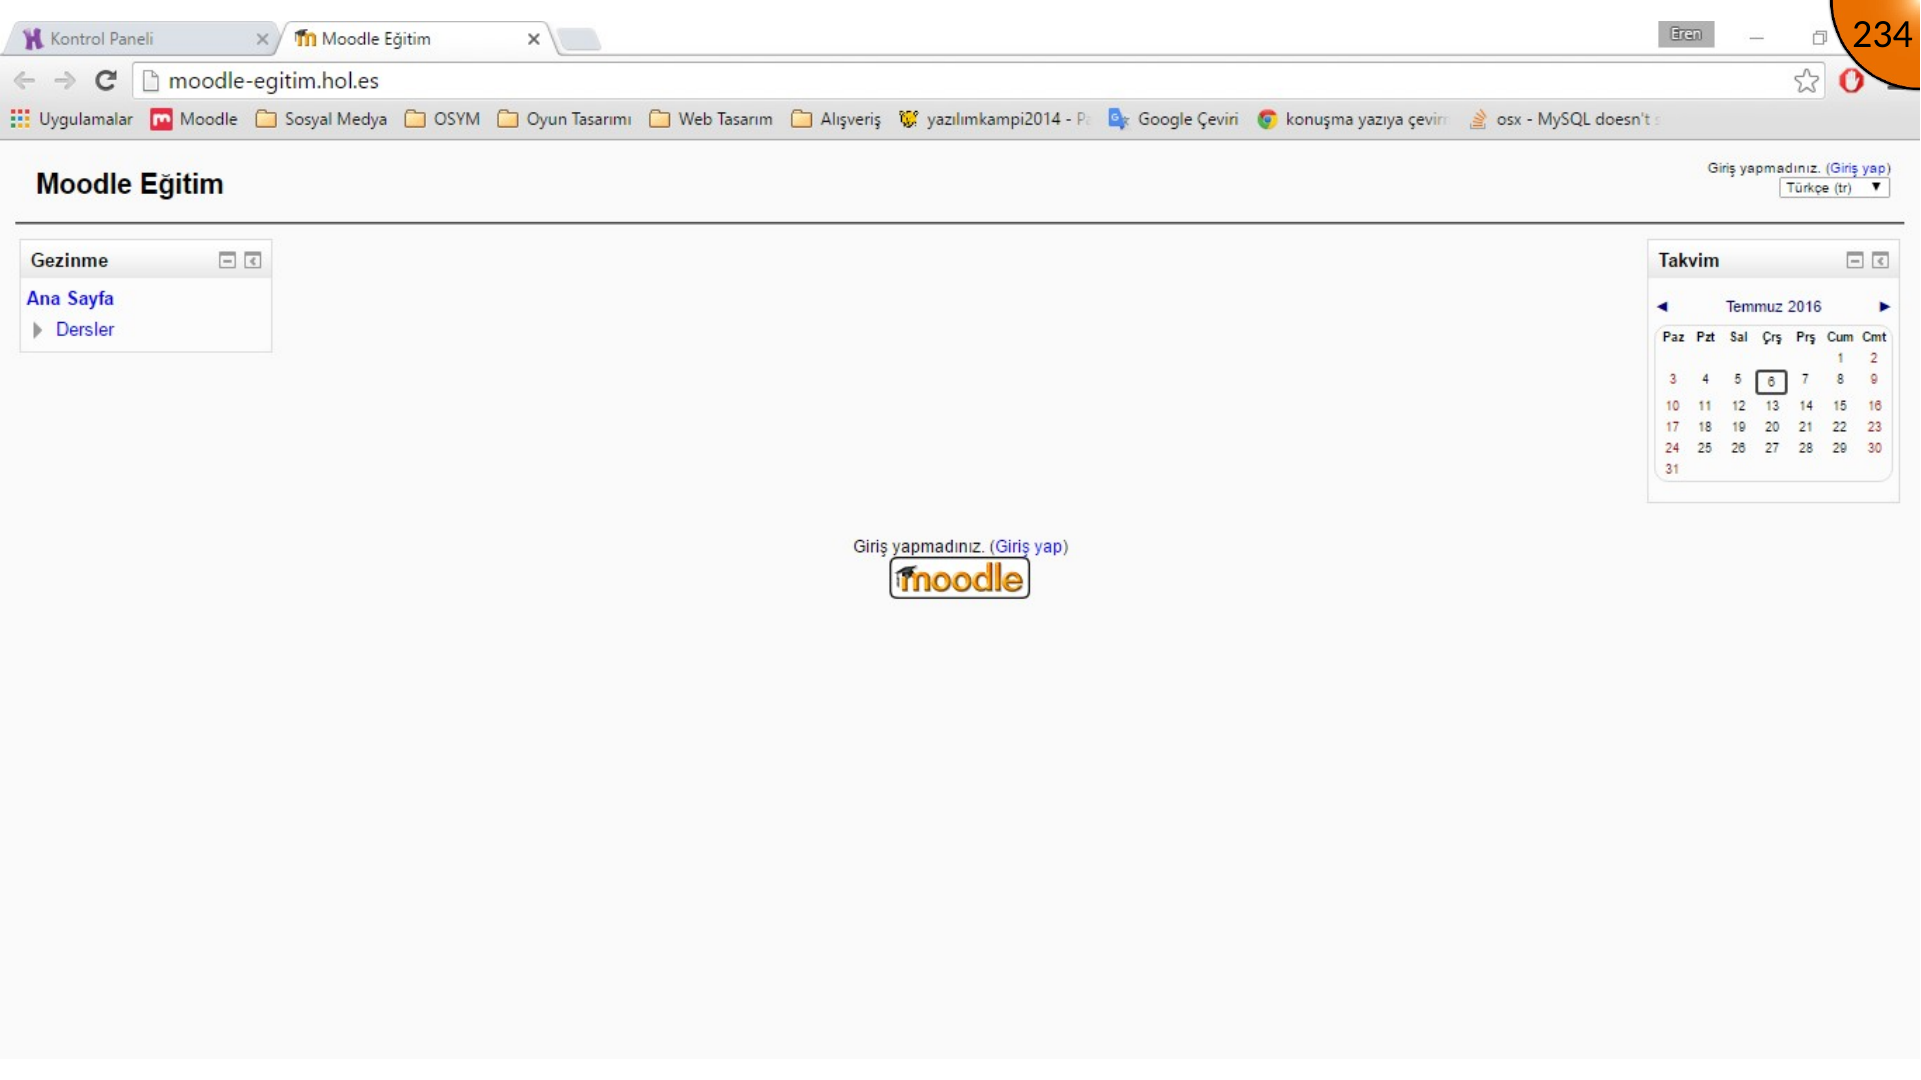
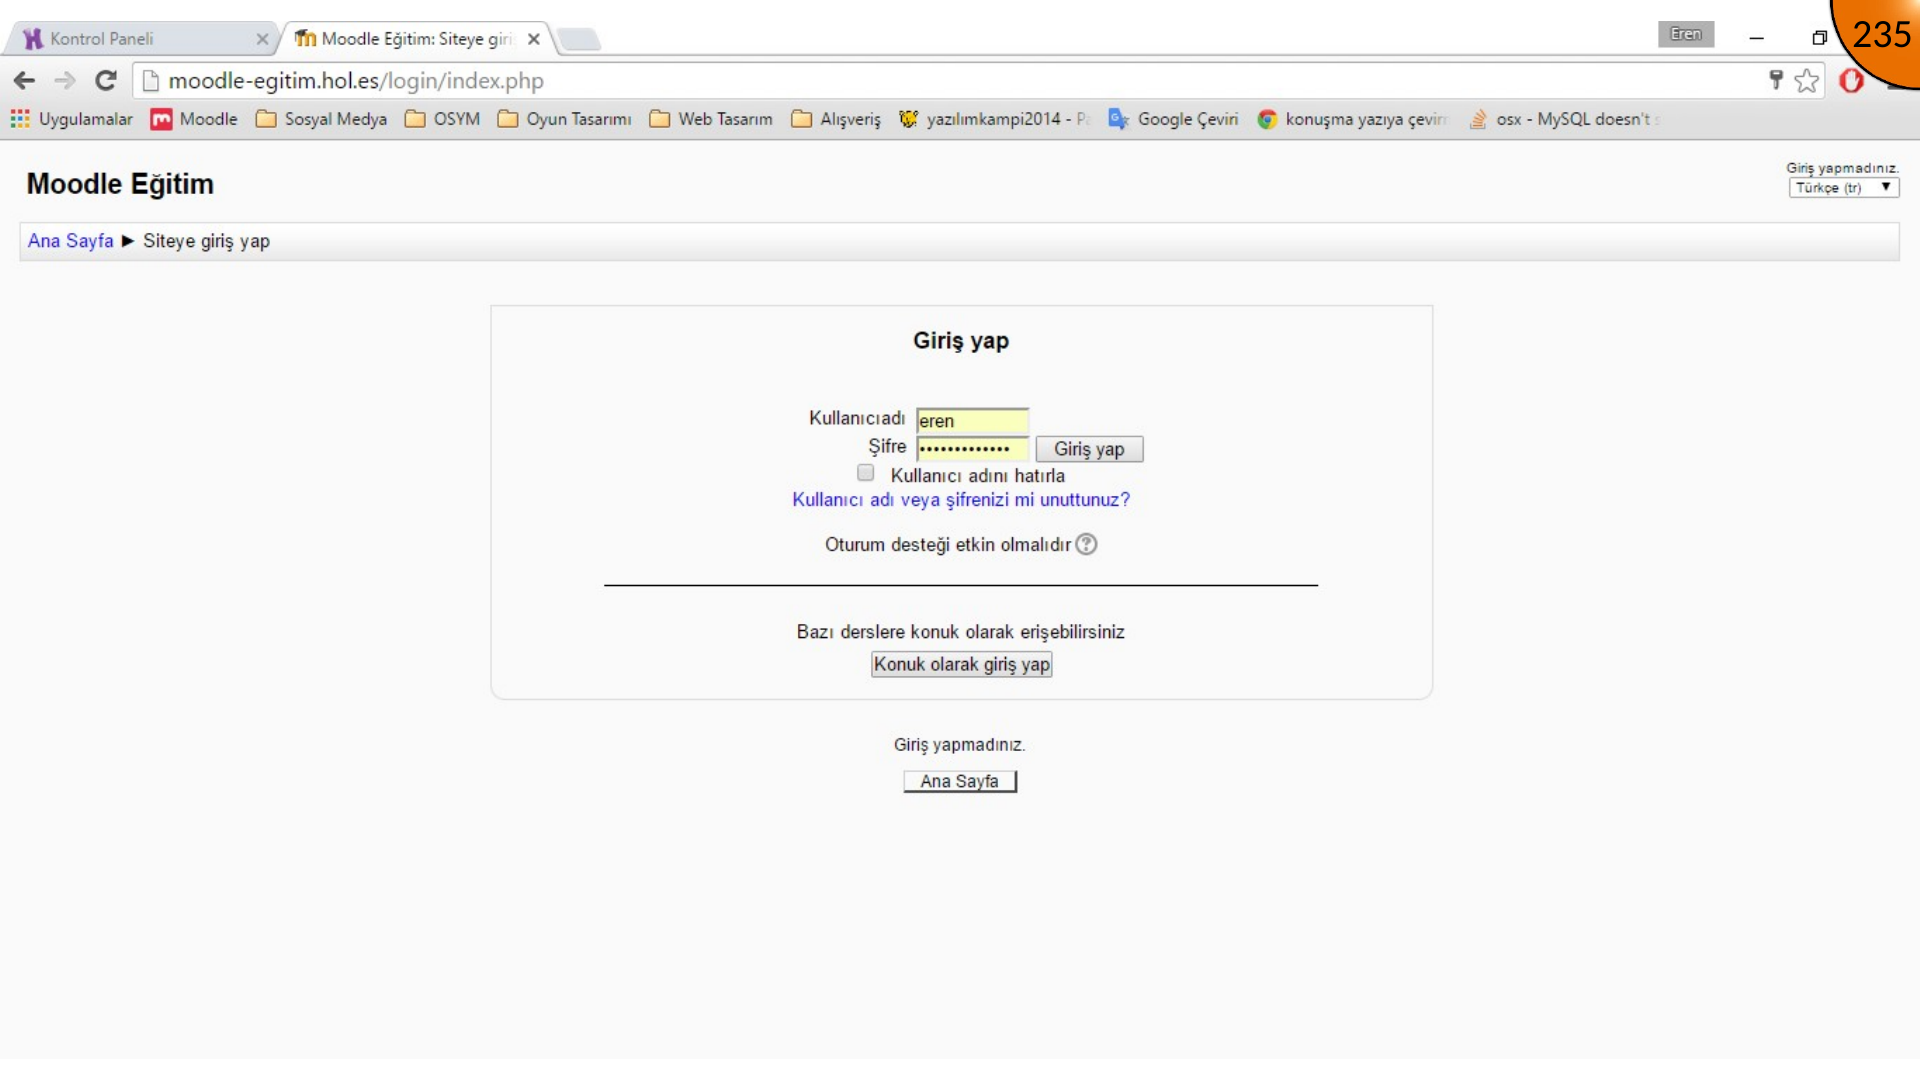
Sign in to the hosting service and then to Moodle with the site administrator account. Create or open the course that will contain the hosted material.
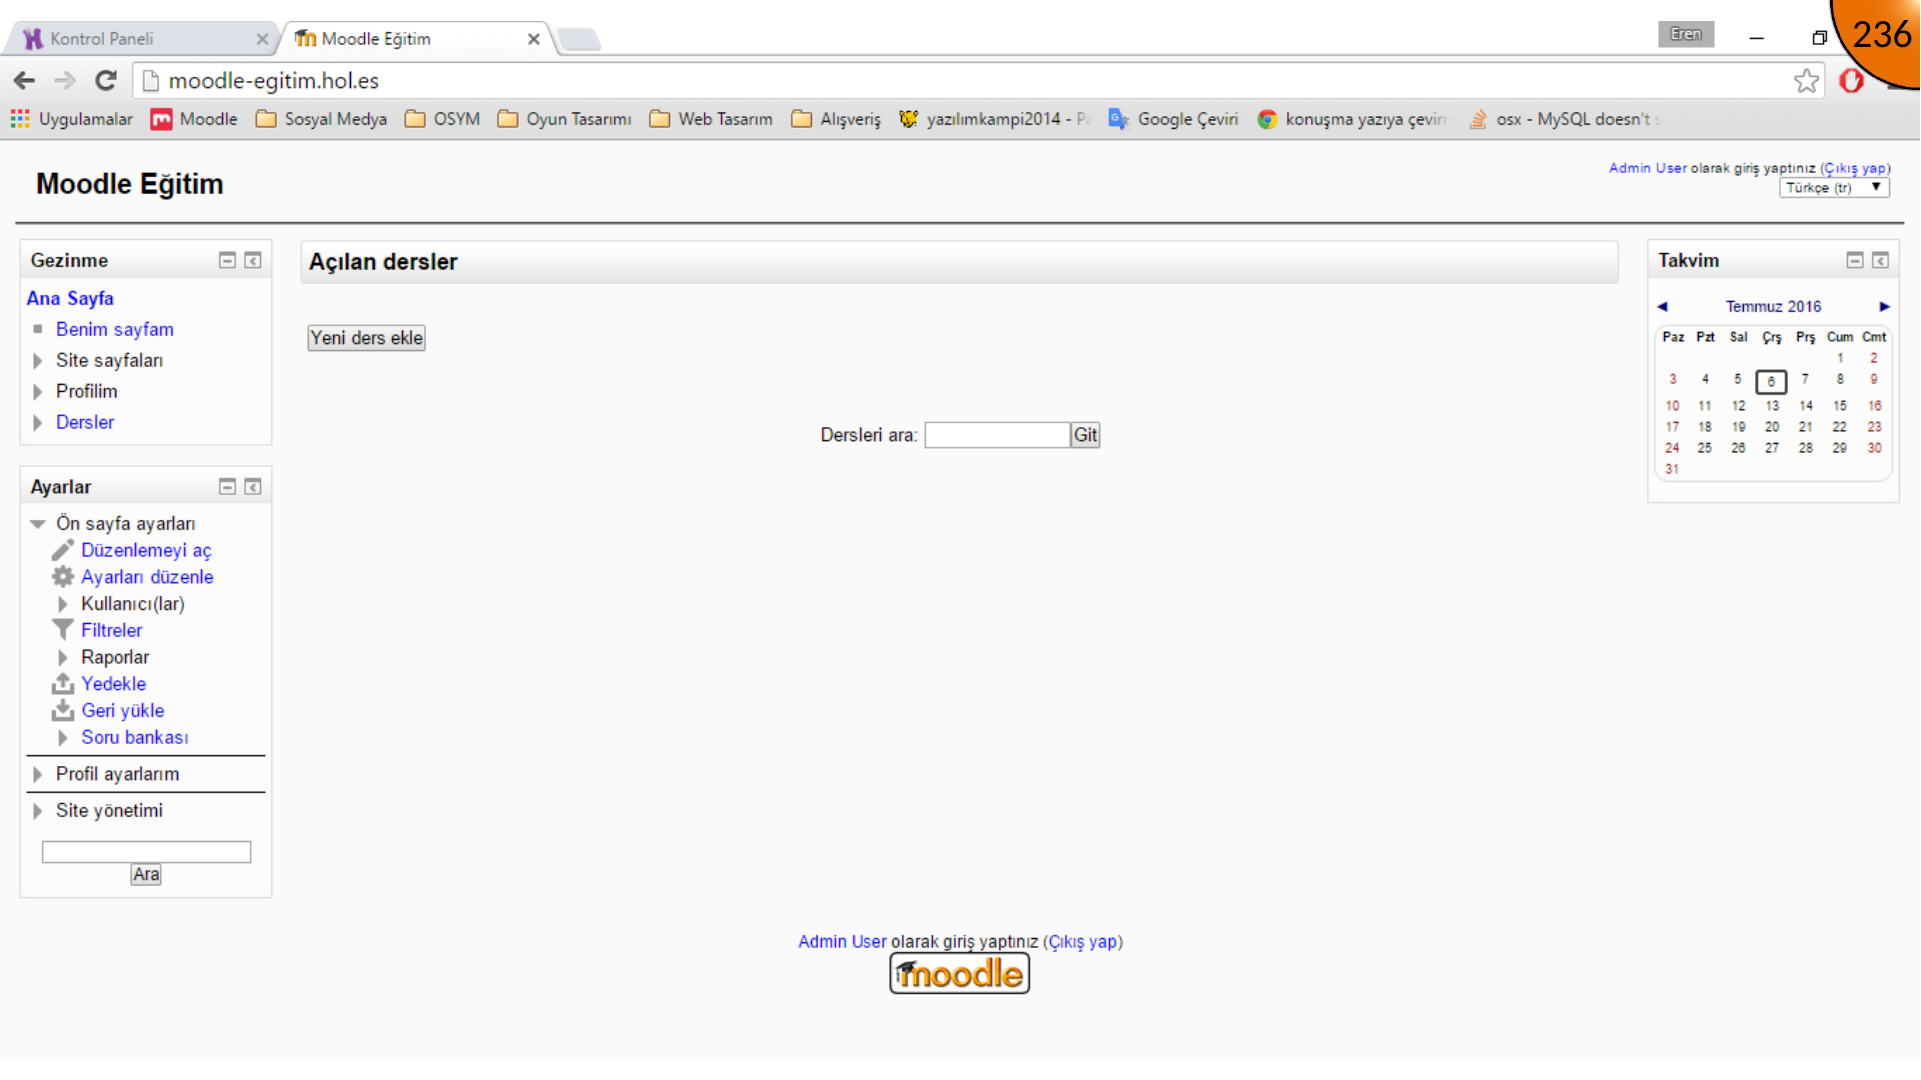
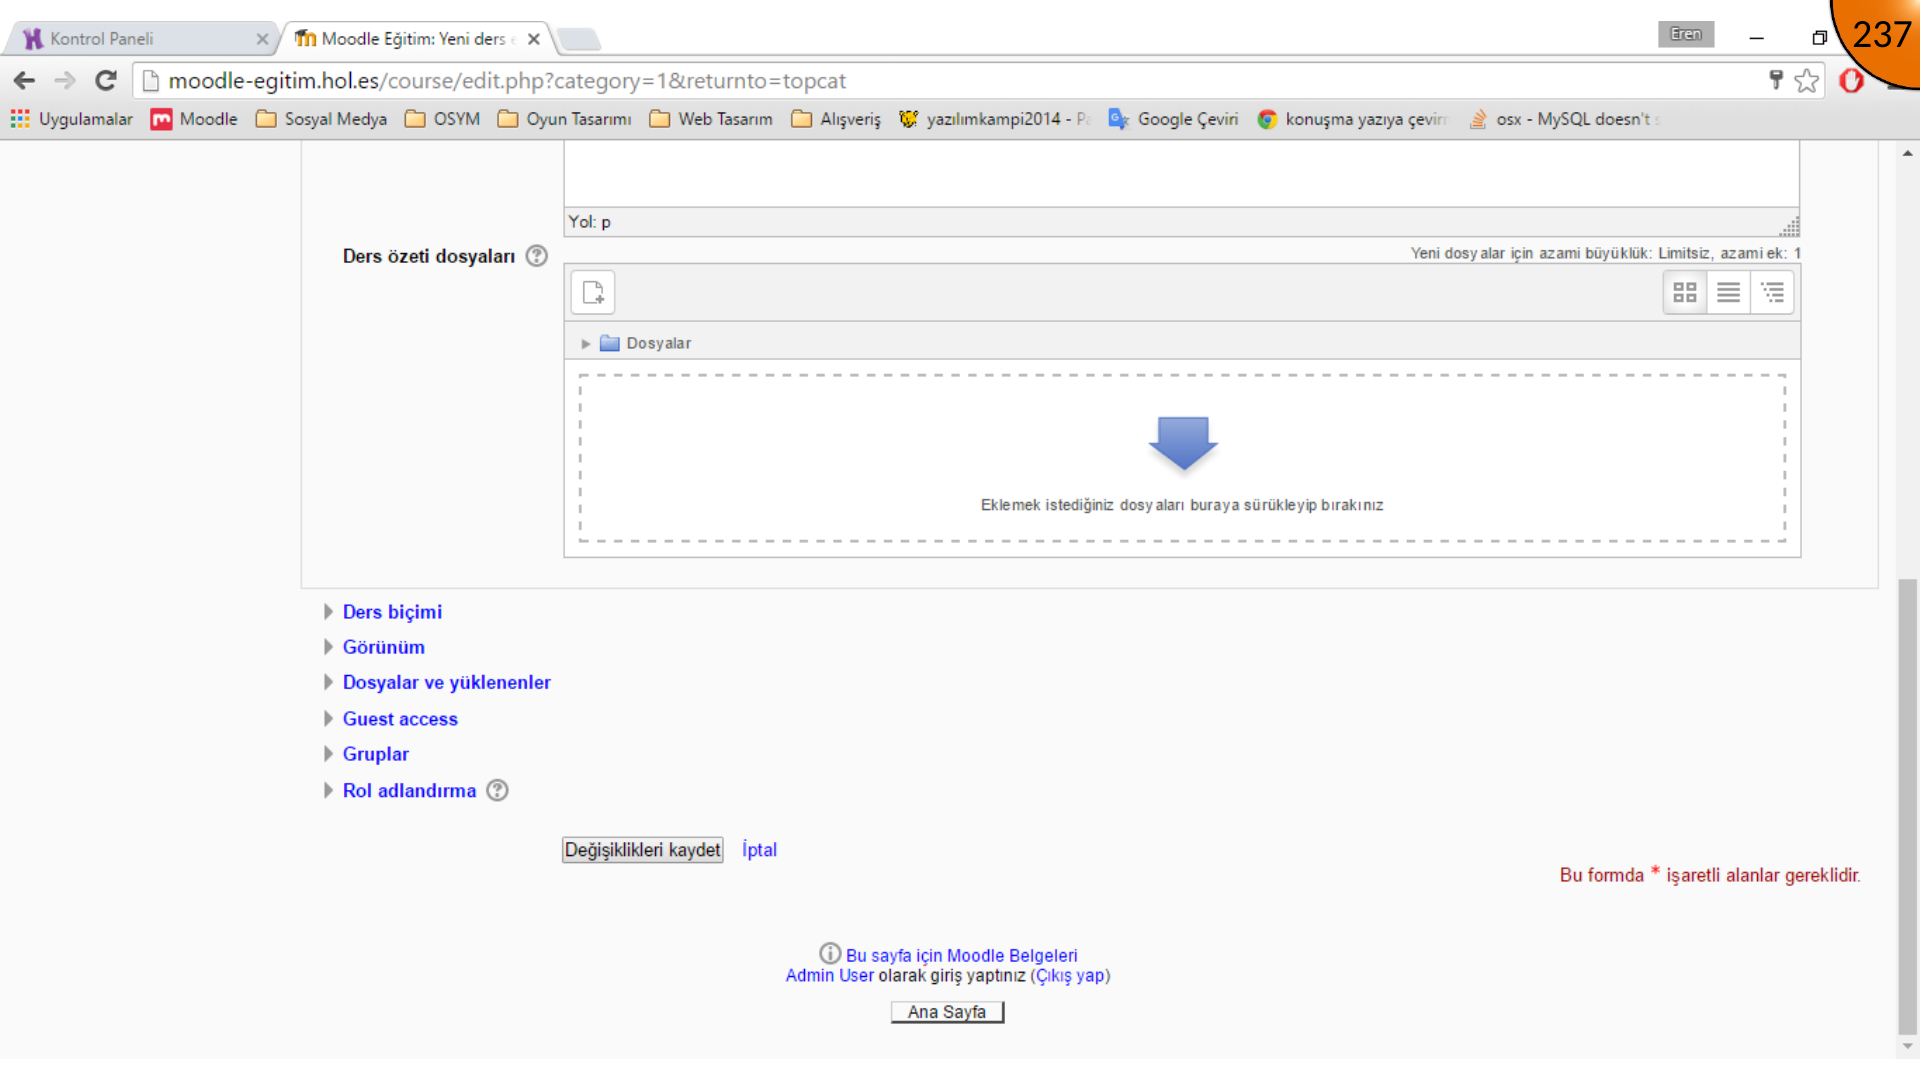
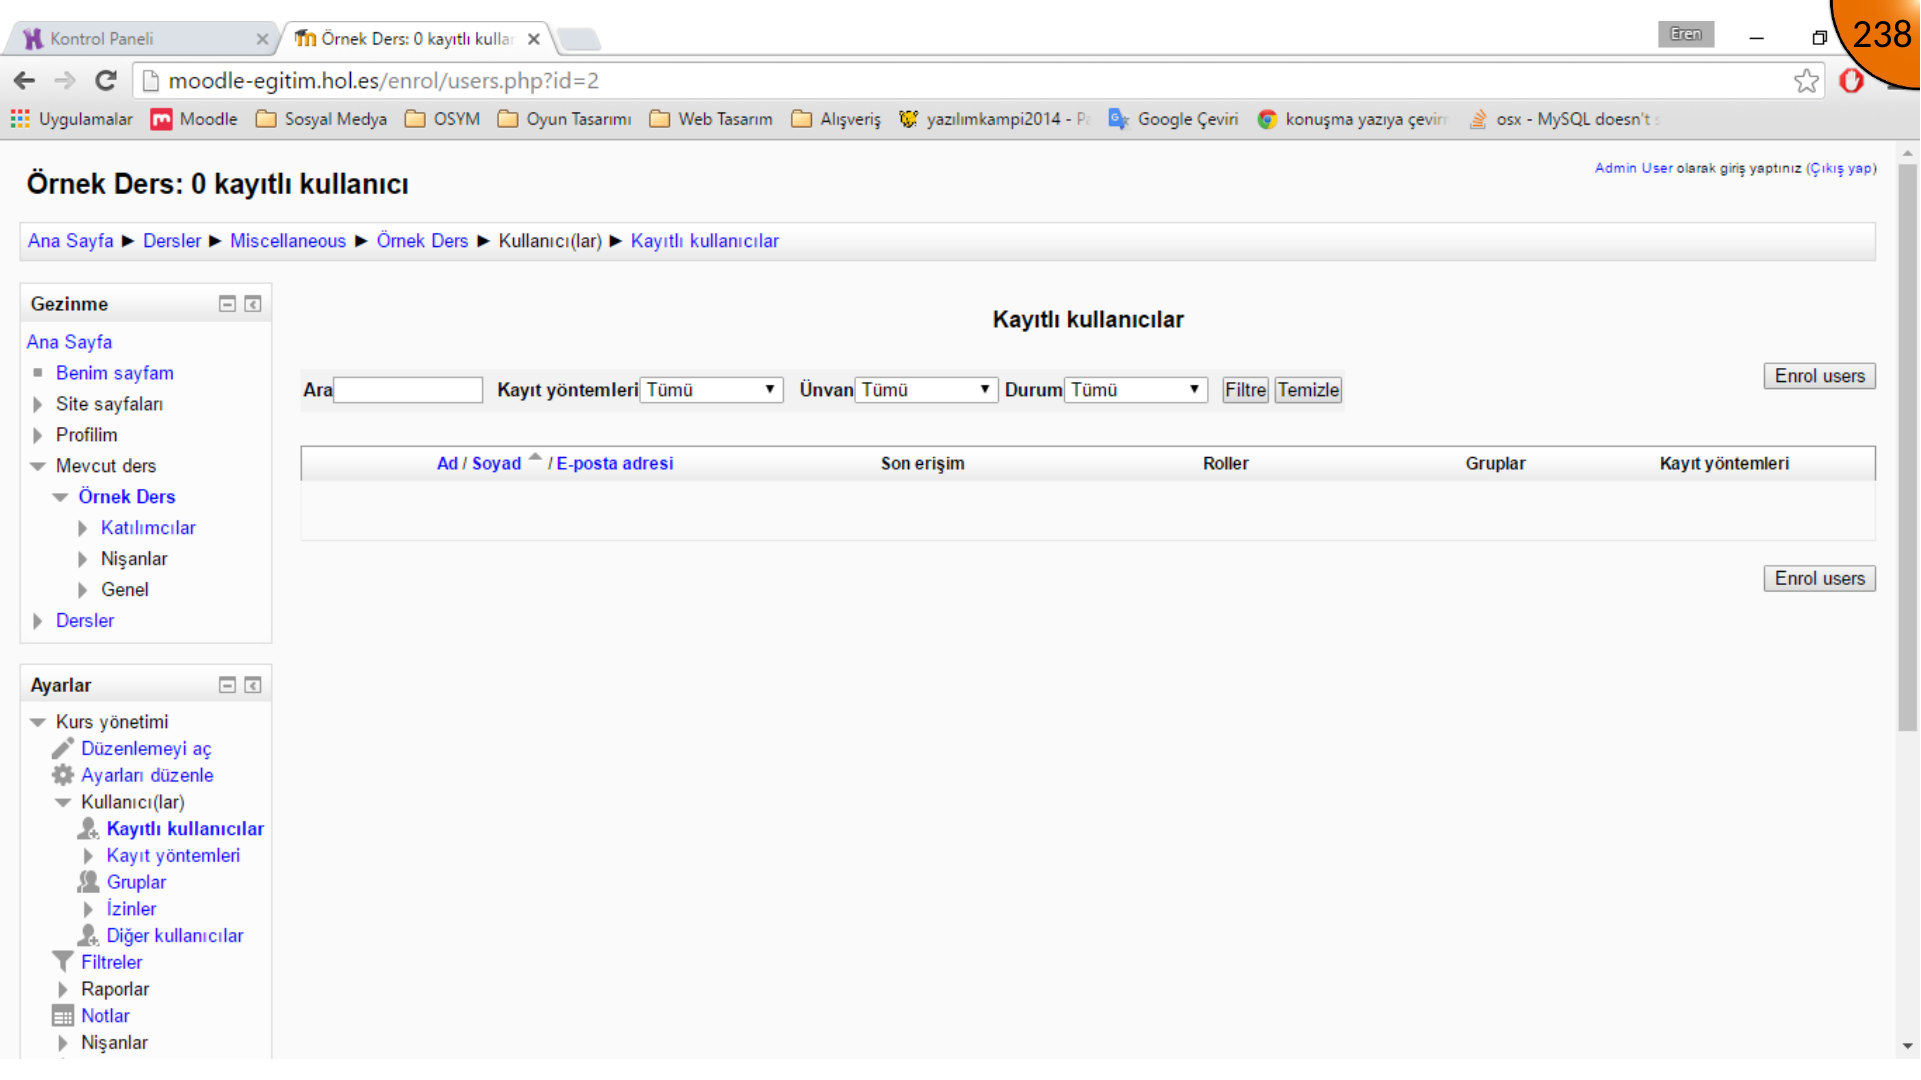
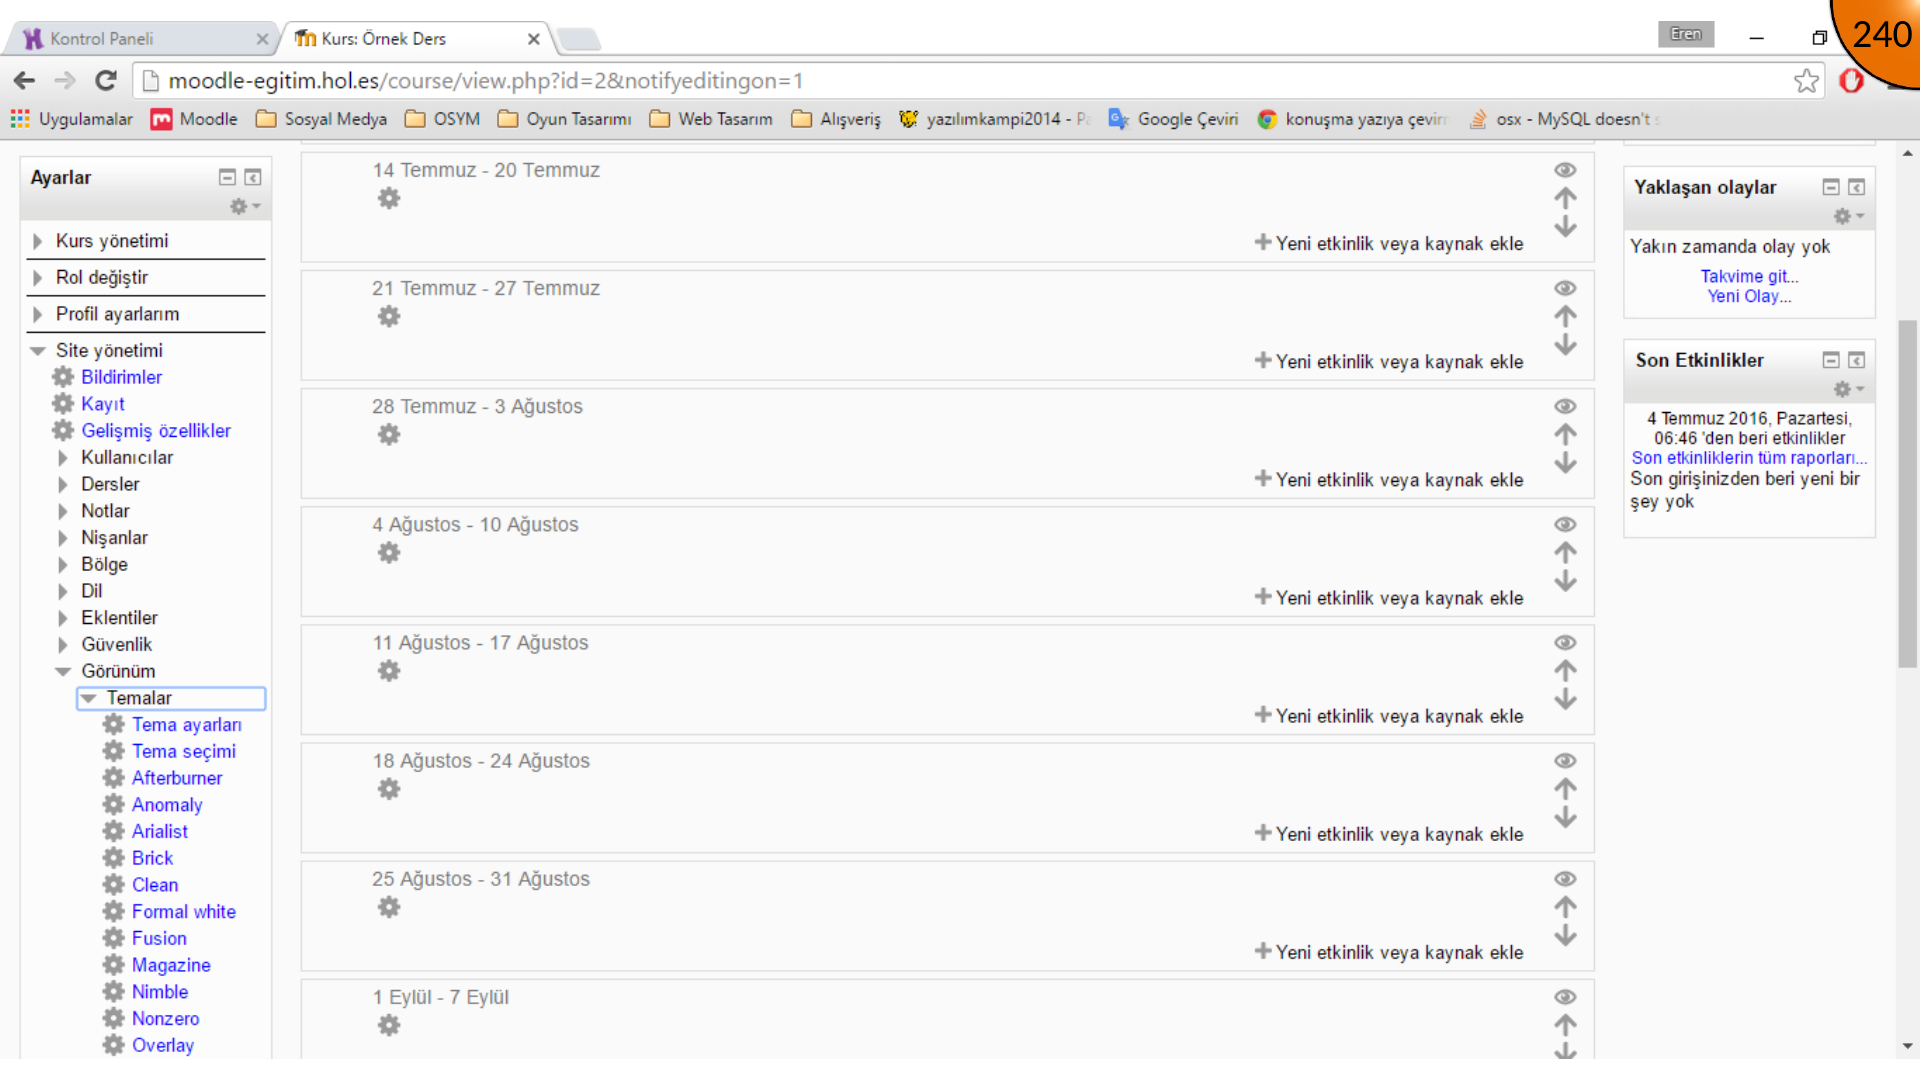
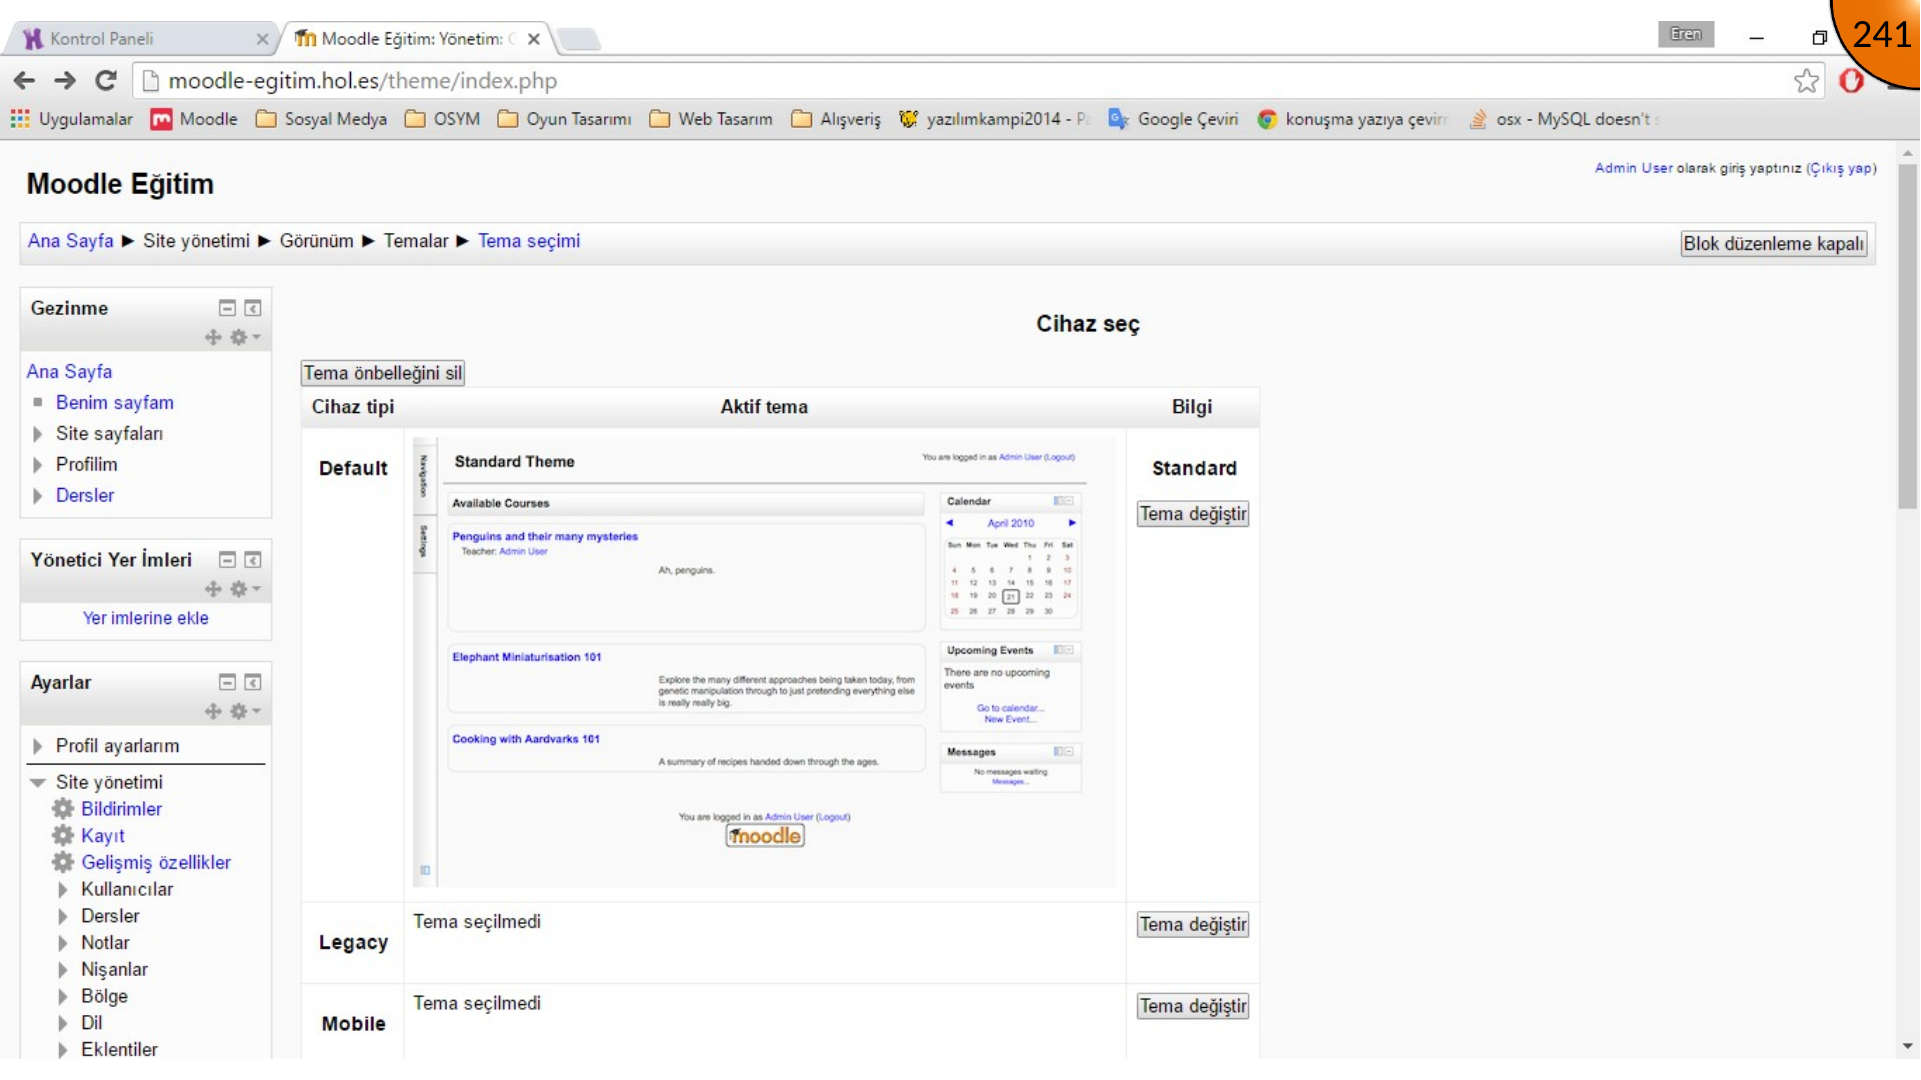
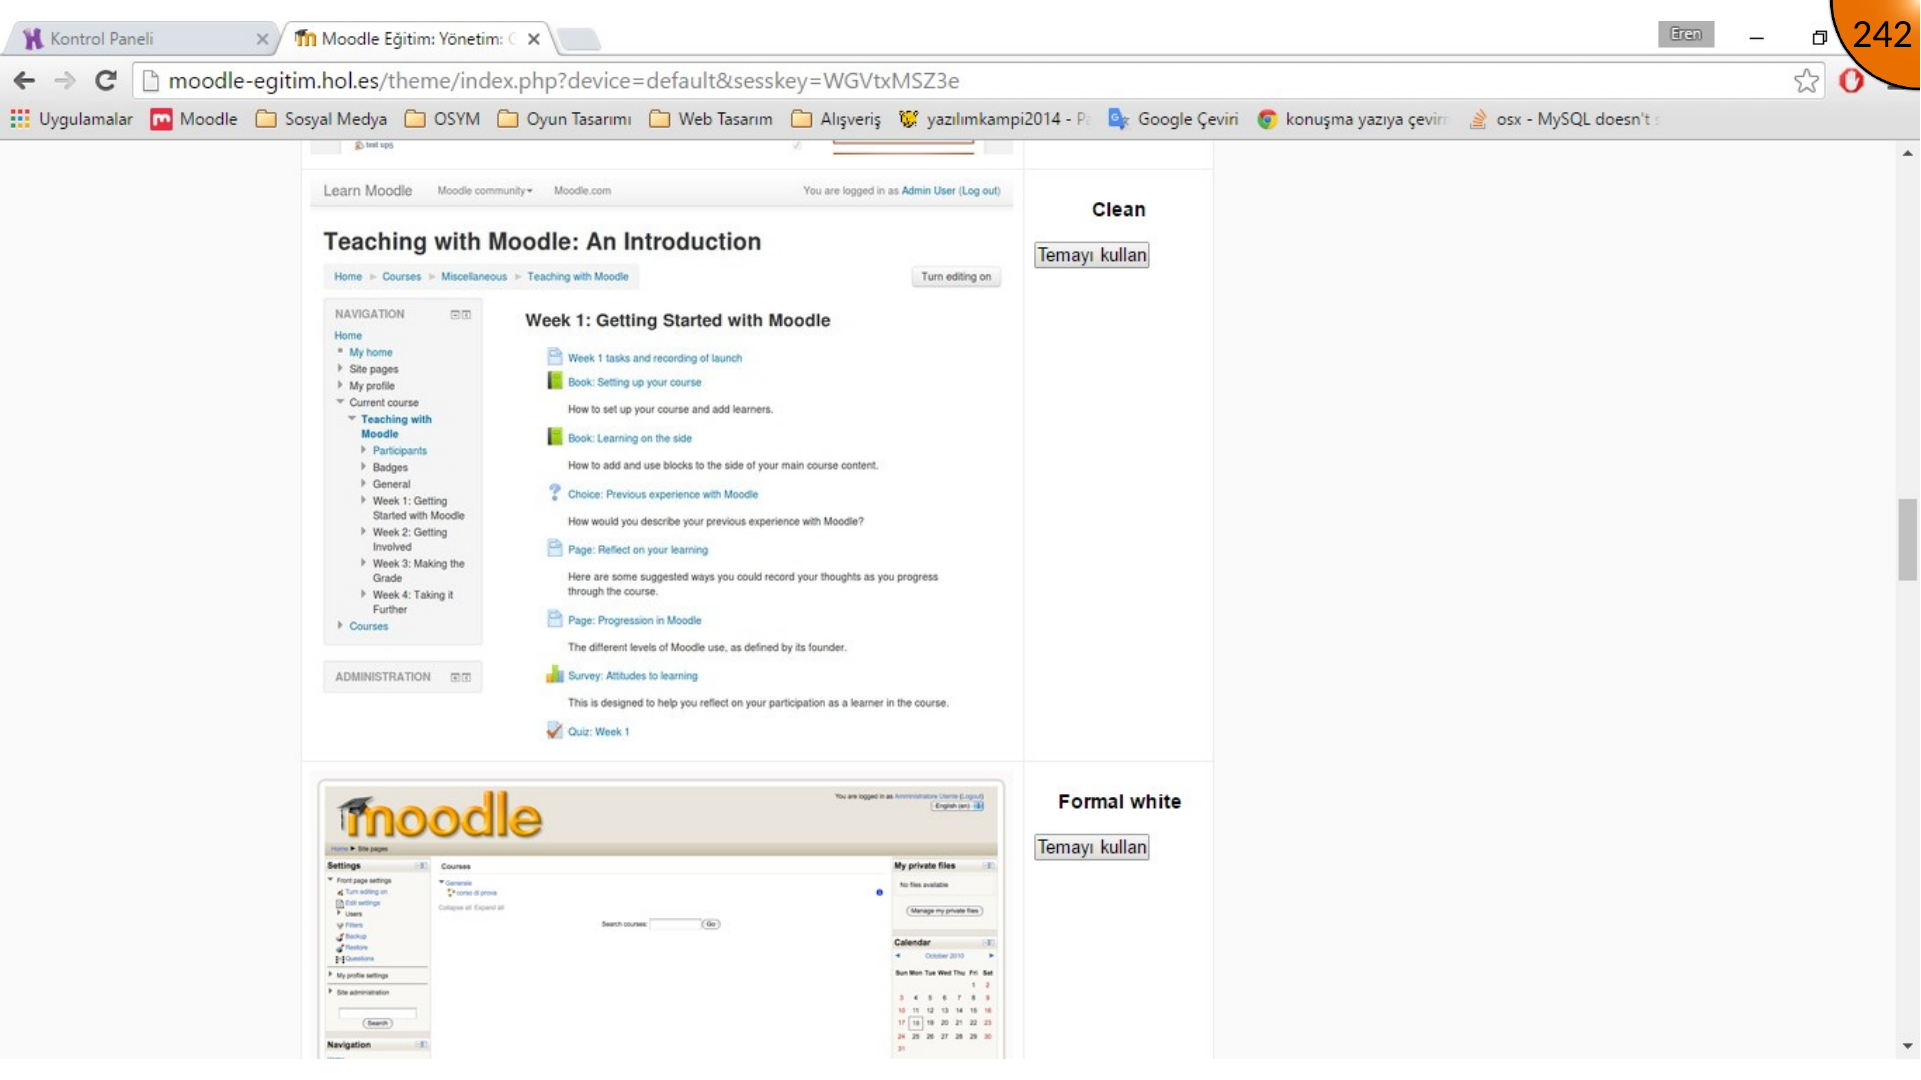
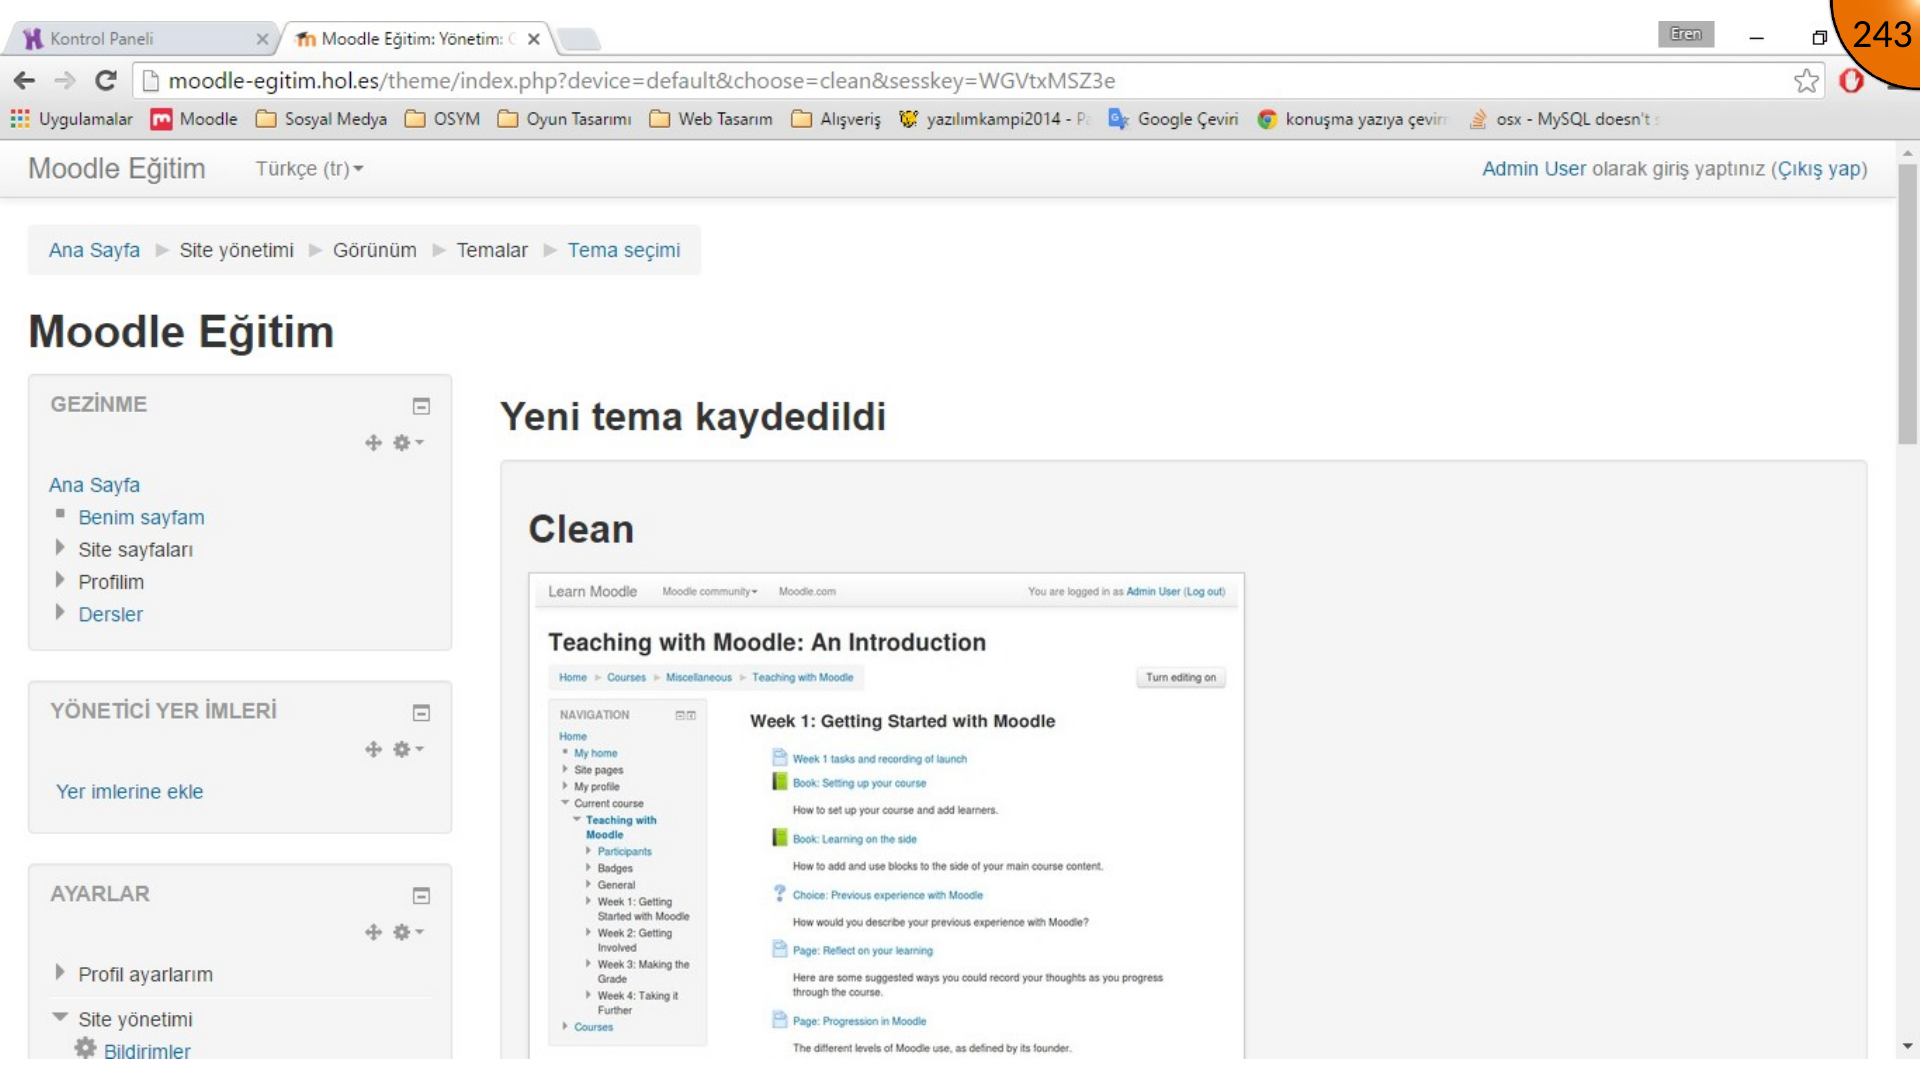
The original theme prevented the activity/resource chooser from opening. Follow the site administration appearance and theme-selection path, choose the Clean theme shown in the source, then return to the course and toggle editing once.
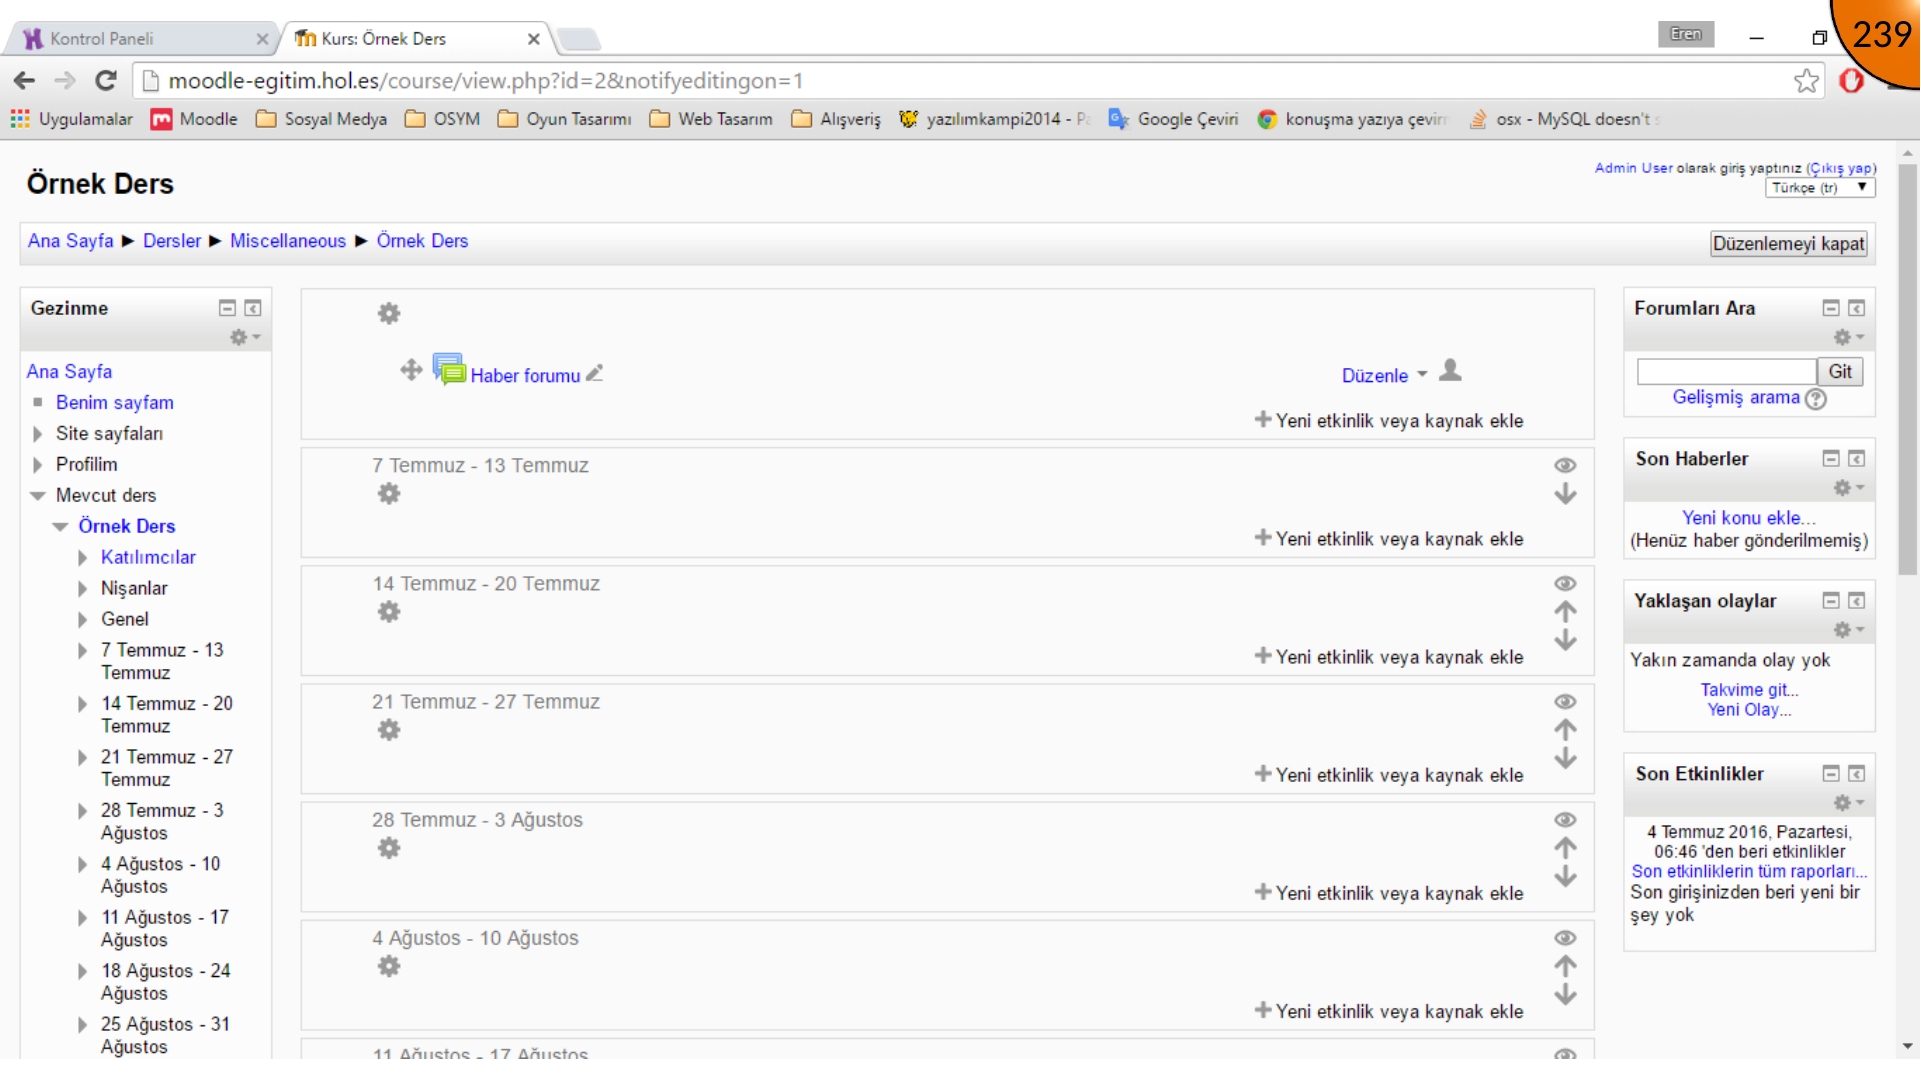
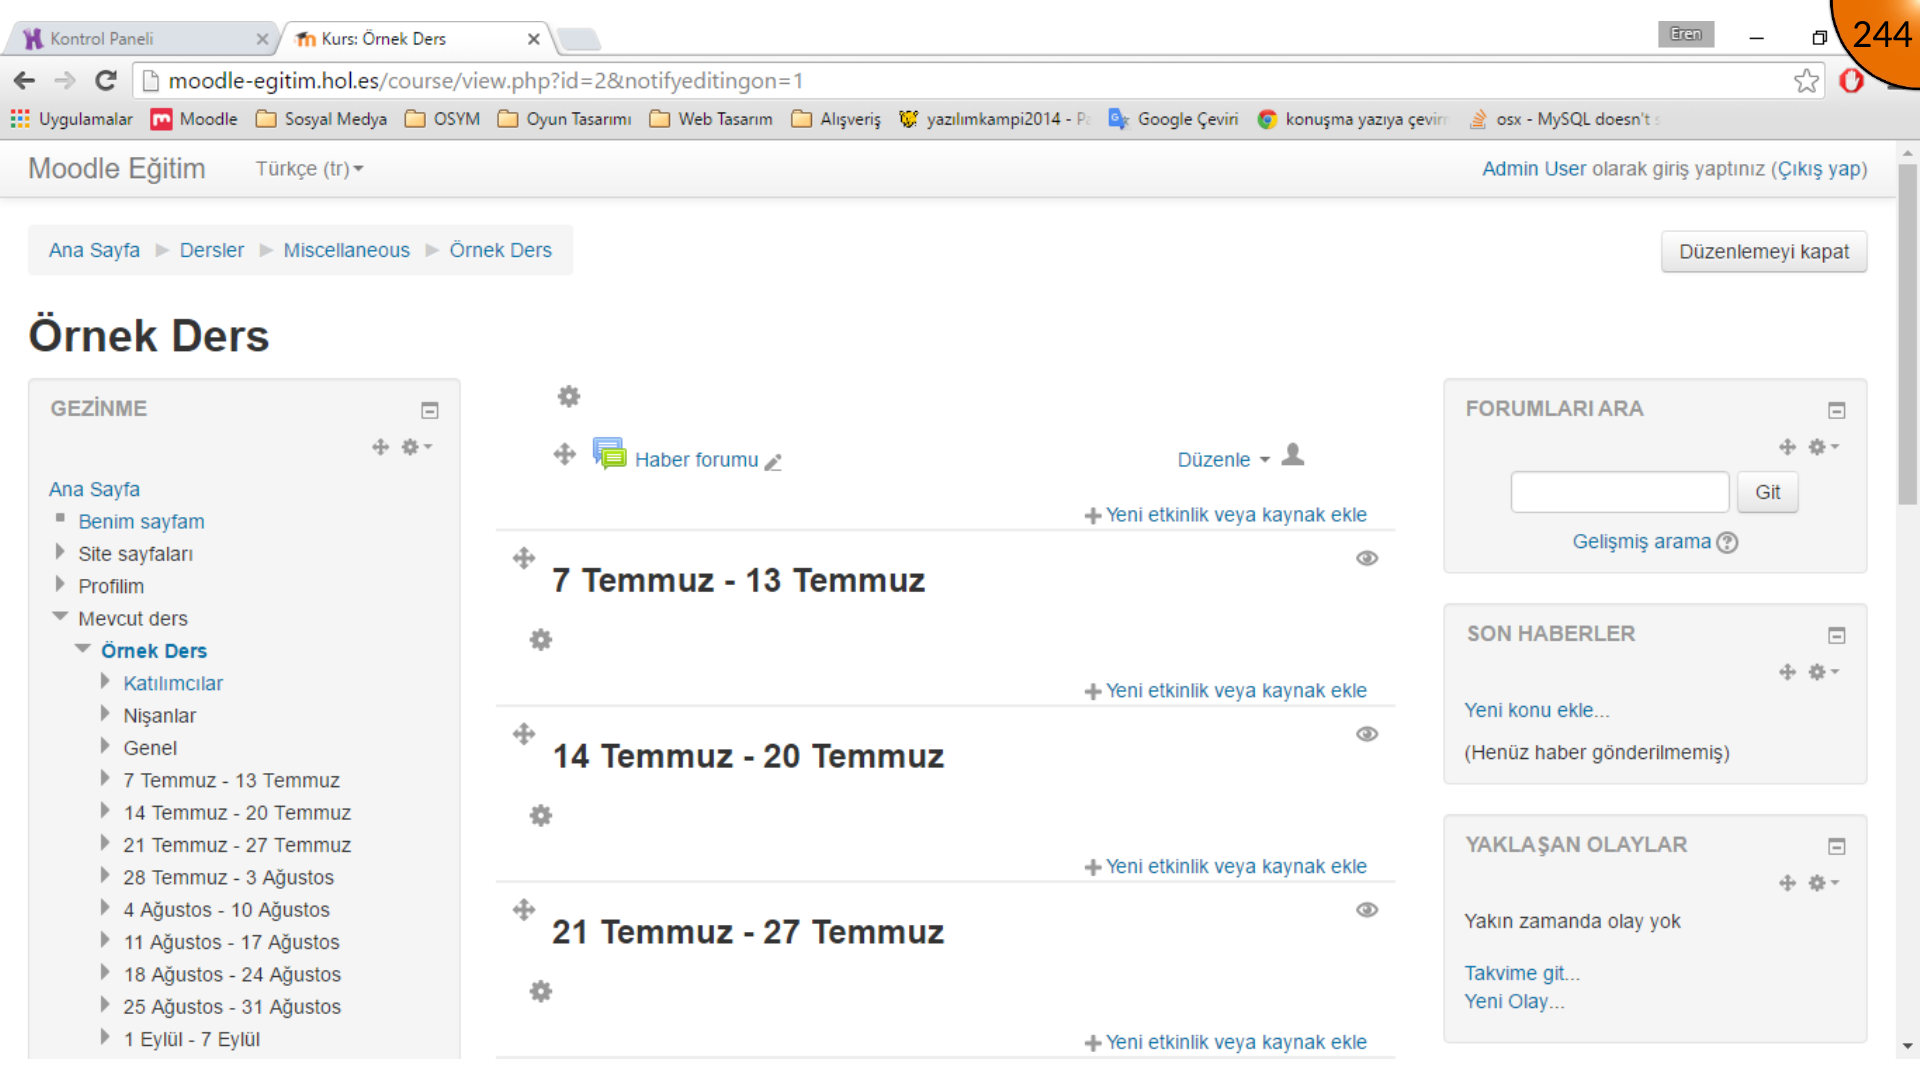
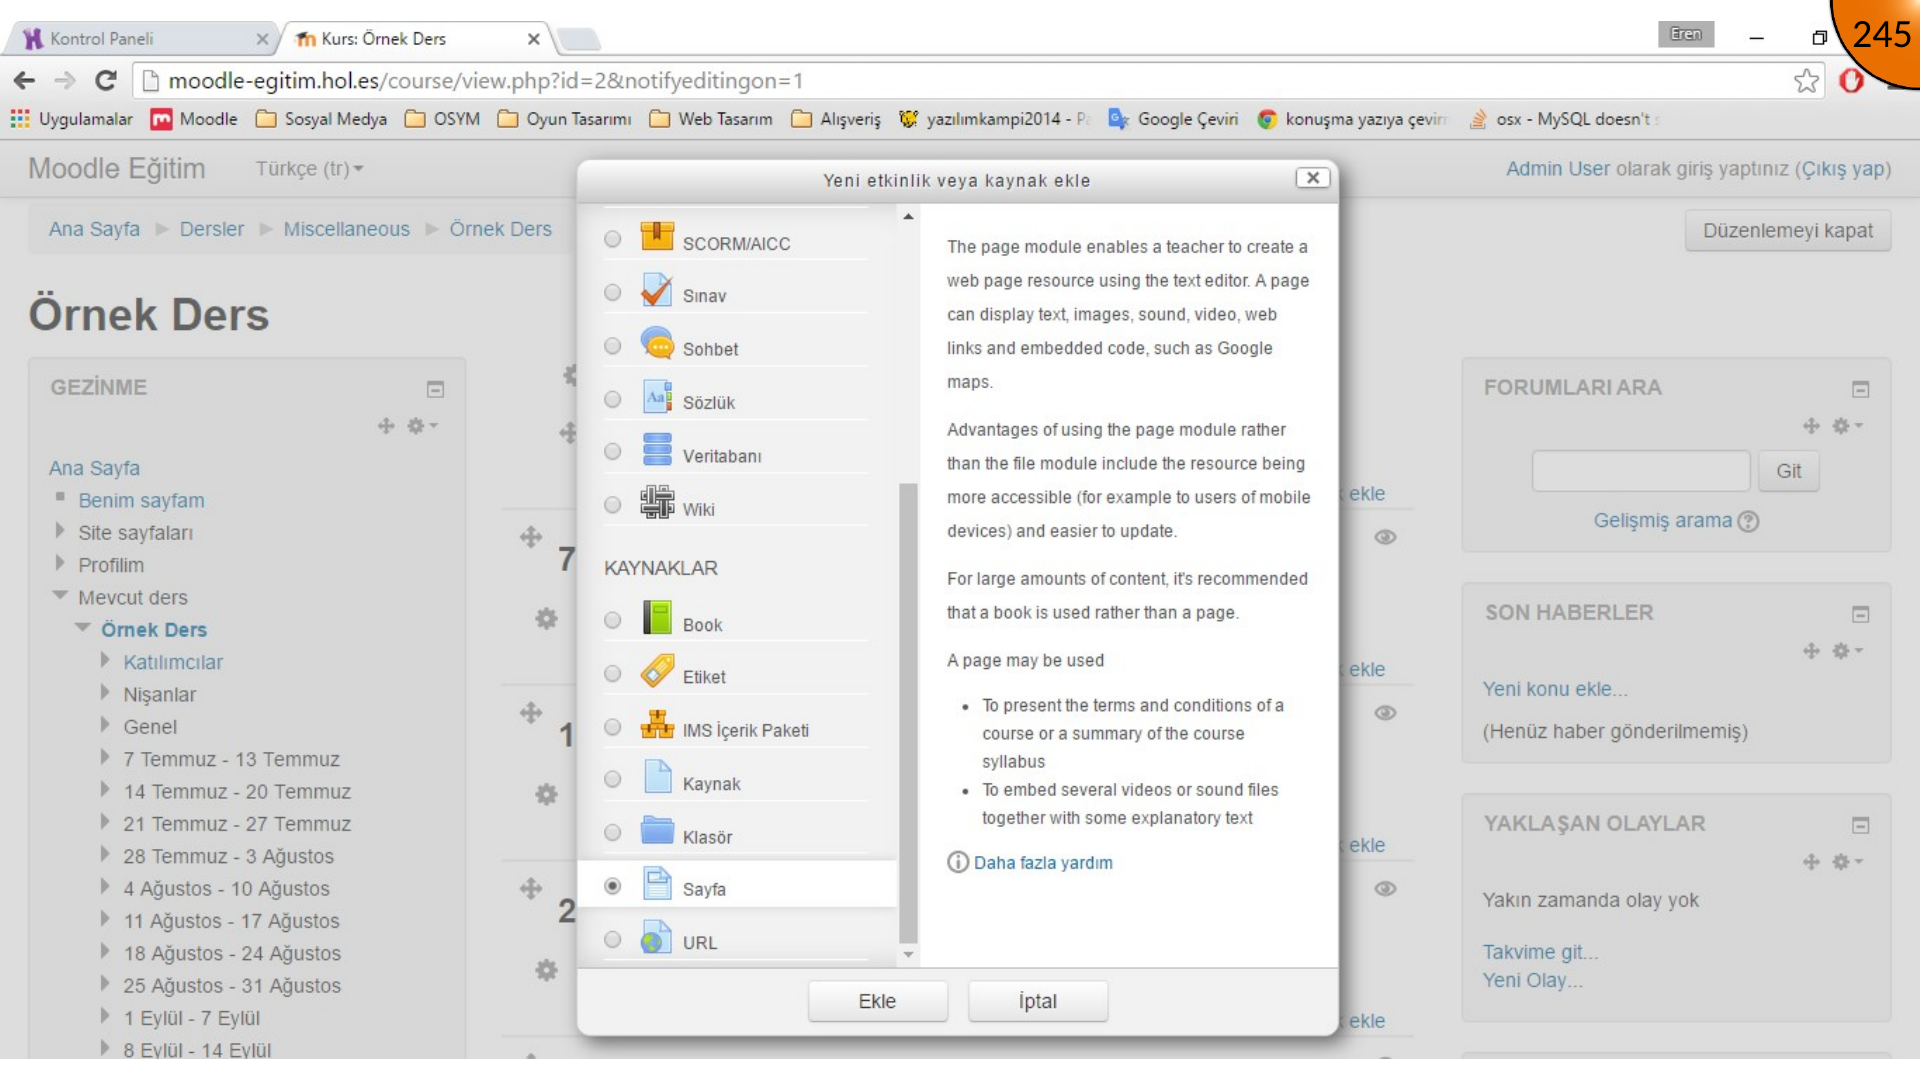
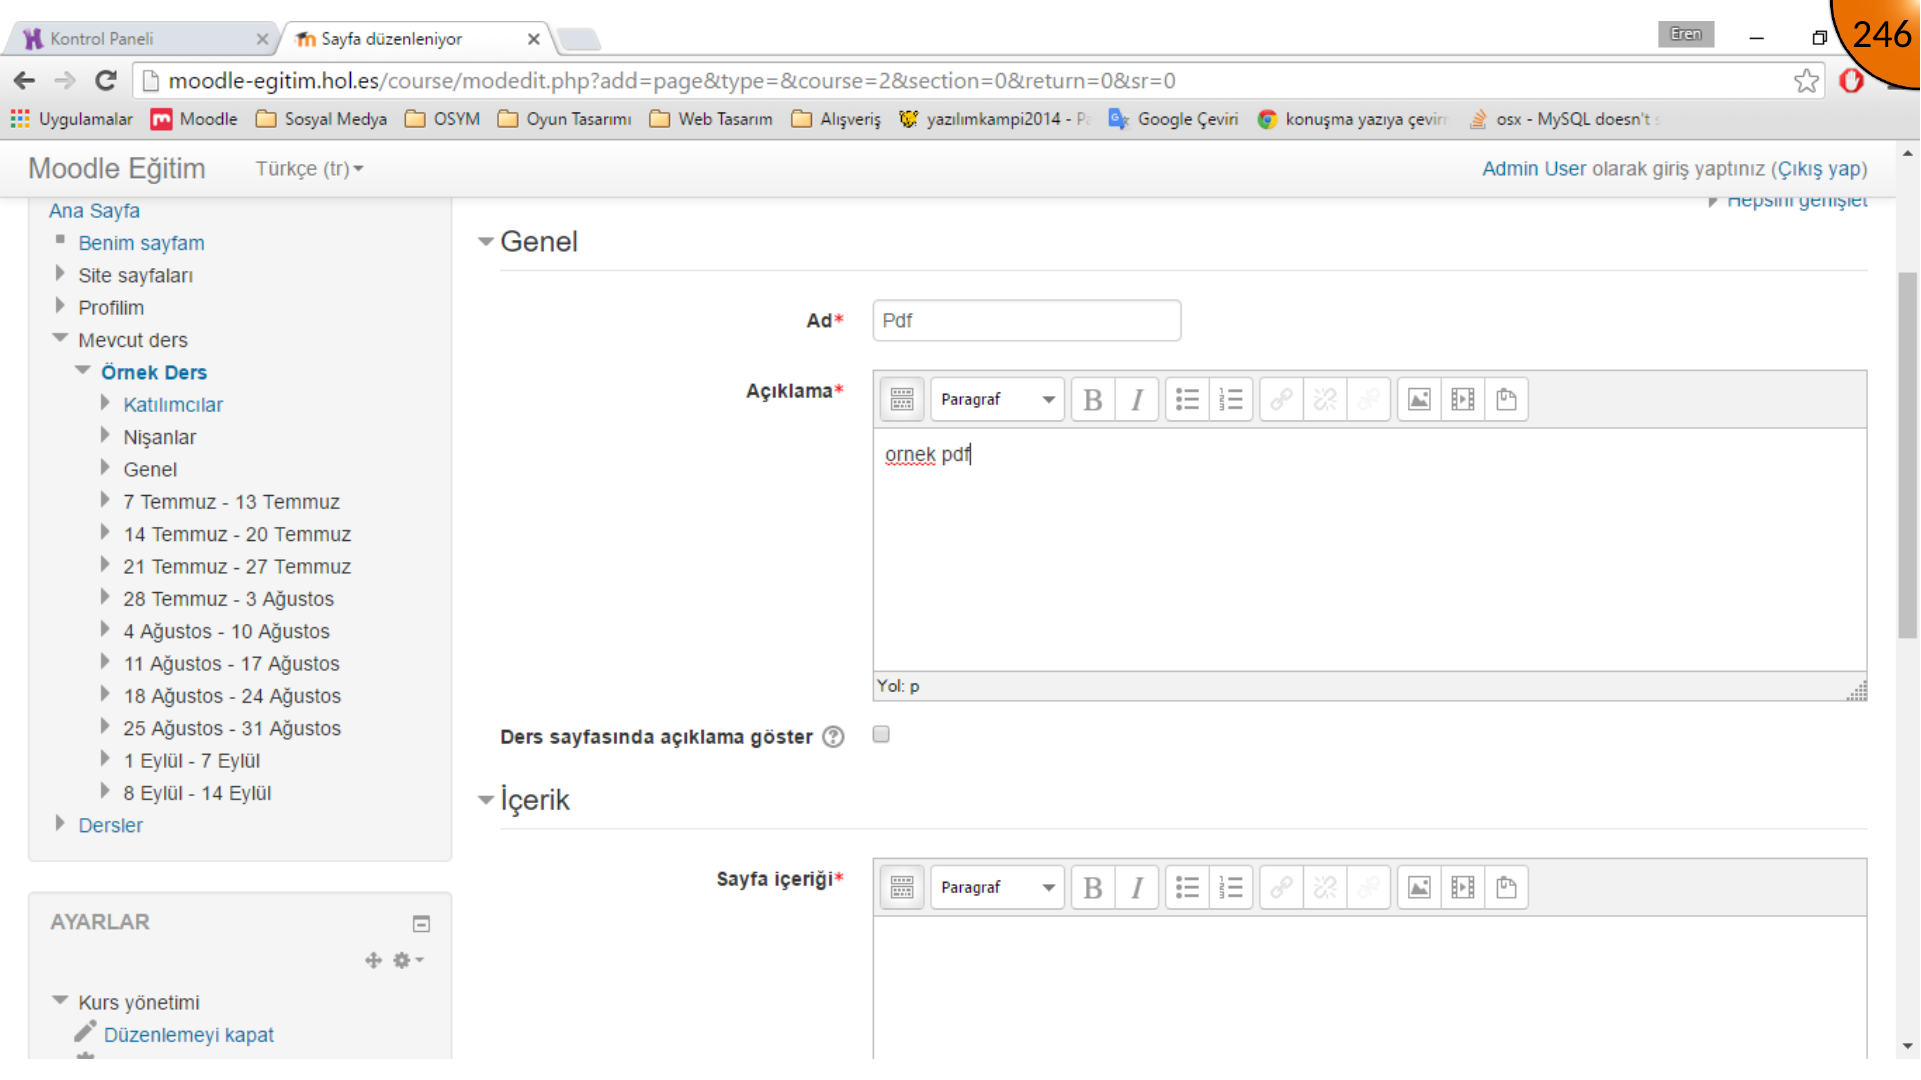
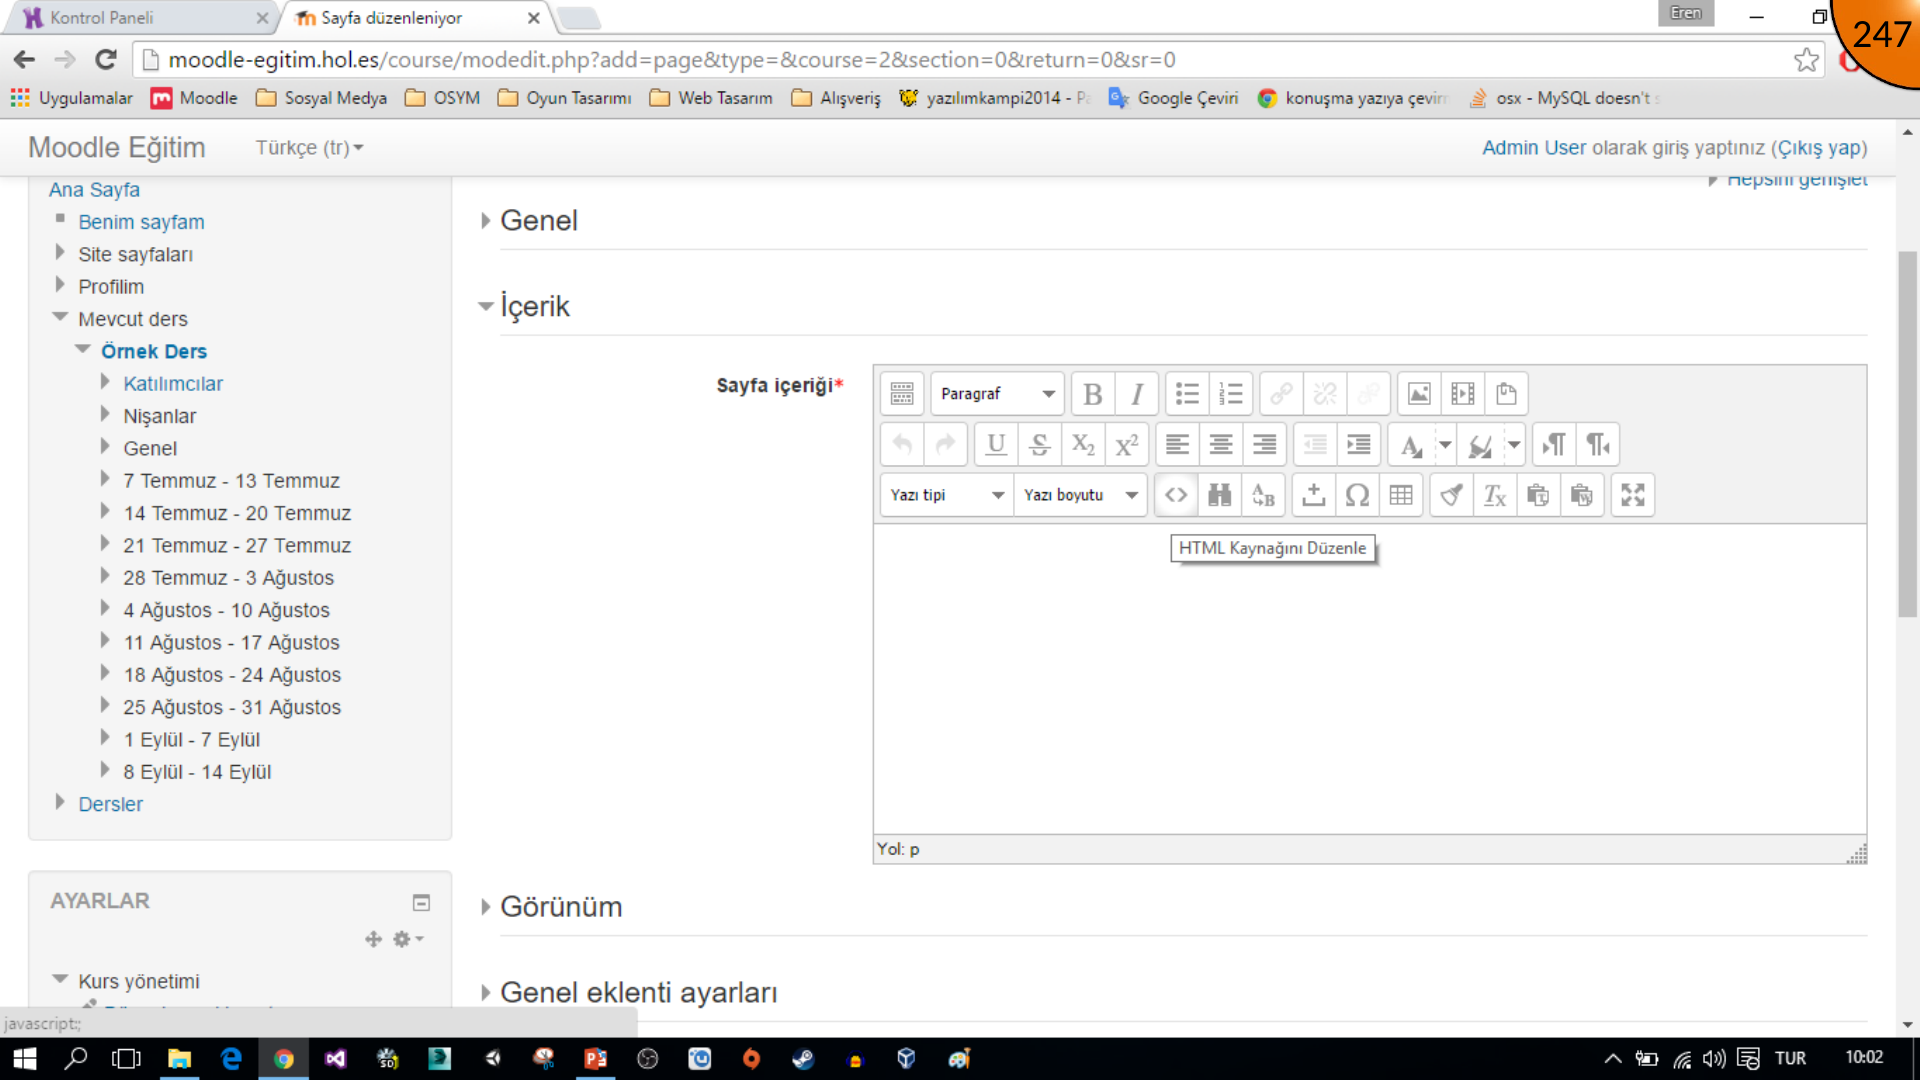
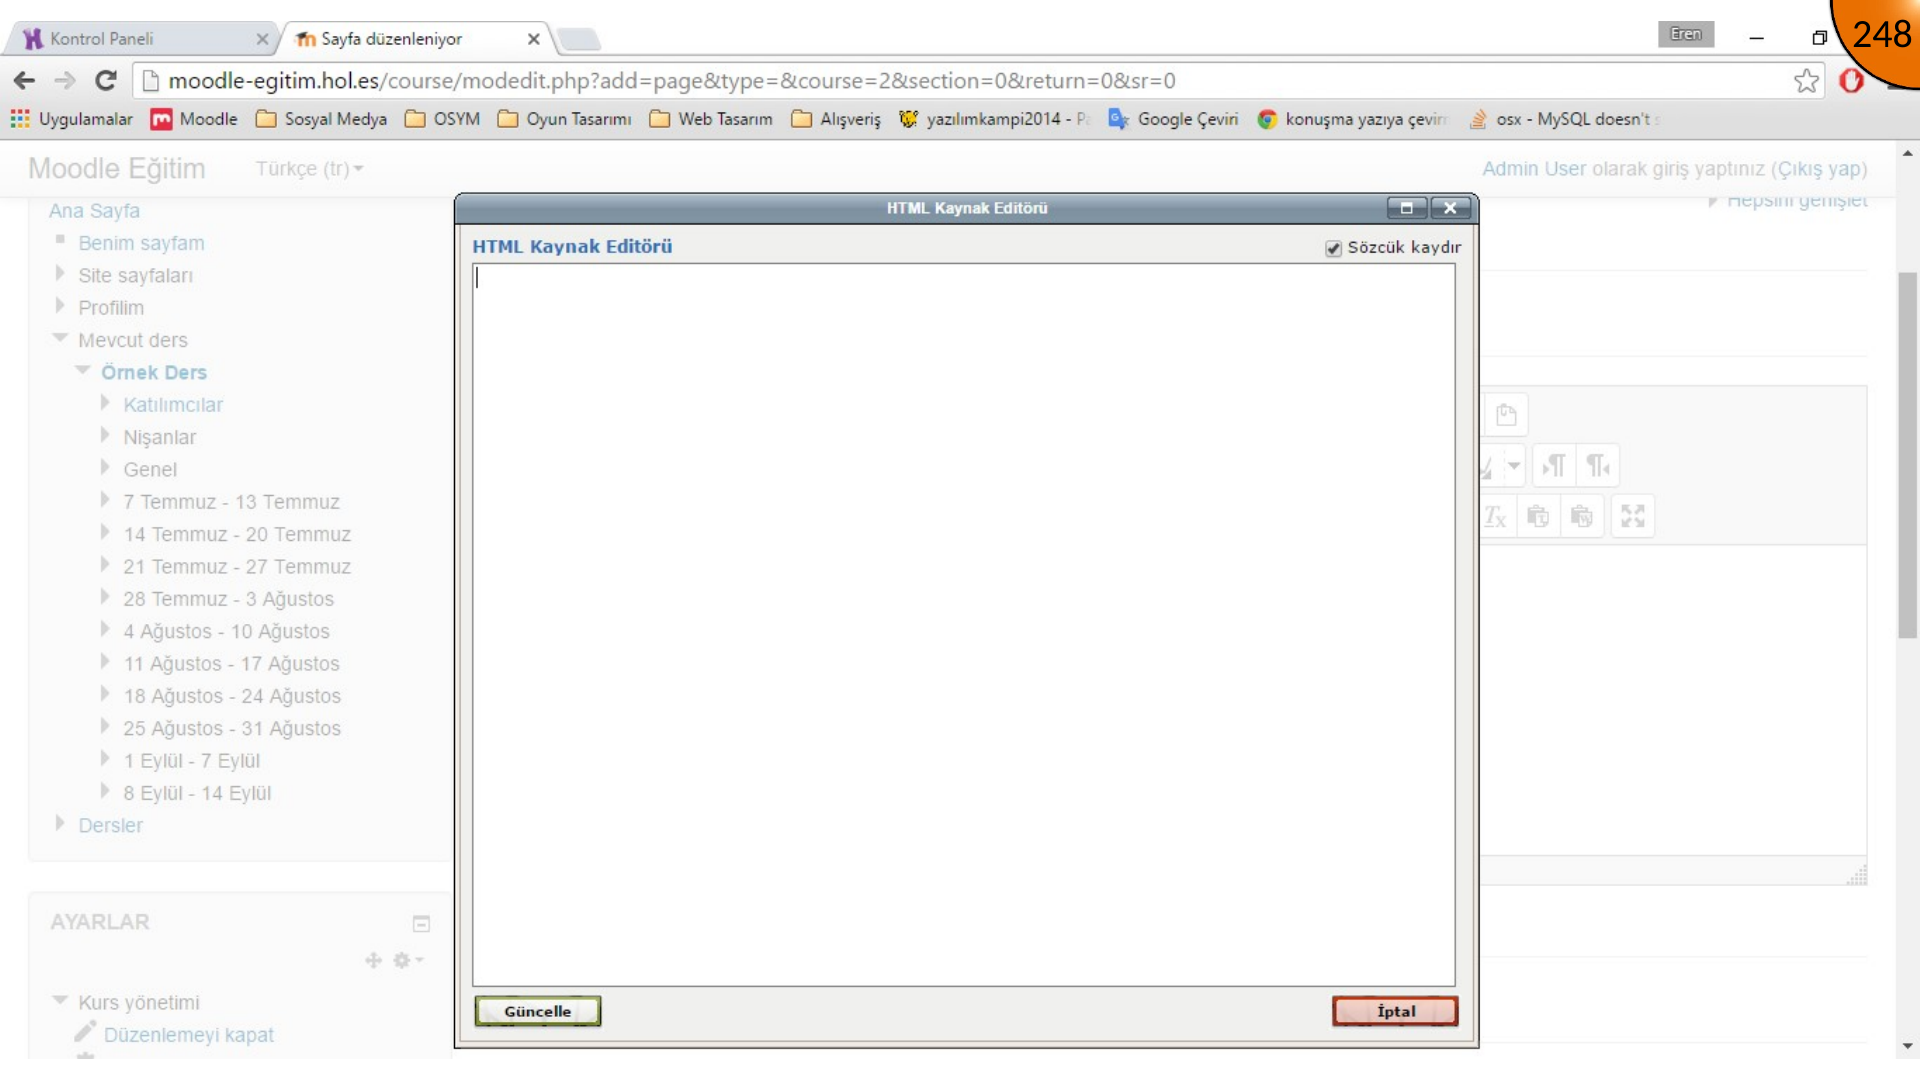
Create a Page resource, complete its name and description, then open the content editor’s toolbar toggle and HTML-source controls. The embed markup will be pasted into this HTML area after the files are uploaded.
Finding FTP Credentials
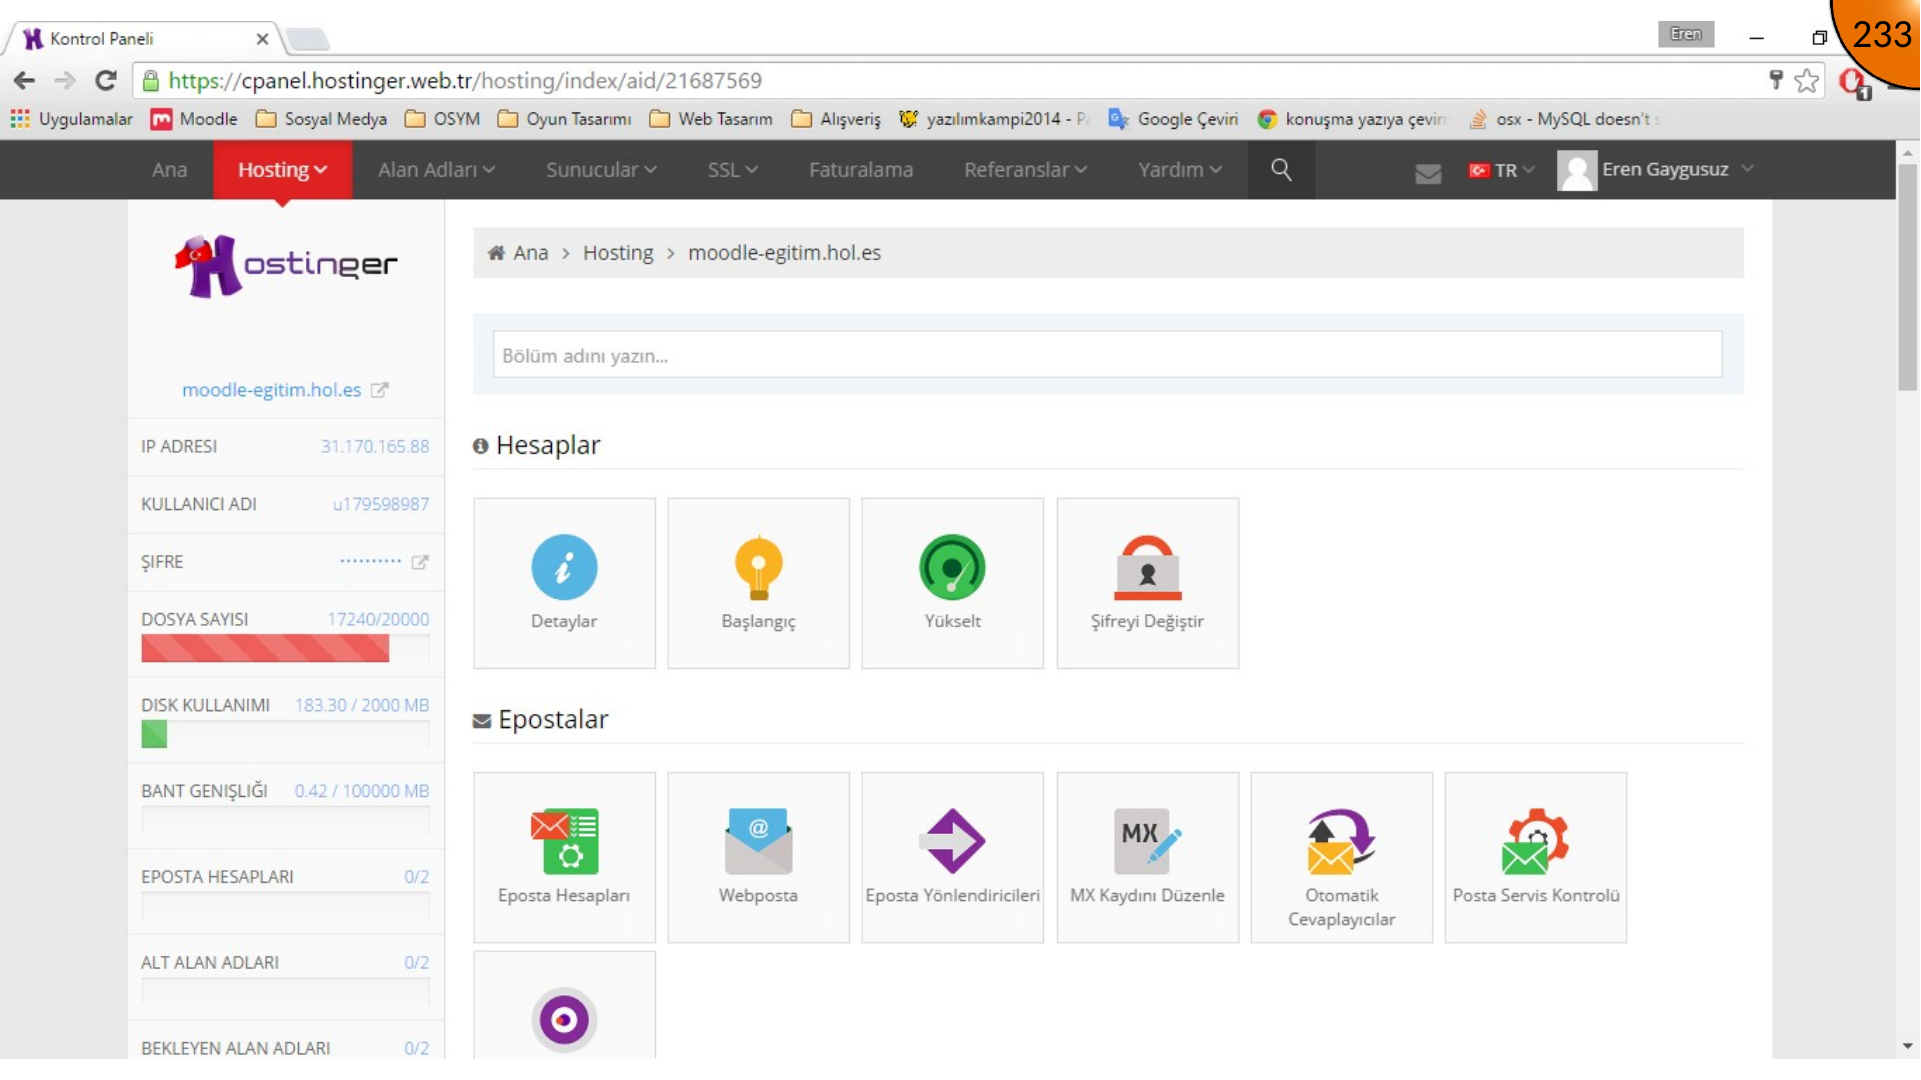
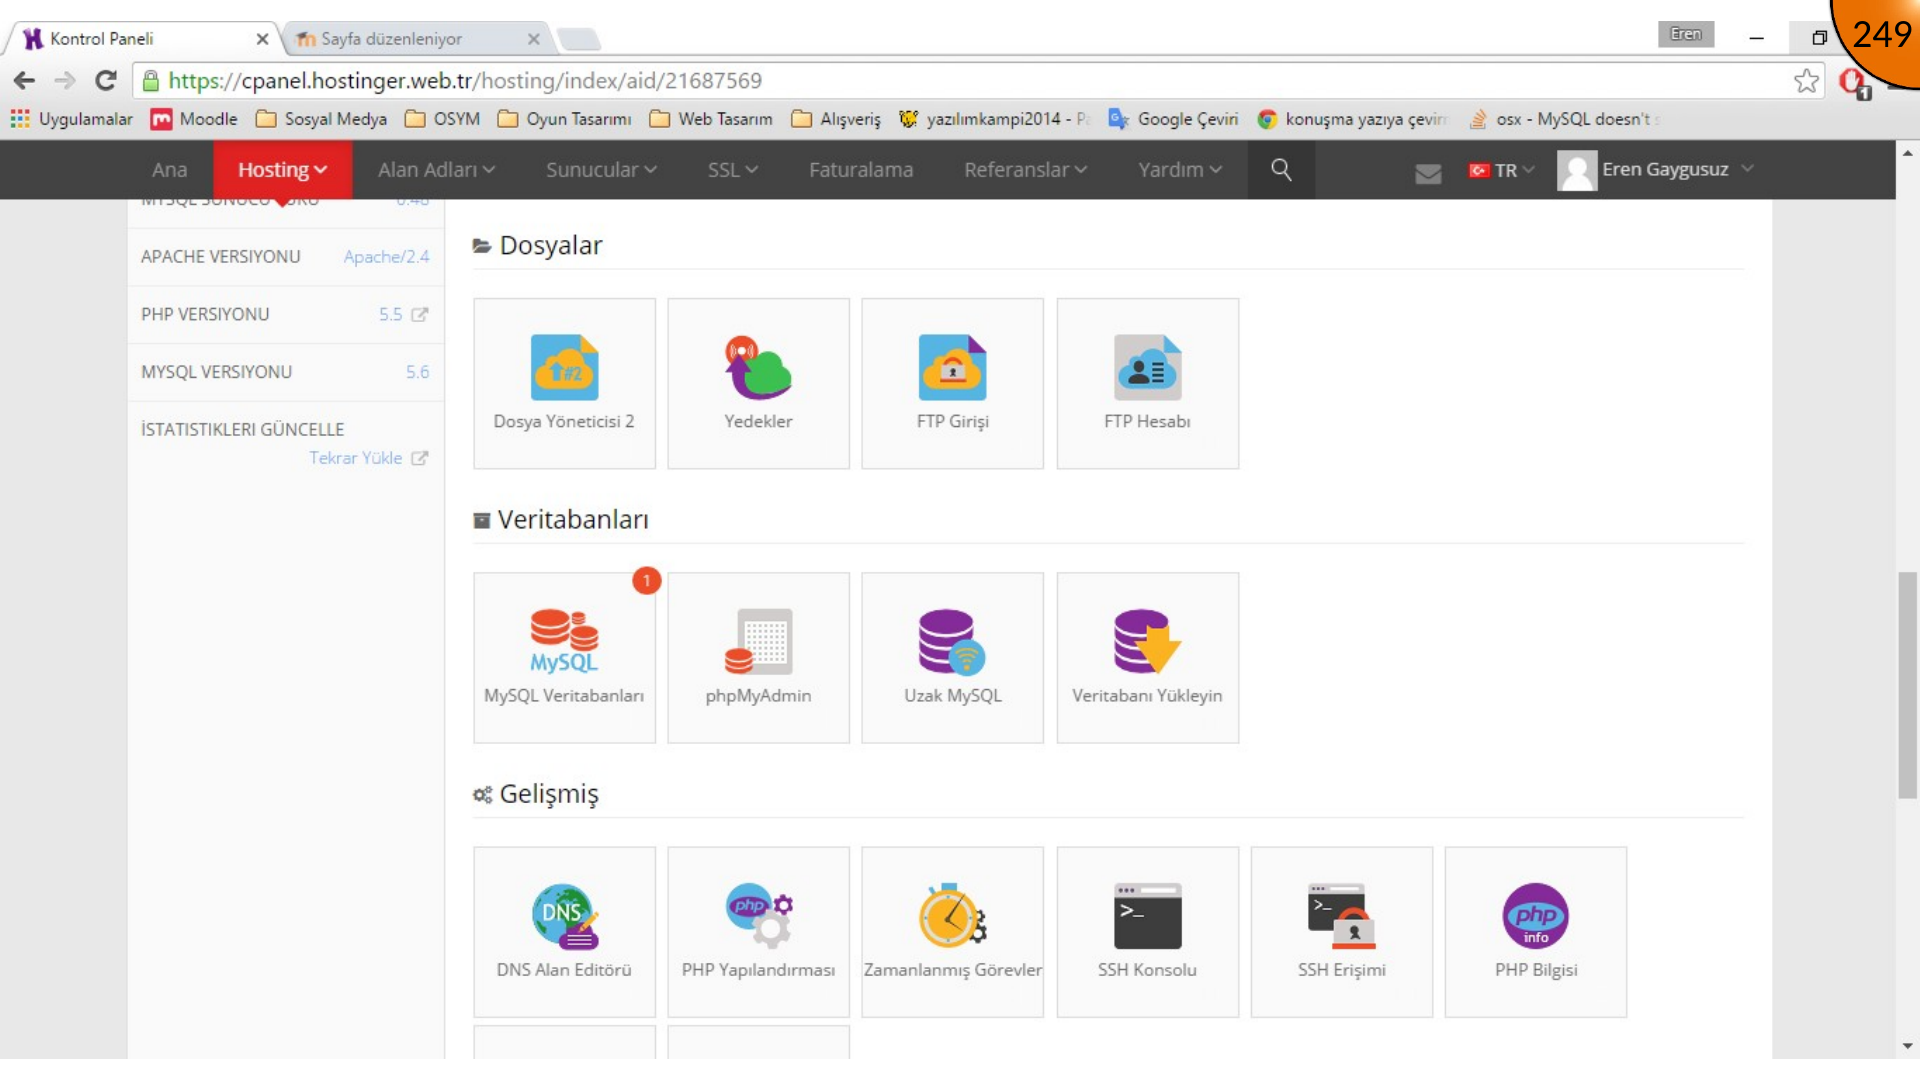
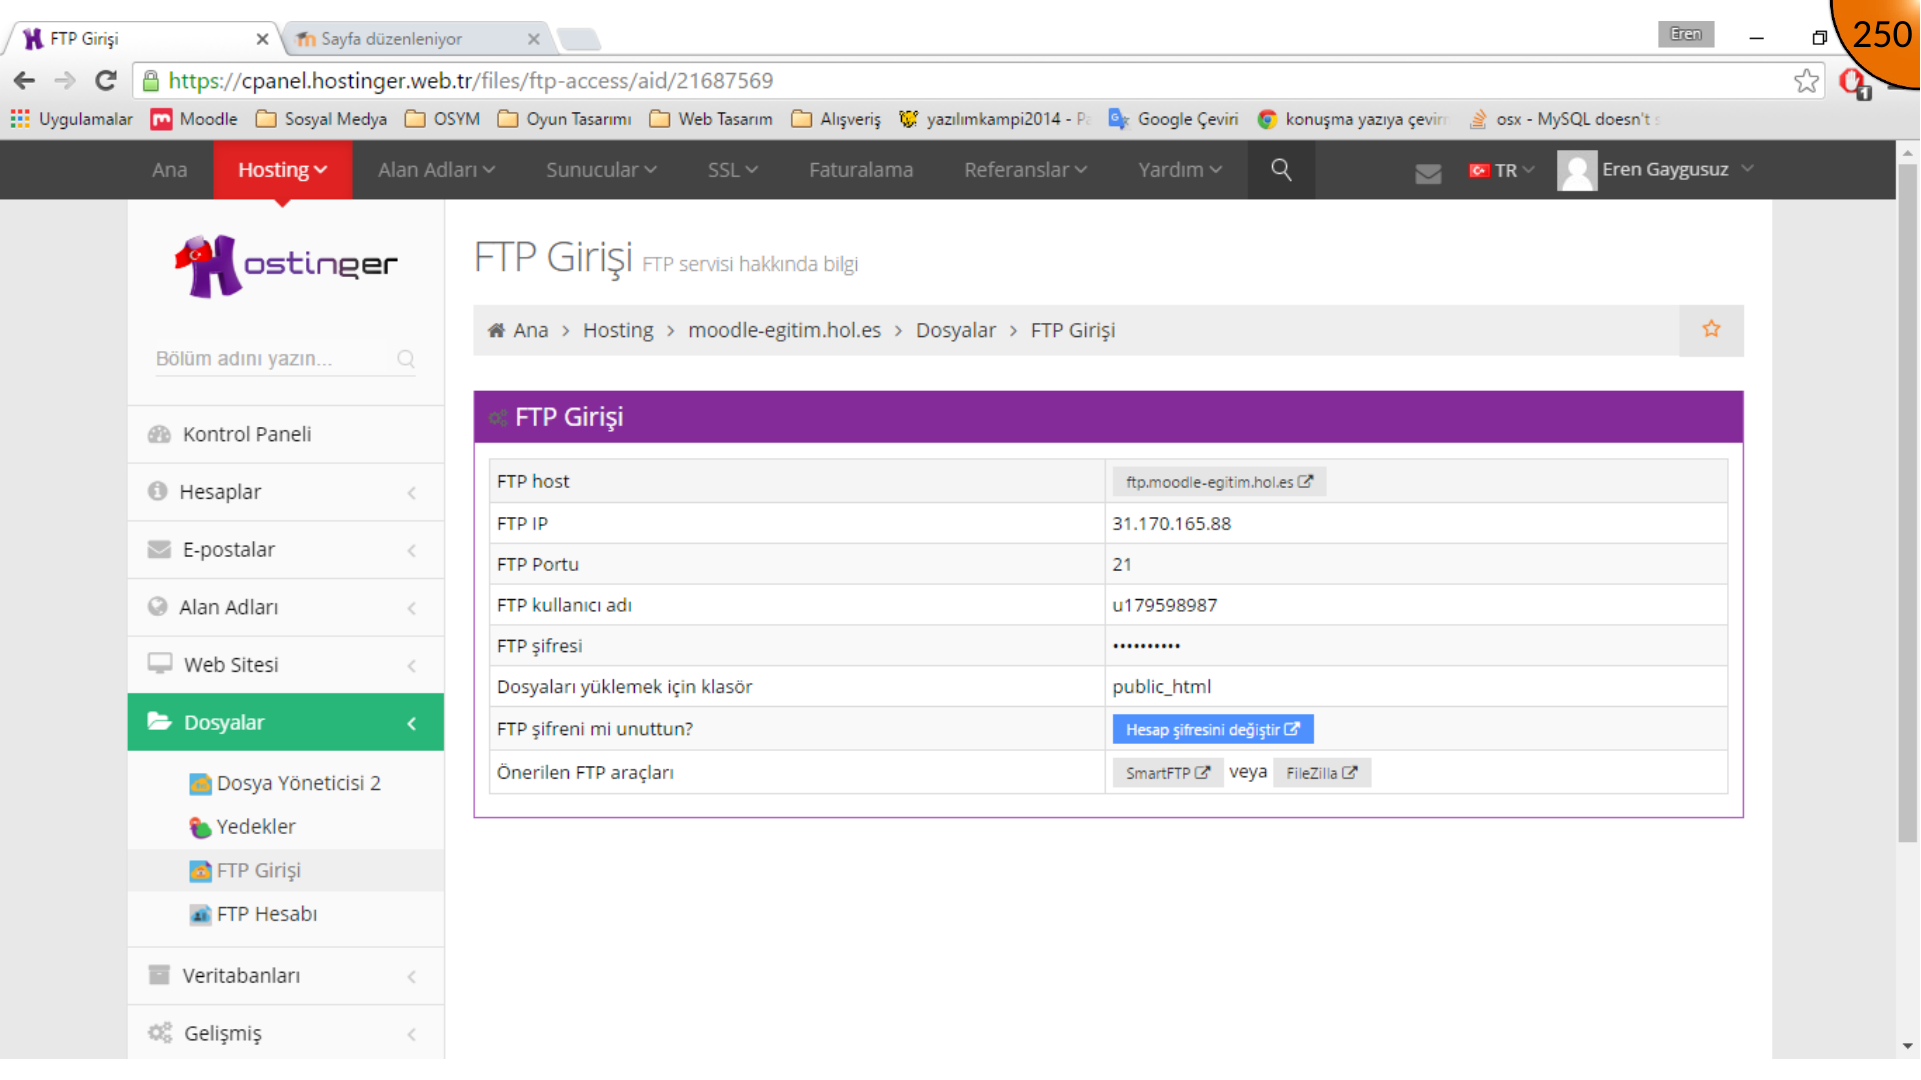
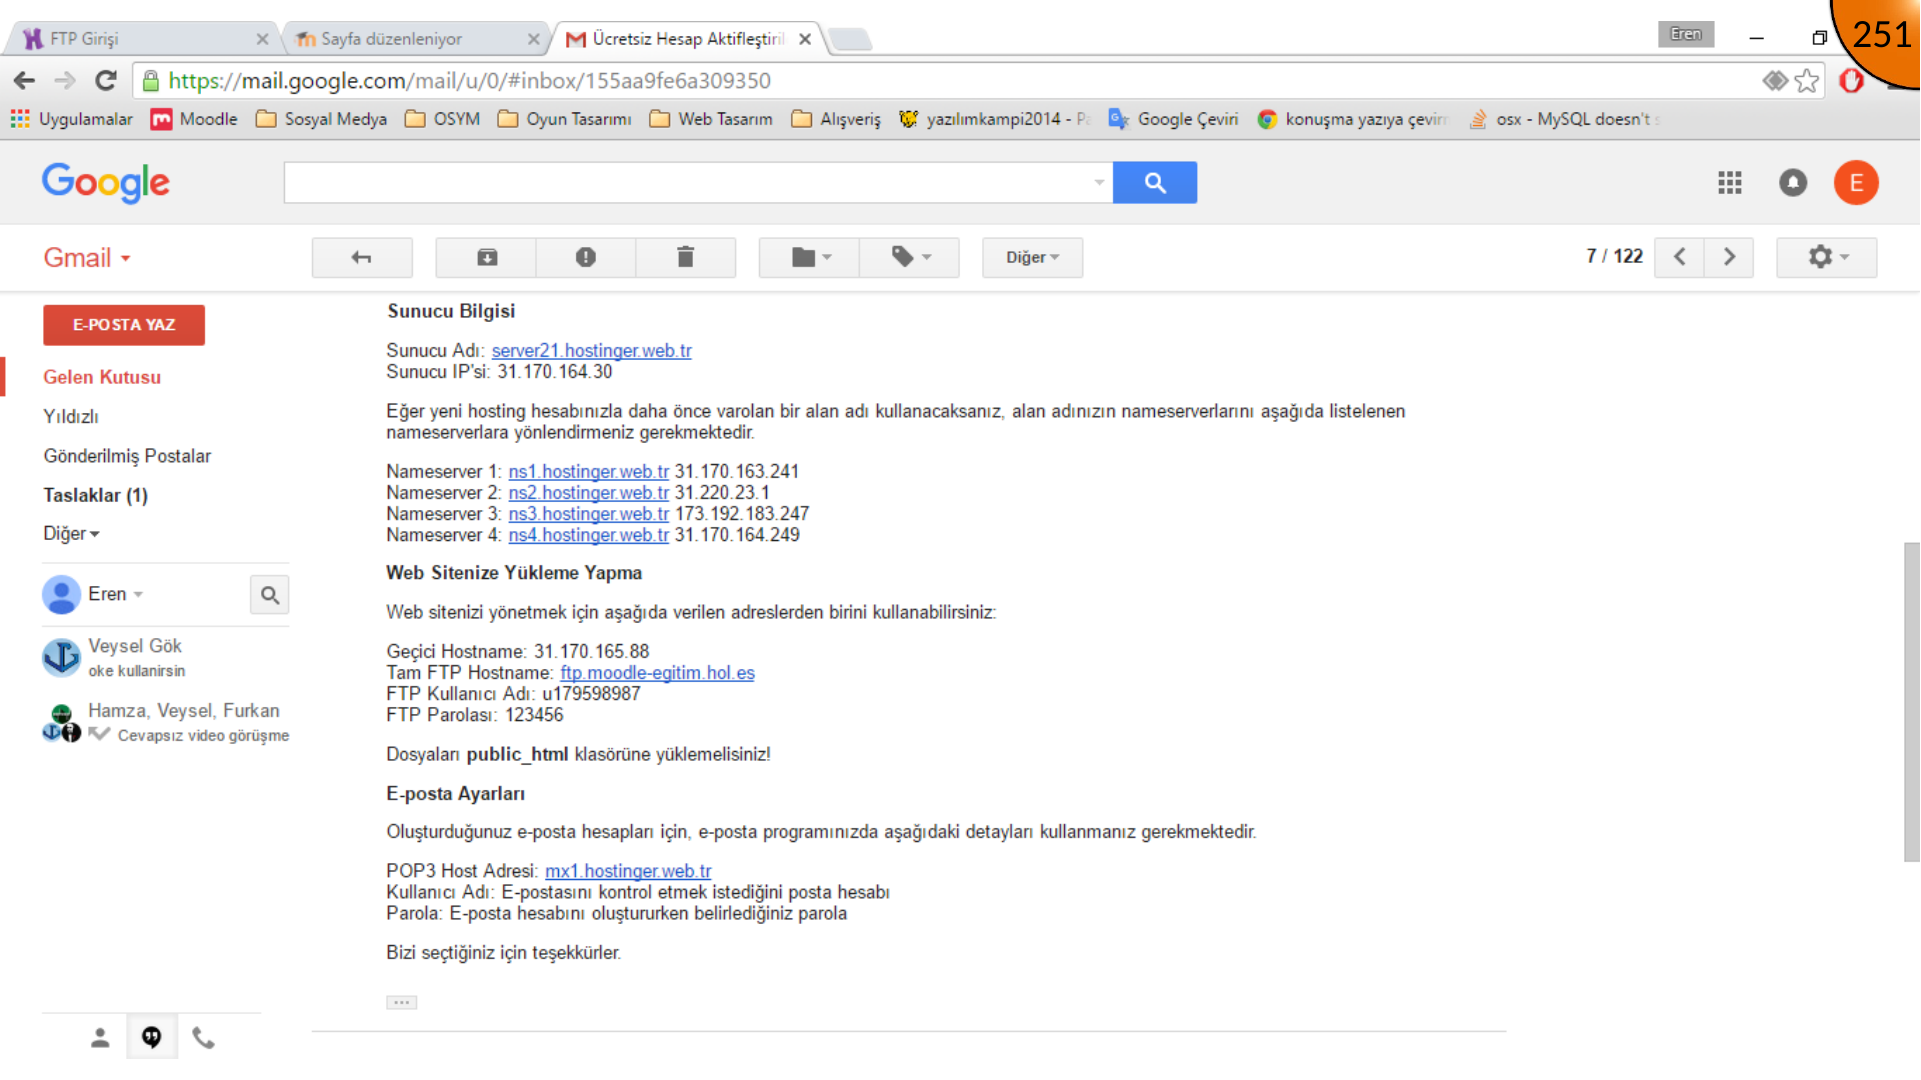
In the hosting control panel, open the files section and locate the FTP-login details. The FTP host and username are shown there; the password may have been included in the original hosting activation email.
Uploading Files with FileZilla
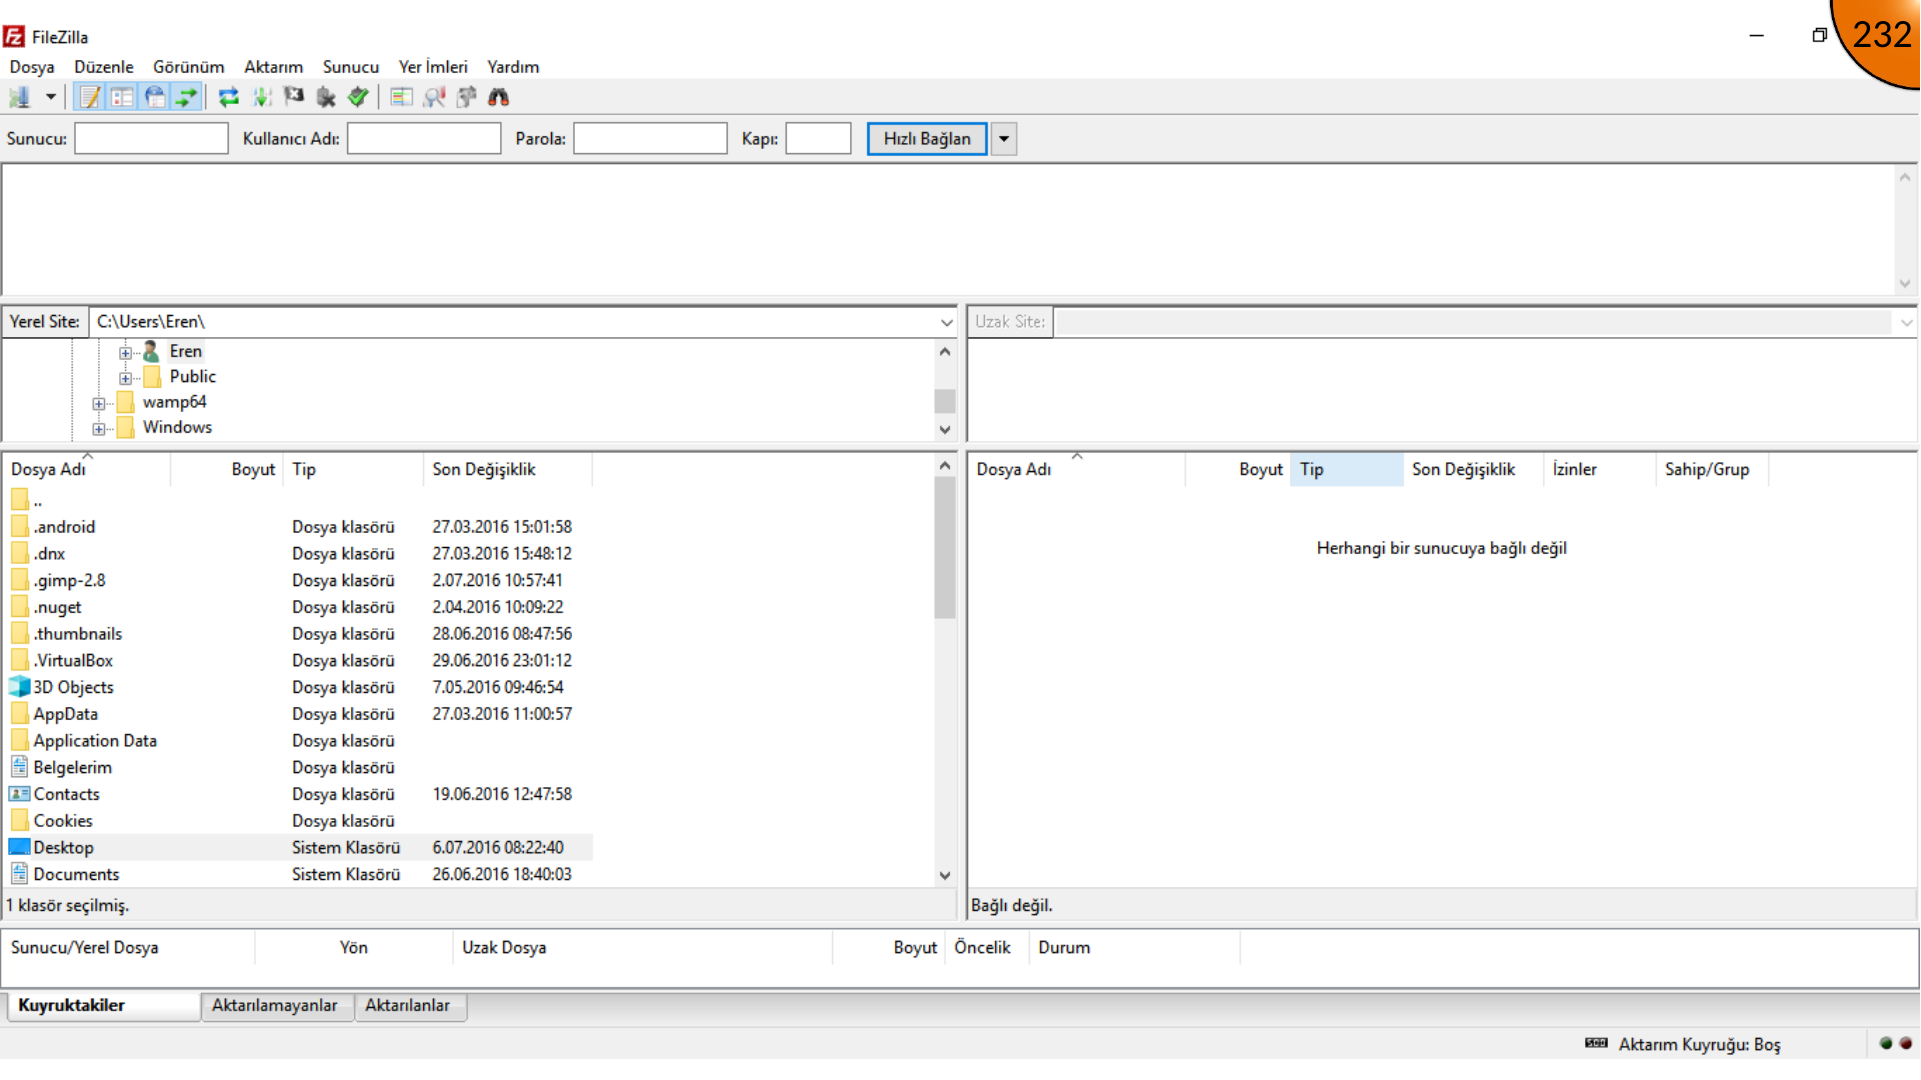
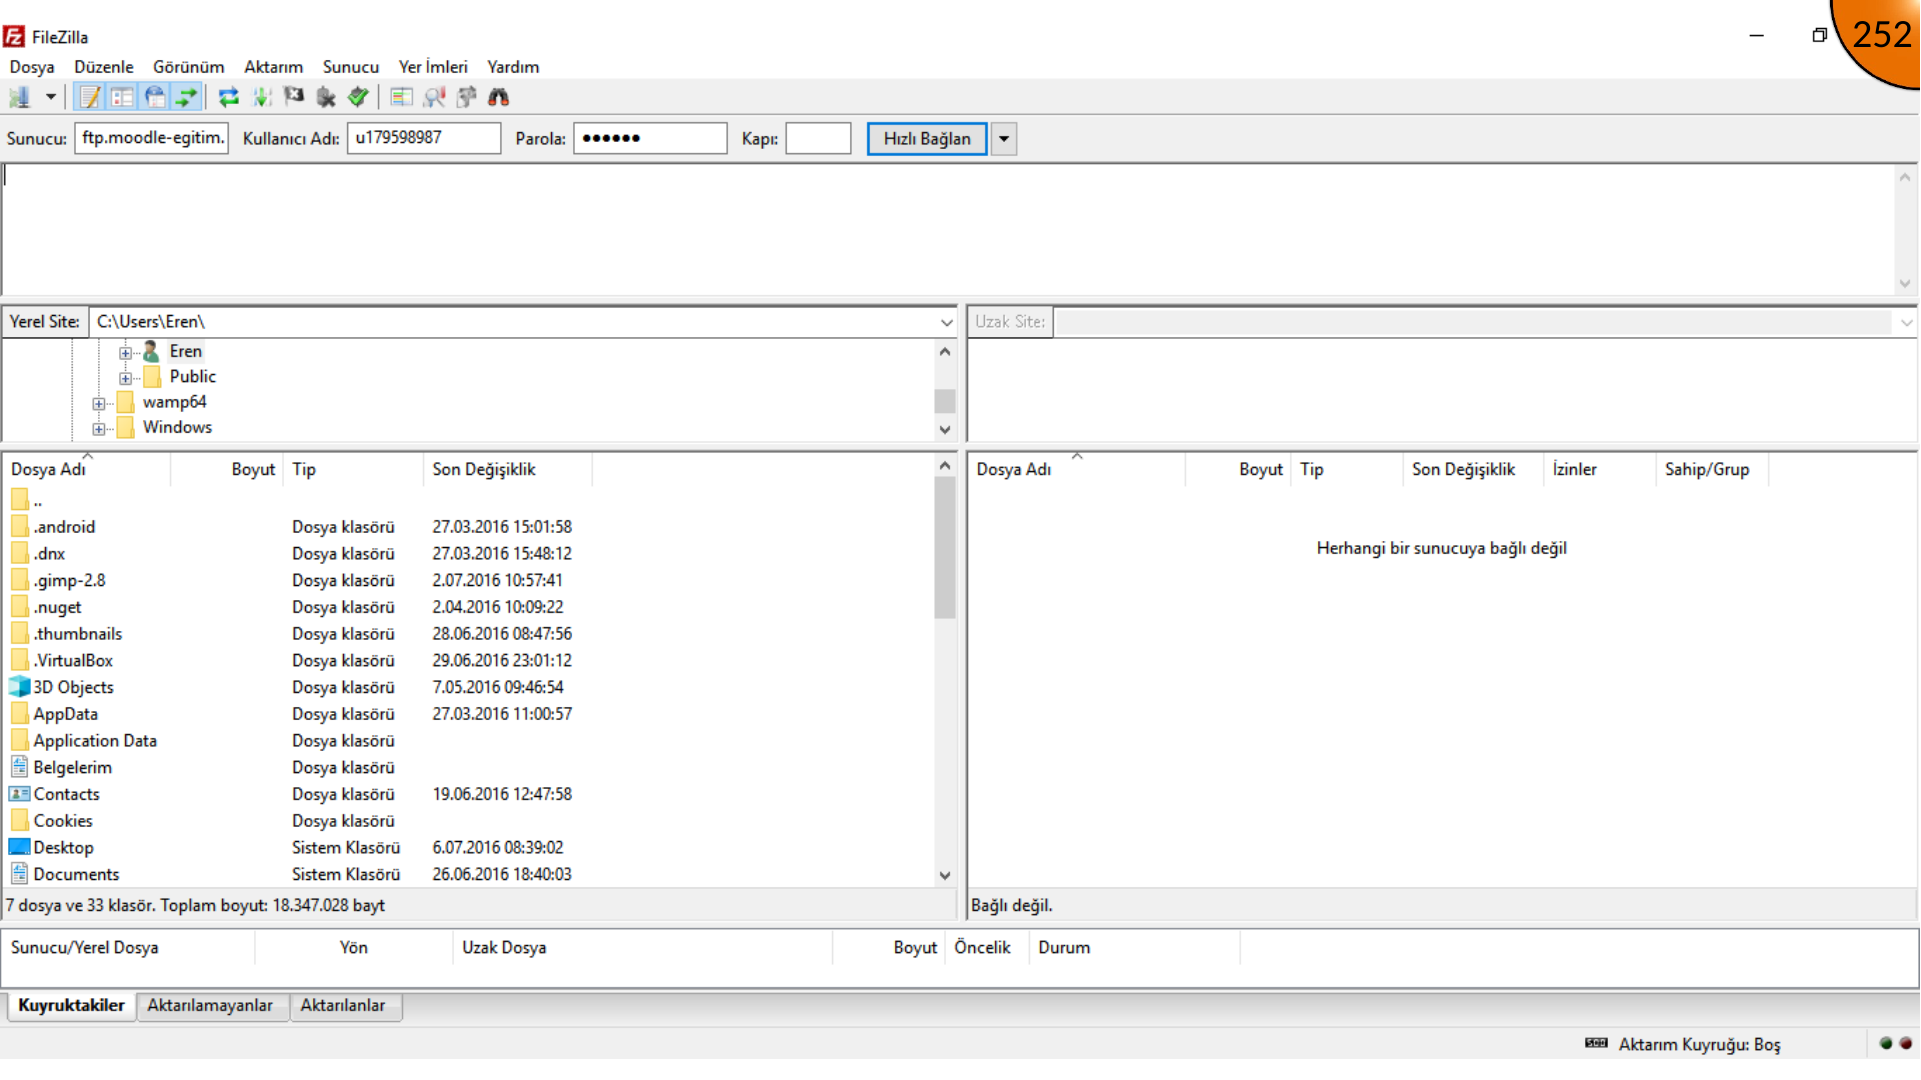
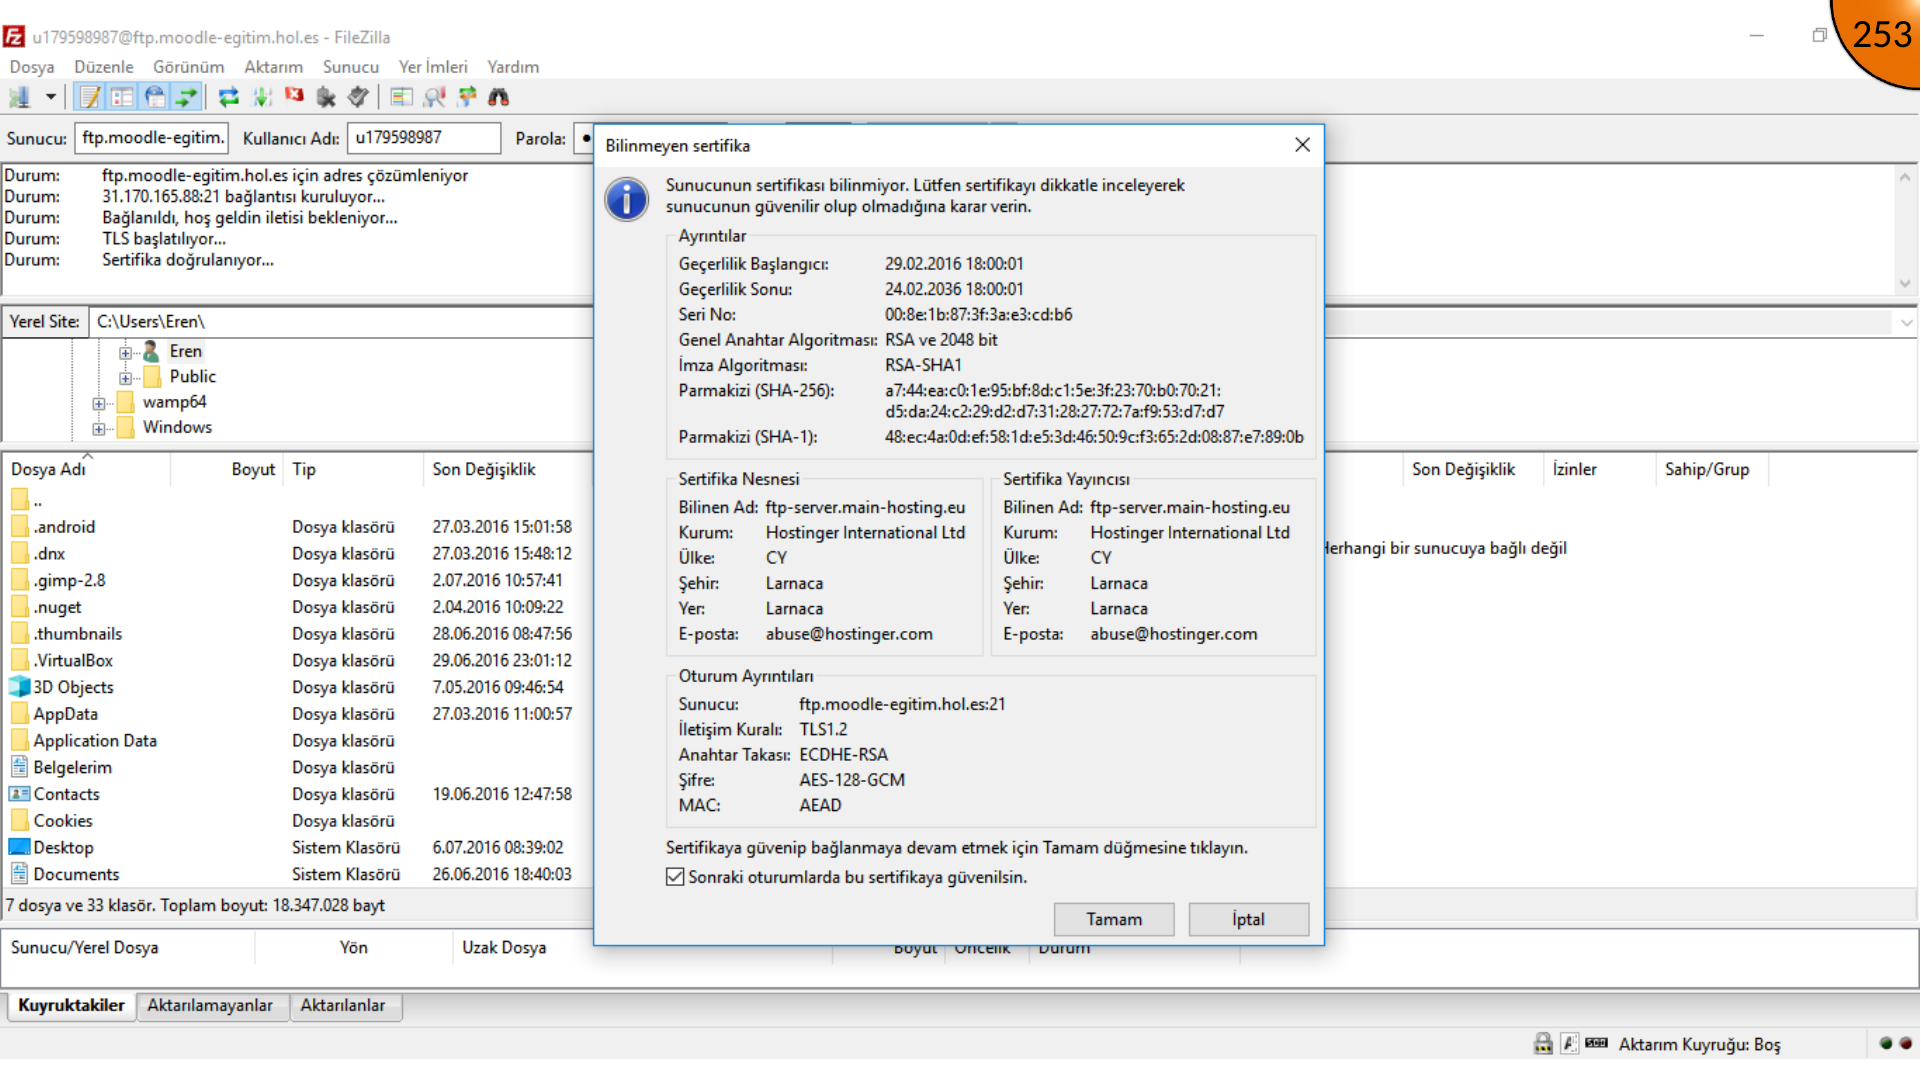
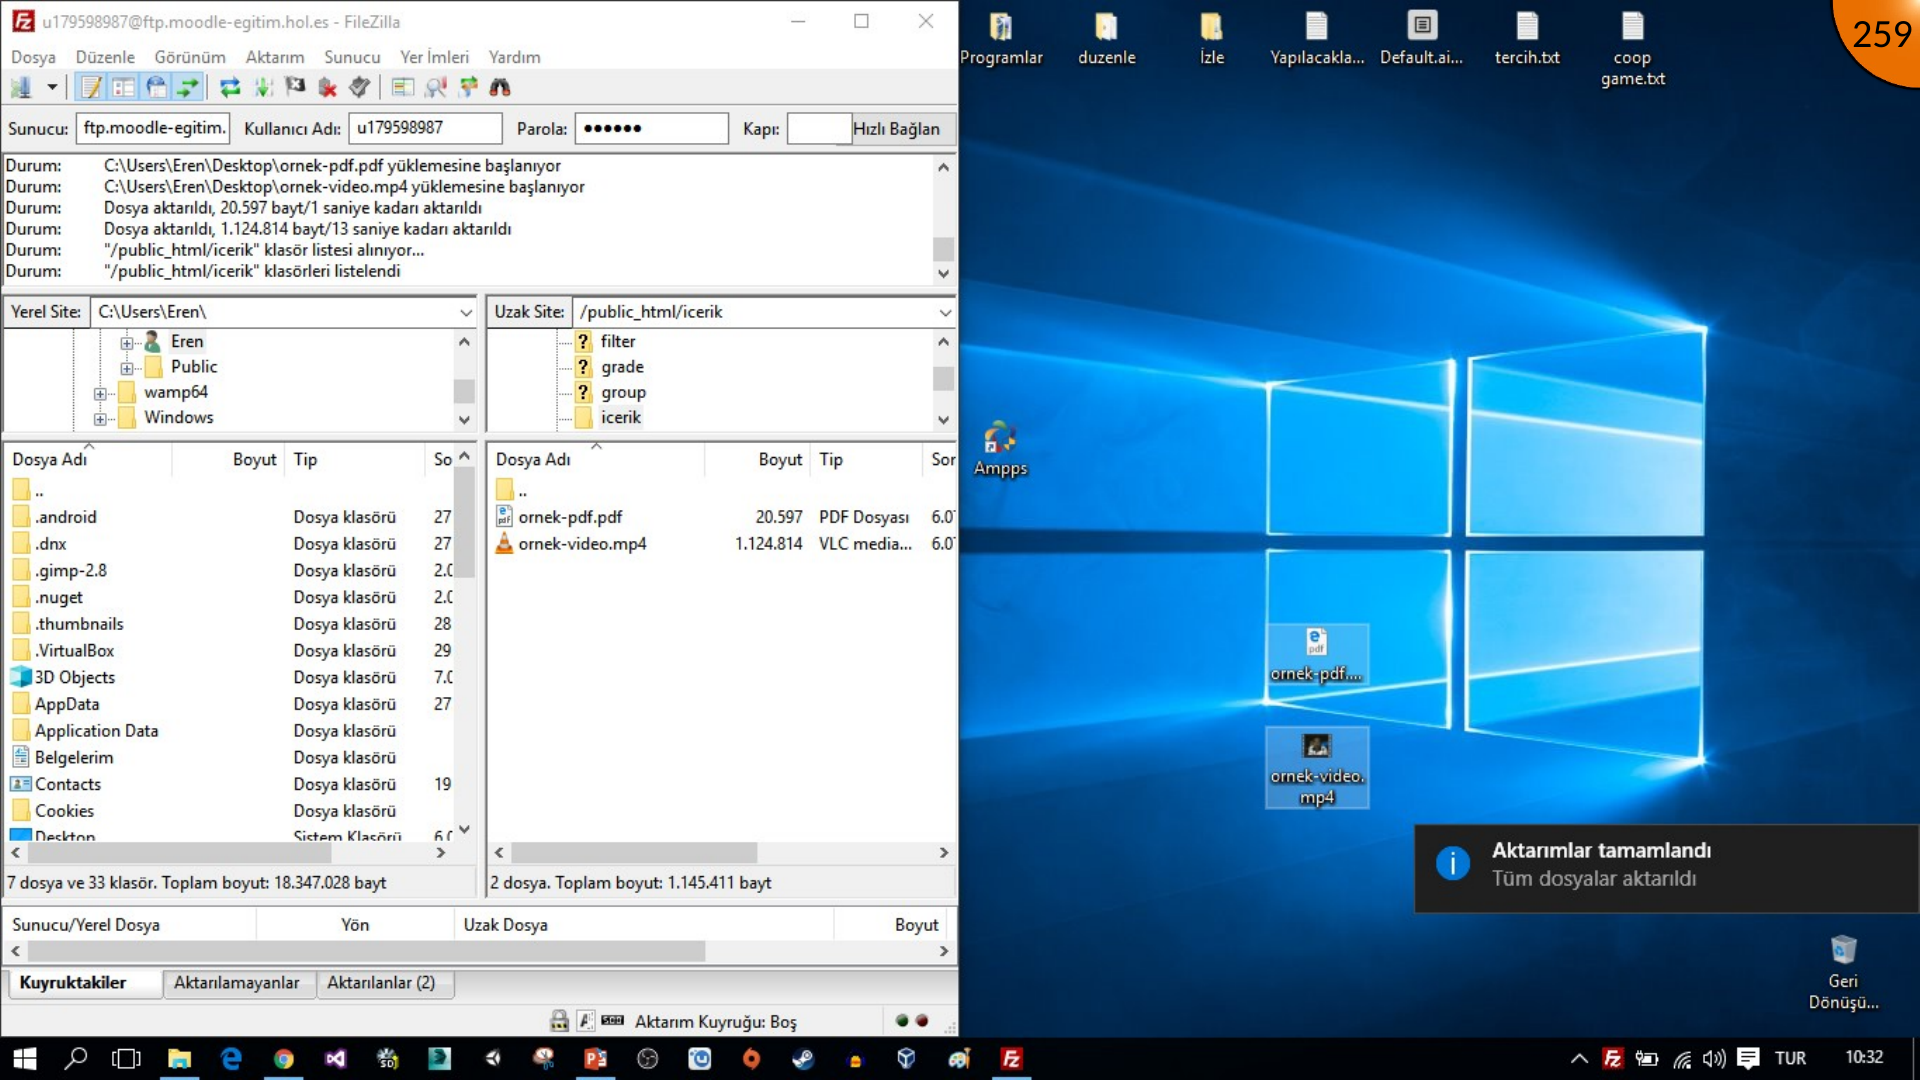
Open FileZilla and enter the host, username, and password, then connect. If a certificate prompt appears, verify the host fingerprint before trusting it; do not accept an unexpected certificate blindly.
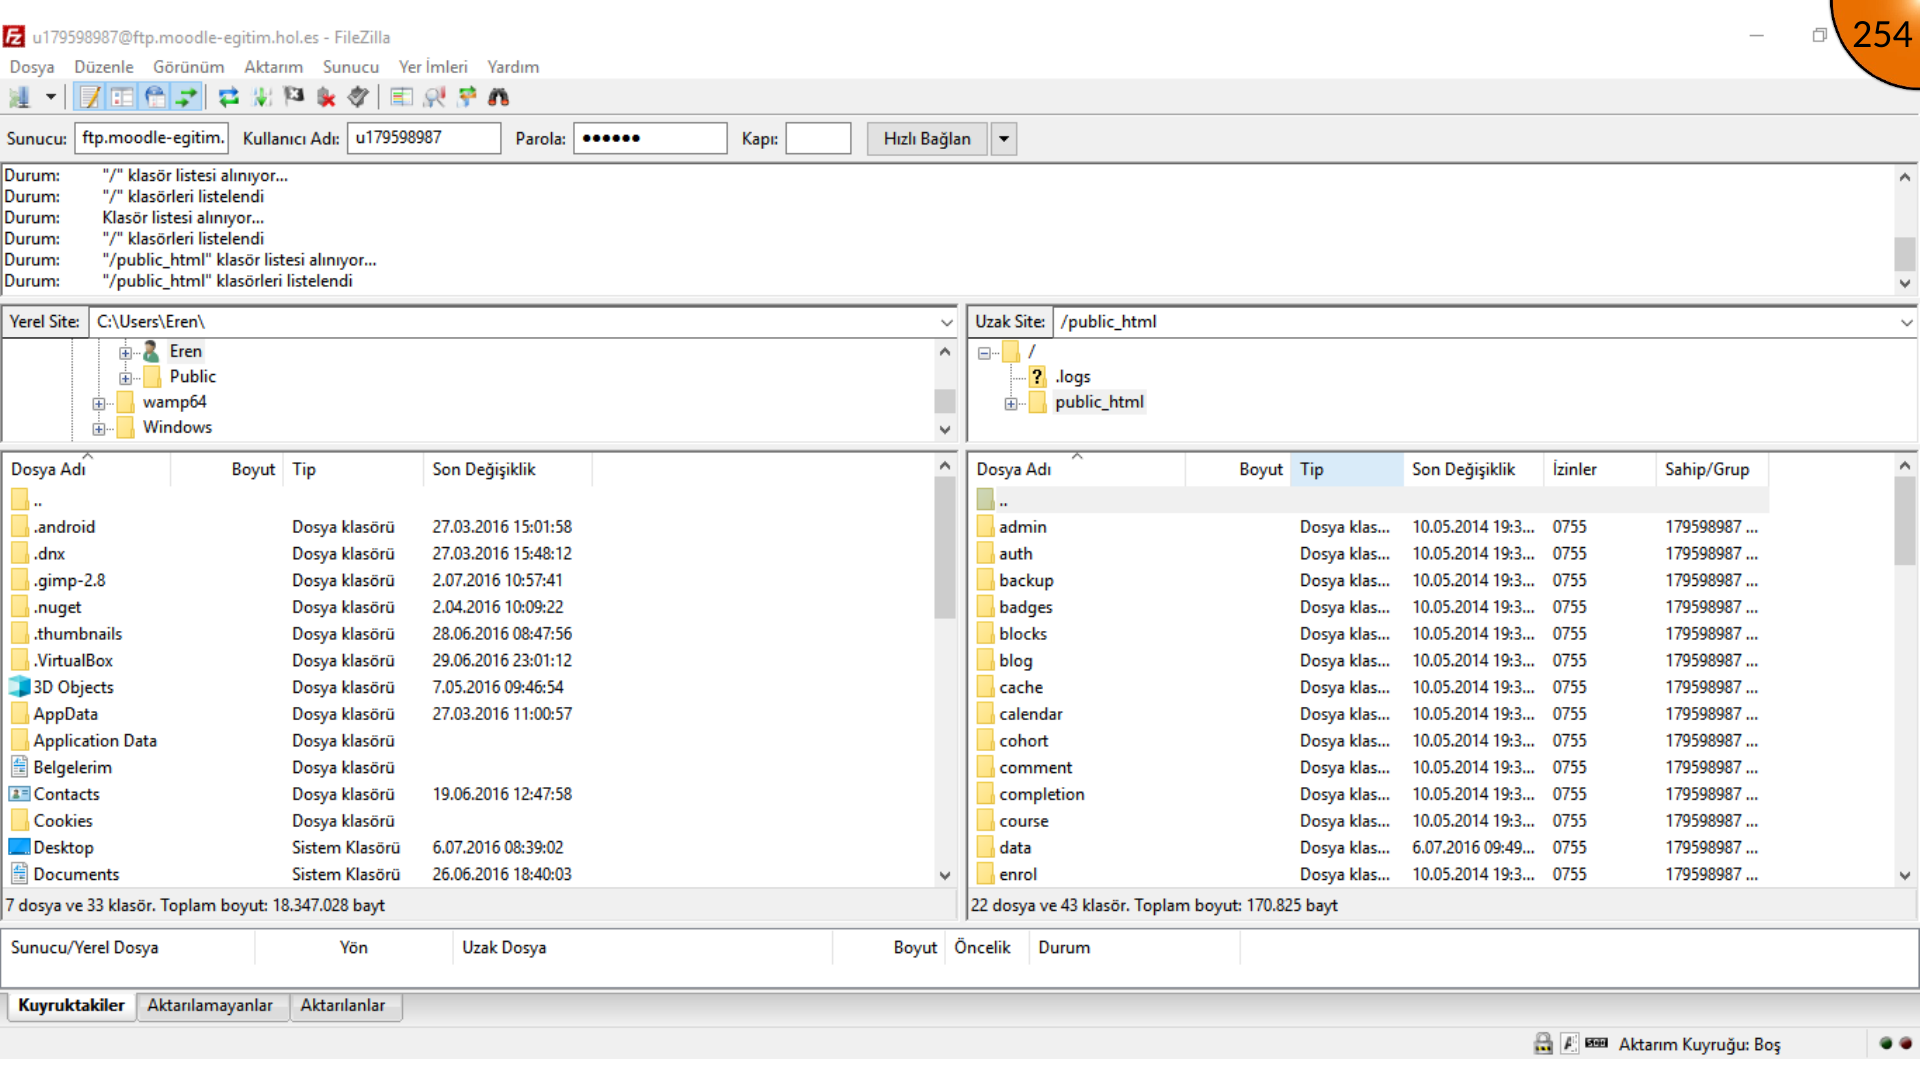
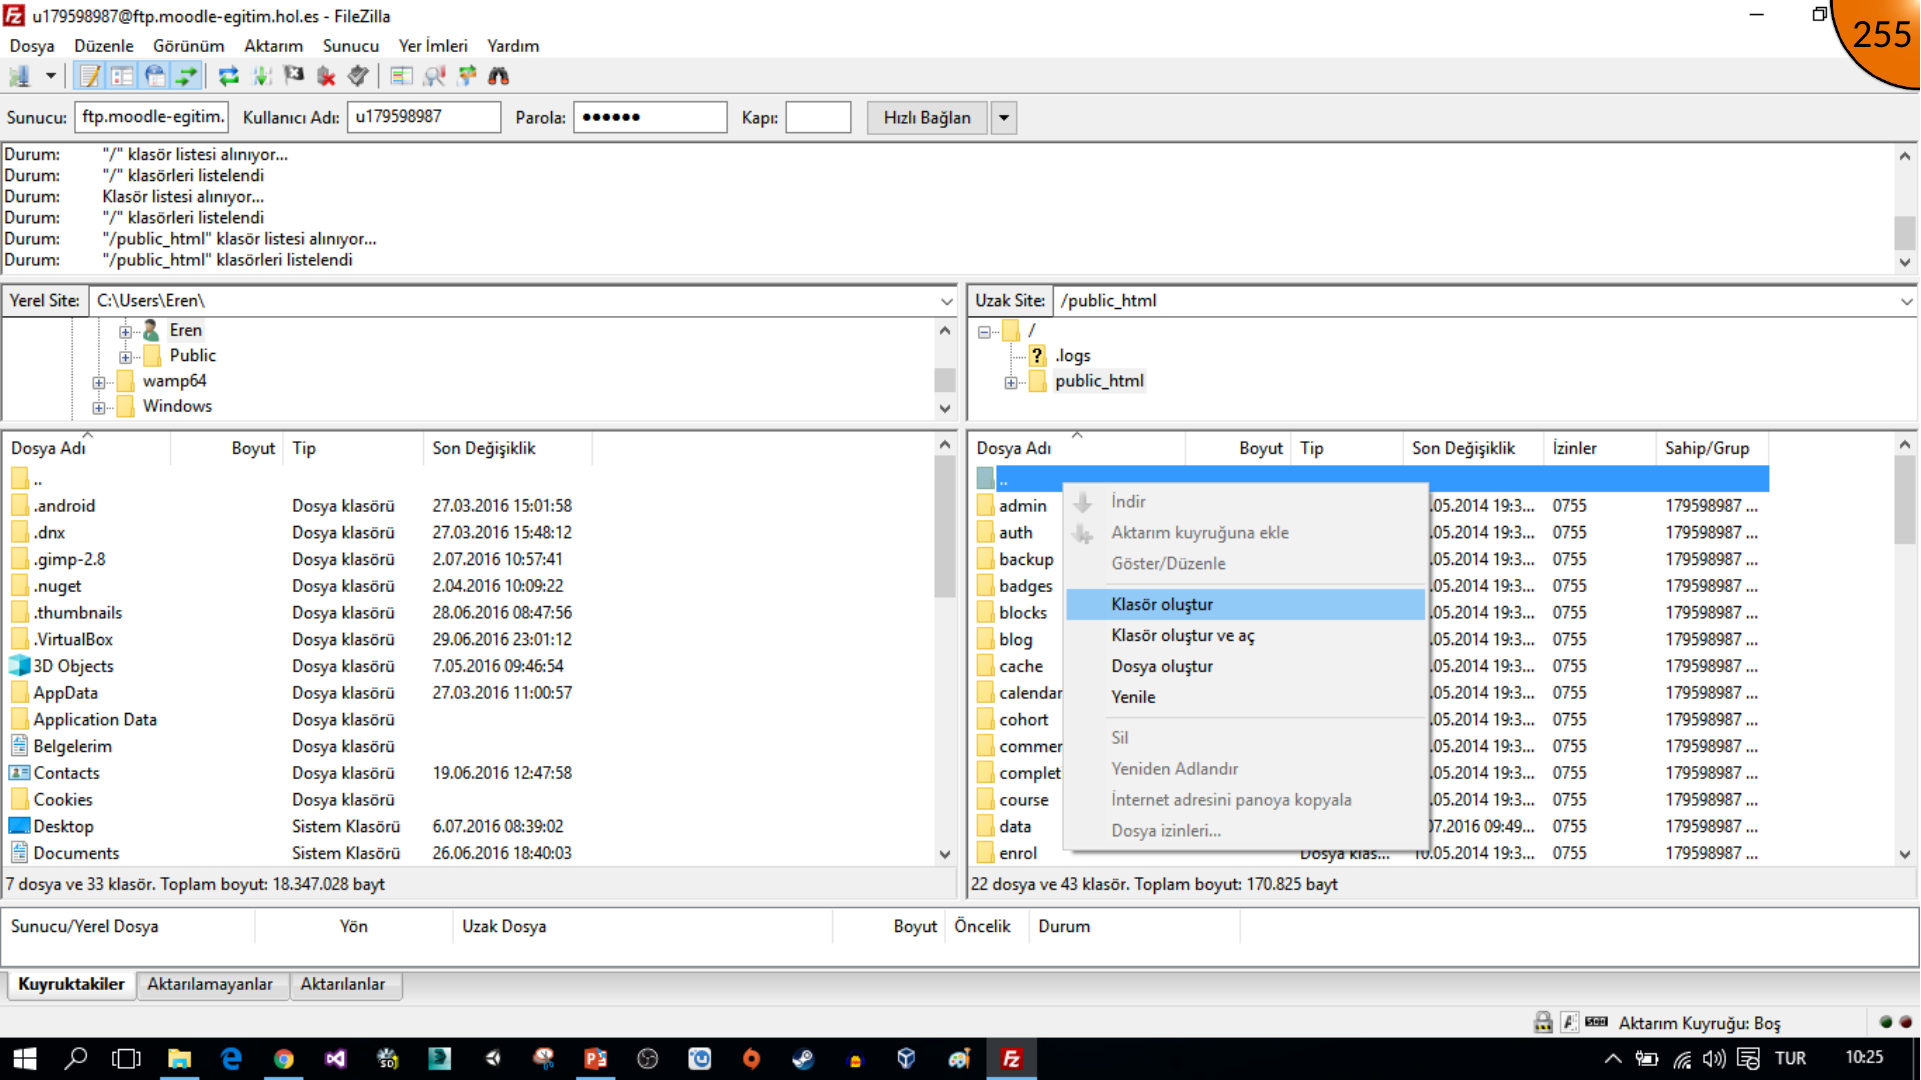
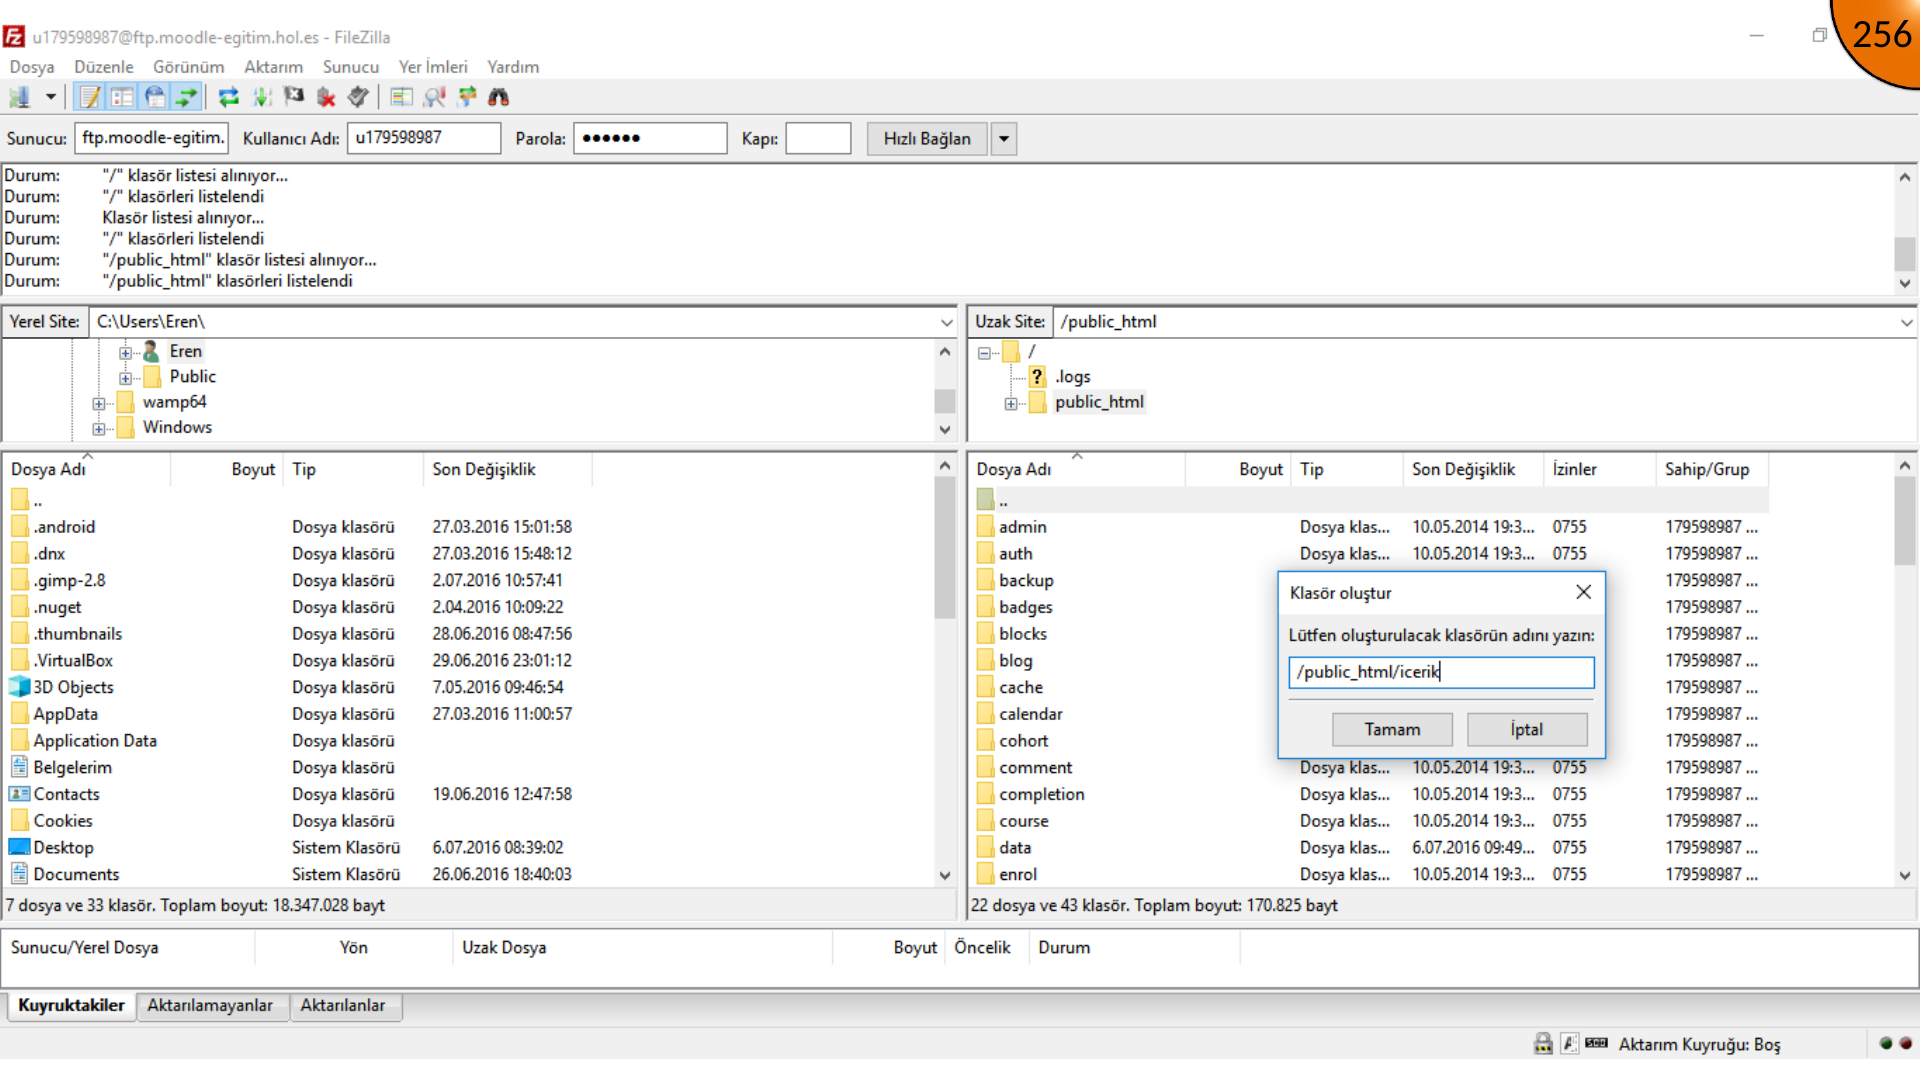
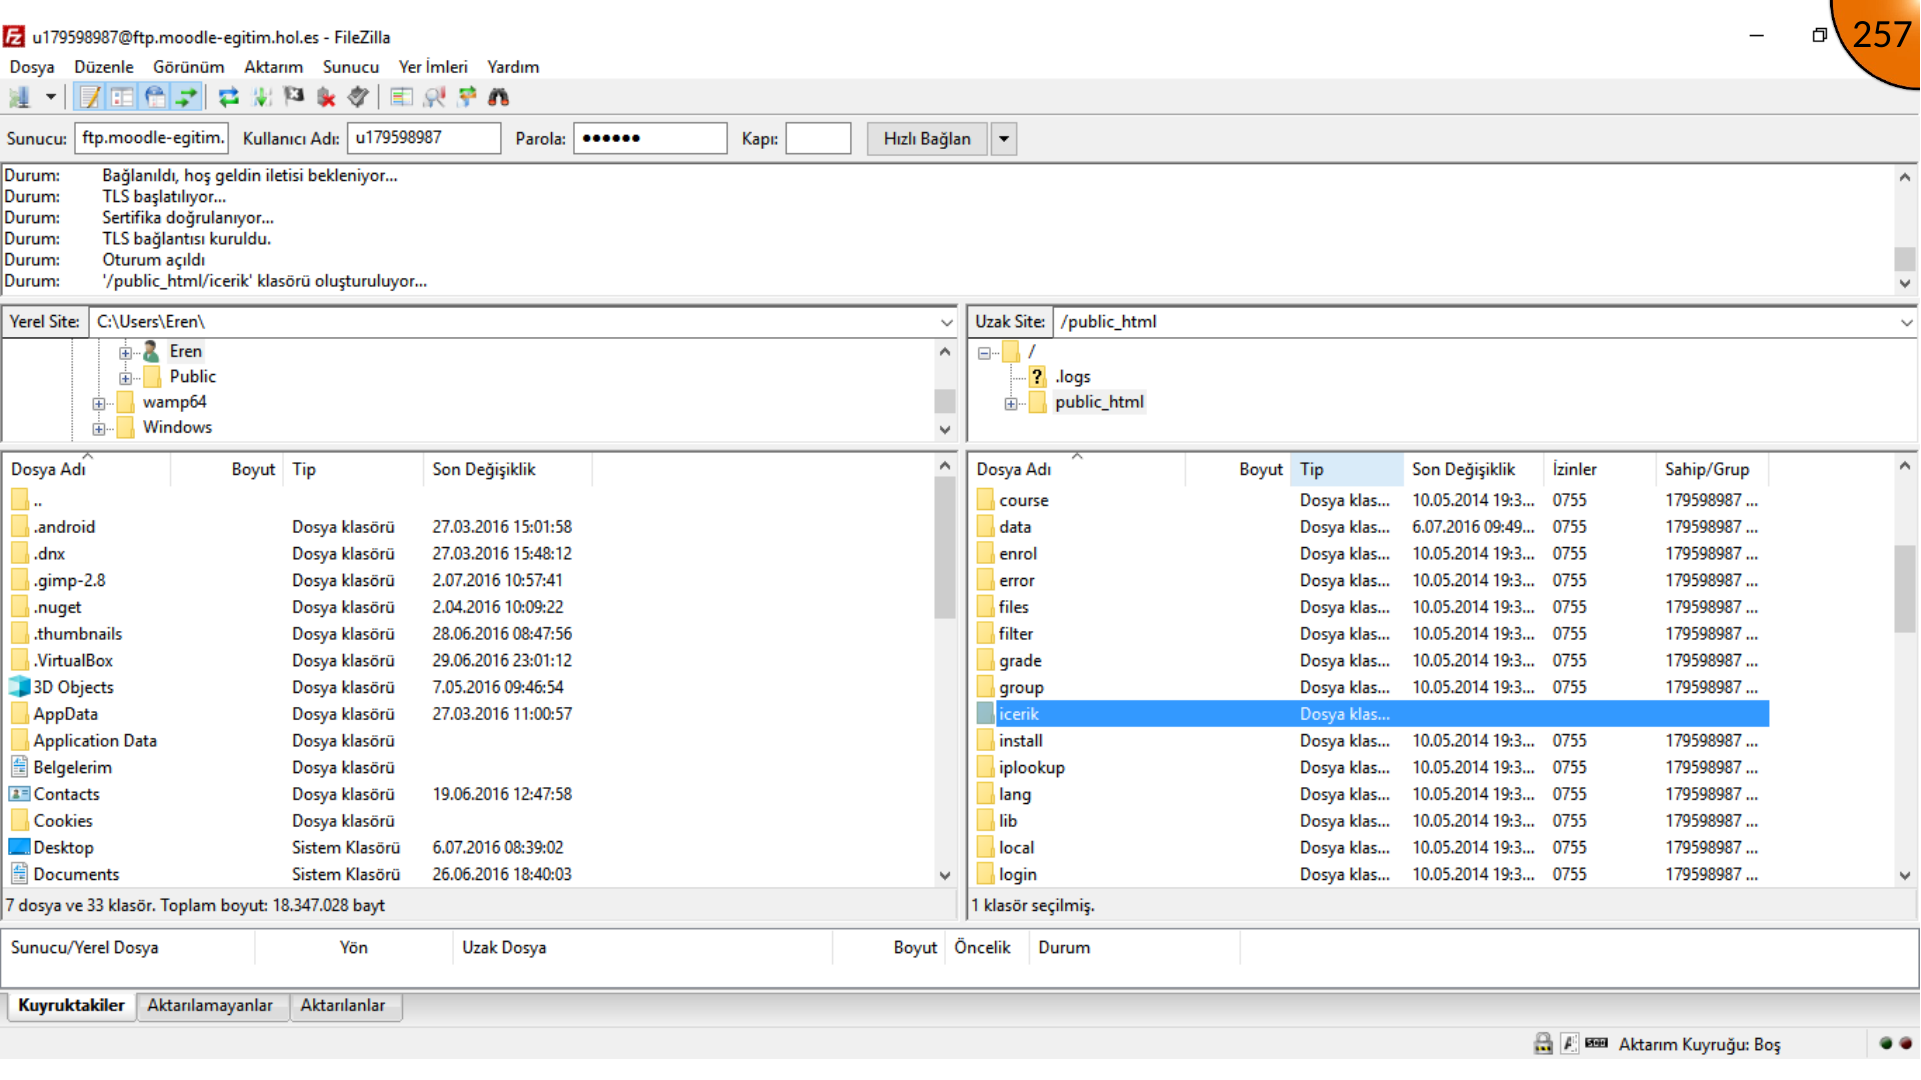
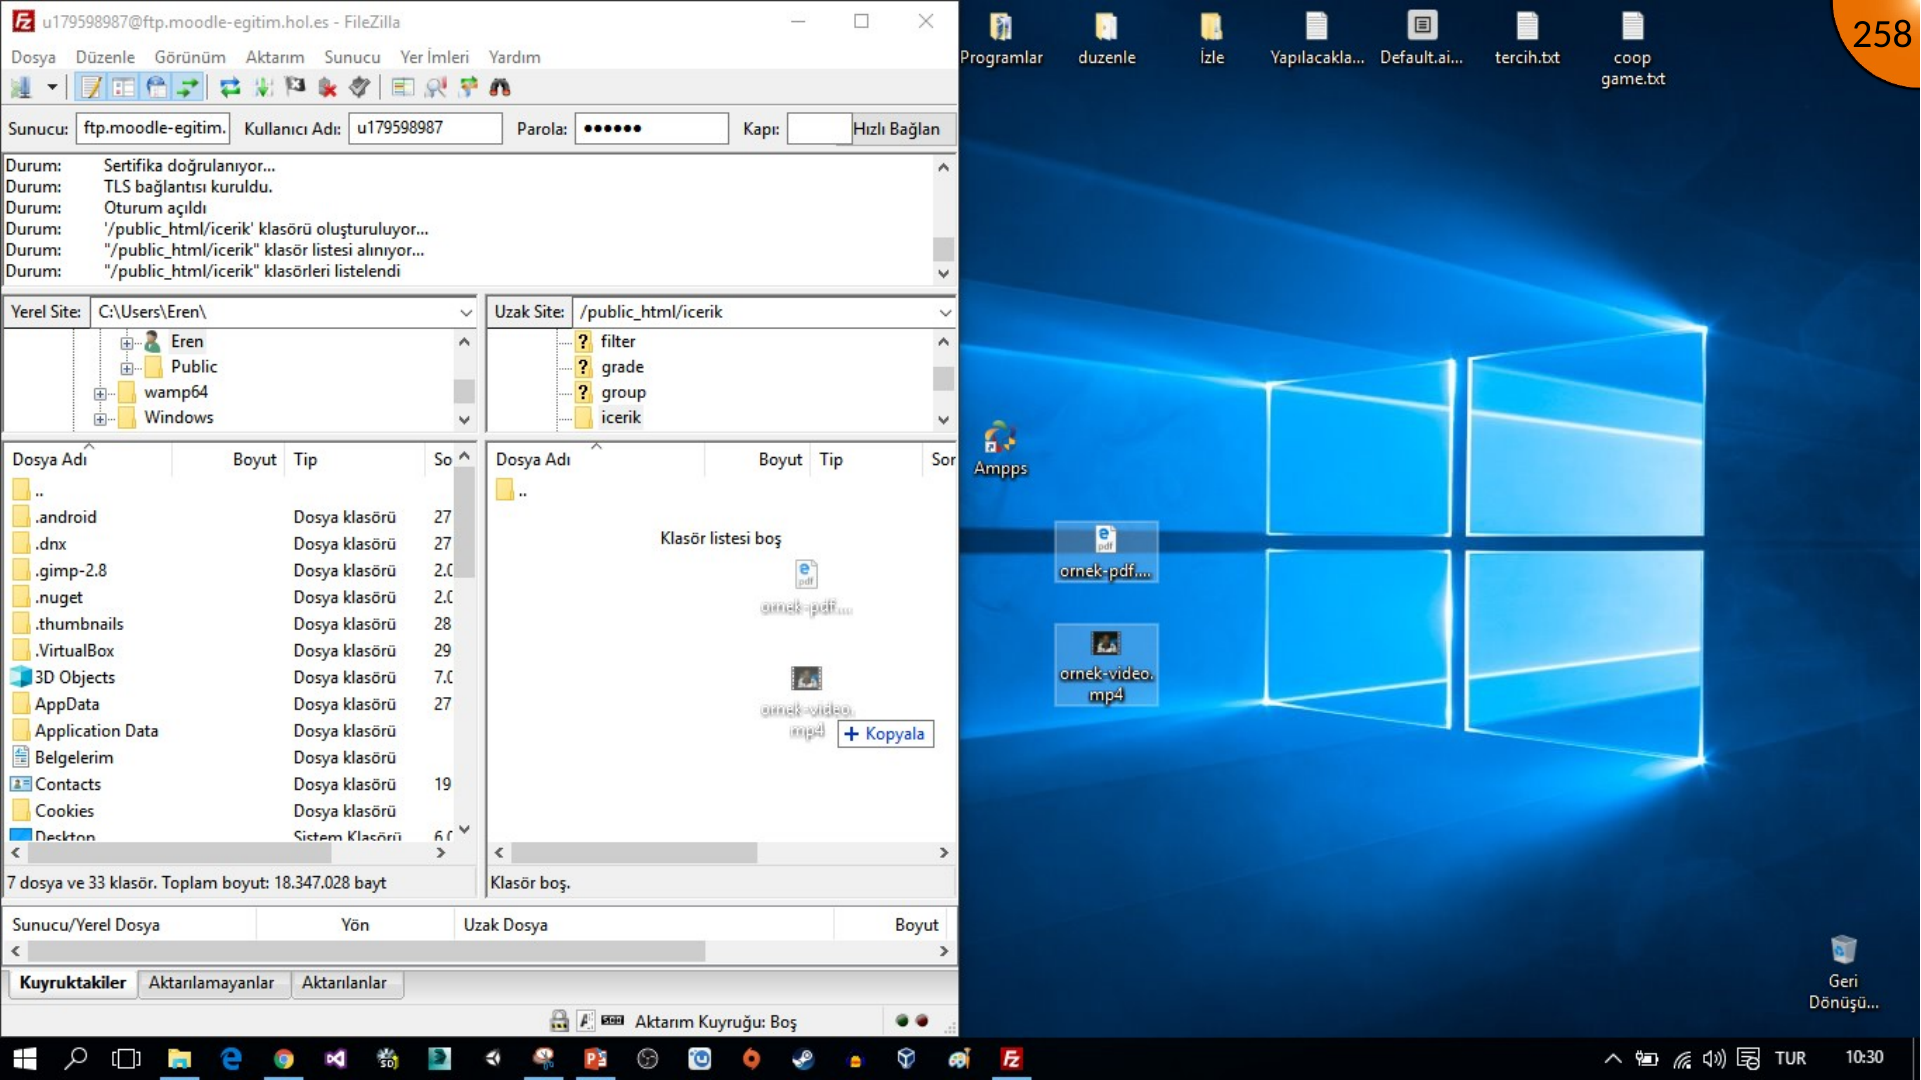
In the remote site, open public_html, create an icerik folder, and open it. Drag the PDF and video files from the local pane to this folder, then wait for the transfer queue to finish.
Summary
The files are now stored on the web server and ready to be referenced from Moodle’s HTML editor. The next step is to add direct PDF and video embed markup using those uploaded file paths.
Comments