Word, Excel, and PowerPoint files stored in OneDrive can be shown inside Moodle with embed code. This archived walkthrough reflects the 2016 OneDrive and Moodle interfaces, so the exact labels may now be different.
Make sure learners can open the shared source files before adding them to a course. Test each embedded item using an account with learner-level permissions.

Table of contents
Open Table of contents
Preparing the Files
Upload example Word, Excel, and PowerPoint files to OneDrive. The previous OneDrive upload workflow applies to each file type.
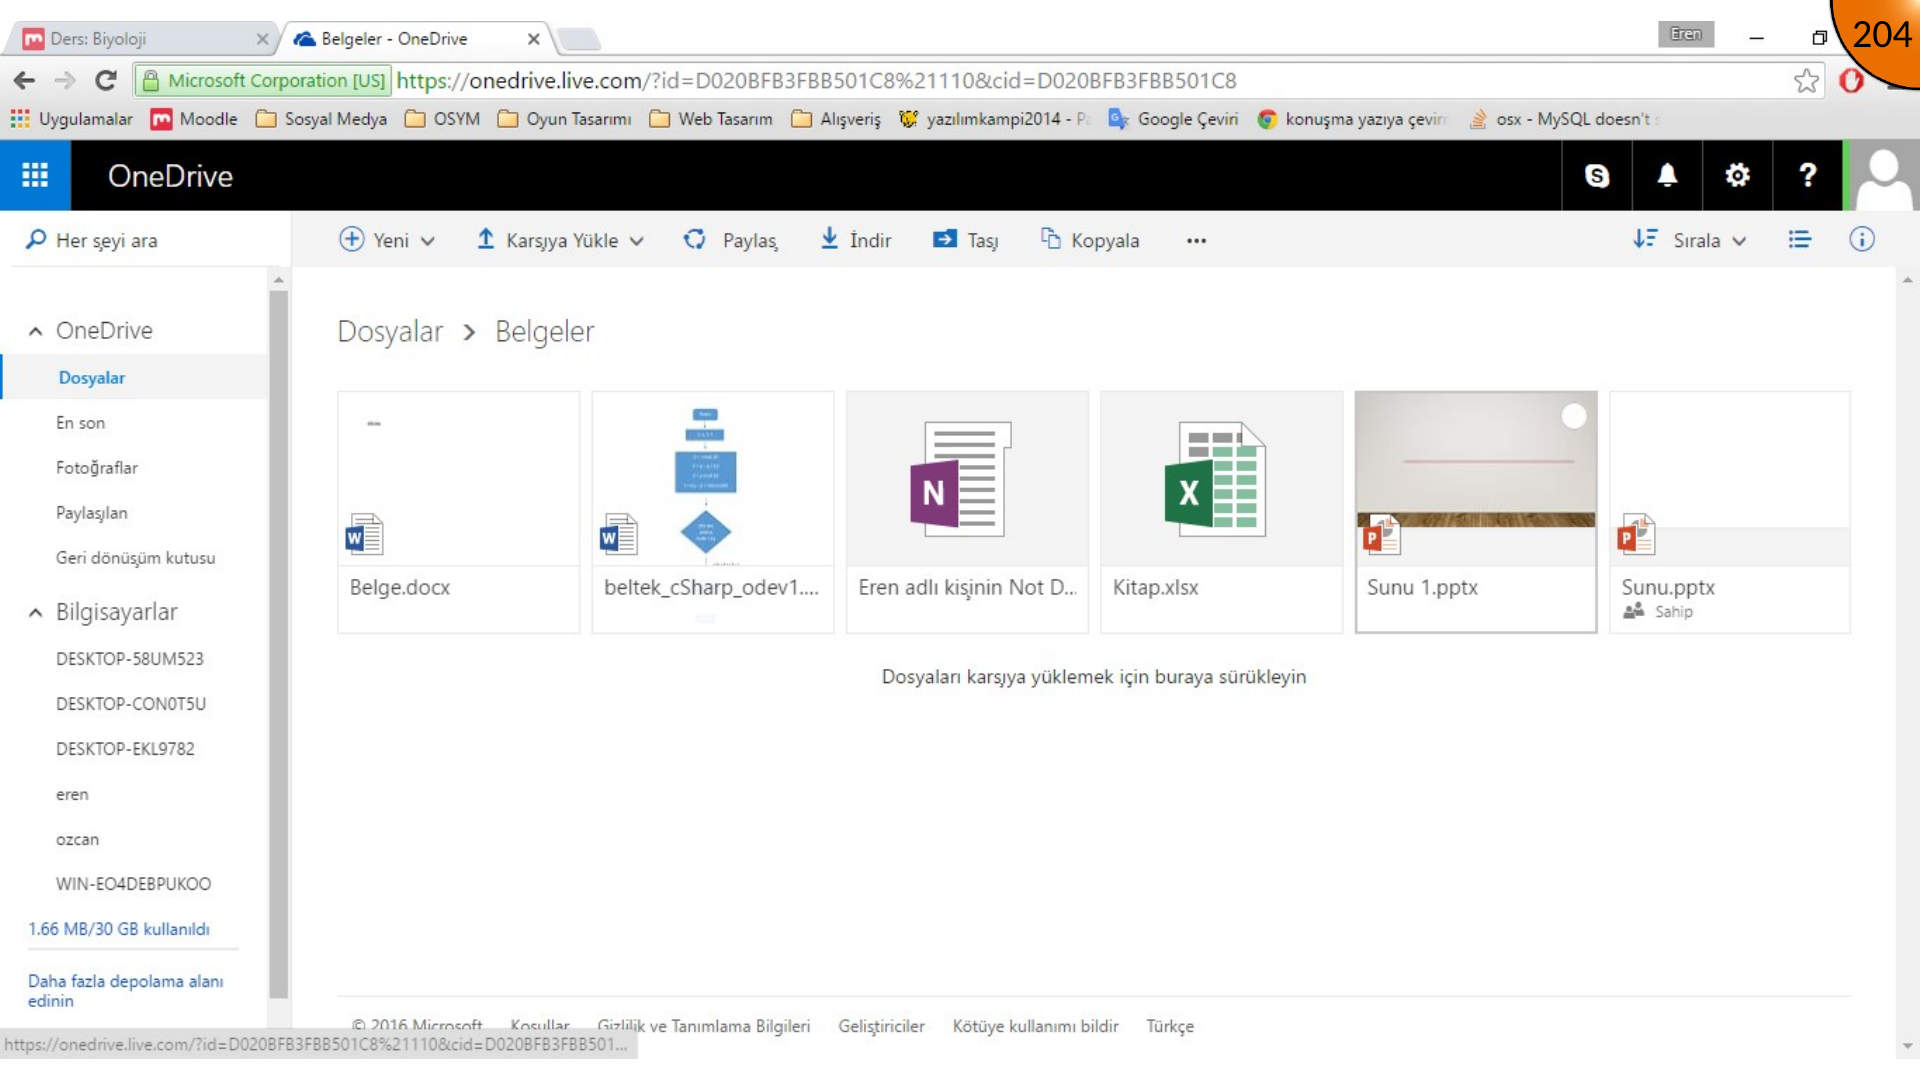
Embedding a Word Document
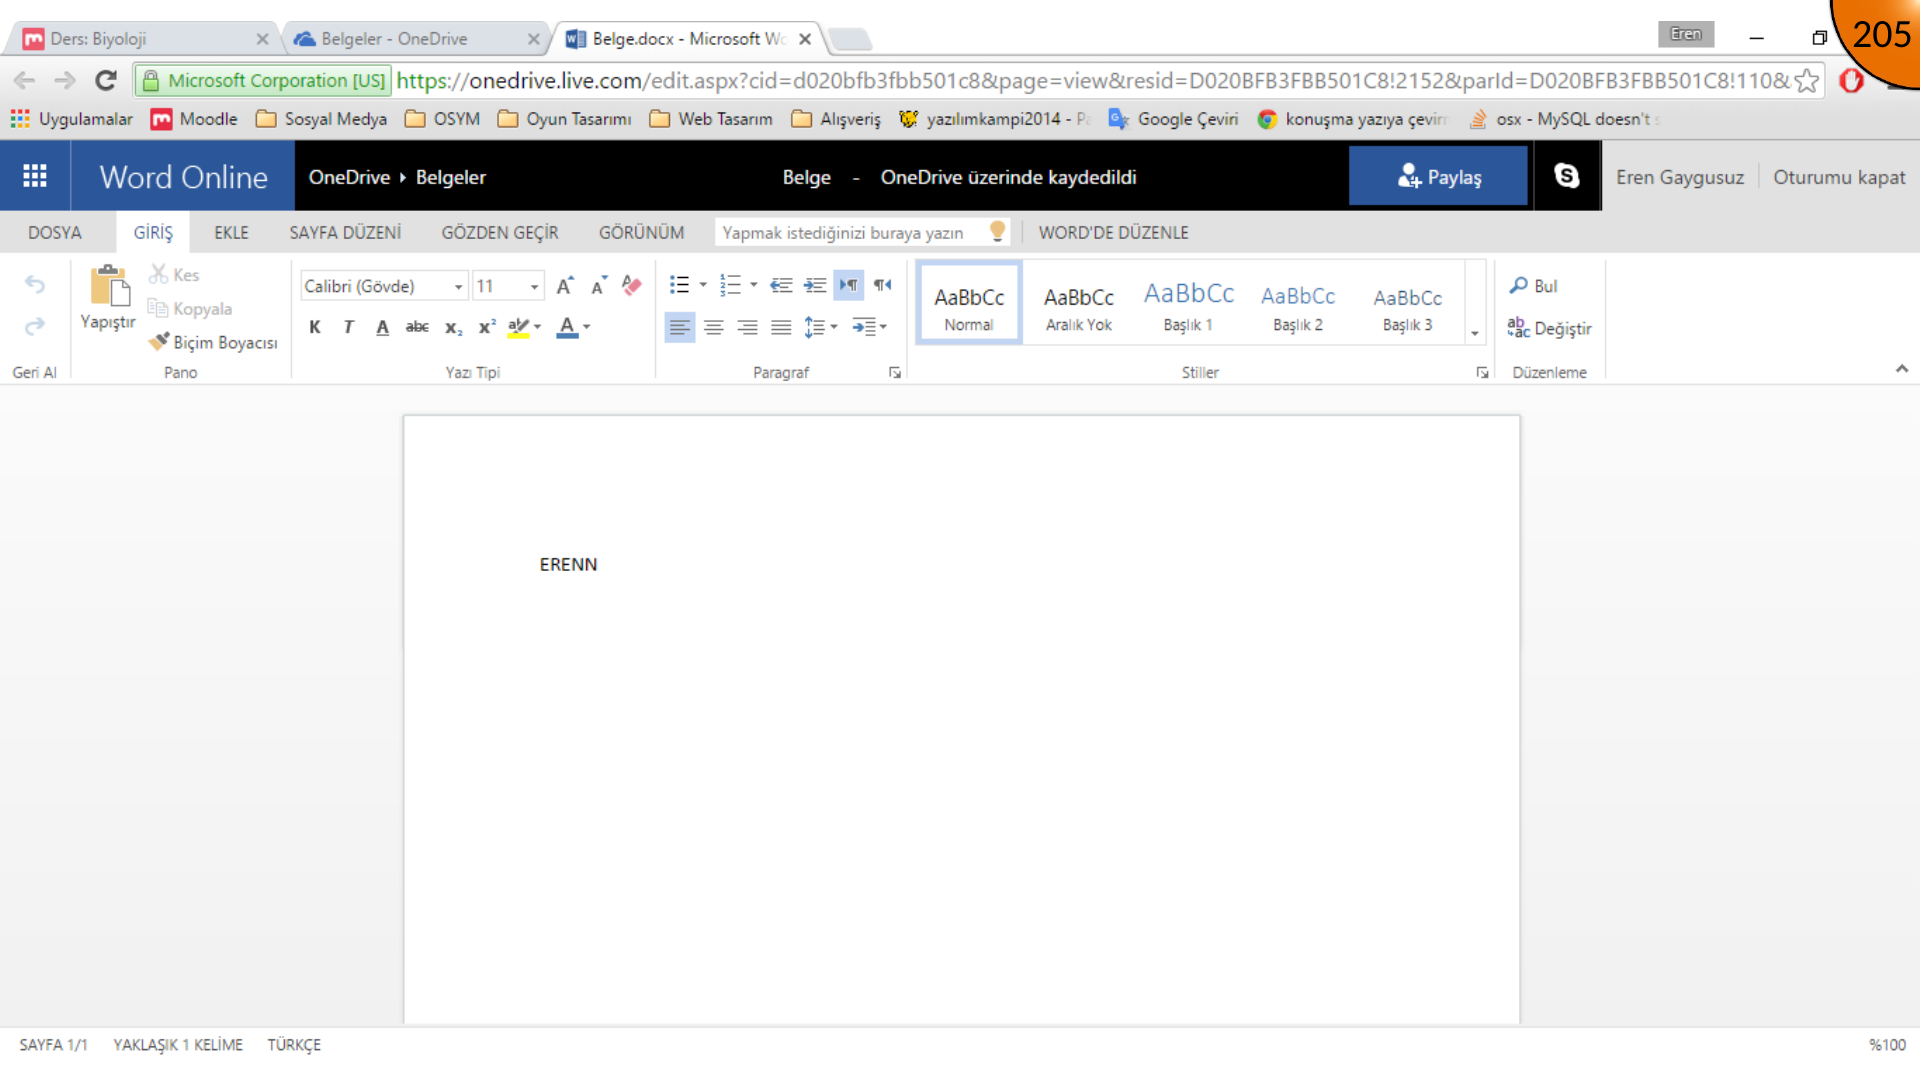
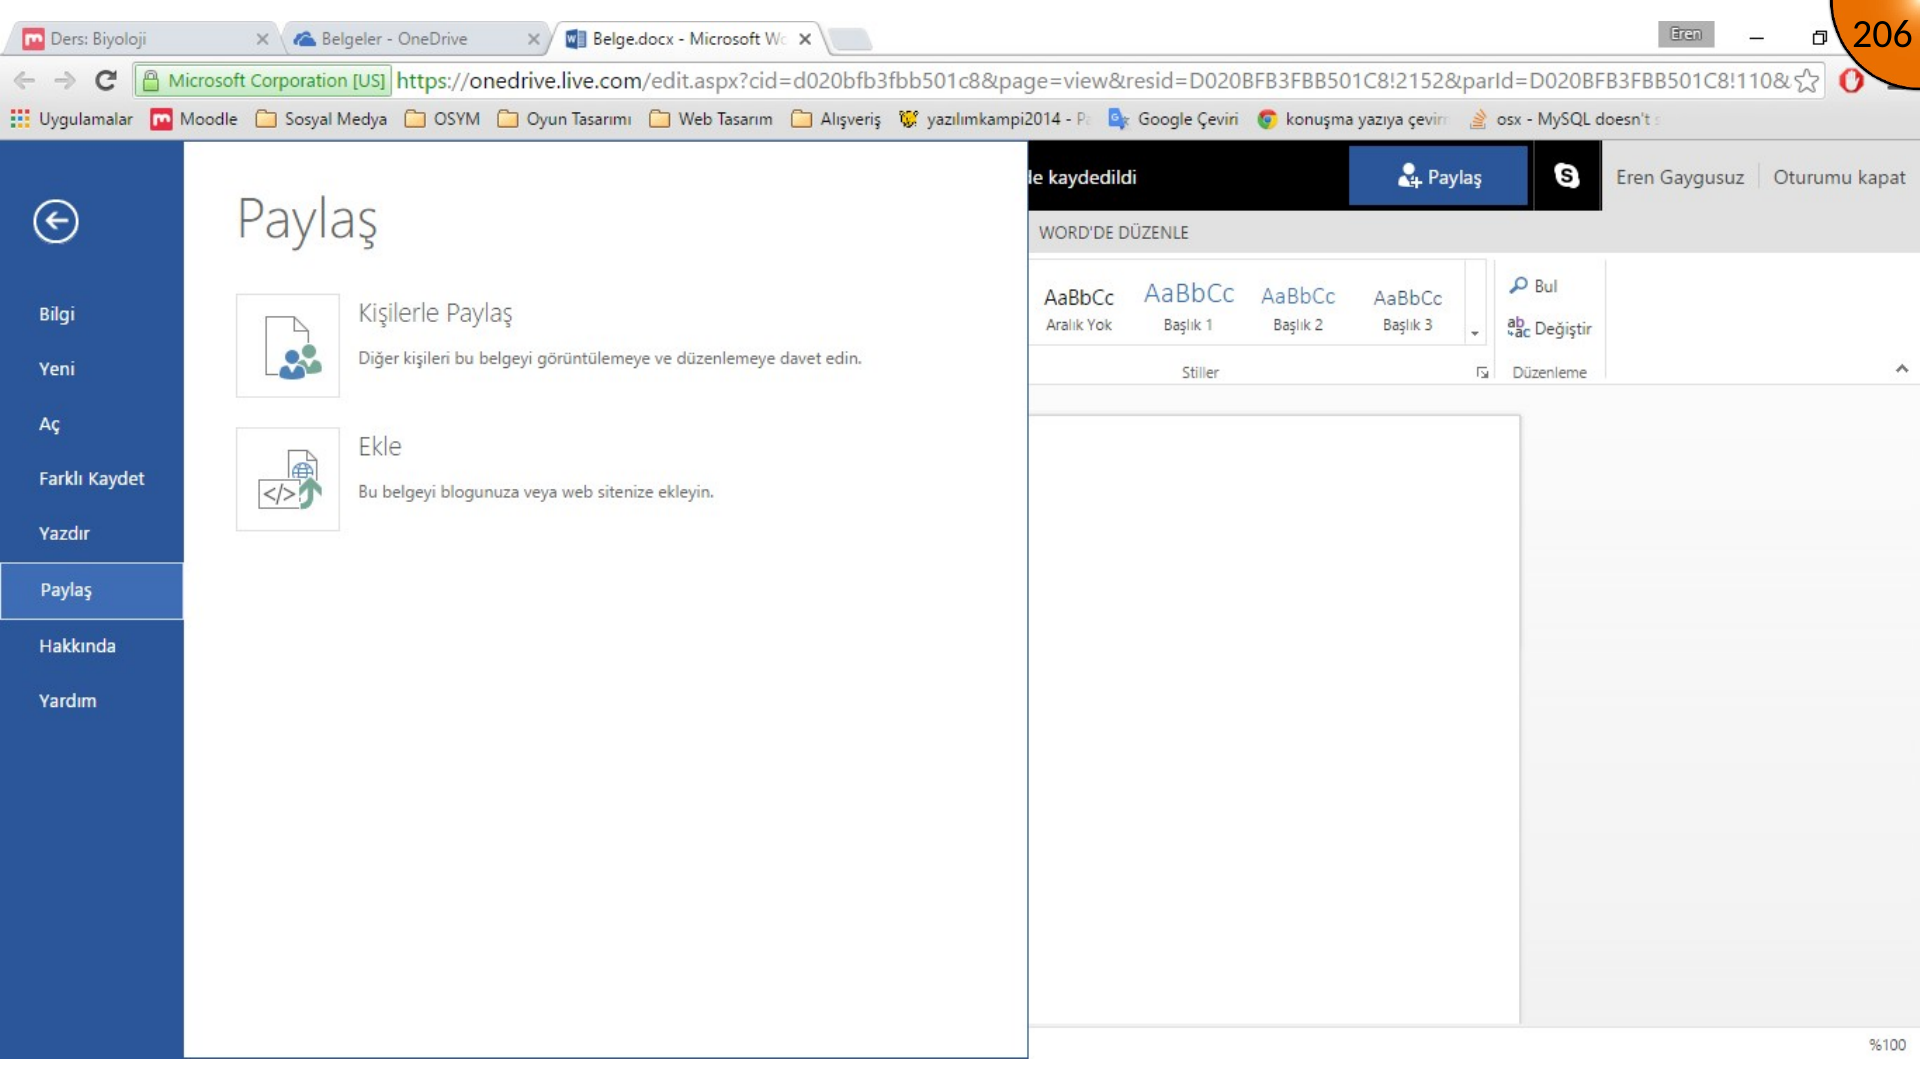
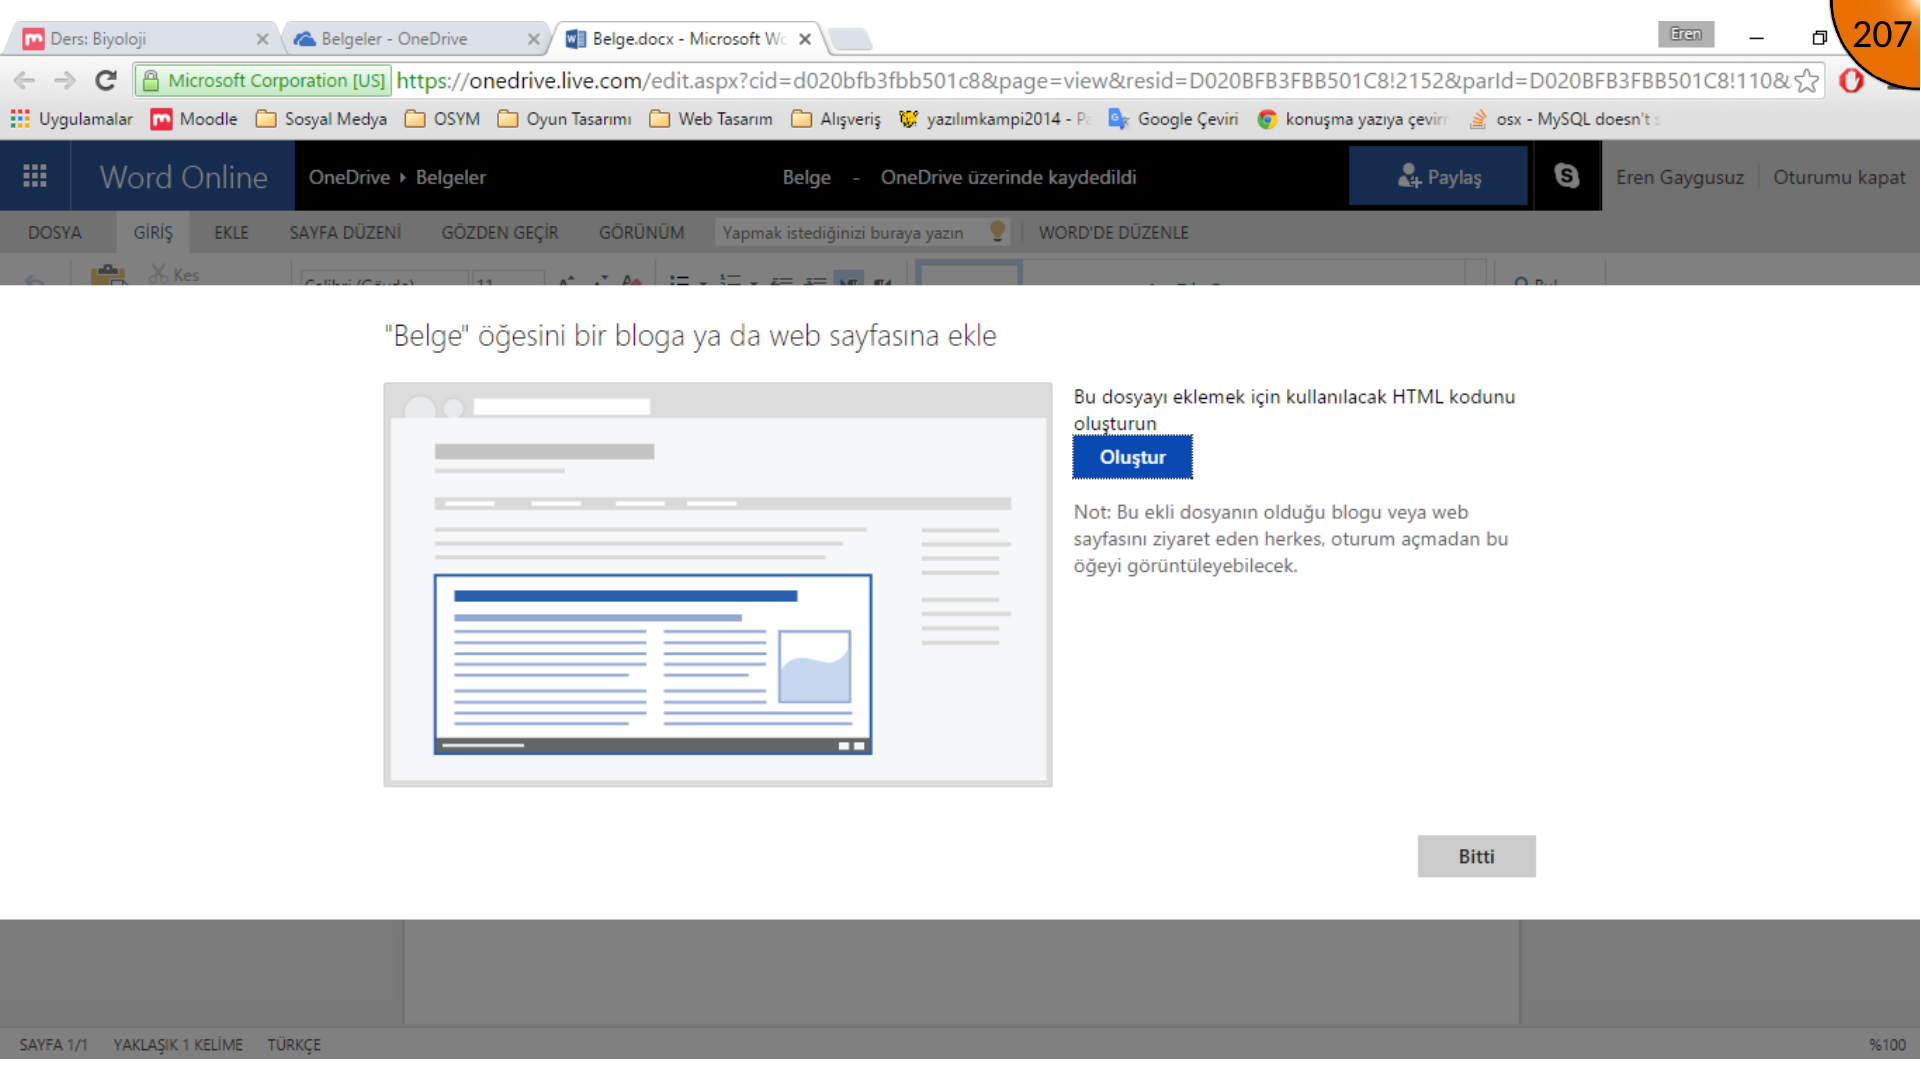
Open the Word document, choose File, then open the sharing area and select the embed option. Create the code, adjust the available dimensions and interaction settings, then copy it.
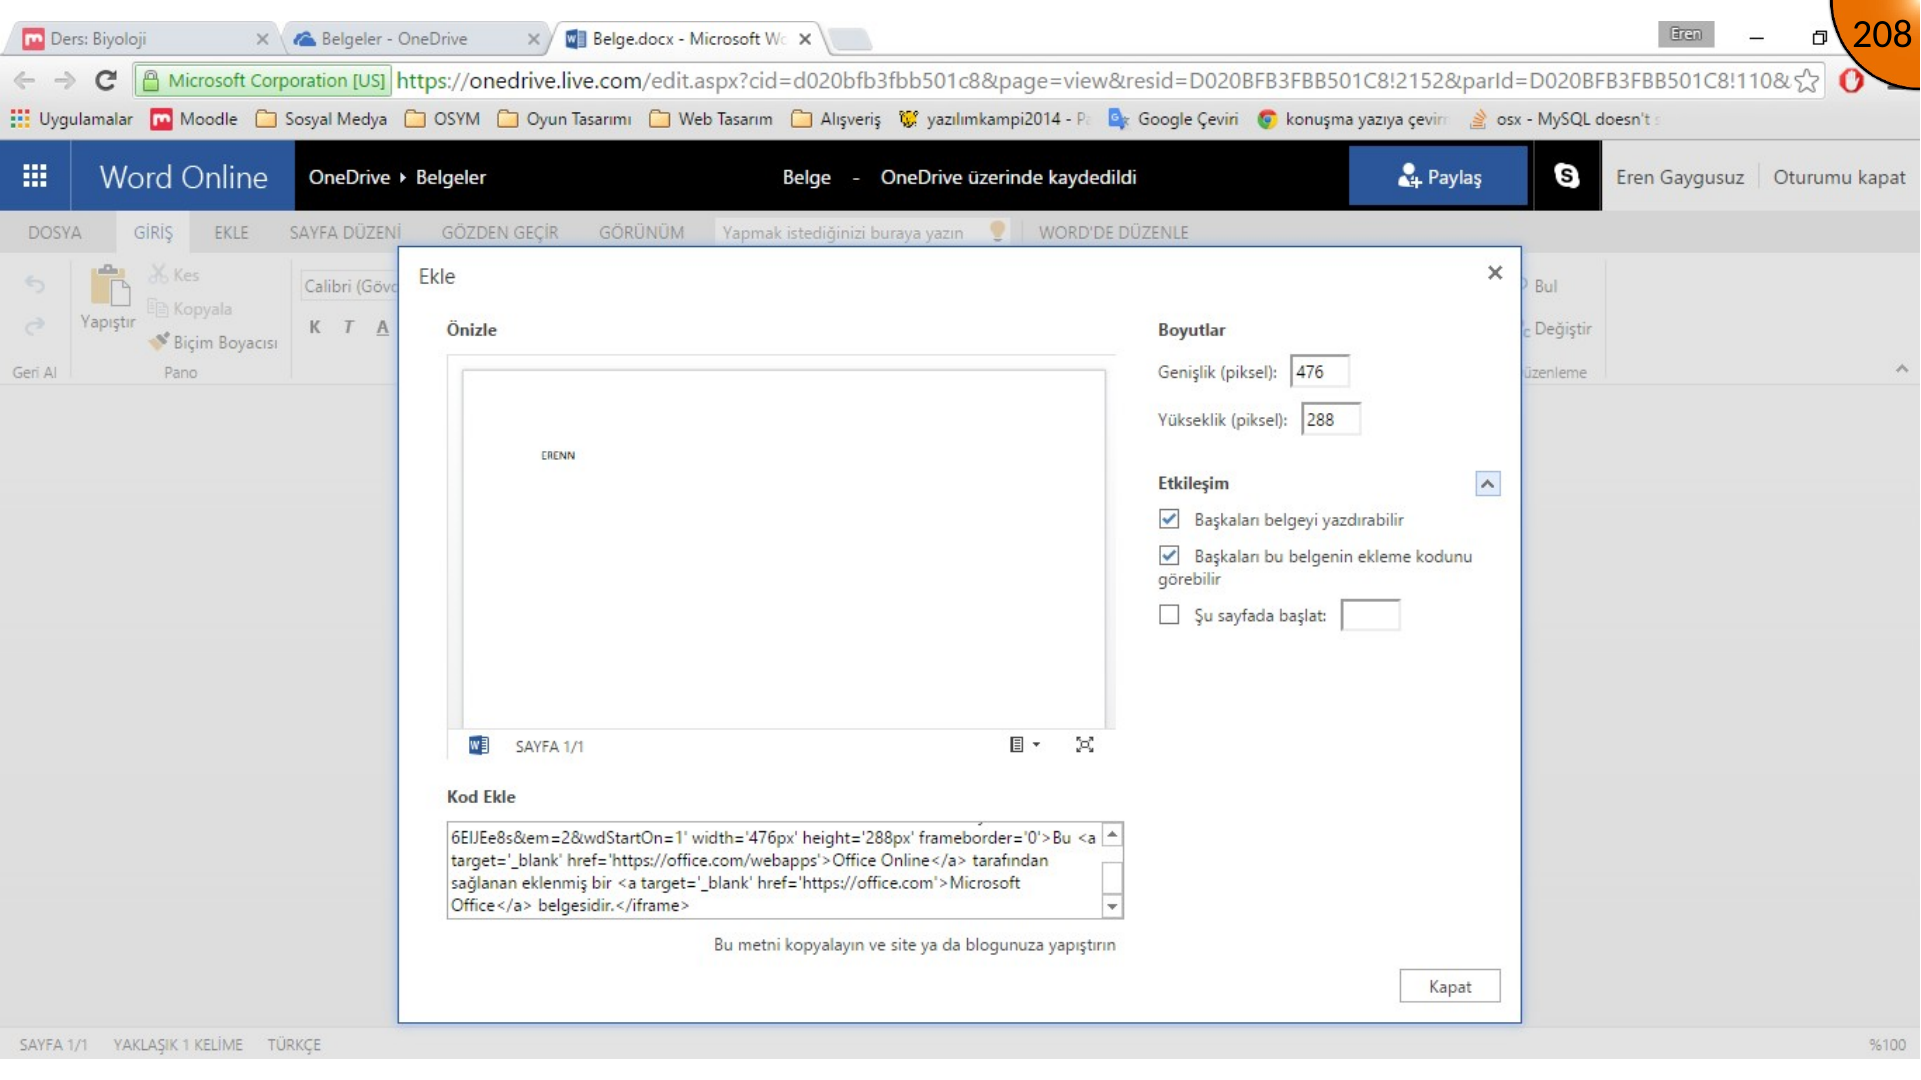
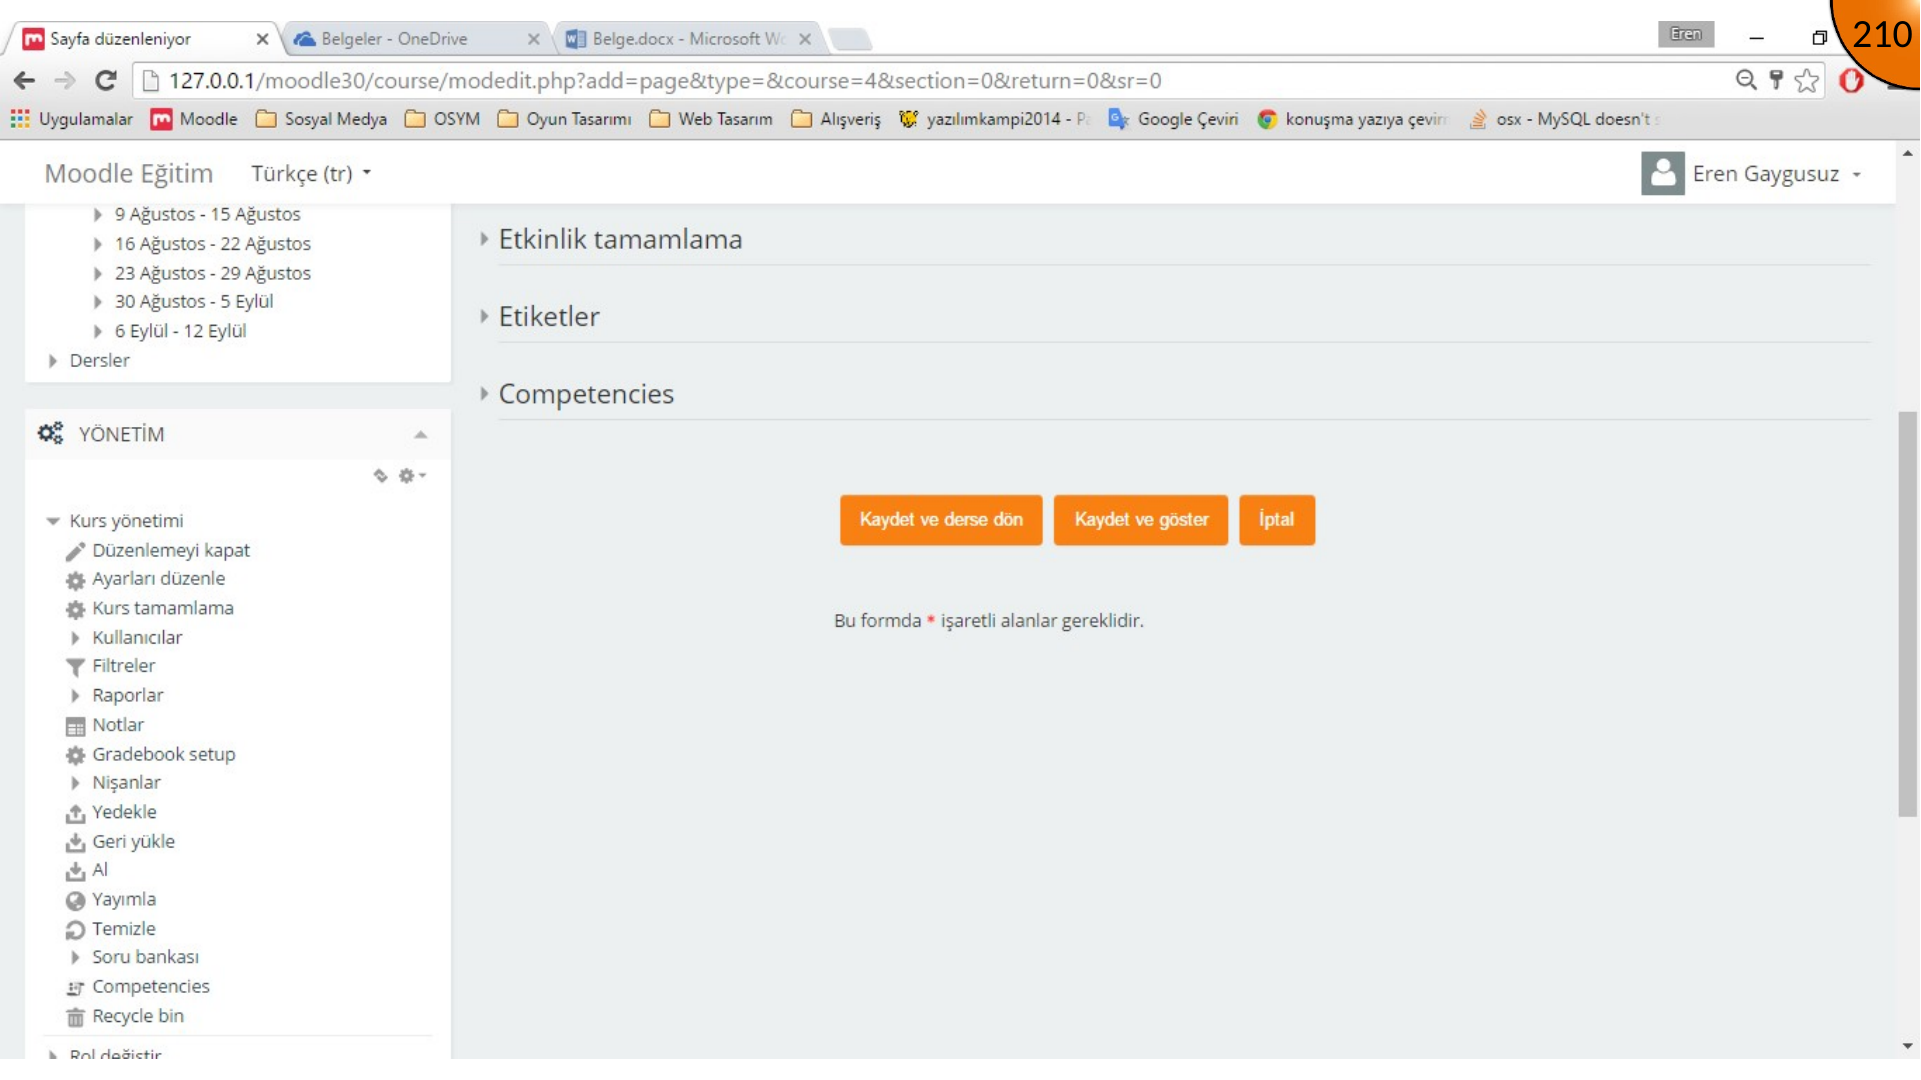
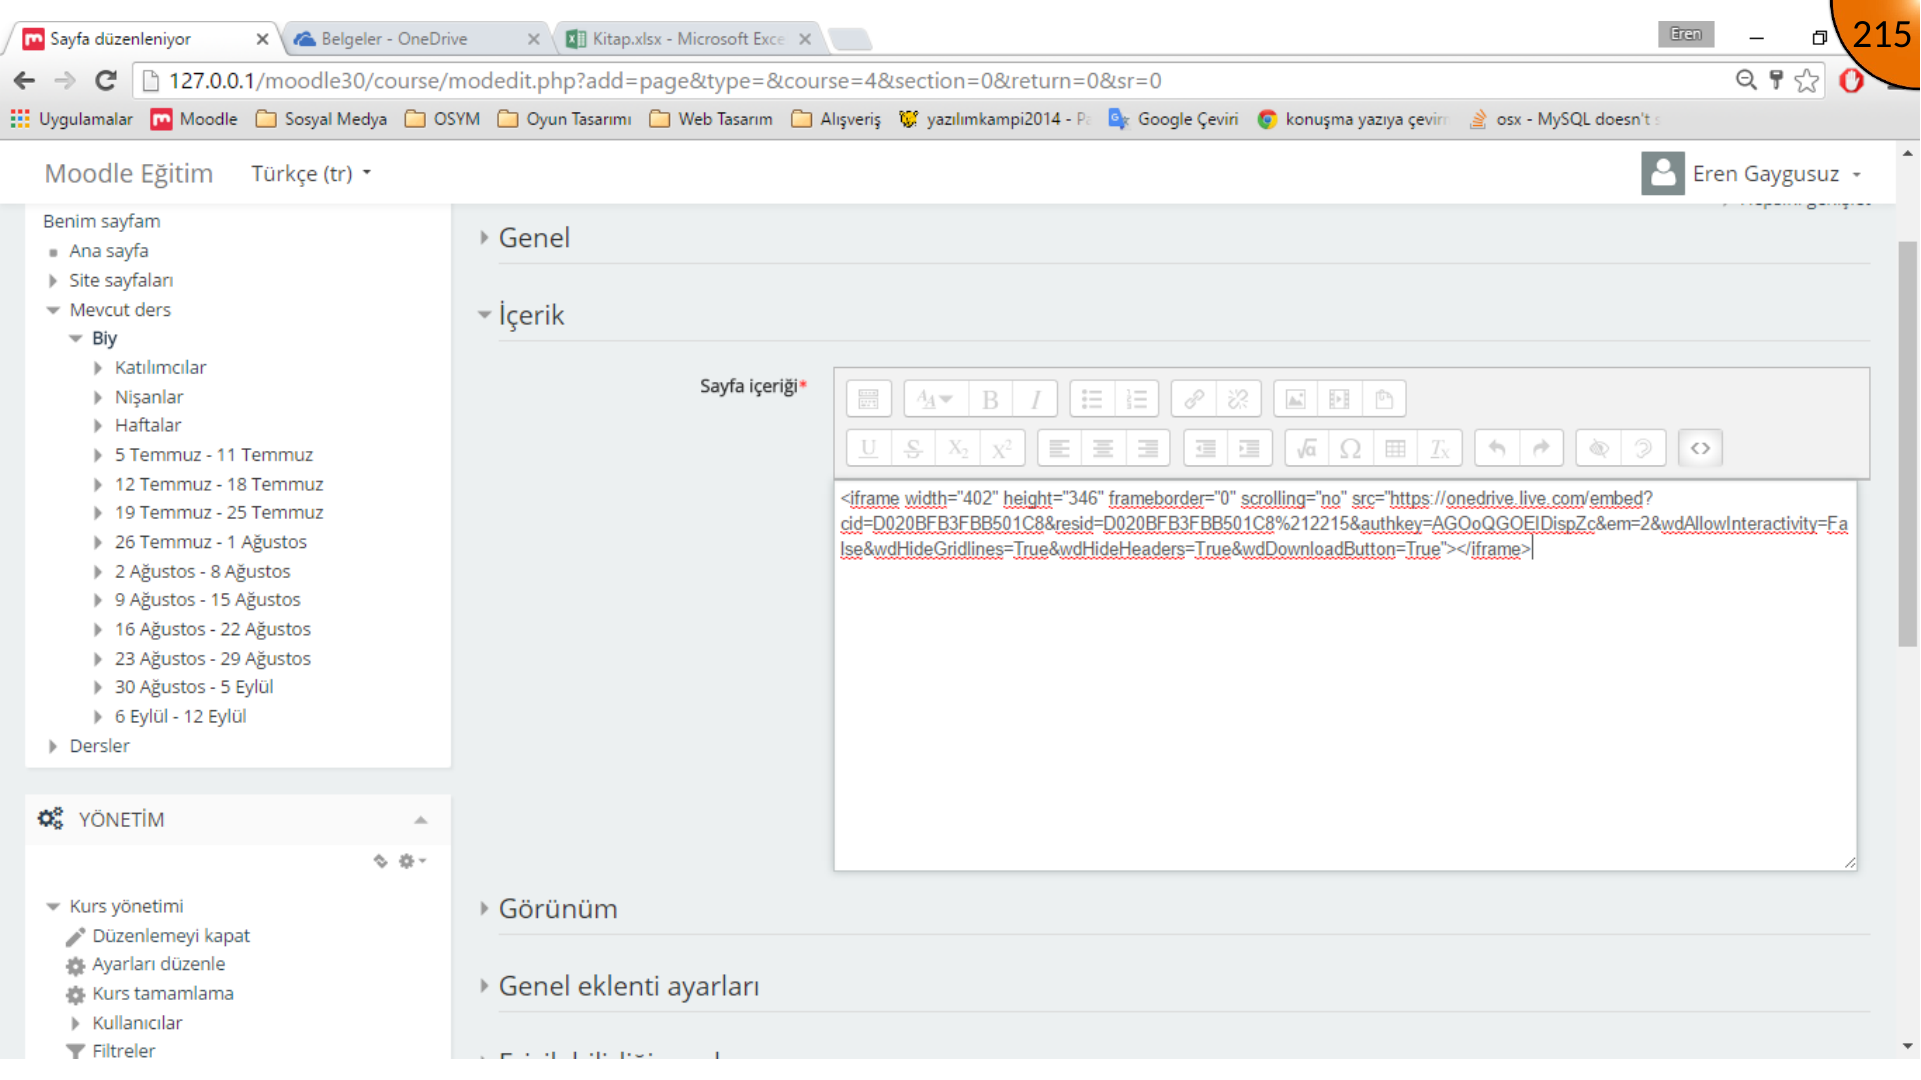
Create a Moodle Page resource, switch its content editor to HTML mode, paste the code, and save it.
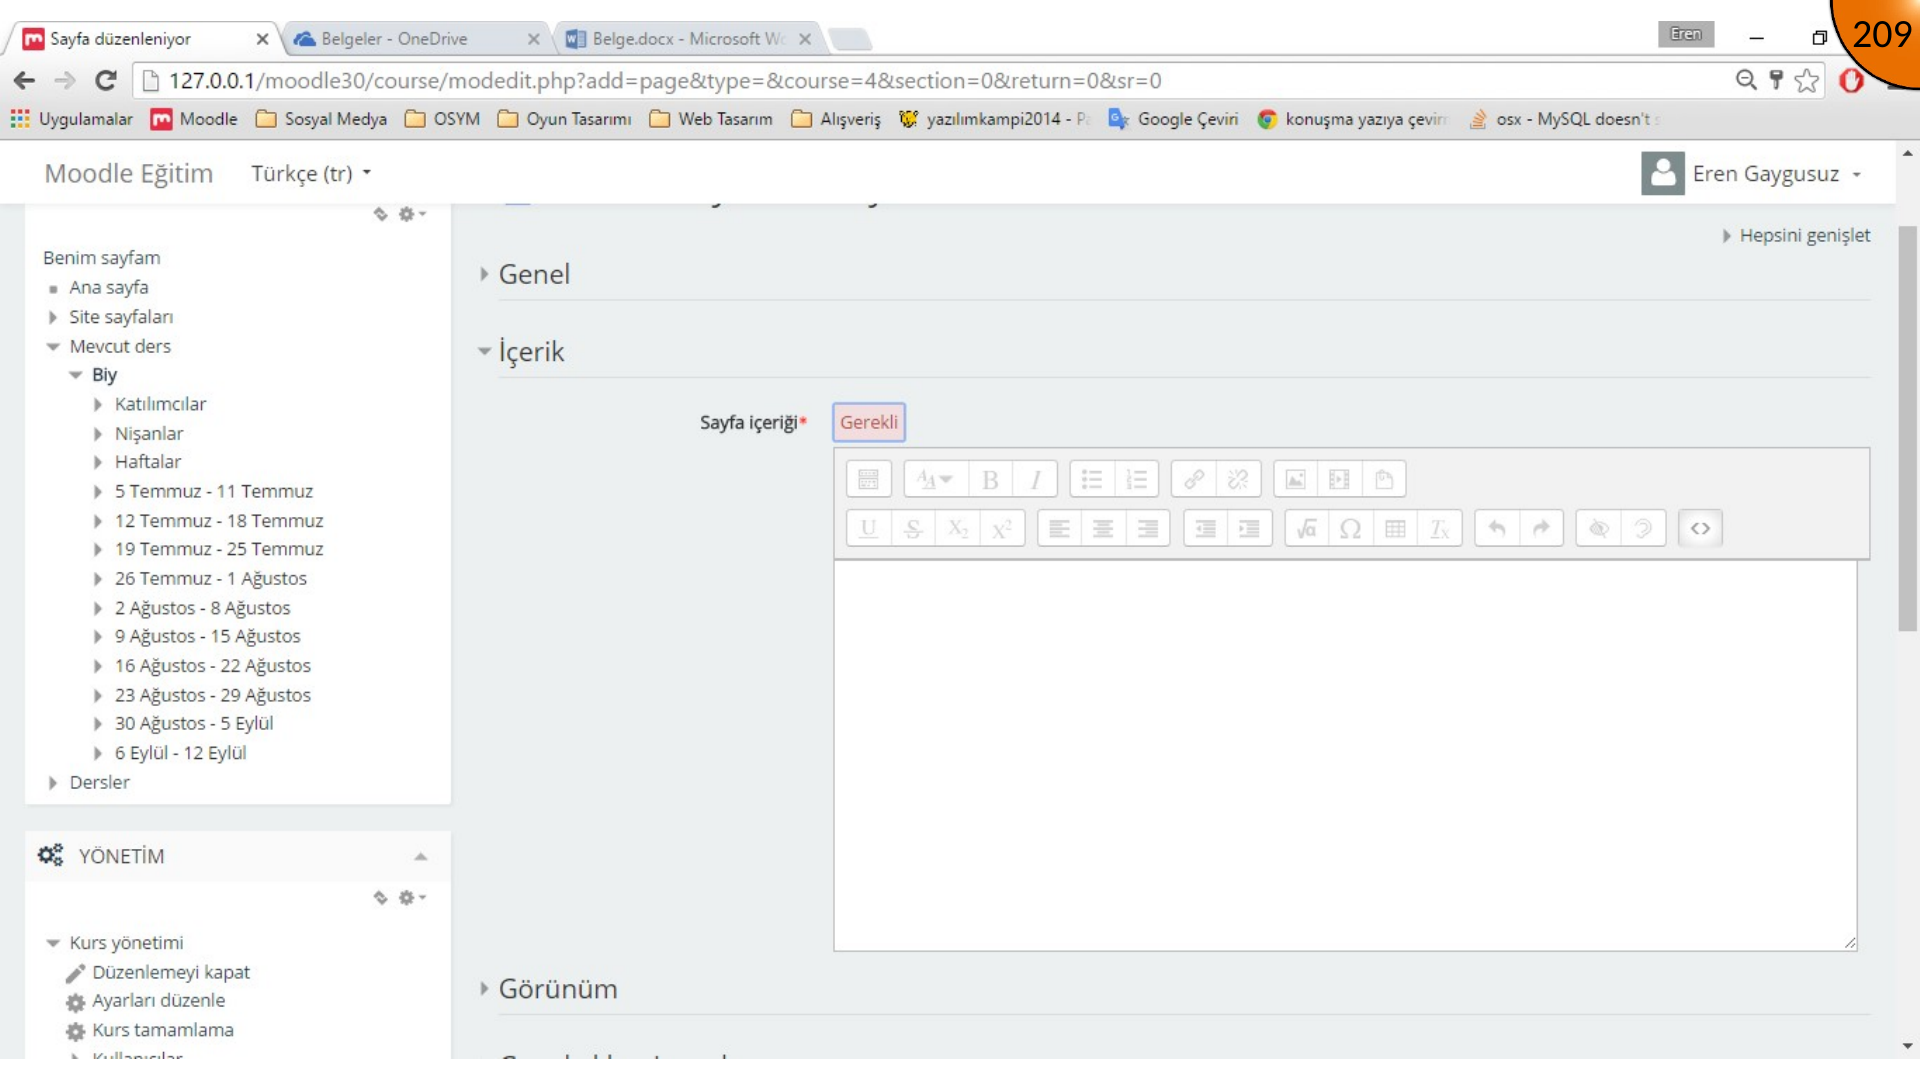
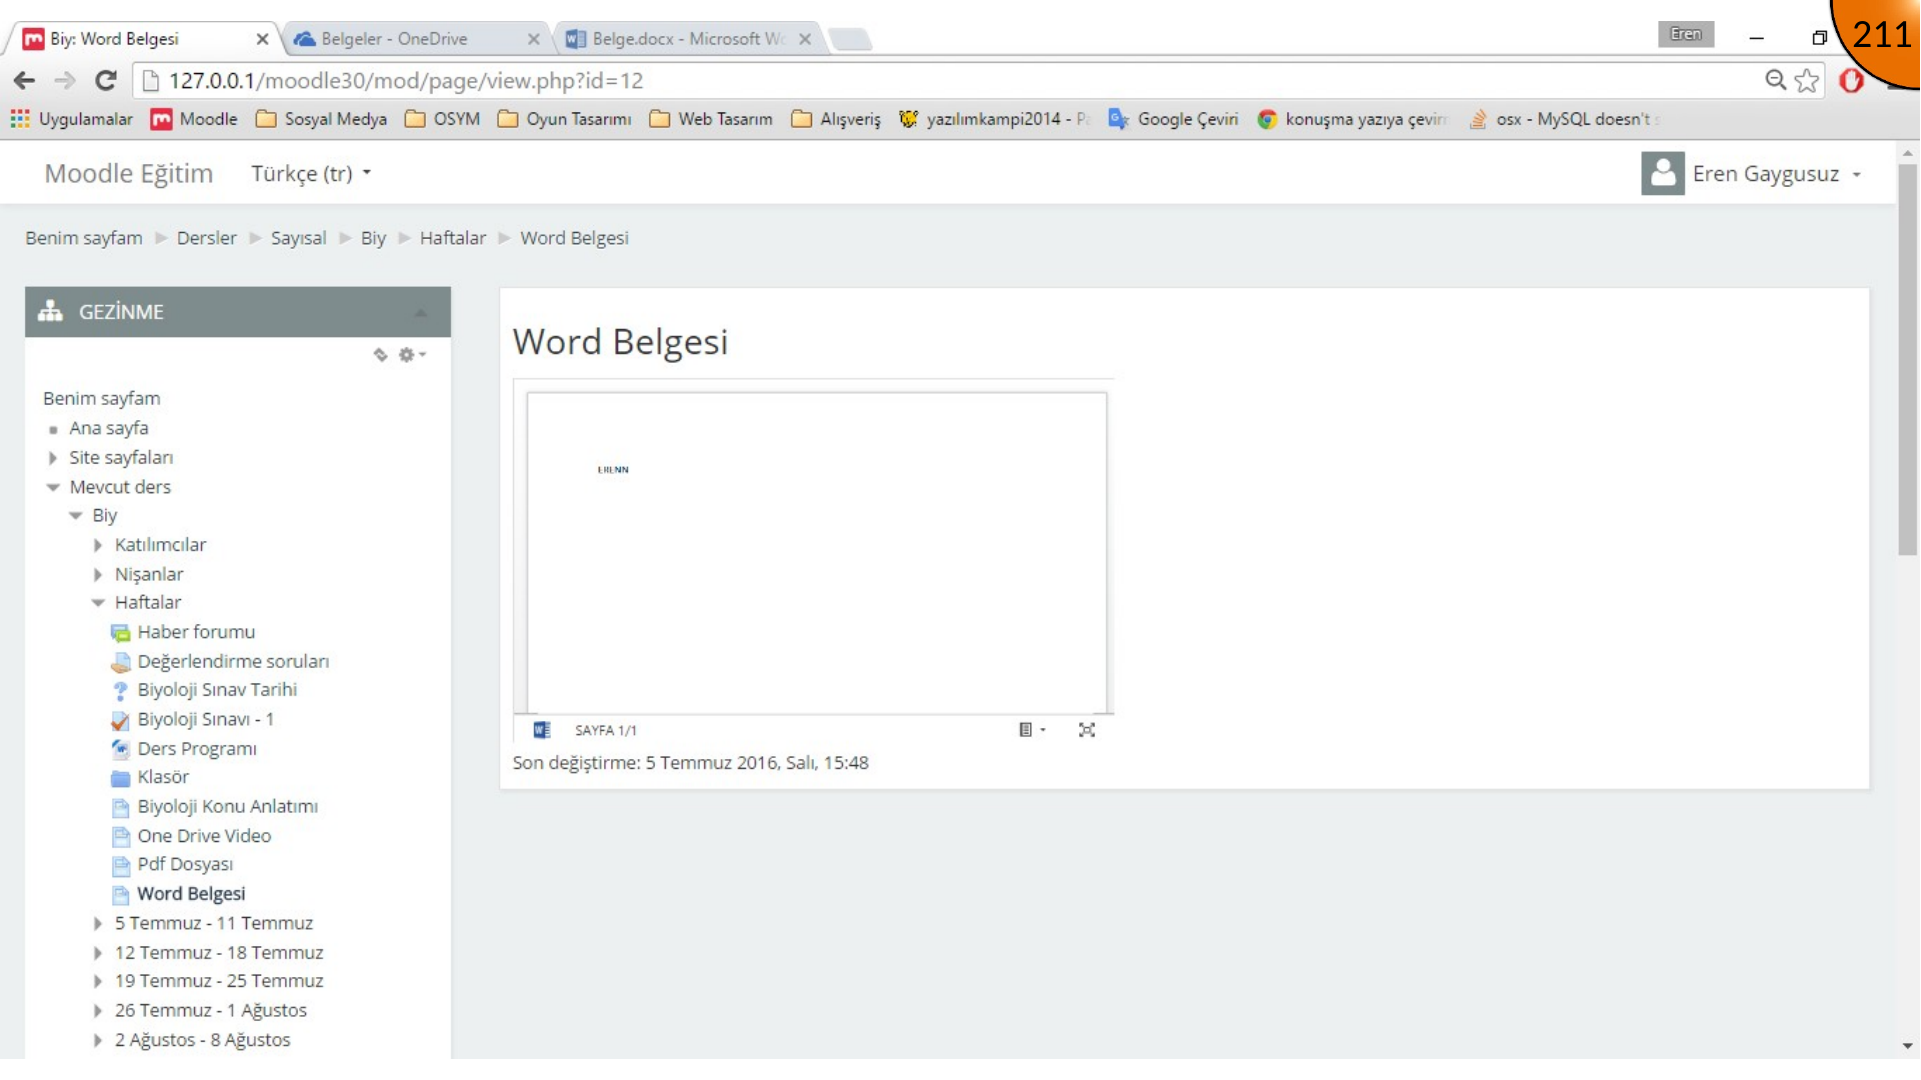
If the result is too small, adjust the iframe’s width and height values in HTML mode, as in the preceding PDF example.
<iframe src="..." width="1000" height="1210"></iframe>Embedding an Excel Workbook
Open the Excel file, use File > Share > Embed, review the available display and interaction settings, then copy the generated code.
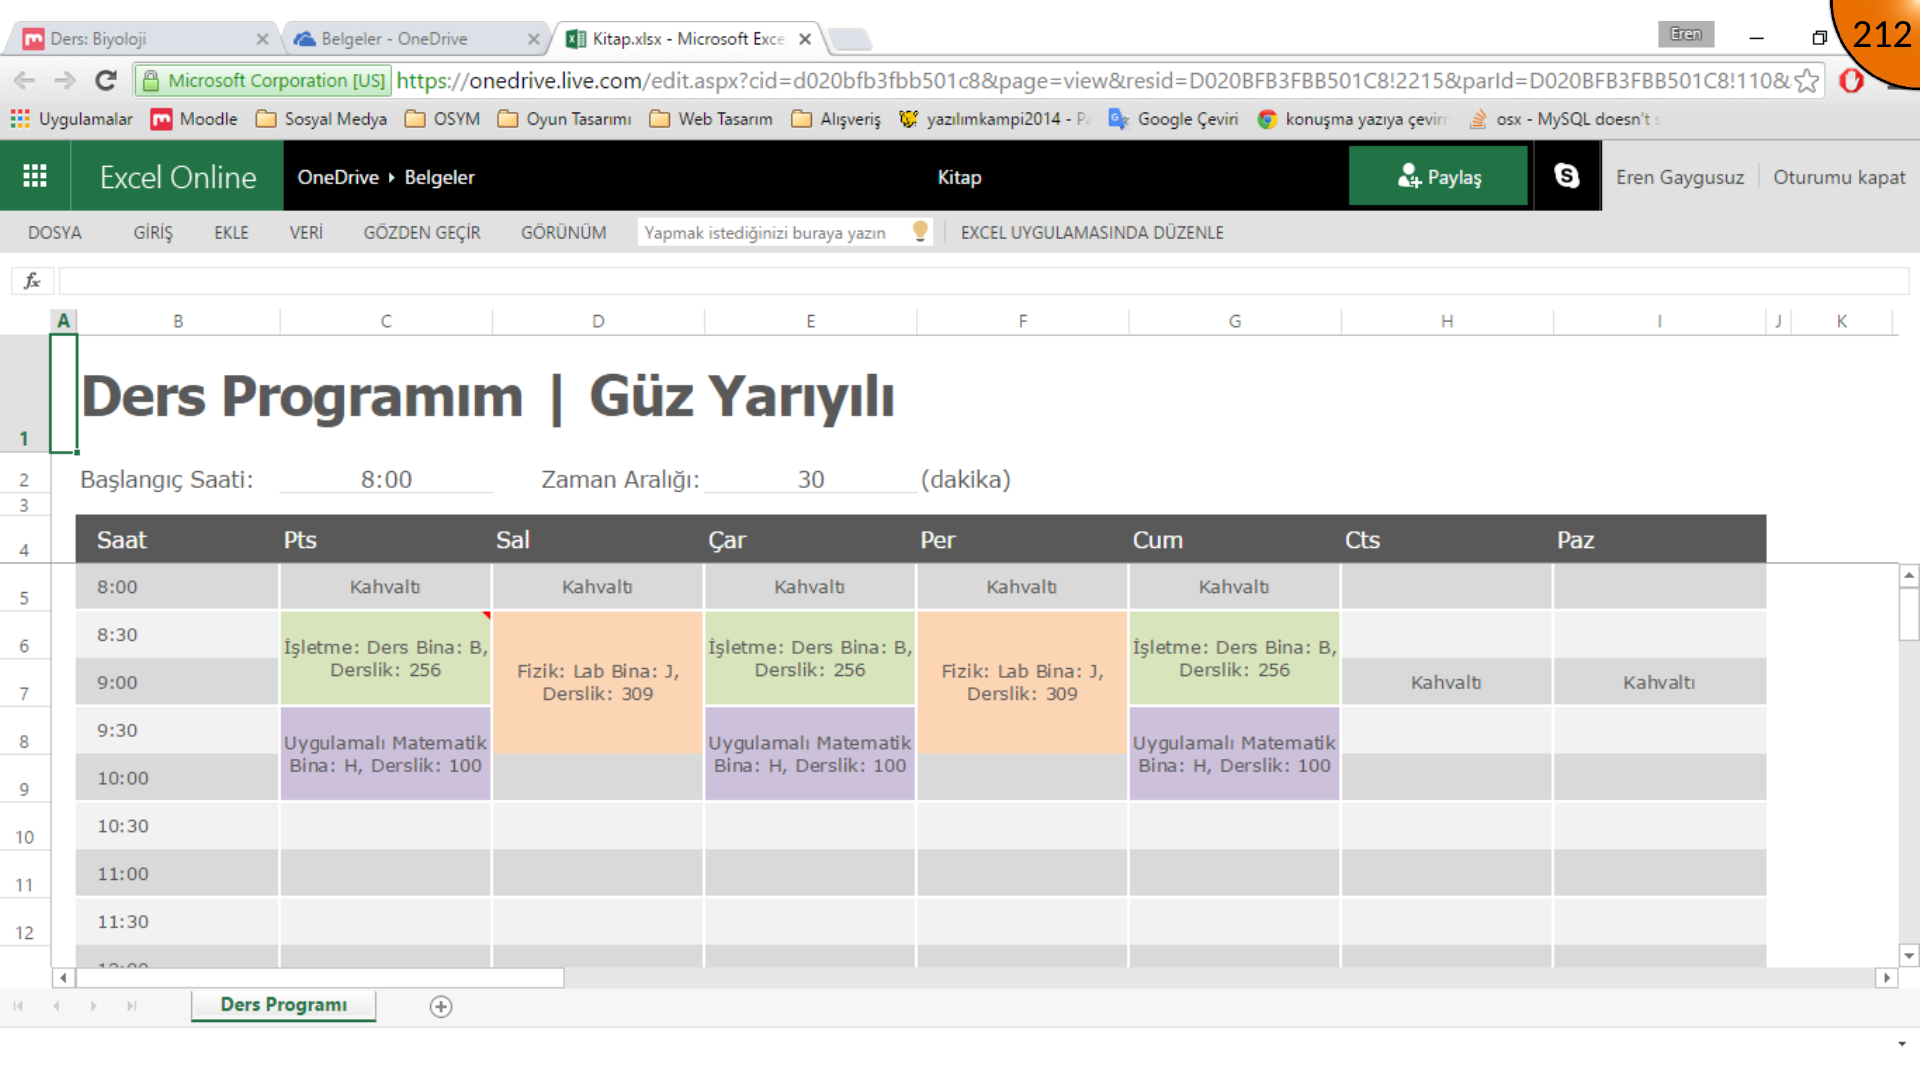
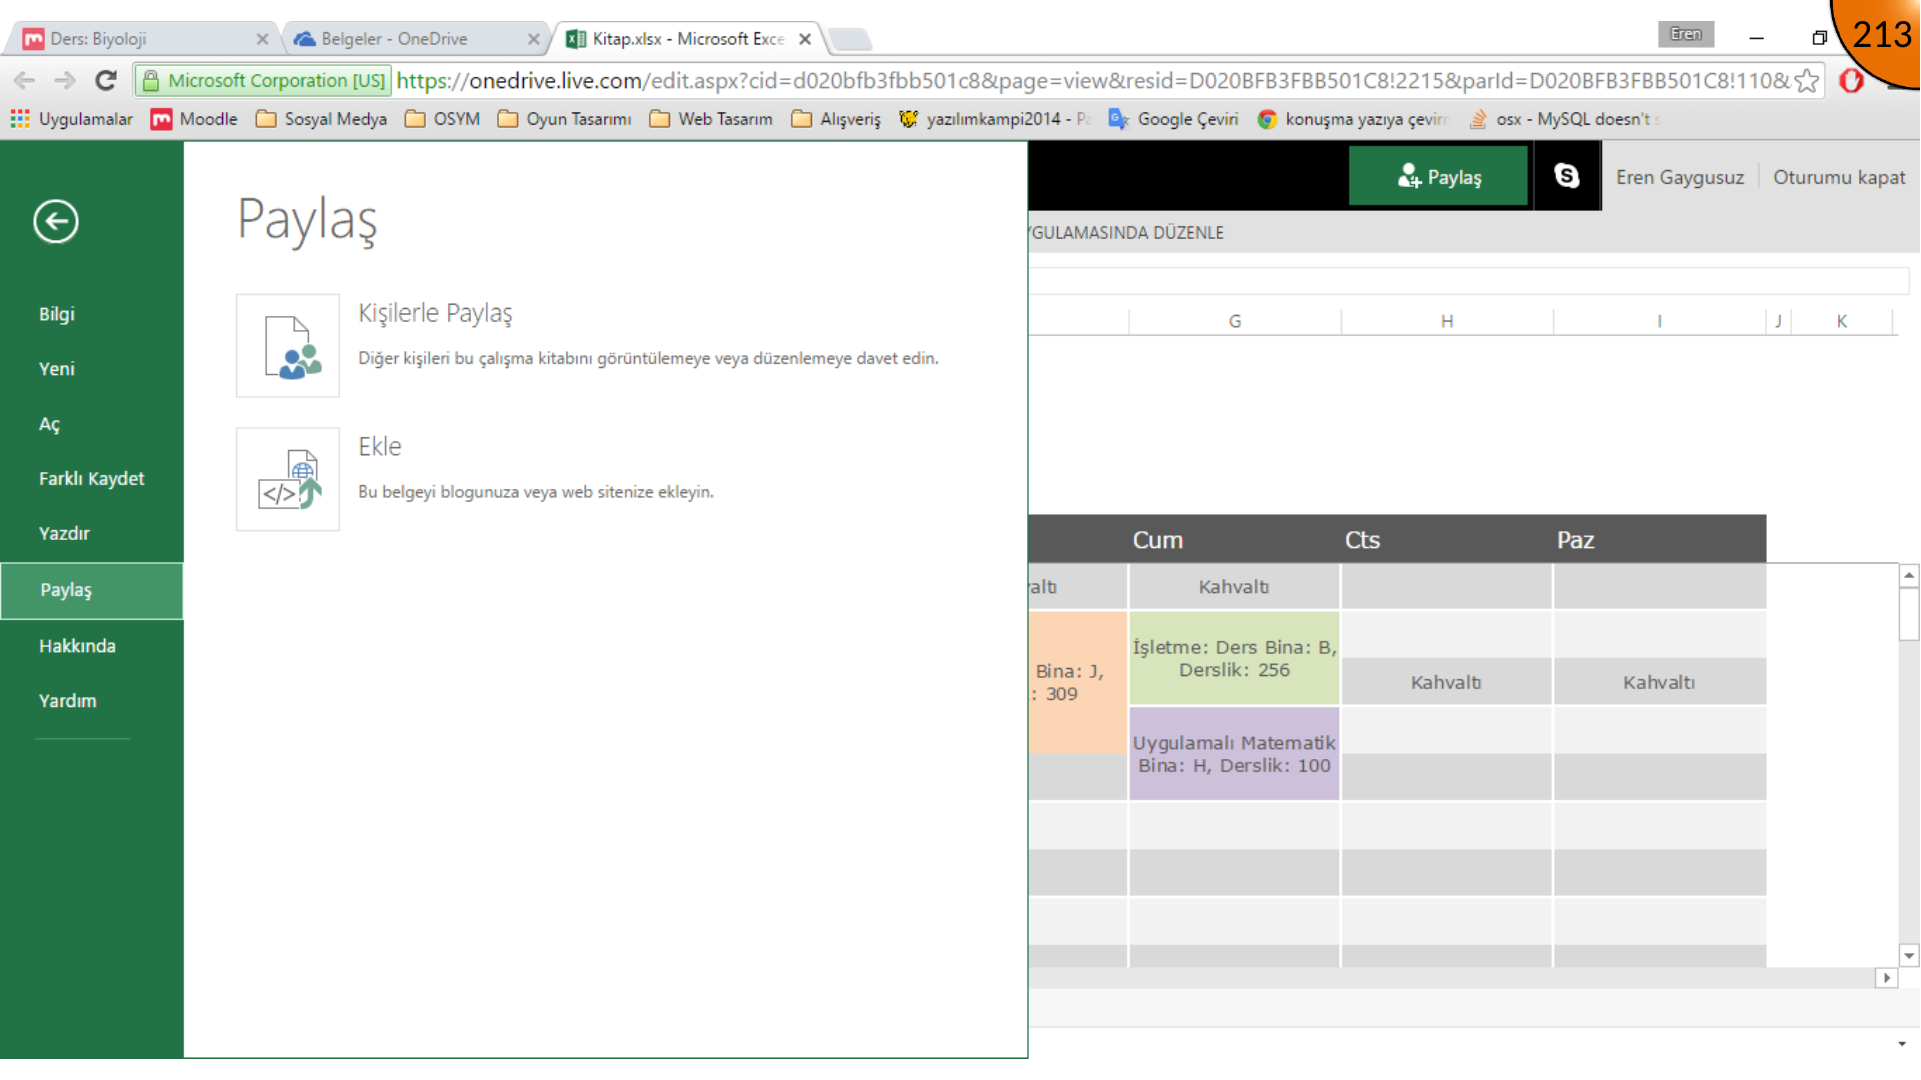
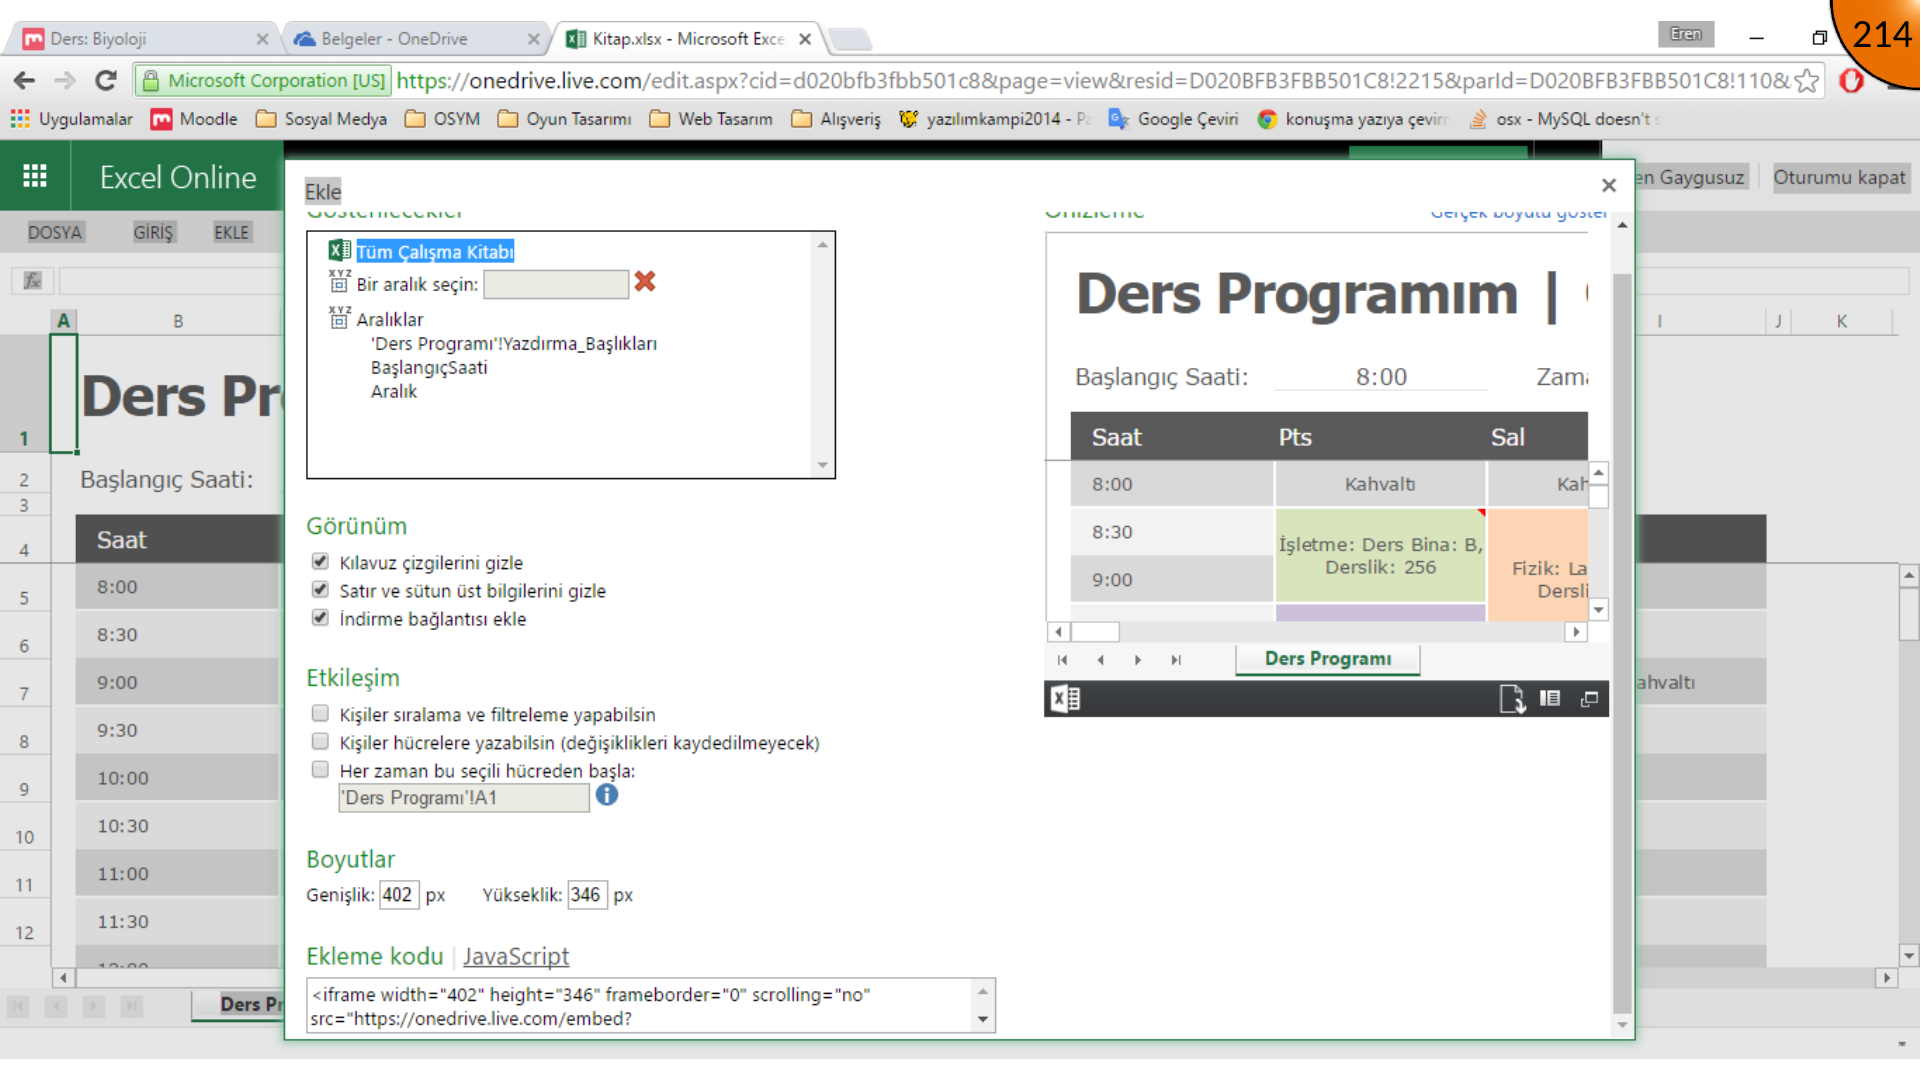
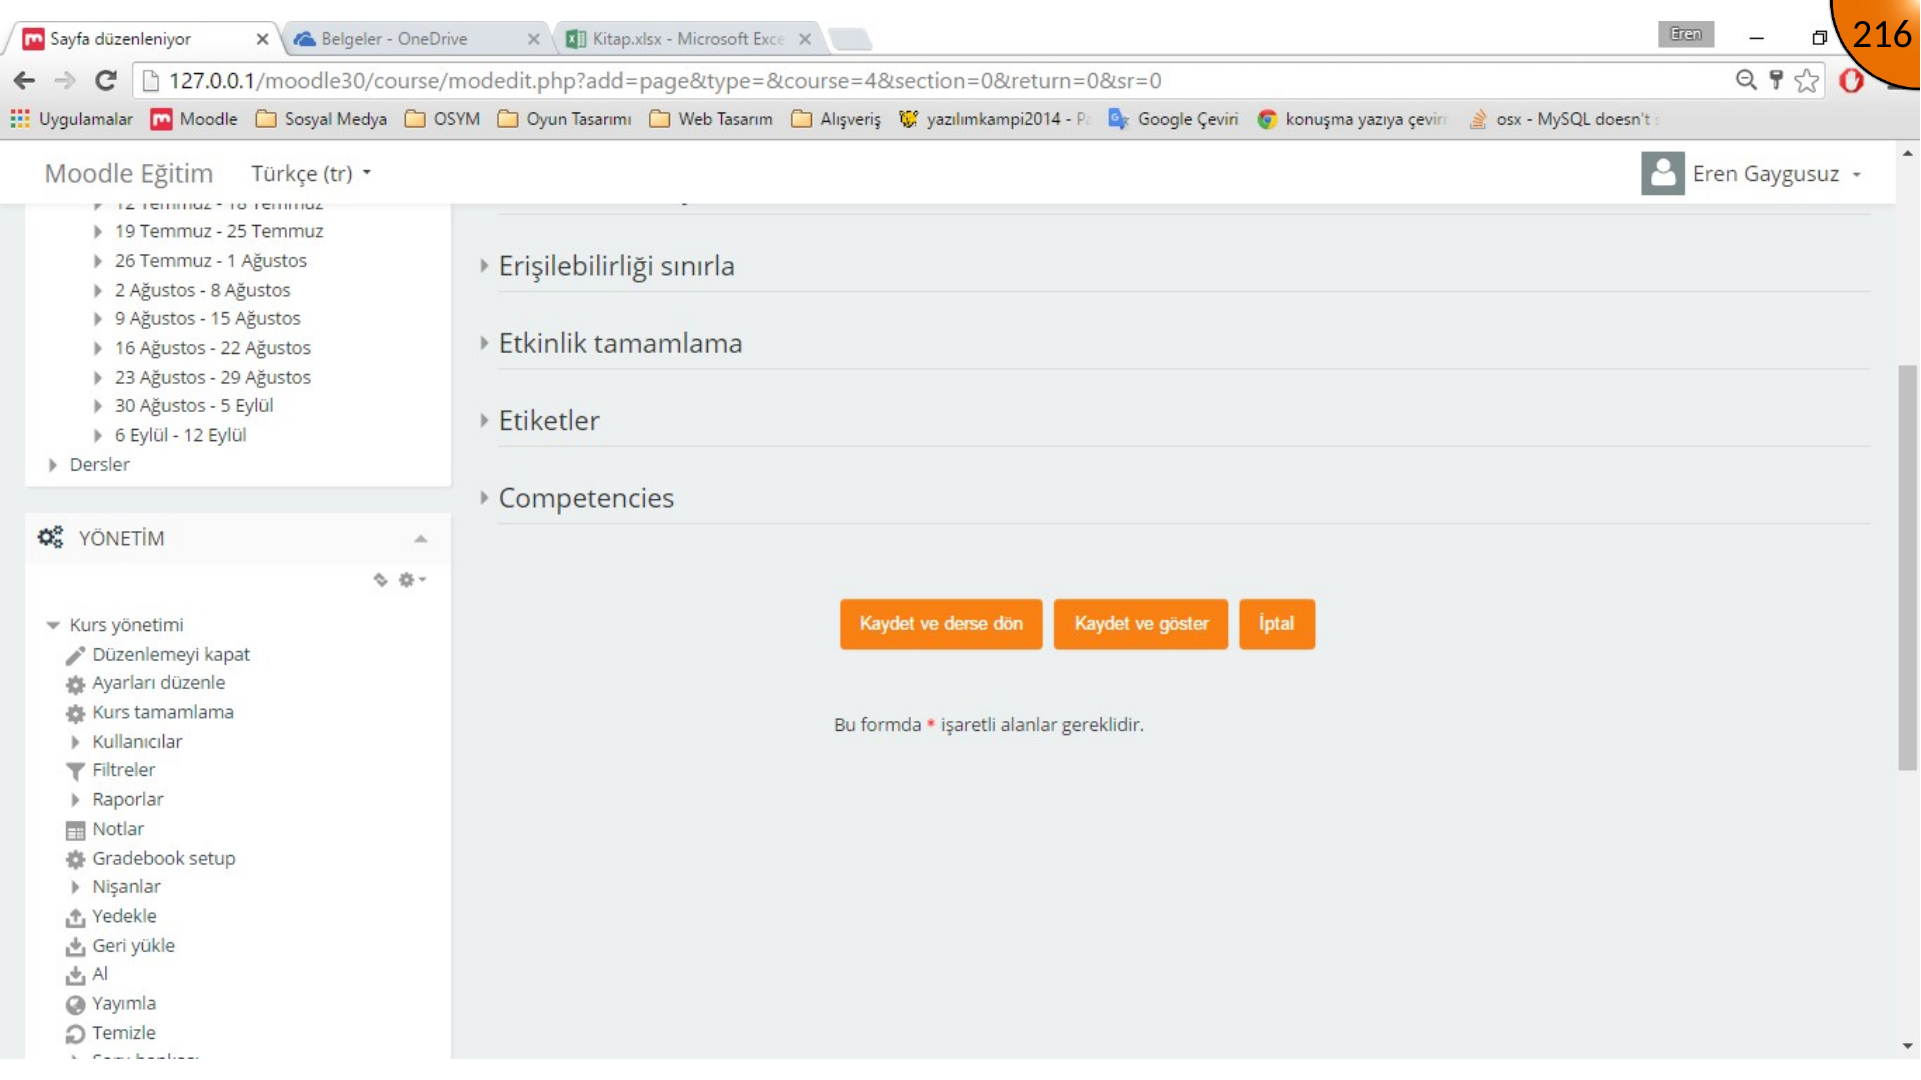
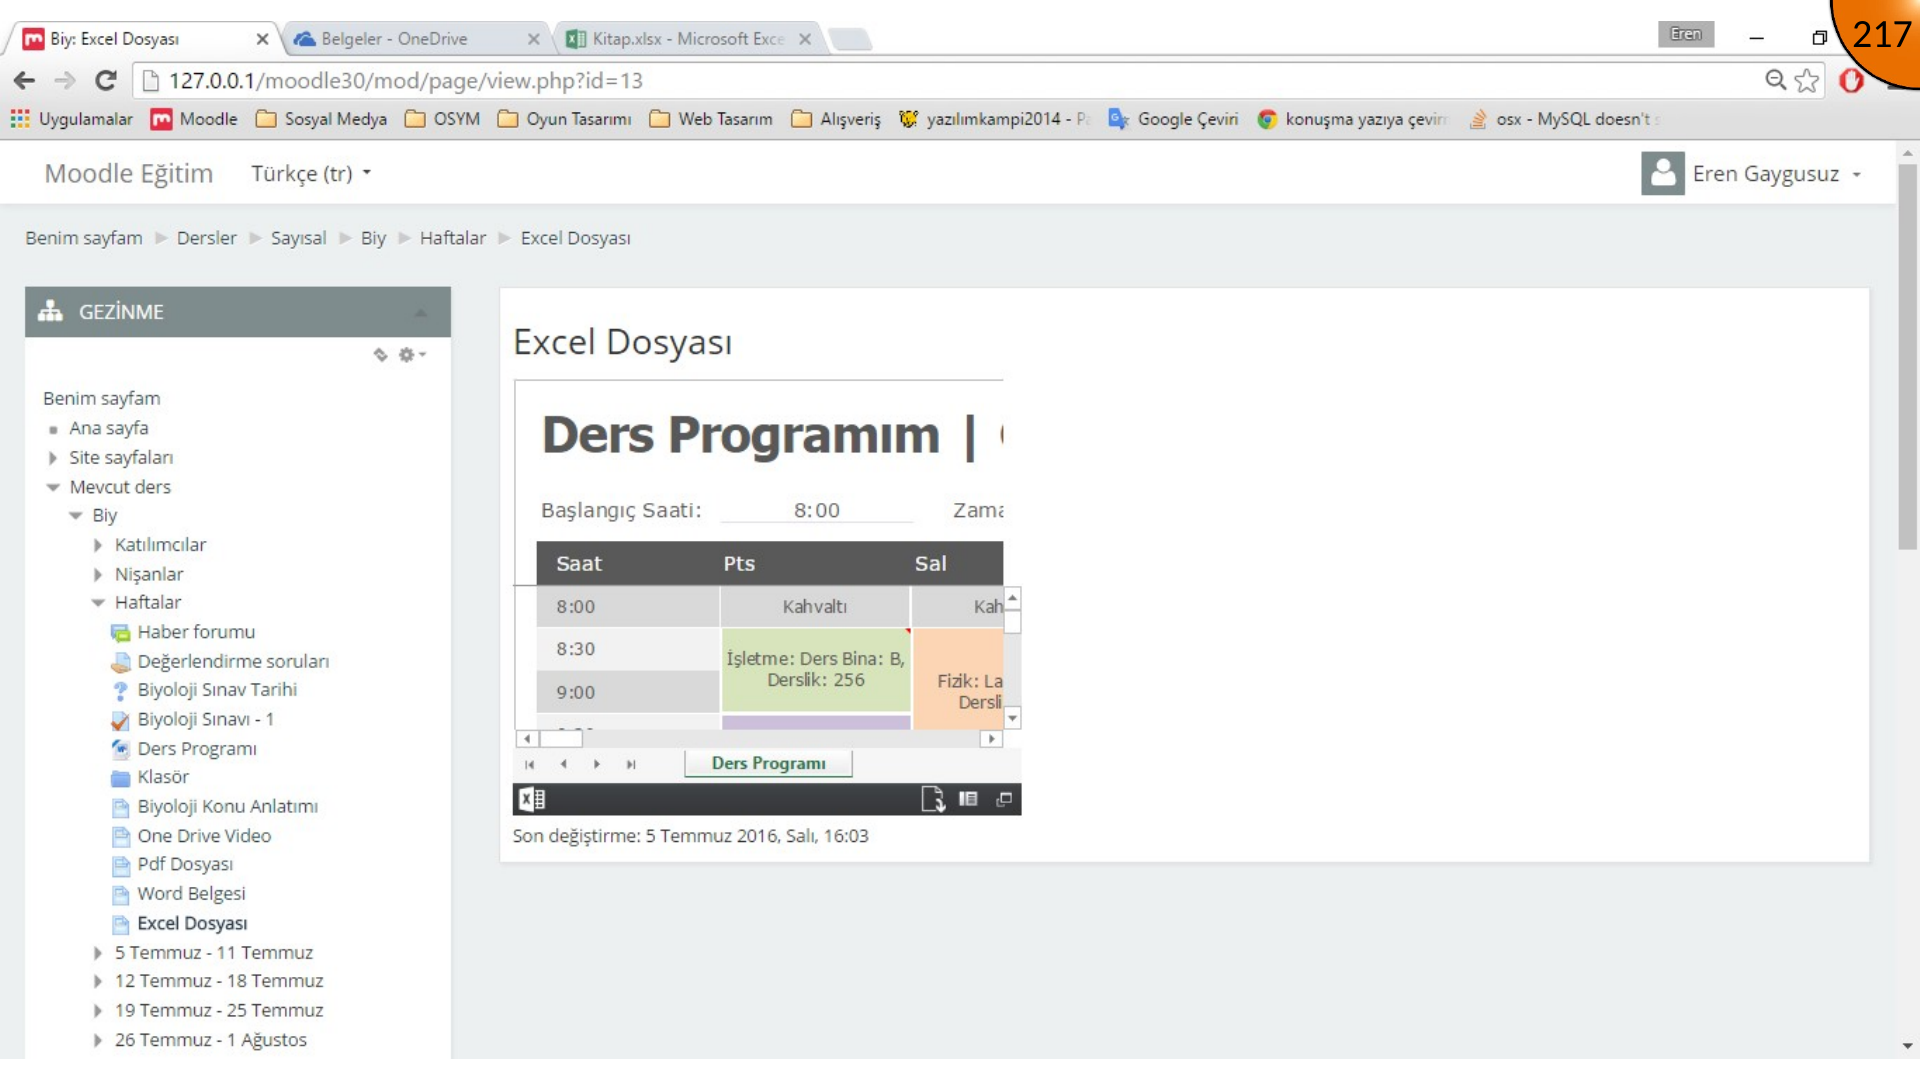
Paste the code into a new Moodle Page resource in HTML mode, then save and display it.
Embedding a PowerPoint Presentation
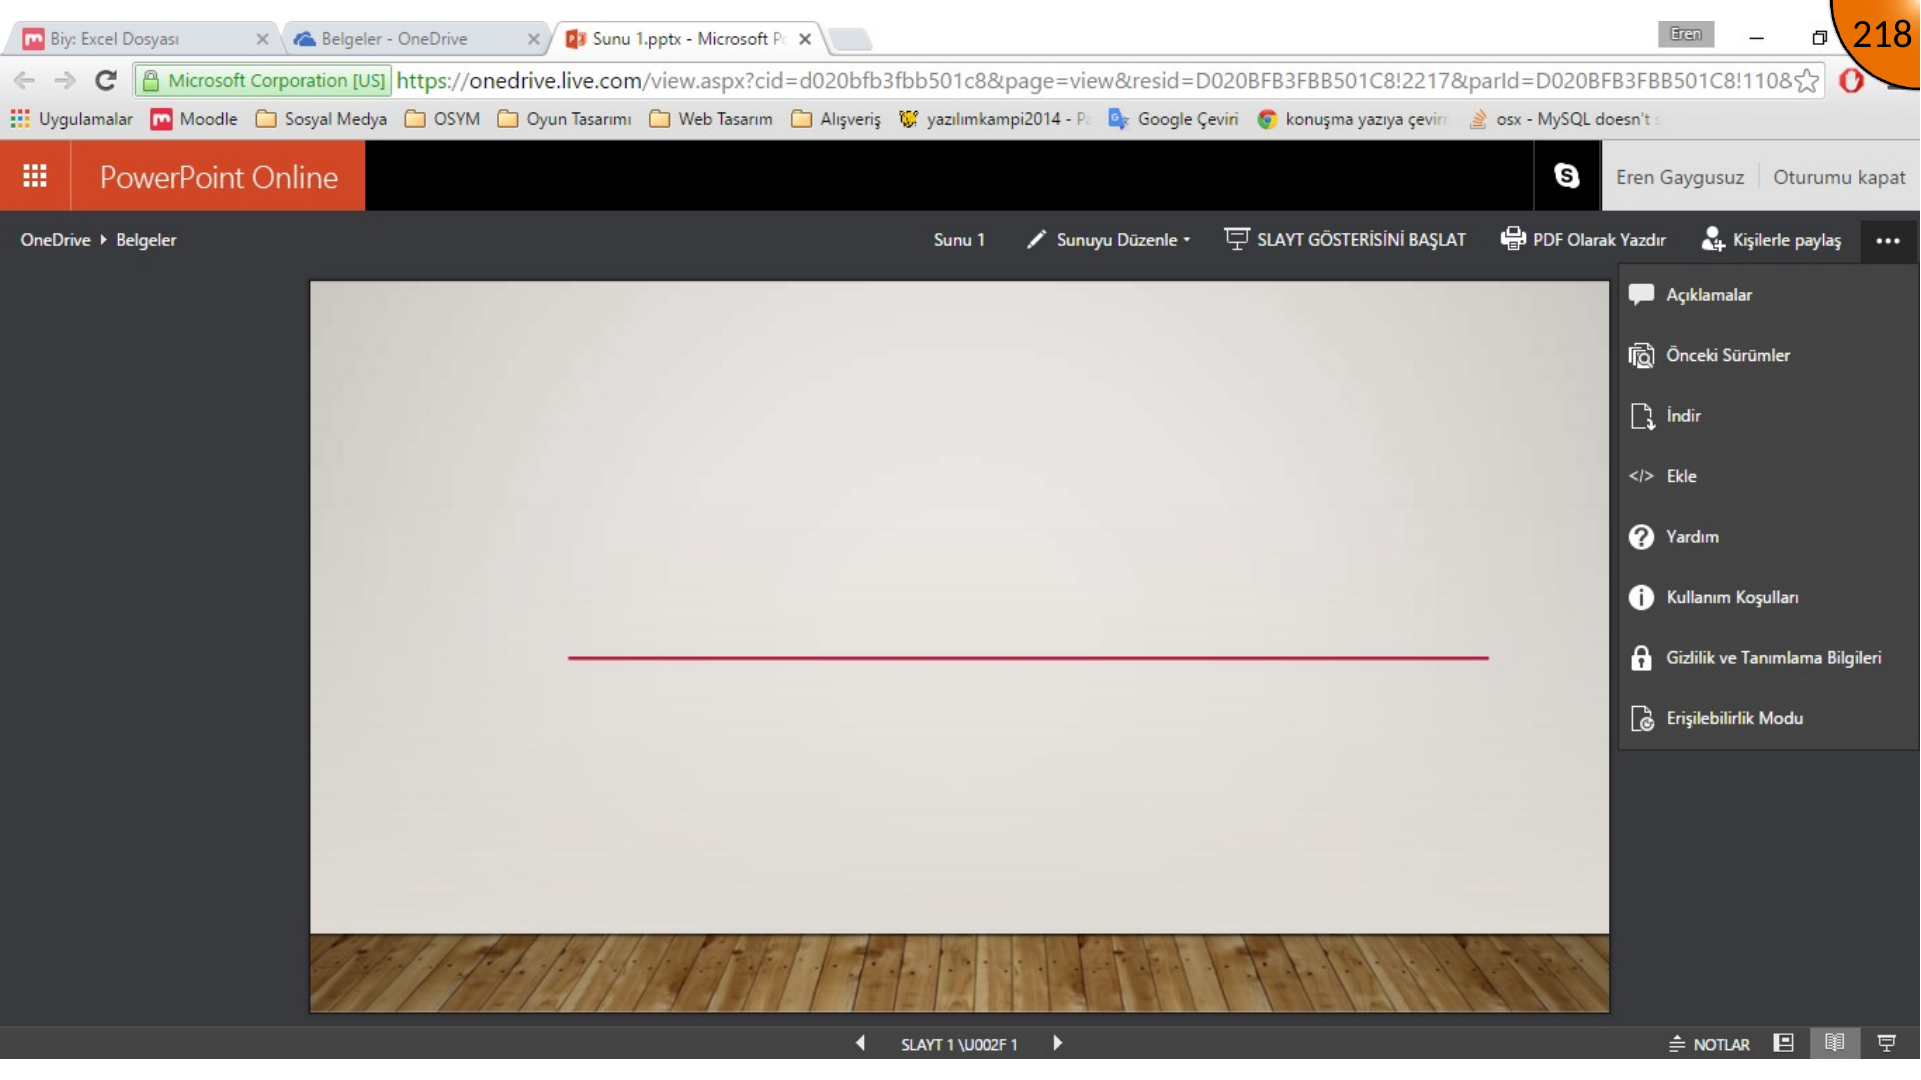
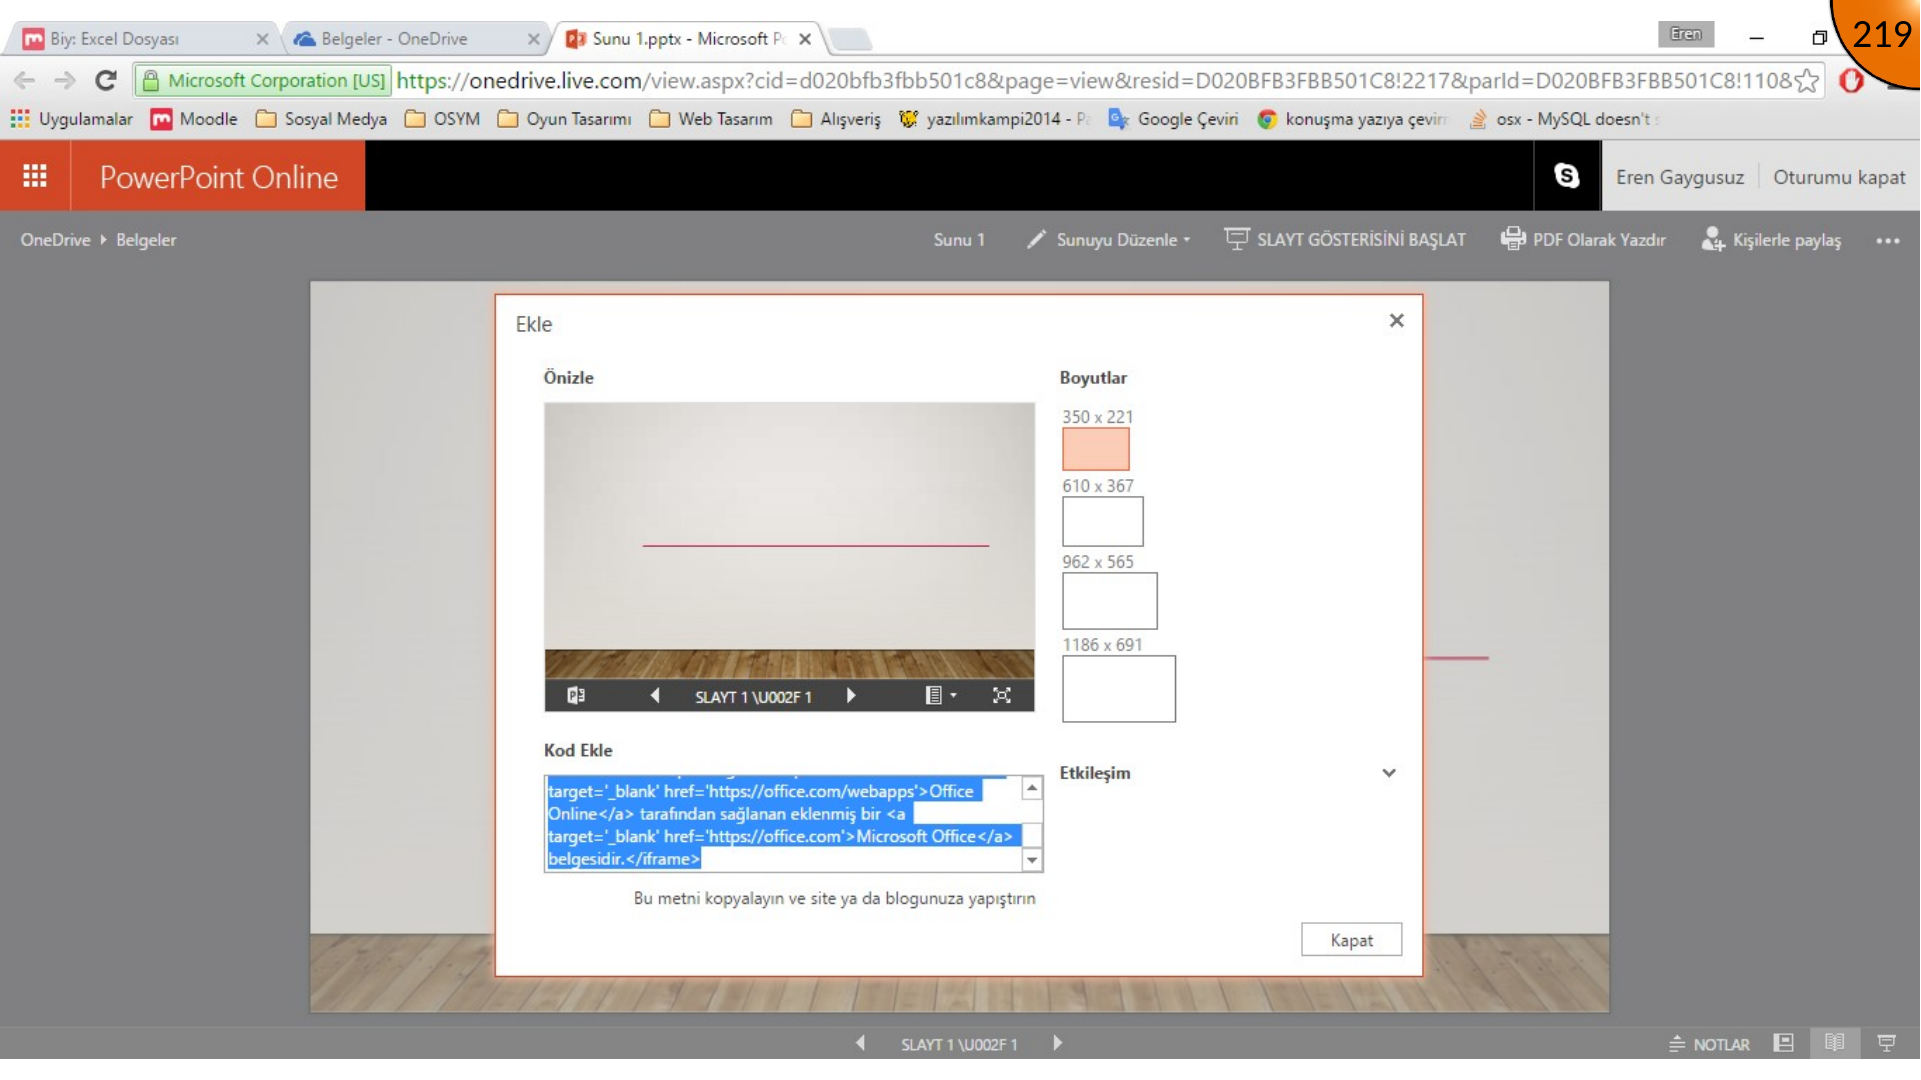
Open the PowerPoint presentation in OneDrive. Use the three-dot menu to choose Embed, configure the options, and copy the code.
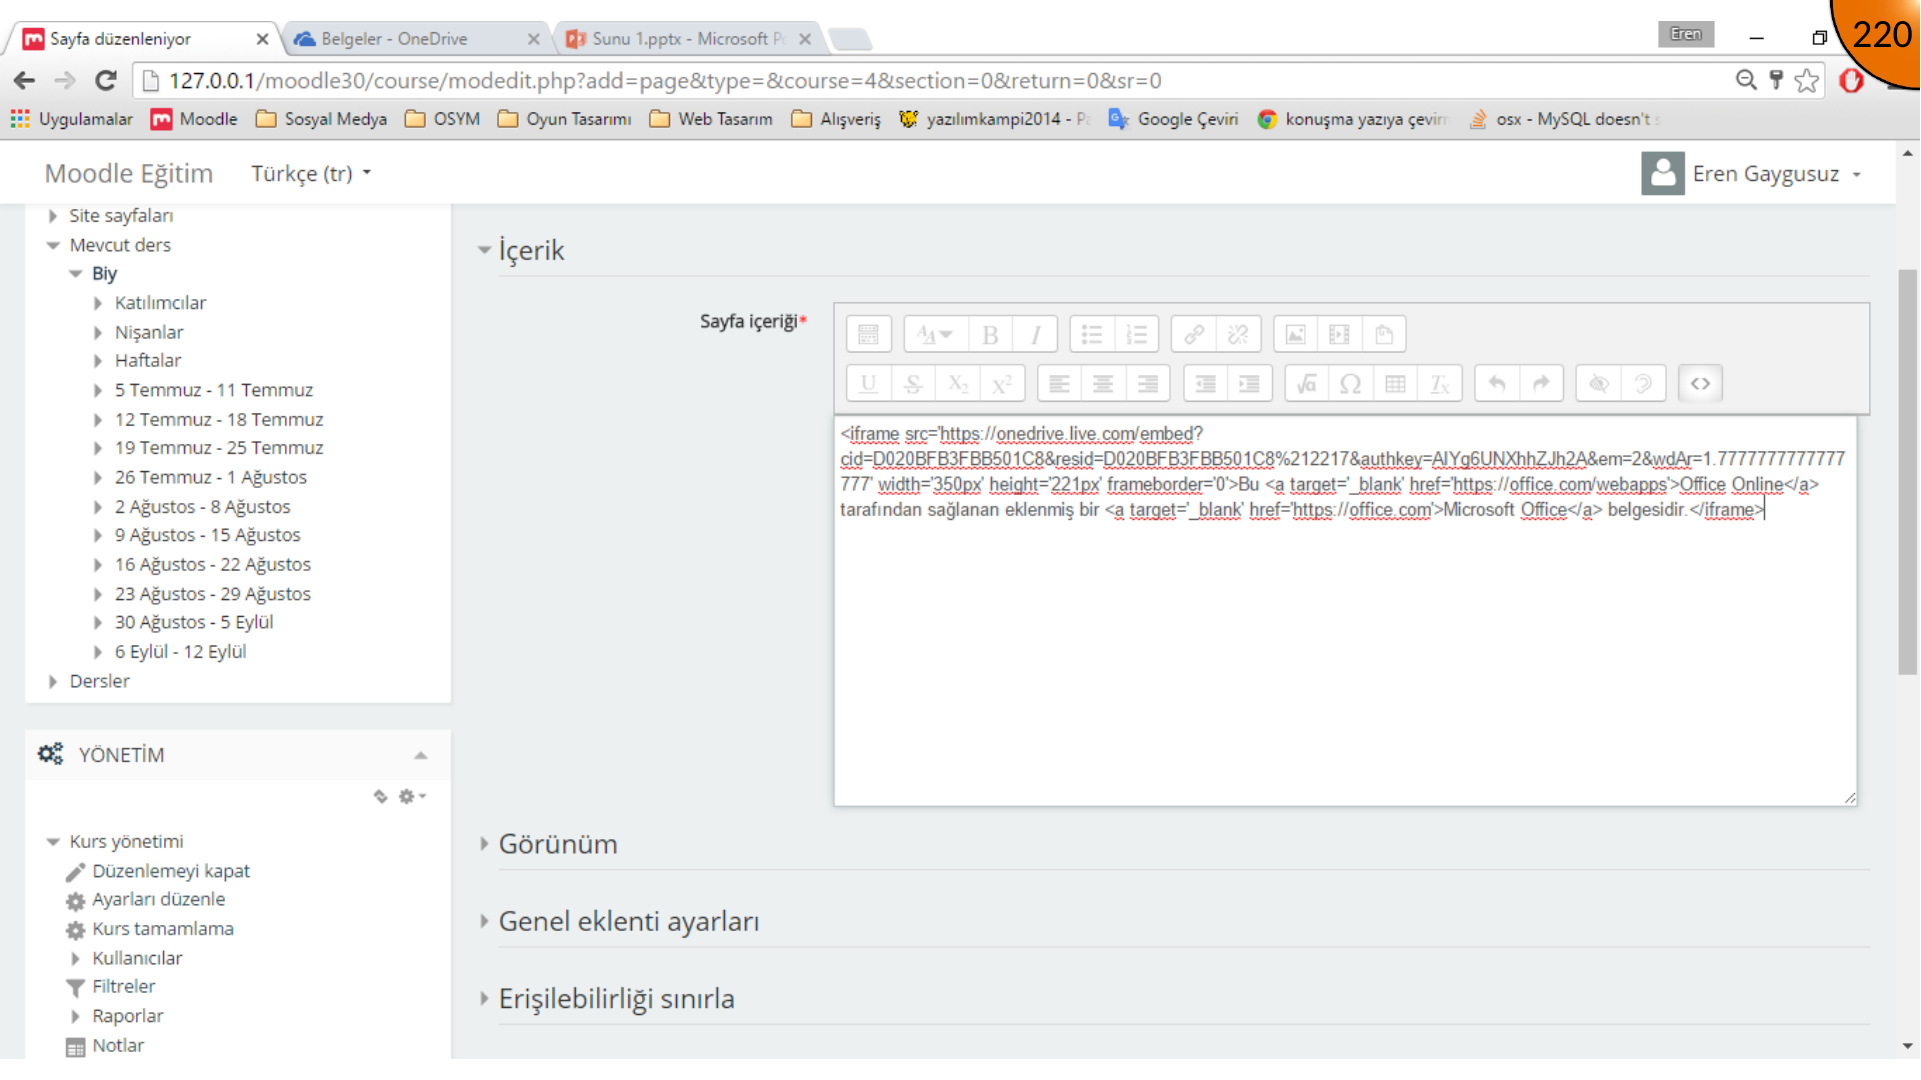
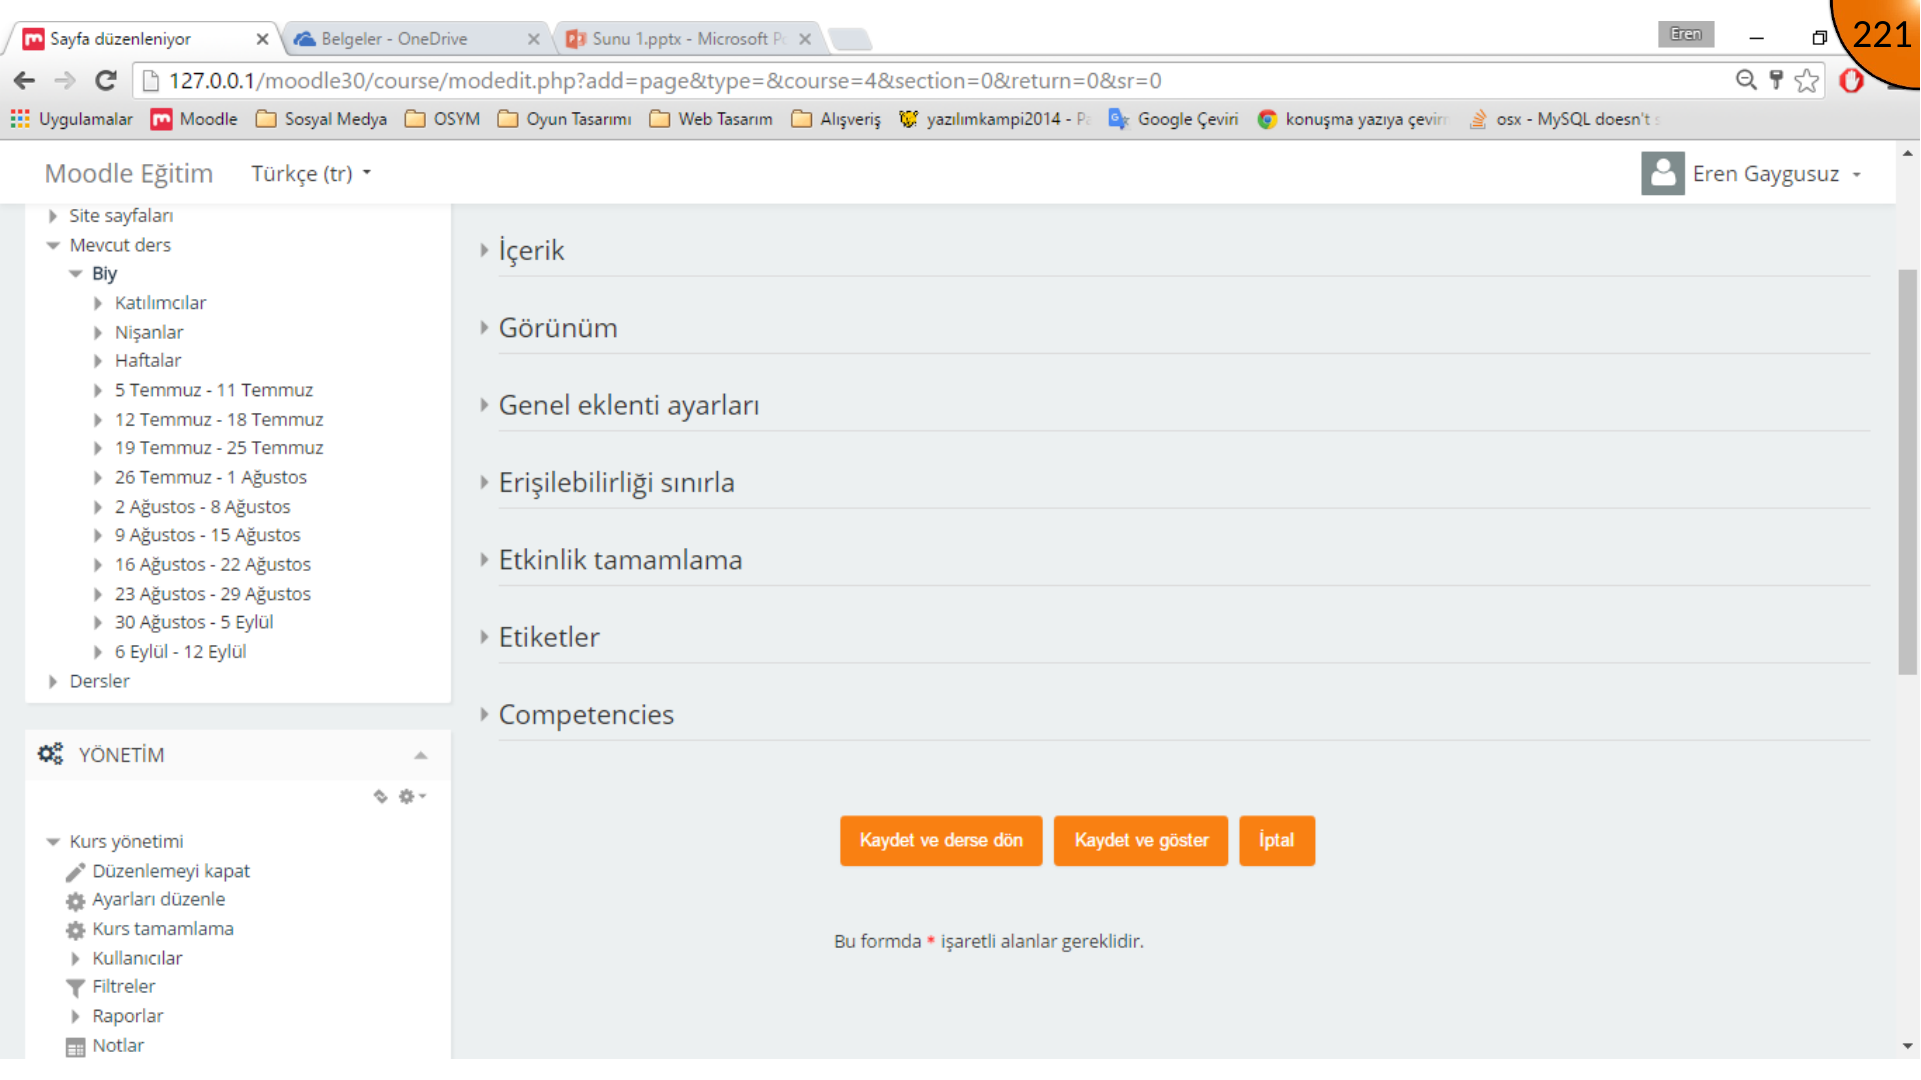
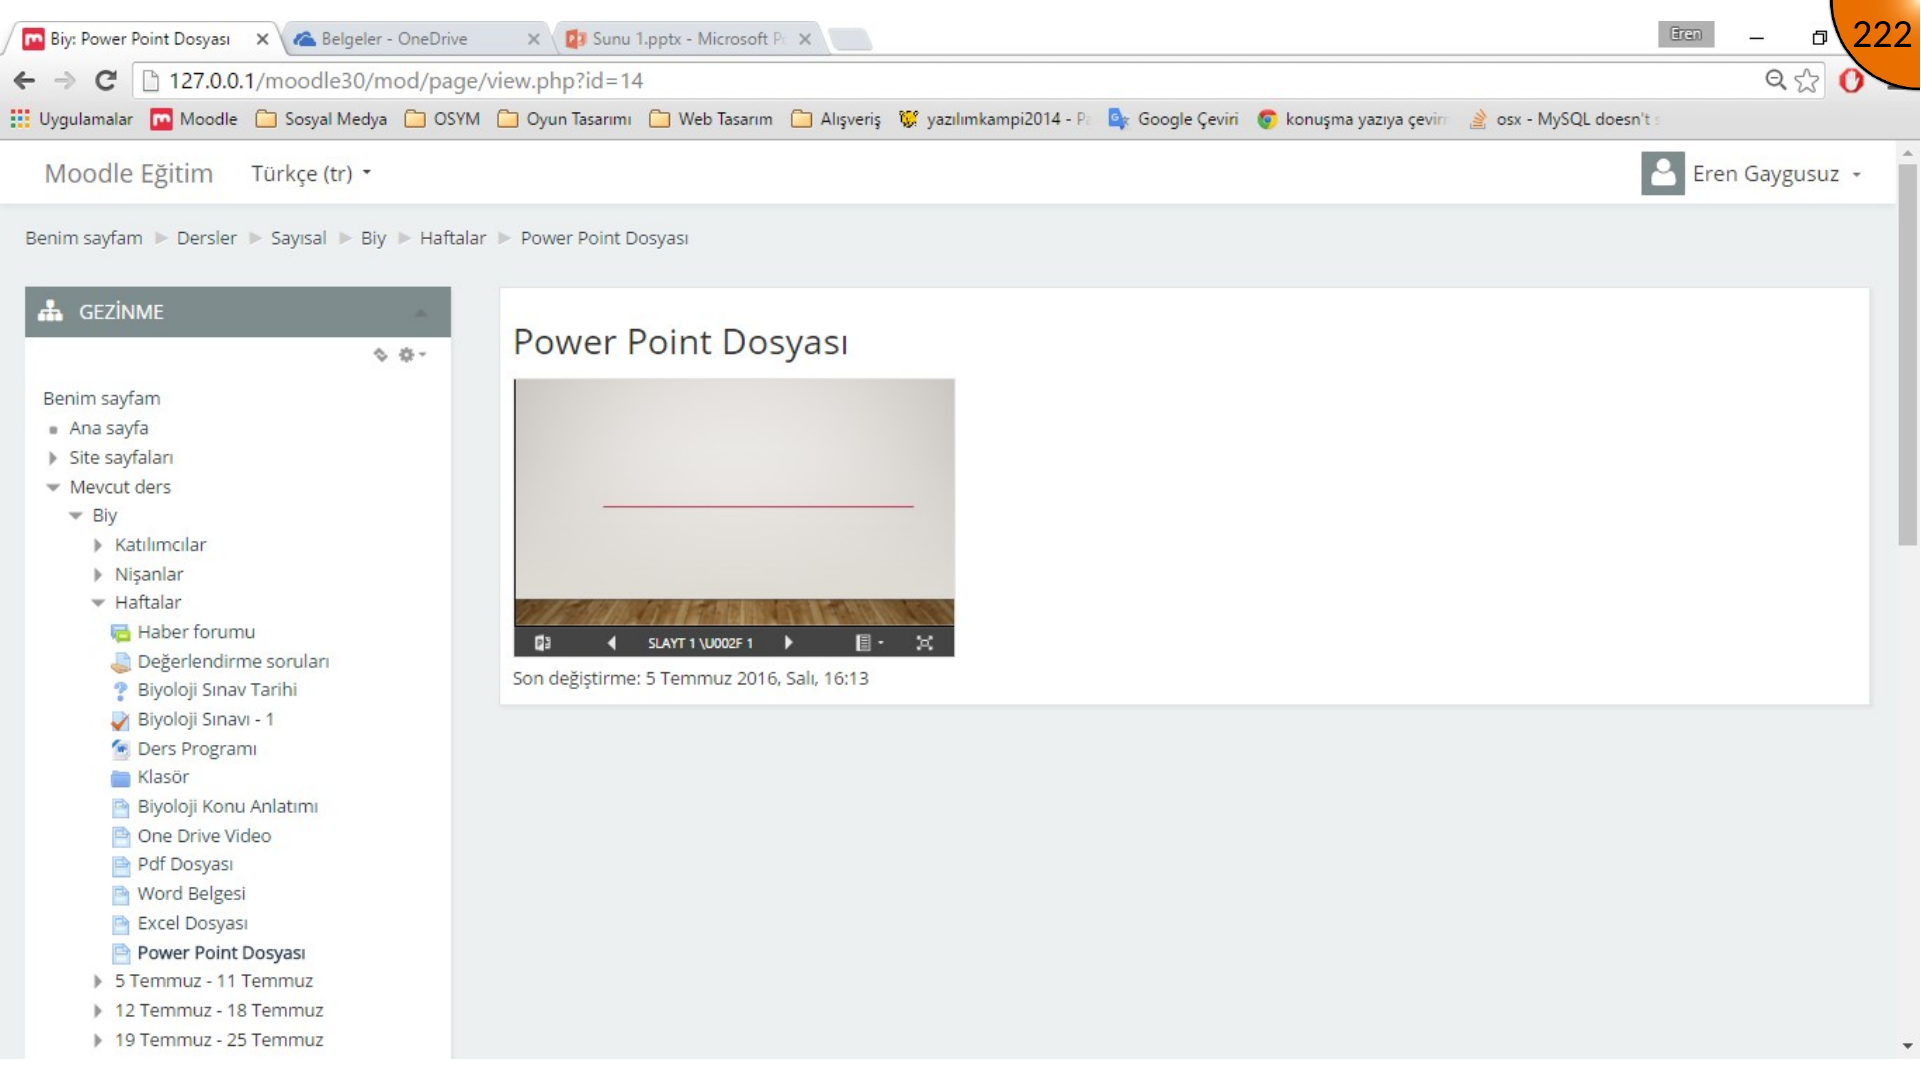
Paste it into a new Moodle Page resource in HTML mode, then save and display it.
Summary
The same embed-code pattern works for OneDrive Office files: create the code, paste it in Moodle’s HTML mode, and tune the viewer dimensions. Keep sharing permissions intentional, especially when interaction or editing controls are enabled.
Comments