This is an archived 2016 walkthrough for preparing a local Moodle development environment with AMPPS on Windows. AMPPS bundled Apache, MySQL, FTP, MongoDB, and an application installer in one control panel. The screens and software version shown here are historical; use a currently supported local stack for new projects.
The purpose of this step is simple: start a web server and database server on your own computer, then confirm that localhost opens in a browser. The next post uses that local environment to install Moodle.
Table of contents
Open Table of contents
Before You Start
Download AMPPS from its official distribution source and choose a location with enough disk space. Run the installer from a Windows administrator account. If Windows shows a security or User Account Control prompt, review the publisher and confirm only when you trust the installer.
For a current Moodle project, Docker is generally a more reproducible alternative. This article is kept as an archive of the AMPPS workflow used in the original Moodle training series.
Running the AMPPS Installer
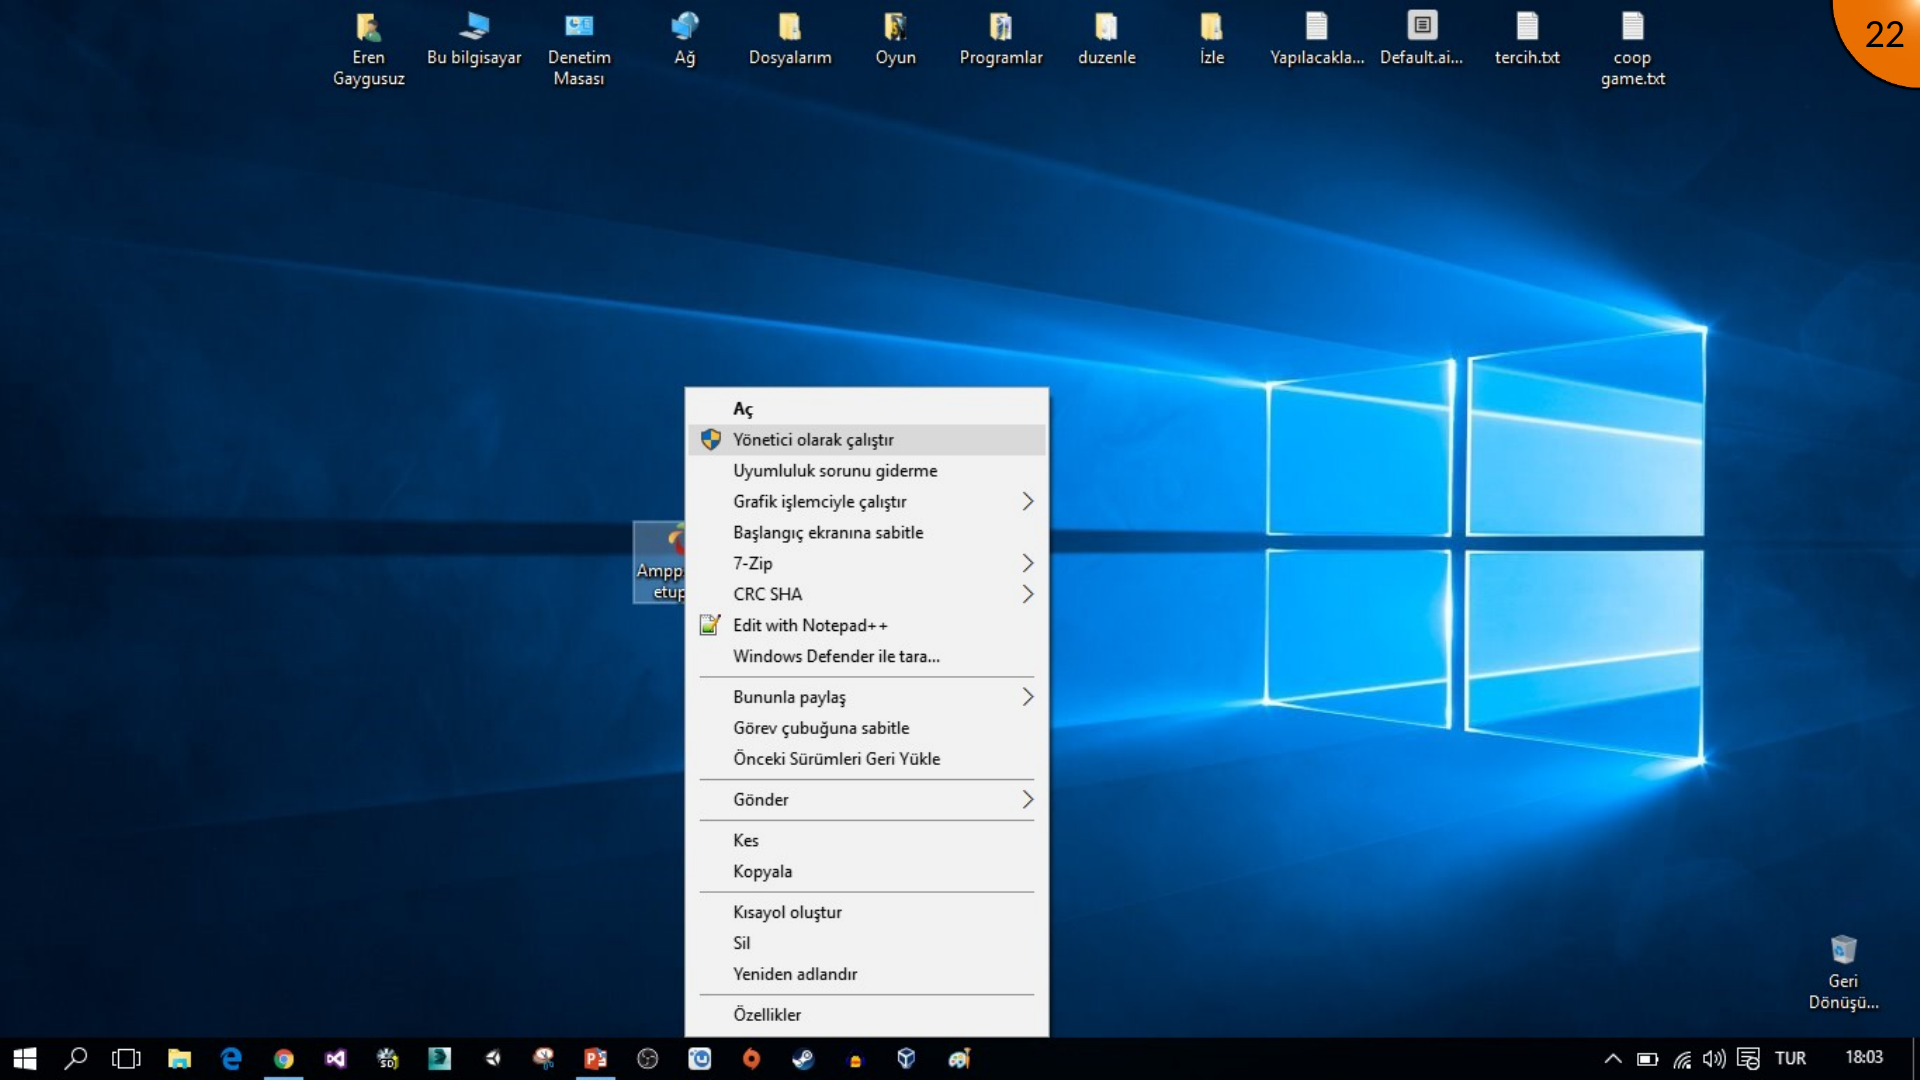
Copy the installer to a convenient location, right-click it, and choose Run as administrator.
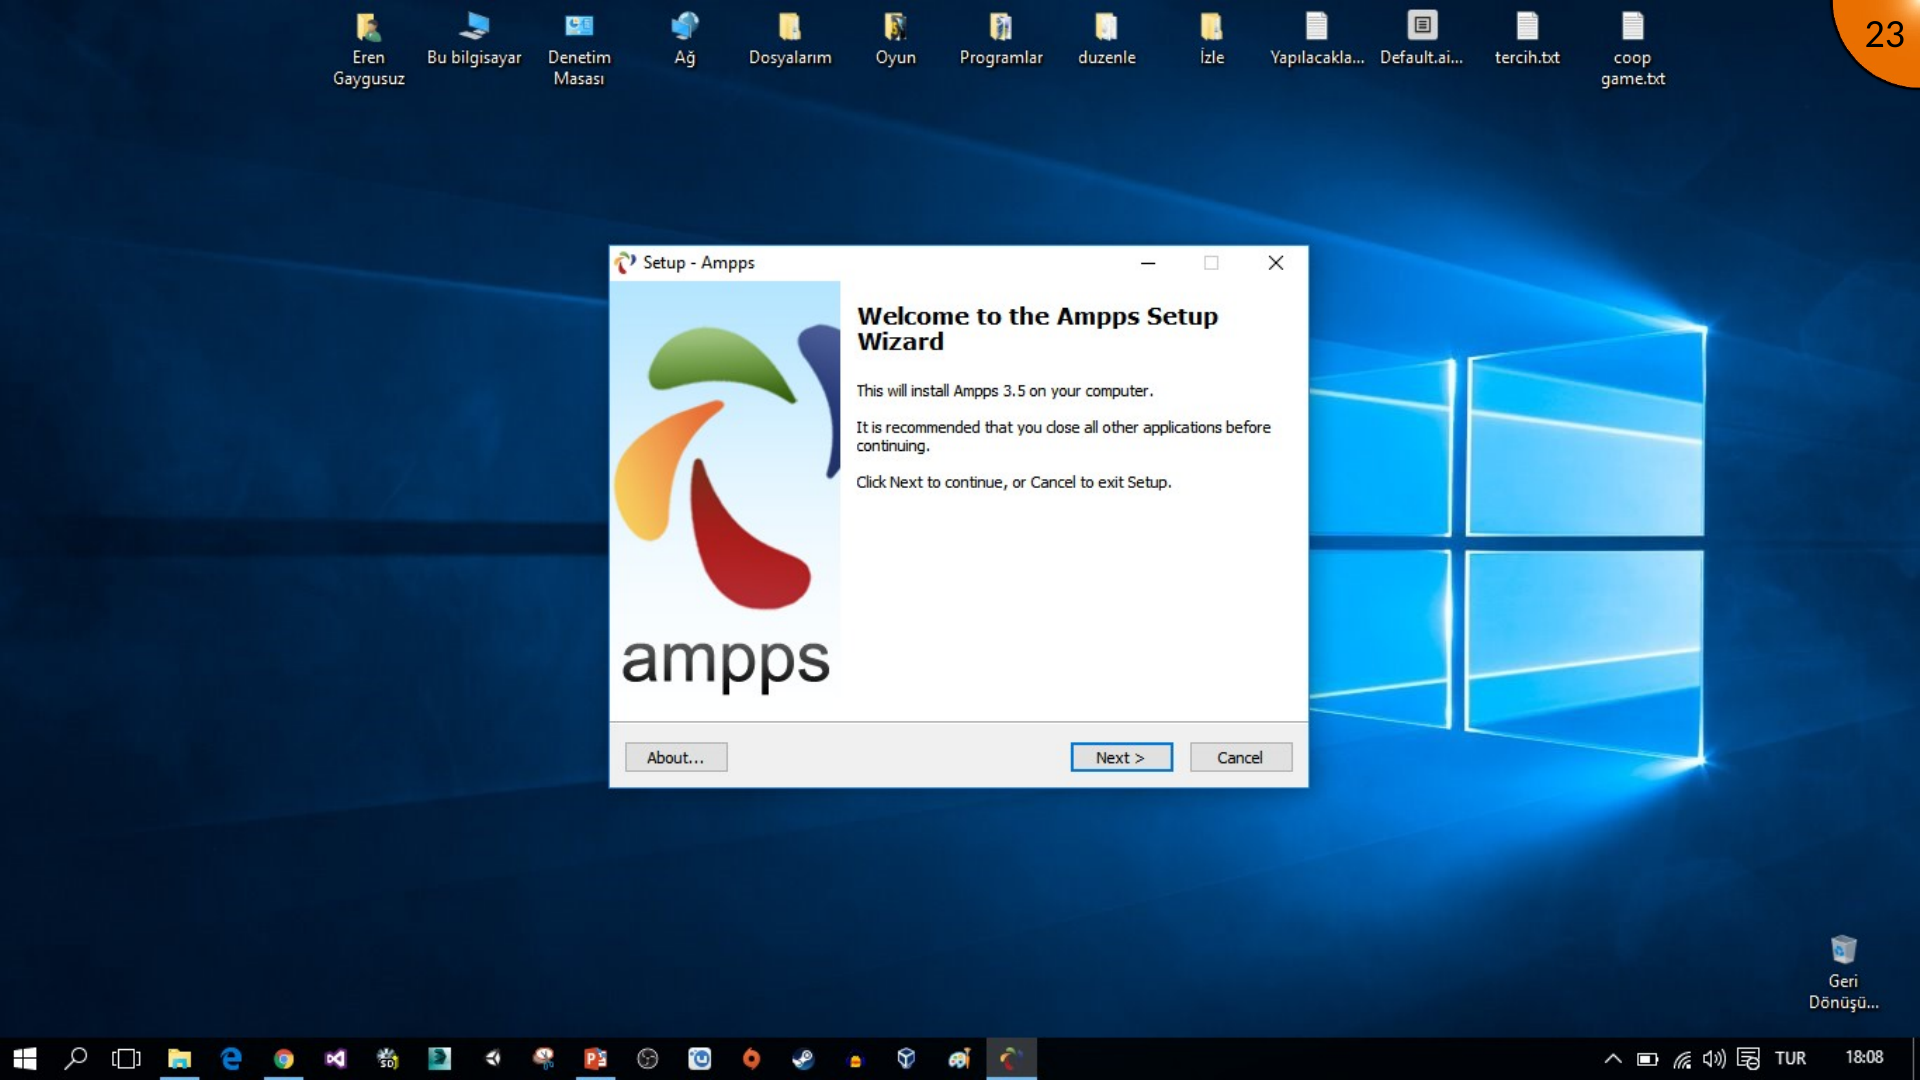
Continue through the setup wizard.
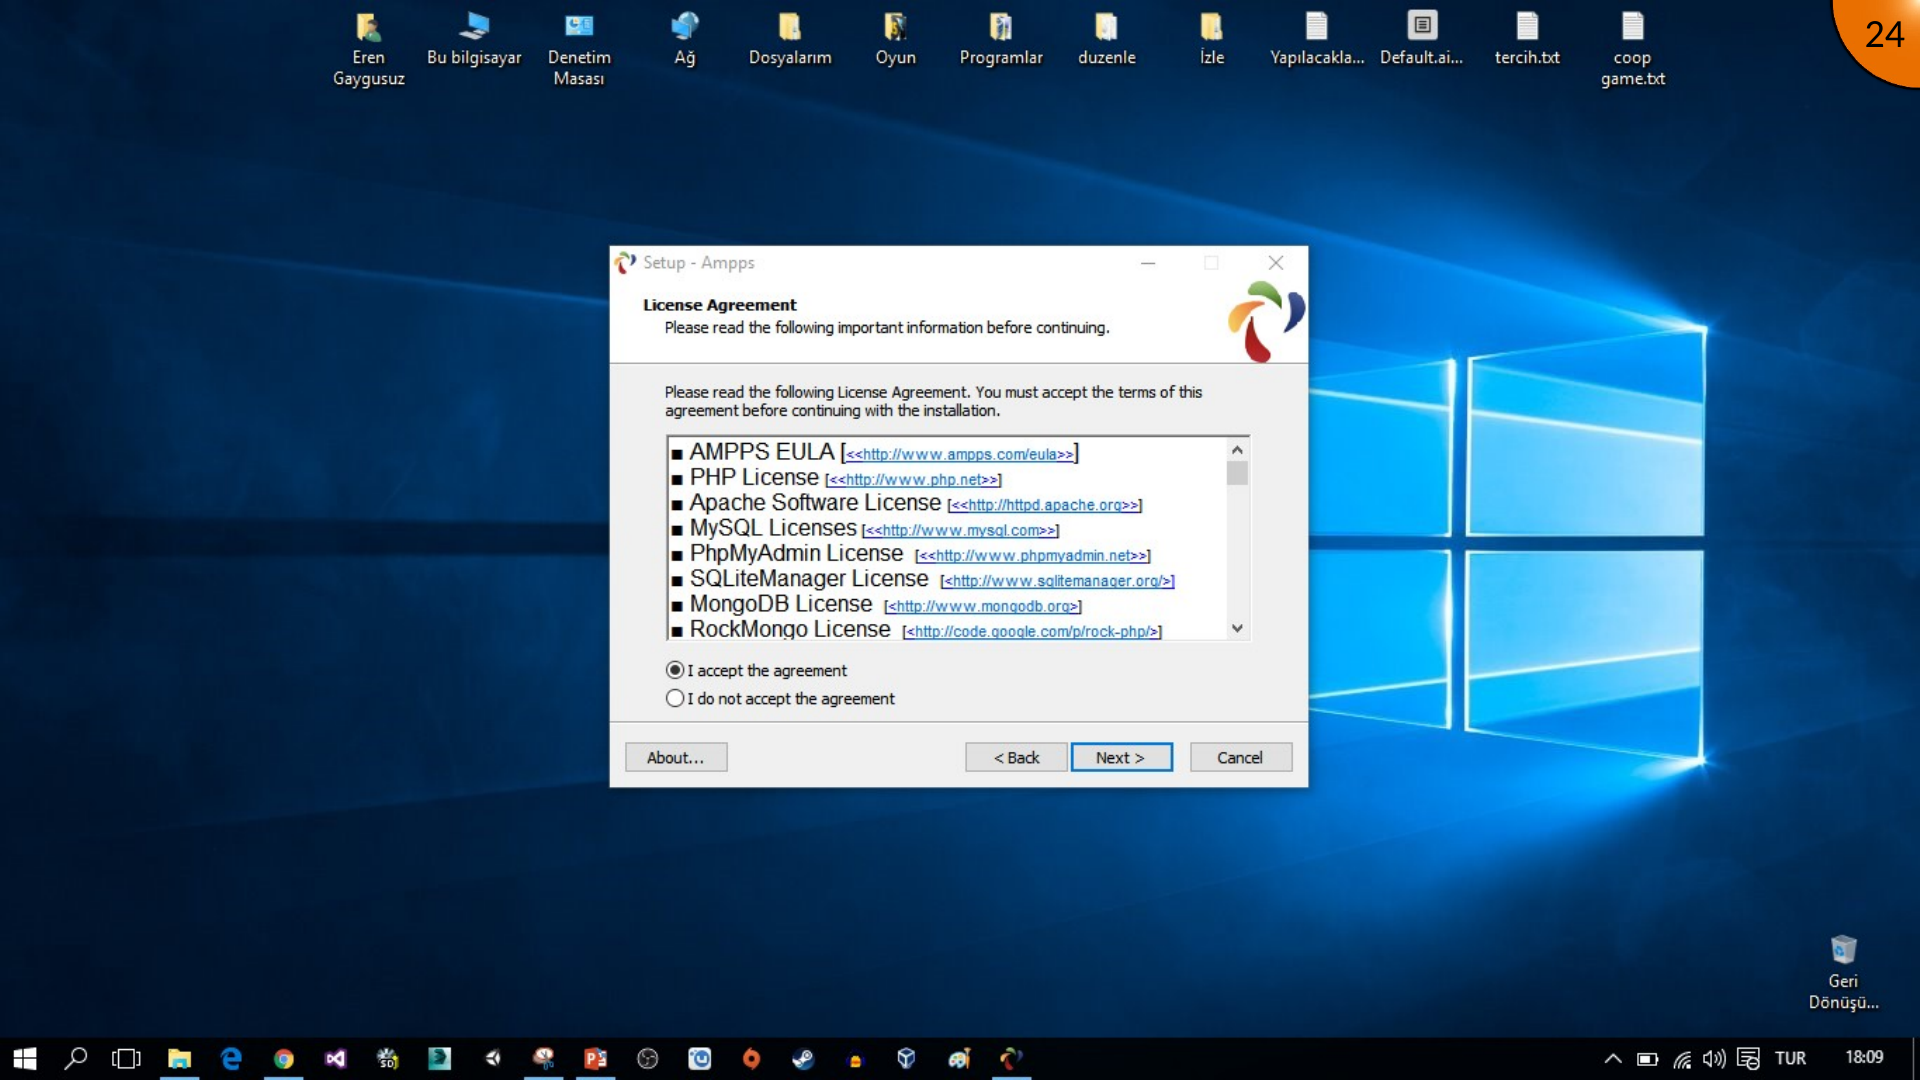
Accept the licence agreement after reviewing it.
Continue with the default setup options unless you have a reason to change them.
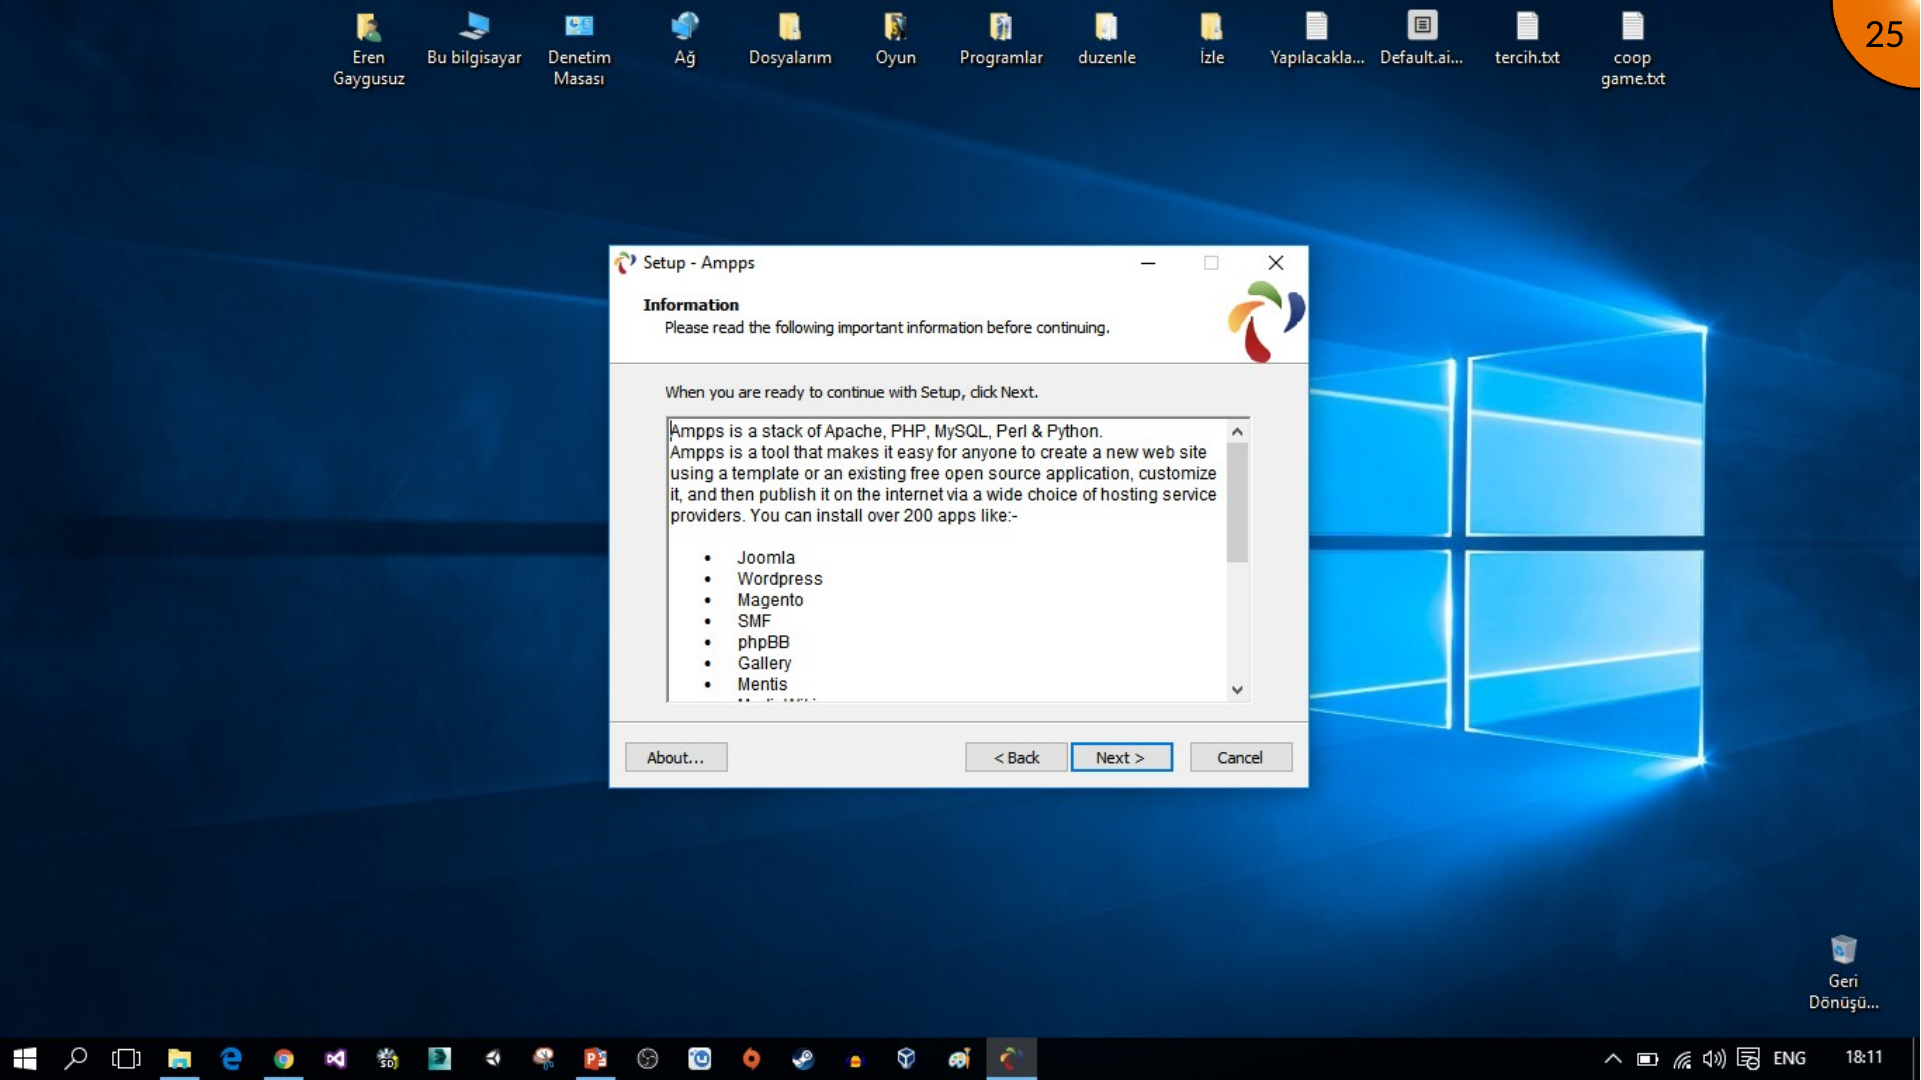
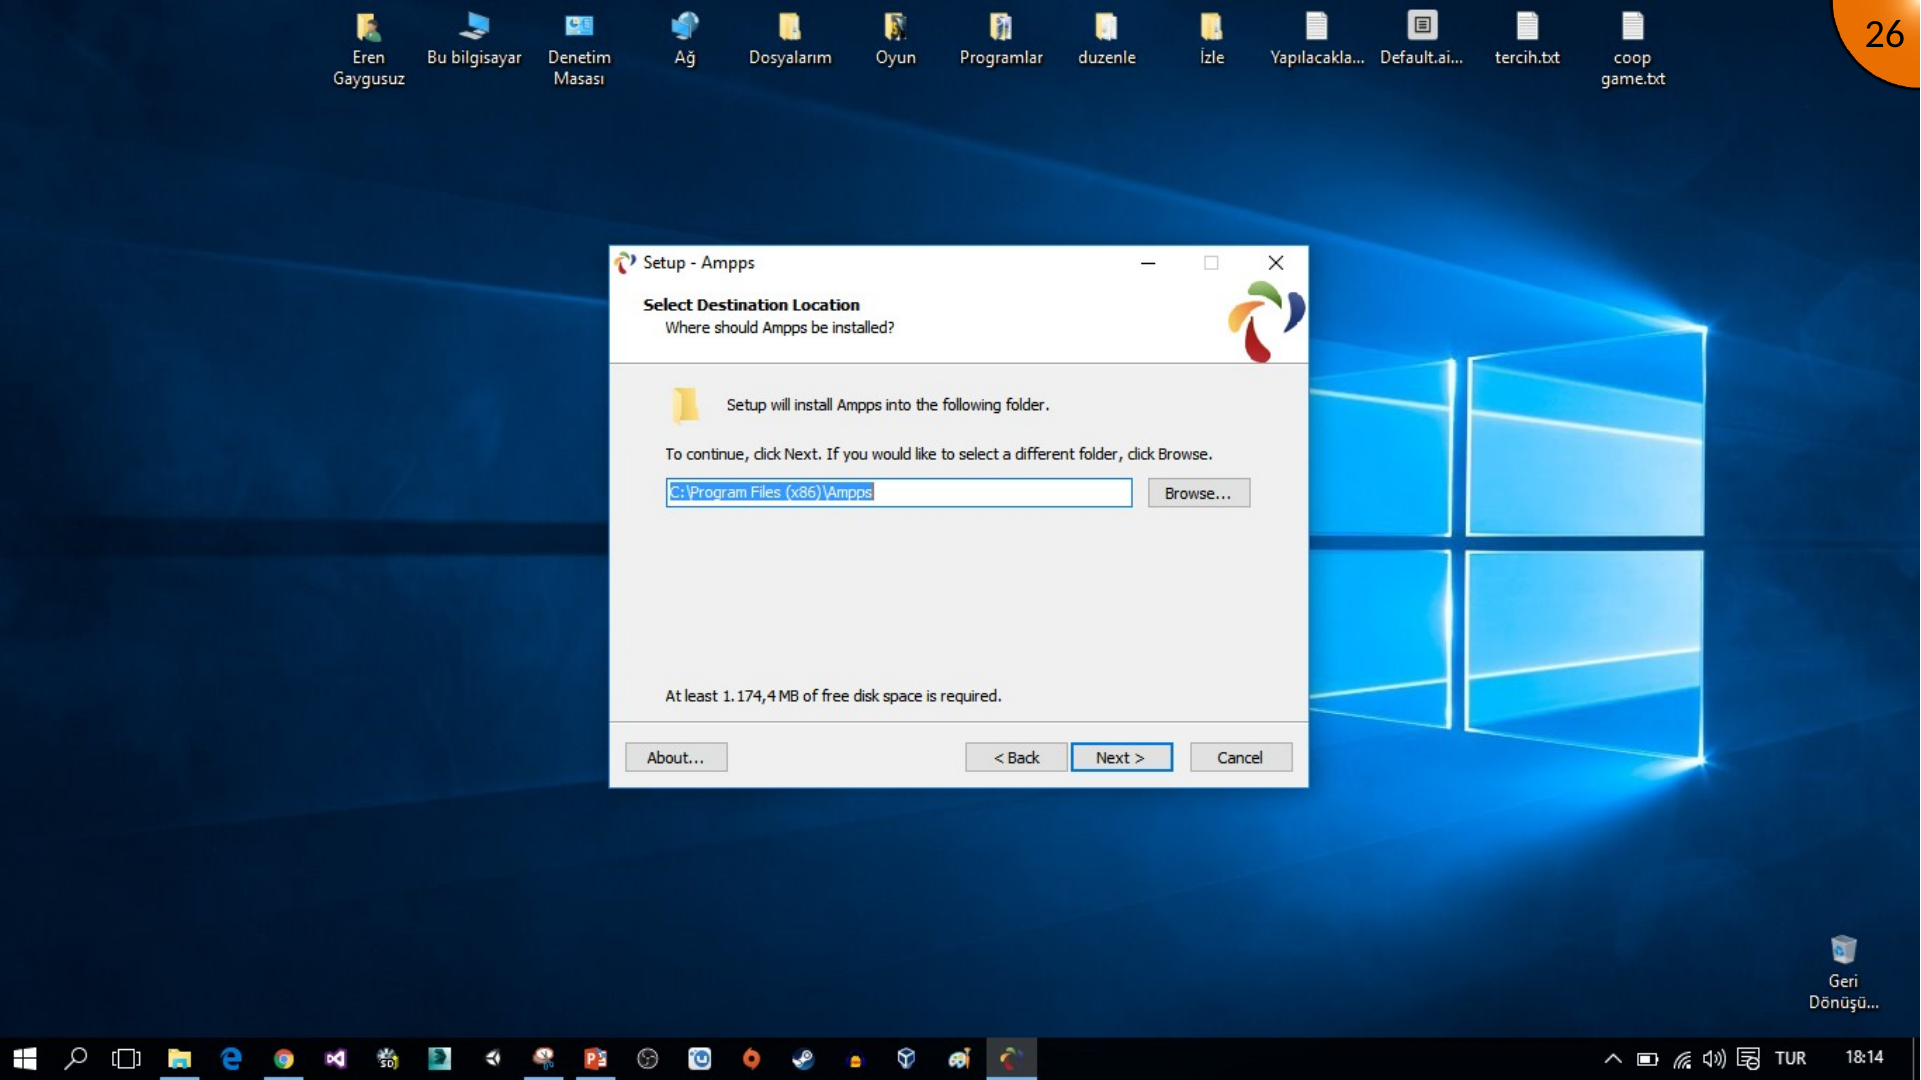
Choose the installation directory. The default folder is suitable for most learning environments; if you change it, keep the path noted because later local files and services are stored under it.
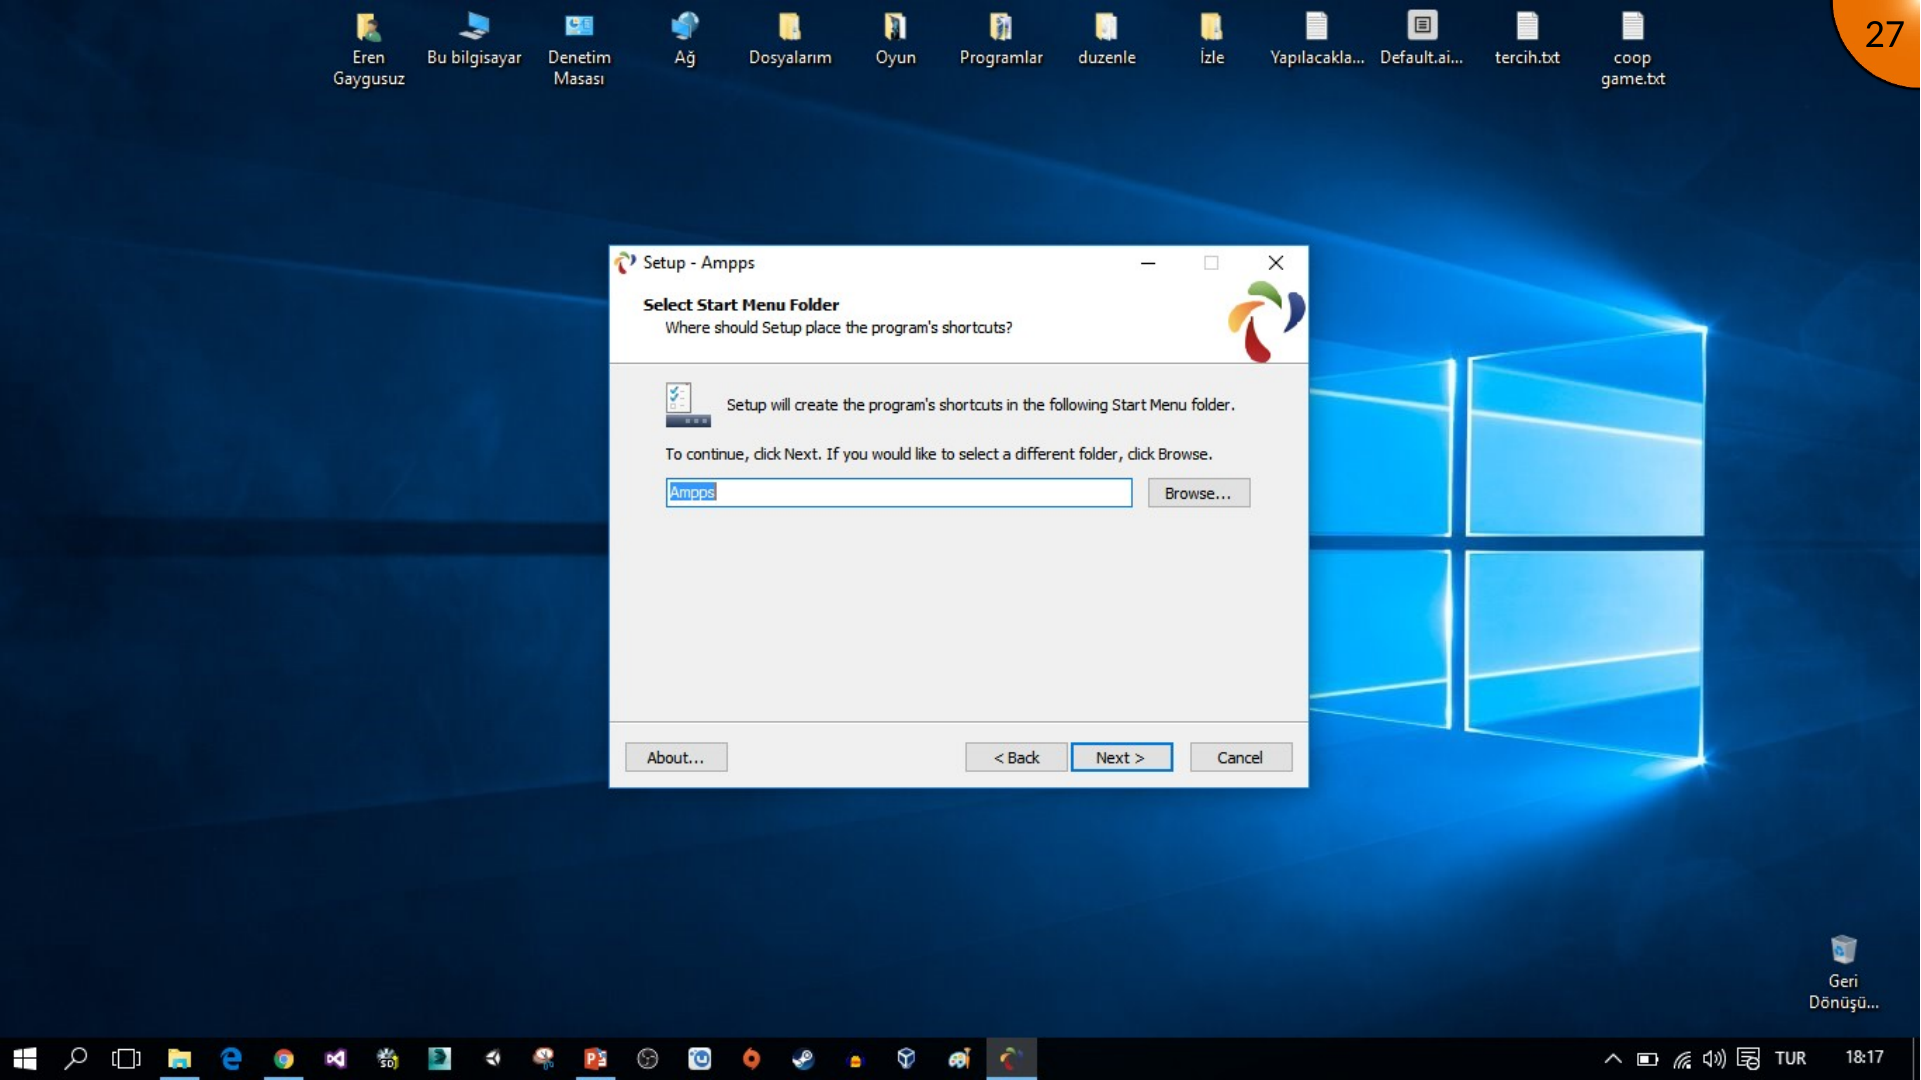
Continue through the remaining installation options.
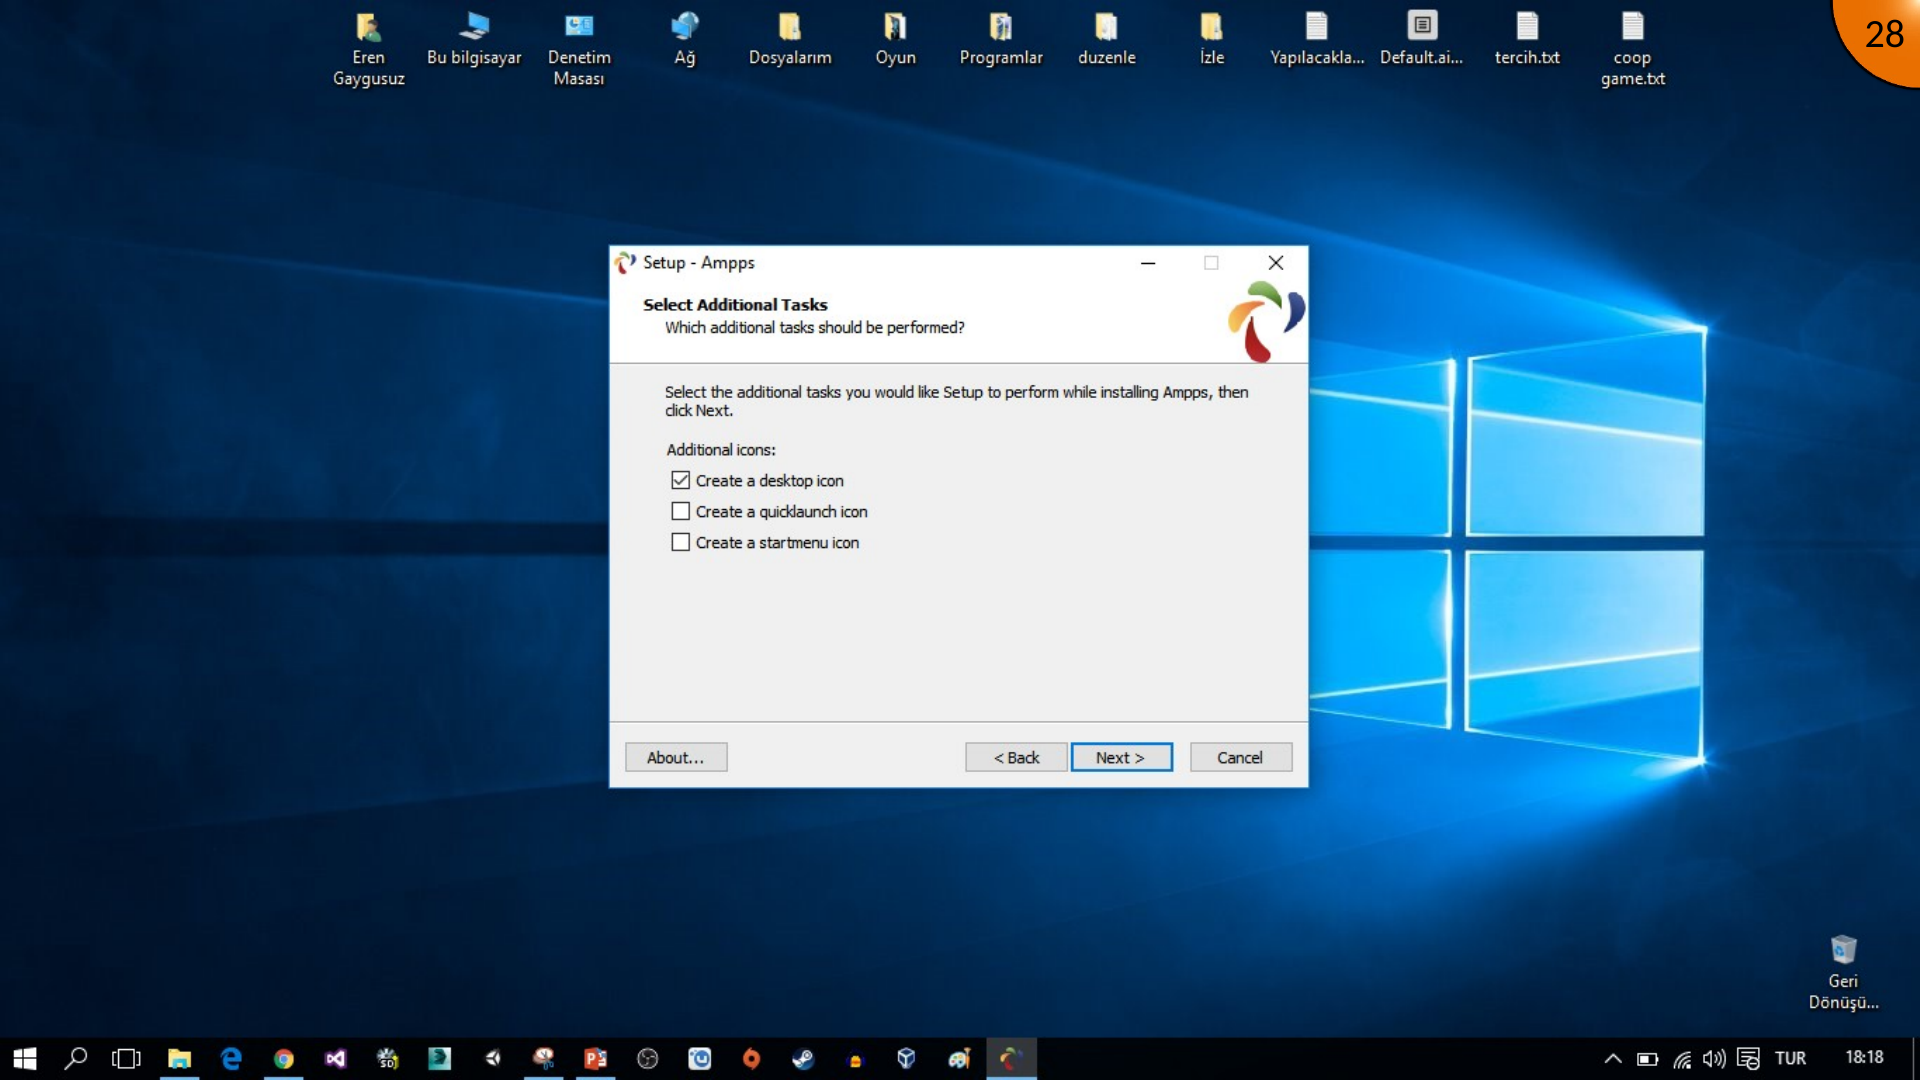
The archived setup keeps the desktop shortcut option selected, then continues.
Start the installation.
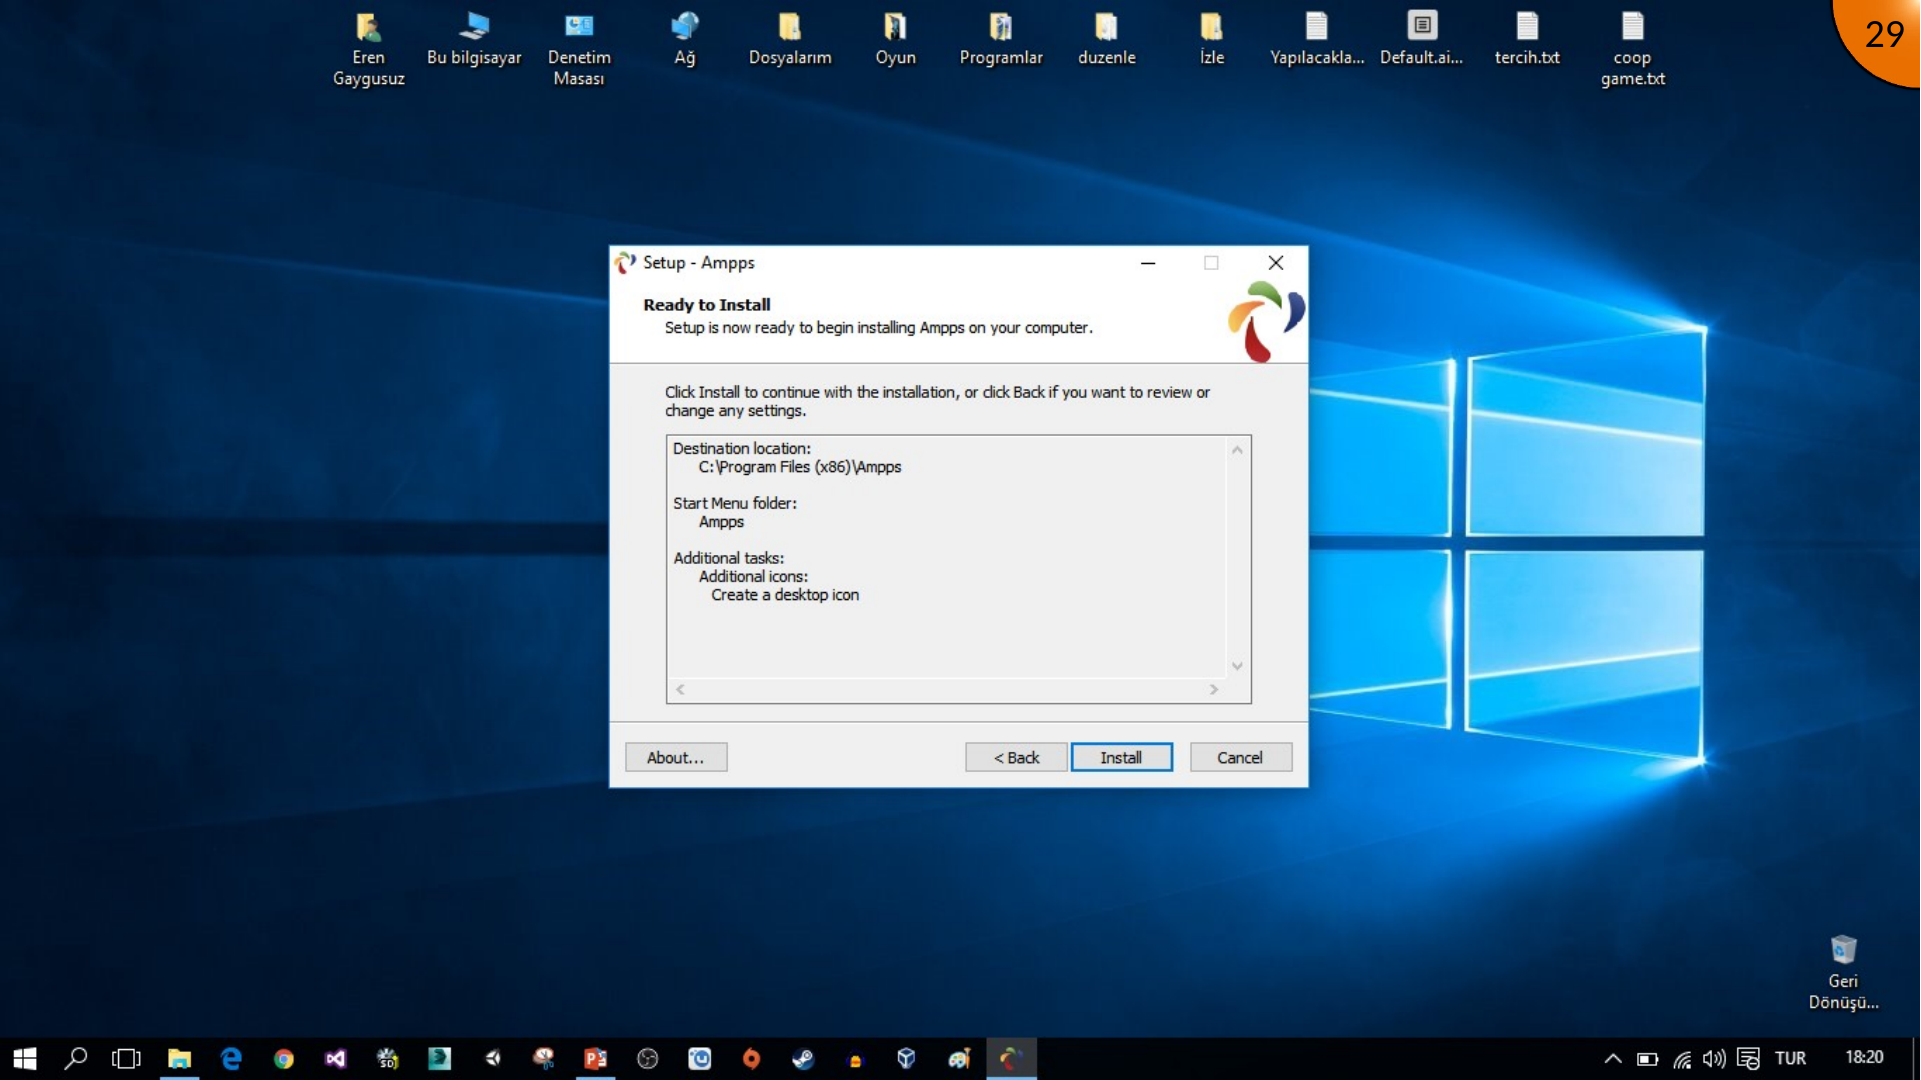
When setup completes, select Finish to open the AMPPS control panel.
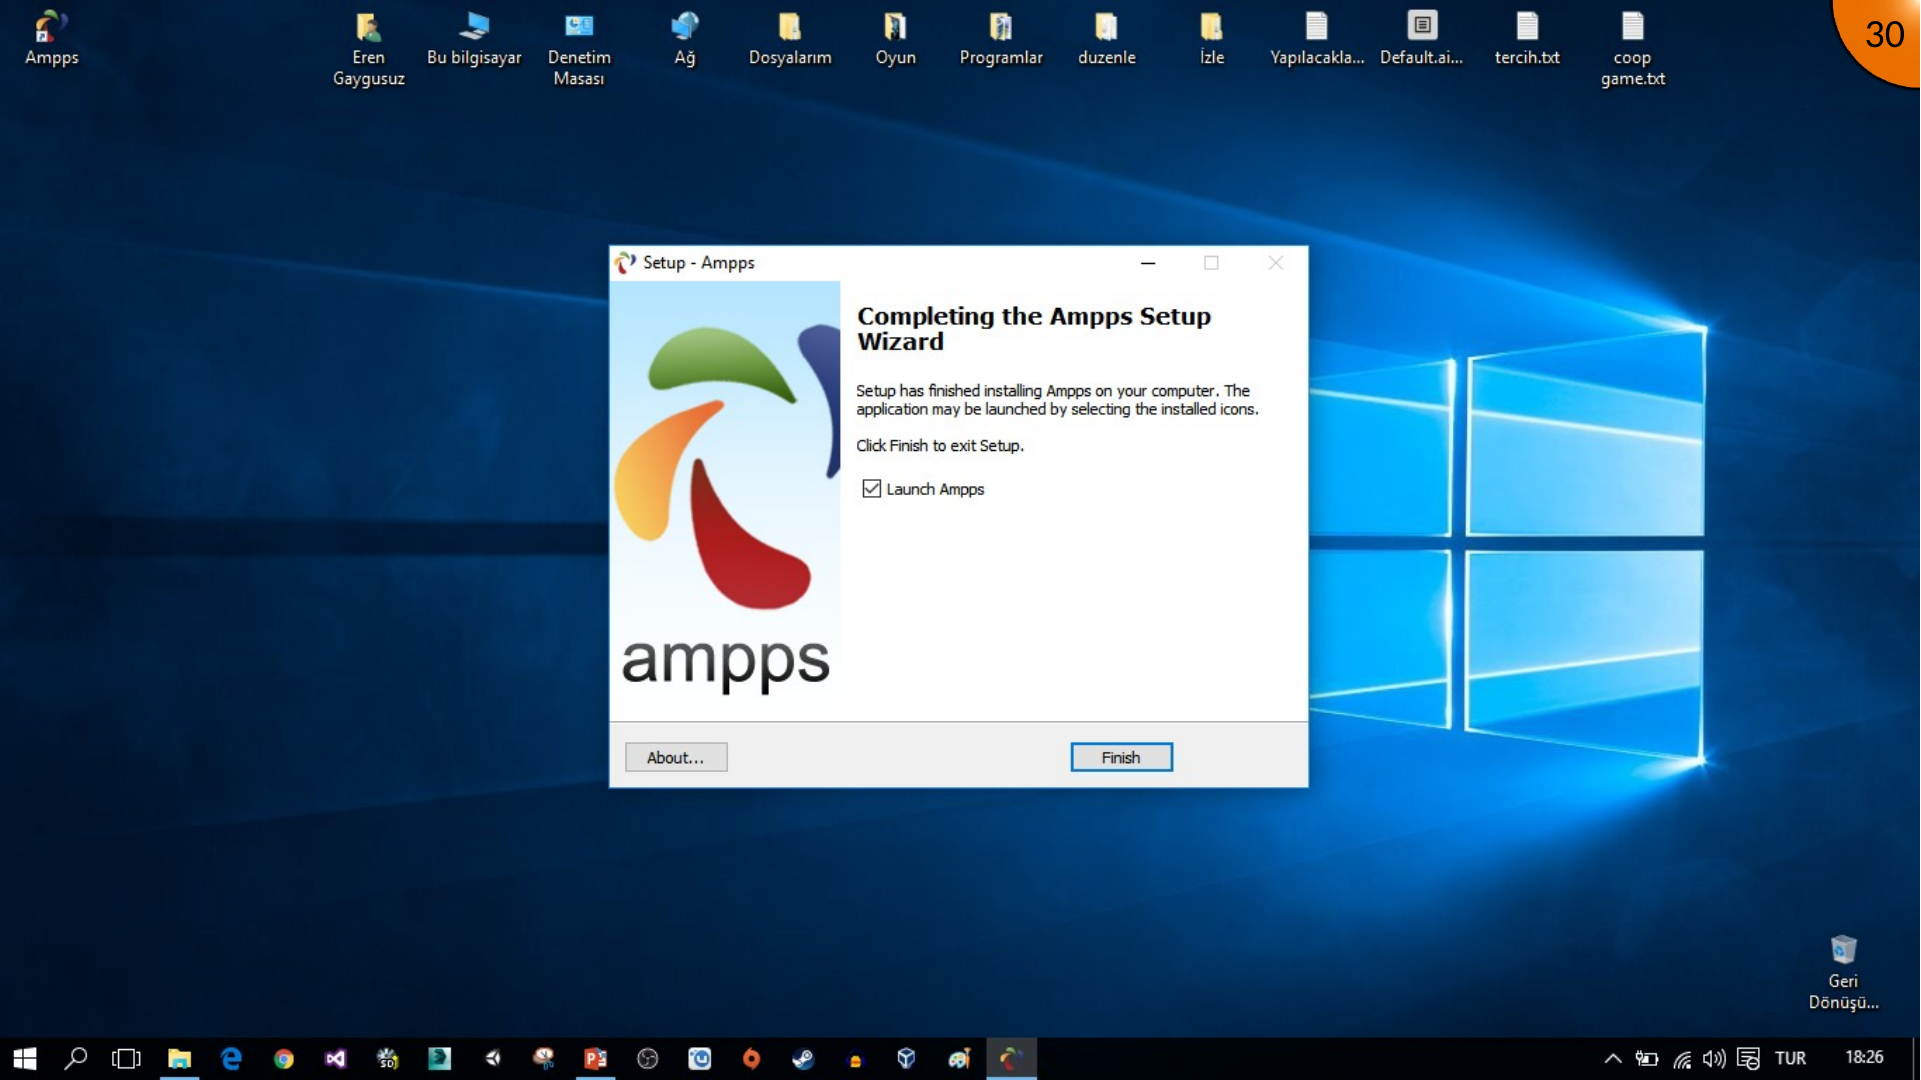
Starting Local Services
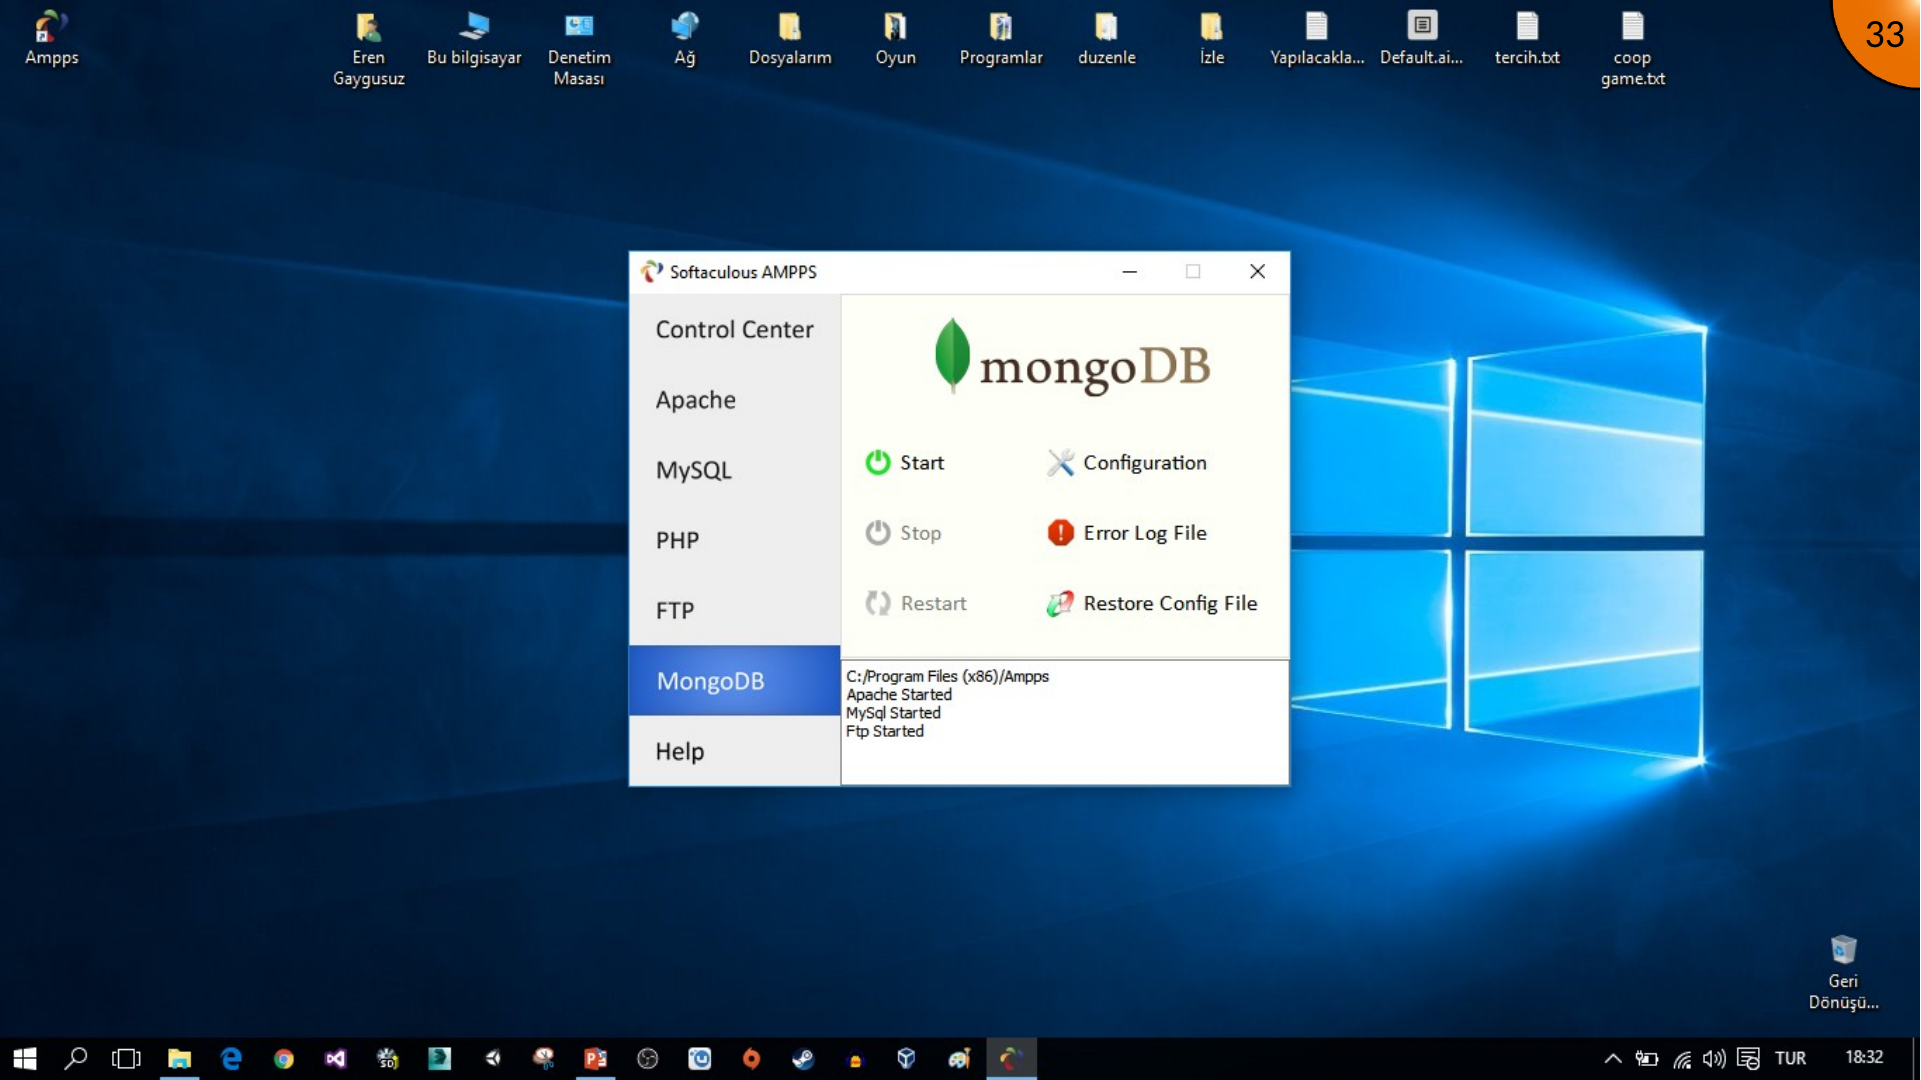
The control panel shows the state of the bundled services. For Moodle, Apache serves the website and MySQL stores Moodle’s data. Confirm that both services are running before proceeding.
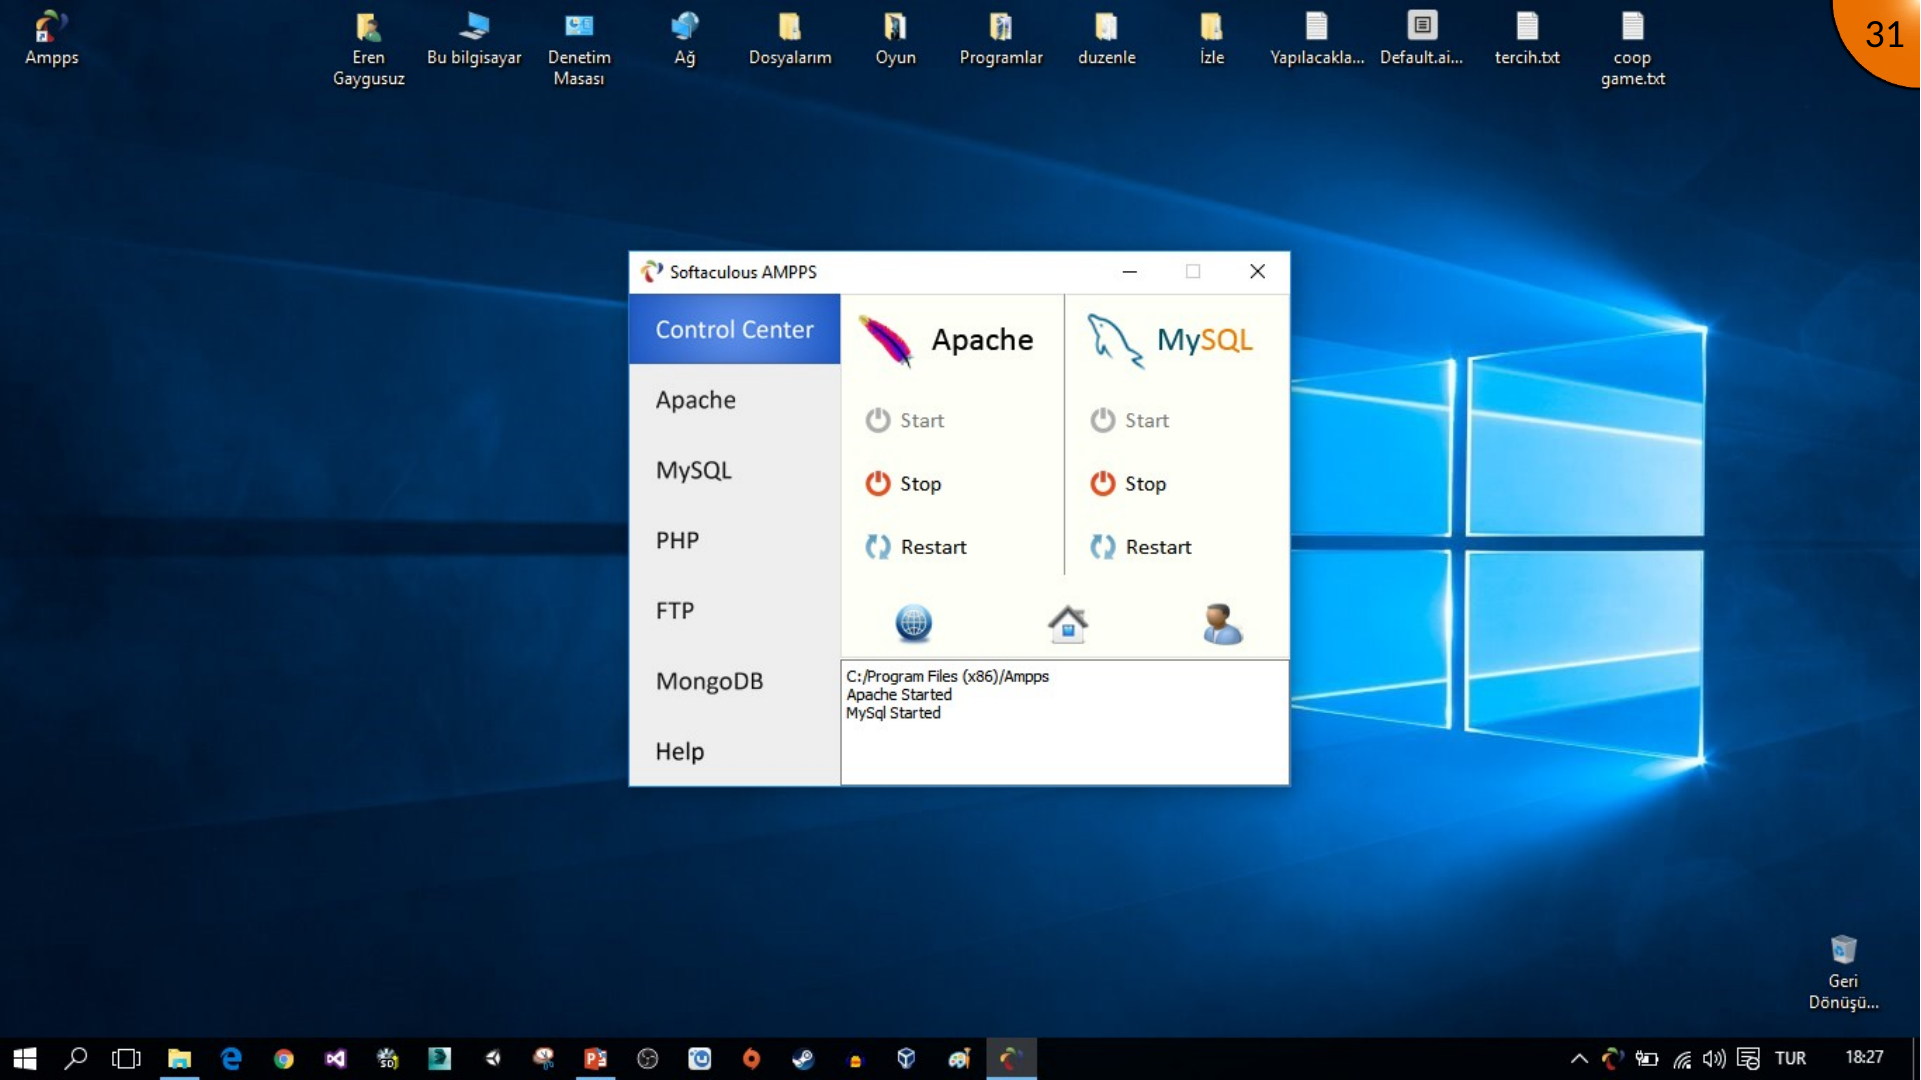
The original setup also starts the FTP service. It is useful when transferring files to the local web root, but it is not required merely to browse a local Moodle installation.
MongoDB is another optional AMPPS service. Moodle’s standard installation uses MySQL or MariaDB rather than MongoDB, so you do not need it for a basic Moodle setup.
Managing AMPPS from the System Tray
Minimize the control panel after the required services are running.
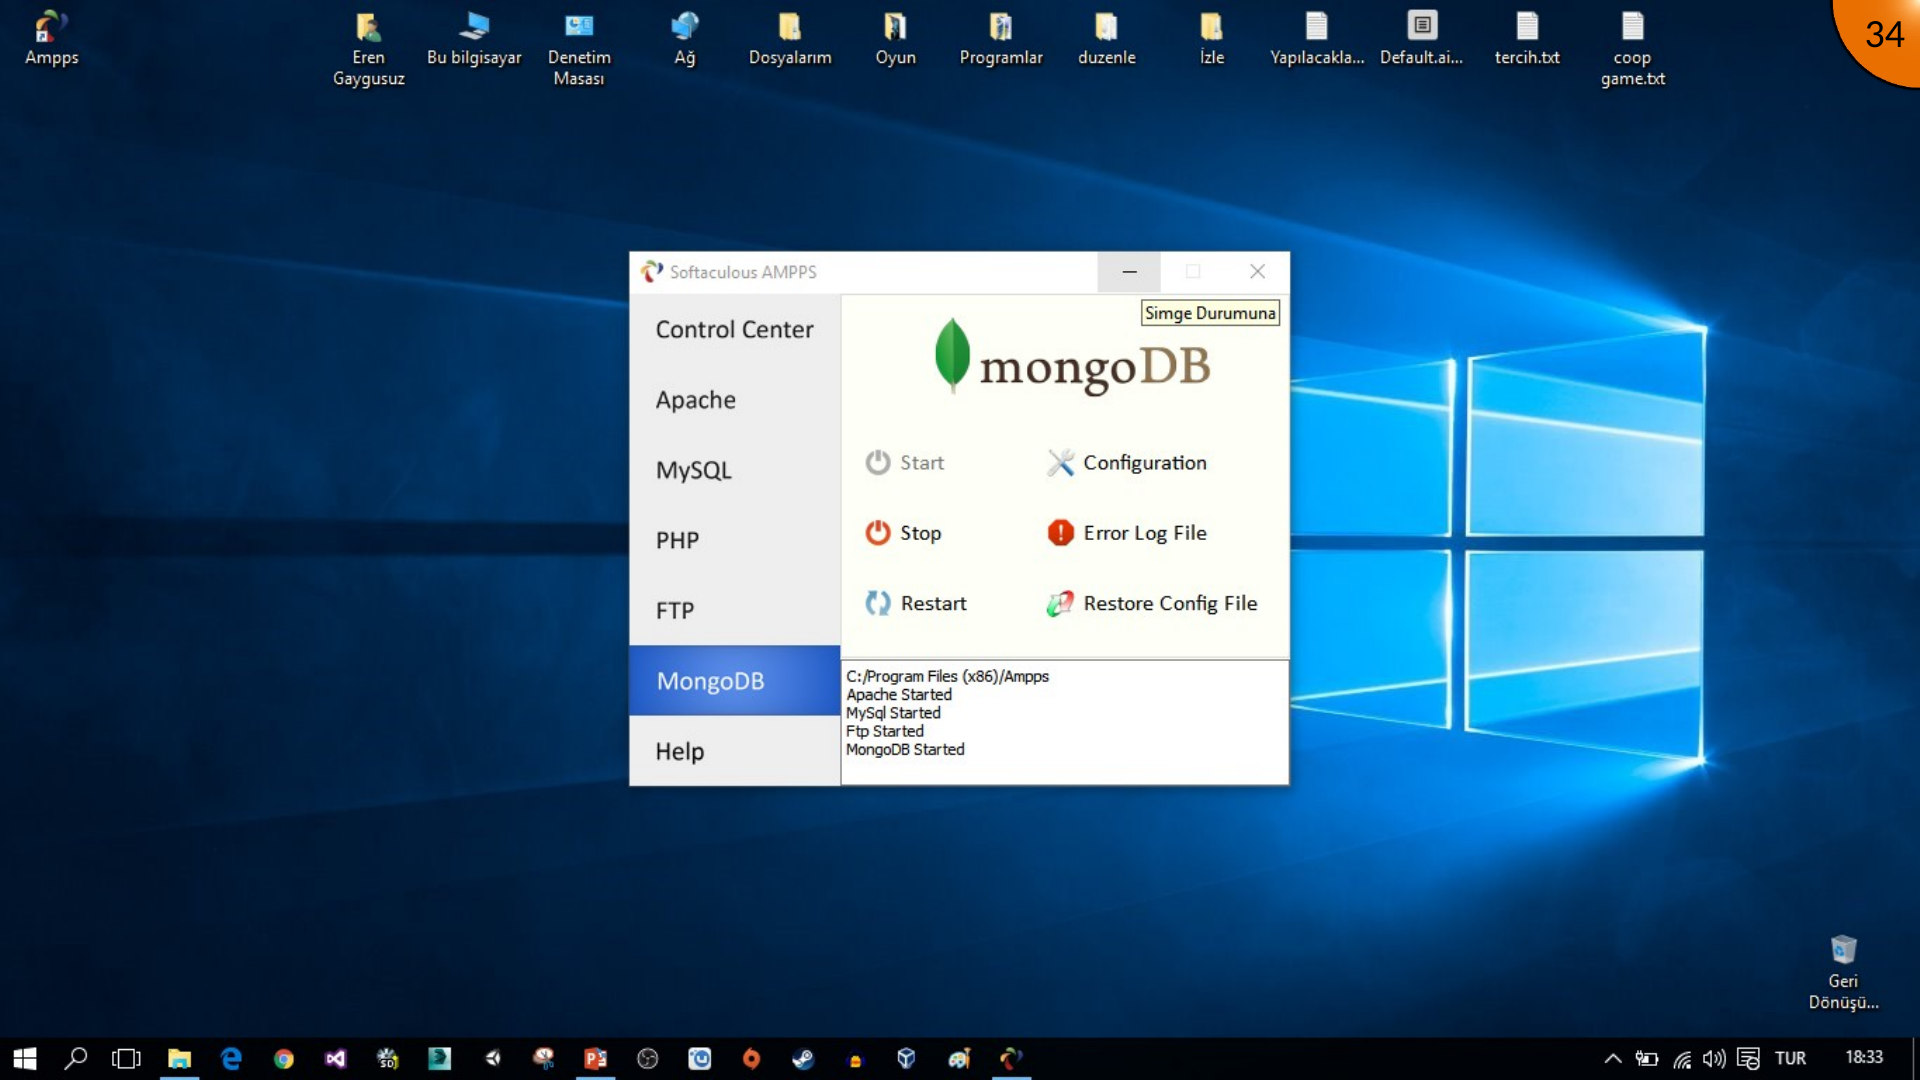
When AMPPS is minimized, its system-tray menu lets you reopen the control panel, stop or restart services, or exit the application. Stop the services cleanly before closing the application to avoid database problems.
Verifying Localhost
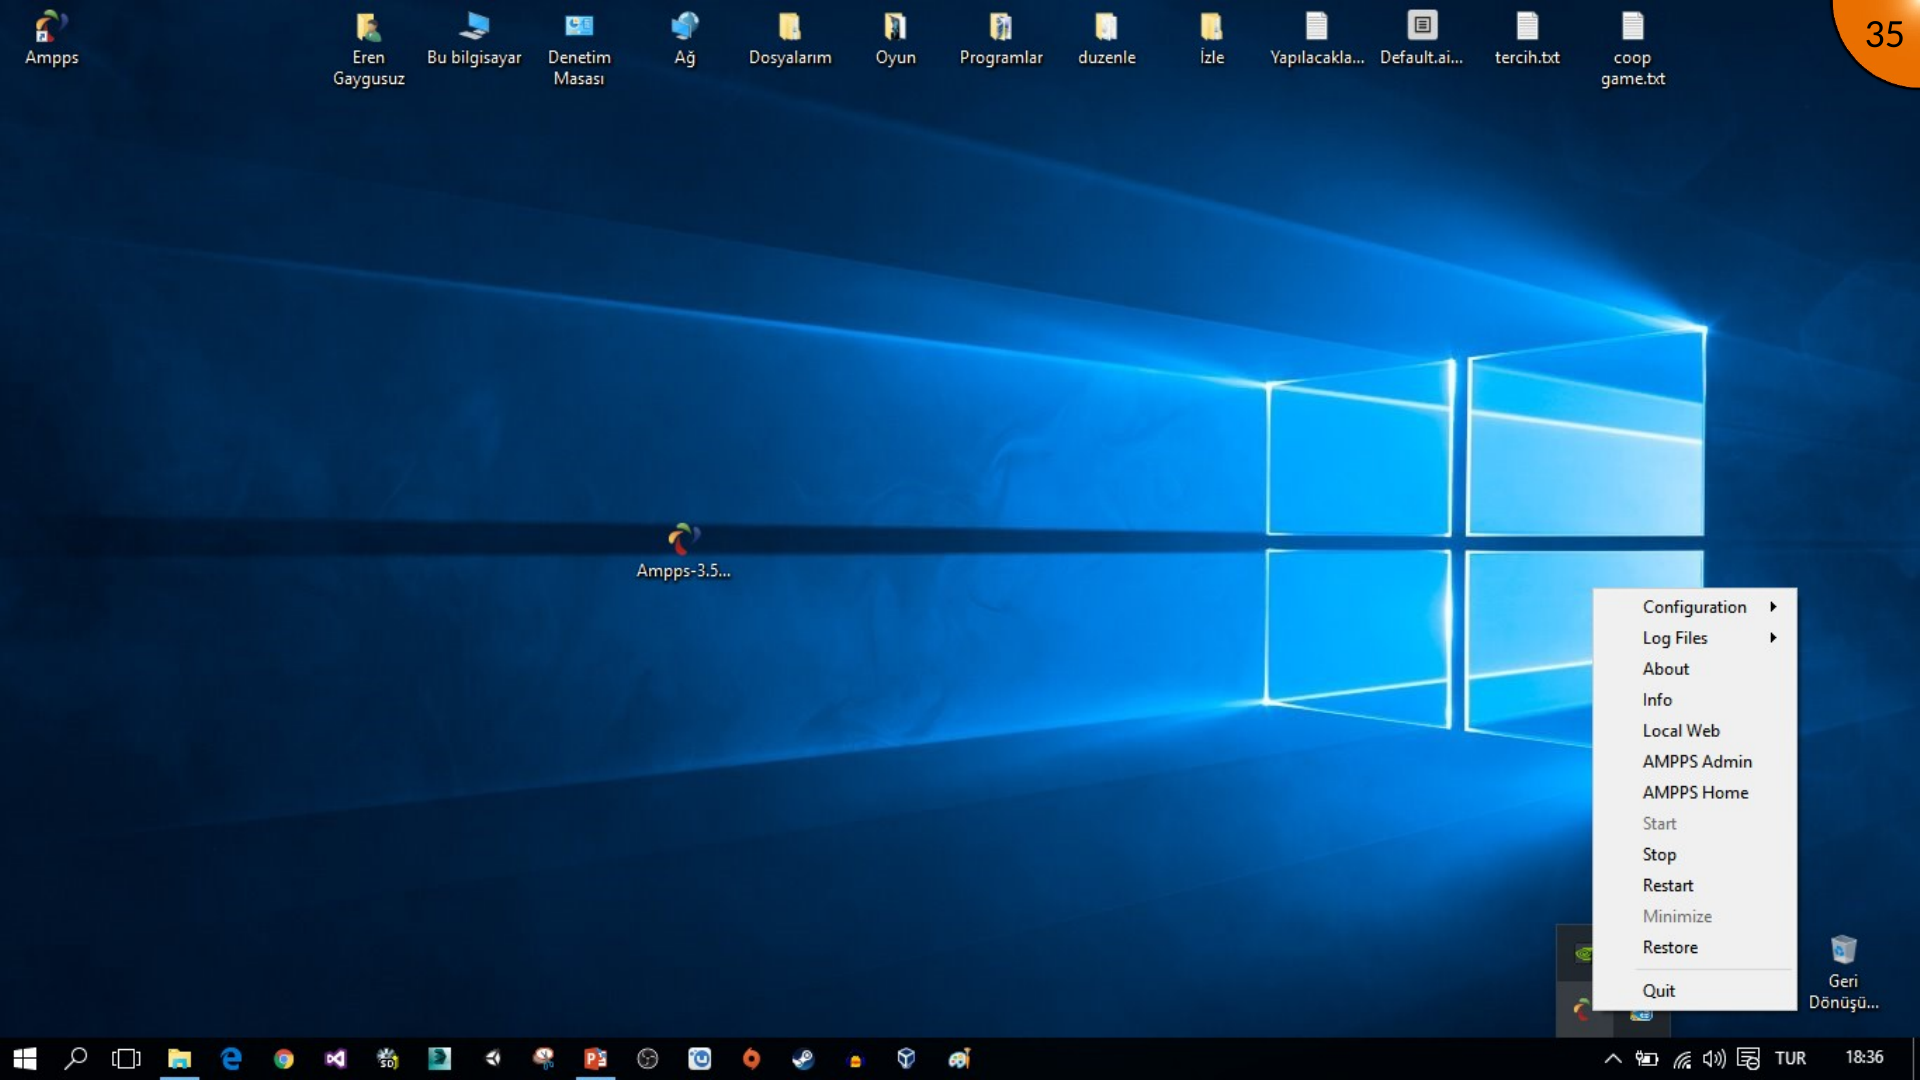
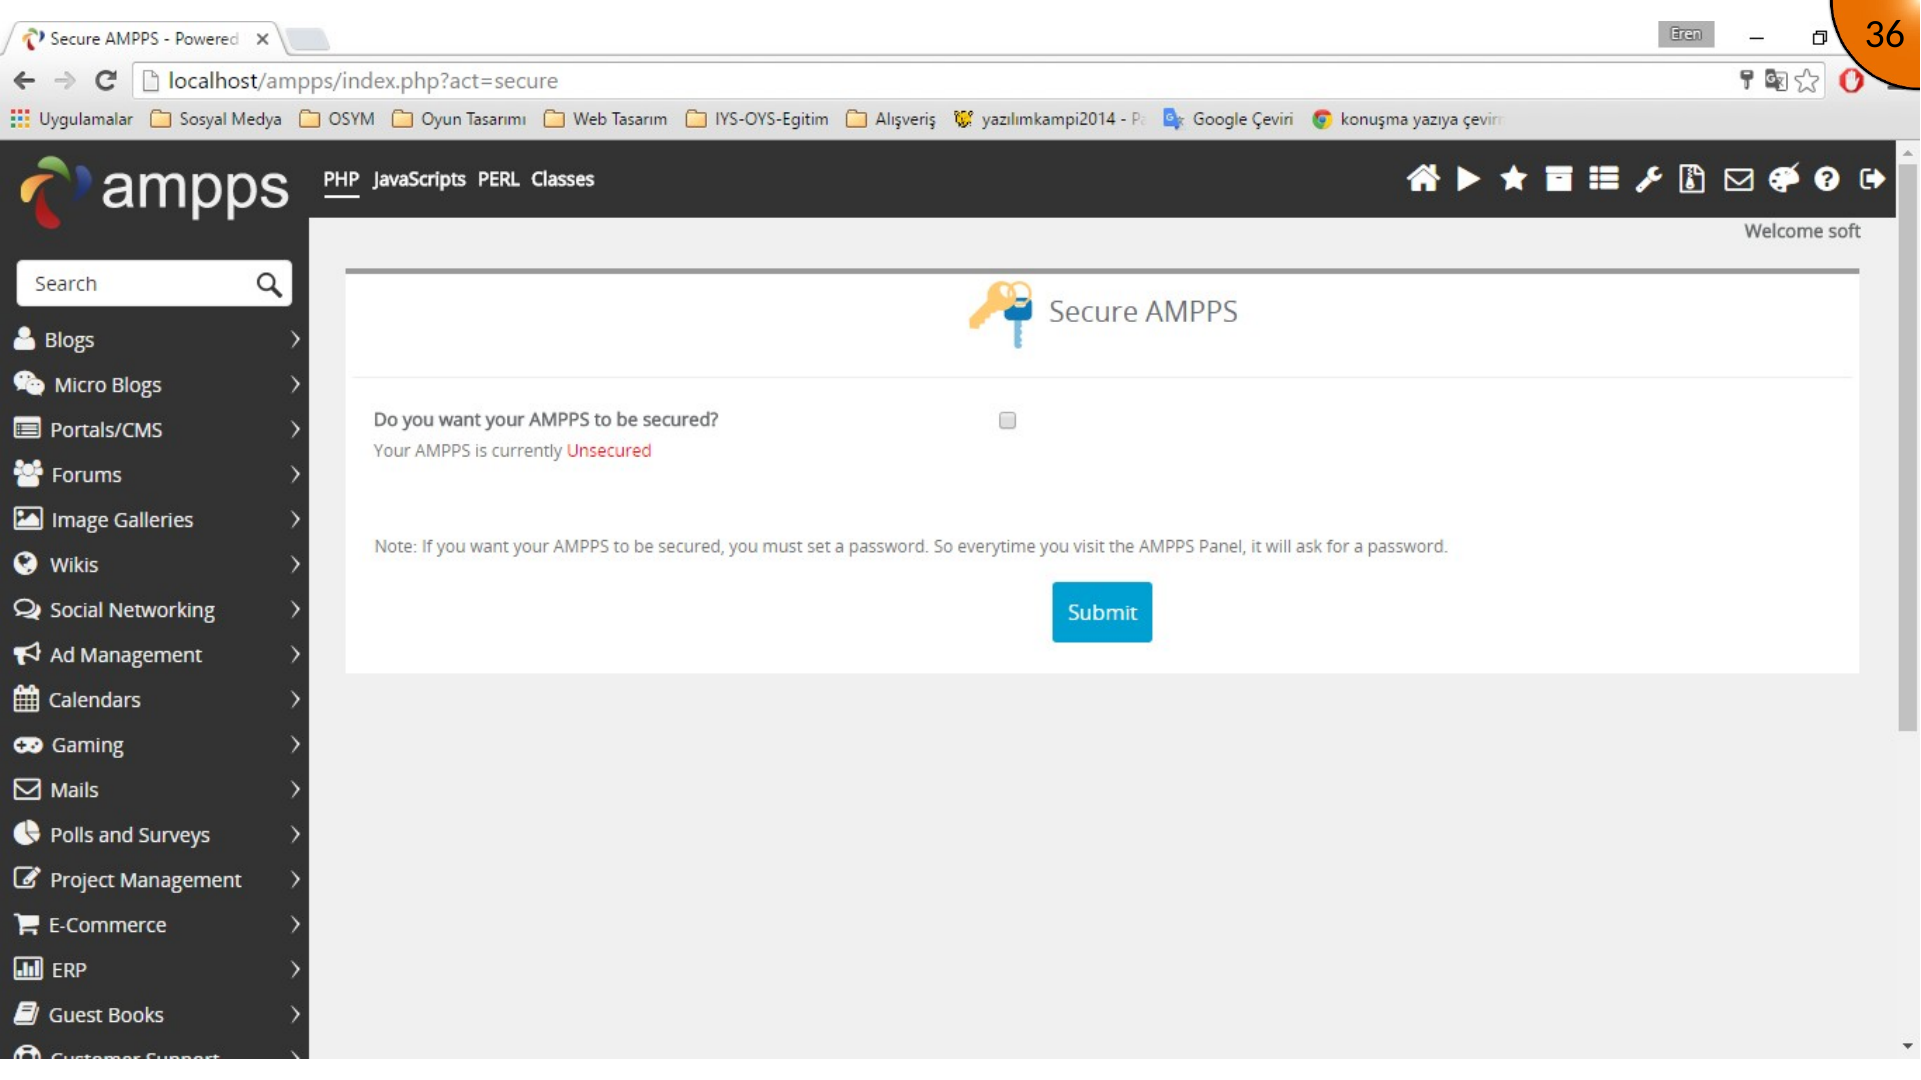
Open a browser and visit http://localhost. If Apache is running, the AMPPS home page should open. The page may offer optional AMPPS security settings; they are separate from the initial Moodle installation and are not required to continue this archived walkthrough.
Summary
AMPPS provides a local Apache and MySQL environment for running Moodle on a Windows computer. Once the installation is complete and localhost loads, the local server is ready for Moodle’s application installation.
Because this software stack and its bundled versions are from 2016, do not use it unchanged for a public or production Moodle site. Keep the workflow as a local-learning reference, and use supported PHP, database, and web-server versions for new deployments.
Comments