This archived walkthrough installs Moodle on a Windows computer through the AMPPS application installer. It follows the 2016 interface and Moodle version shown in the original training material, so labels, available versions, and configuration screens may differ from current software.
Before continuing, make sure Apache and MySQL are already running in AMPPS. The earlier AMPPS setup guide covers that preparation. For a current, container-based option, see Installing Moodle Locally with Docker.
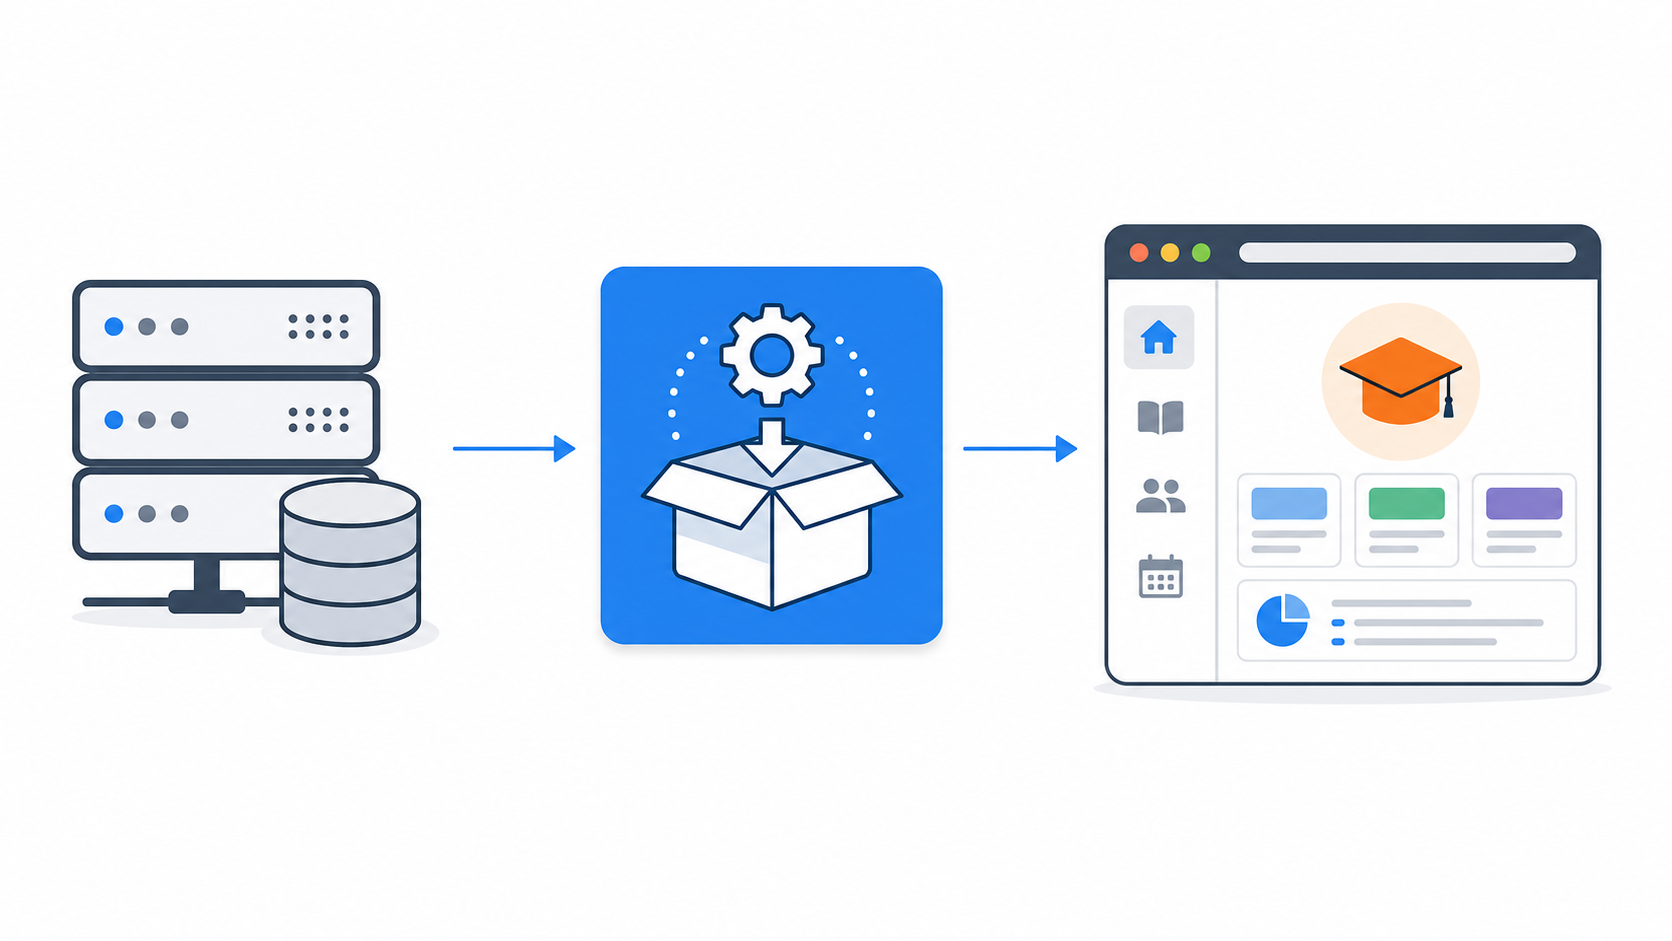
Table of contents
Open Table of contents
Opening the Moodle Installer
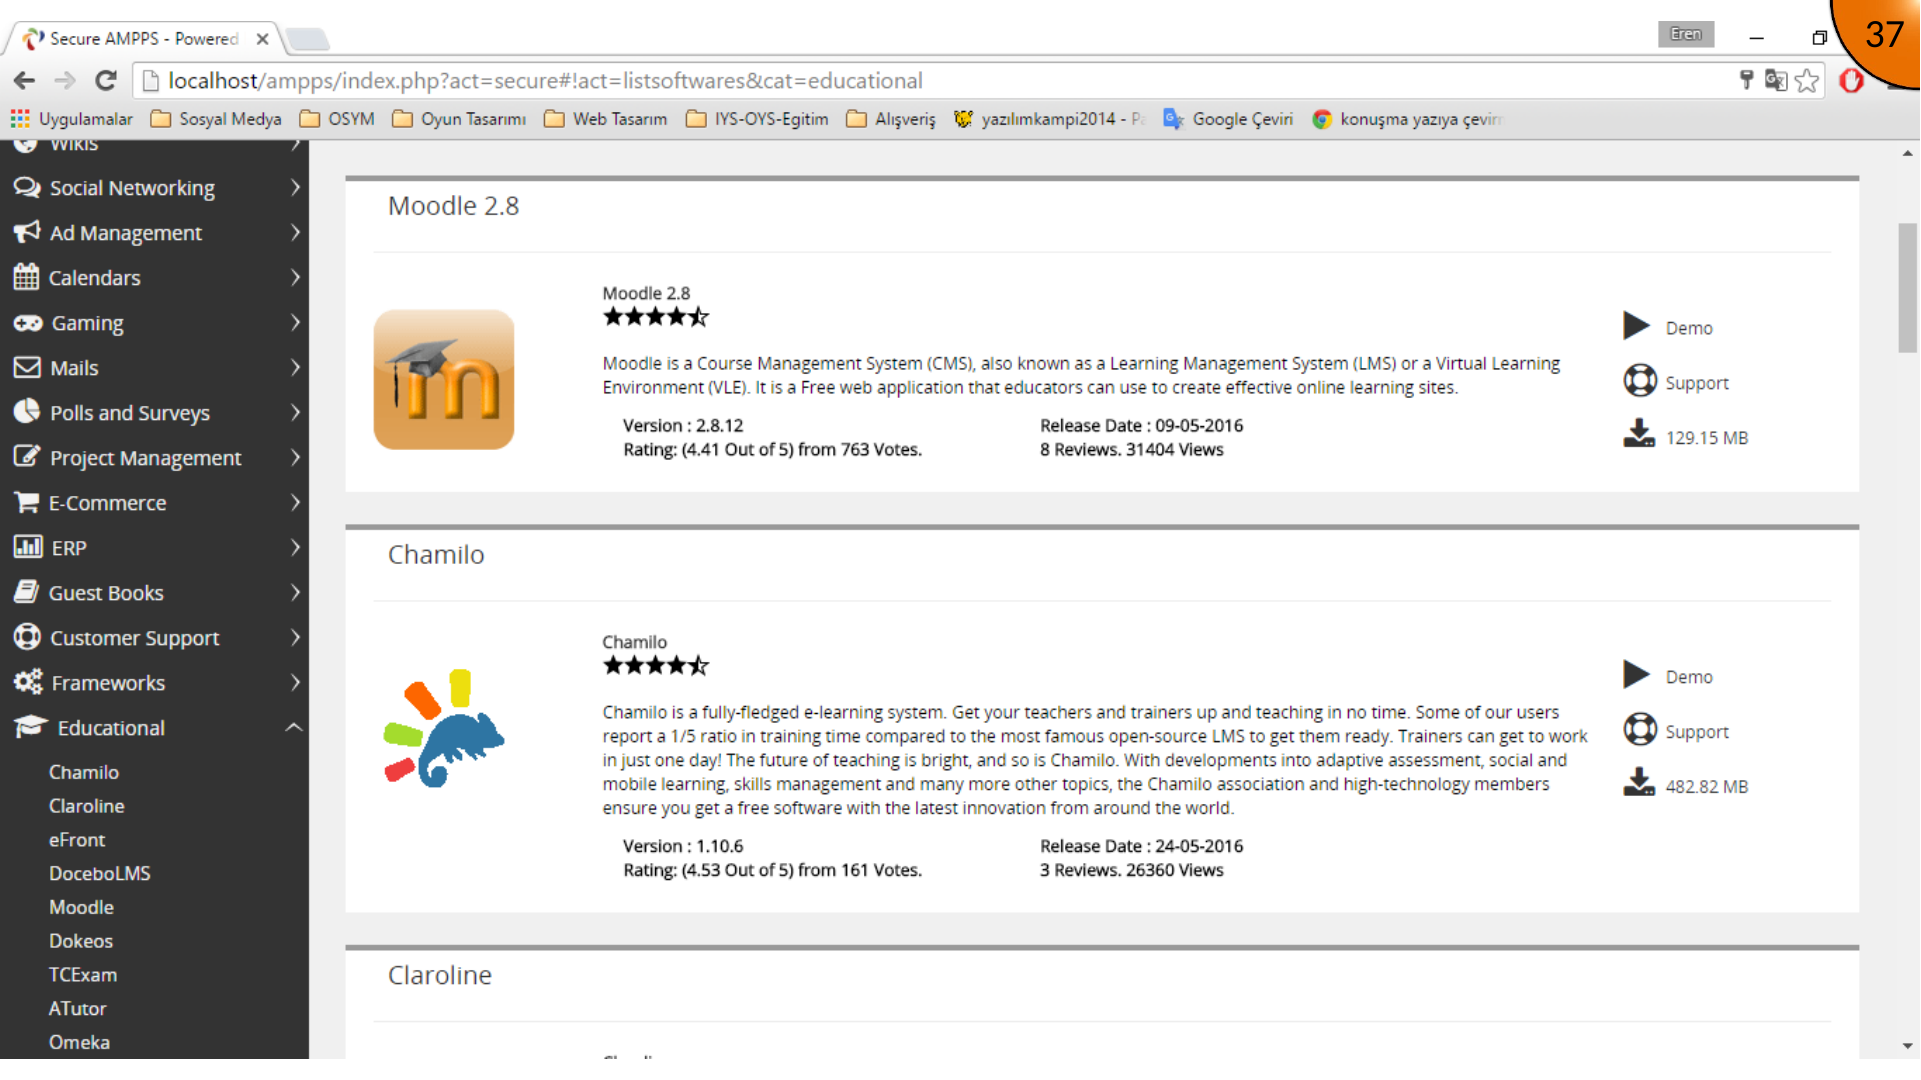
Open http://localhost in the browser. From the AMPPS home page, expand the Educational category, find Moodle, and select it.
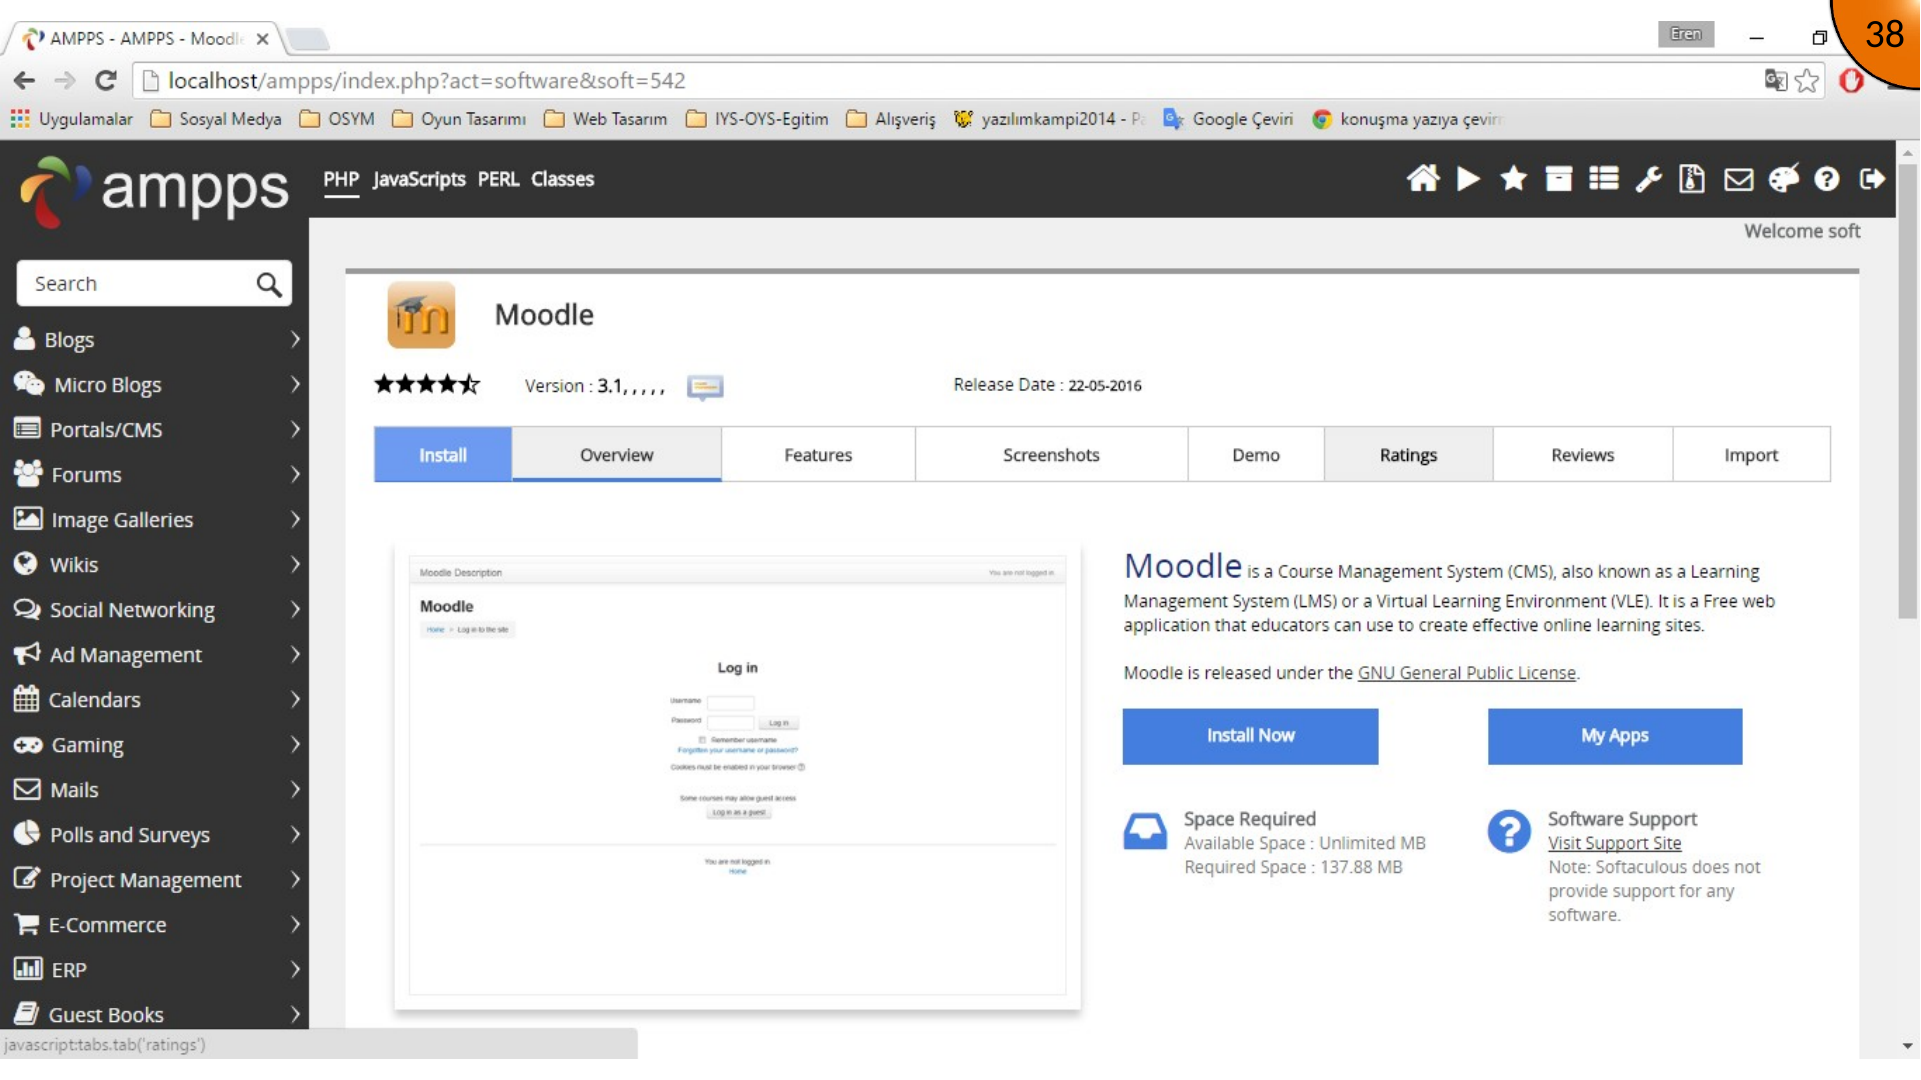
On the Moodle application page, start the installation with Install Now.
Choosing Installation and Data Directories
The installer asks for two important paths: the Moodle application directory and the data directory. The application directory determines the local URL, while the data directory stores uploaded files and generated Moodle data.
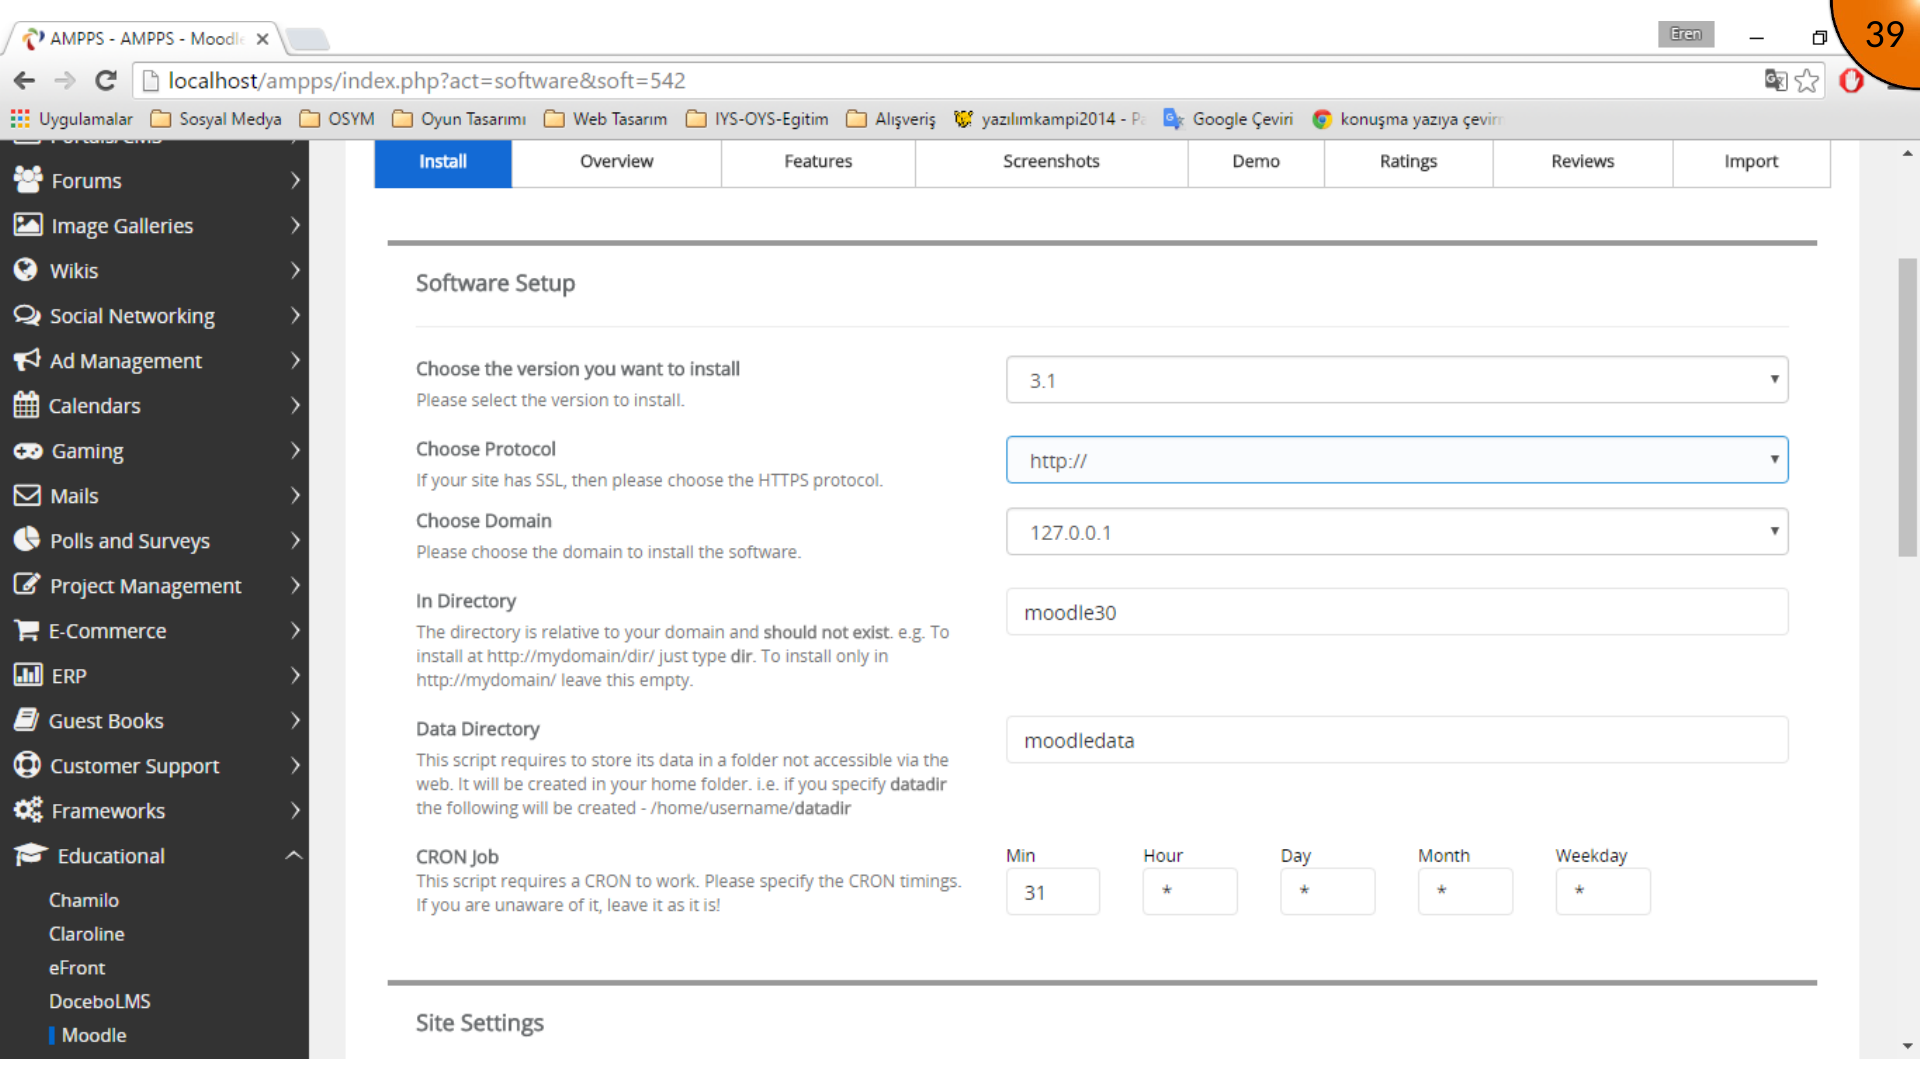
Keep the data directory outside the public web root in a real installation. That prevents uploaded files and Moodle’s internal data from being served directly by the web server. The AMPPS installer handles the example paths used in this archived setup.
Configuring the First Site Administrator
Enter the site name and description, then create the first administrator account. Use a unique username and a strong password containing upper- and lower-case letters, numbers, and special characters.
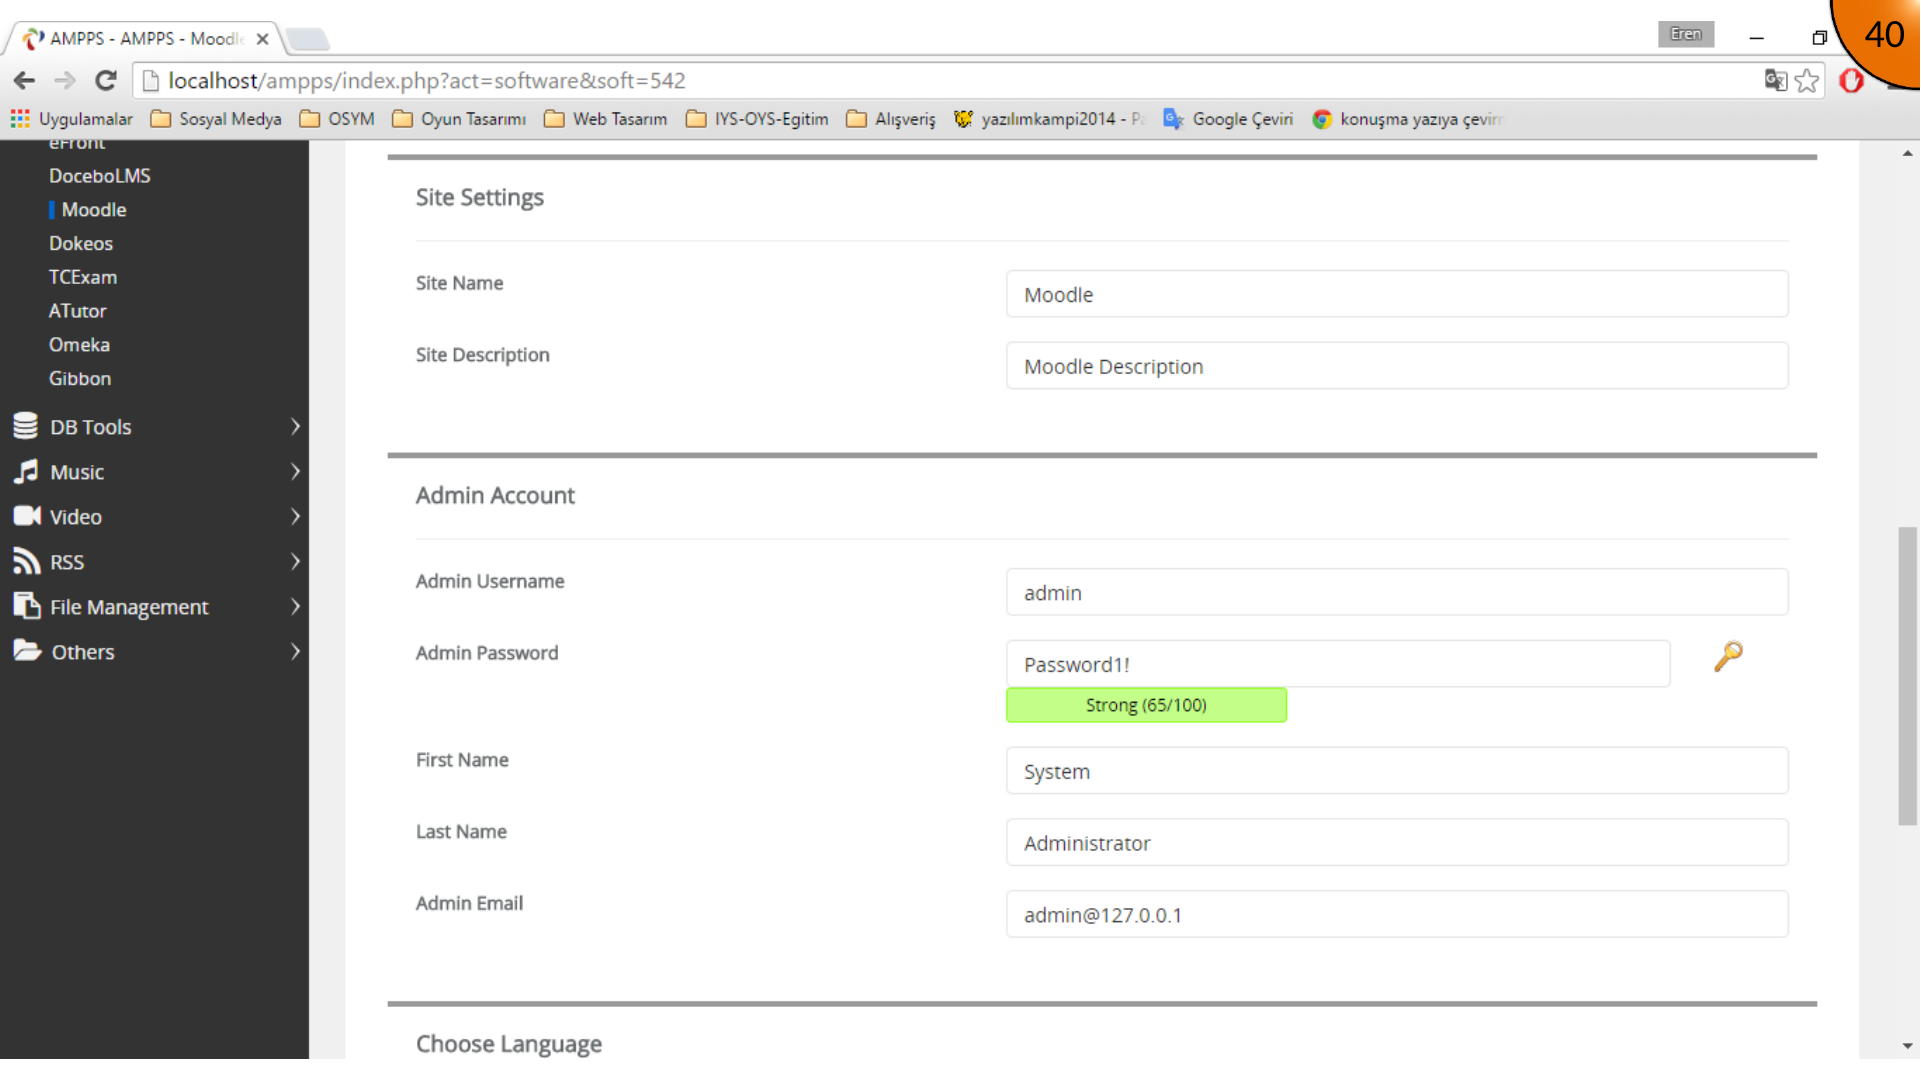
The initial installer language is English in this flow. Language packs can be installed and made the default after Moodle is available.
Running the Installation
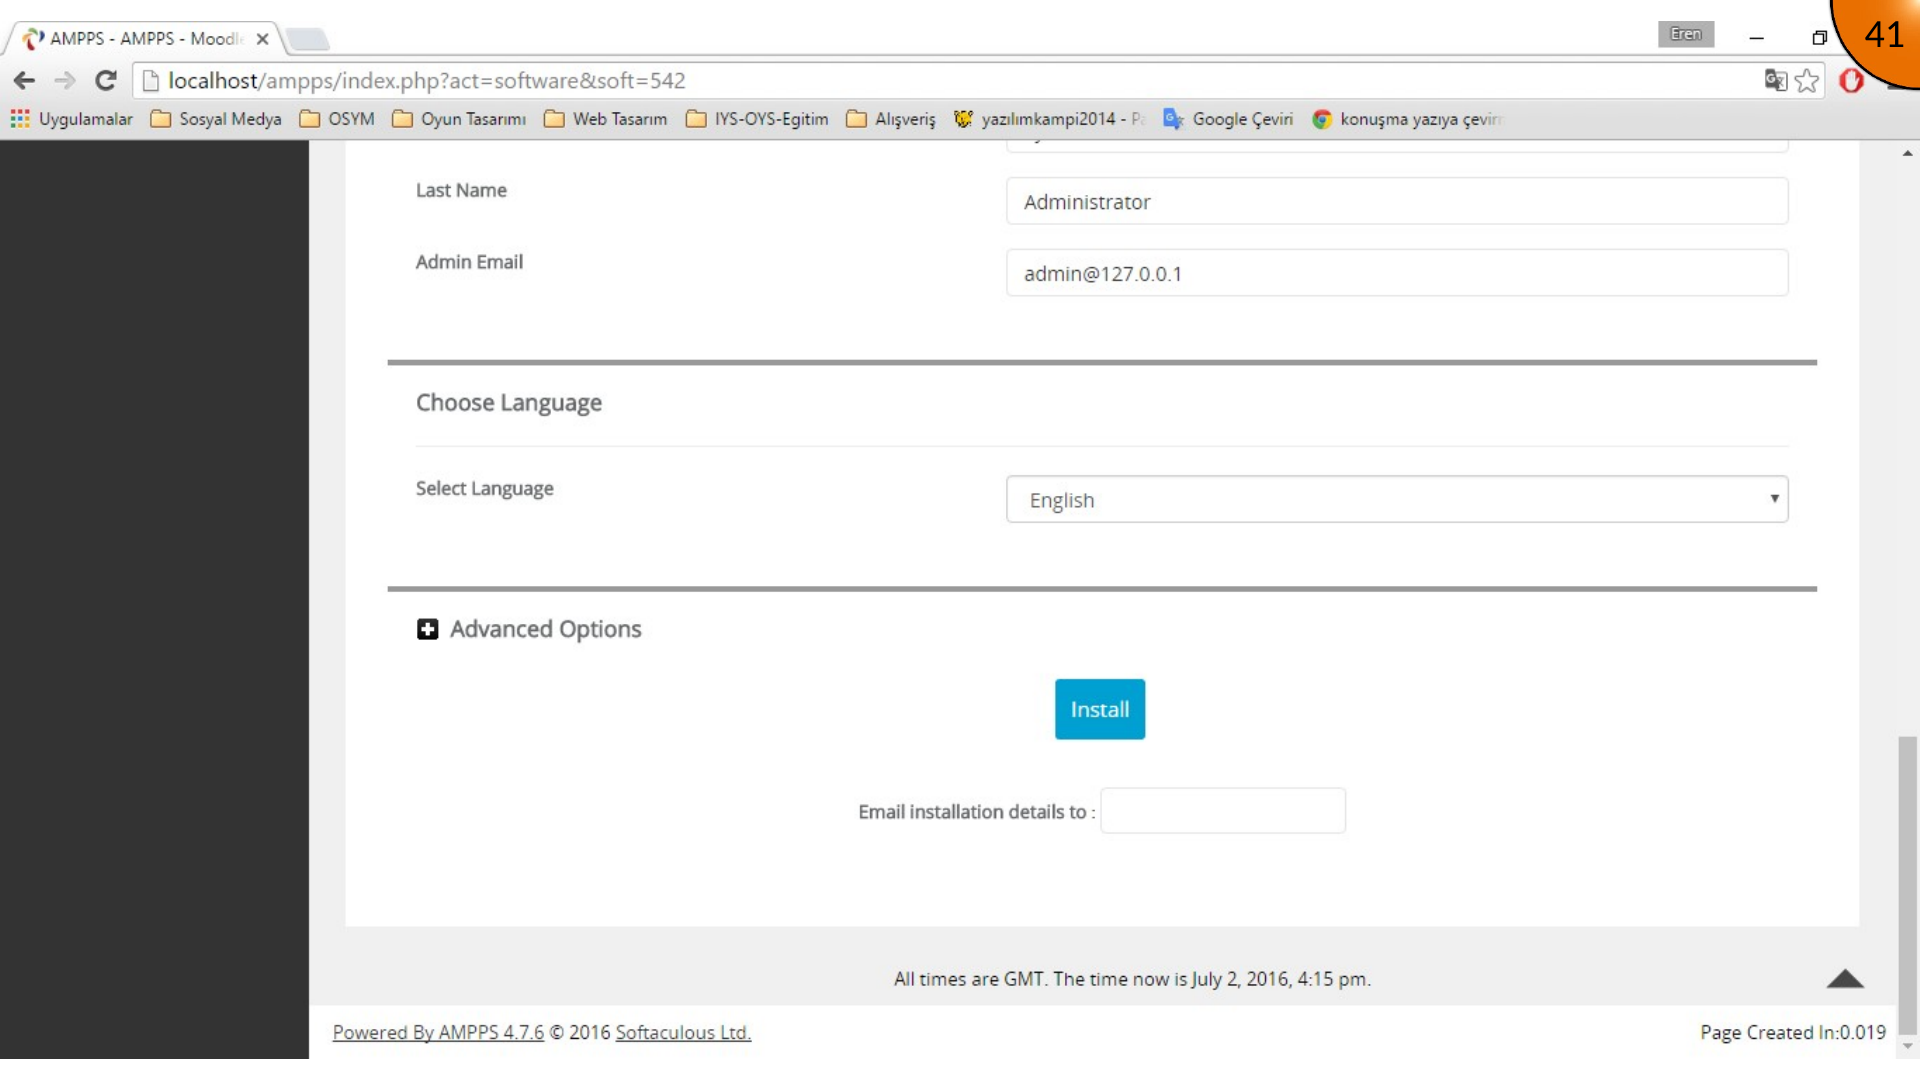
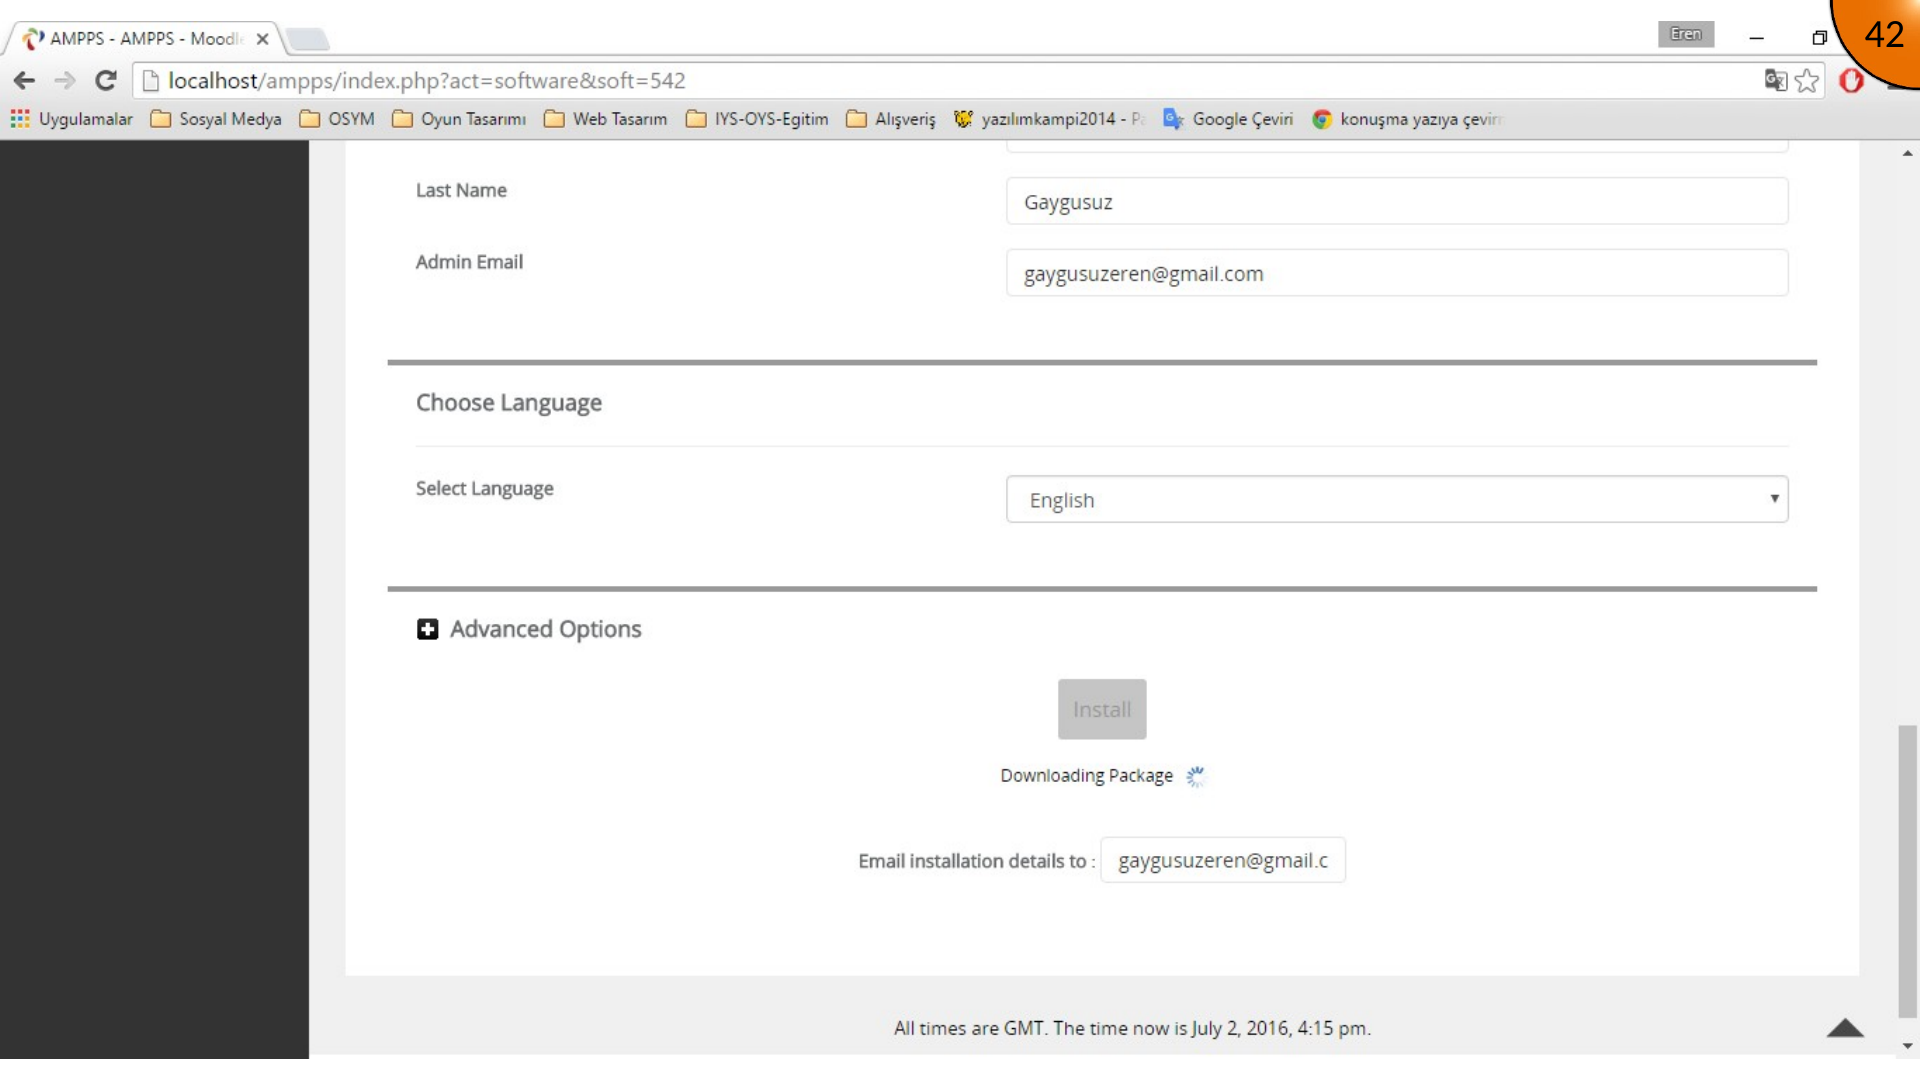
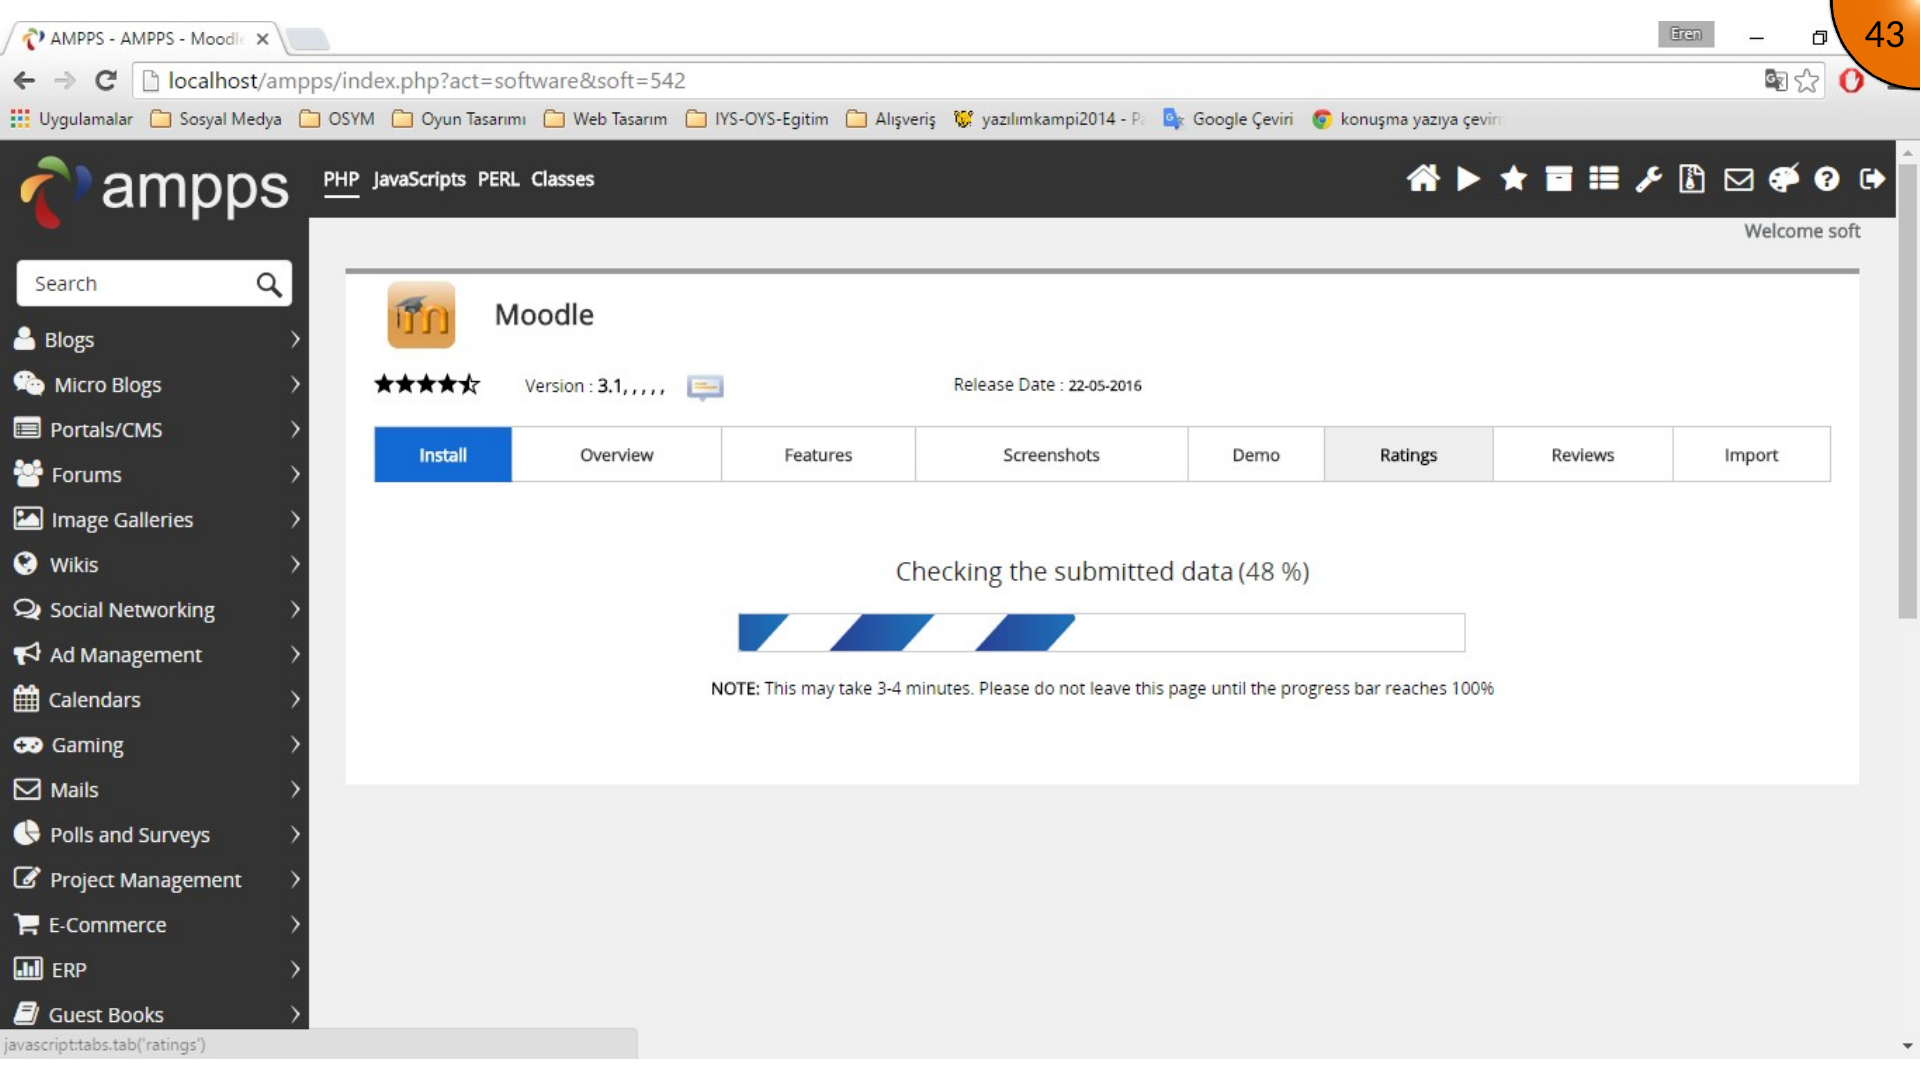
Select Install. AMPPS downloads Moodle and creates the local application and database configuration. Wait while the installer completes the required steps.
Opening the Local Moodle Site
When the installation completes, Moodle is available at the selected local path. For example, an installation directory named moodle30 can be opened at http://localhost/moodle30 or http://127.0.0.1/moodle30.
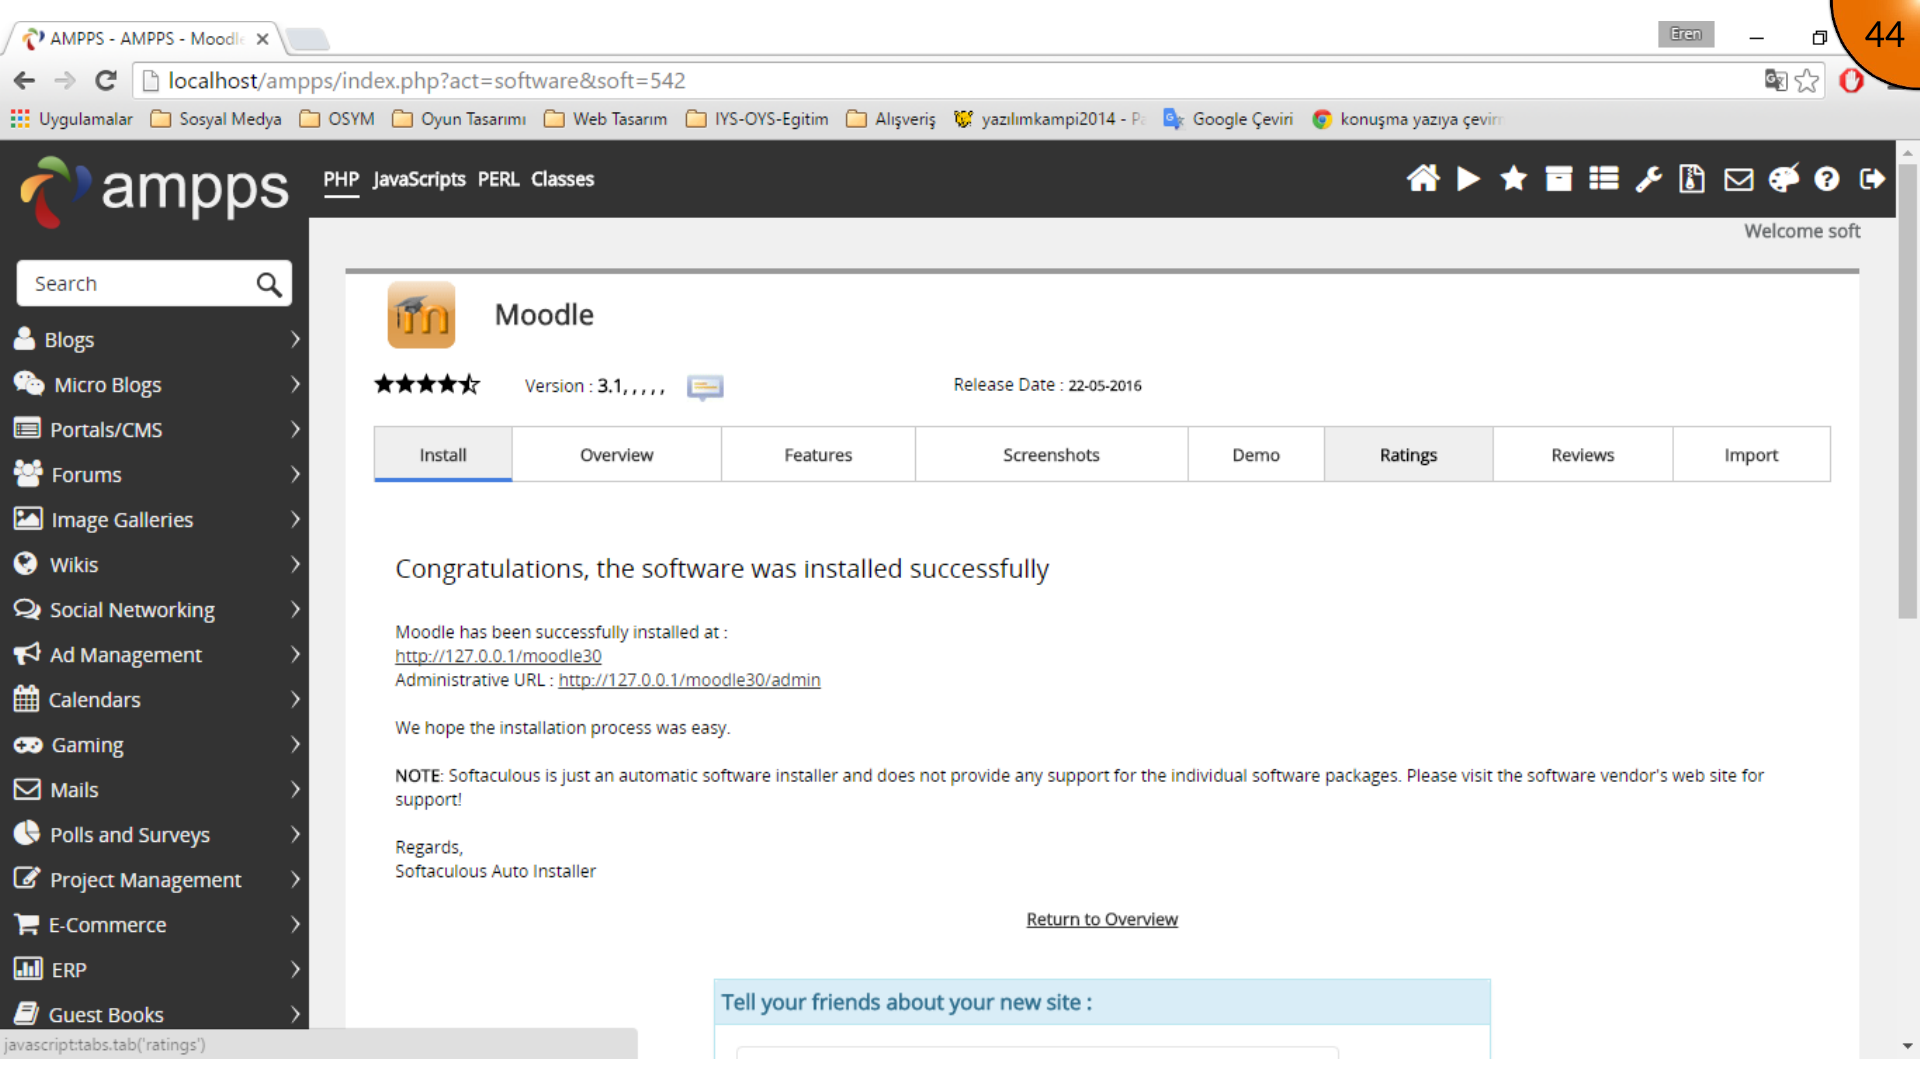
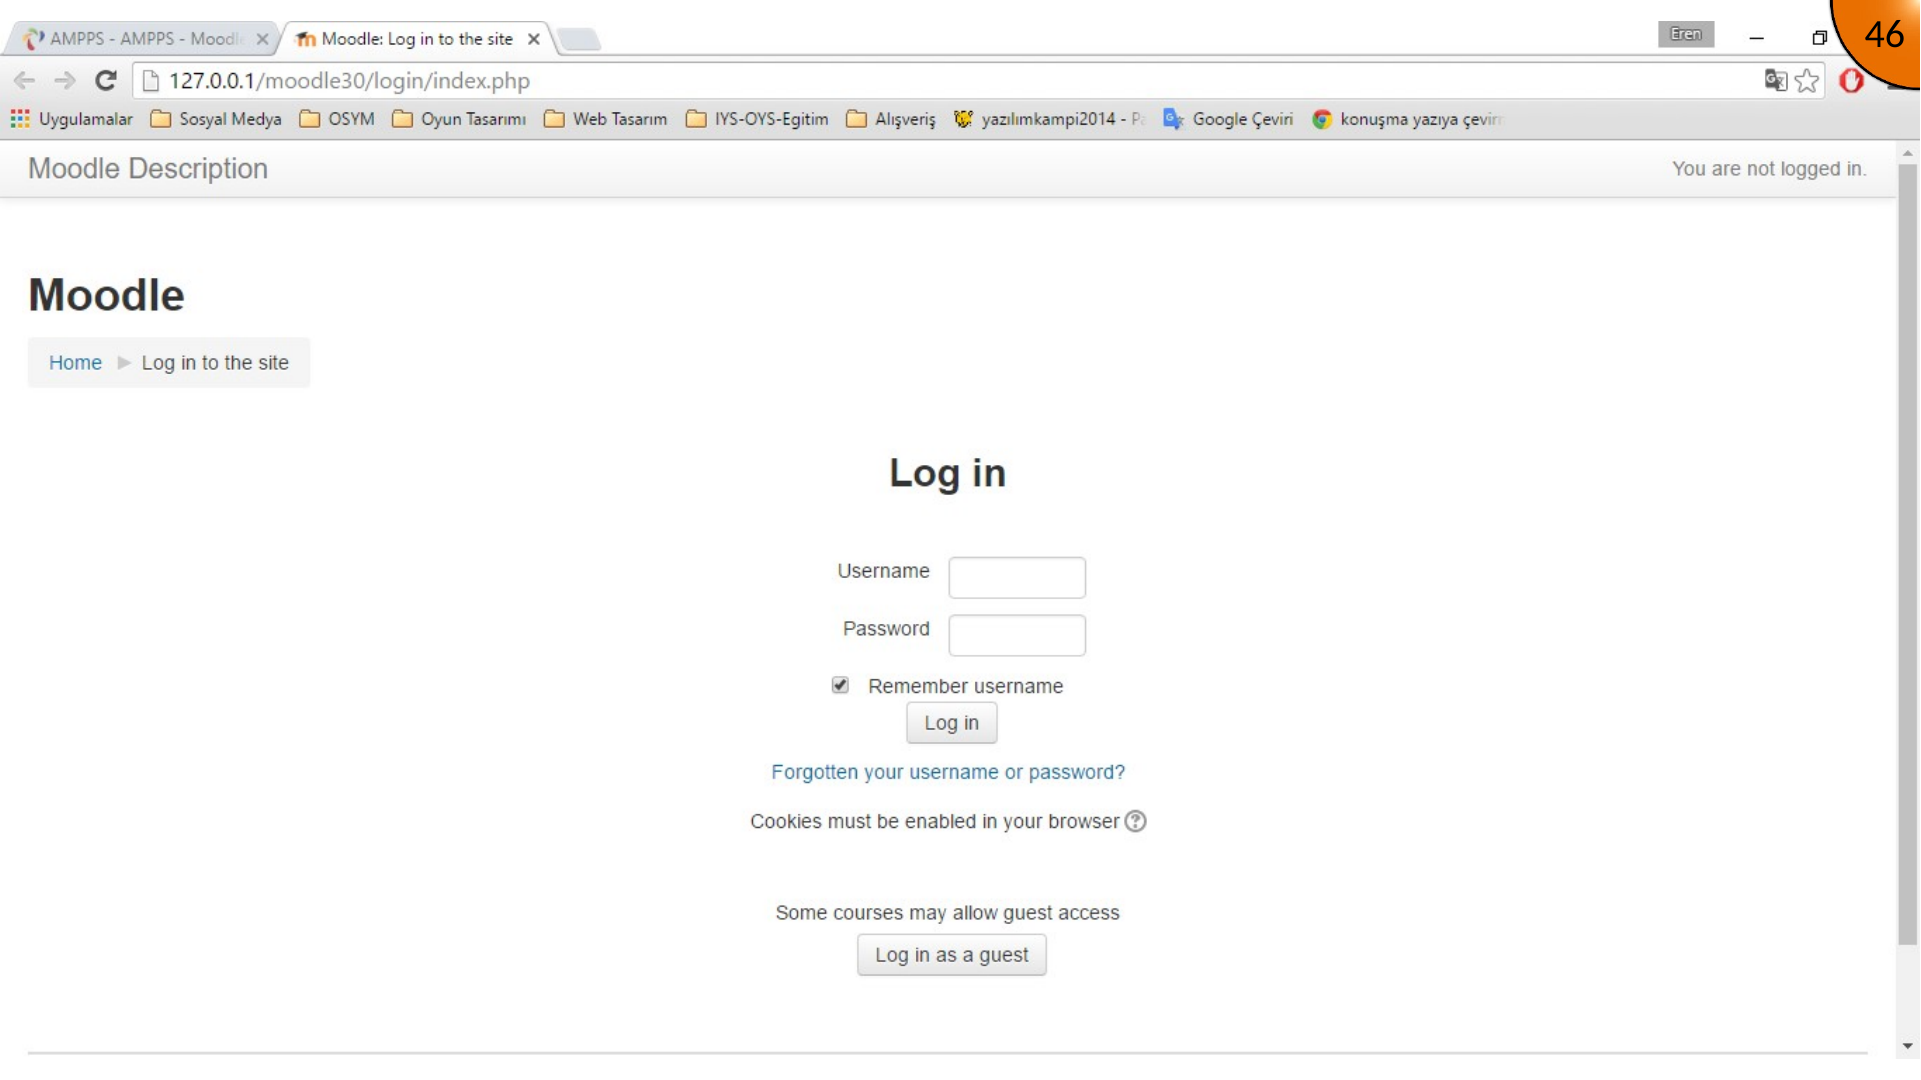
Open the local Moodle URL and use Log in with the administrator credentials created during setup.
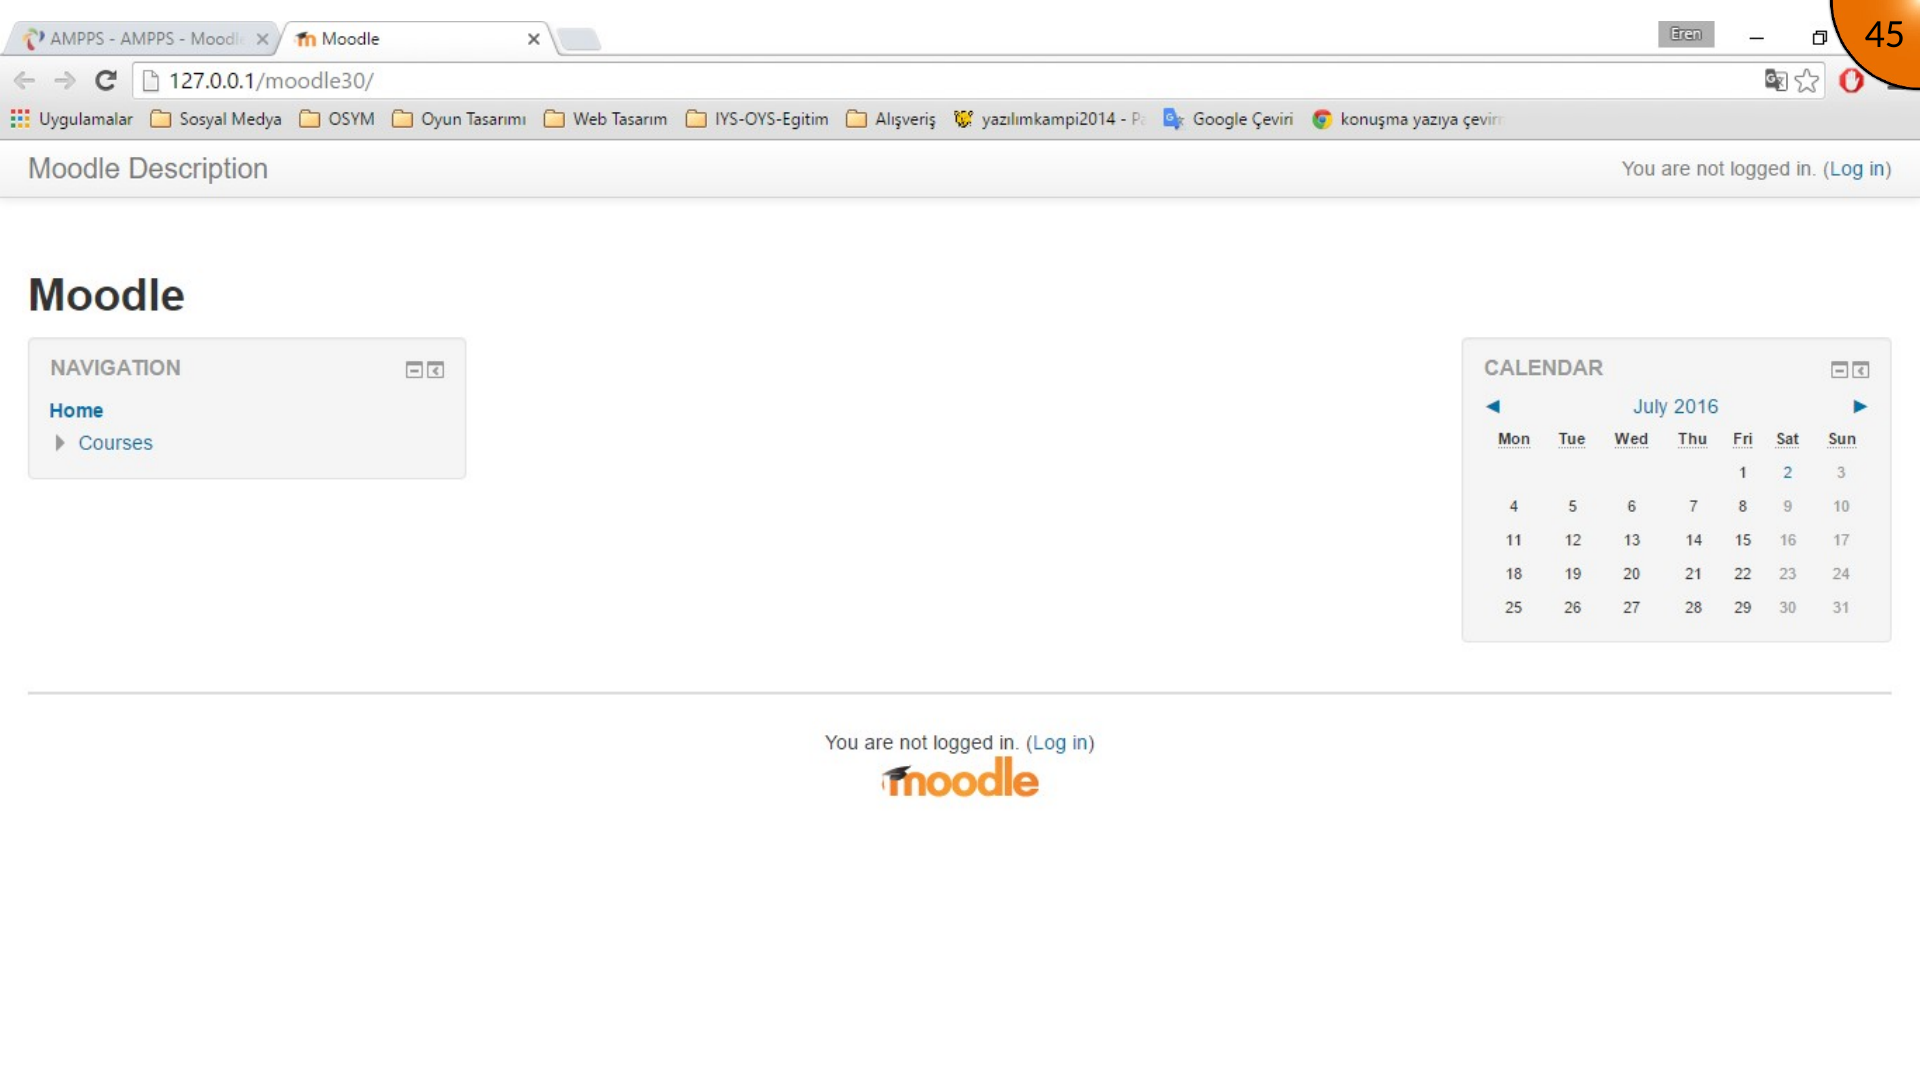
You can also open the administration path directly by adding /admin to the Moodle URL.
Summary
AMPPS installs the web server, database server, and Moodle application on the same computer. After selecting the installation paths and creating the first administrator account, the site is available through a local browser address.
This is a historical local-development workflow. For a supported deployment, use current Moodle server requirements, keep moodledata outside the web root, use HTTPS for public sites, and schedule Moodle’s regular background tasks.
Comments