This is an archived walkthrough of installing Moodle through a hosting control panel’s auto-installer. It preserves the original 2016 Hostinger screens and Moodle 2.6.3 flow, so the exact menus, free-hosting offer, domain suffixes, and available Moodle version will no longer match a current hosting account.
The underlying sequence is still useful: create a hosting account, provision a domain or subdomain, open the provider’s application installer, configure Moodle’s administrator account and site name, then wait for provisioning to finish. For a current local installation, see the Docker-based Moodle setup.

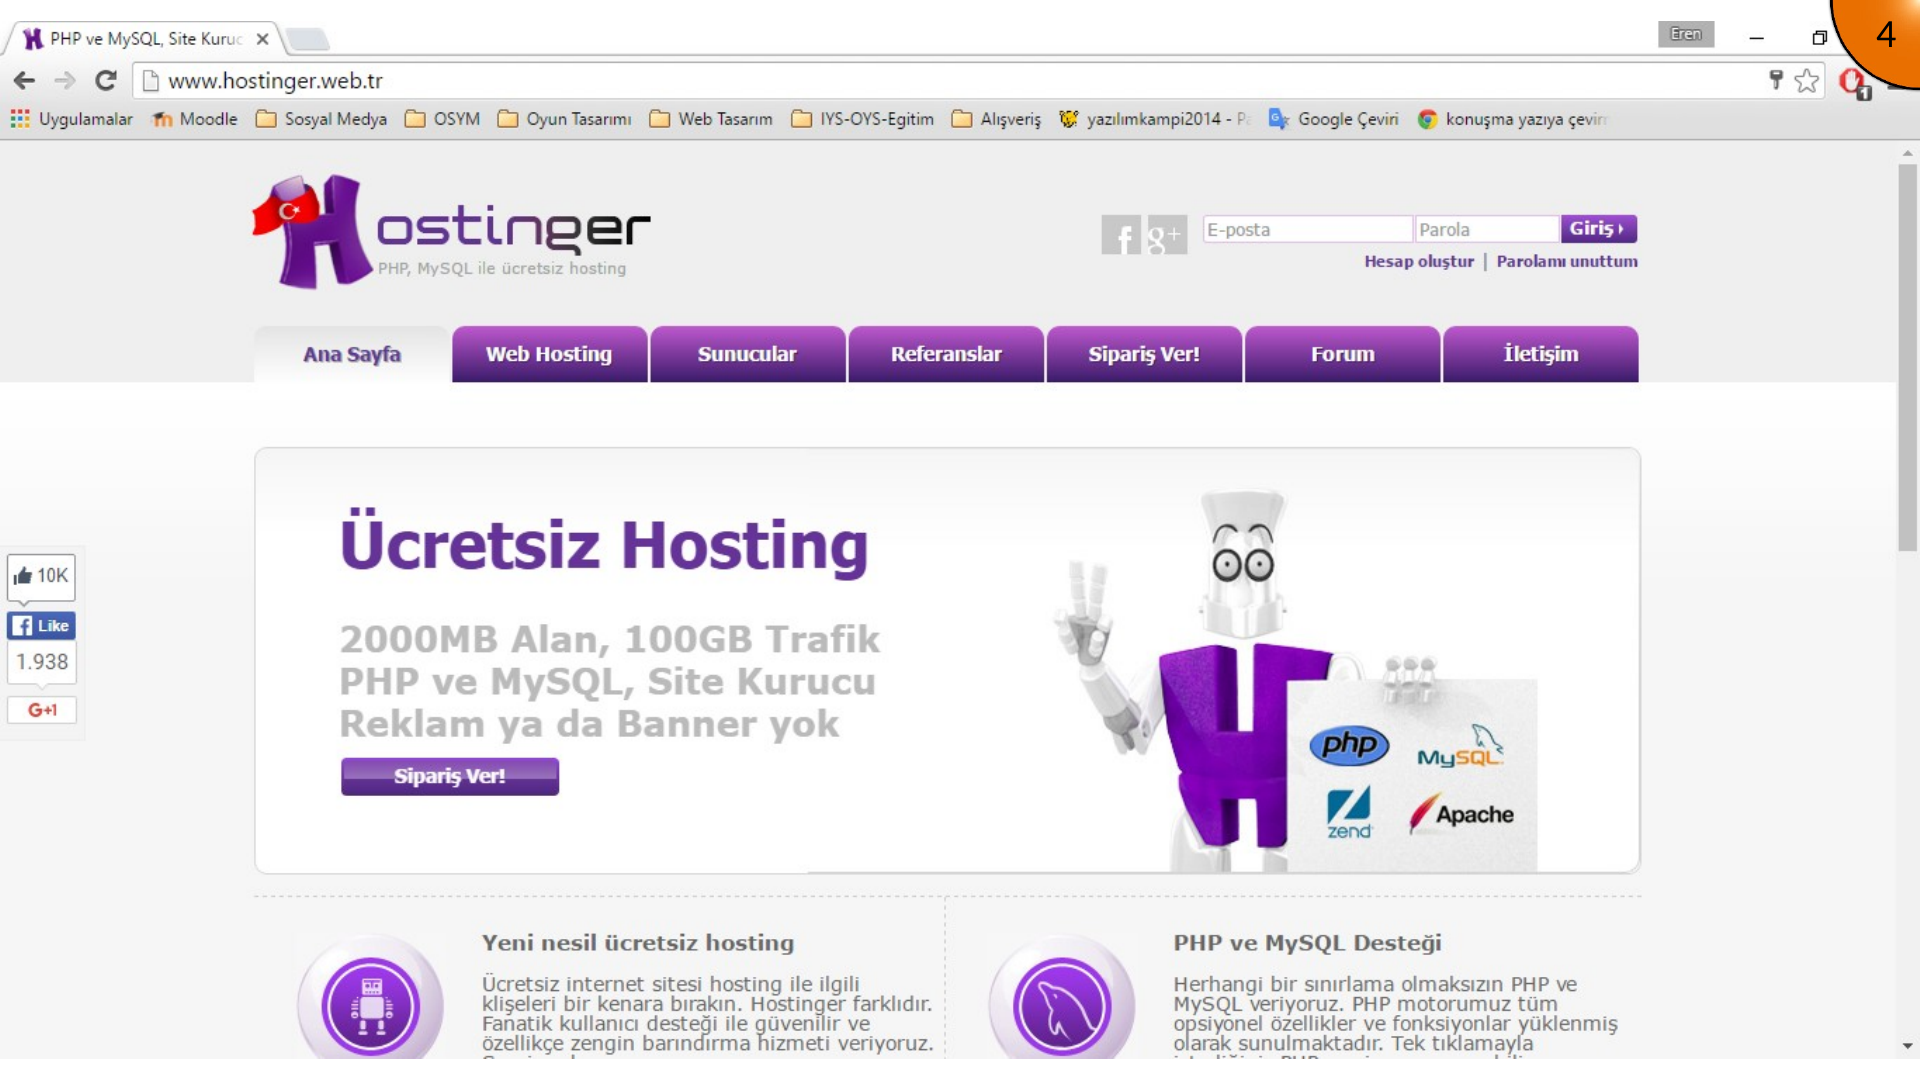
Table of contents
Open Table of contents
Before You Start
You need a hosting plan that supports the PHP version and database engine required by your Moodle release. You also need a domain or subdomain and an email address you can use to verify the hosting account.
For a real deployment, do not choose a plan only because it has a one-click installer. Check Moodle’s current server requirements, database limits, scheduled-task support, storage capacity, backups, HTTPS, and outbound email support first.
Creating and Verifying the Hosting Account
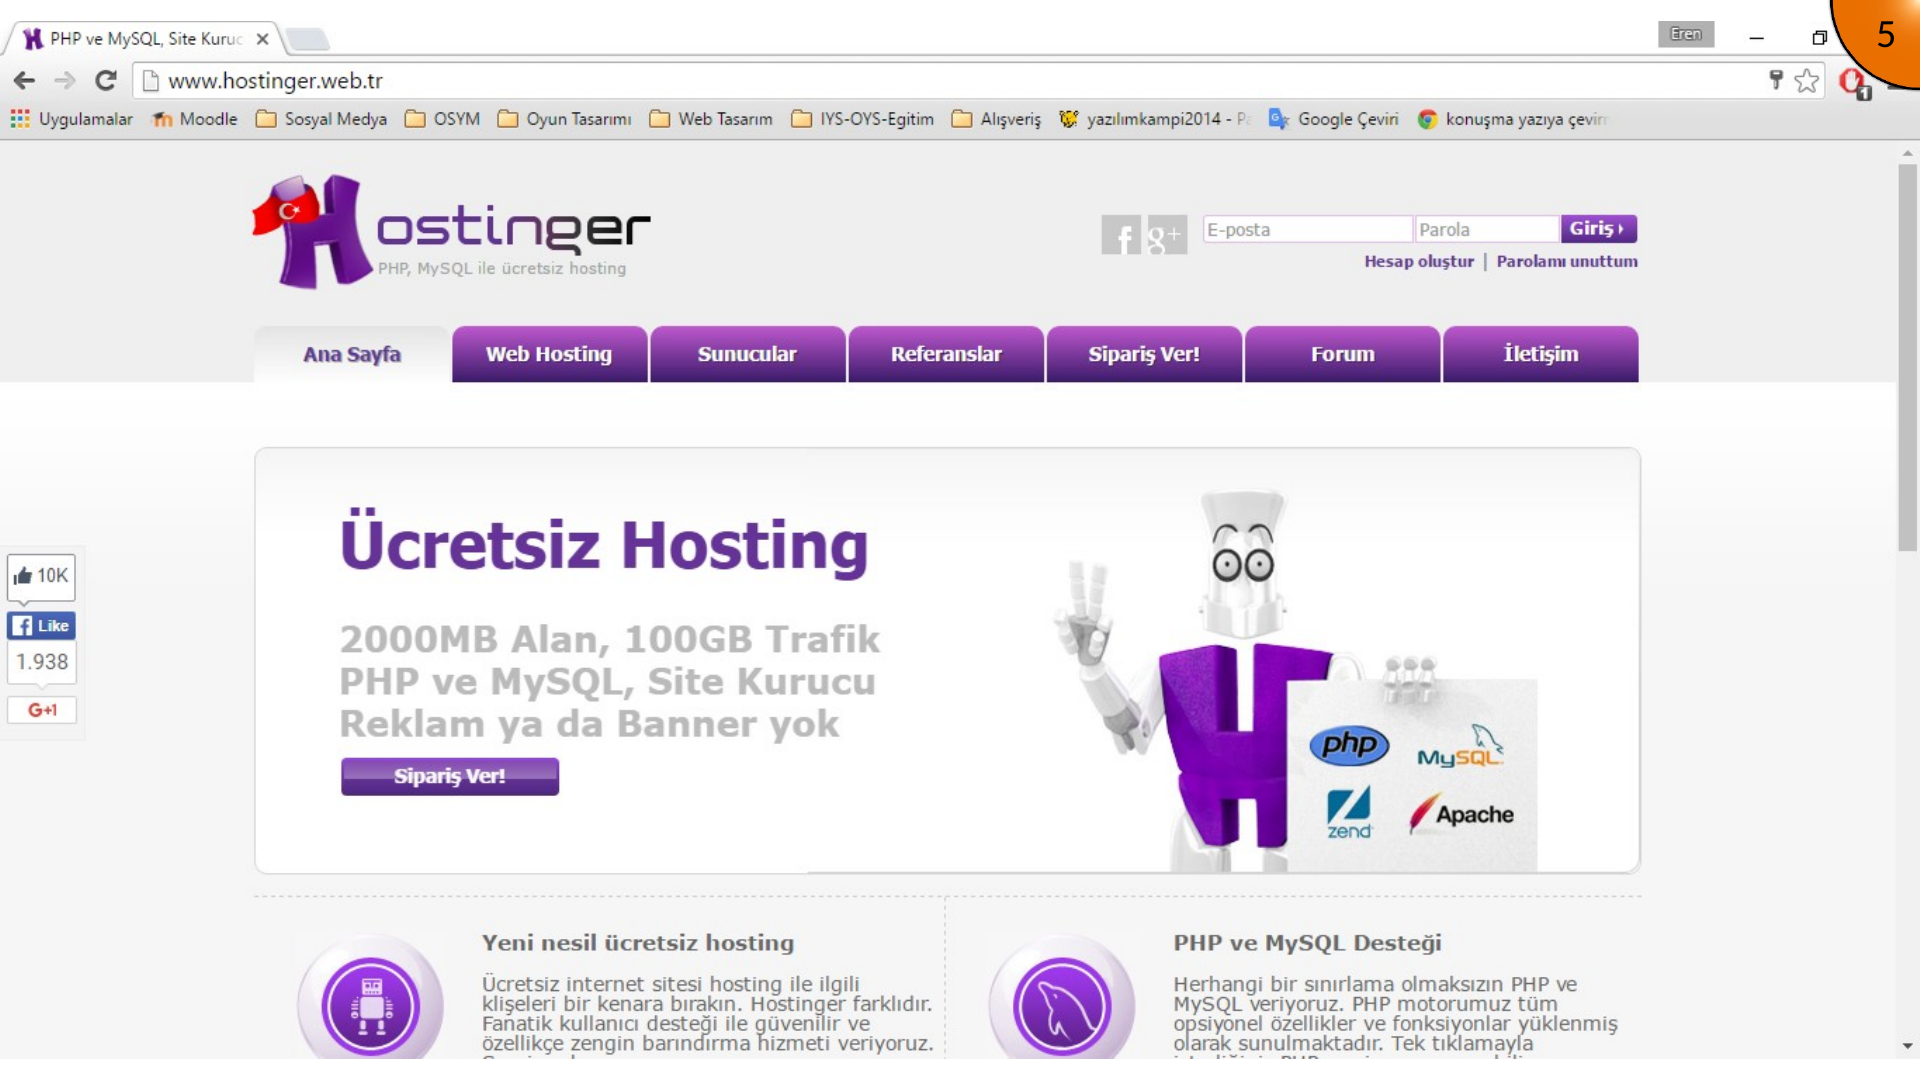
Open your hosting provider’s website. The archived example uses the old Hostinger Turkey site. Choose Create account if you do not yet have an account, or sign in with an existing provider or social-login account if that option is offered.
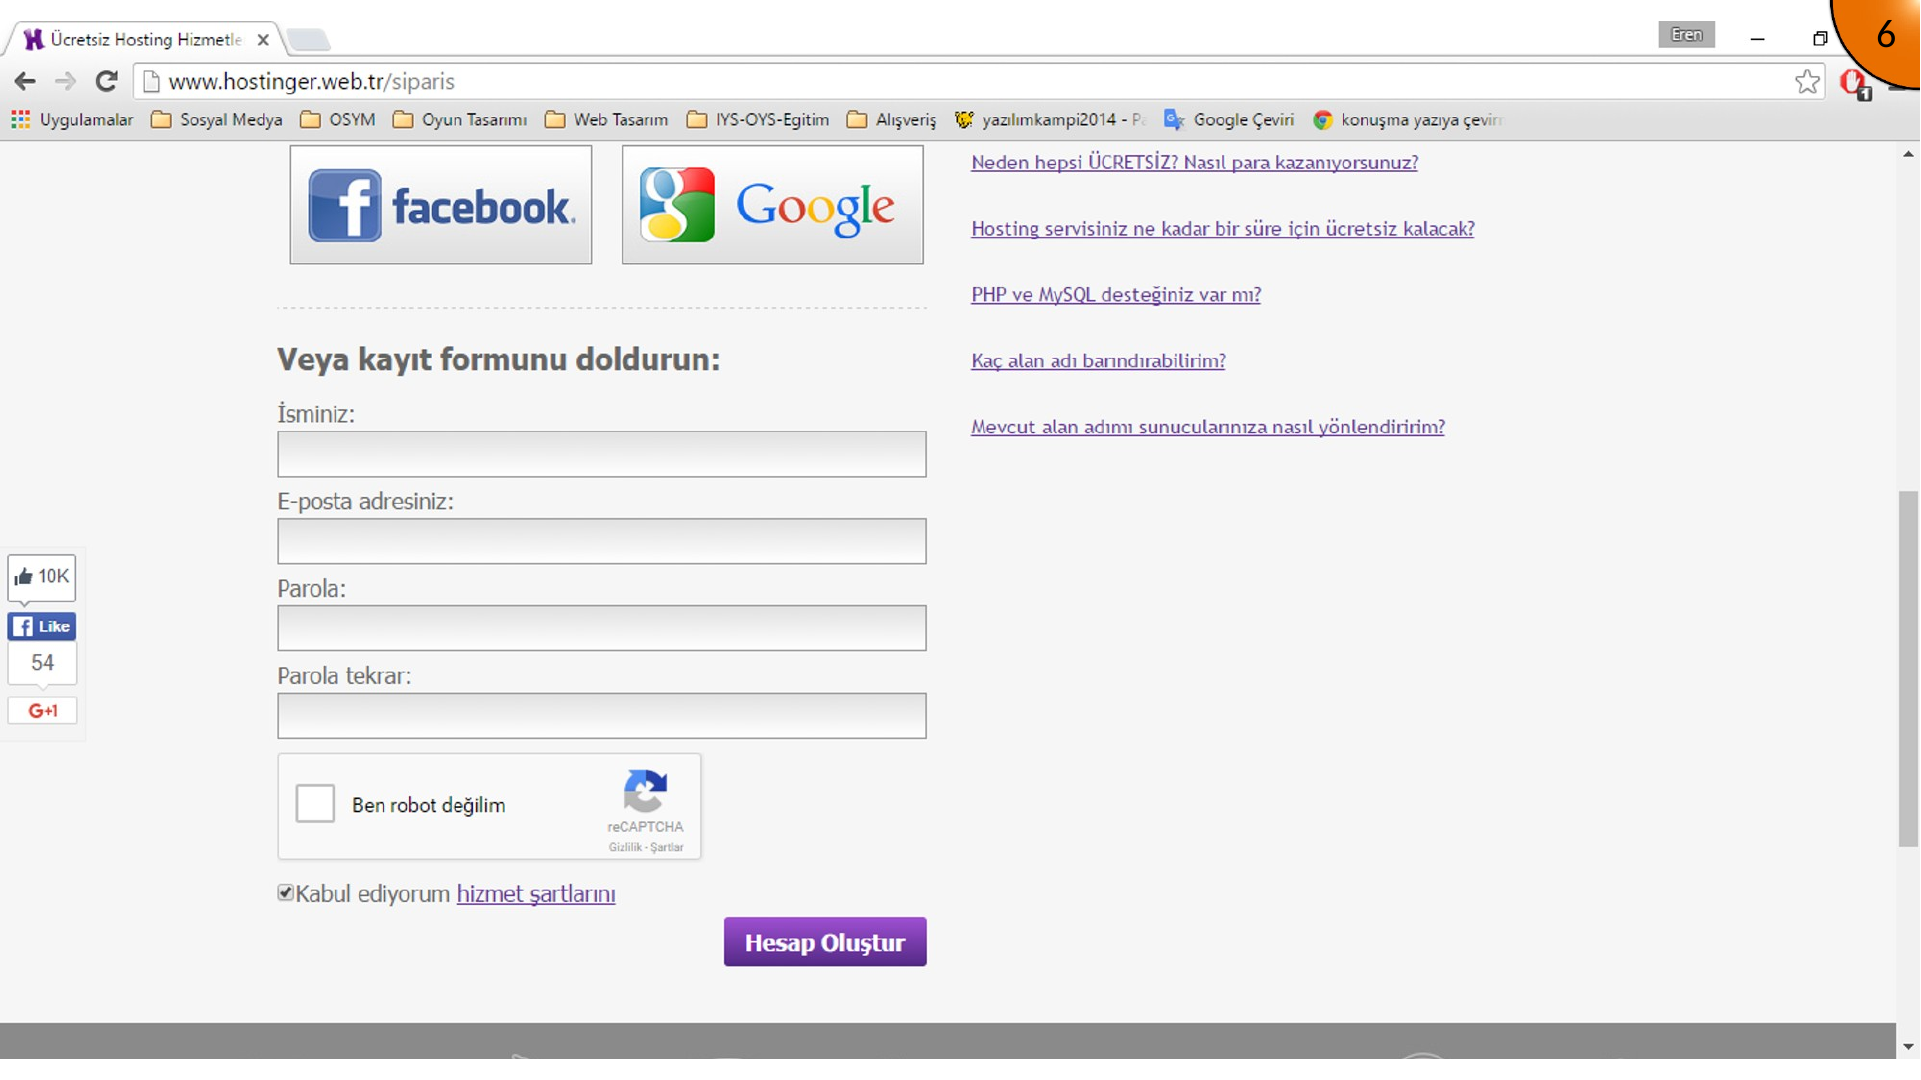
Enter the requested account details, complete the anti-bot check, accept the service terms, and submit the registration form.
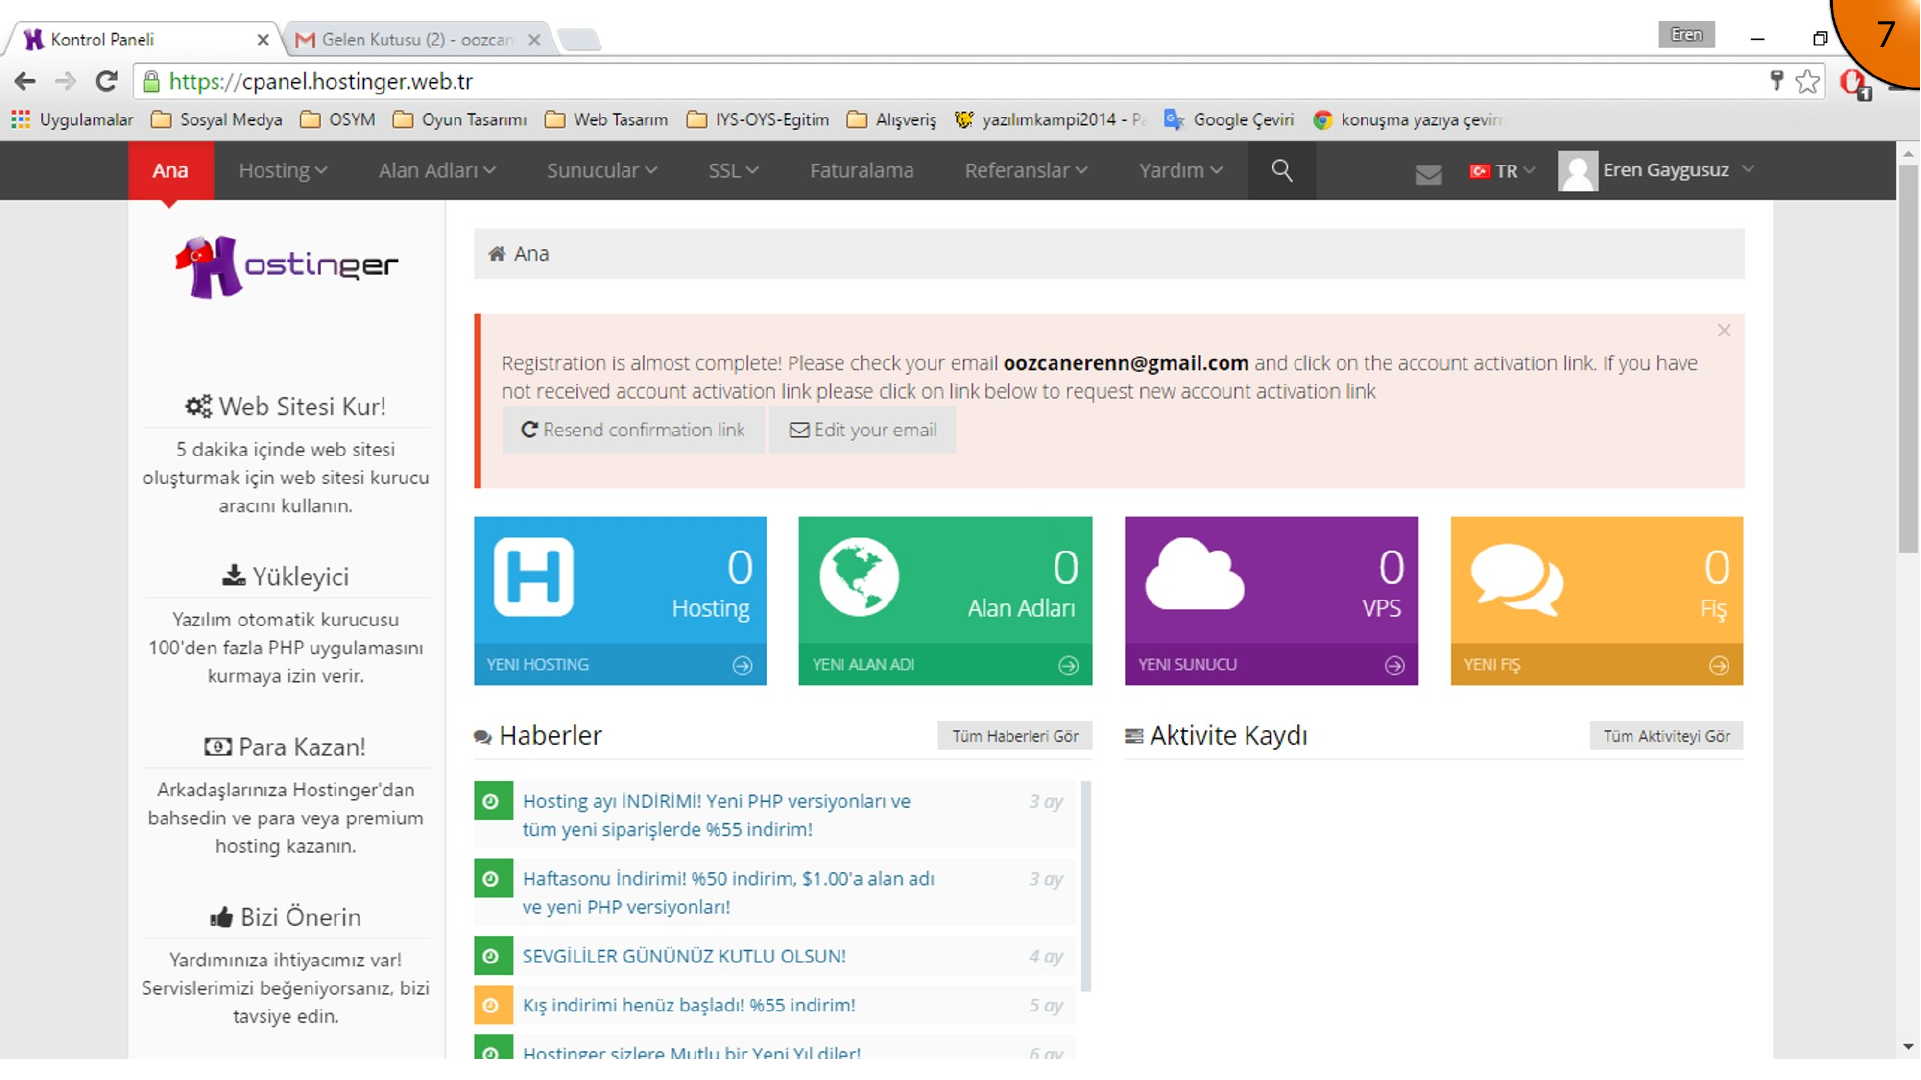
The provider sends an account-confirmation message to the email address you entered. Open that message and use its verification link to activate the account.
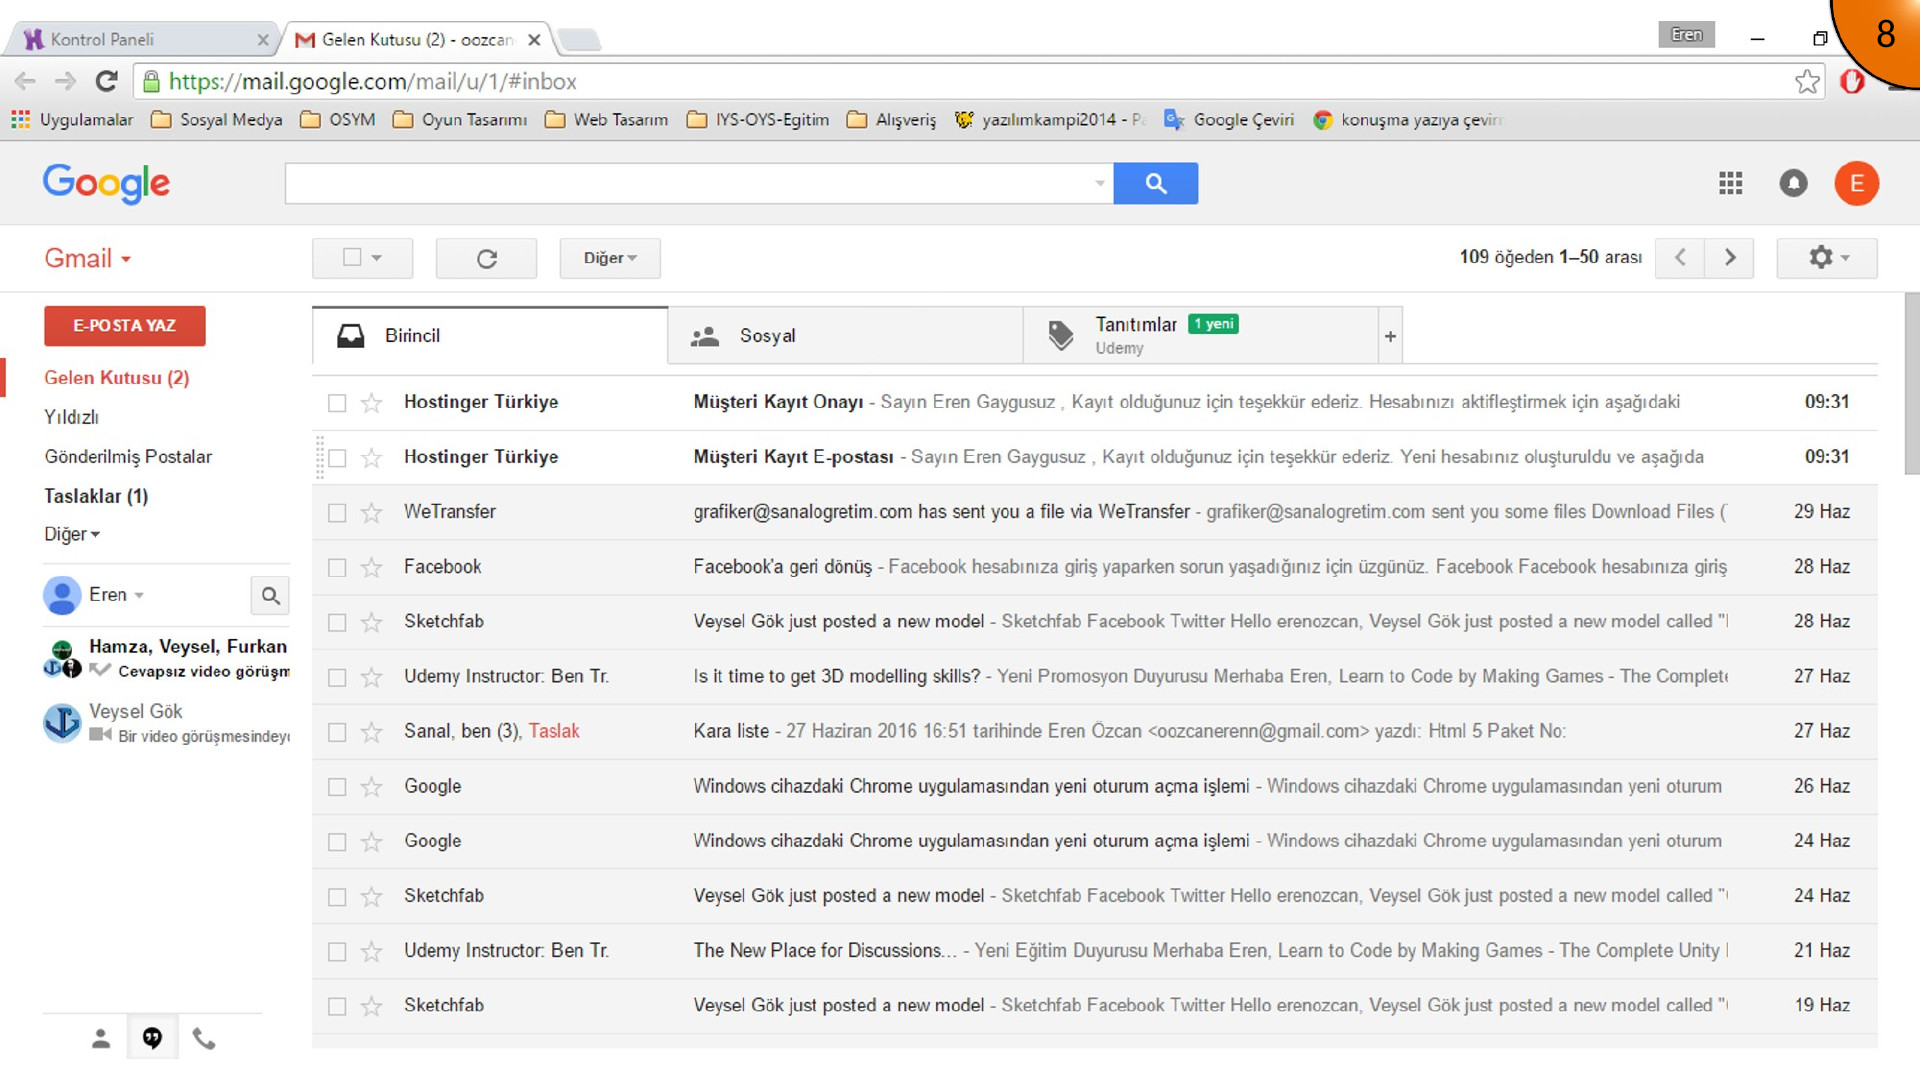
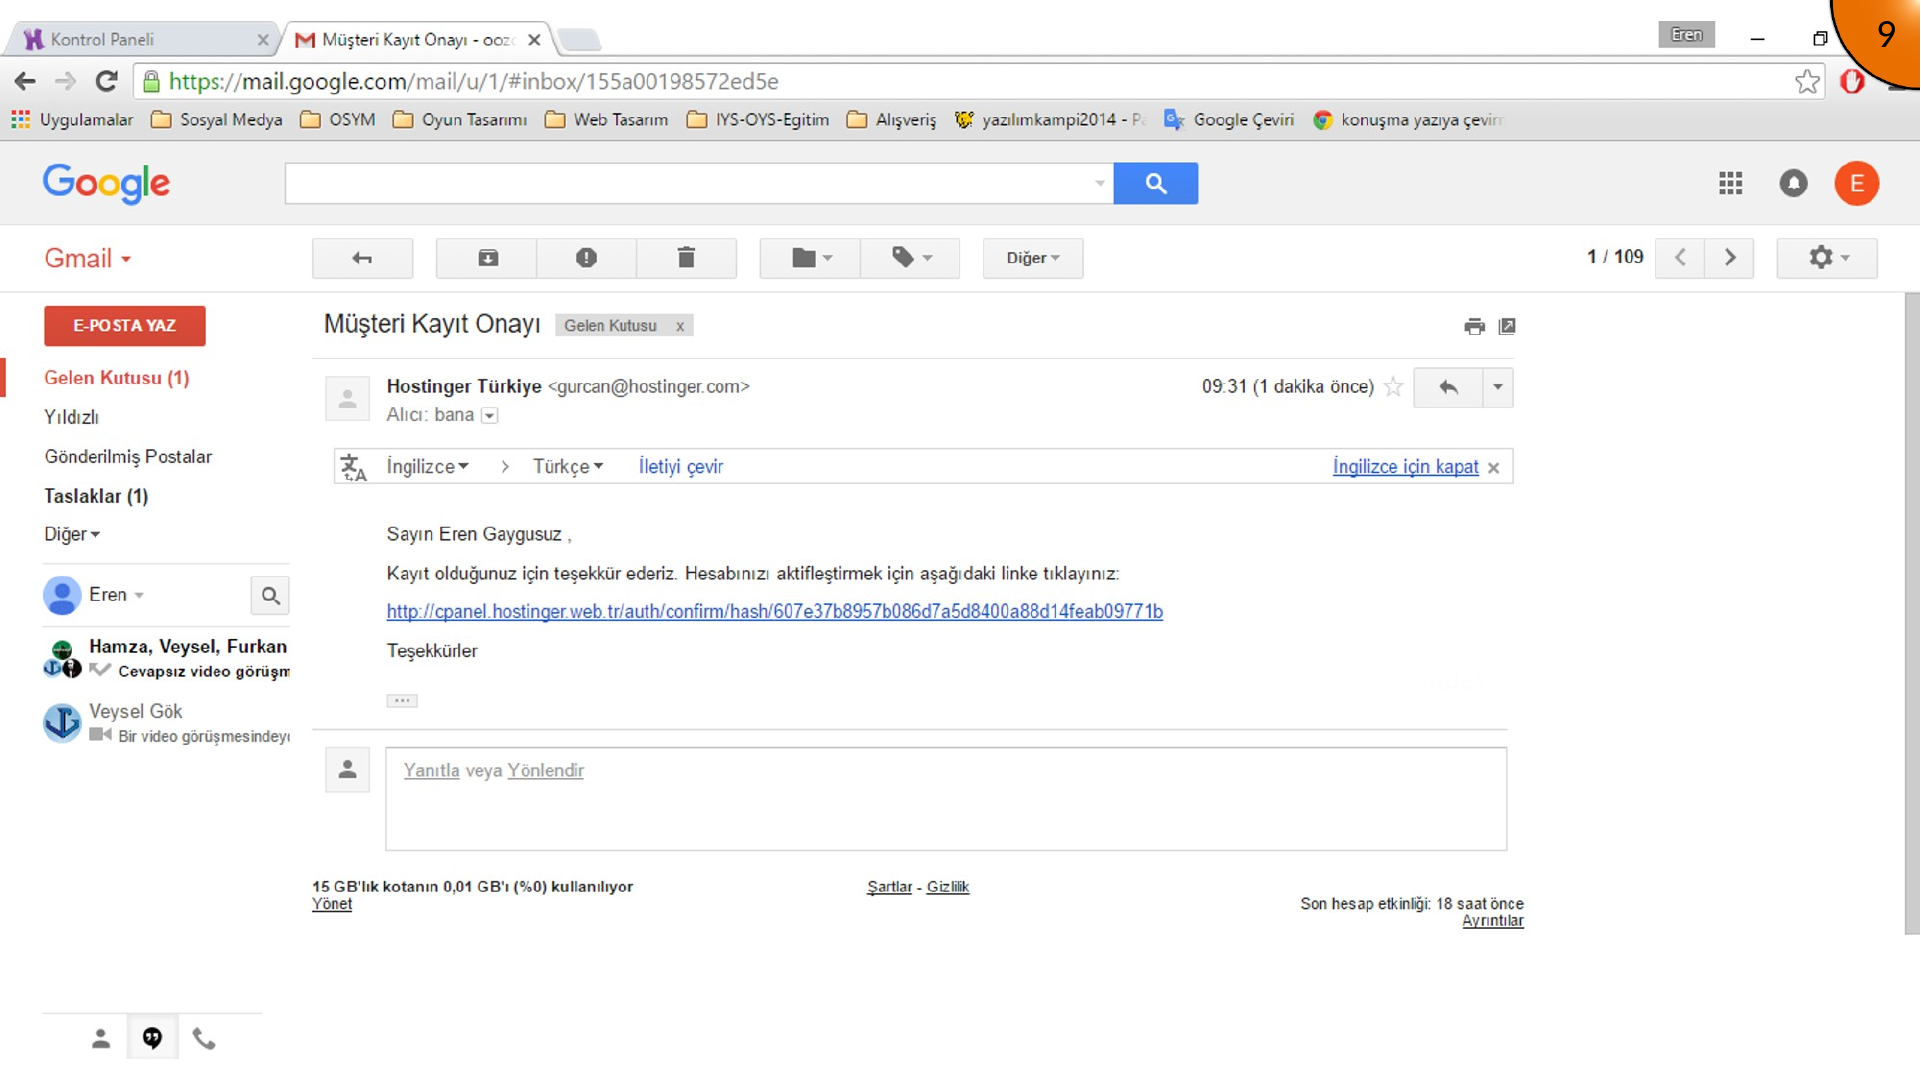
Provisioning a Hosting Site
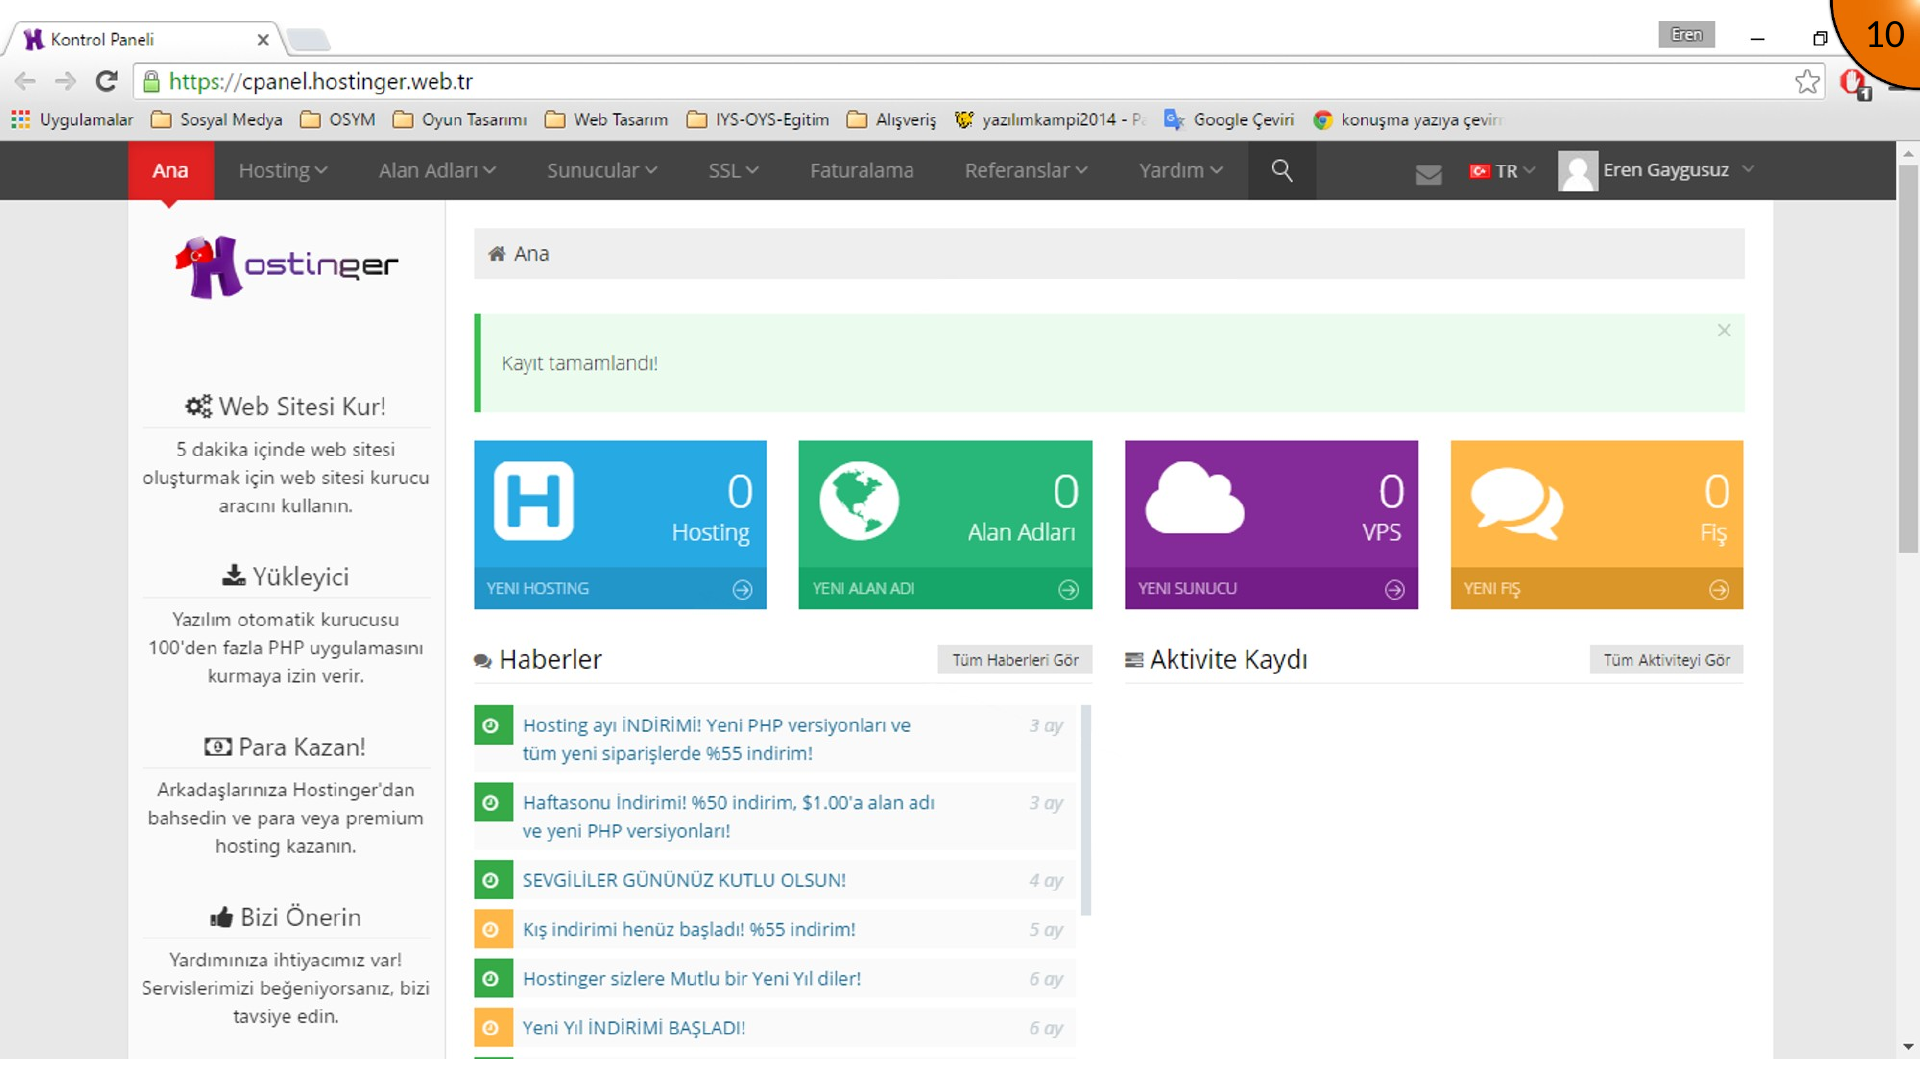
After activation, open the control panel and start the new-hosting or new-website flow.
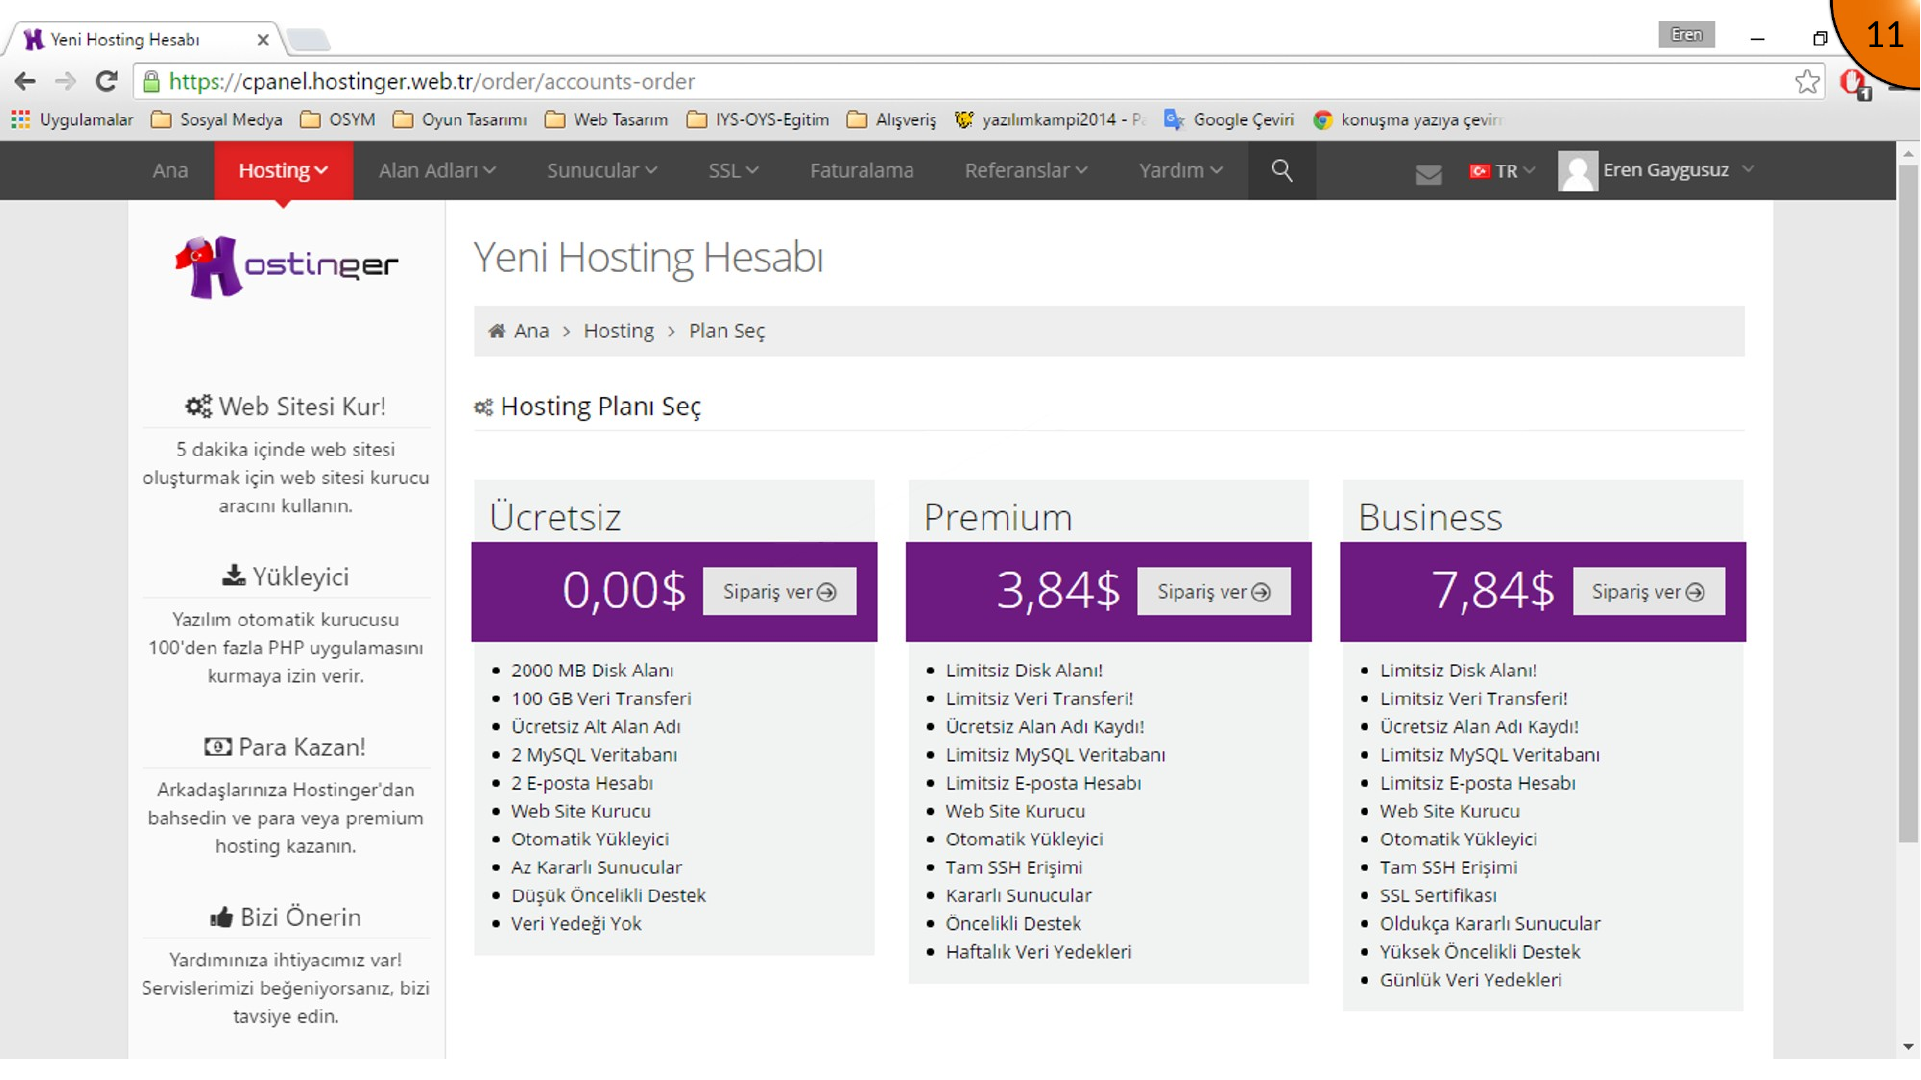
Choose the available hosting plan and continue to its order or provisioning step.
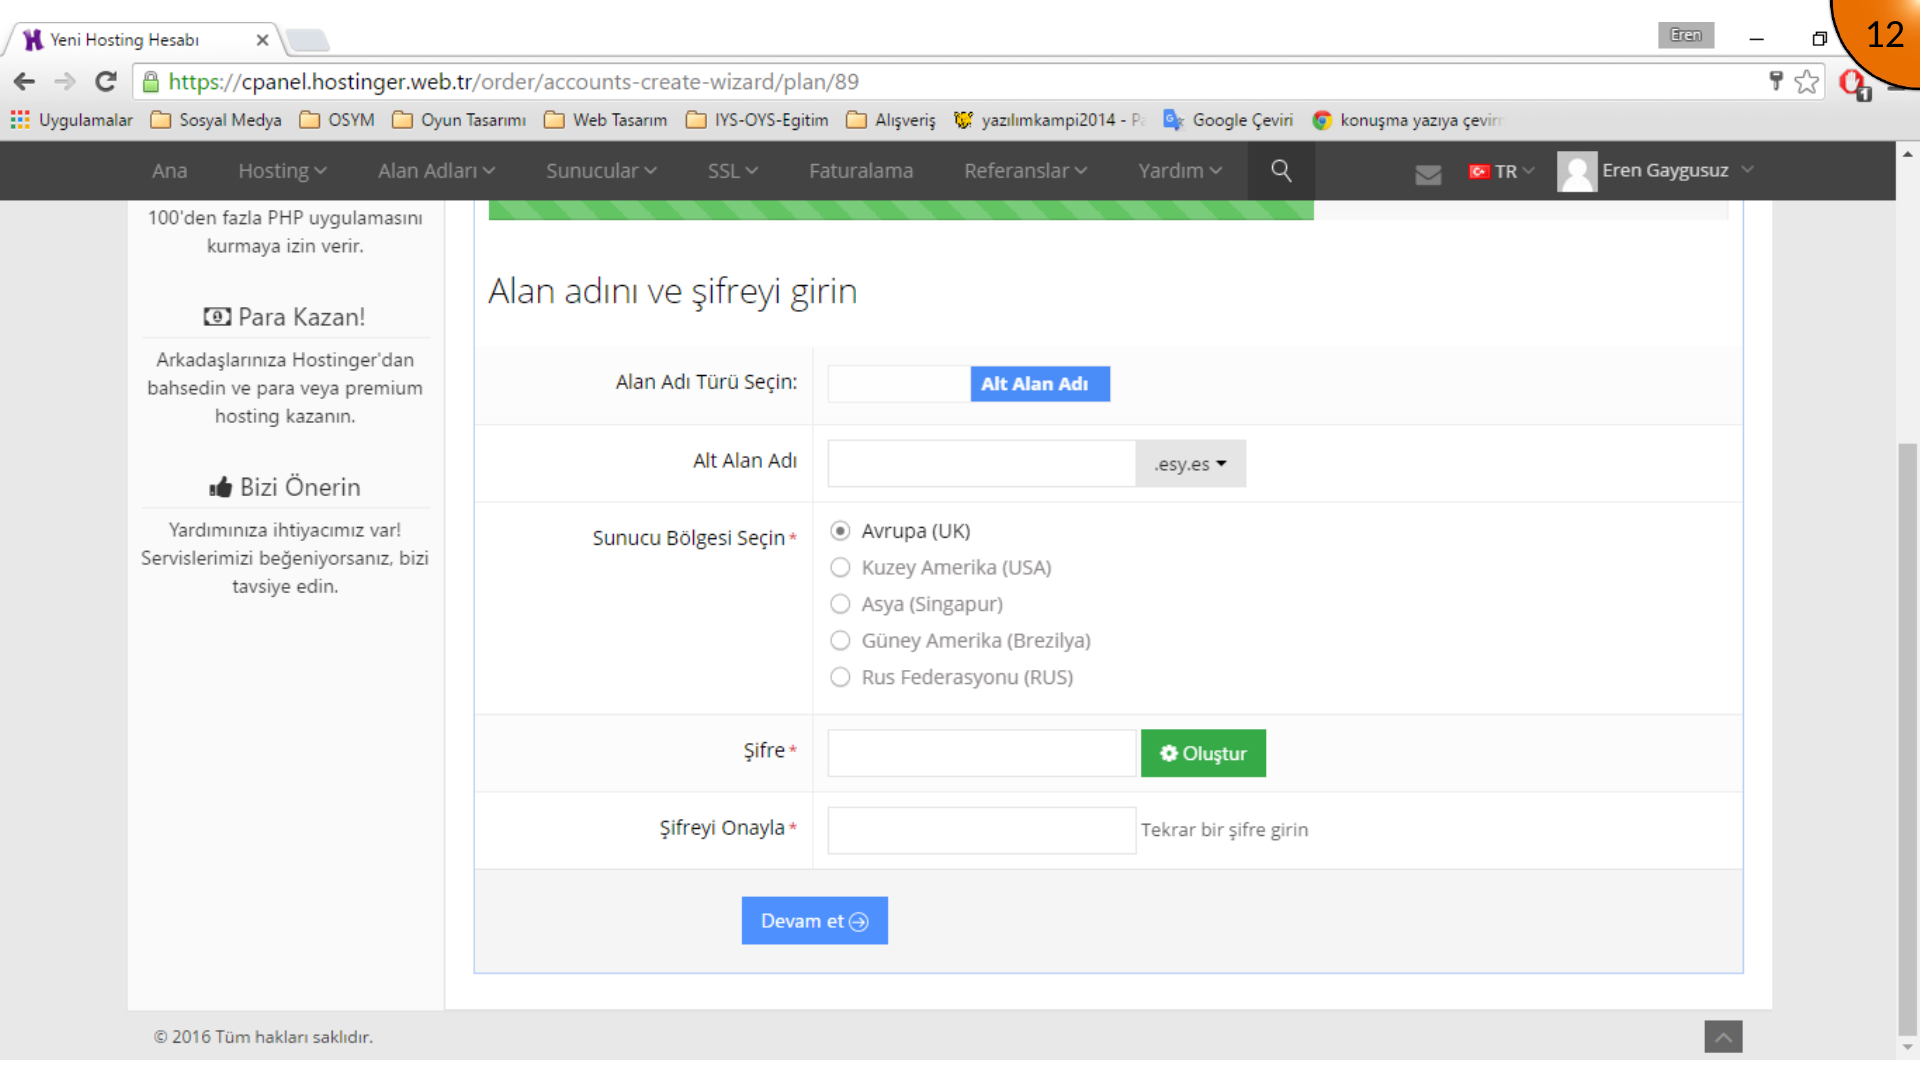
Enter the domain or subdomain you want Moodle to use, select an available suffix when applicable, and set a strong control-panel password. The old interface shown in this tutorial includes provider-specific free subdomain options; use your current provider’s supported domain configuration instead.
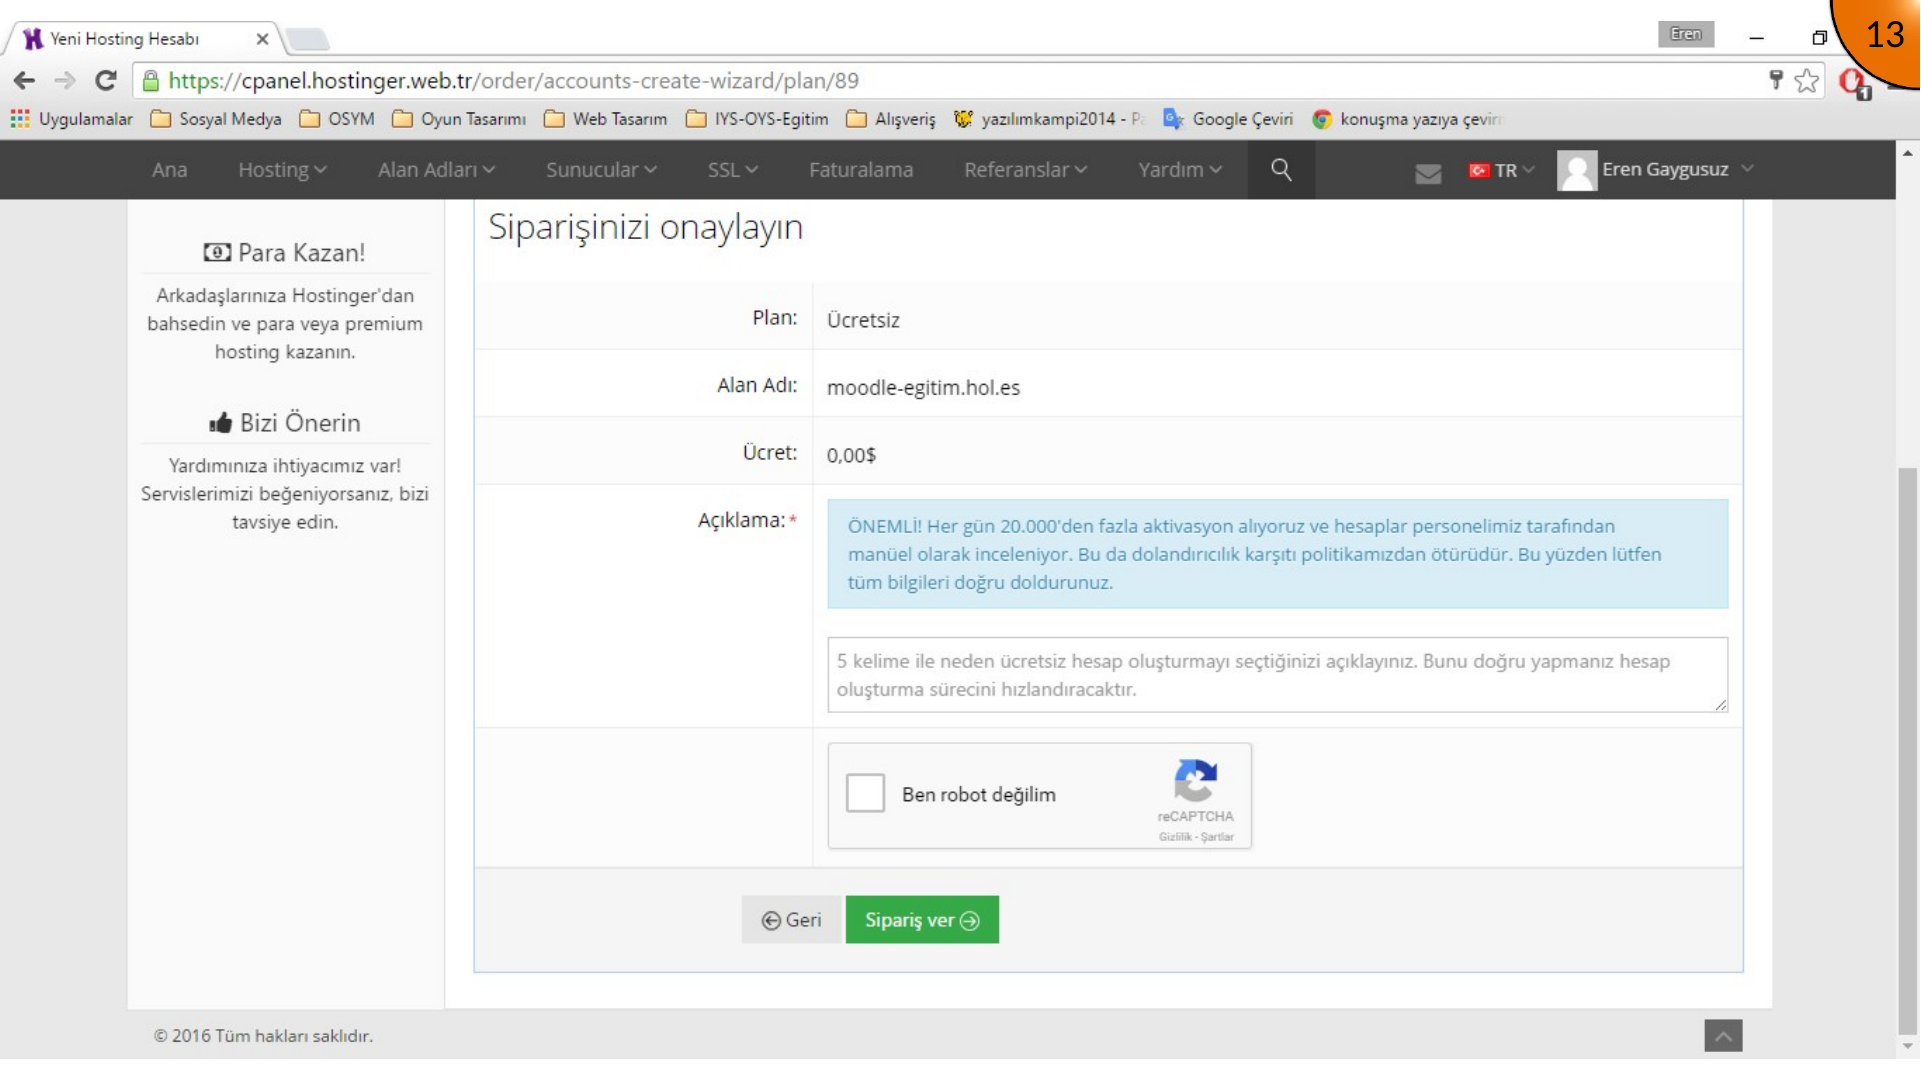
Review the order, complete any provider-specific confirmation or anti-bot step, and place the order.
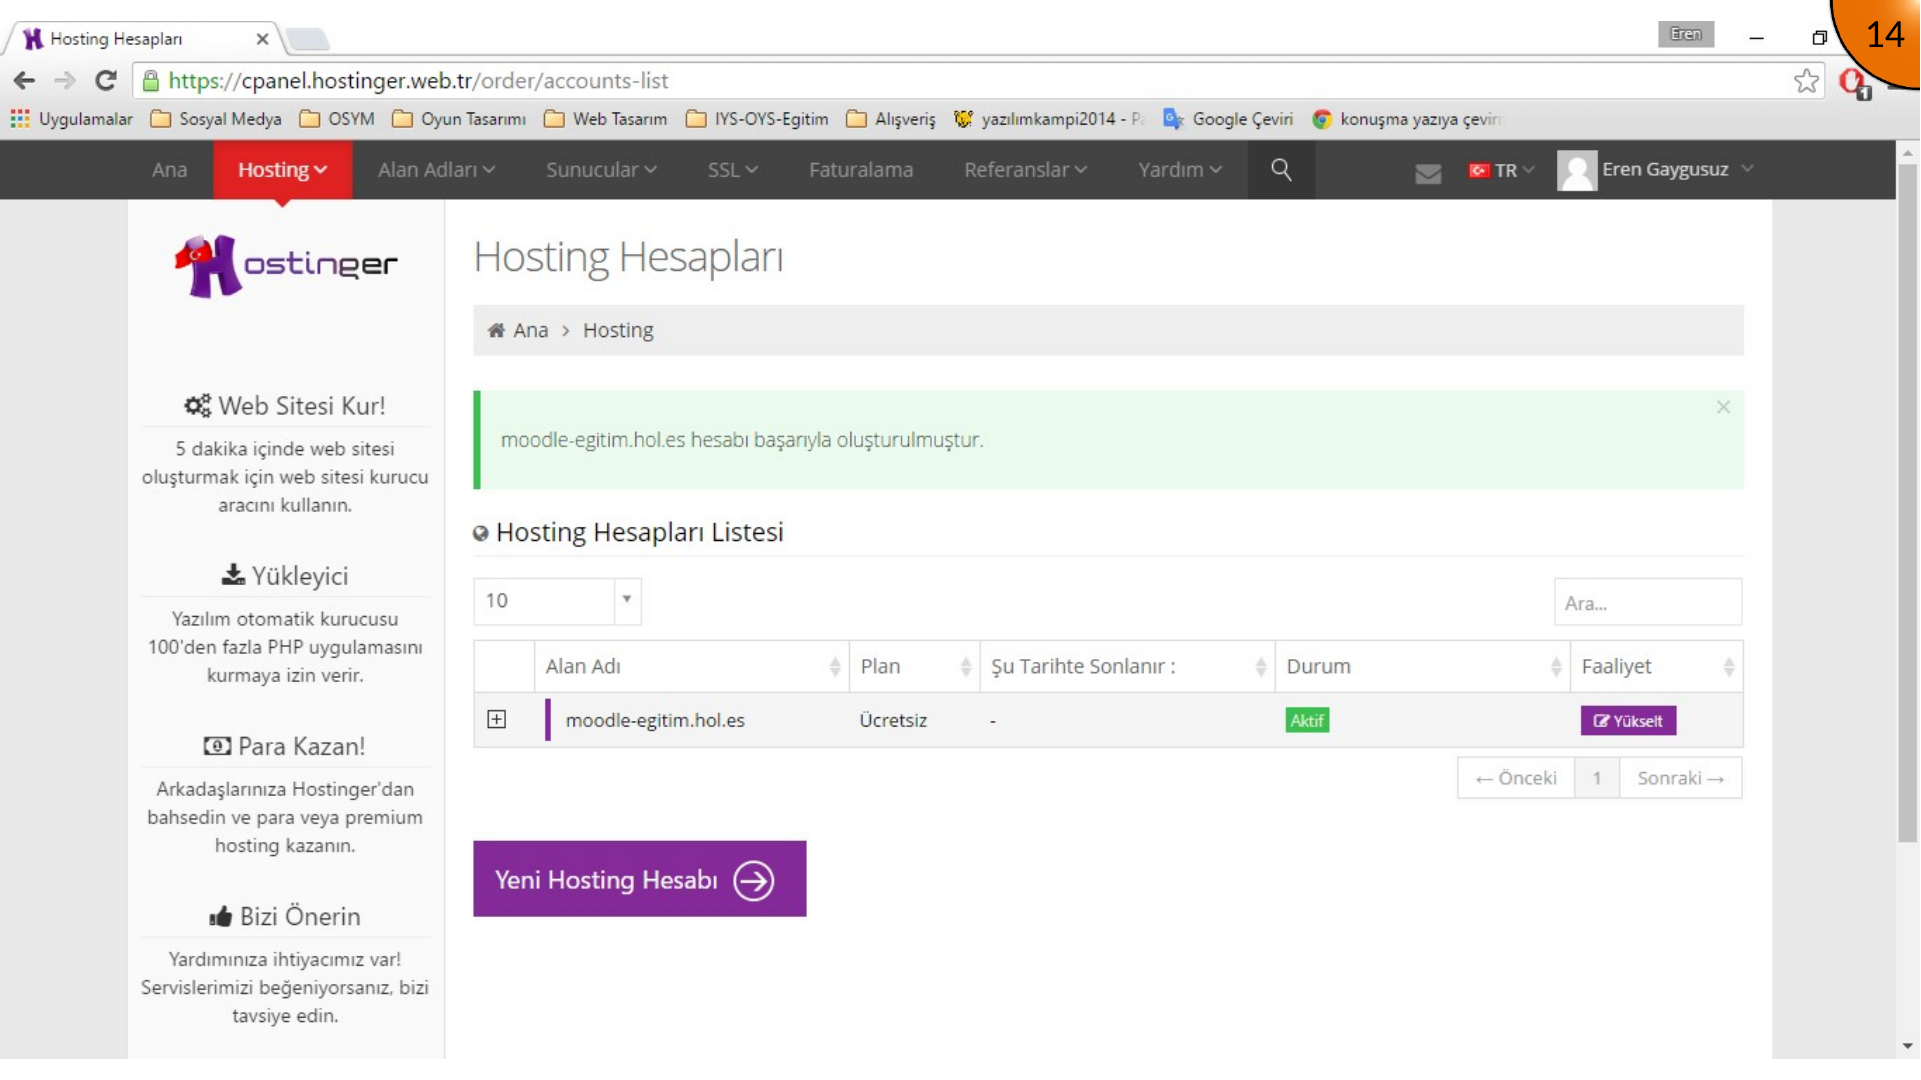
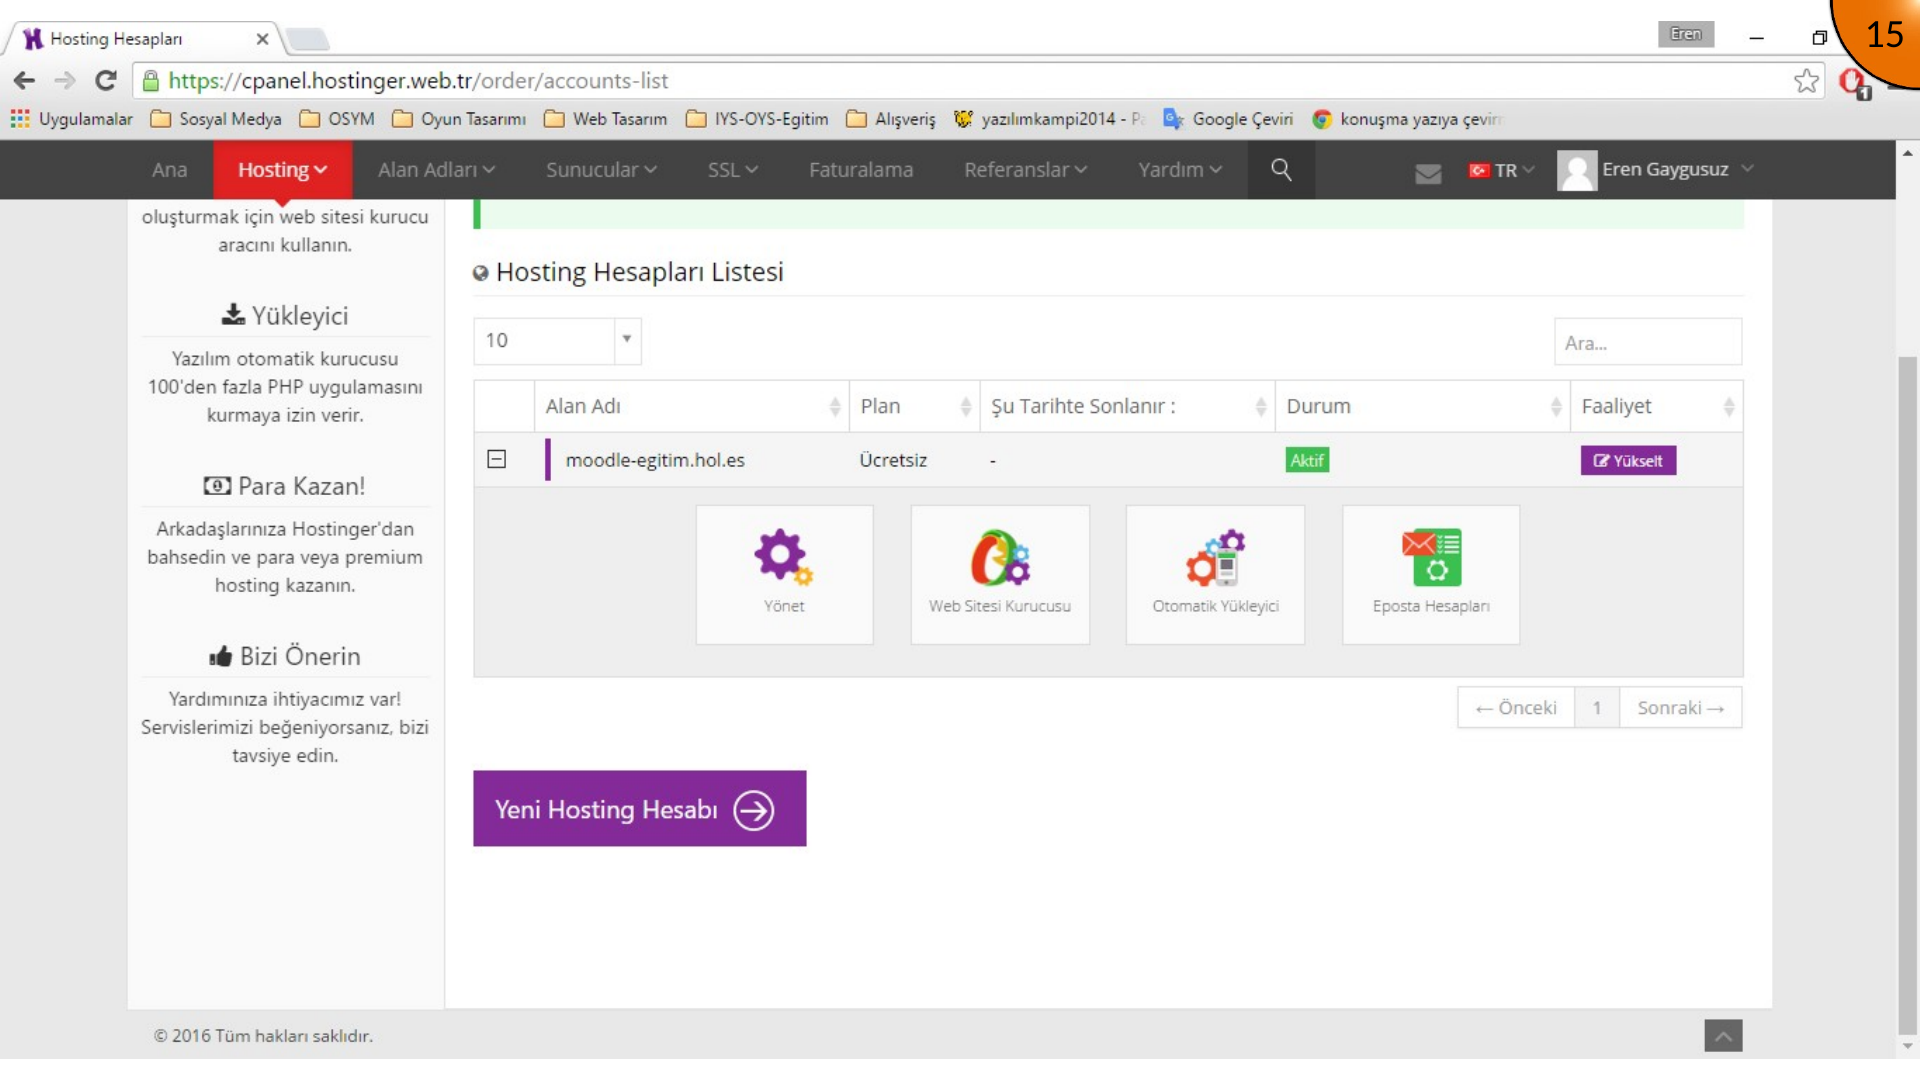
When provisioning succeeds, expand or open the new hosting site from the control panel.
Starting the Moodle Auto Installer
Open the provider’s Auto Installer or application installer. The exact name and category differ between providers.
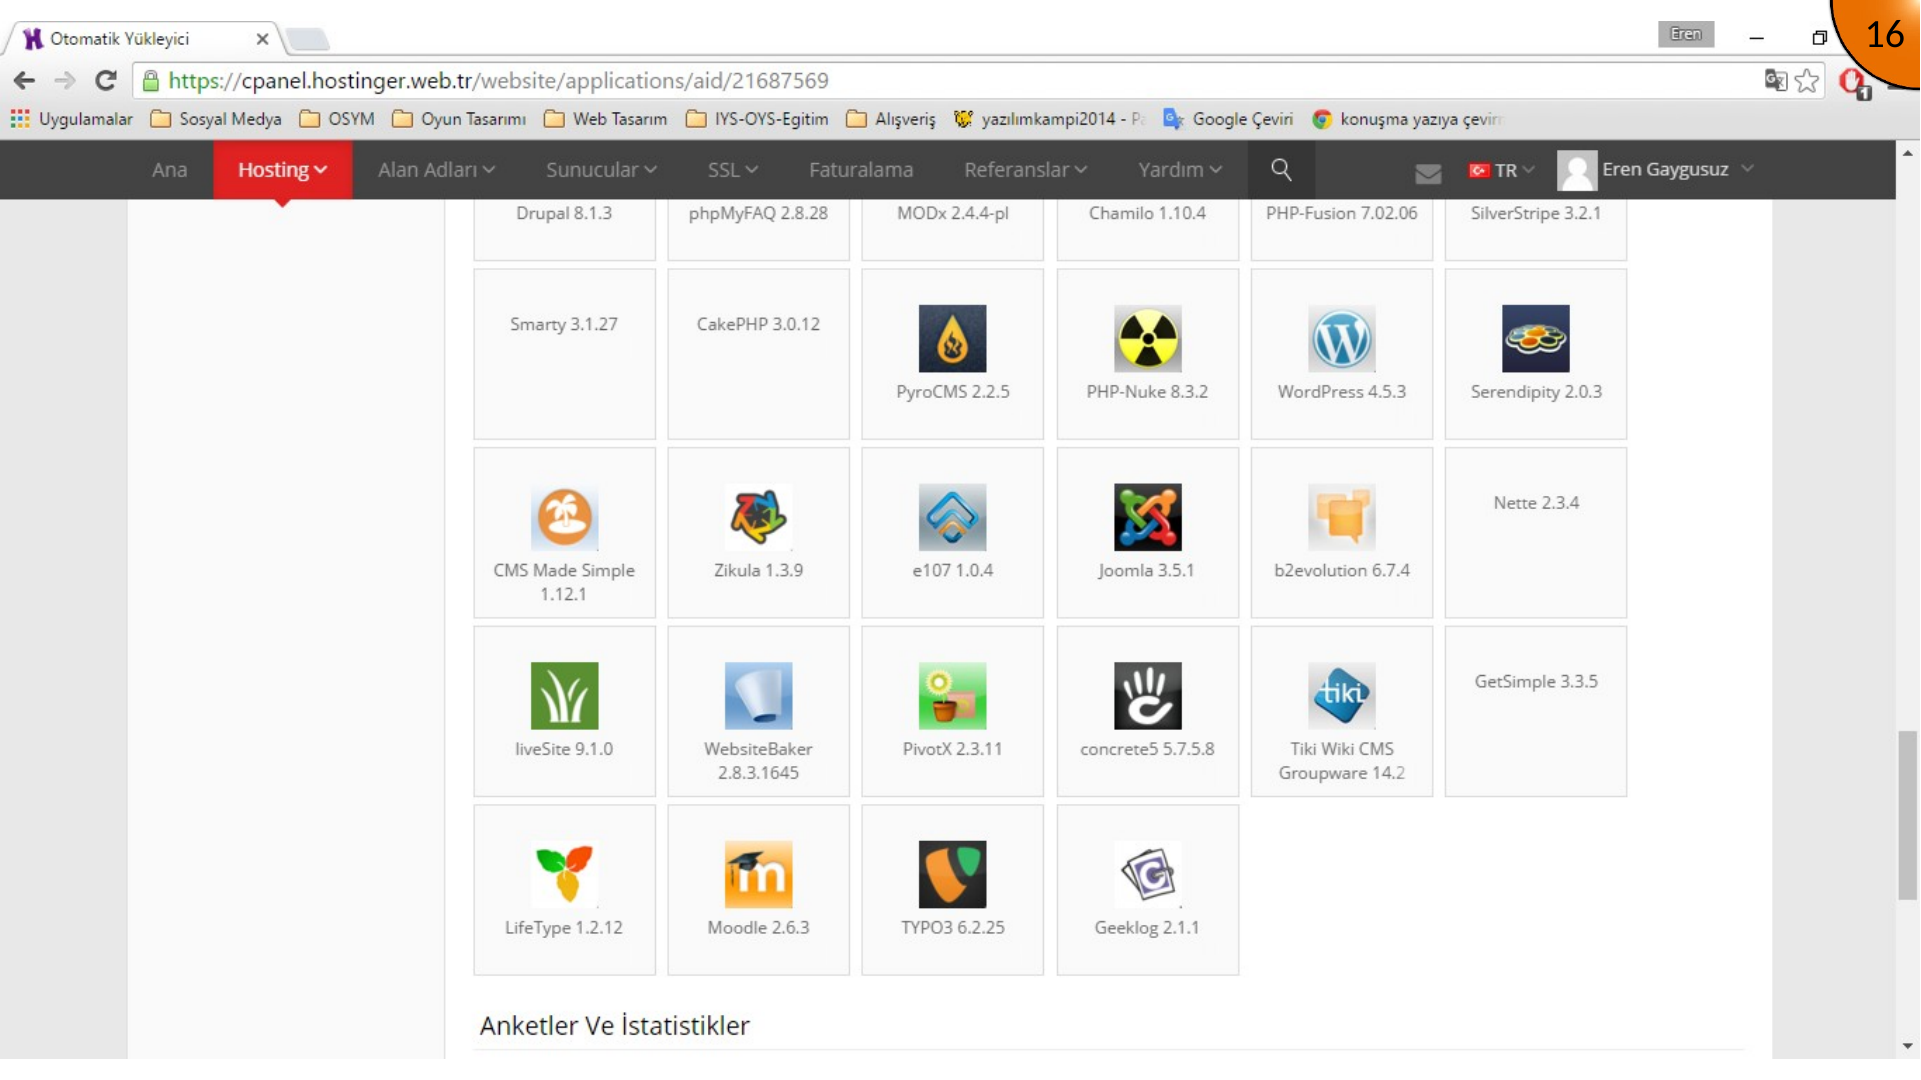
Find Moodle in the education or learning-management category and select it. This archived panel lists Moodle 2.6.3; choose a currently supported Moodle version in a real installation.
Configure the installation directory, administrator username and password, and site title. Leaving the installation directory empty usually installs Moodle at the domain root; a directory such as moodle installs it at a path like example.com/moodle.
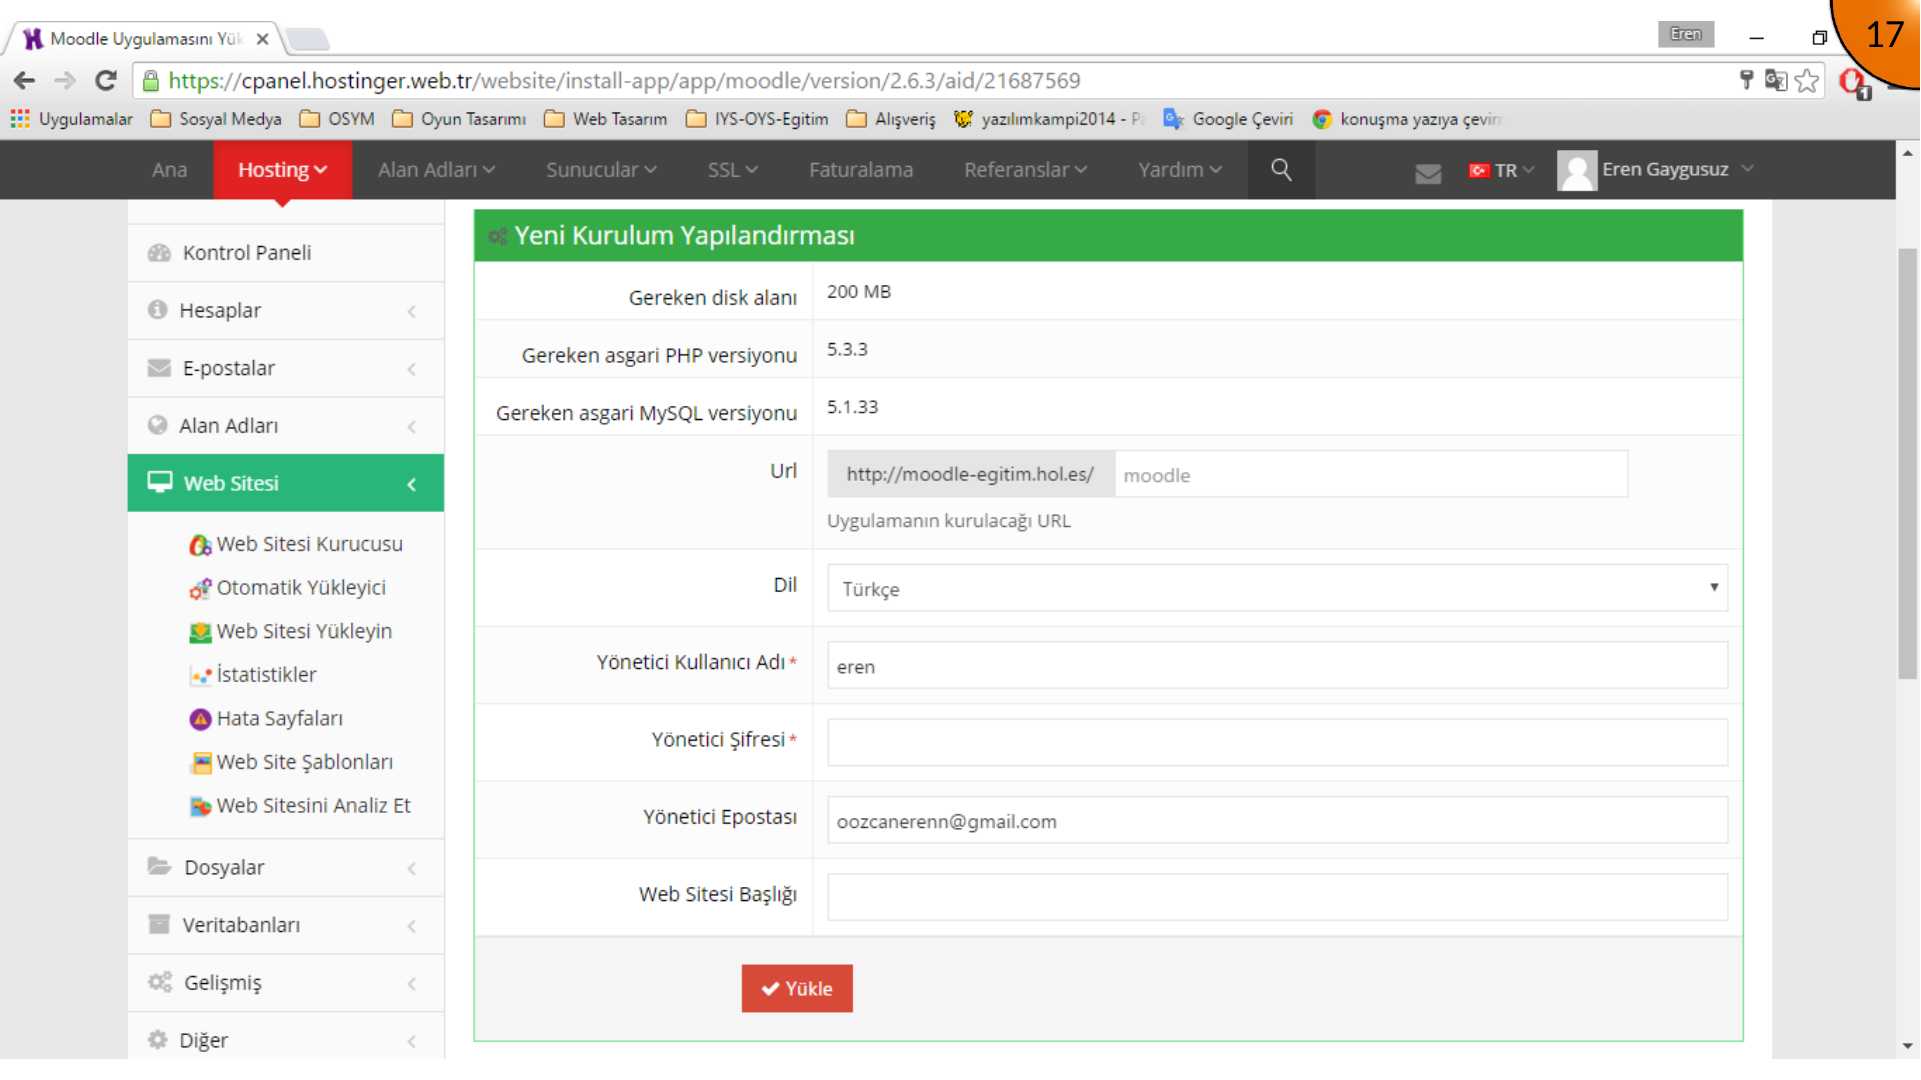
Use a unique administrator username and a password manager-generated password. Store the credentials securely; they control the whole Moodle site.
Opening the New Moodle Site
Start the installation and wait for the hosting provider to finish provisioning Moodle and its database. The control panel should show a success message when the operation completes.
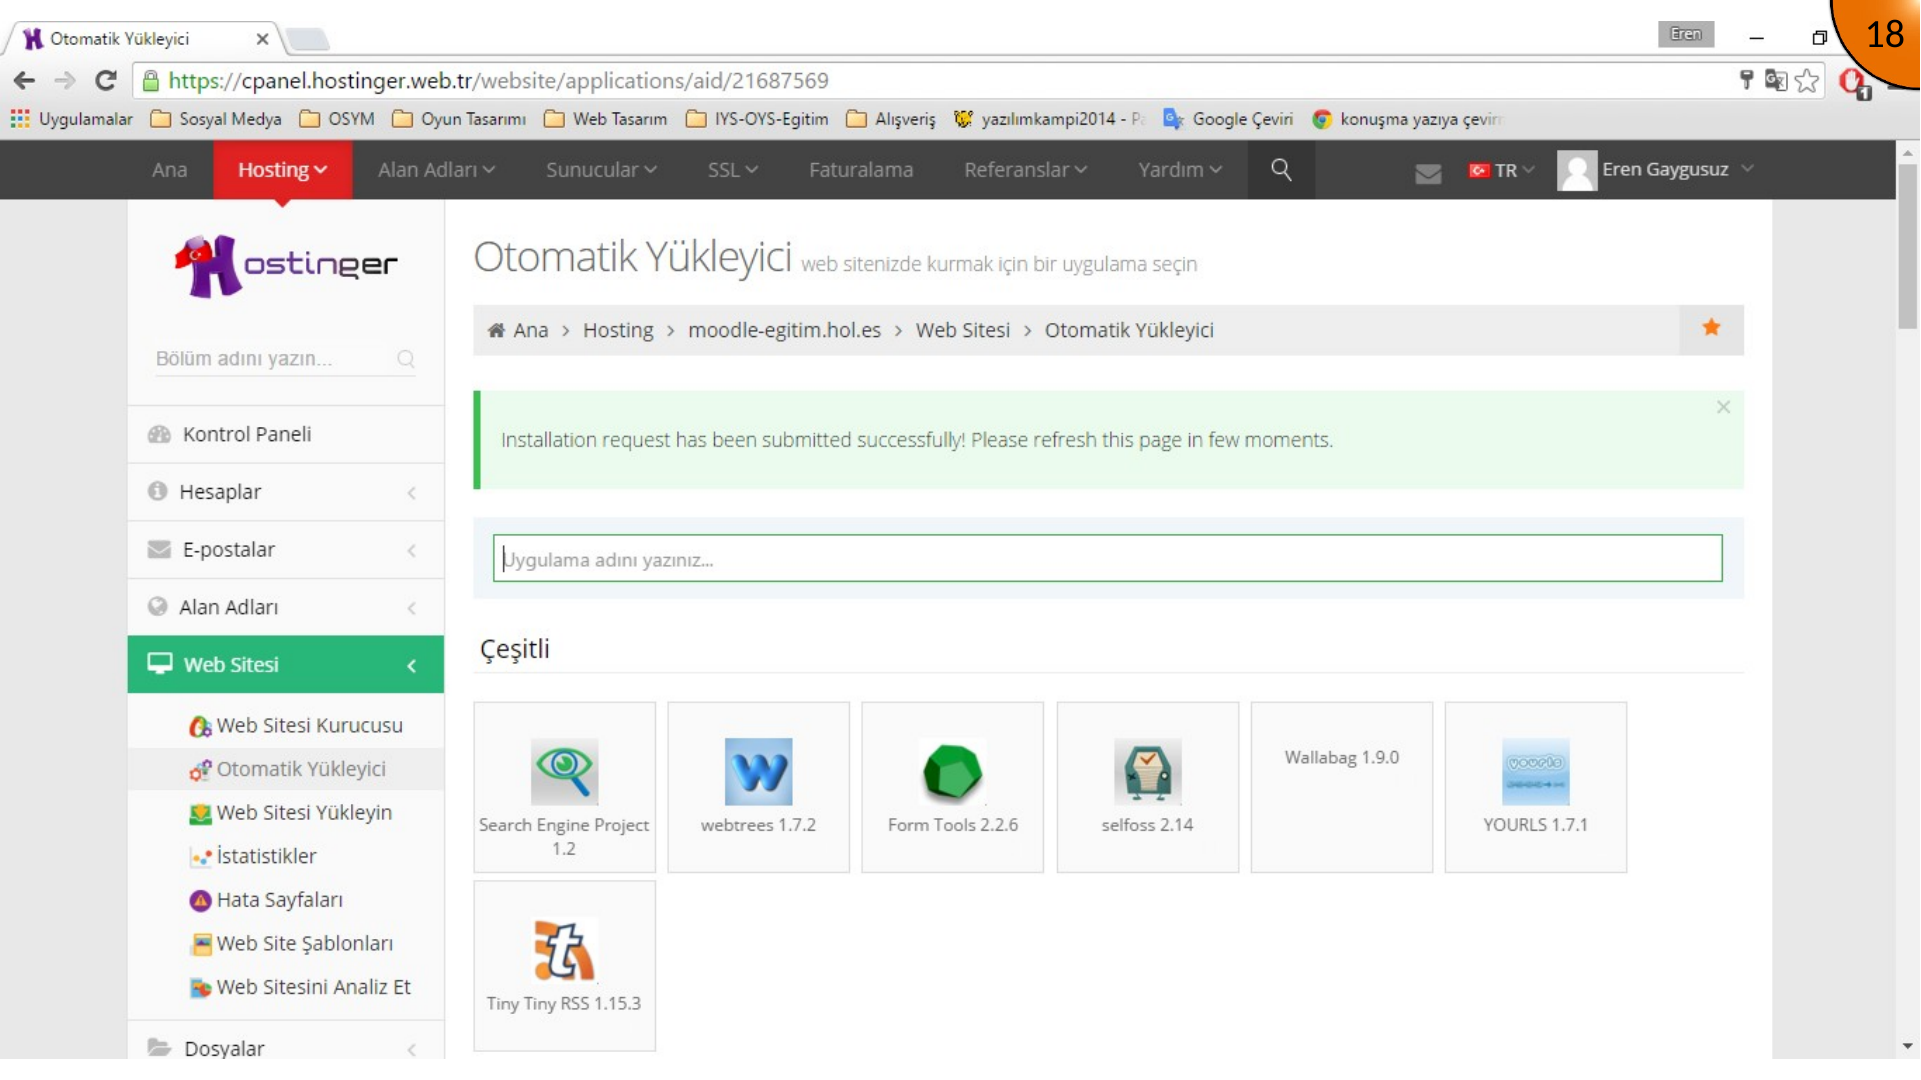
After the installation completes, refresh the control panel if necessary and open the URL provided for the new site.
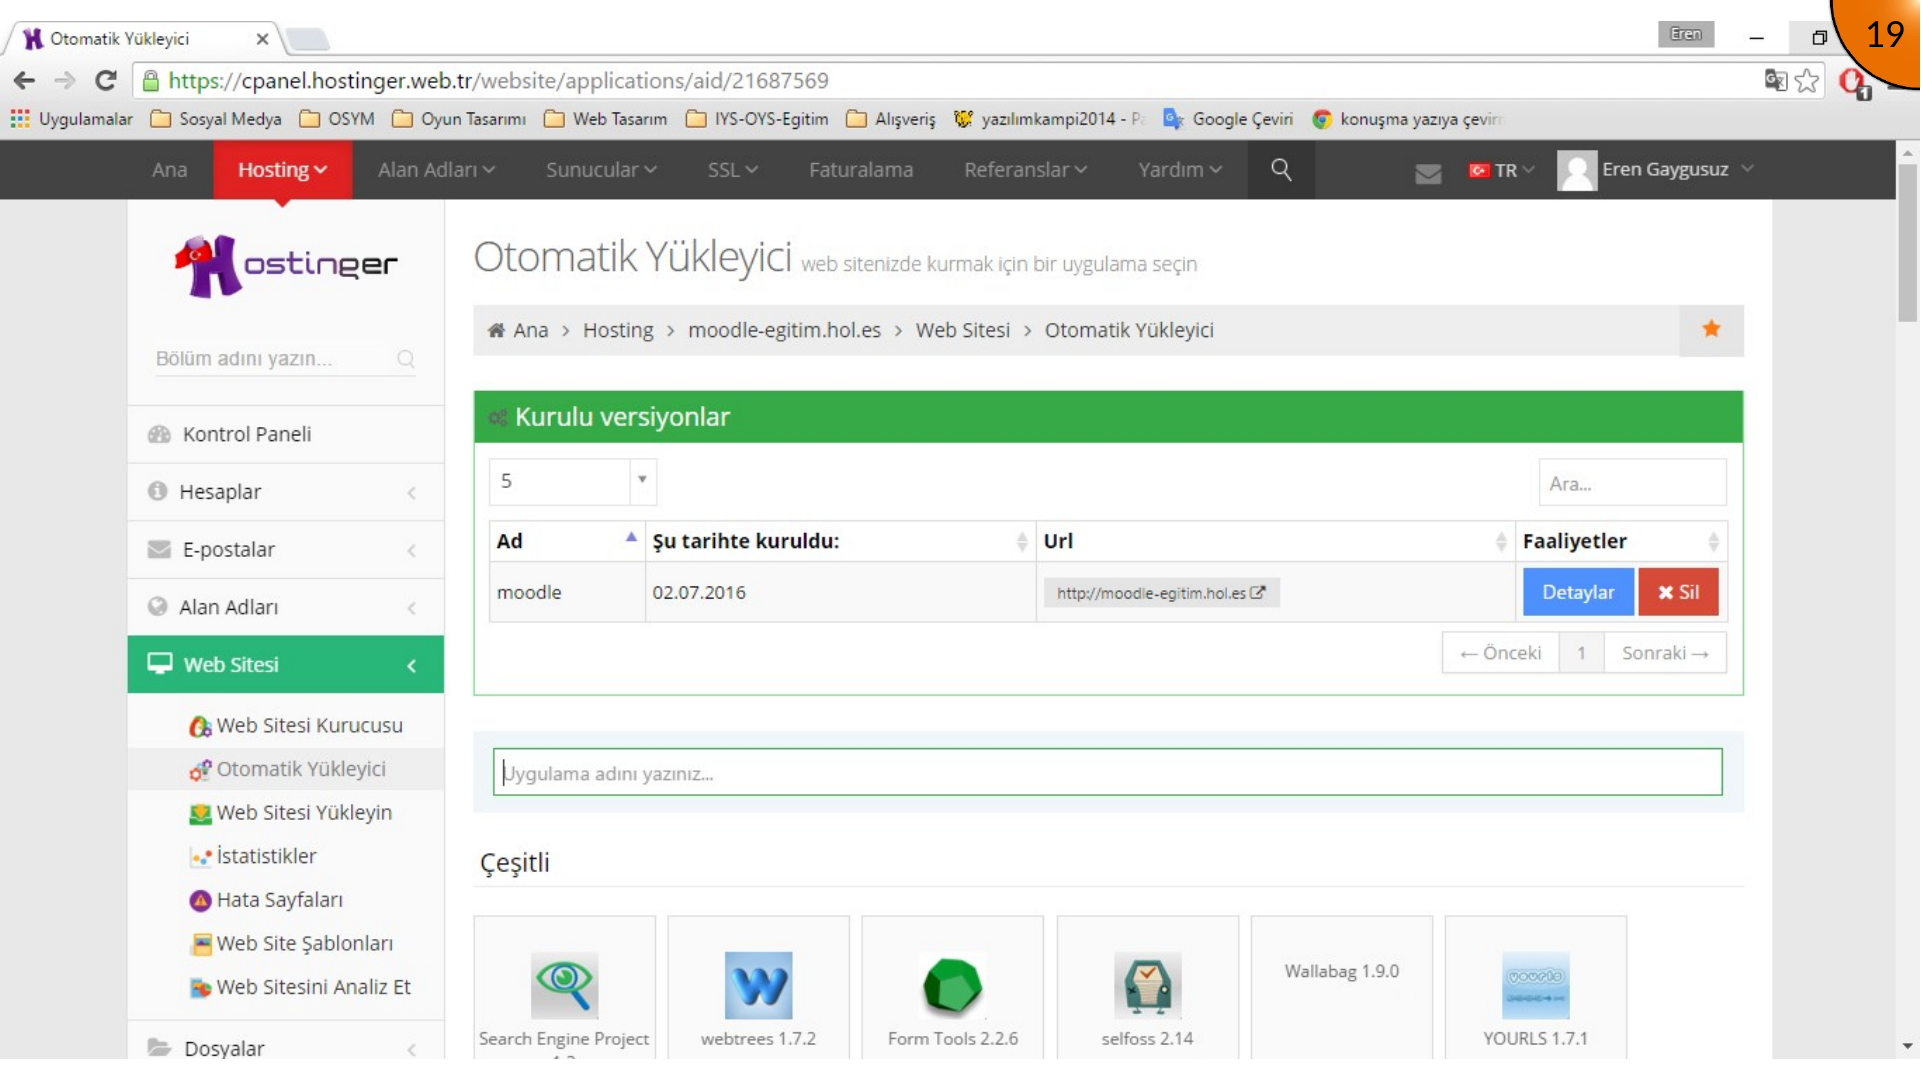
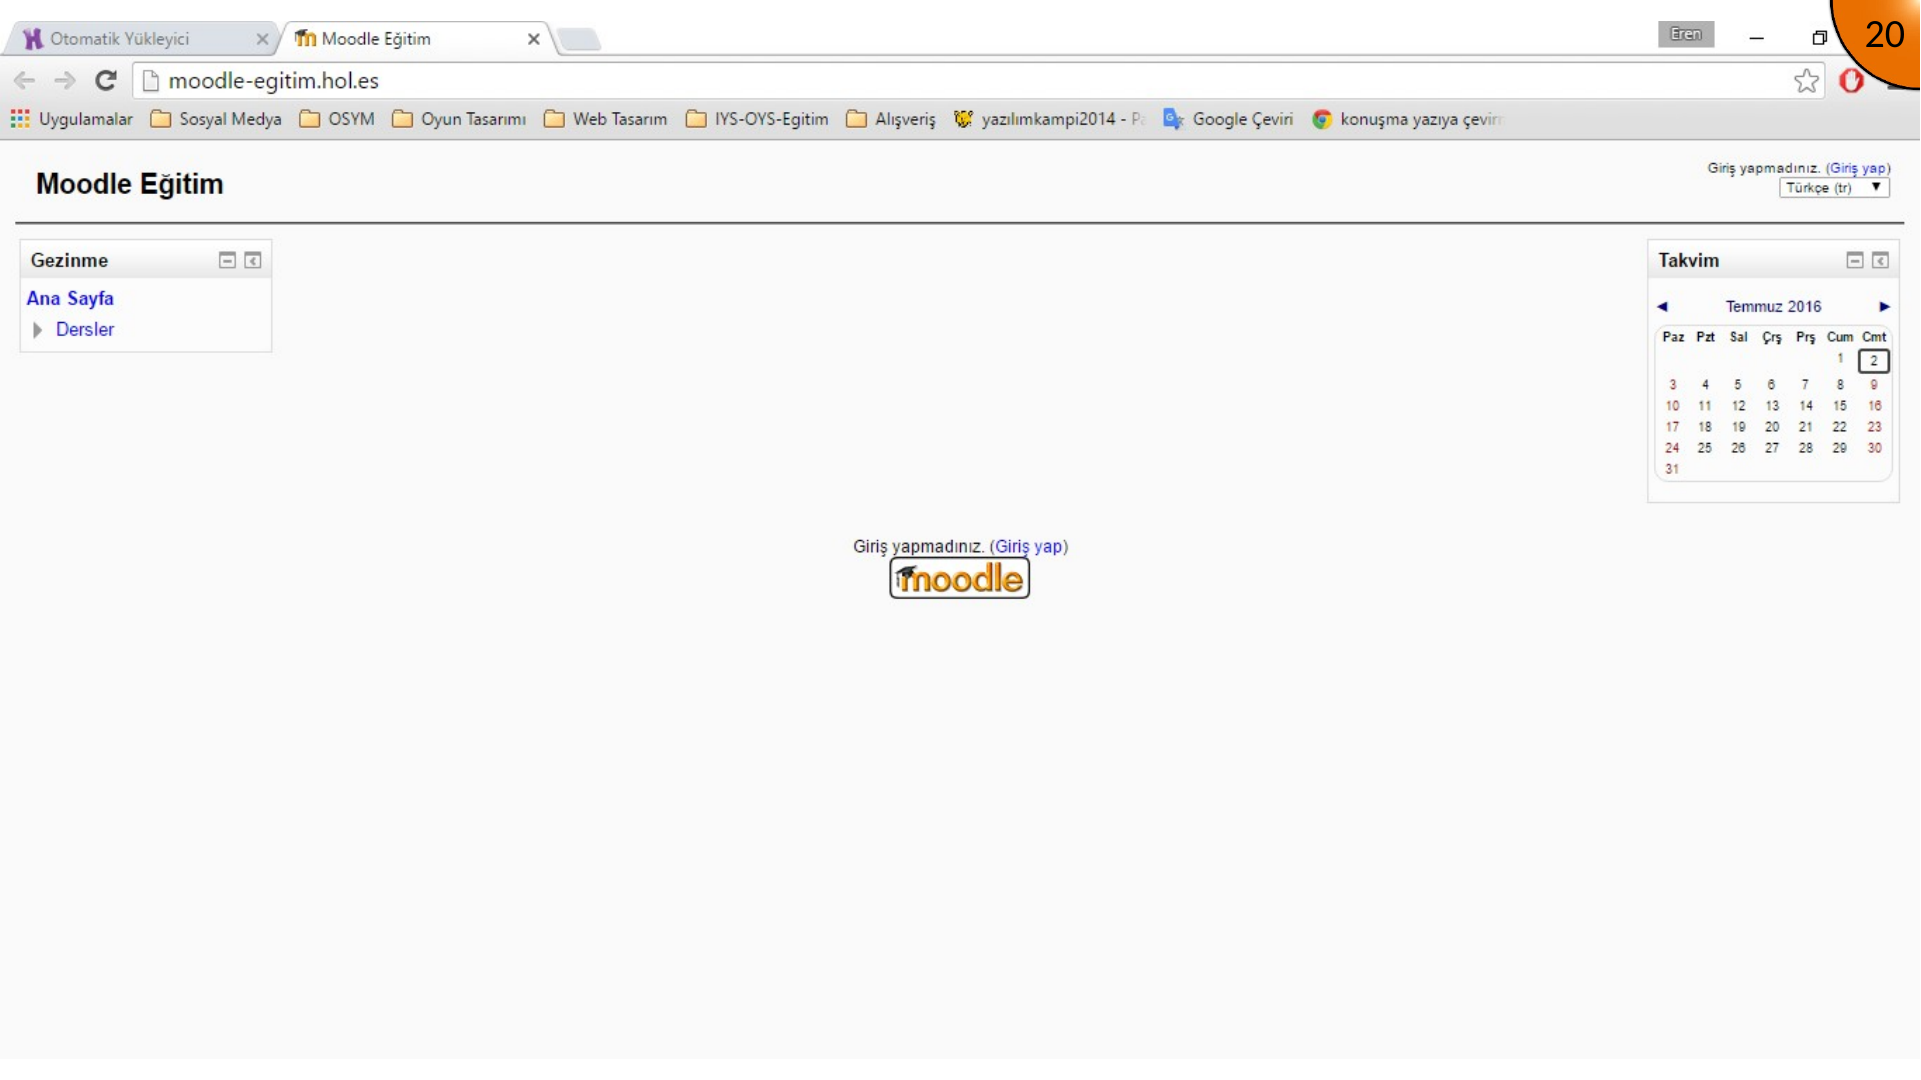
The Moodle home page confirms that the application is available. Sign in with the administrator account created during the installation.
Summary
An auto installer removes much of the manual server setup, but it does not replace operational work. Before using the site for real learners, enable HTTPS, configure cron or scheduled tasks, set up outgoing email, restrict administrator access, review file storage limits, and test backup and restore procedures.
This archived flow is a useful reference for the control-panel approach. For new projects, choose a supported Moodle release and a hosting environment that meets its current requirements.
Comments